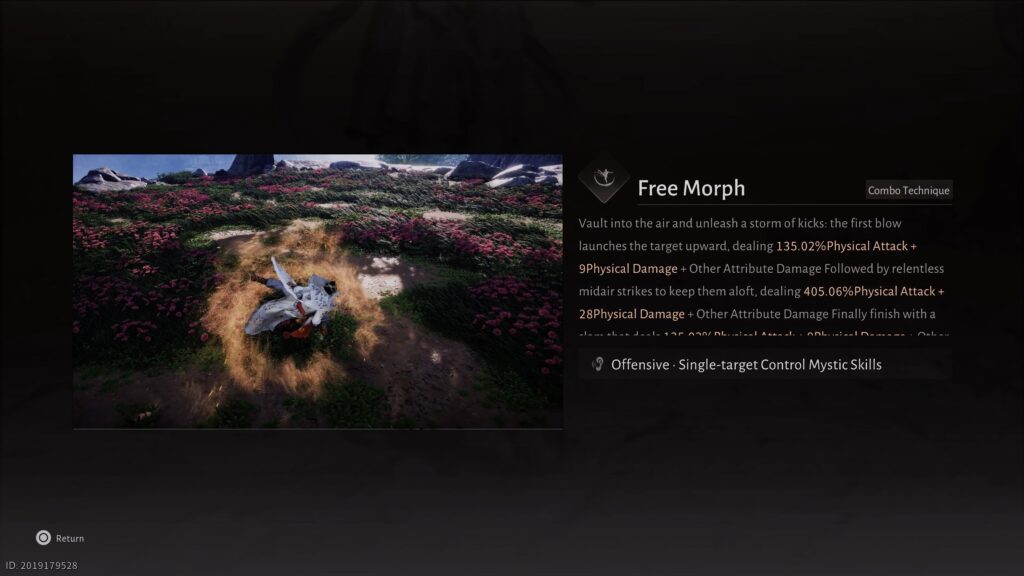
Free Morph is a high-damage aerial assault option perfect for style-heavy combat, juggling enemies, and finishing groups with a final AoE strike. In this guide, I’ll walk you through step by step on how to obtain the Free Morph mystic skill in Where Winds Meet.
Step 1: Complete the Campaign Mission at Bodhi Sea
Start the Campaign Mission in the Bodhi Sea area, where you’ll need to activate three hidden drums by following their sound cues.

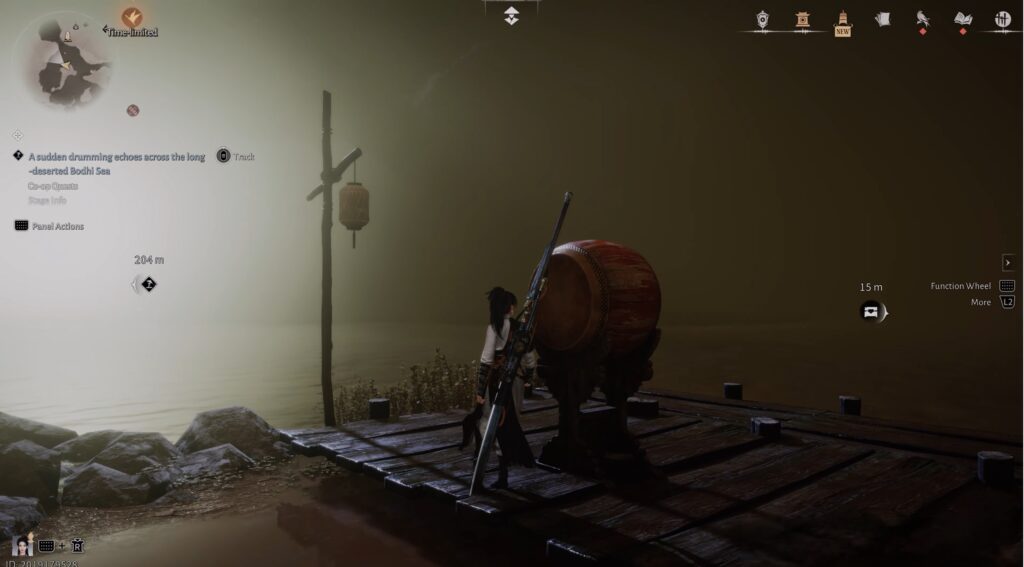
Afterward, defeat the boss Ye Wanshan to obtain the first half of the Buddhist Light Jade.
Step 2: Clear the Campaign Mission at the Palace of Annals
Then go to the Palace of Annals and complete the next campaign mission. Follow the quest steps and defeat the final boss to earn the second half of the Buddhist Light Jade.

Step 3: Reach 6,000 Exploration Points in the King K Region
Next, you need to earn 6,000 exploration points in the King K Region. Almost everything counts to get the required exploration points, like locating chests, side quests, new locations, scenic points, and puzzles. Once you reach 6,000 points, you’ll unlock the final campaign mission: The Promised Light.
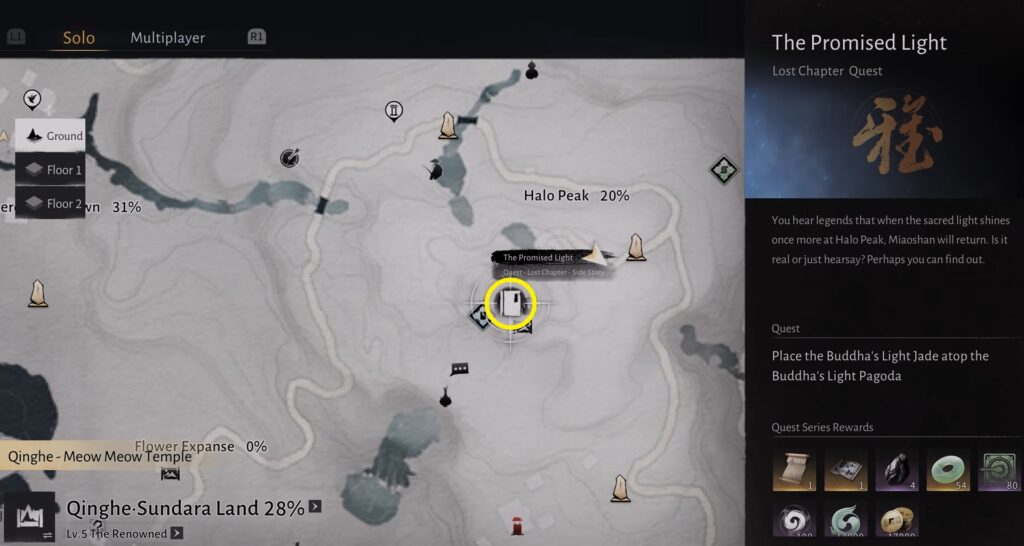
Step 4: Start “Final: The Promised Light” at Halo Peak
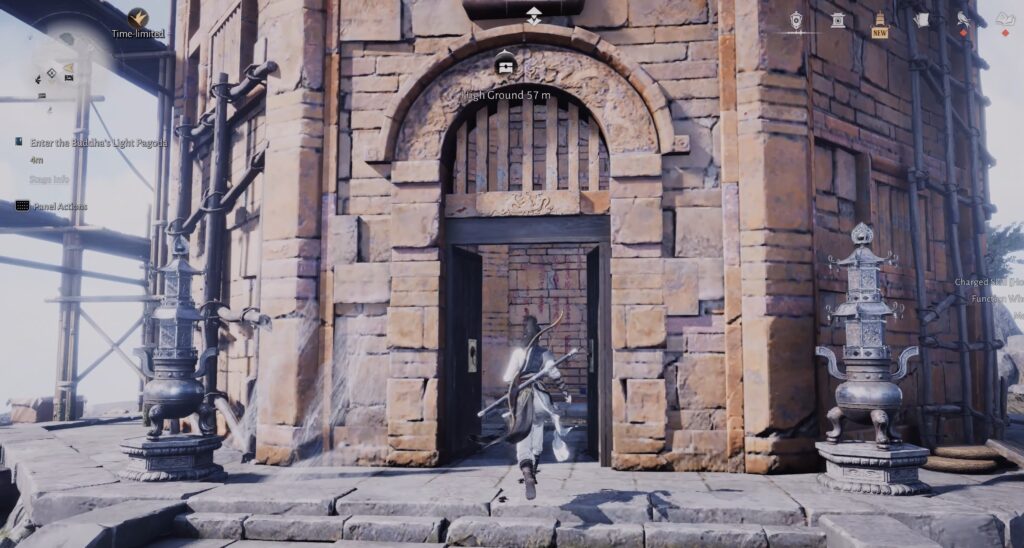
This campaign leads you to a towering structure at Halo Peak. Climb the tower and wait until the Wu Hour (12:00). Only during this timeframe can you place both halves of the Buddhist Light Jade into the altar.
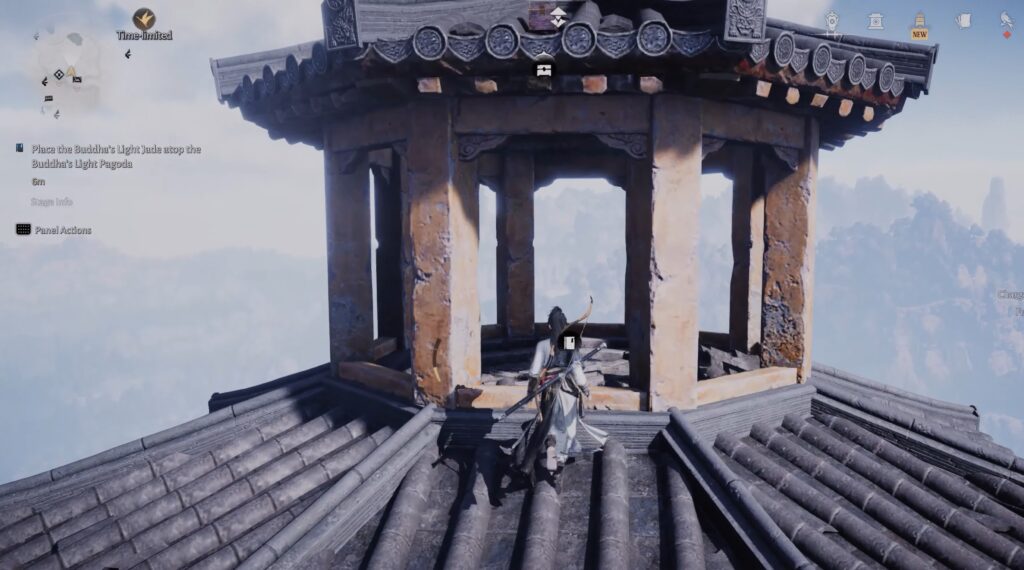
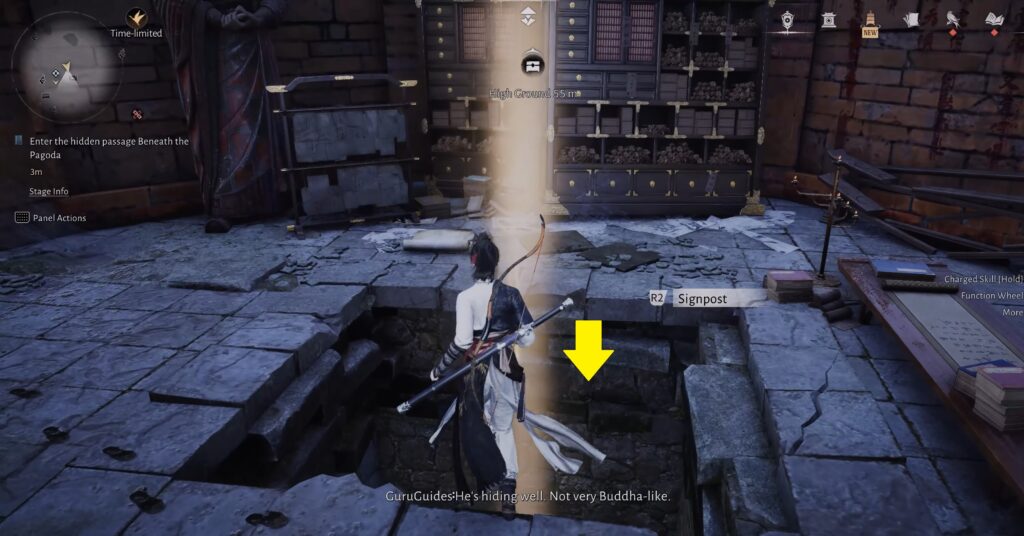
Place the jade to unlock the door at the base of the tower. Go inside, interact with the investigation point on the right to open the floor, and descend into the underground dungeon.
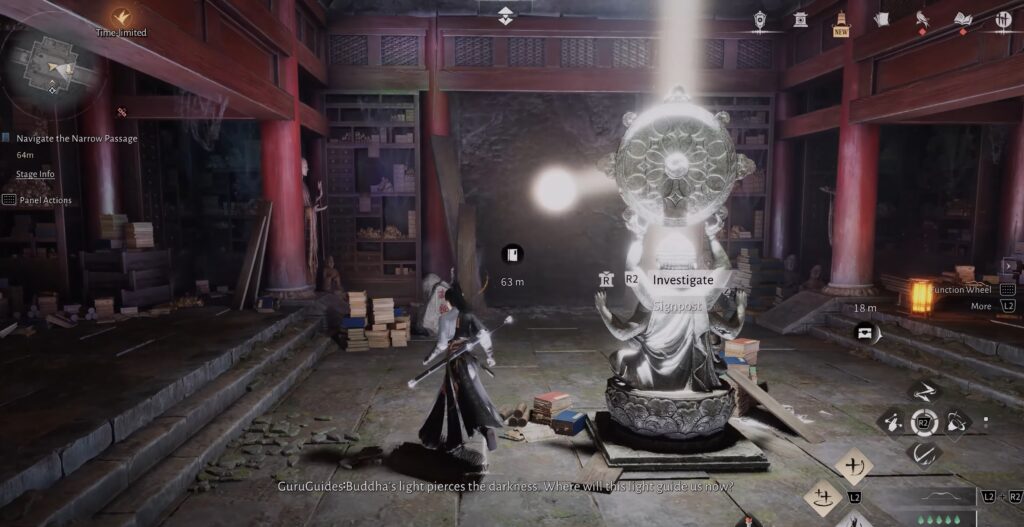
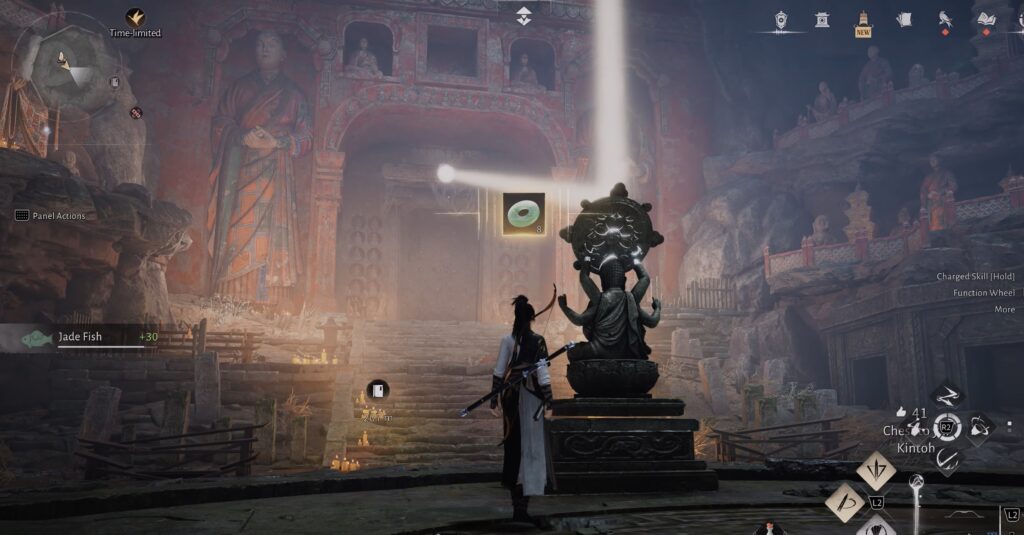
Puzzle Room 1: Meridian Touch: Rotating the Statue
Use Meridian Touch to rotate the statue and align its light beam with the wall opening. This will unlock the path to the next room.
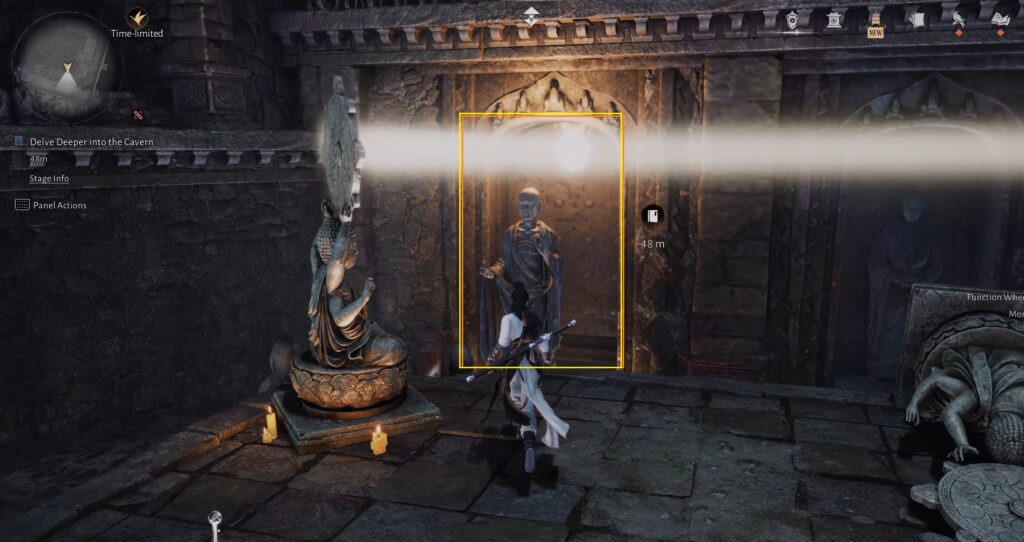
Puzzle Room 2: Guiding the Light
In the next chamber, use Meridian Touch to rotate the statues and match the required pattern. Guide the light beam to the correct focal point to reveal the passage deeper inside.
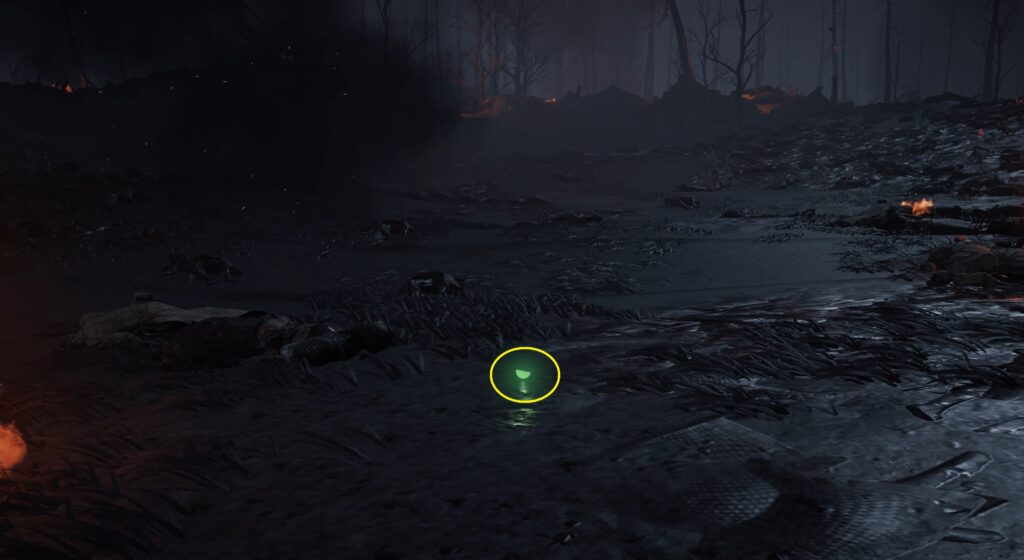
After crouching under the debris, the floor collapses and drops you into a lower chamber. Inspecting the corpse triggers an ambush from three enemies. You need to successfully repel the ambush.
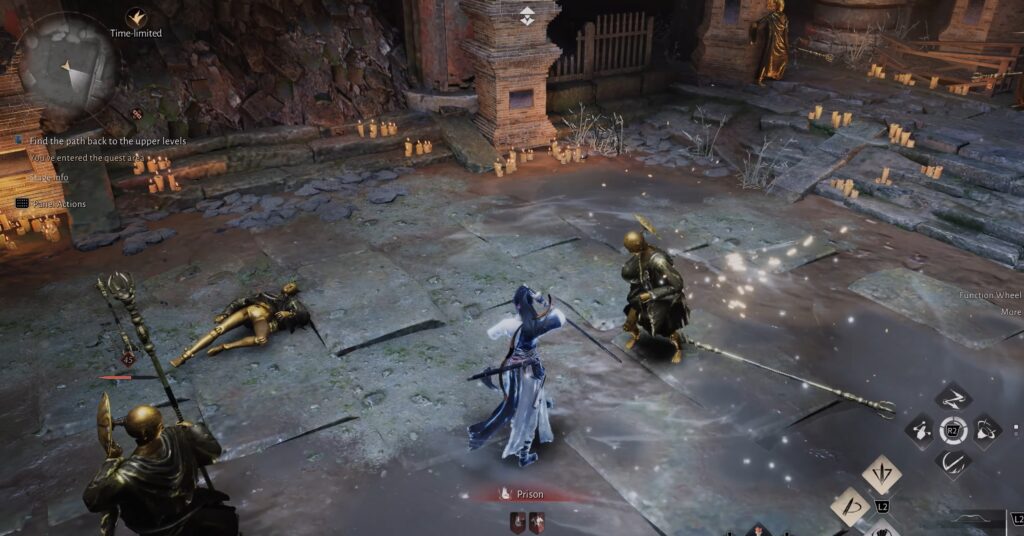
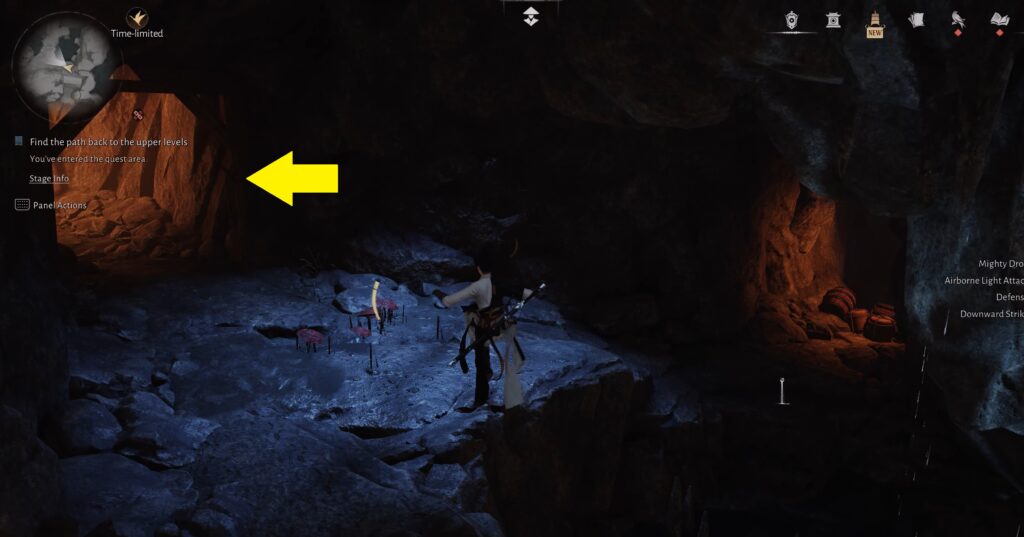
Continue through the cave until the path splits. Take the left path to advance in the quest. In the next room, you’ll face three more enemies.
Tower Descent & Hero’s Tomb
In the next chamber, activate the Hero’s Tomb on the left to set your respawn point, then begin descending the massive hollow tower. You’ll cross narrow strings and beams along the way. Near the bottom, a platform collapses. After that, move quickly to avoid falling debris and blocked passages.
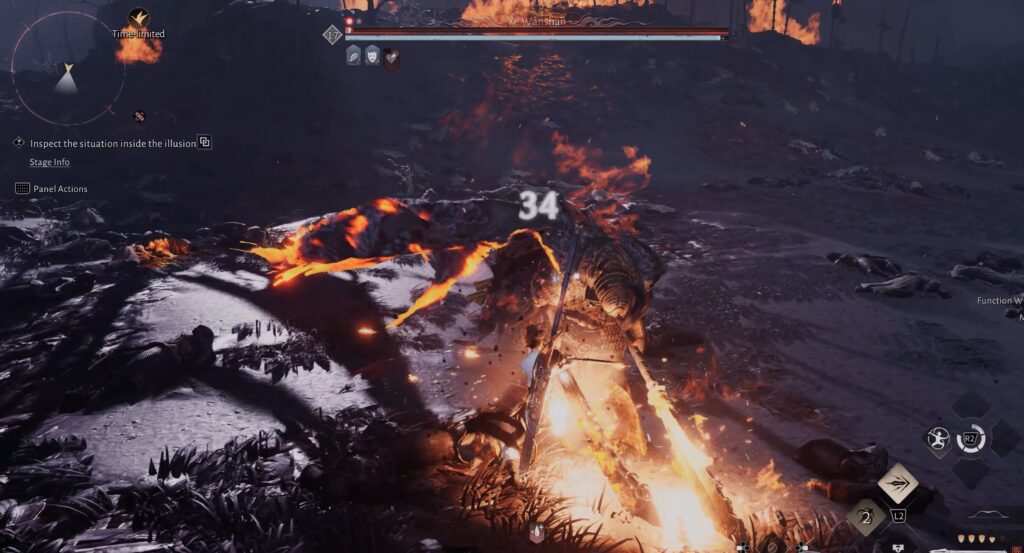
Final Exit & Preparing for the Secret Boss
At the bottom, activate the fast travel point, then rotate the final statue with Meridian Touch to direct the light toward the exit door. Beyond this door is the secret boss, often considered the toughest fight in the first region. However, defeating this boss alone does not grant you the Free Morph skill.
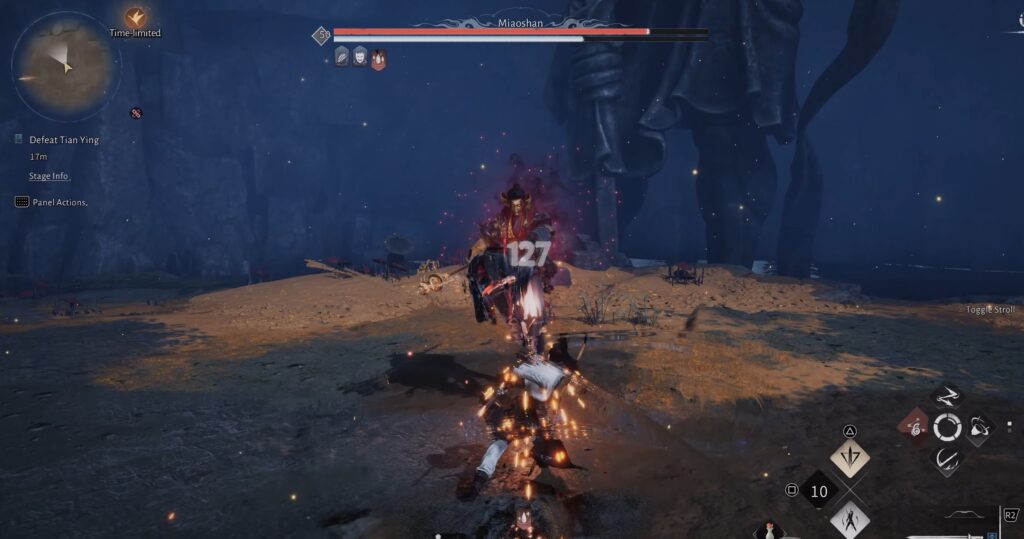
Unlocking Free Morph (Important Mechanics)
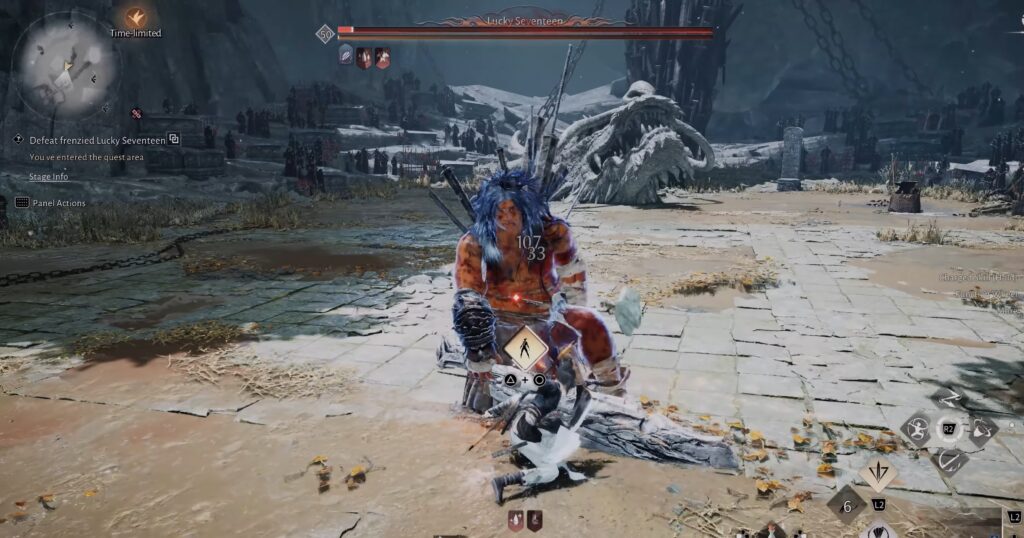
When you defeat the boss for the first time, you earn a different mystic skill: Yaka Rush.
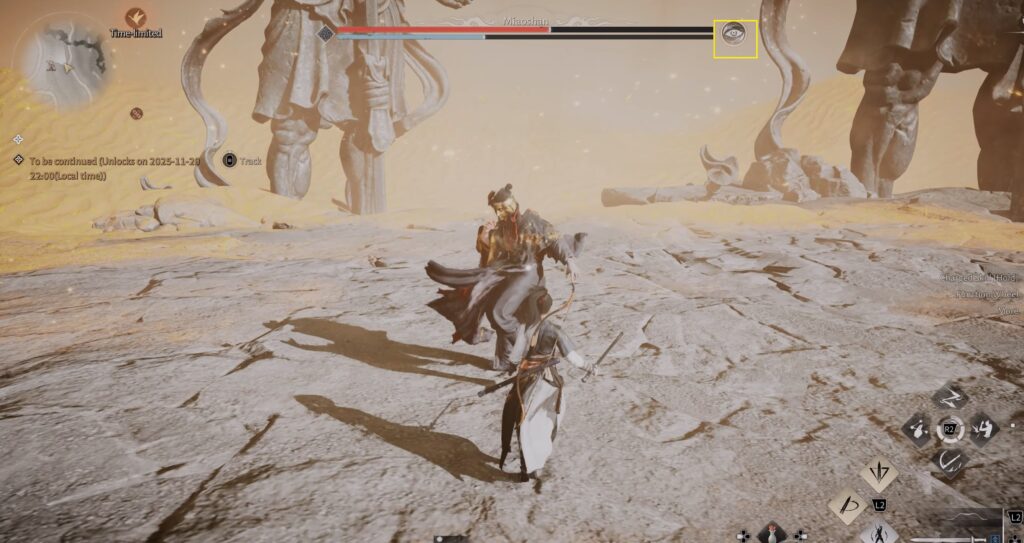
To unlock Free Morph, return to the red umbrella and challenge the boss again. Defeat Stage 1 normally. And in Stage 2, you’ll notice a new eye icon beside the boss’s HP bar. Fill this Eye Meter before finishing the fight to obtain the skill. Once the Eye Meter is full, finish the fight. Winning this time will finally unlock the Free Morph mystic skill.