This is a complete walkthrough guide for the Fury Green area in Metroid Prime 4, covering objectives, item locations, puzzles, and progression routes.
Fury Green
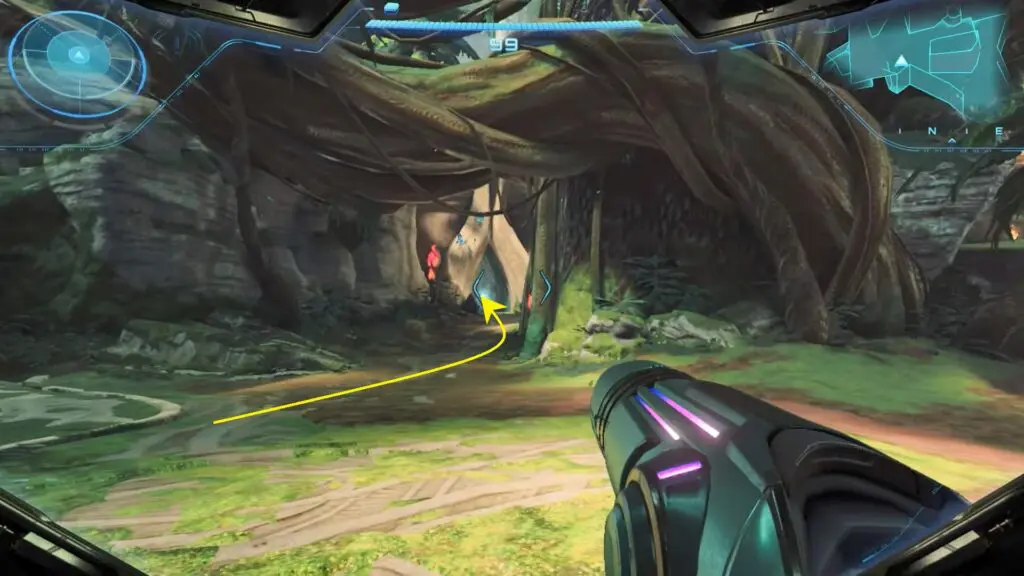
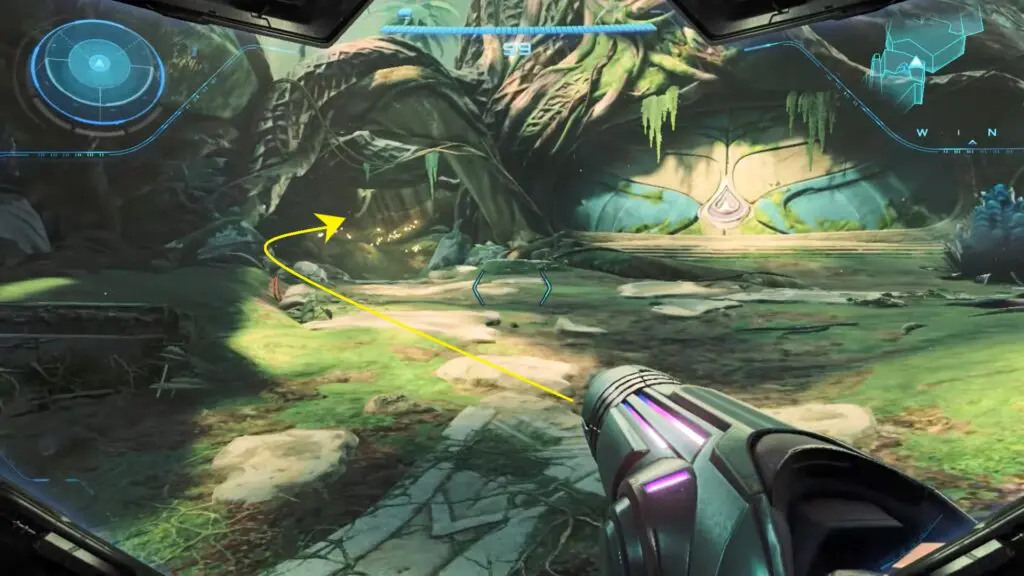
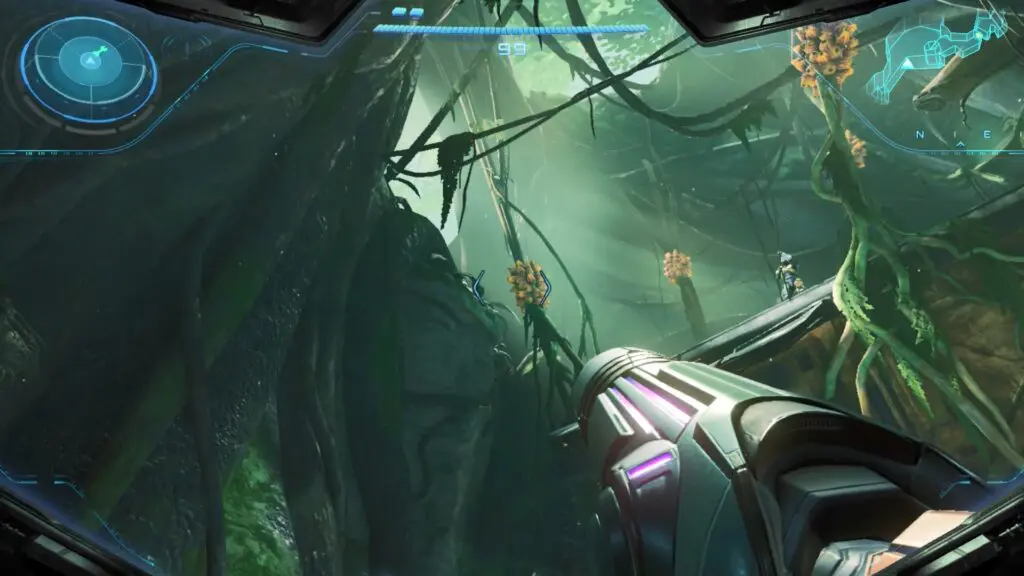
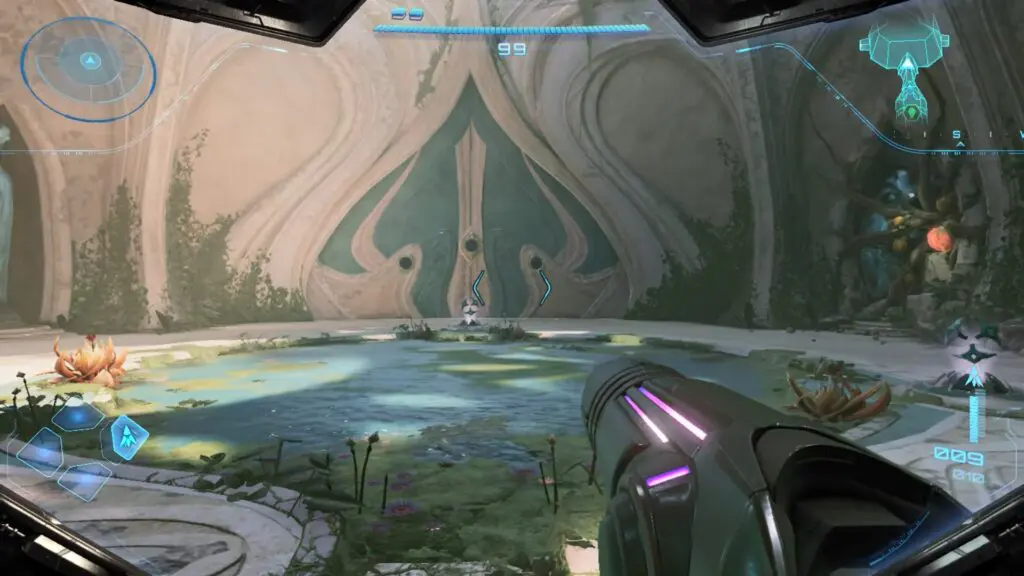
When the chapter begins, walk straight ahead and enter the huge hollow tree. As you move inside, take down the flying enemies in the middle of the path.
Keep going until you exit the hollow tree trunk, where a short scene plays and the Fury Green name shows on the screen.
Cliffside Gate
Next, follow the path to the right side of Fury Green. As you move ahead, you will see enemies with tentacles rising out of the water. Defeat them and keep moving forward.
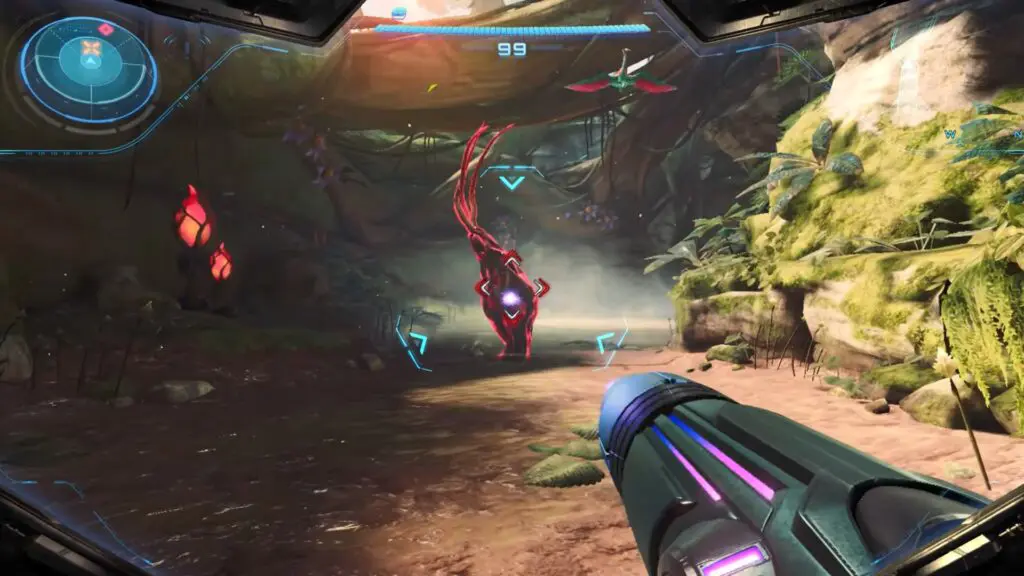
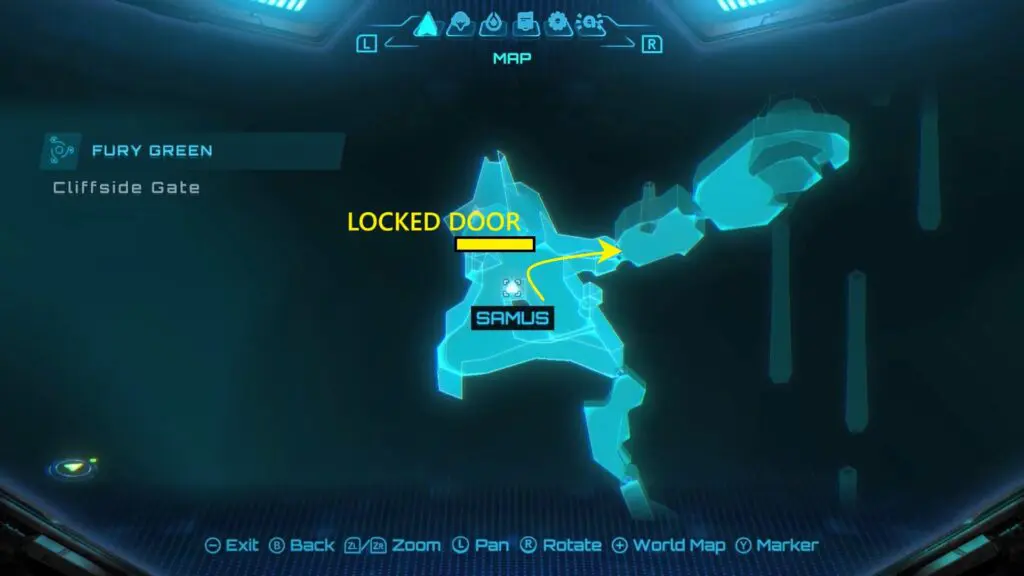
Soon, you will reach an area with a big locked door. This door has a psychic lock and is called the Cliffside Gate.
To unlock the Cliffside Gate Door, you’ll need to acquire the Psychic Glove. Progress to the right side until you come across a large door sealed with a psychic lock. Refer to the location on the map below. Proceed beyond it, follow the path ahead, and pass through the two doors.
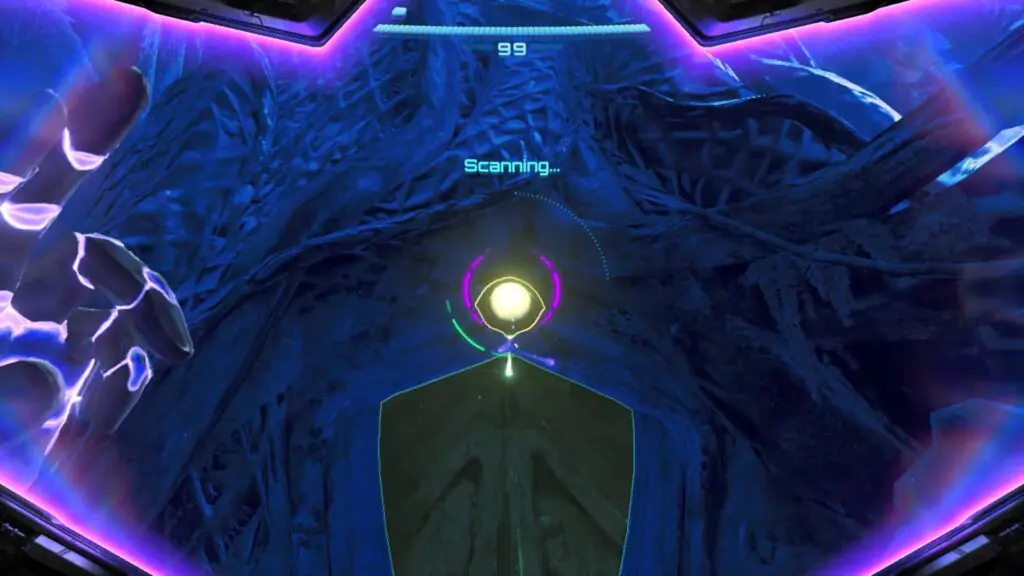
Once you reach another locked door, use your Morph Ball to take the left-side path. Follow the path to reach a closed door. Activate the Psychic Visor to scan and unlock the door. Inside, you’ll find the Psychic Glove, which lets you manipulate psychic objects directly.
How to Unlock the Cliffside Gate Door
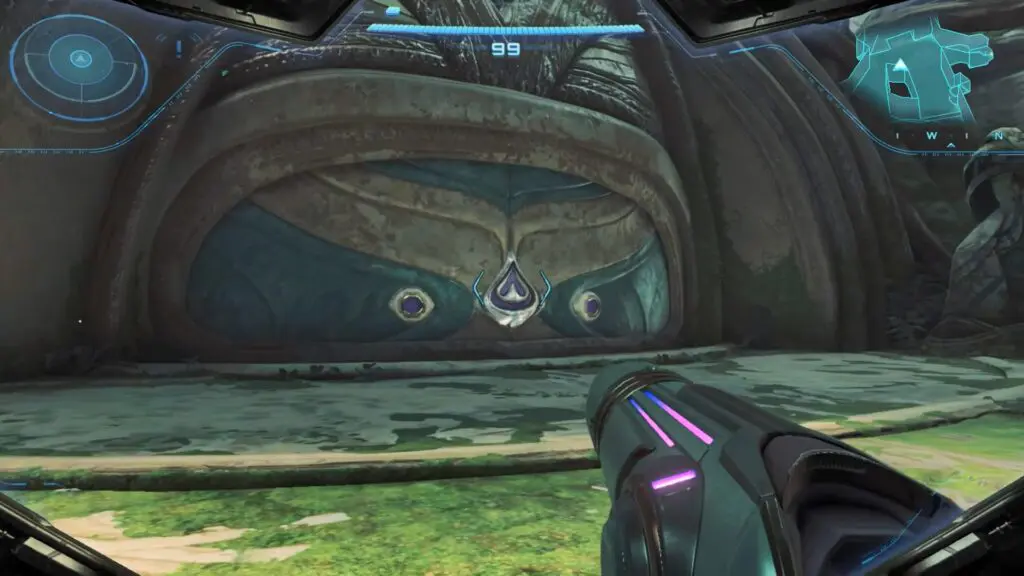
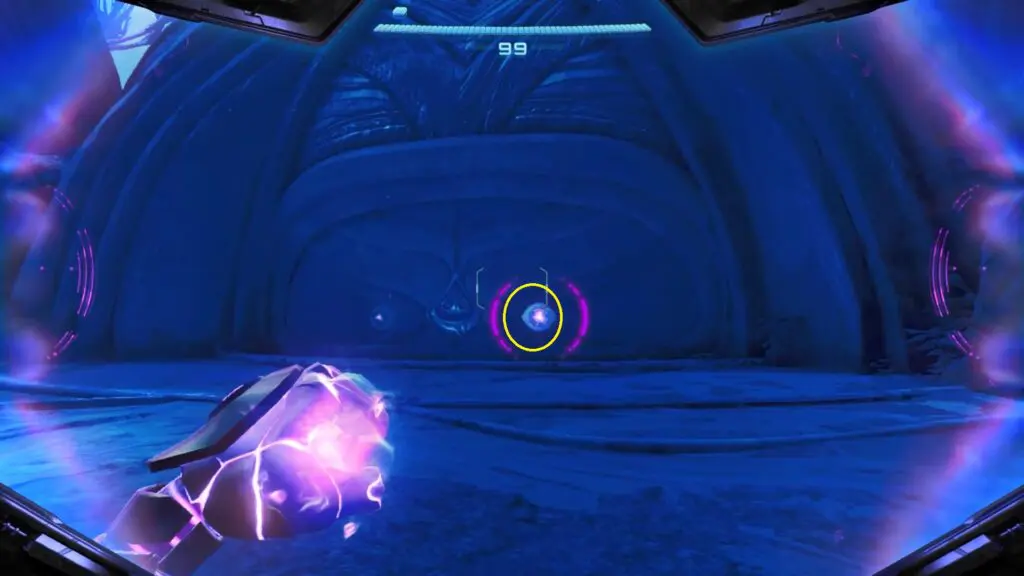
After obtaining the Psychic Glove, backtrack to the large locked door in Cliffside Gate that you passed earlier. This is the main door blocking your progress, and it’s activated using psychic motes hidden within nearby statues.
On either side of the locked door stand two statues. Activate the Psychic Visor and examine the forehead of each statue, where you’ll spot a shining Psychic Mote embedded within.
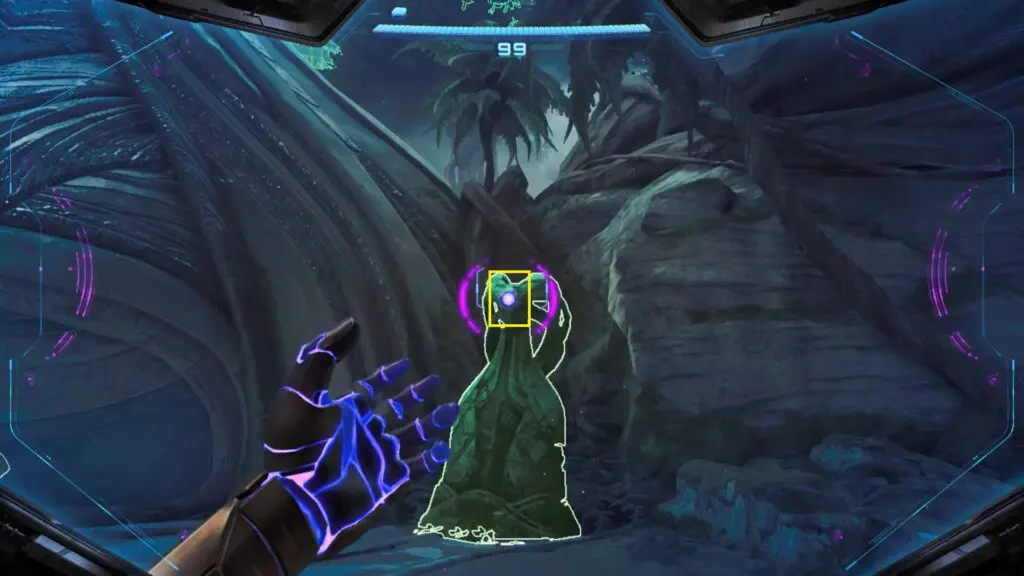
Use the Psychic Glove to interact with the glowing motes inside the statues and pull it free. Then guide it into the corresponding mote slot on the locked door.
Repeat the same process with the second statue on the opposite side. Once both motes are securely placed in their slots of the locked door, the Cliffside Gate Door will open automatically, clearing the path forward.

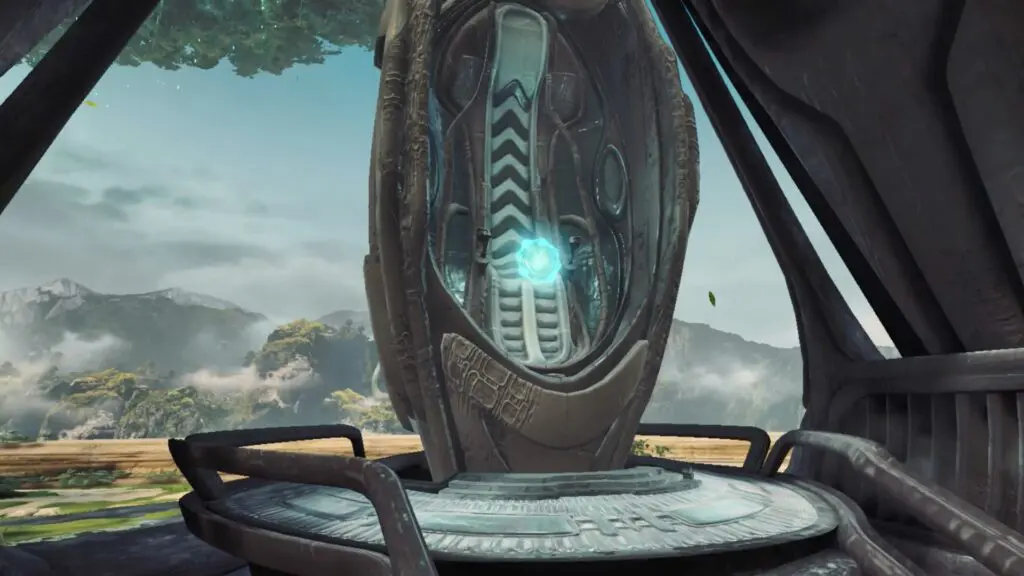
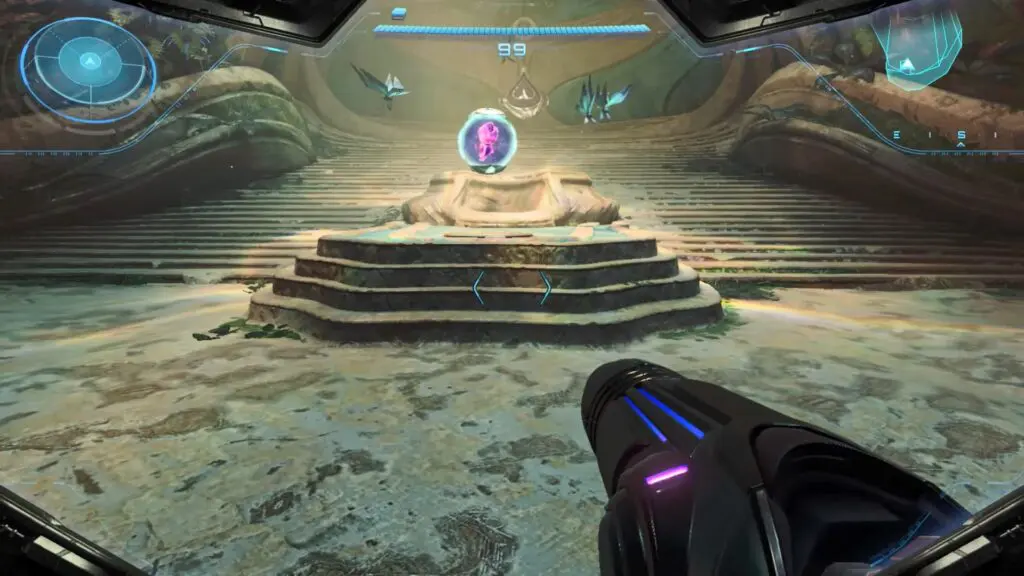
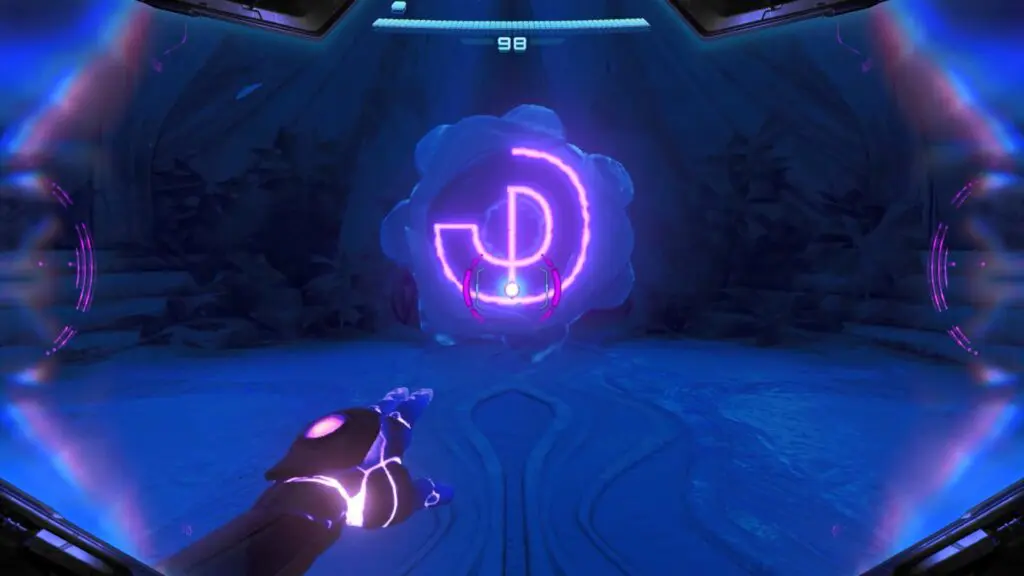
Finally, go inside and use the Psychic Visor to trace the pattern on the Psychic Container to obtain the Energy Tank.
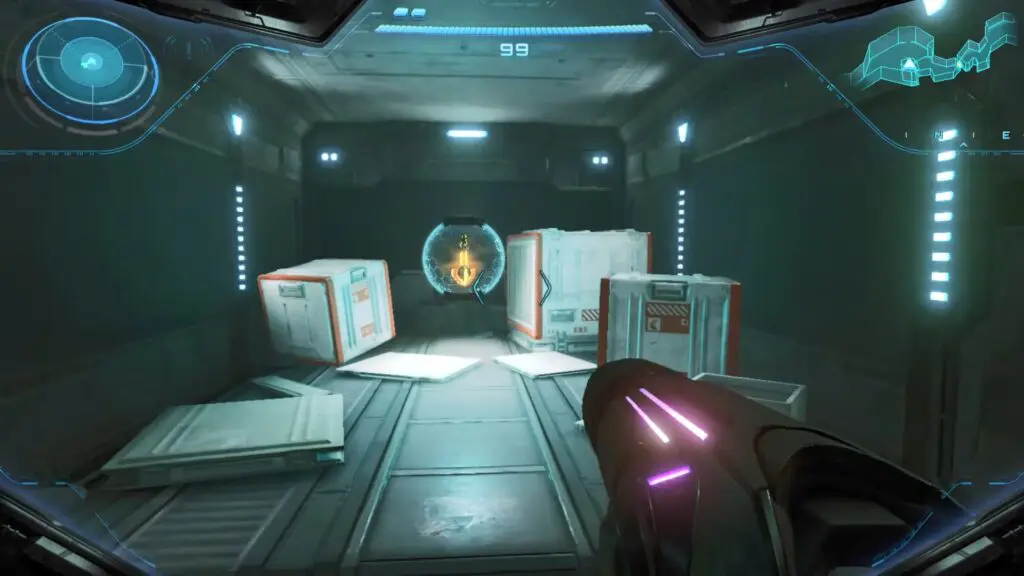
Save Station
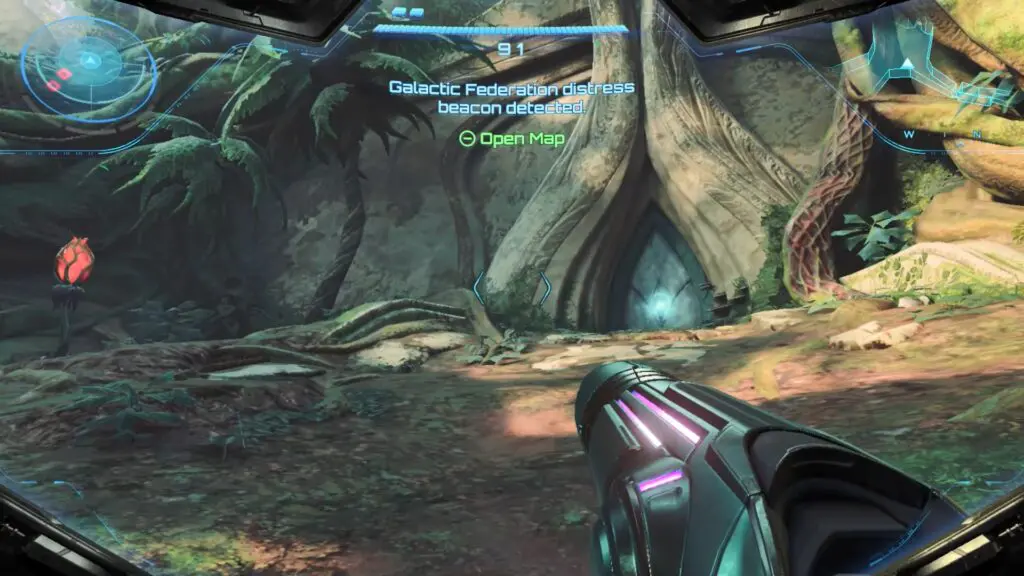
Move forward until you receive a distress beacon. Once the signal comes in, go through the door on the right and continue ahead until you reach another locked path.
Use the Psychic Glove to interact with the glowing motes at the bottom-left corner of the door, then move to the right side and fold the door open. Once the door opens, head inside and save your progress.

Missile Launcher
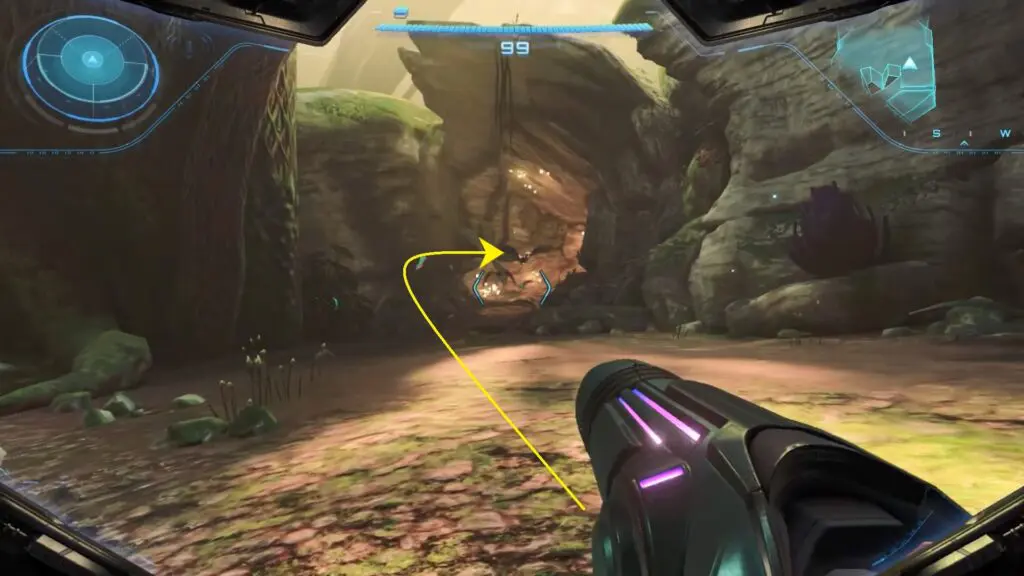
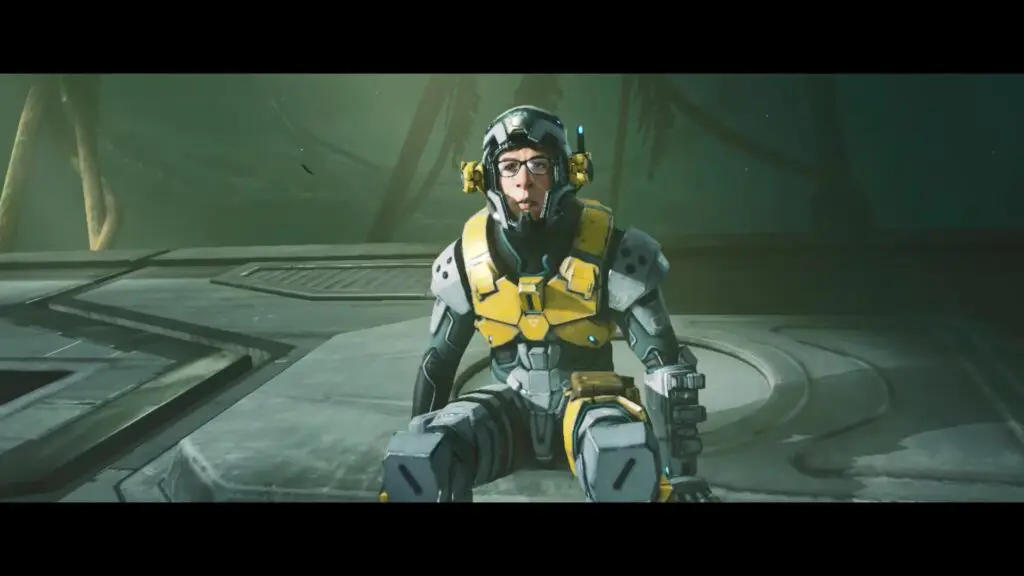
Exit the previous room and head to the left. Continue forward until you encounter Myles. Shoot the weak points on the vines suspending him while fending off the attacking creatures.
Once the attack is over, destroy the remaining vines to drop the platform. Then, help him unlock his transport by shooting the door hinge to obtain the Missile Launcher.
Bridge
Climb onto the transport vehicle and then onto the ledge on your right. Break through the orange wall and continue forward to reach another Save Station.
Push ahead while clearing enemies along the way until you come to another locked door. Use the Psychic Glove on the glowing motes at the top of the door and pull them down into the empty slot to unlock it.
Continue forward to breach the bridge.
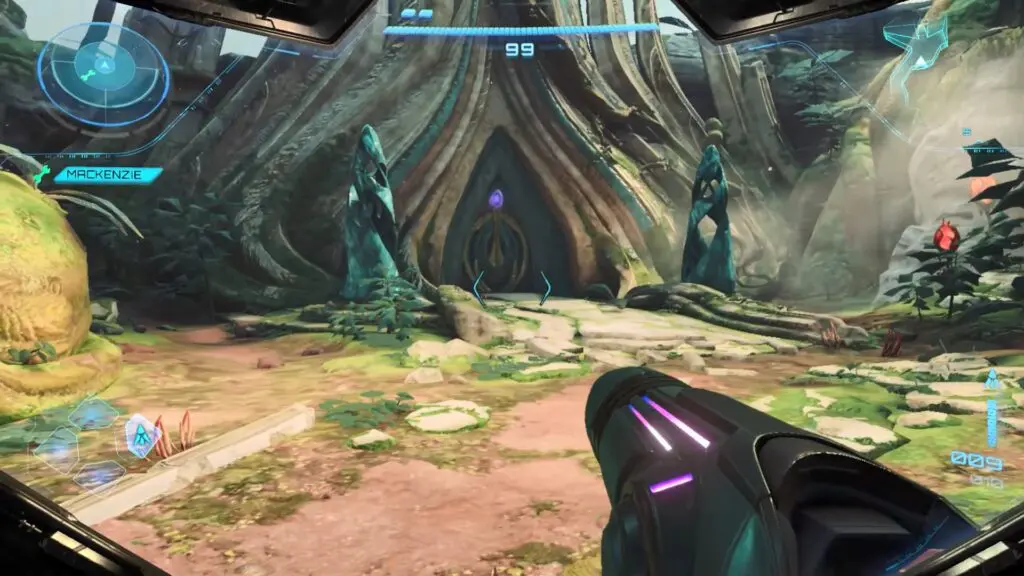
Ascension Stairs
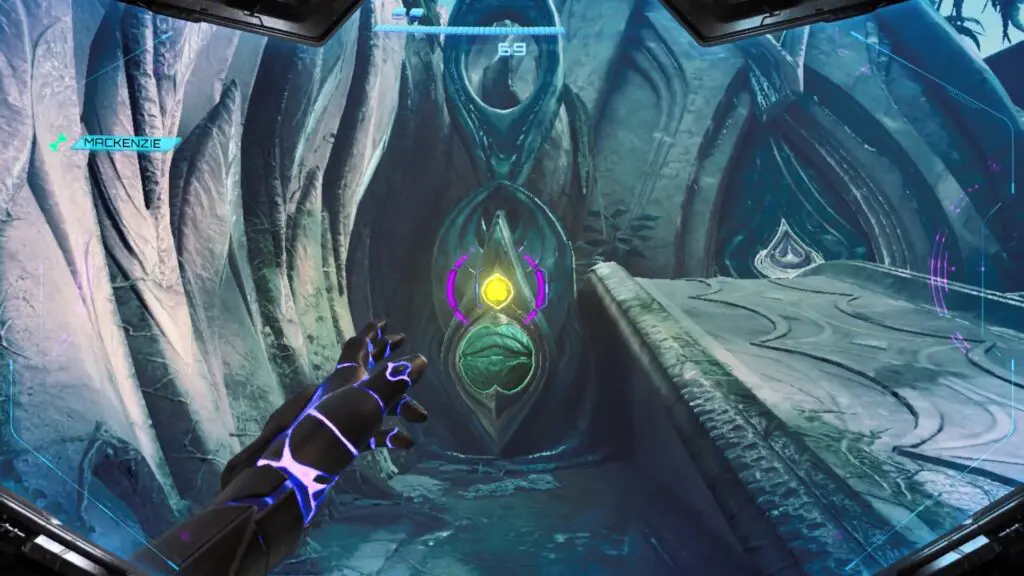
Fight off the enemies on the incoming enemies and cross the bridge to reach the Ascension Stairway Puzzle area with the locked door. Here, you will see a large statue in front of the ramp. This statue has two empty slots where you must place two glowing Psychic Motes to open the path. On both sides of the ramp, there is one statue on the left and one on the right.
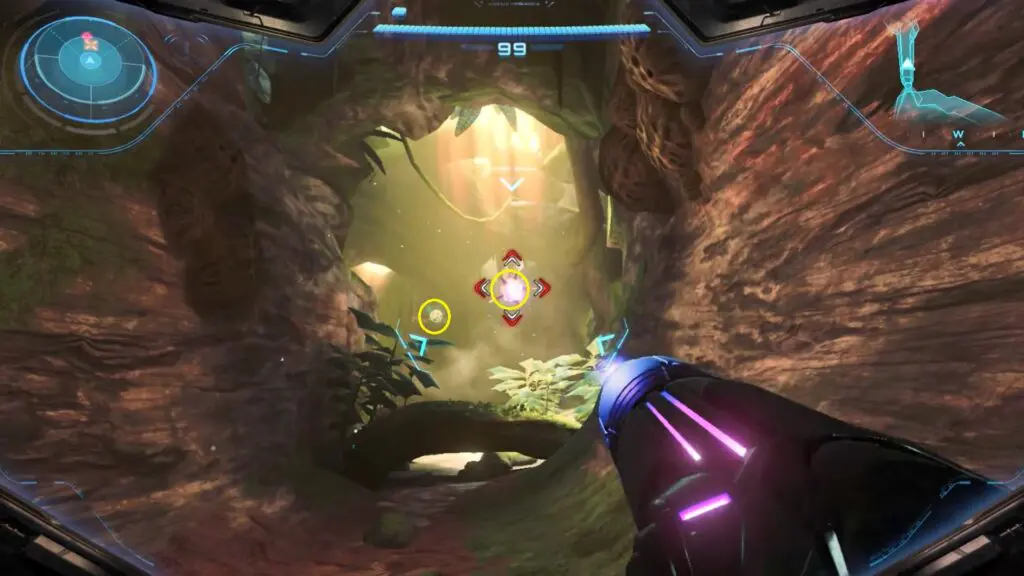
First, go to the left side of the ramp. Turn on your Psychic Visor and look closely at the forehead of the statue. You will see a bright, glowing Psychic Mote inside it. Use the Psychic Glove to pull the mote out, then carefully move it and place it into one of the empty slots on the large central statue.
Next, go to the right side of the ramp. You will need to blast the breakable rock here to reveal a hidden statue. Turn on the Psychic Visor again to find the second Psychic Mote on the statue’s forehead.
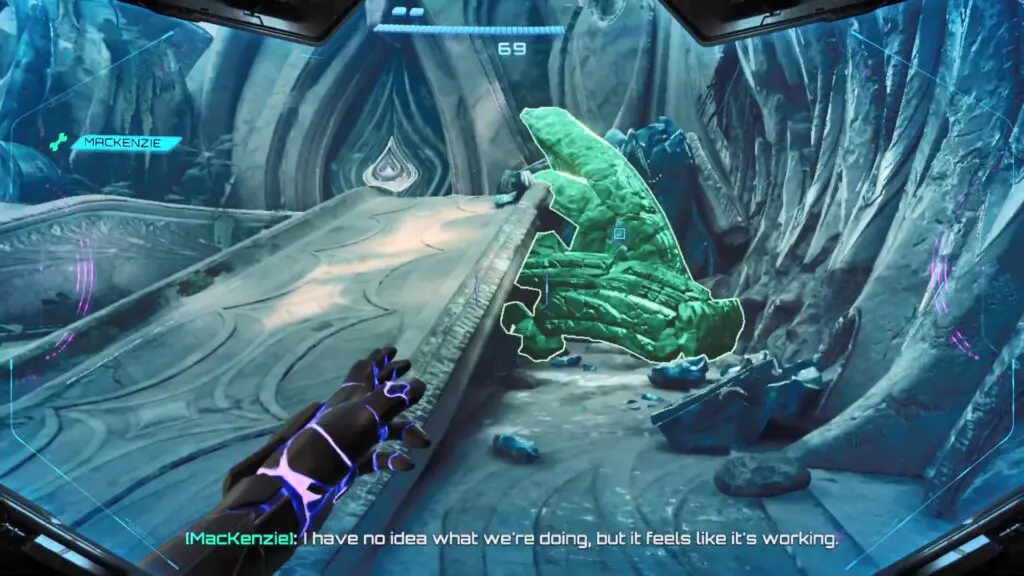
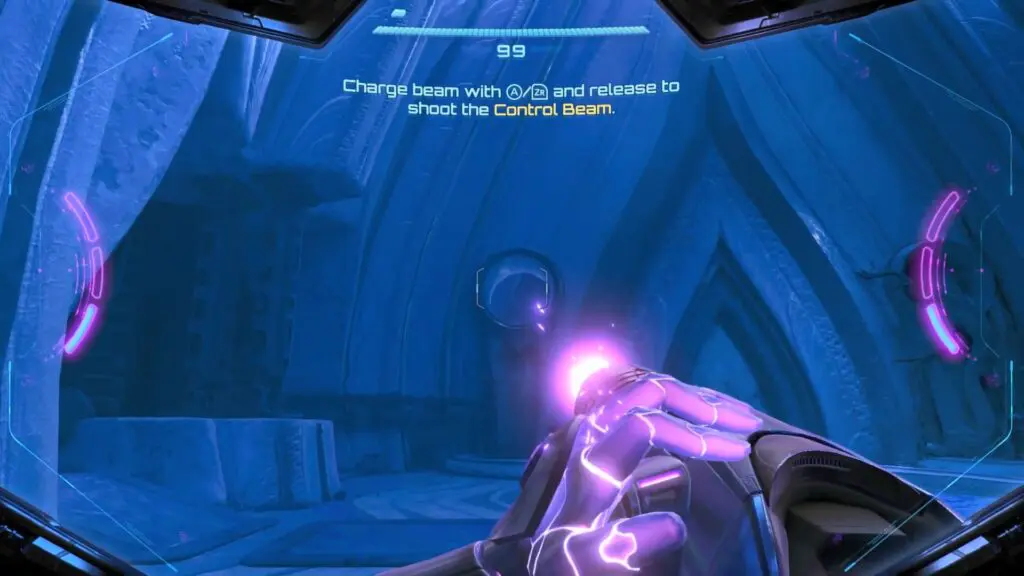
Use the Psychic Glove to pull it out and place it into the second empty slot on the central statue. Once both motes are placed correctly, it will unlock the Control Beam.
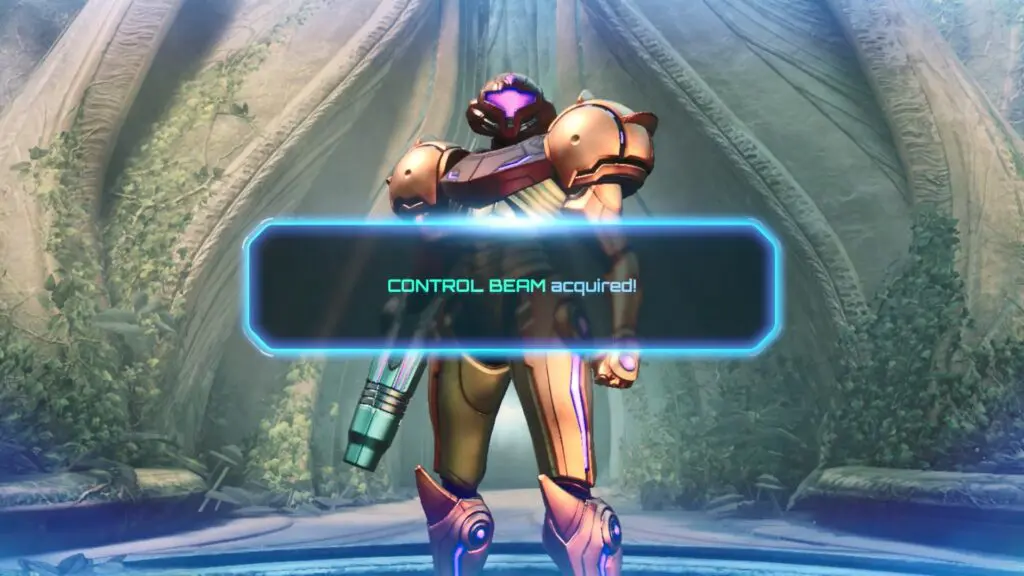
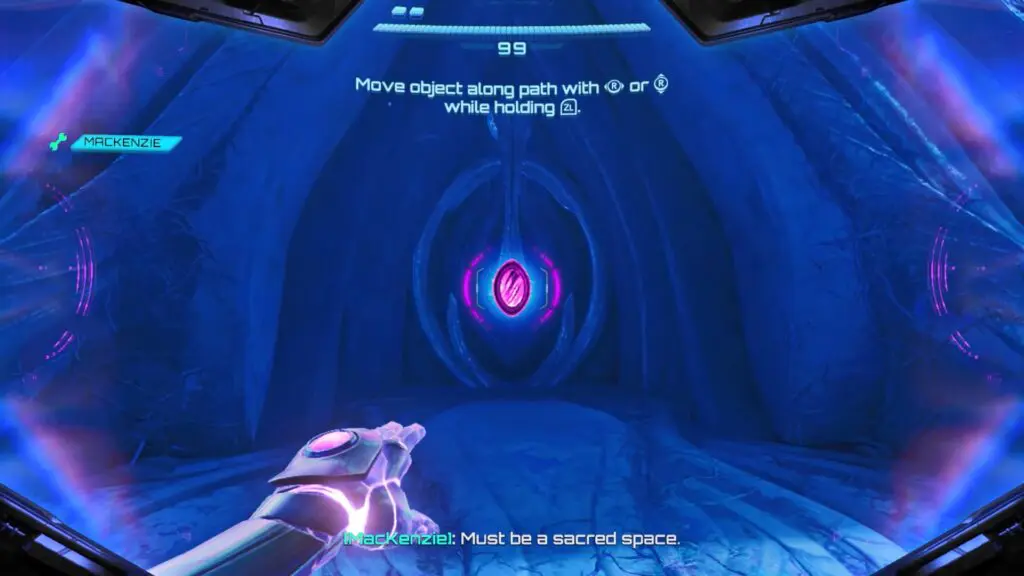
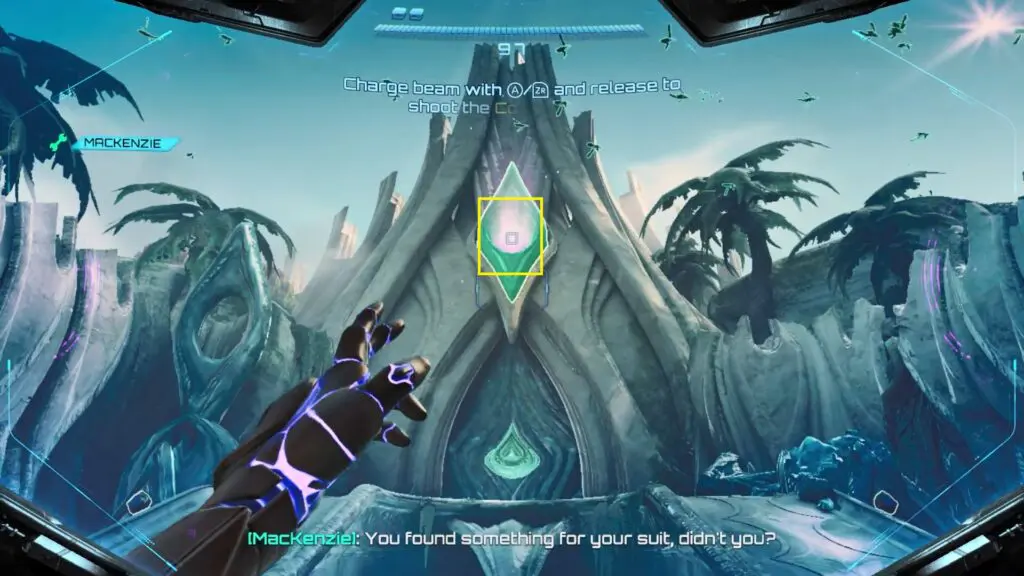
To open the door, activate the Psychic Visor and fire a charge beam through the hole at the top of the locked door to unlock it.
Base Camp
Continue forward until you reach the Base Camp, where Myles will unlock the doors. Head through the door on the left and go through a couple of doors to reach a bigger hall with another locked door. To unlock the Base Camp door, begin by scanning the door to restore its power. The scan will reveal that the beam sensor on your side is malfunctioning, while the sensor on the opposite side is still operational. Since the broken sensor cannot receive power directly, you’ll need to route the energy manually.
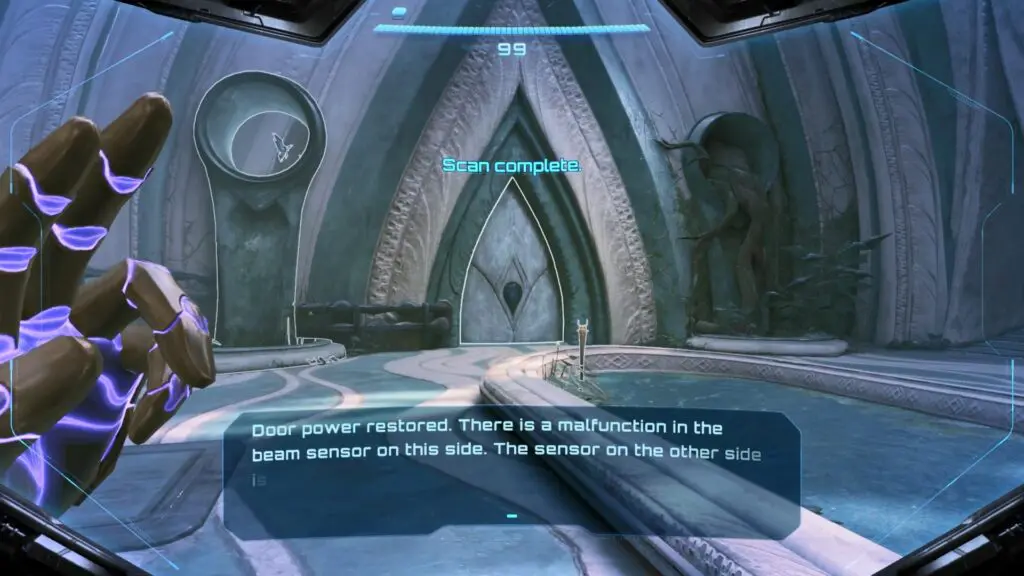
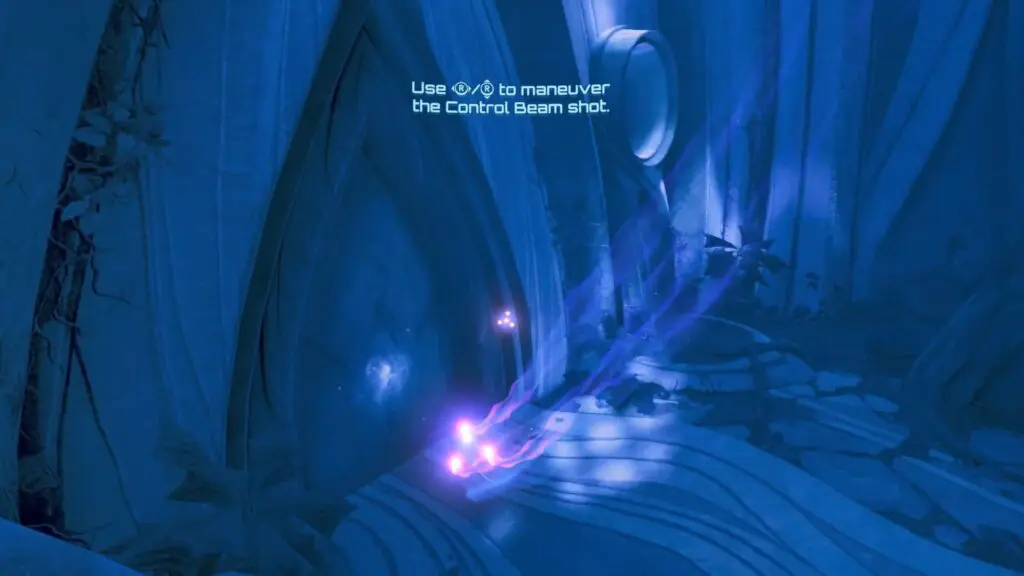
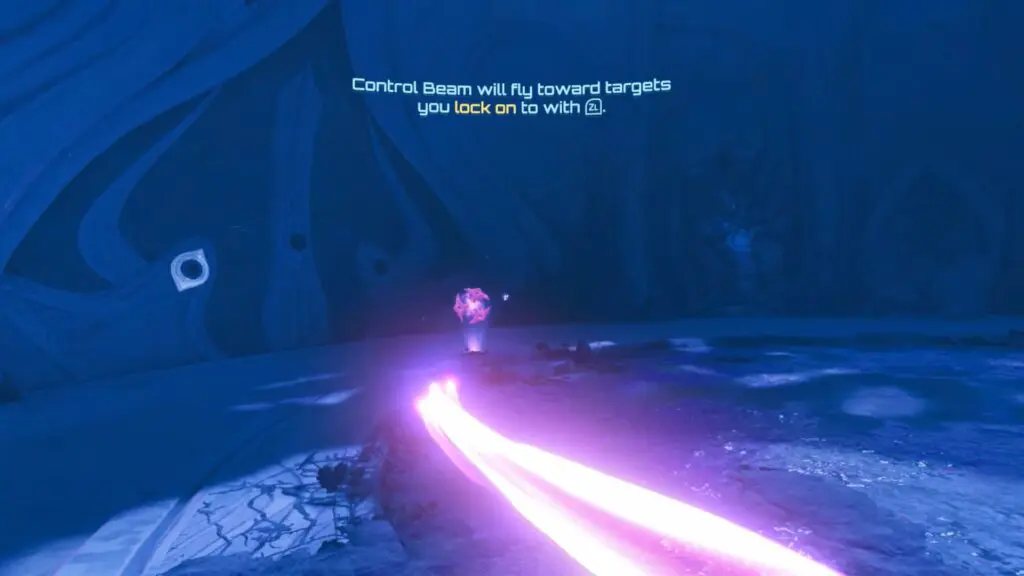
Look just above the door for a small circular opening in the wall and fire a Charged Beam through it.
Once the beam is inside, use the appropriate button to carefully control and guide its path, steering it through the room until it reaches the working sensor on the other side. When the beam successfully activates the sensor, the Base Camp door will unlock, allowing you to proceed.
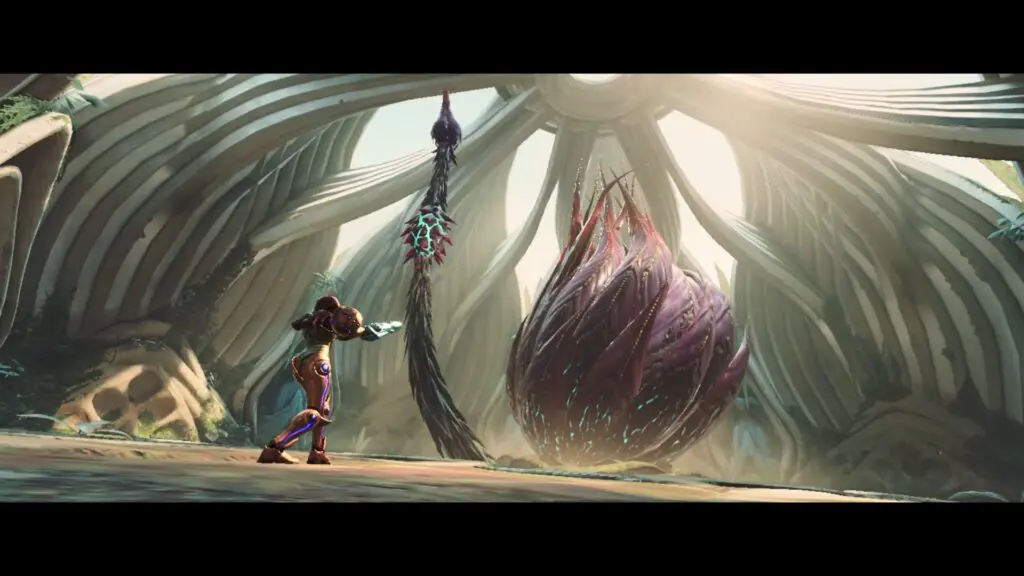
Carvex Boss Fight
Once the door opens, move forward to reach the Path of Reflection room. Scan the statue on the left to trigger a cutscene, which will open a new path for you to continue.
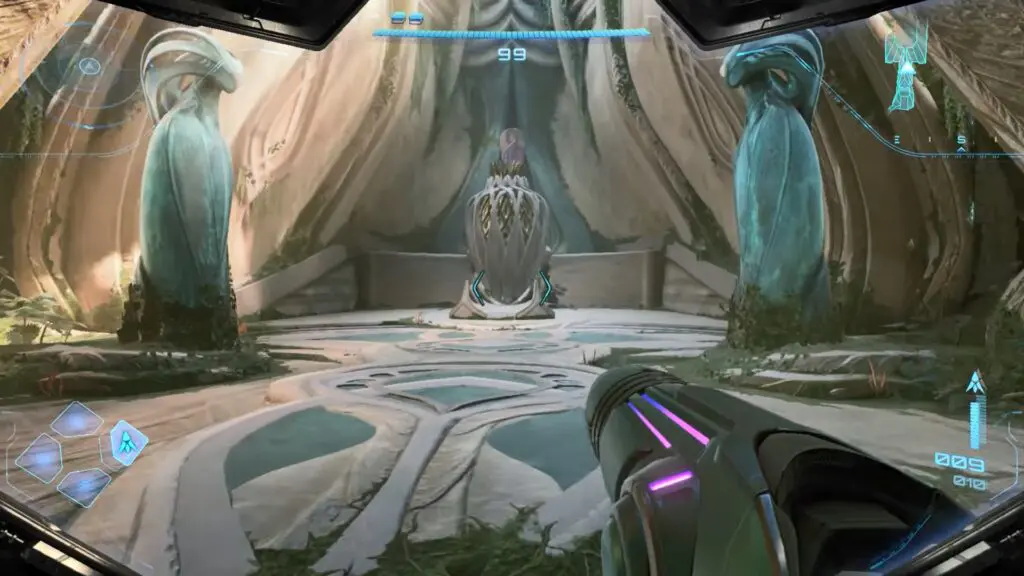
Proceed into the next room with a locked door. Scan it and use your Control Beam to activate all three switches to open the door.
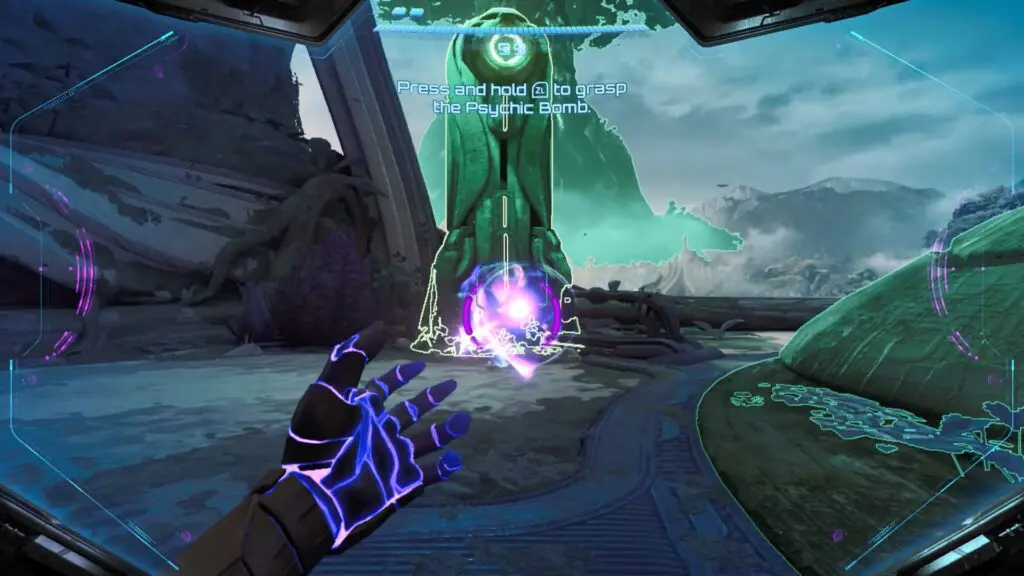
Continue forward to encounter the boss battle with Carvex. Defeat the boss to acquire the Psychic Bomb.

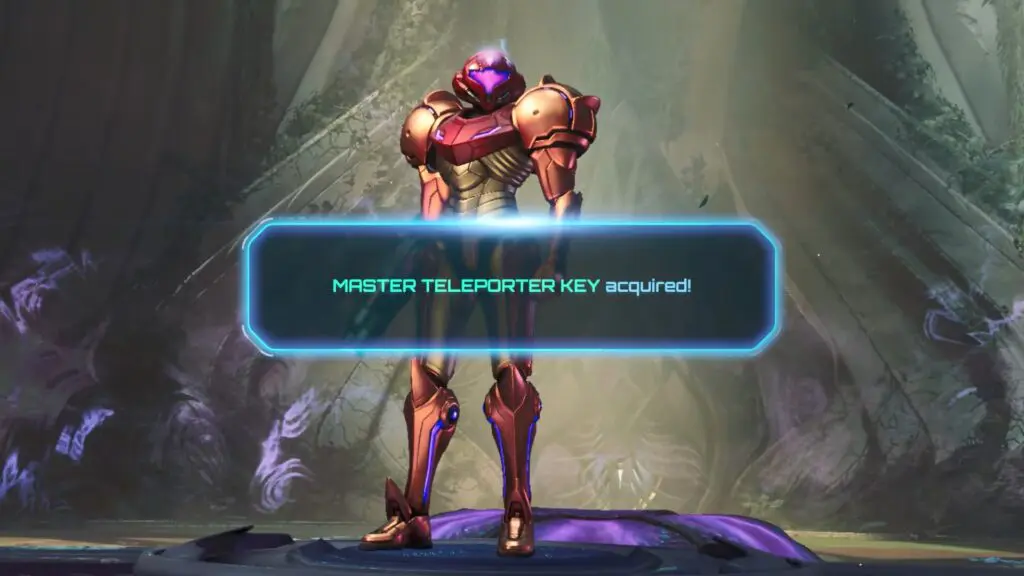
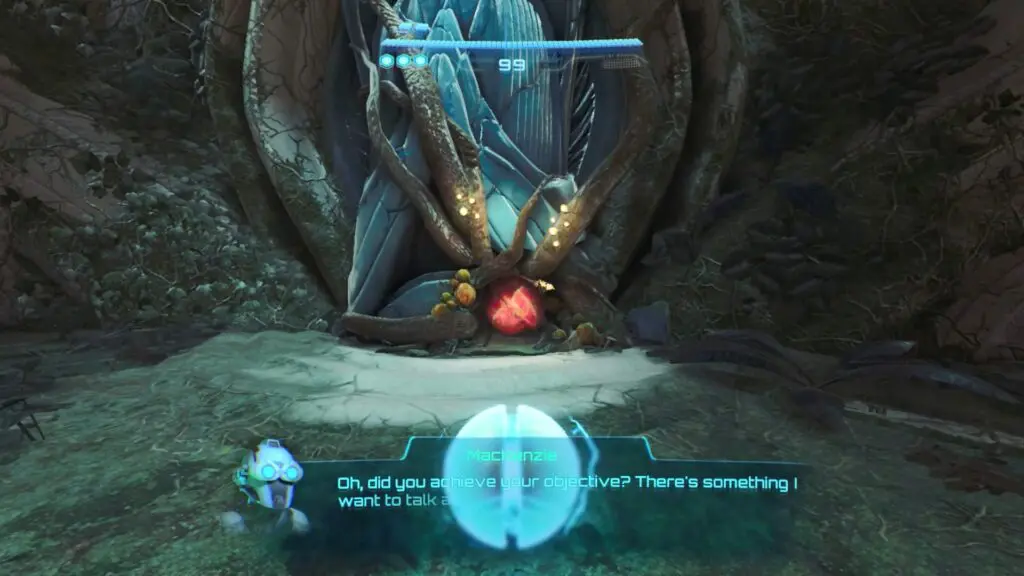
Return to Base Camp
After the boss fight, complete the tutorial and collect the Master Teleporter Key.
Then, use the nearby orange opening to return to Myles’ location.
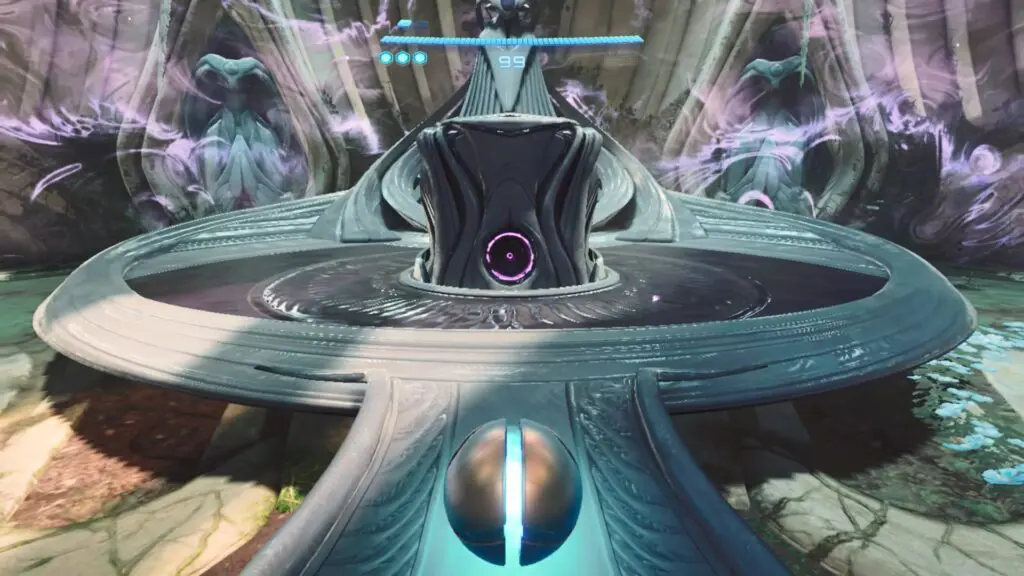
After the cutscene, activate the Morph Ball switch in Myles’ room using bombs and follow the path until you reach the Cargo Launcher.
Use the Psychic Visor to place the Psychic Ball into the nearby statue, then enter the Cargo Launcher.