When War Songs Rise is the third quest under the Nightingale’s Song quest chain in Genshin Impact Luna IV. This article will guide the player on how to complete the quest When War Songs in Genshin Impact 6.3.

Make sure you have completed the quest Wind-Stirred Ripples and Tower of Inversion. Once both are done, the quest When War Songs Rise will become available automatically.
Staring Location
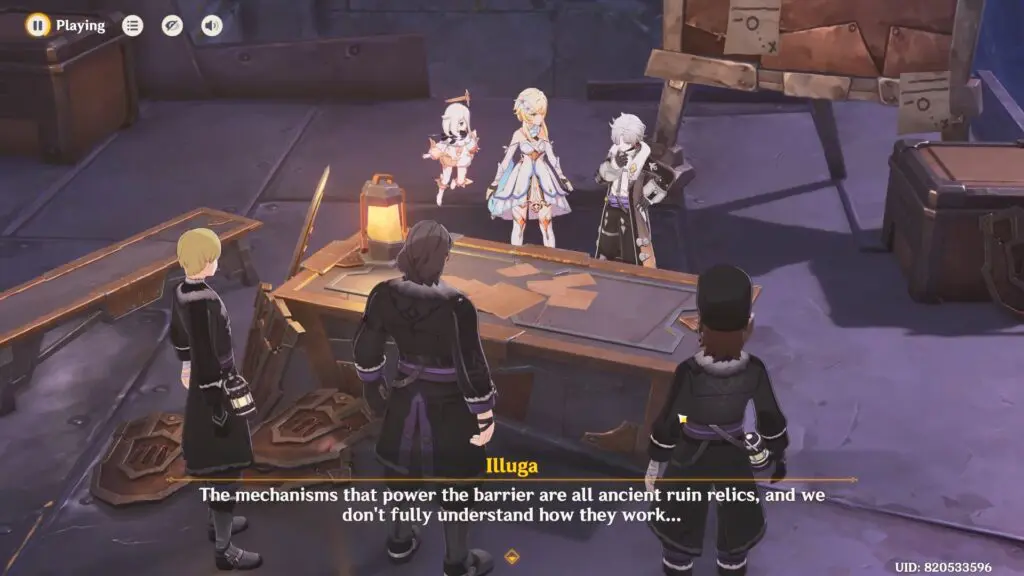
To begin the quest, go to Cliffwatch Camp. You will find Illuga near the Ashveil Peak Statue of the New Moon. Speak with Illuga and NPCs.

Talk to the Lightkeeper
Before moving forward with the quest, talk to Illuga again and complete The Moonlit Watcher Meeting Point quest at Cliffwatch Camp.
Join the strategy meeting
Next, join Illuga and their team for the strategy meeting near the stairs at Cliffwatch Camp. After that, rest at the nearby campfire close to the Statue of the New Moon.
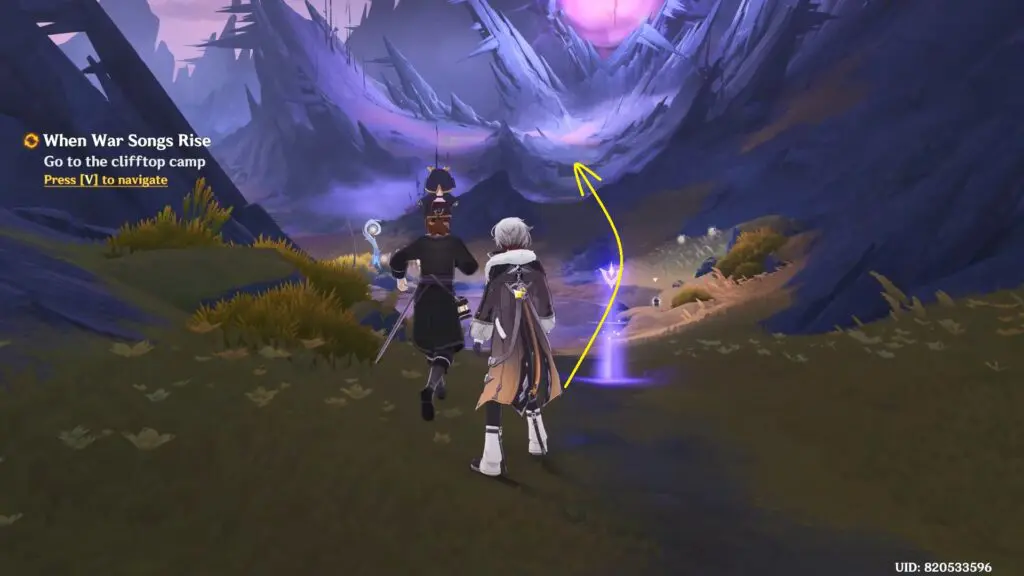
Go to the clifftop camp & defeat the monsters
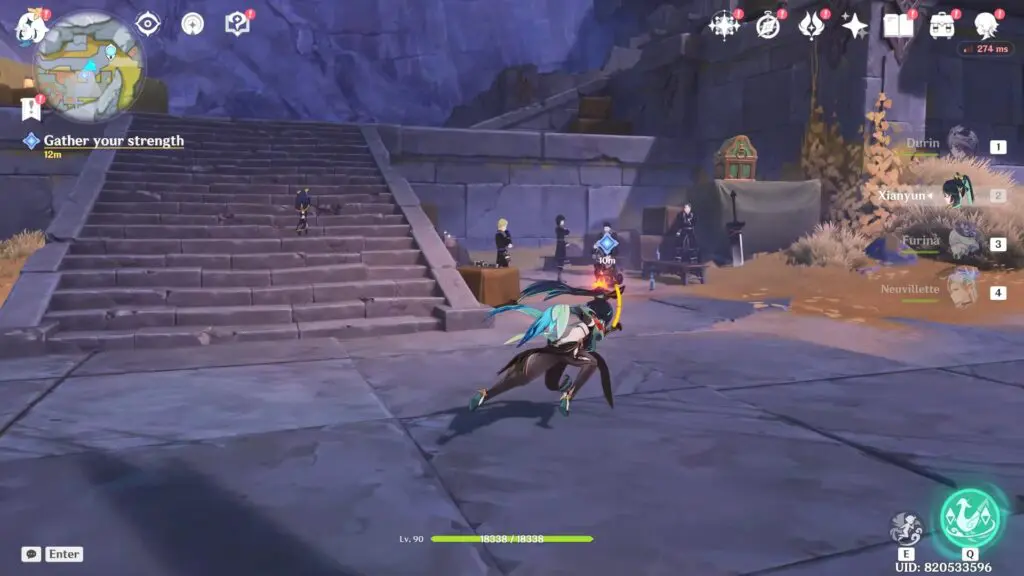
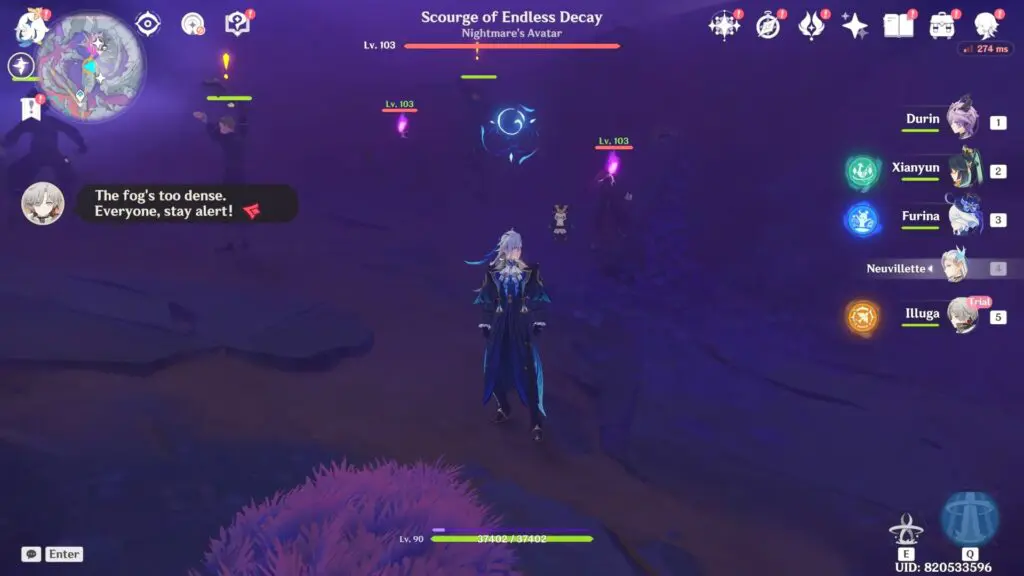
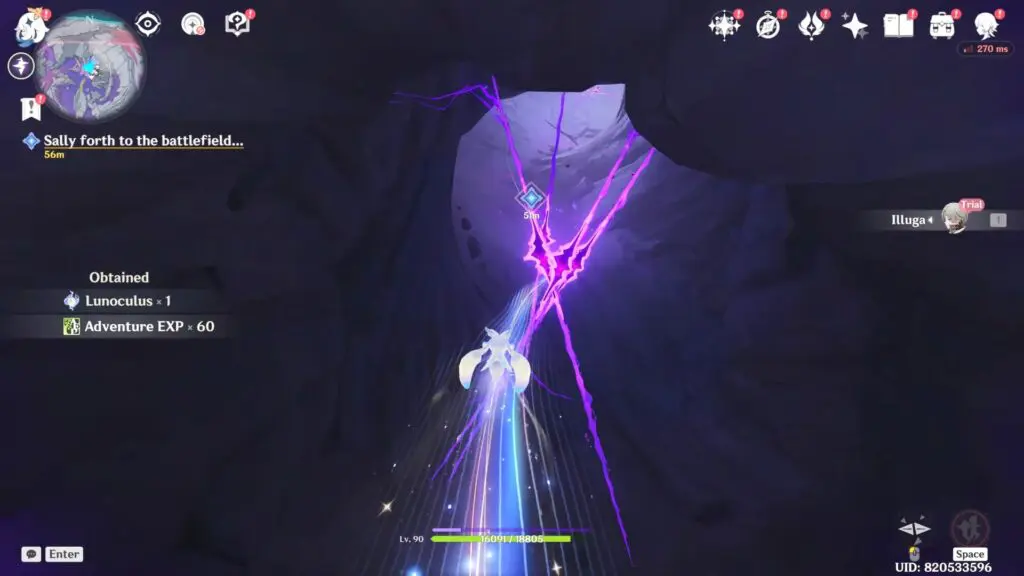
Once the cutscene ends after resting, head north until you reach a foggy area. Along the way, you will encounter around 5 waves of monsters. Defeat them to continue forward. When you reach the correct location, another short cutscene will play.
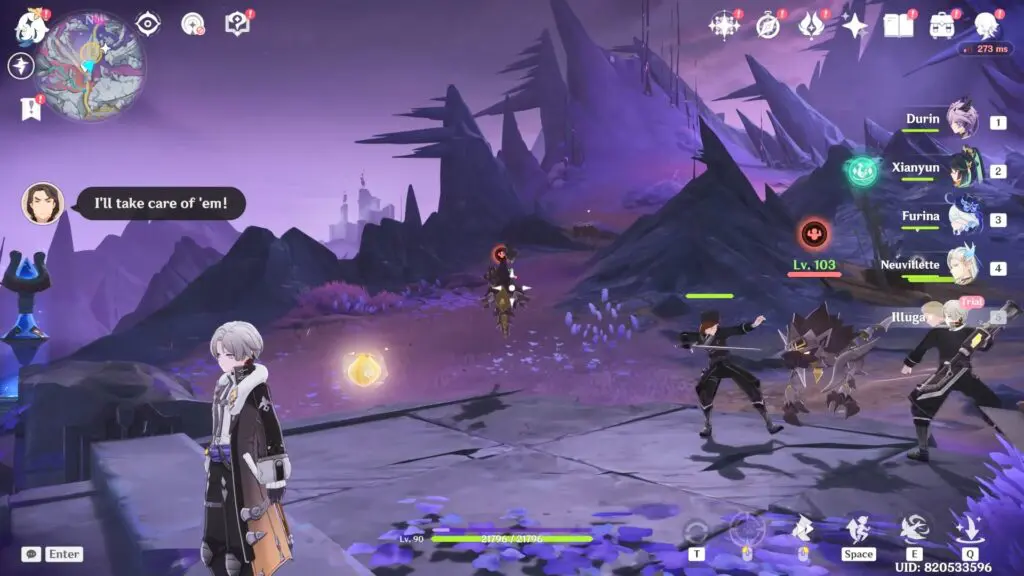
After the cutscene, you will fight the Scourge of Endless Decay along with other Wild Hunt monsters. When its health drops significantly, the fight will end, and the monsters will retreat.
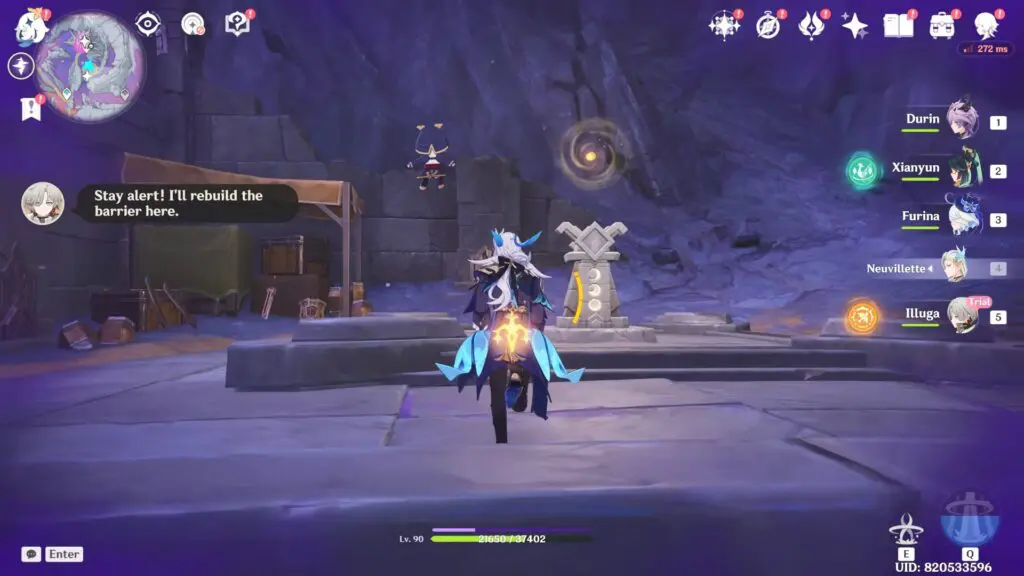
Next, follow the quest marker to the southeast. Go up the stairs and discuss countermeasures with your teammates. Finally, interact with the sealing array, and rebuild the barrier to continue the quest
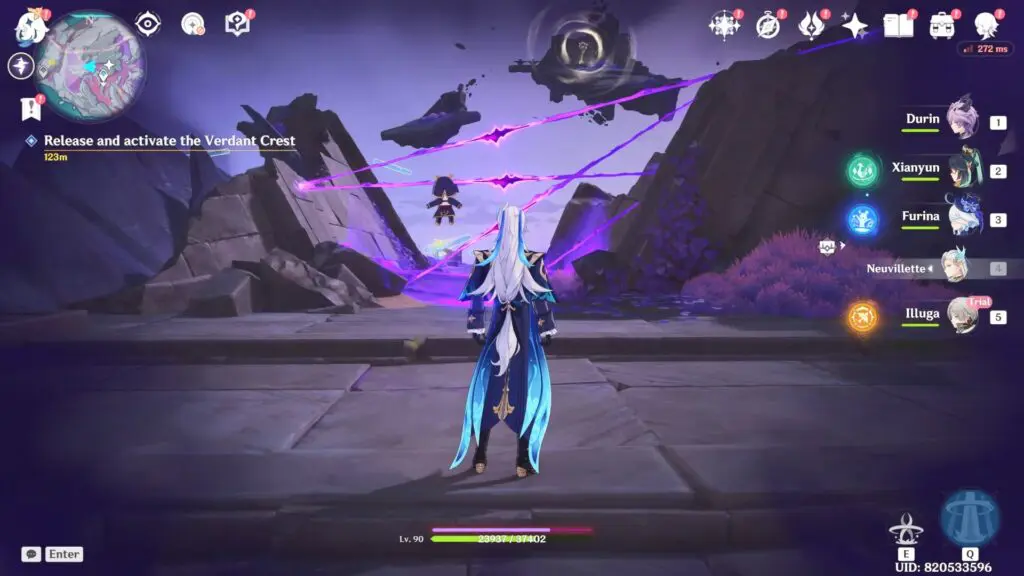
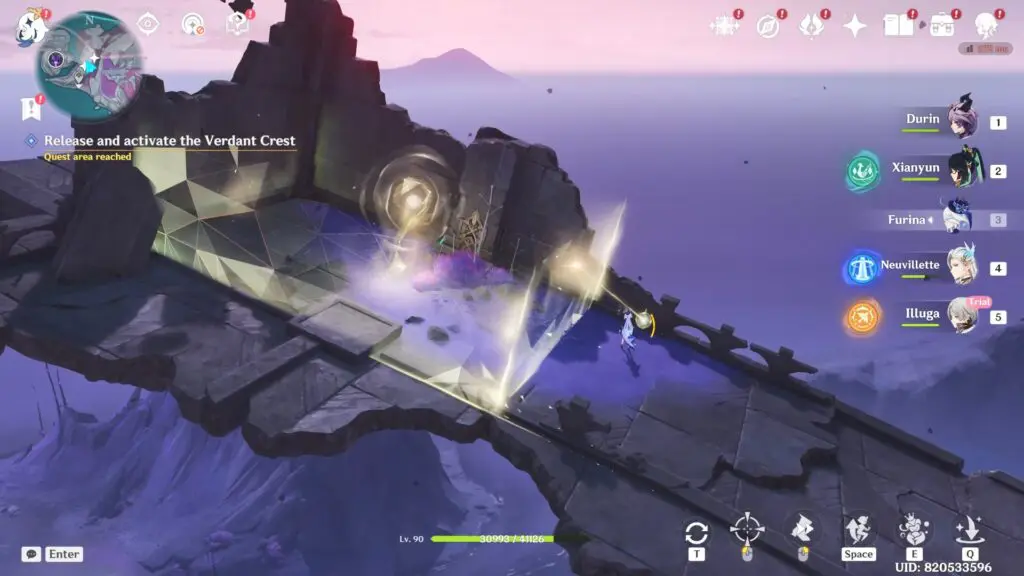
Activate three Verdant Crests
To restore the sealing array, activate all three Verdant Crests. These can be activated by completing the Focal Point of Ancient Array mini-quests.
Complete Focal Point of Ancient Array (I)
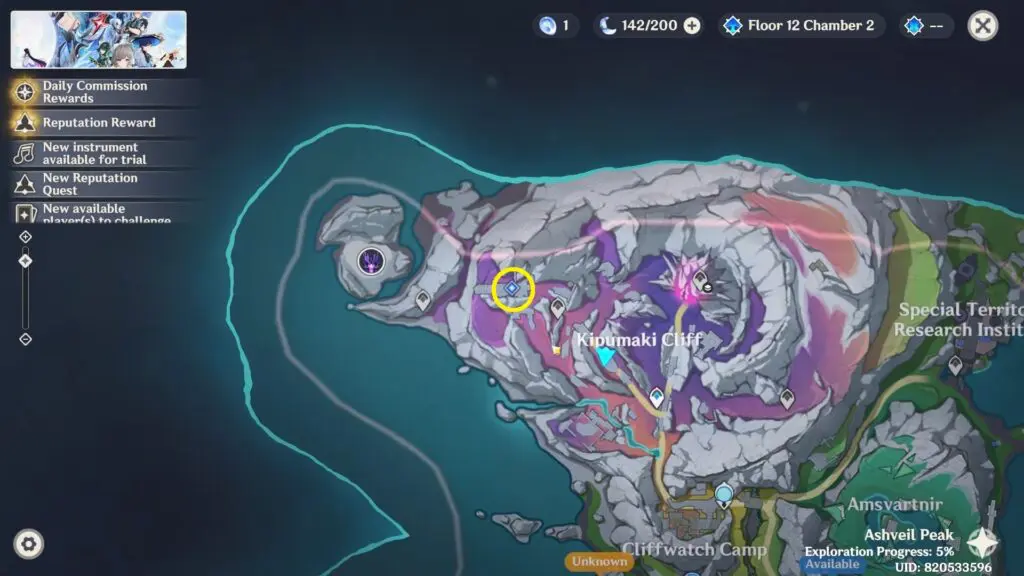
The Verdant Crest for Focal Point of Ancient Array (I) is located near the southeast of the waypoints at Kipumaki Cliff. Refer to the map. In this mini-quest, you need to defeat groups of monsters in the area to clear it. Once the area is safe, activate the Verdant Crest.
Complete Focal Point of Ancient Array (II)
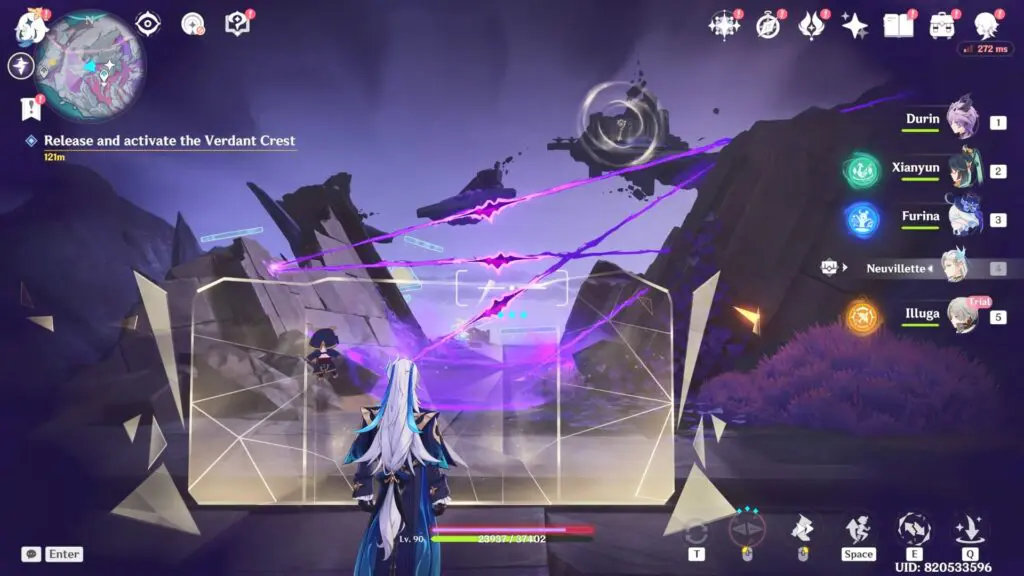
The Verdant Crest is in the western part of the battlefield.
Step 1
Once you reach the area, the Evil Eyes will attack and block the path with Abyssal Riftlines. Absorb the Super Sharp Spirebloom near the stairs to gain its ability.
Step 2
Use Kuuvakhi lightblades to destroy the Abyssal Riftlines. Try to line up multiple Riftlines and rotate the lightblade to clear more at once.
Step 3
Pick up the Intricate Bloom energy core and stand near the broken edge of the path ahead. Wait until the ramp forms fully, then place the core.
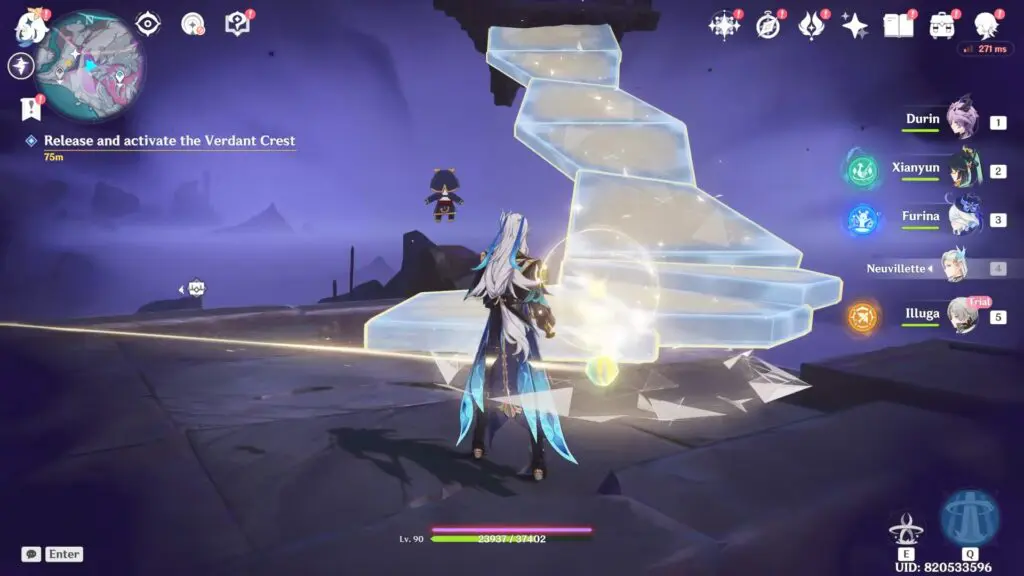
Step 4
In the next platform, absorb the next Intricate Bloom core. This will form the next bridge automatically.
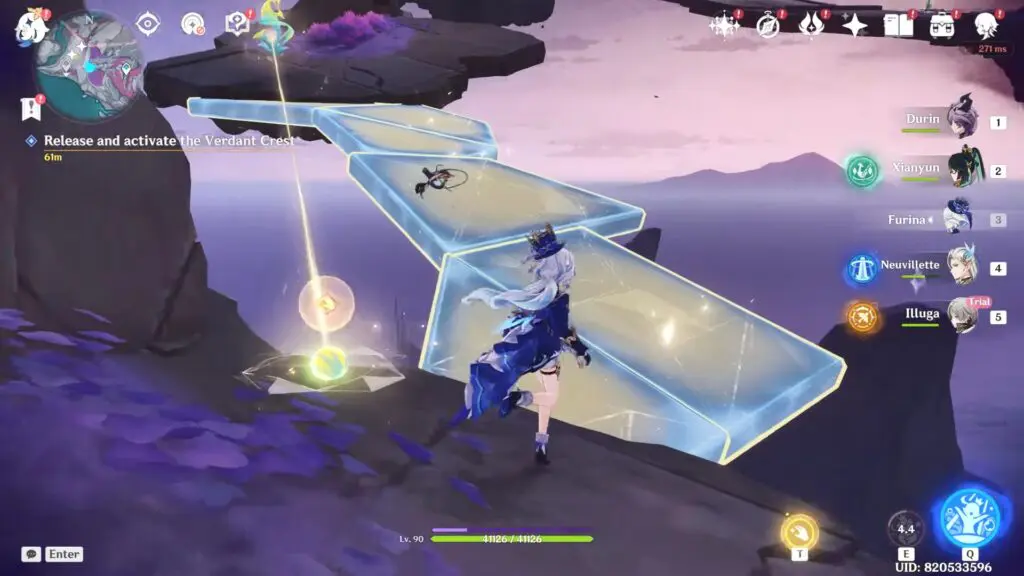
Step 5
Cross the bridge and reset the previous Intricate Bloom. Place the core beside it to create another bridge to the next platform.
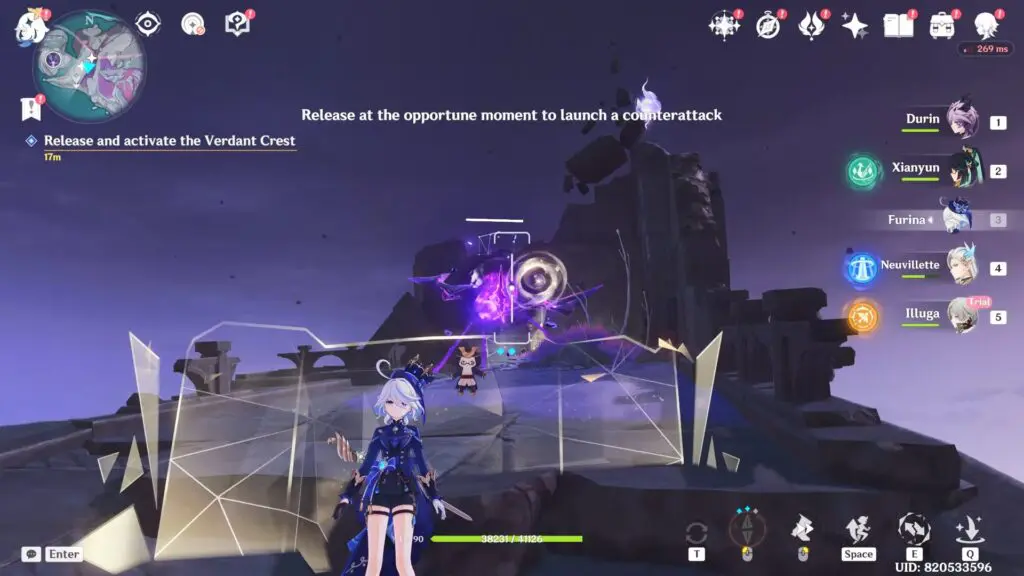
Step 6
On the next platform, absorb the Spirebloom again. Use its ability to block Abyssal attacks from the Evil Eyes. When the shield flashes, release it to counterattack. Repeat until all Evil Eyes are purified.
Step 7
Once the area is clear, pull the Verdant Crest away from the wall. Keep moving backward until it locks into place, then activate the crest.
Complete Focal Point of Ancient Array (III)
This Verdant Crest is in the southern part of the battlefield. You will need to fight the Scourge of Endless Decay. Dodge its attacks, collect the Energy Orbs on the field, and fire lightblades to damage it.
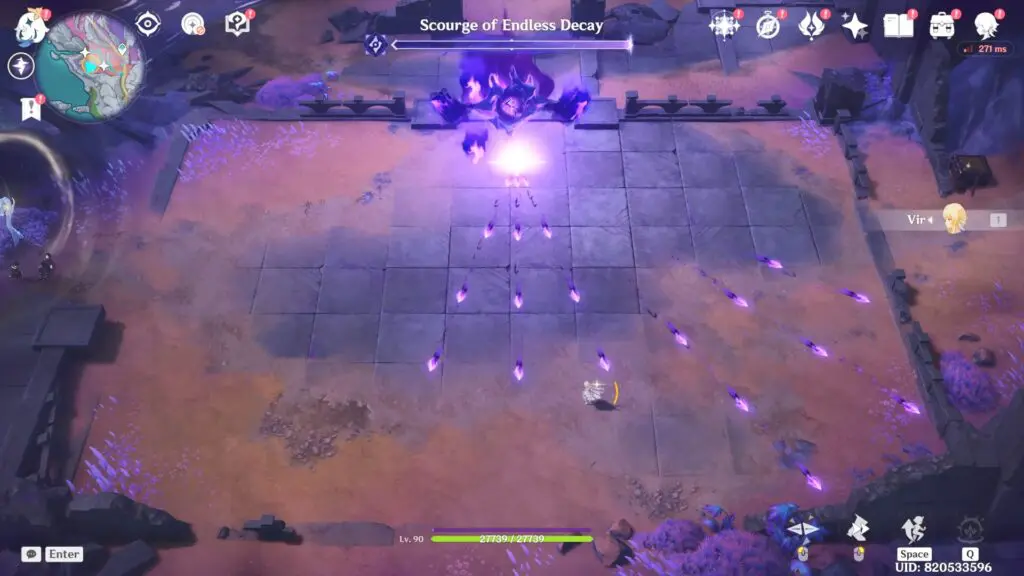
After you defeat it once, the Scourge will restore its health. Keep fighting until Illuga steps in to help. After the fight, a cutscene will trigger. Then, activate the third Verdant Crest.
Activate the last Verdant Crest
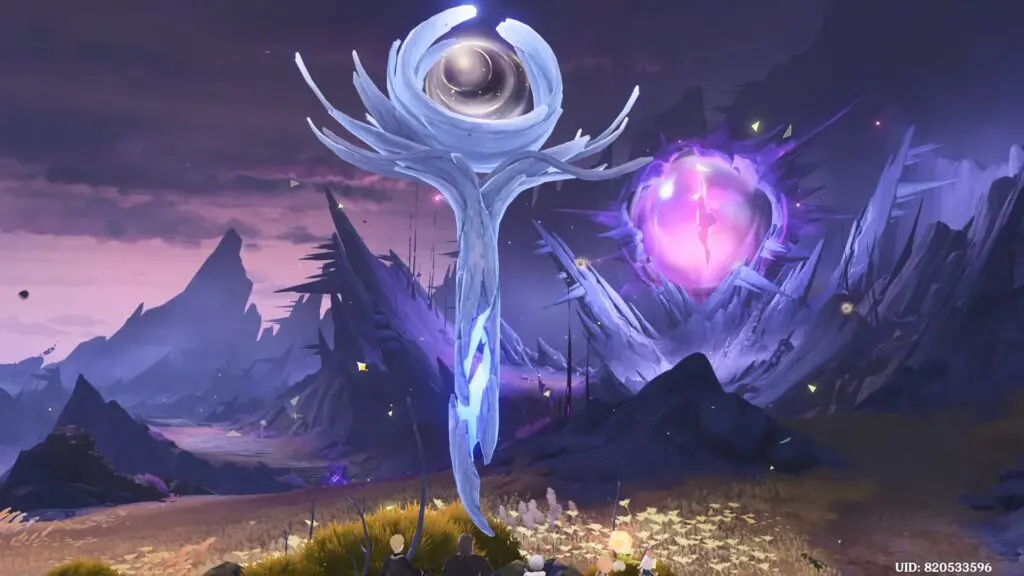
Now head to the final Verdant Crest, located south of the southern waypoint at Kipumaki Cliff. Activate it, and the giant Evil Eye in the distance will start attacking you. Here, you need to counter its attack when the large yellow circle lines up with the smaller ring. Continue to find until the Evil Eye is defeated.

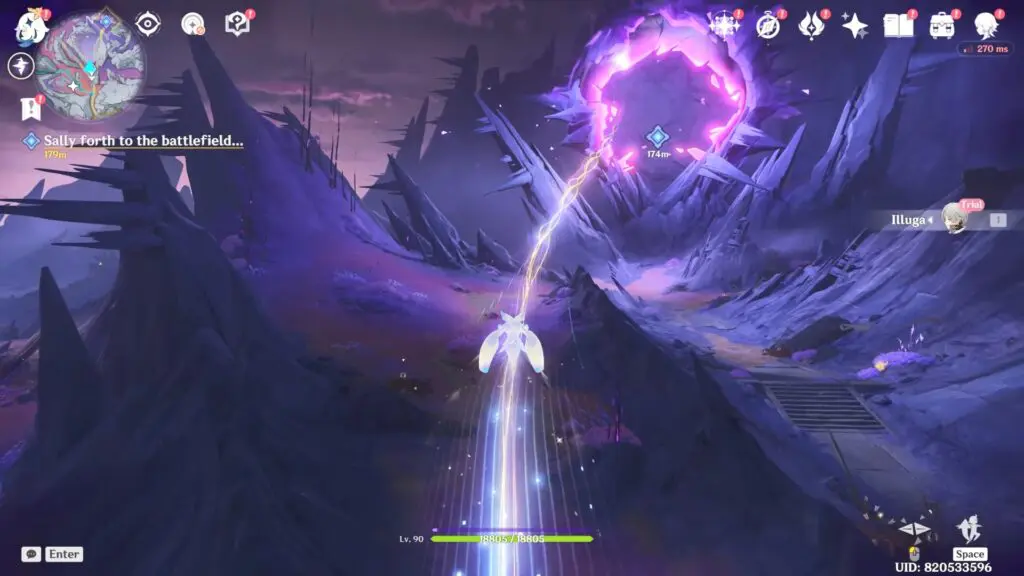
Press on to the battlefield
Once the Evil Eye is defeated, the underground section will open. You’ll need to head down and face the monster on the final battlefield. Ride the Moonlane to enter the underground section. As you go down, Abyssal Rifts will block your path. Shoot lightblades whenever they appear to clear the way.
As you move, you will see illusions from Illuga’s past along the path. When pink clouds fly toward you, press the Attack button to destroy them.
More pink clouds will appear after the memory of Nikita. Fight them briefly until they clear on their own as Illuga regains their courage.
At the end of the path, jump down the hole to enter the battlefield.
Defeat the Monsters
Keep on fighting the monster until it’s defeated.

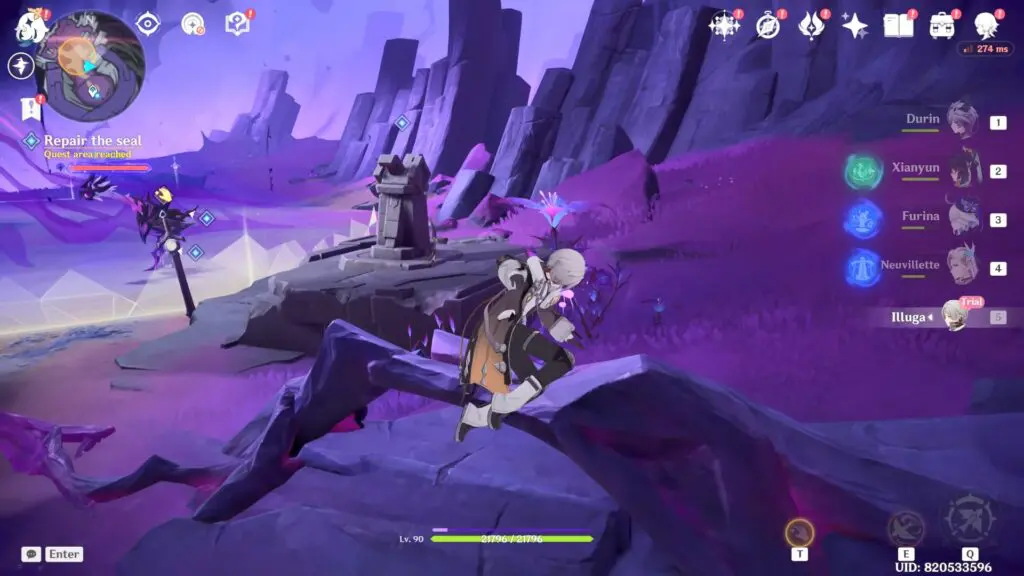
Repair the seal
While the other NPCs are fighting the monsters, your task is to collect the Sealing Blades and place them back into the correct casing. Match the symbol on each blade with the symbol on its casing.
In the southeast part of the battlefield, place the blade with the full moon symbol into the casing right next to it.

In the northwest area, the blade with the thin crescent moon fits into the casing behind it.

The final blade is on the north side of the battlefield. Carry it to the southwest side and put it into the last casing.
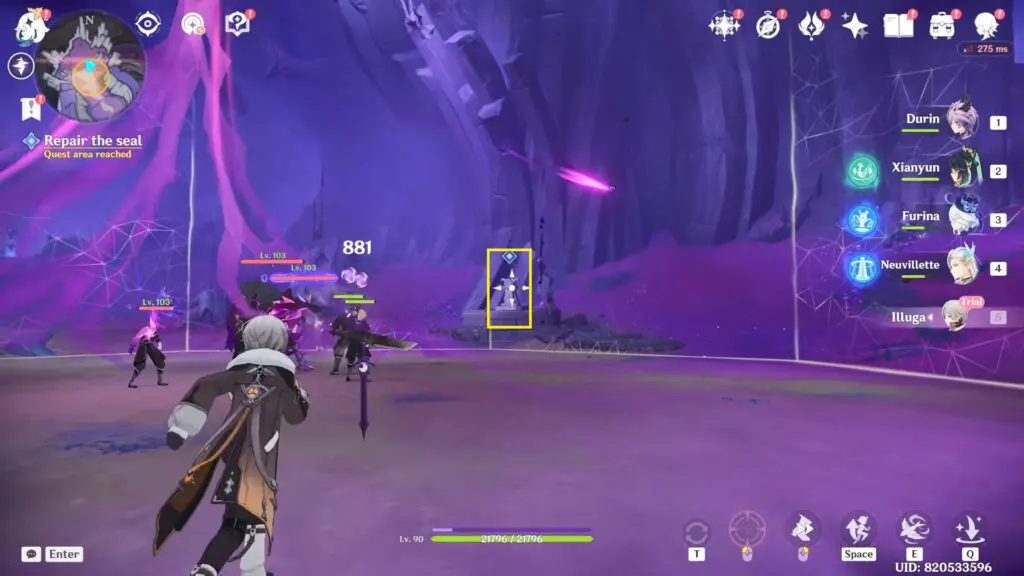
Defeat the Scourge of Endless Decay
After restoring the seal, the final battle against the Scourge of Endless Decay will start. The boss will keep summoning different enemies.

Each time you defeat the summoned enemies, the Scourge will be stunned for a short moment. Use this opening to attack and deal damage. Keep repeating this pattern, clear the summons, then attack the Scourge, until the battle ends.