Secret at the Church is the 68th main mission in Crimson Desert. The quest begins right after your fight with Crowaller and focuses on investigating the orphanage, retrieving a hidden relic, and activating the mysterious Pillar of Radiance. This walkthrough will guide you step by step through every objective, including how to obtain the church’s relic and activate the Pillar of Radiance.
Gather information at the orphanage
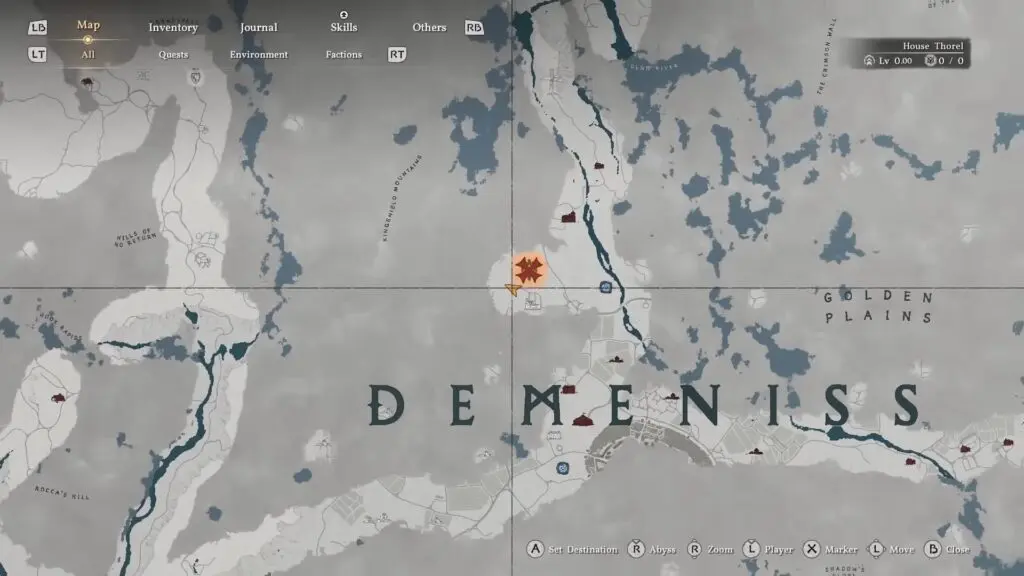
As the quest starts, head to the orphanage in Demeniss. Refer to the location marked on the map.
Once you reach the orphanage area, go to the back of the area to find a small house. Go toward it to trigger a cutscene. After the cutscene, you will receive a key. This key allows access to a hidden cellar near the church.
Obtain the church’s relic / Find the relic the nun mentioned
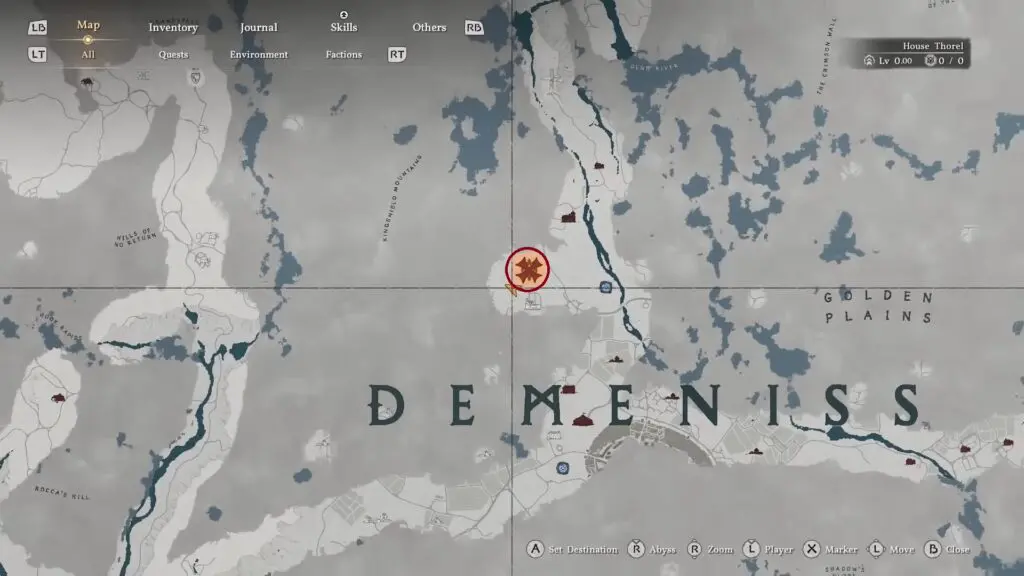
Now make your way to the church. Refer to the location on the map below. Once inside, go behind the church and look for a small house with a crypt.
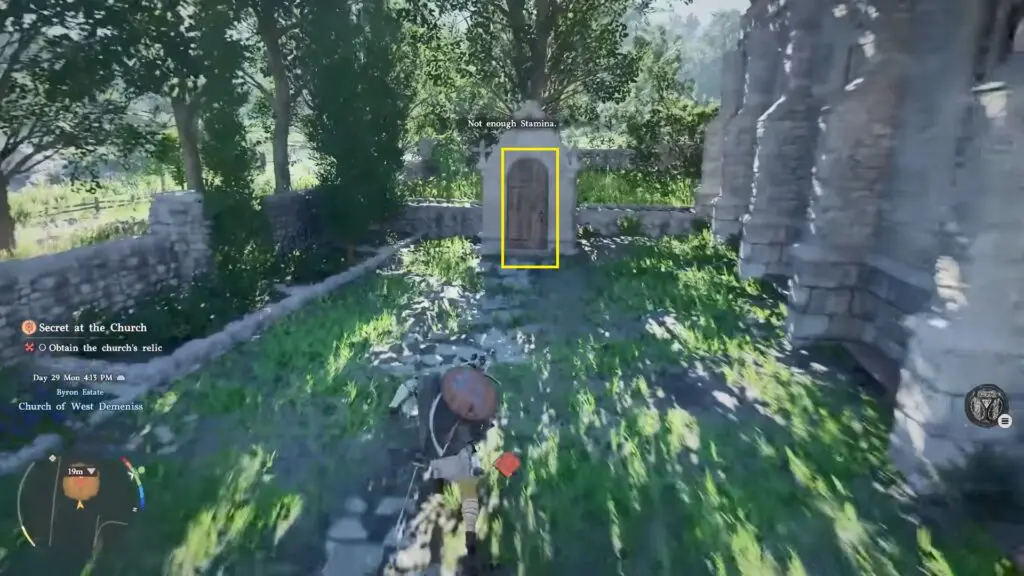
Use the key you received earlier to unlock the door, then head down into the cellar. Inside, explore the room carefully until you find a strongbox.
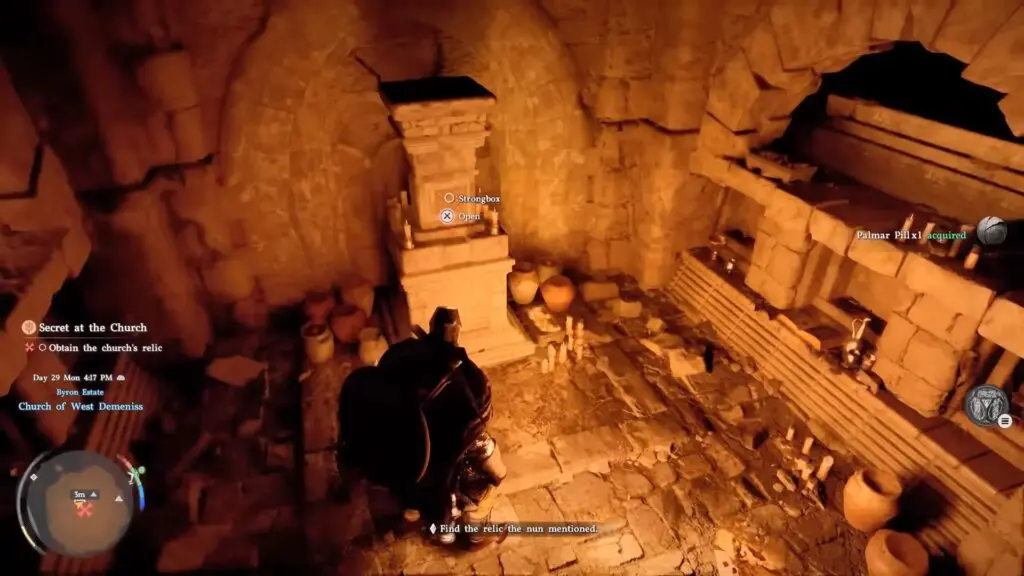
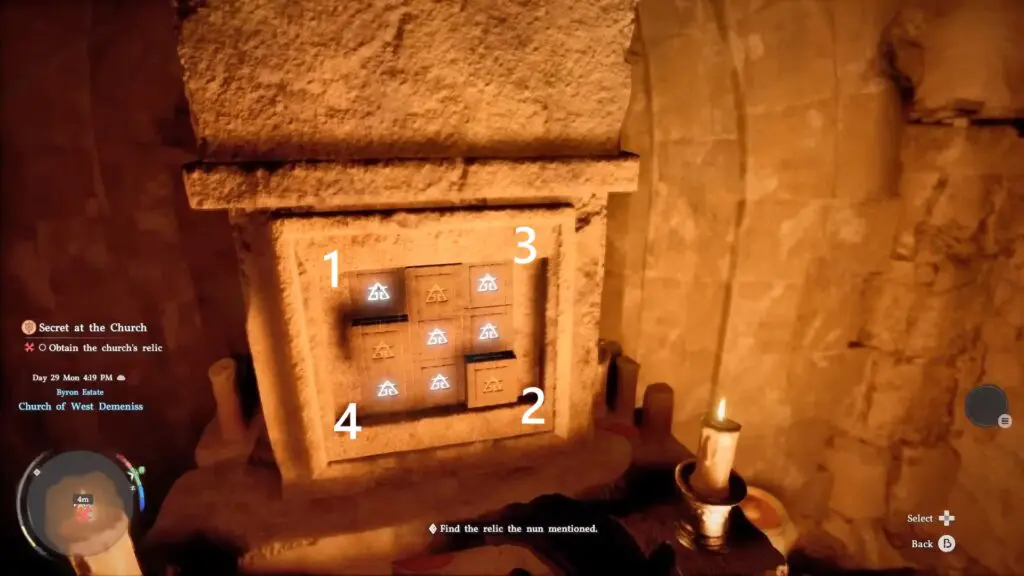
Interact with it to start a puzzle. Puzzle Solution:
- Top left
- Bottom right
- Top right
- Bottom left
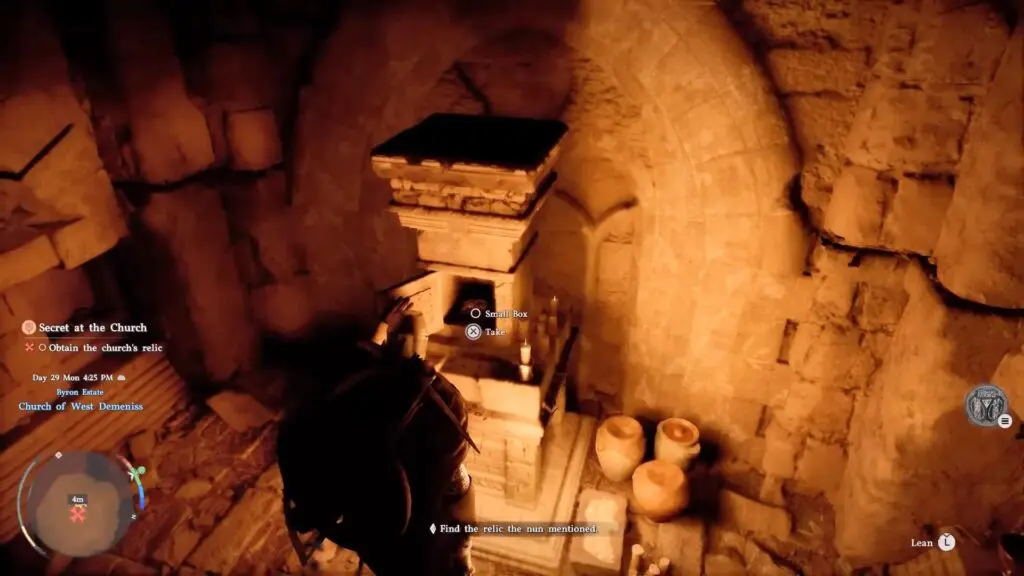
Once the strongbox is unlocked, open it again to reveal a smaller box inside. Interact with this box to obtain the church’s relic, known as the Dagger of Radiance.
Activate the Pillar of Radiance
After obtaining the relic, exit the cellar and make your way back to the Pillar of Radiance, located between the church and the orphanage. Look at the pillar using LB and interact with X to trigger the mechanism. This will make the pillar rise from the ground and reveal a puzzle.
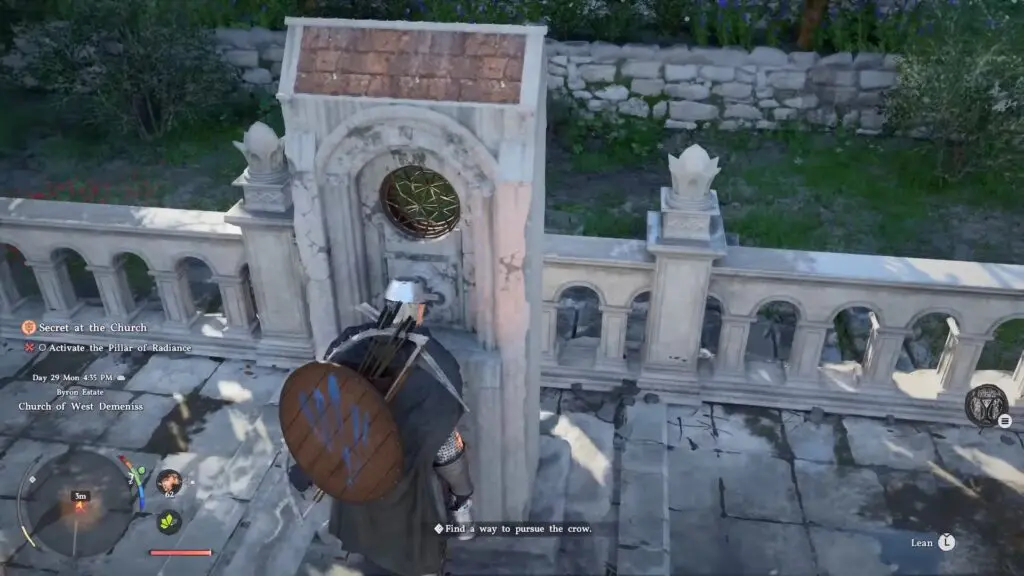
Note: If the interaction prompt does not appear, take out your lantern to reveal it, then use the plant option to insert the relic.
Pillar of Radiance Puzzle
After activating the pillar, you will be able to examine a rotating disc puzzle that consists of multiple layered rings. Each layer can be selected and rotated separately, so you will need to work through them one at a time.
Start with the inner disc and slowly rotate it until the markings line up and form part of the correct pattern. Below, I have marked two inner discs. Start with disc 1. Once the inner layer is set, switch to the next layer and adjust it by rotating both sides until they align properly with the center.
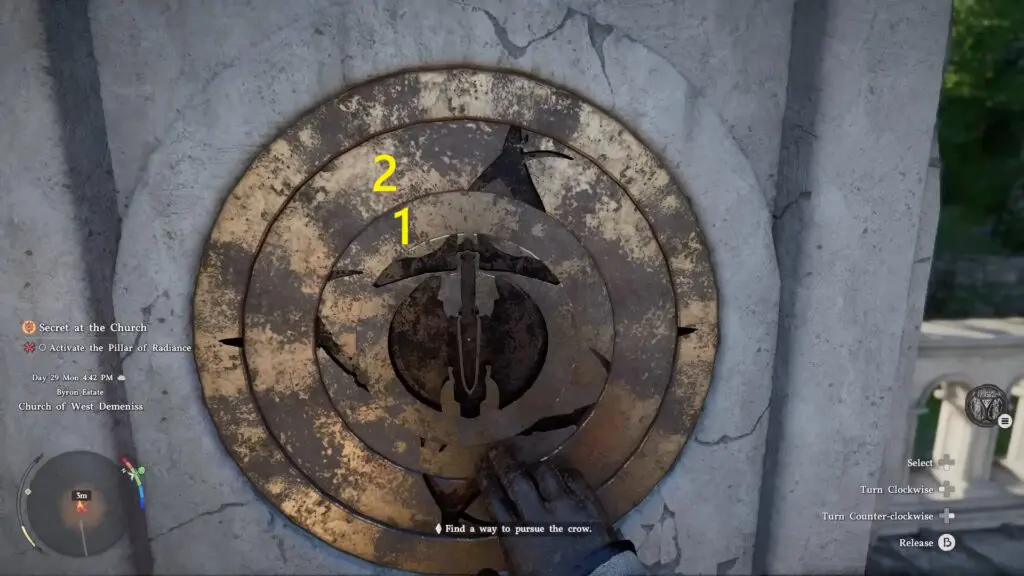
Take your time here, as the alignment becomes clearer as the pieces begin to match. The outer layer is already in the correct position, so you do not need to adjust it. Below is the correct image for correct alignment.
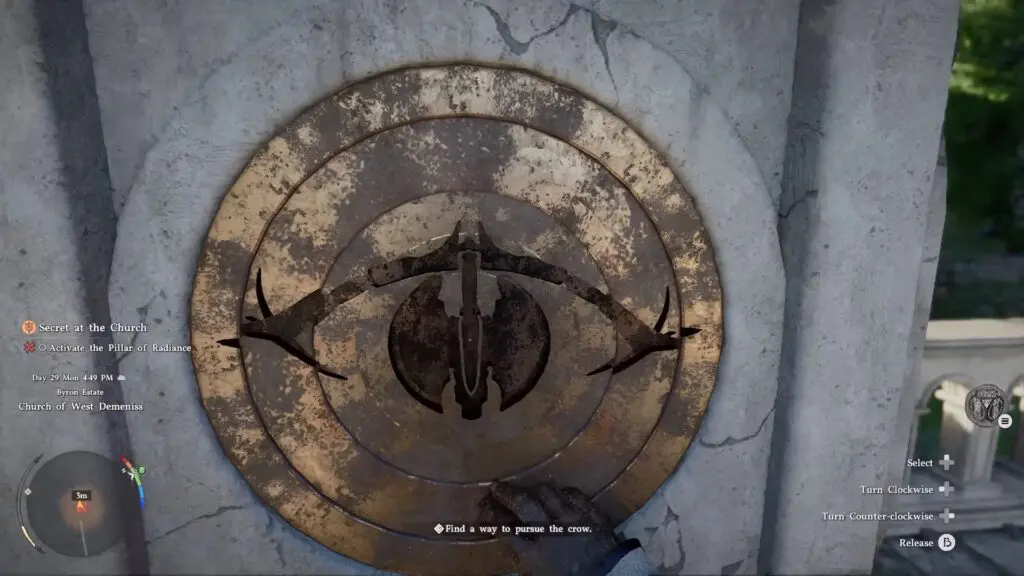
When all the layers are correctly aligned, they will form an eye-like symbol, and the puzzle will automatically complete, triggering the next part of the quest.