Halo: Combat Evolved features 13 hidden Terminals scattered throughout the campaign, each offering extra lore and insight into the game’s story and characters. In this guide, we’ll show you the exact location of every Terminal in Halo: Combat Evolved so you can find them all without missing a single one.
Terminal #1 (The Pillar of Autumn)
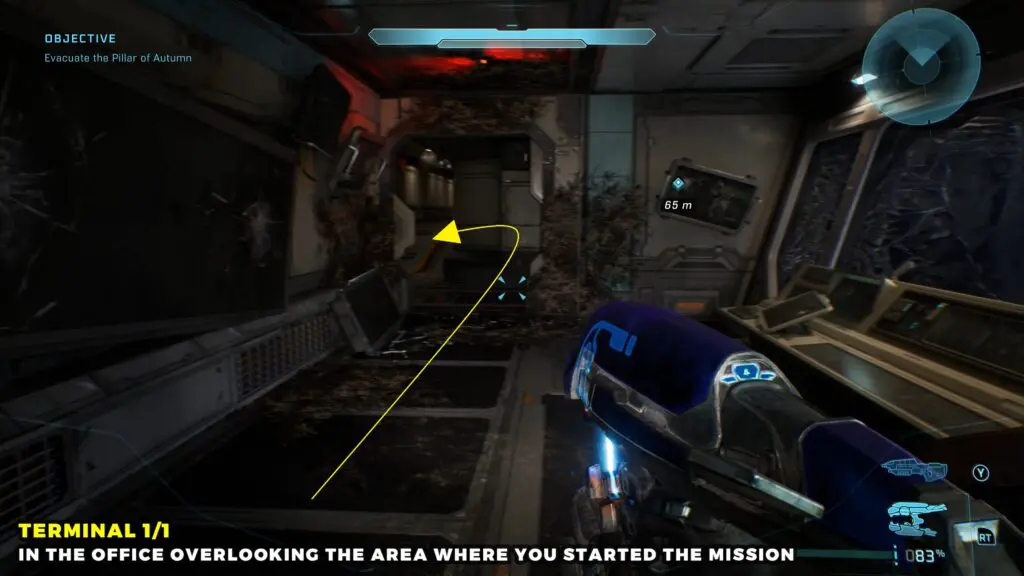
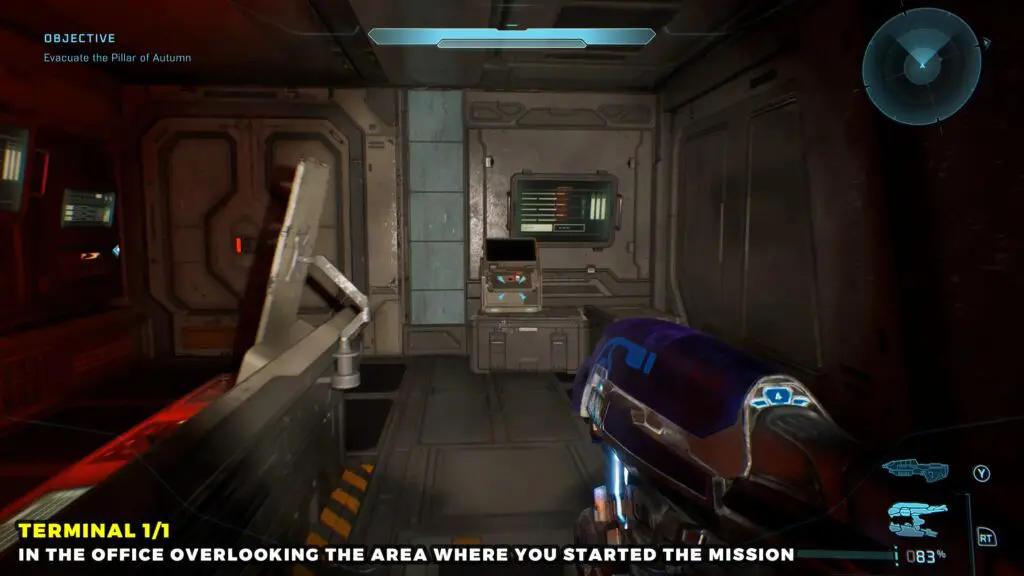
The Terminal is found later in The Pillar of Autumn mission. Once you make your way to reach the destroyed office with a broken window overlooking the area where the mission began. Exit the room, turn left immediately, and enter the next office. The Terminal is located at the back of the room.
Terminal #2 (Halo)
In Mission 2 – Halo, as you drive into the underground tunnels, keep going until you reach a spot with an open window on your right side.
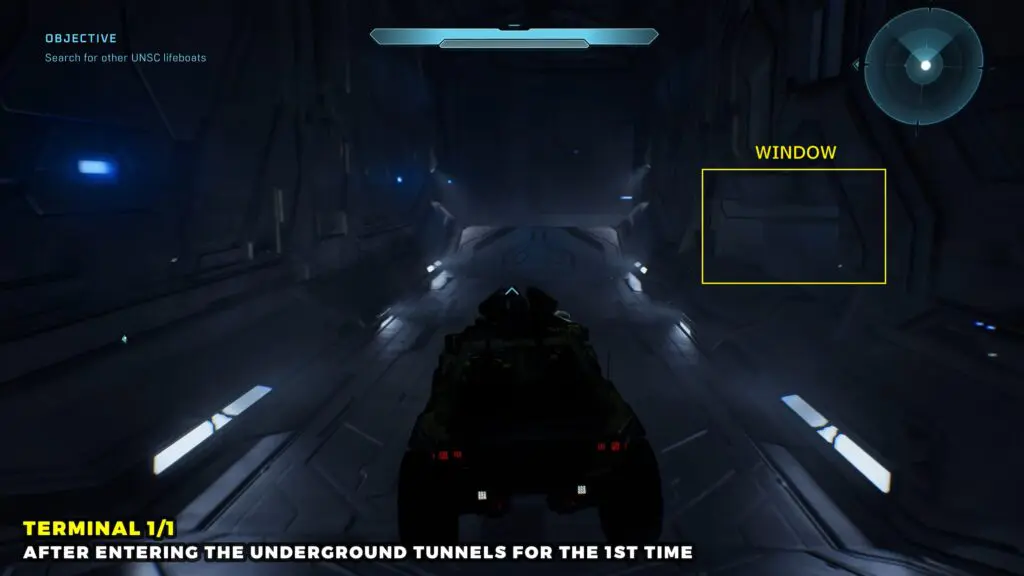
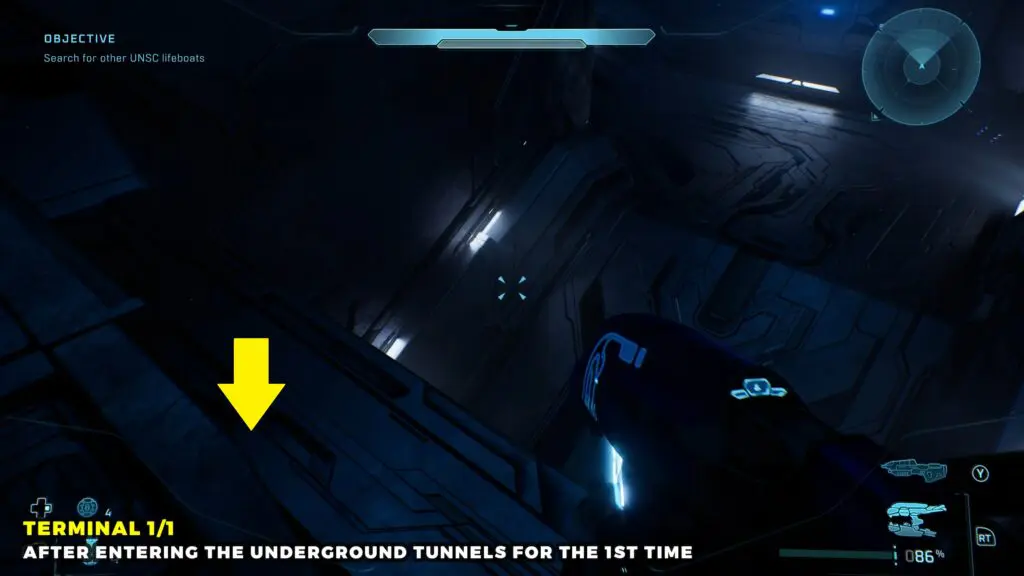
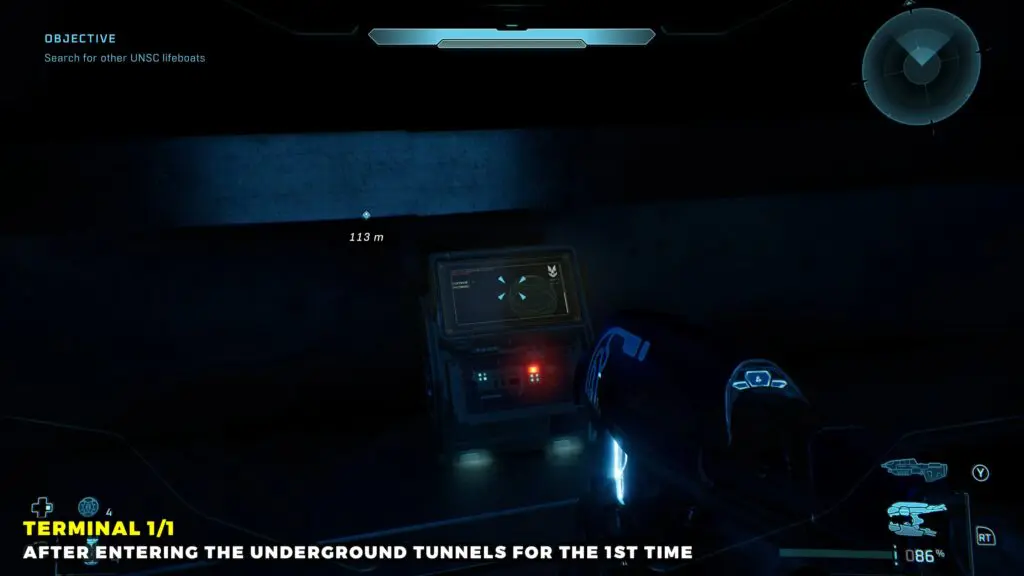
Head over to that window and drop down onto the ledge below. That’s where you’ll find the terminal.

Terminal #3 (Truth and Reconciliation)
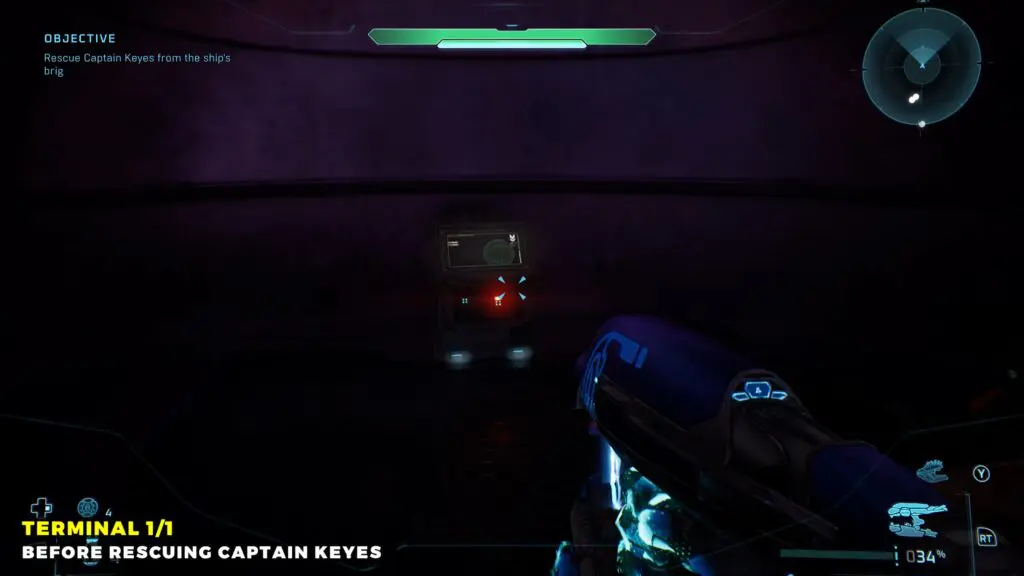
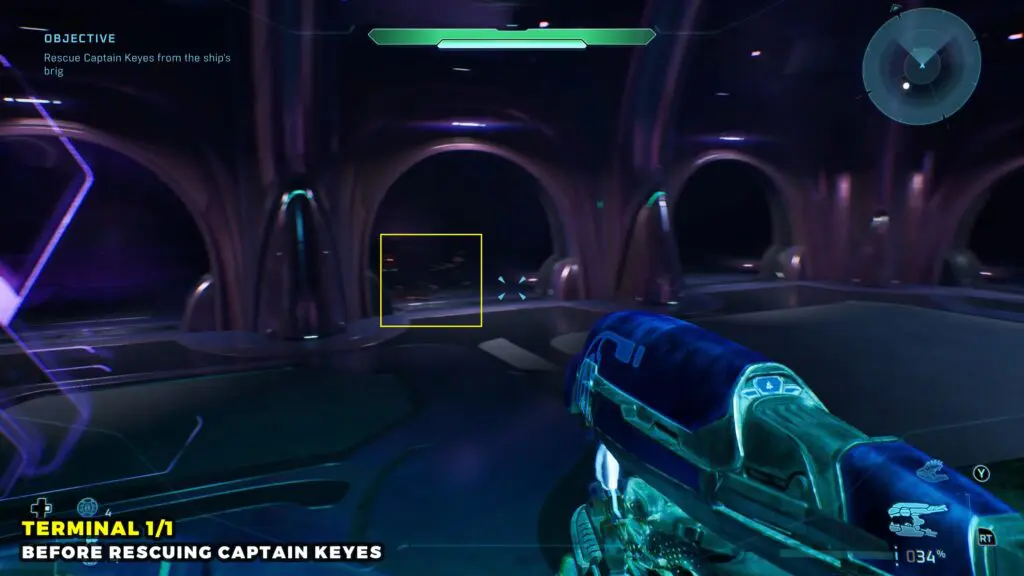
While searching for Captain Keyes in the brig, you’ll eventually reach a room with four exits. From the main entrance, take the door on the right into the prison cell area.
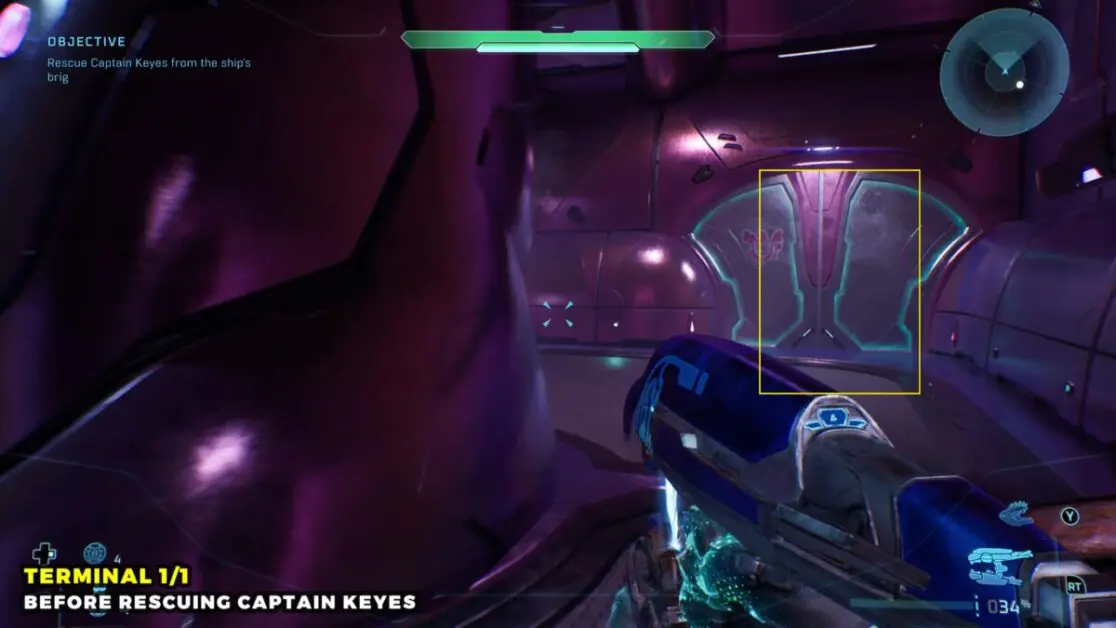
Interact with the control panel in the center to disable the energy shields, then check the cell along the back wall to find the Terminal.
Terminal #4 (The Silent Cartographer )
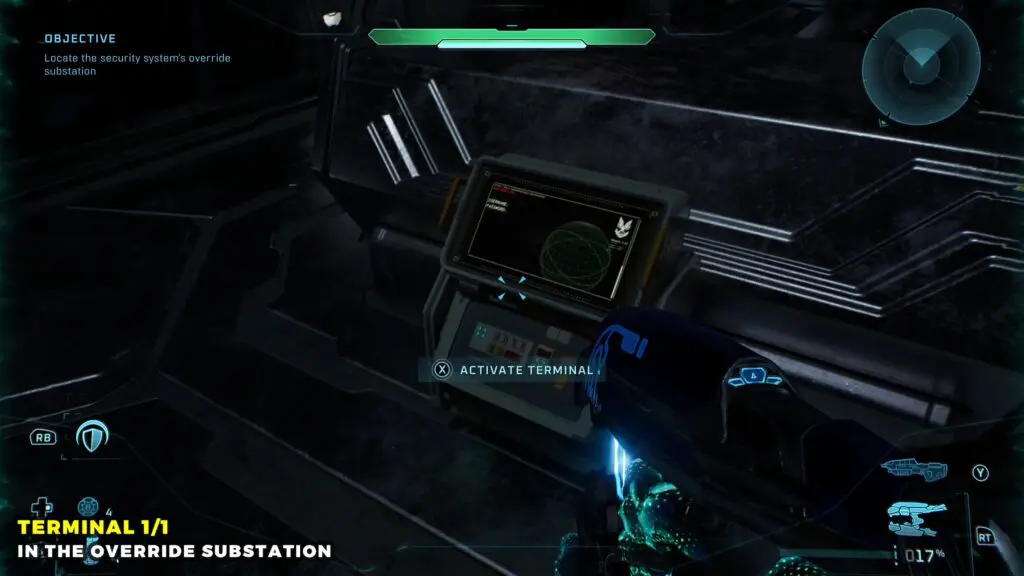
Inside the Override Substation, continue to progress until you reach the room with the holographic console in the center. Walk past the console to the table at the back of the room.
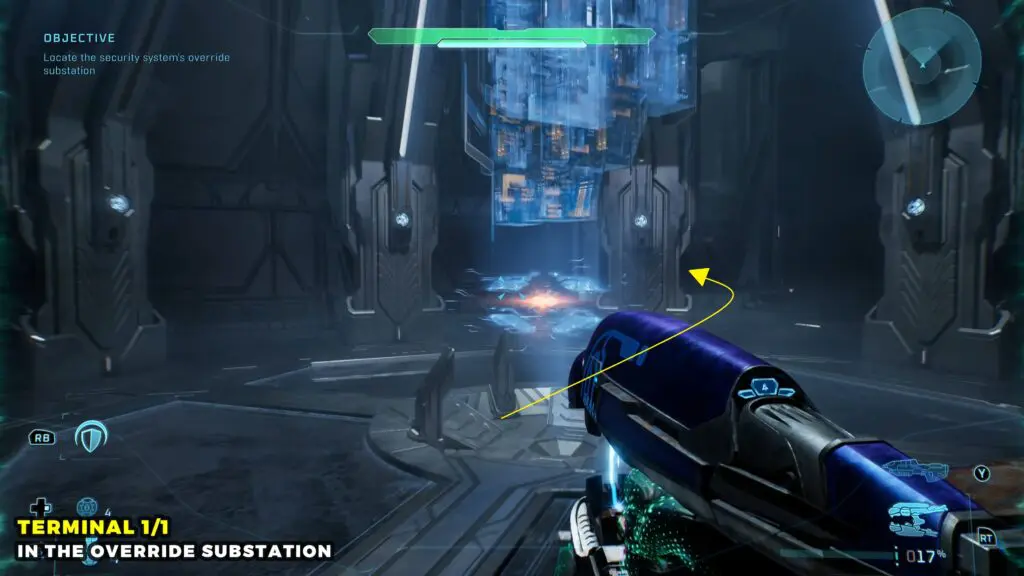
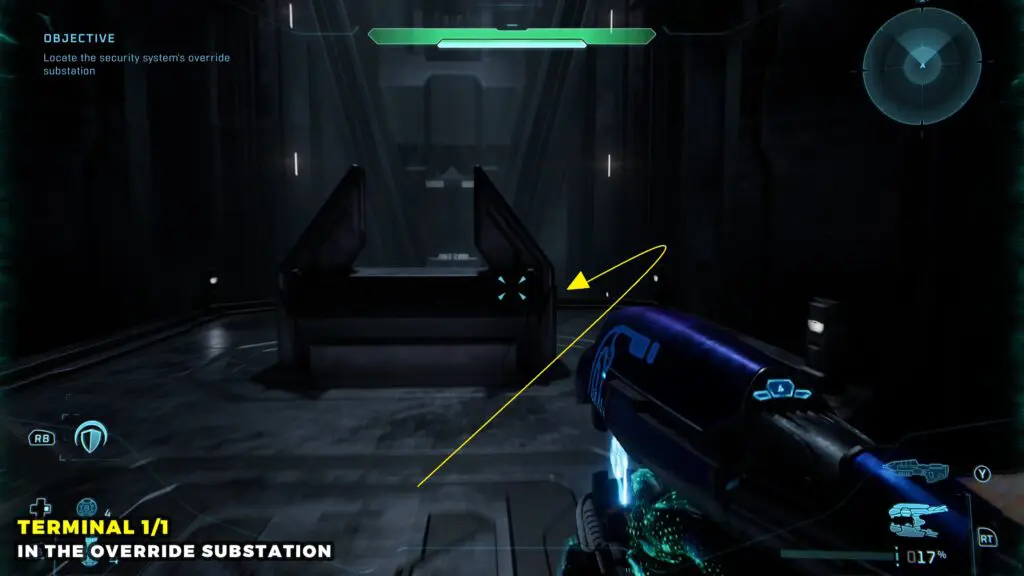
The Terminal is on the other side of the table.
Terminal #5 (Assault on the Control)
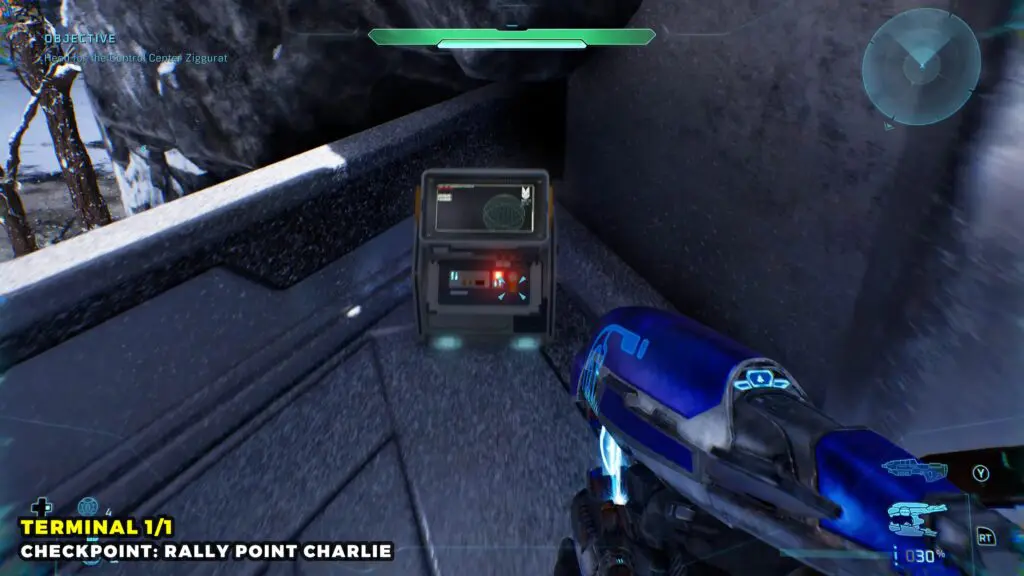
Ride the tank up a steep snowy hill. At the top, a Covenant dropship will appear on your left. Enter the structure ahead and follow the ramp until it brings you back outside.
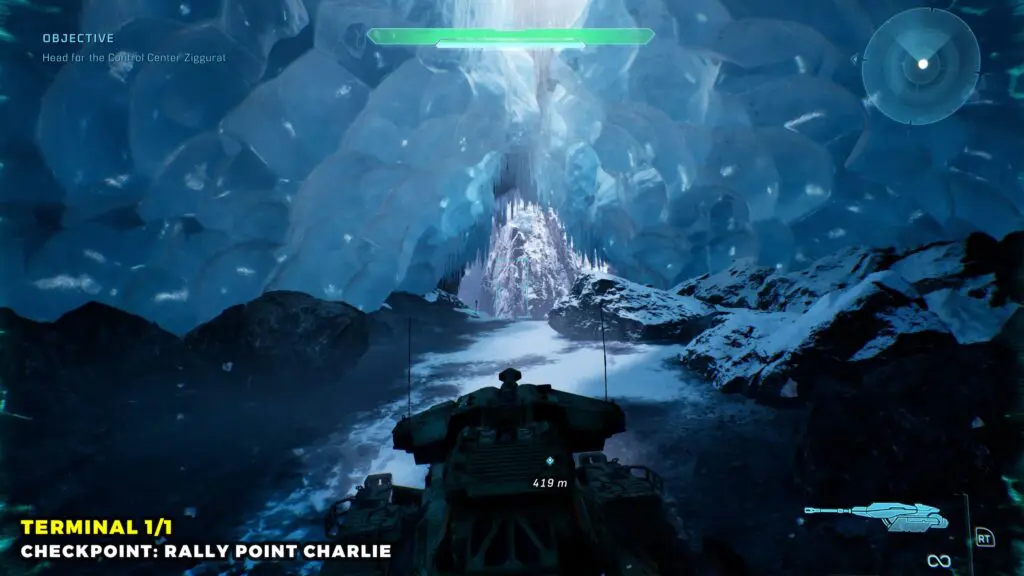
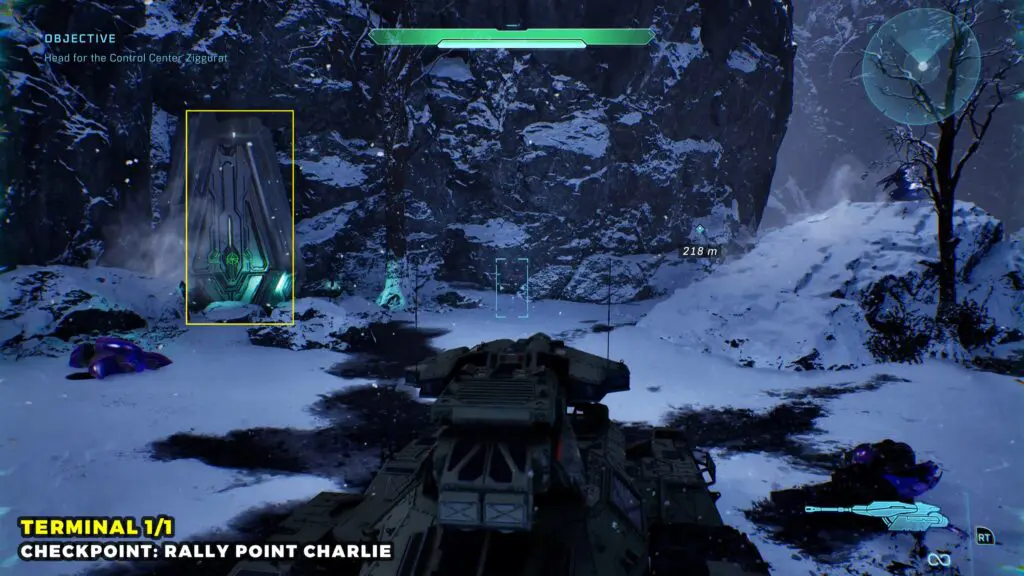
Once you exit, turn right and follow the path to the end to find the Terminal.
Terminal #6 (343 Guilty Spark)
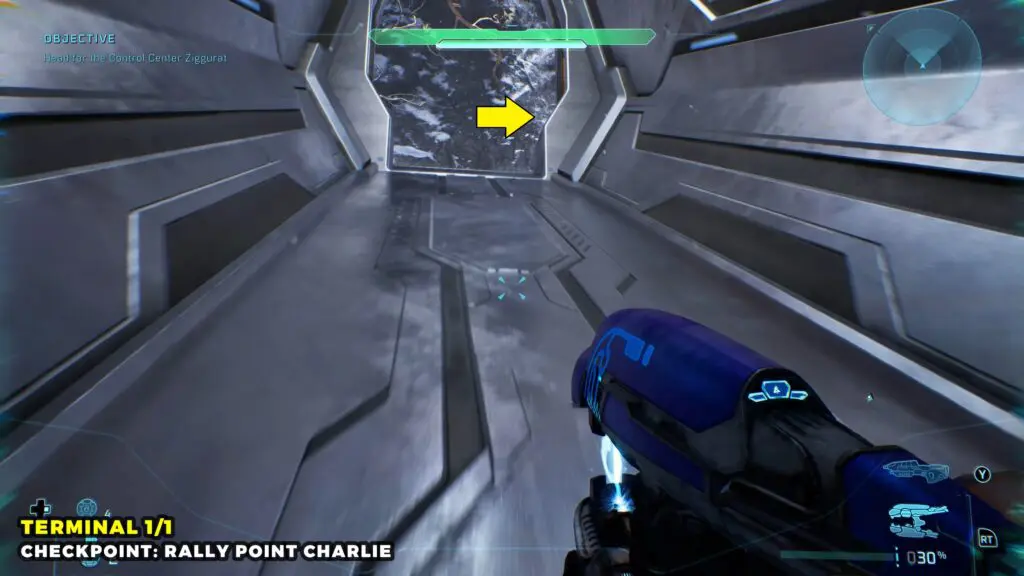
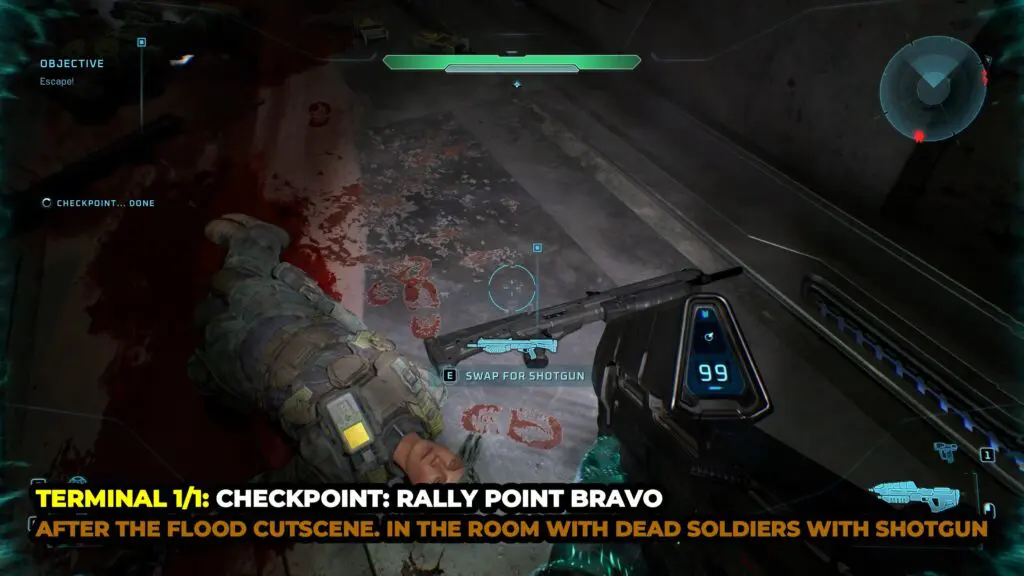
After the Flood cutscene, you’ll begin backtracking through the facility. Continue until you reach a large room with two doors. Go through the door on the right. Inside, you’ll see several dead Marines with Shotguns on your left.
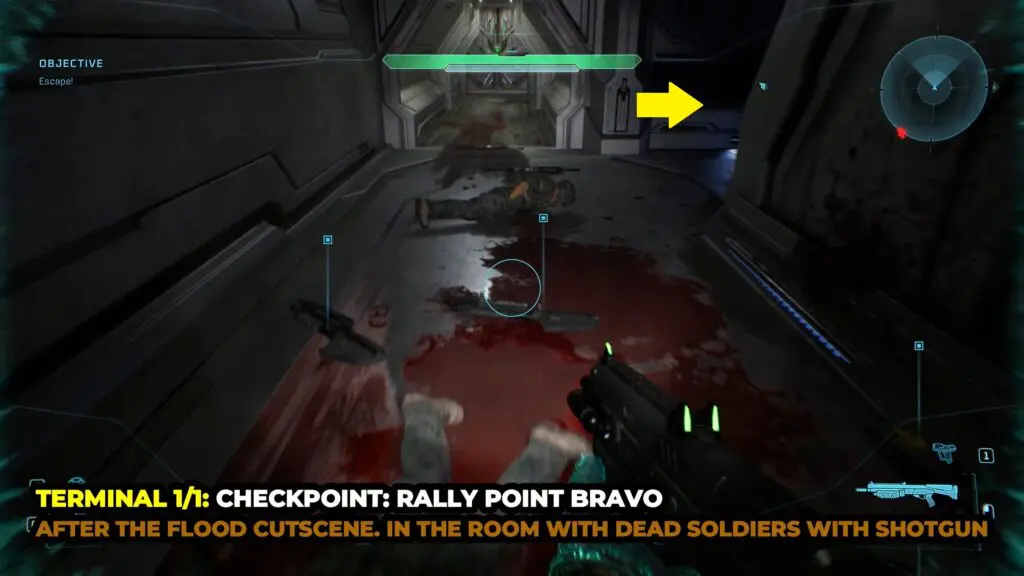
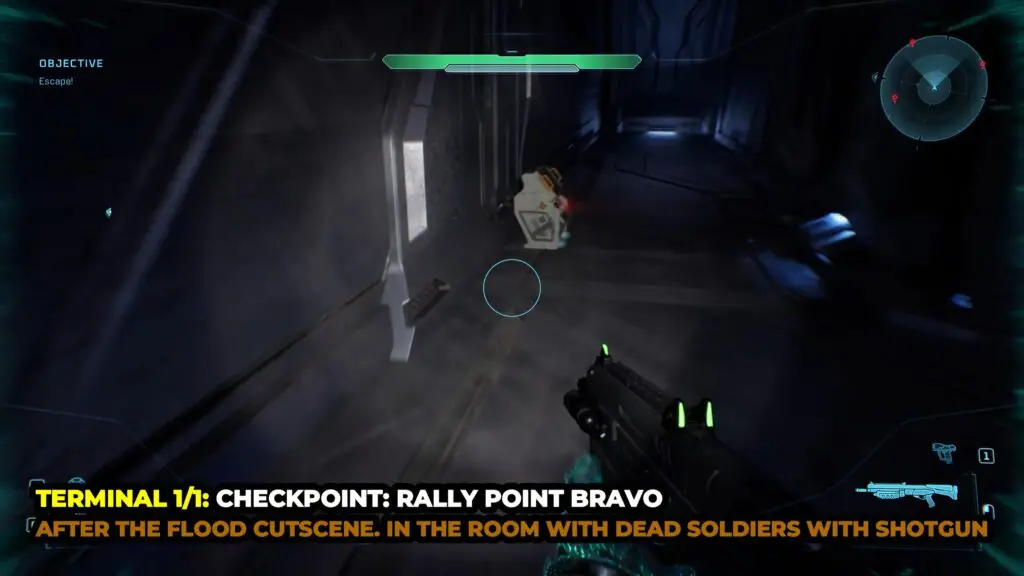
Walk a few steps toward the objective door, but don’t go through it. Instead, turn right and look along the dark wall to find the Terminal.
Terminal #7 (The Library)
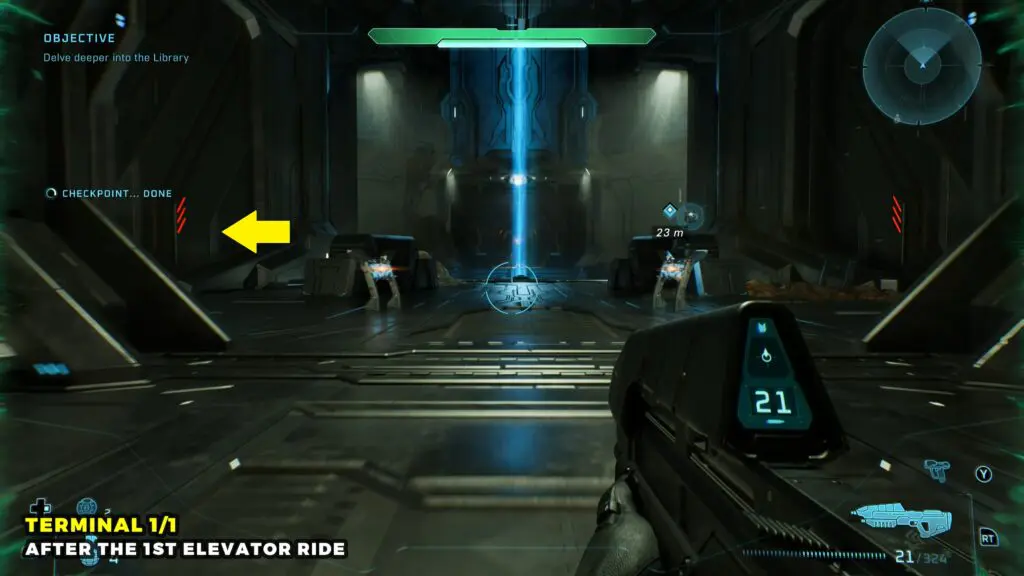
Go through the door unlocked by 343 Guilty Spark, then turn left and enter the next room.
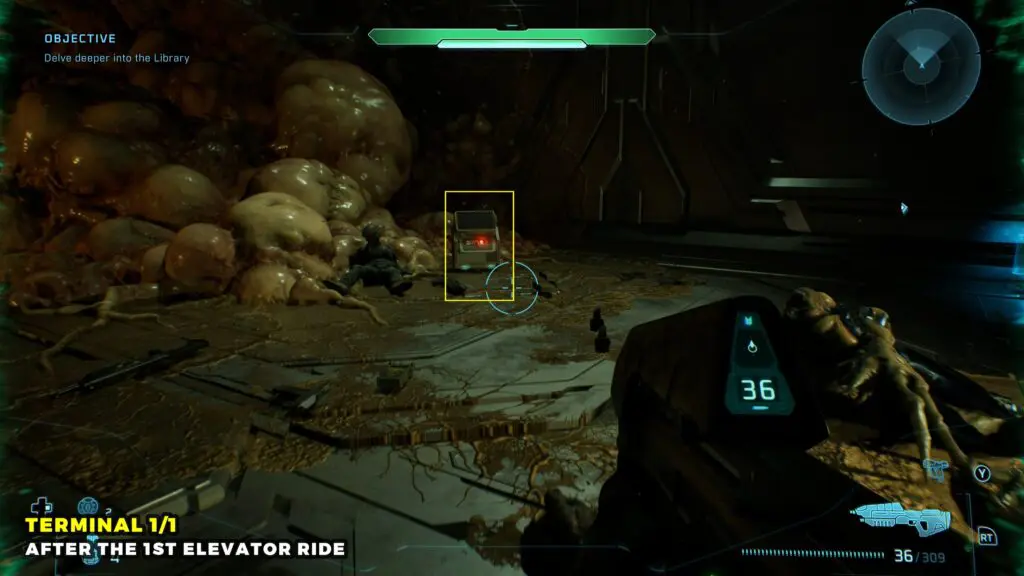
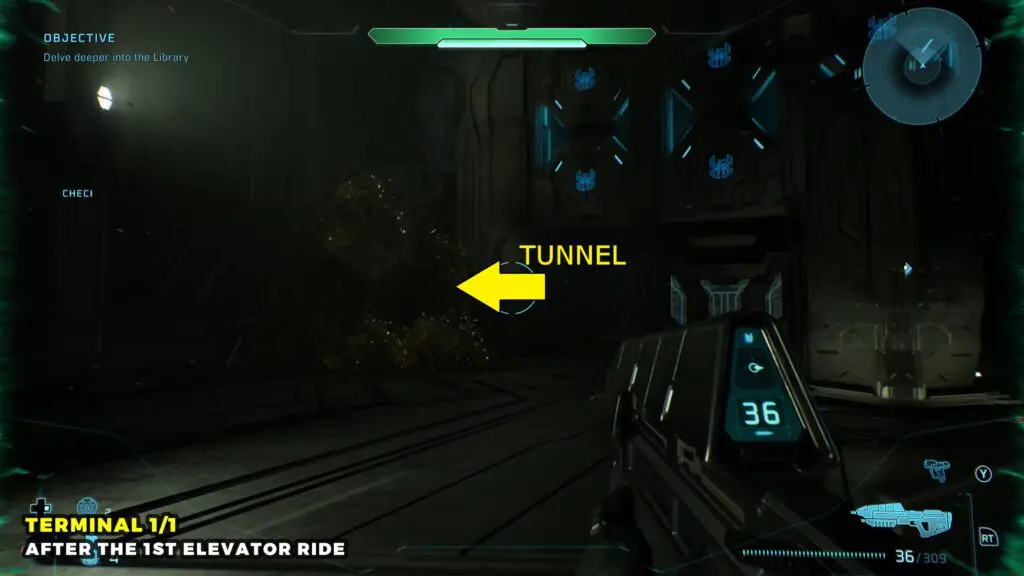
Take the tunnel in the back-left corner to find the Terminal.
Terminal #8 (Two Betrayals )
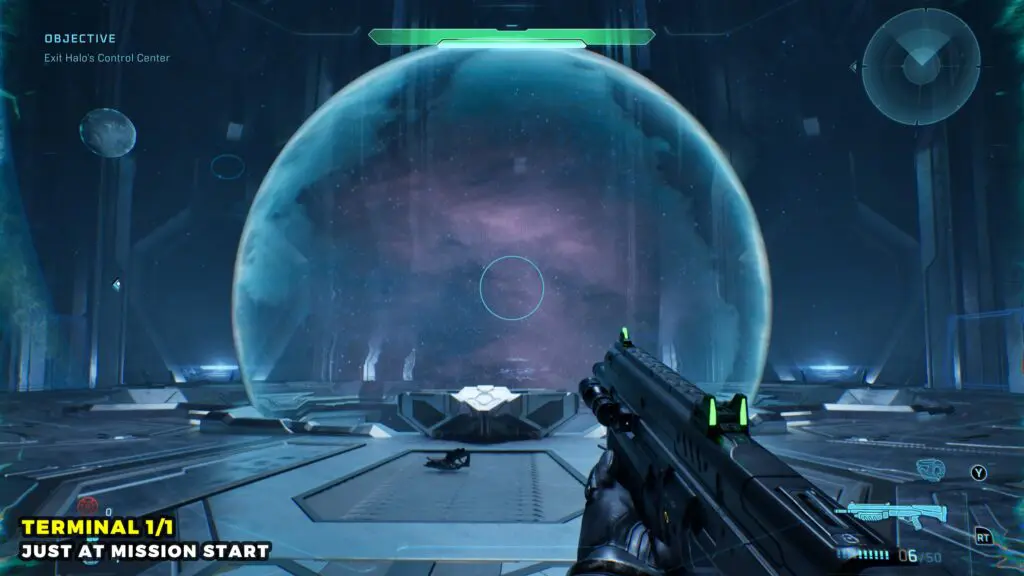
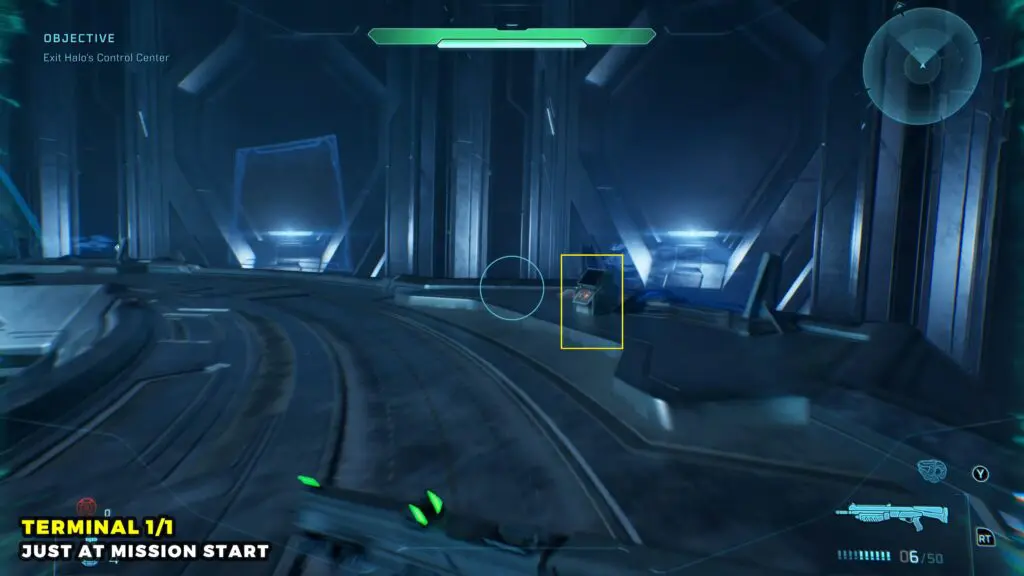
At the very start of the mission, turn around and head behind the holographic planet in the center of the room. You’ll find the Terminal hidden behind it.
Terminal #9 (Keyes)
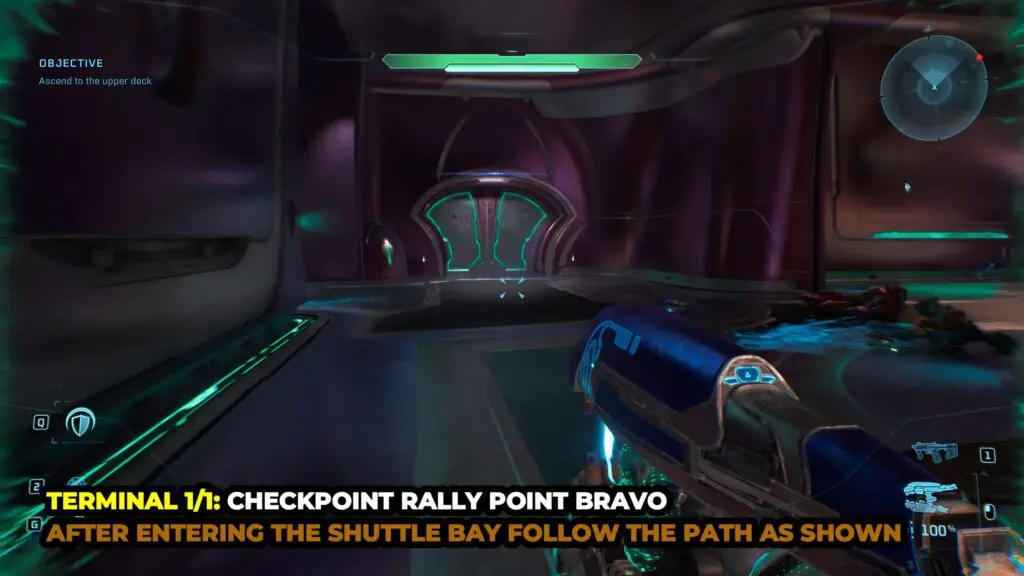
After reaching the shuttle bay, go through the first door on your left. Follow the corridor, take the first left, then the second left, defeating the enemies along the way.
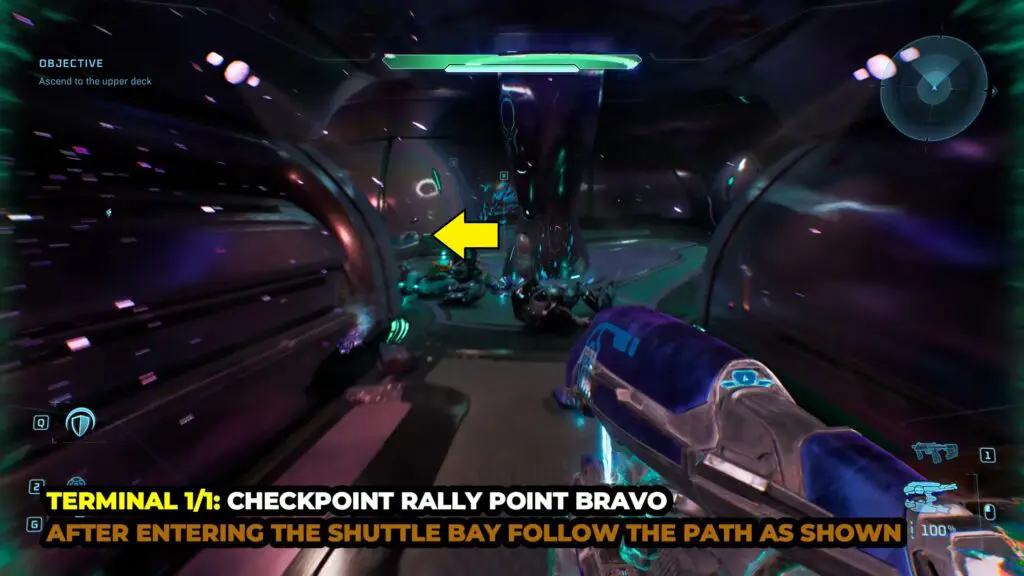
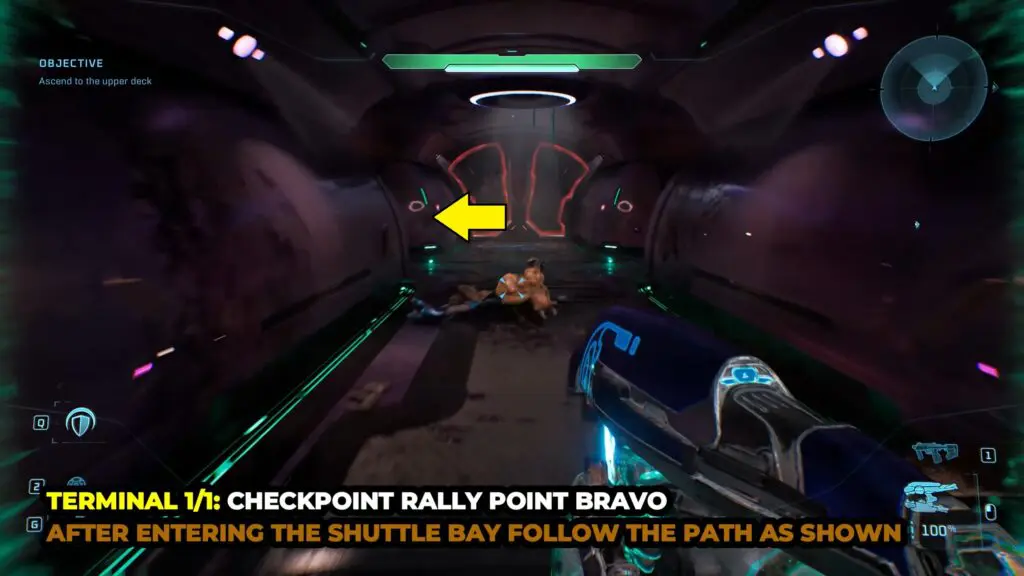
After clearing the area, take the right path and turn left to find the Terminal beside a locked door.
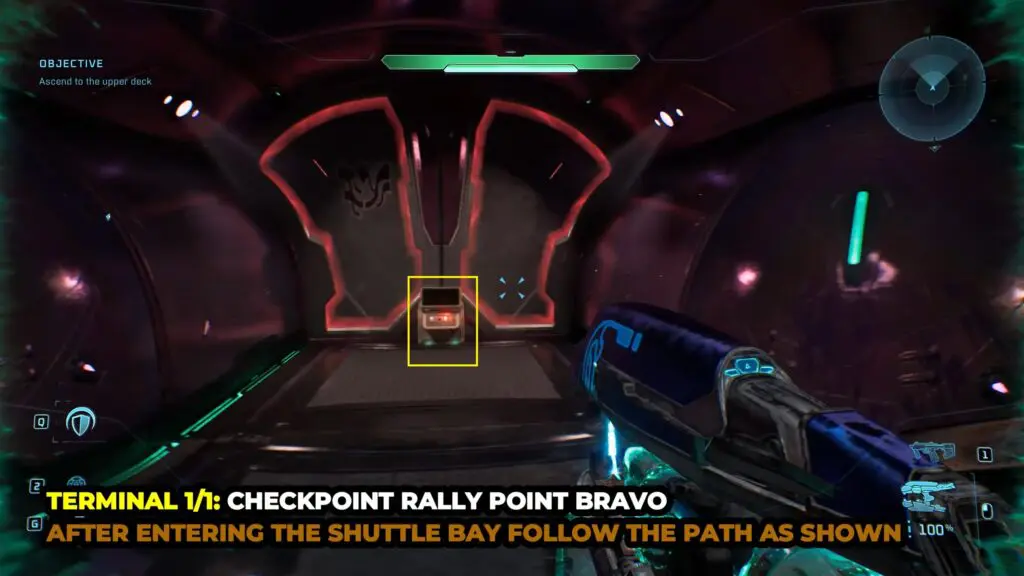
Terminal #10 (The Maw)
As you make your way to the bridge at the start of the mission, you’ll enter a cafeteria with a fire burning at the back. Check the wall on the right to find the Terminal.
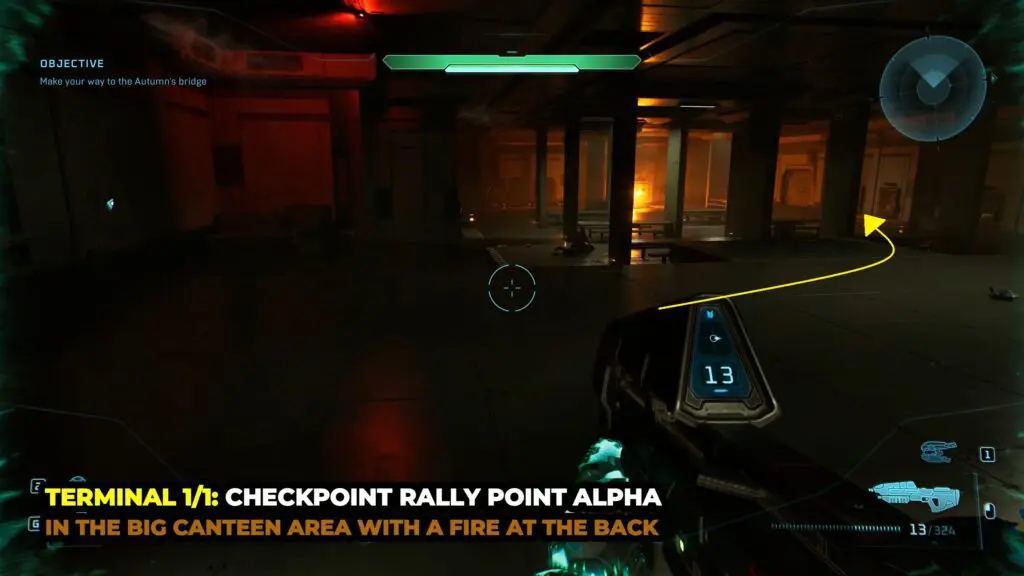
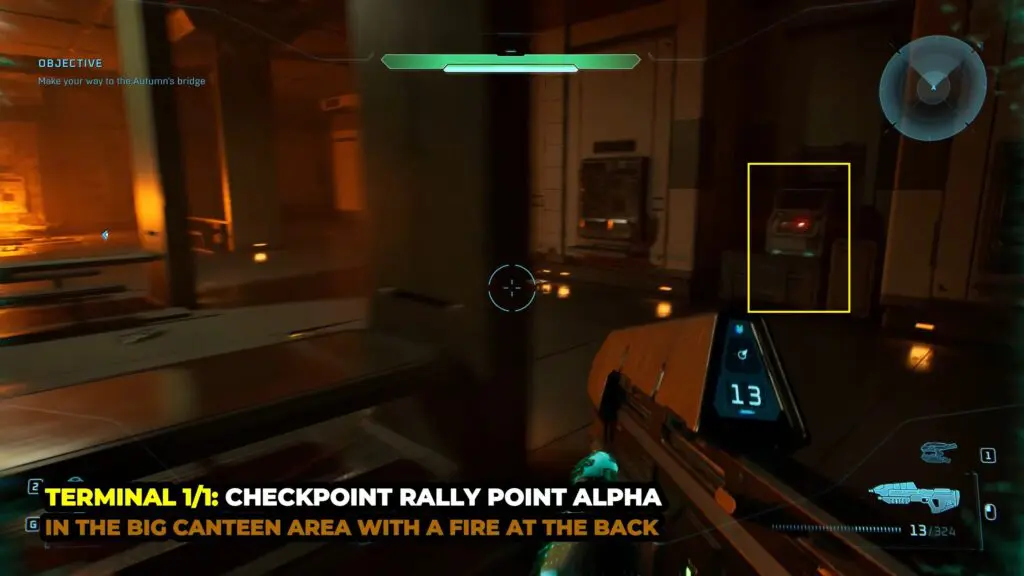
Terminal #11 (Boarding Action)
After reaching the top of the gravity lift, turn around instead of following the objective marker. Go through the door in the back-right corner of the room to find the Terminal just inside.
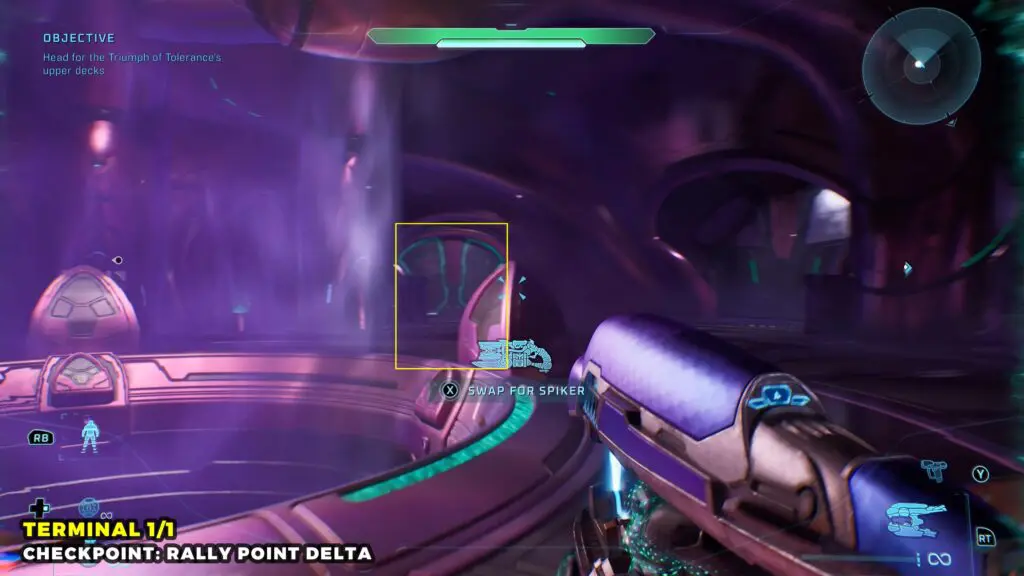
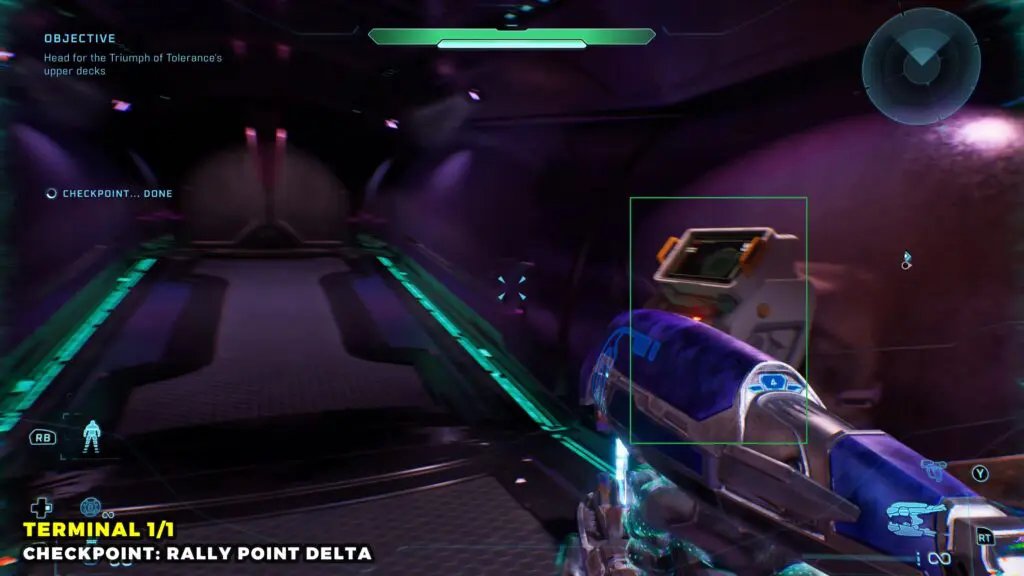
Terminal #12 (The Most Dangerous Game)
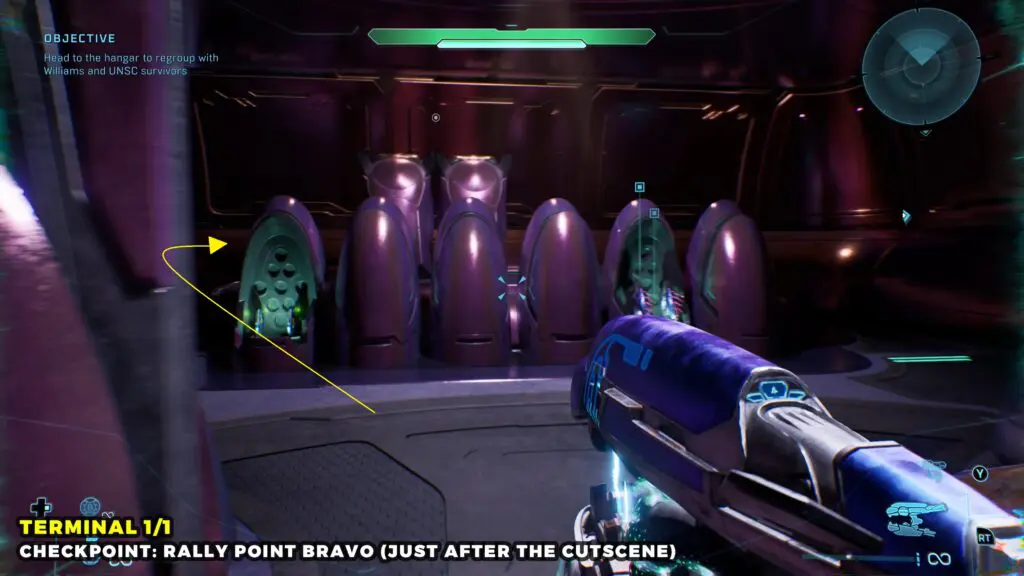
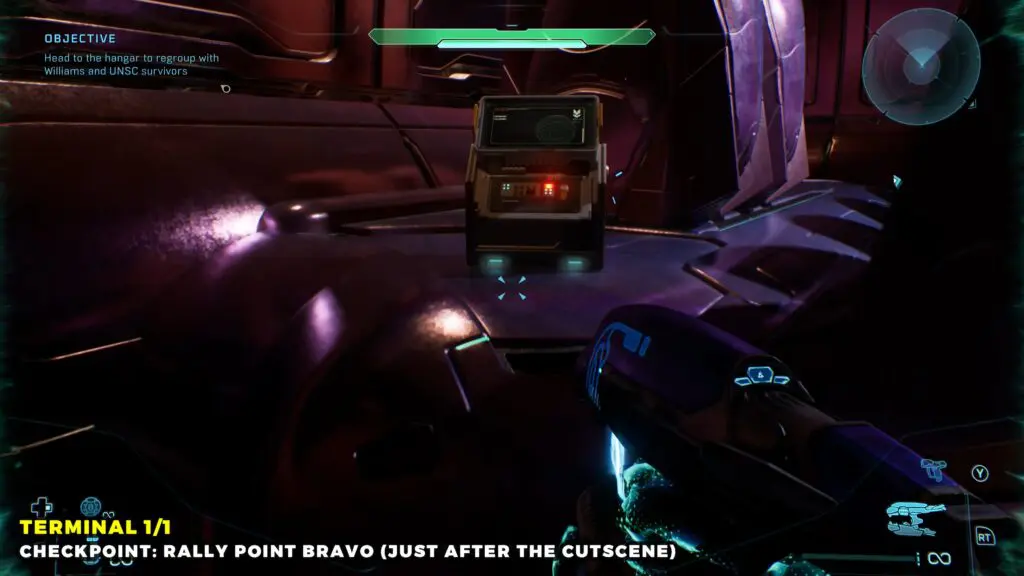
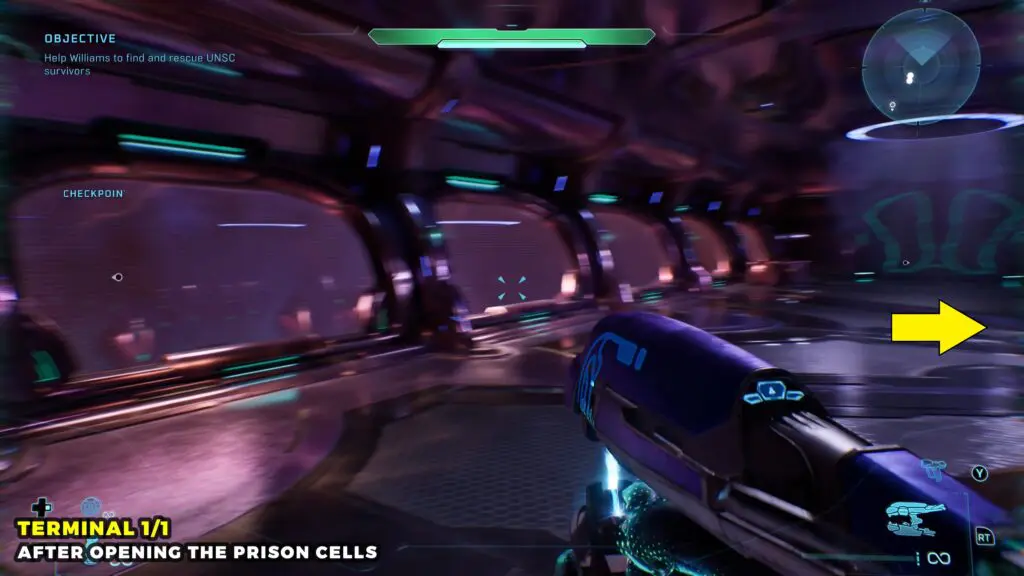
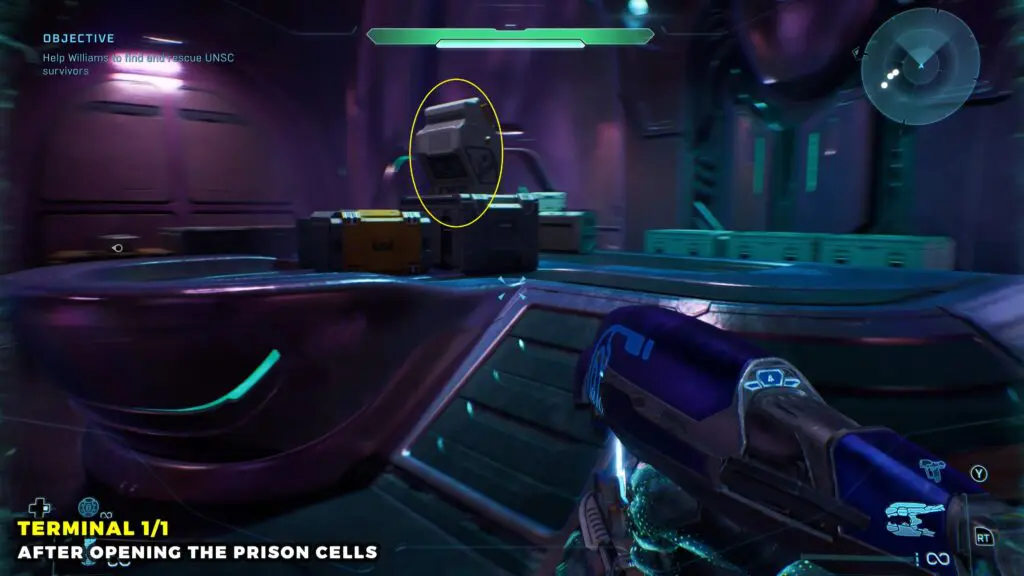
As you make your way through the ship after rescuing UNSC soldiers from the prison cells, you’ll eventually enter a room with a row of windows on your left overlooking several pods. Go through the door opposite the windows, and you’ll find the Terminal on the platform inside.
Terminal #12 (Heavy Burden )
After the cutscene where you download the data, you’ll regain control in the bridge room. Head to the lower floor and exit through the unlocked doors at the back.
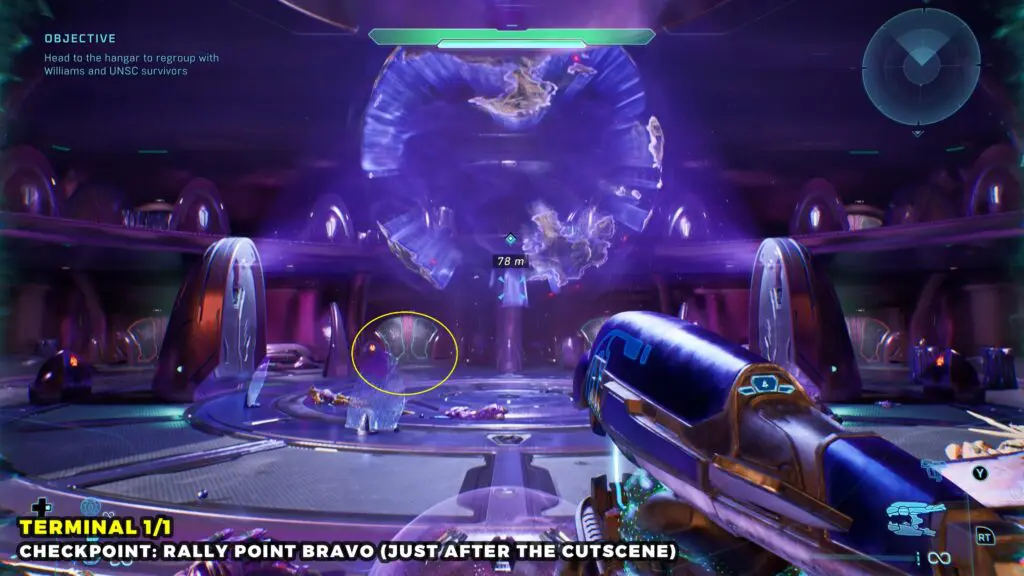
Continue through the next room into the armory, then go through the following door. You’ll find the Terminal behind the pods on the left side.