Looking for the solution to the Illusionist’s Cache dungeon puzzle in Mortal Shell 2? This dungeon has a tricky puzzle that can be confusing at first, especially when you are not sure which objects are real and which are illusions. In this guide, we will show you how to solve the Illusionist’s Cache puzzle.
Start by fast-traveling to the Outskirts of Nochte Beacon. From the Beacon, head left and follow the path as it turns north until you reach a Bone Gate. Use the Bone Gate to travel to the other side.
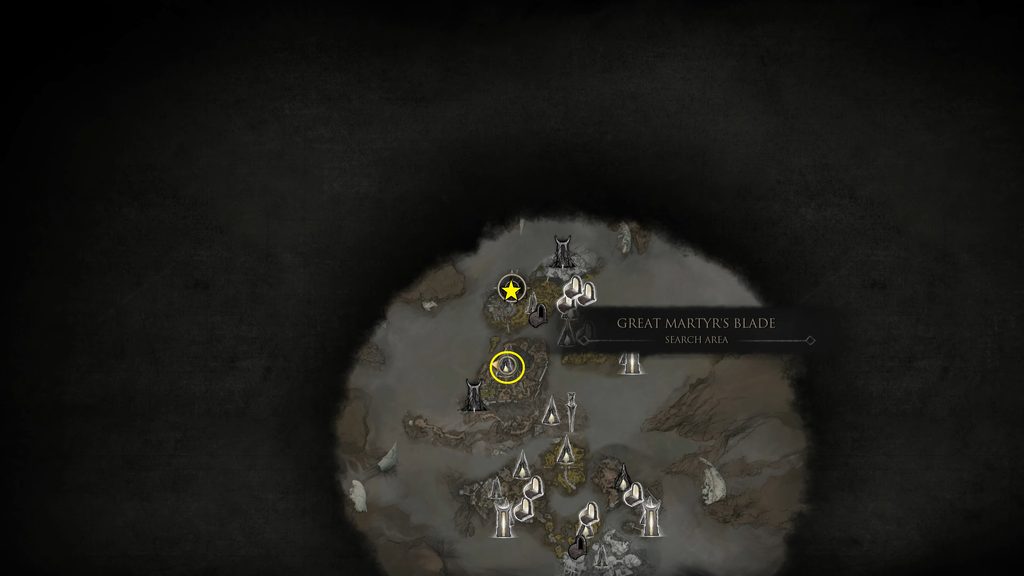
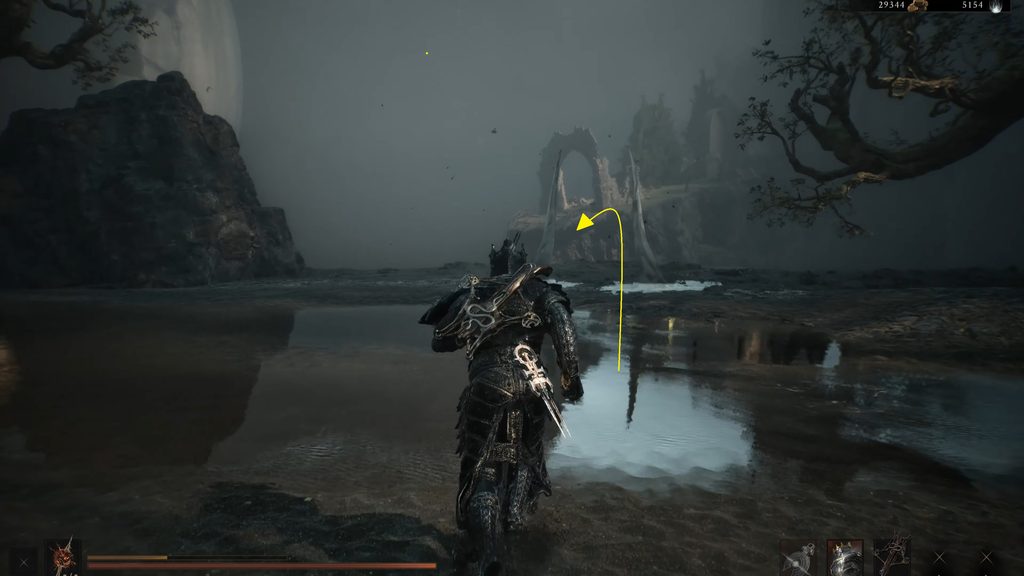
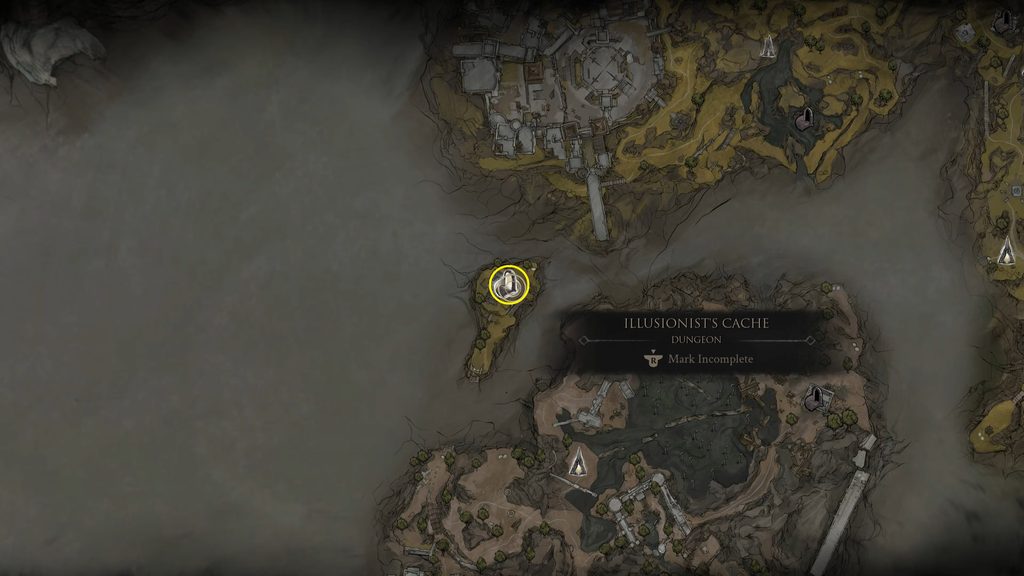
Once you reach the new area, follow the main path and cross the bridge. After crossing, look at the ruined building on your left to find the entrance to the Illusionist’s Cache Dungeon. If you reach the Bone Gate, you have gone too far.
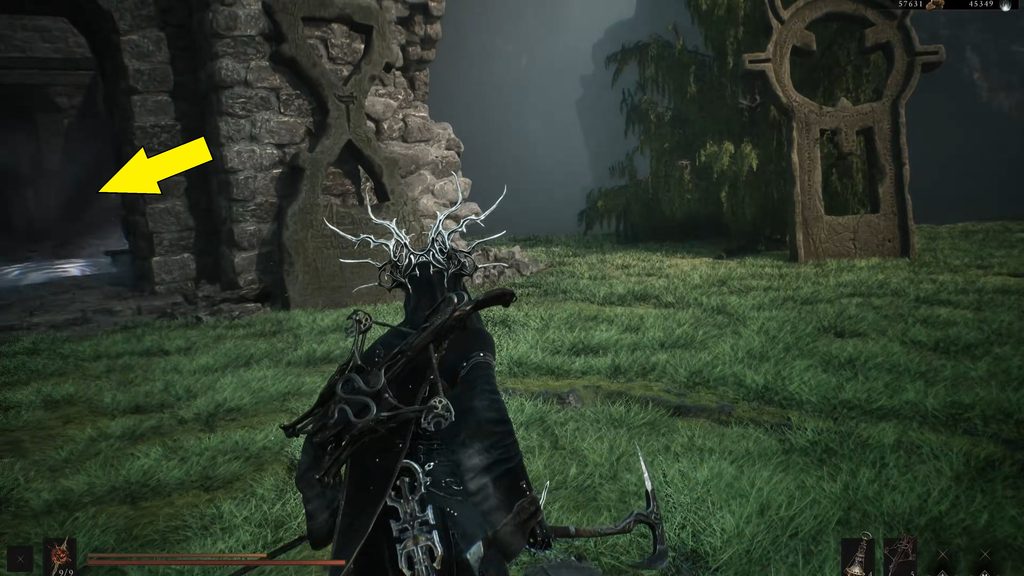
How to get Shuddering Stone Tarstone
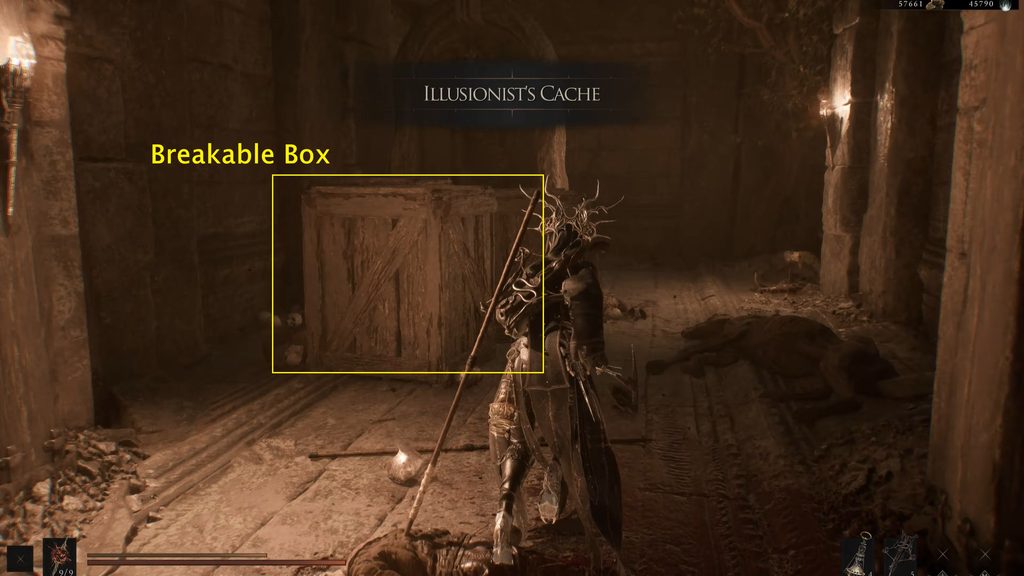
Enter the Illusionist’s Cache Dungeon and use the elevator to go down to the lower level. Follow the path until you reach a dead end. At the end, you will find some breakable boxes in front of an archway. Break the boxes and go through the archway to enter the next area.
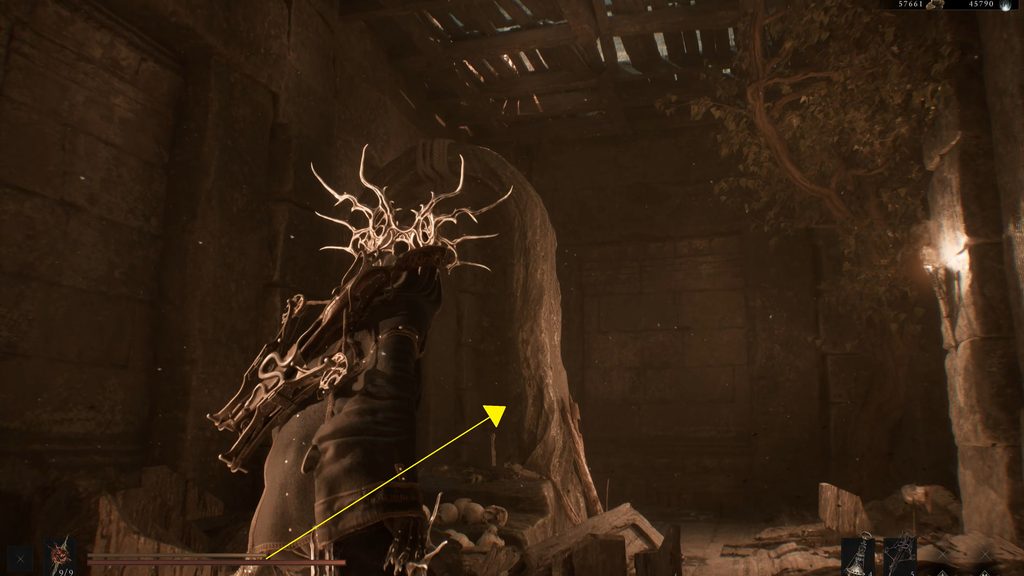
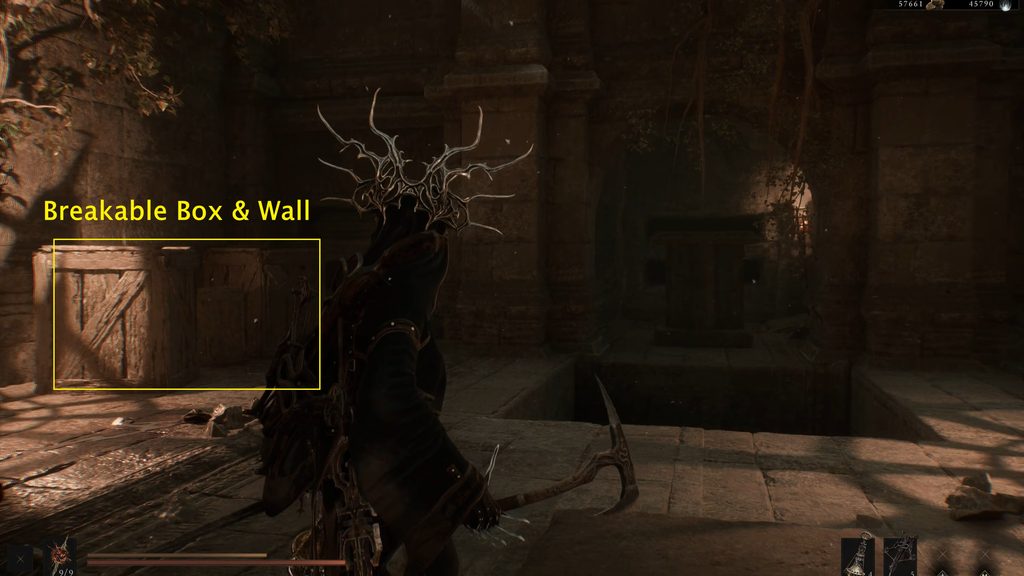
In the next room, look to the left of the hole for more breakable boxes. Break them and attack the false wall behind them to reveal a hidden room.
Enter the room and immediately take the stairs on the left. At the top, you will see another illusion arch directly in front of you. But you cannot reach it directly. Instead, shoot the bell hanging from the archway. This creates a platform that you can use to reach the door. Go through the door and drop down into the room below.
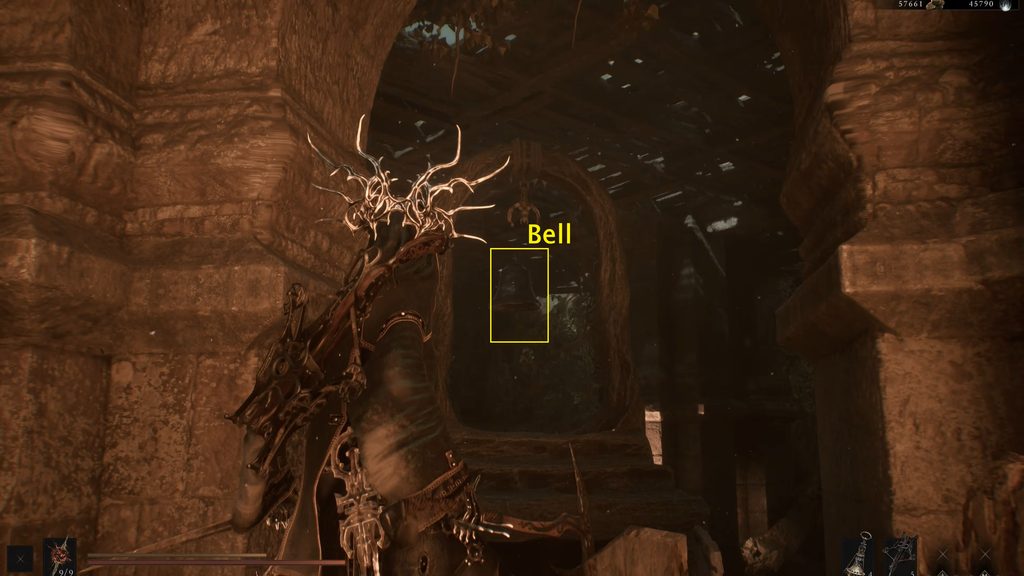
Now, in this room, look for a movable pillar. Walk behind the movable pillar and attack it. This will push the pillar directly onto the pressure plate in the middle of the room.
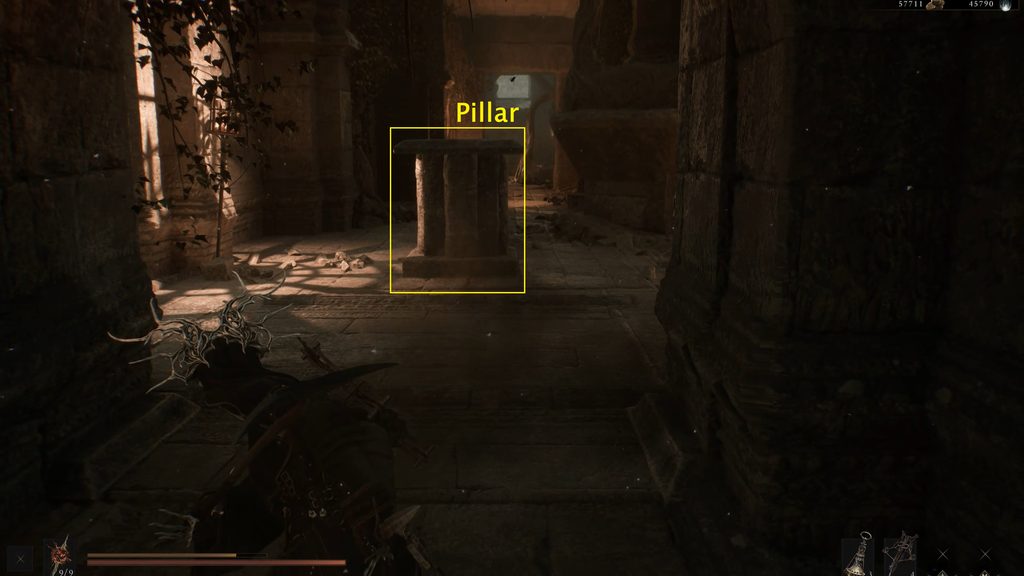
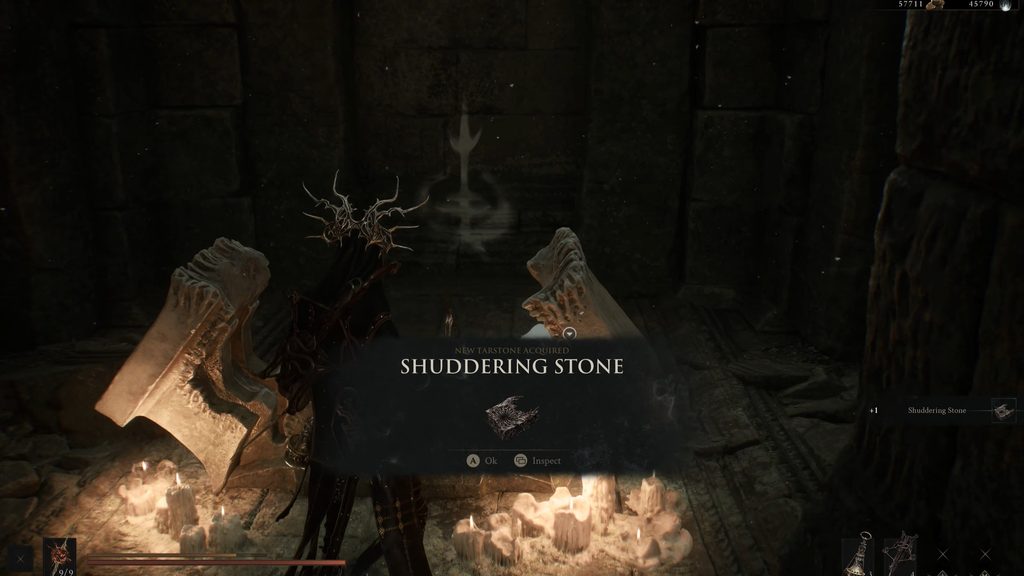
Now, leave the room from the left side, take the stairs, and drop down from the archway again. Once you land, you will see another open room on the right. Enter this room and open the chest to collect the Shuddering Stone Tarstone.
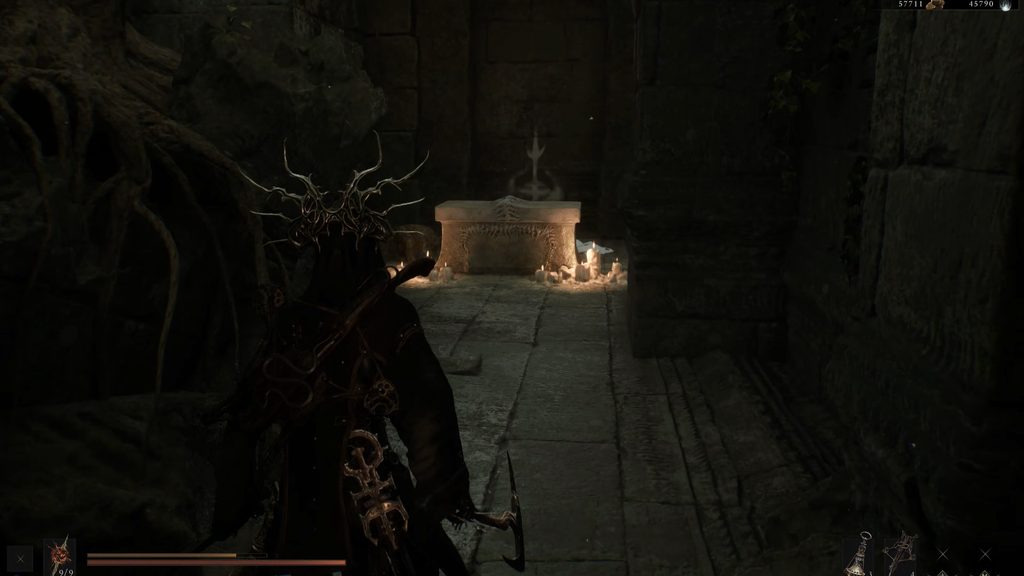
This Tarstone makes projectiles create a knockback shockwave when they hit an enemy.