In Hollow Knight: Silksong, Lost Fleas are hidden creatures scattered across different areas of Pharloom. This guide will help you track down every Lost Flea location step by step, so you can complete your collection and explore every corner of the game.
Also Read: Hollow Knight: Silksong Walkthrough & Guides
The Marrow
Lost Fleas #1
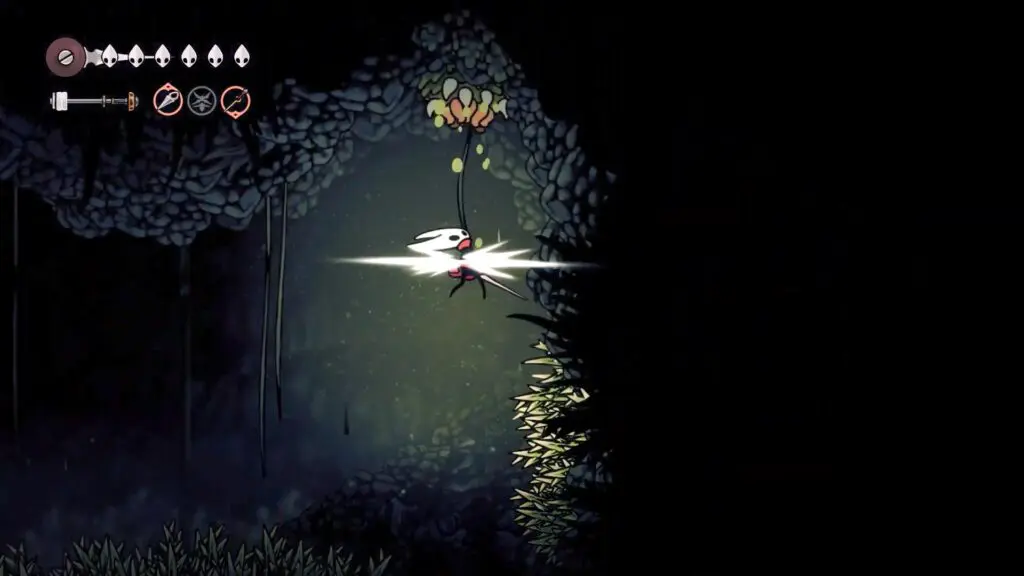
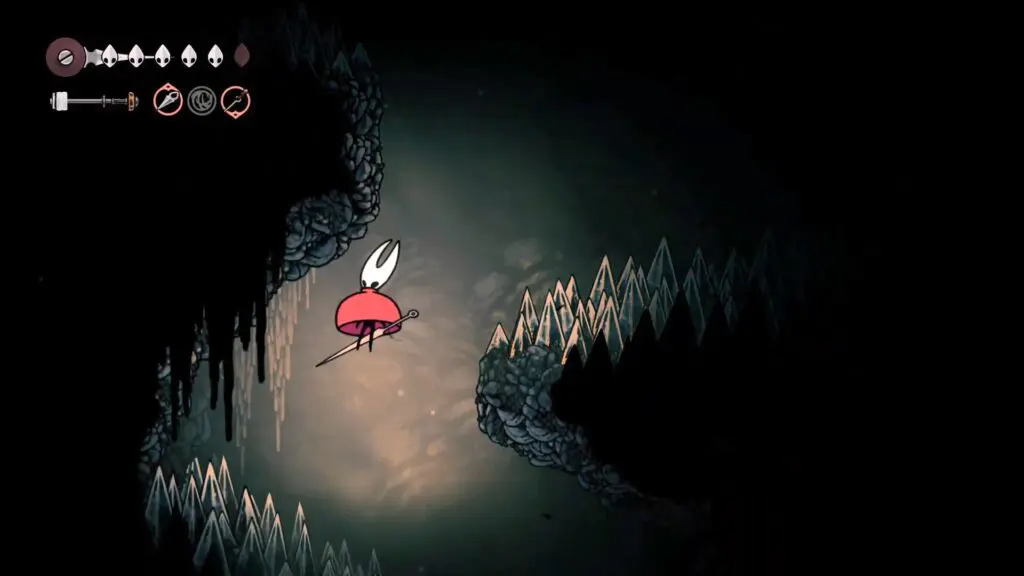
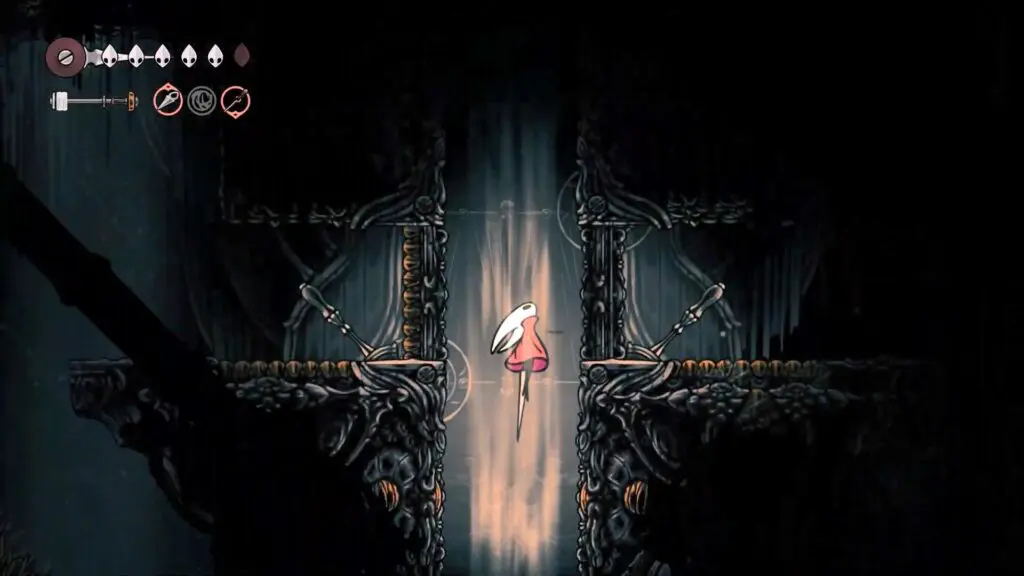
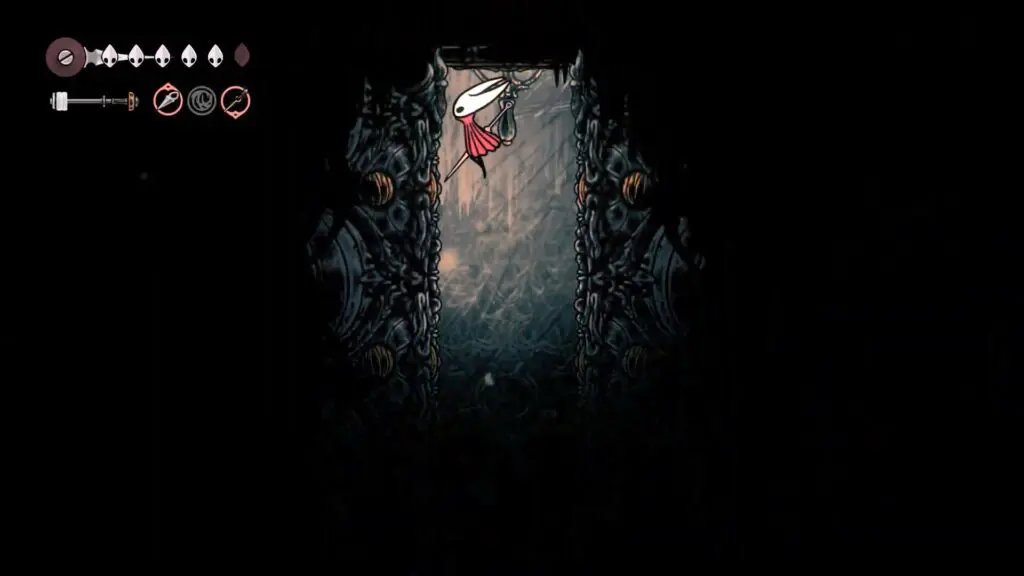
The first Lost Flea is located in the upper part of The Marrow. From the bench, head to the right and start climbing upward until you reach a new chamber.
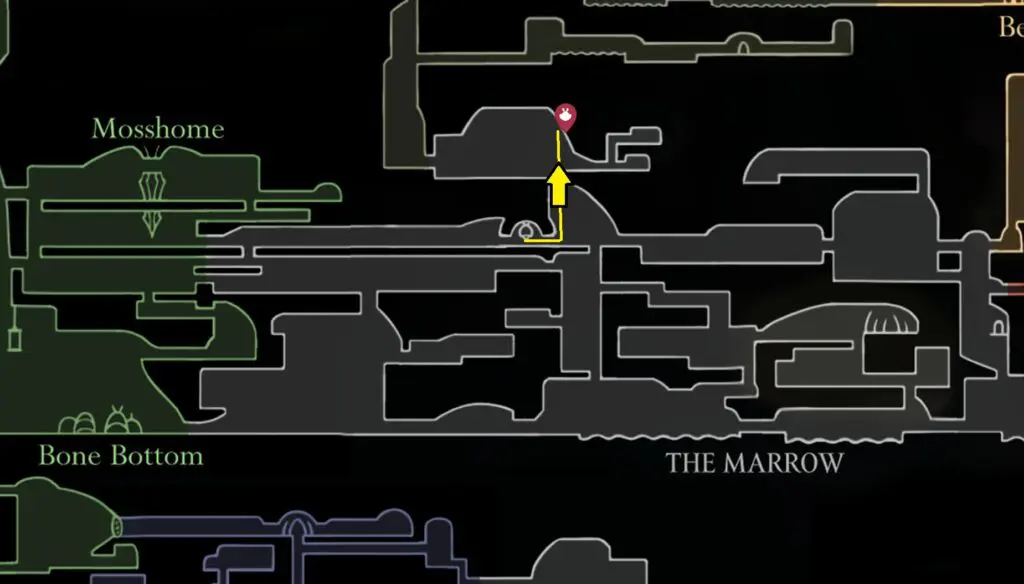
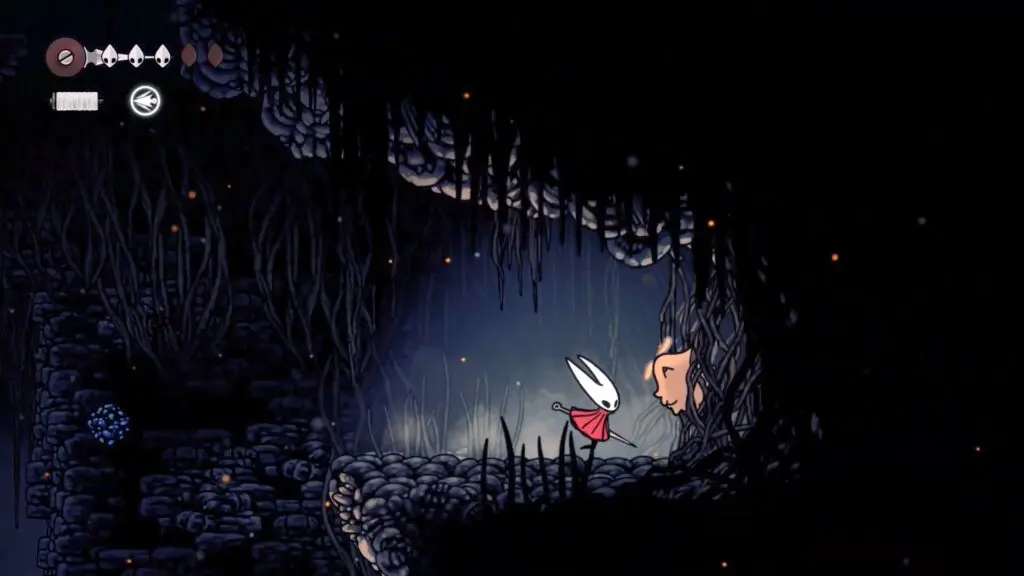
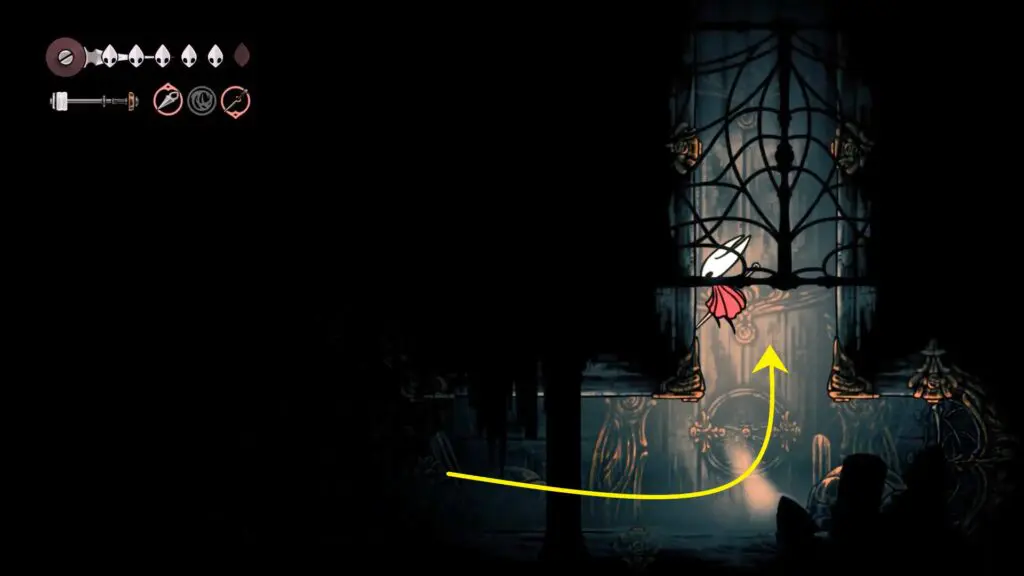
The Lost Flea can be found in the top-right corner of the chamber. To reach there, first move left and climb up the ledges. Once you reach the top, make your way back to the right side of the chamber. Break the vines to free the Lost Flea.
Deep Docks
There are a total of three Lost Fleas in the Deep Docks area. Lost Flea #2 and Lost Flea #3 are easy to access and can be reached directly as you explore the region. However, Lost Flea #4 requires a Simple Key to unlock the hidden section where it is located.
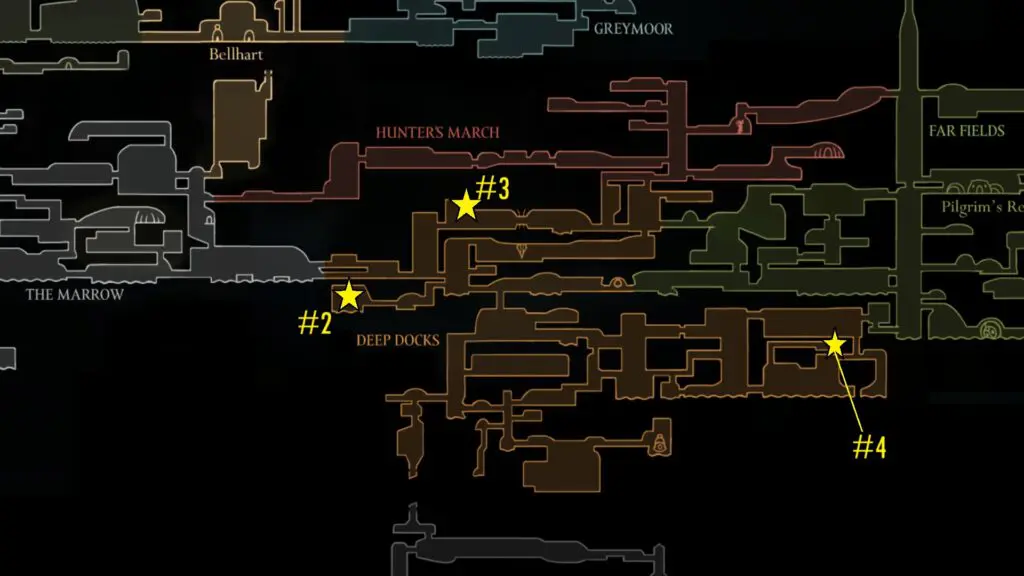
Lost Fleas #2
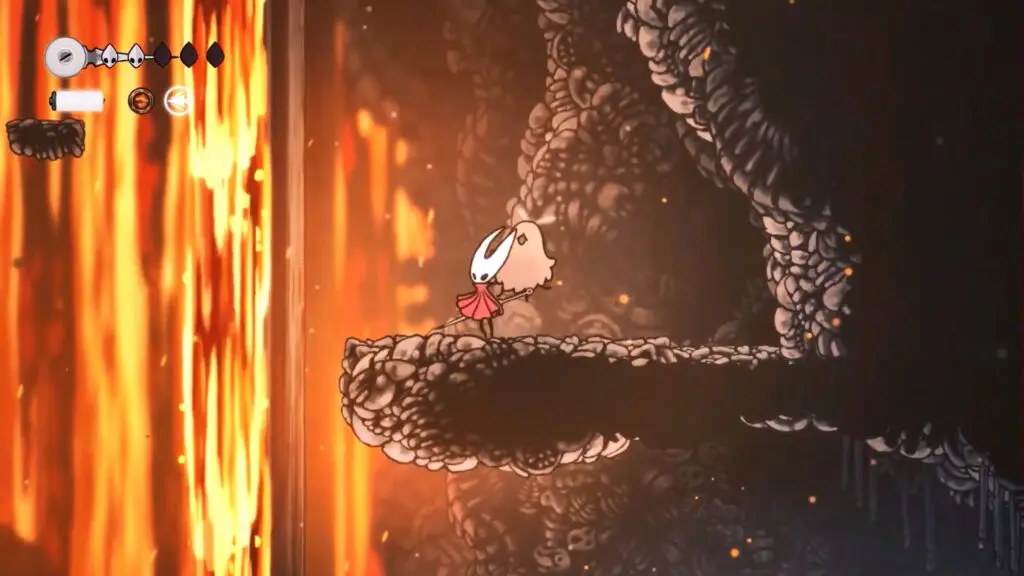
It can be found in the top-right corner of the lava room.
Lost Flea #3
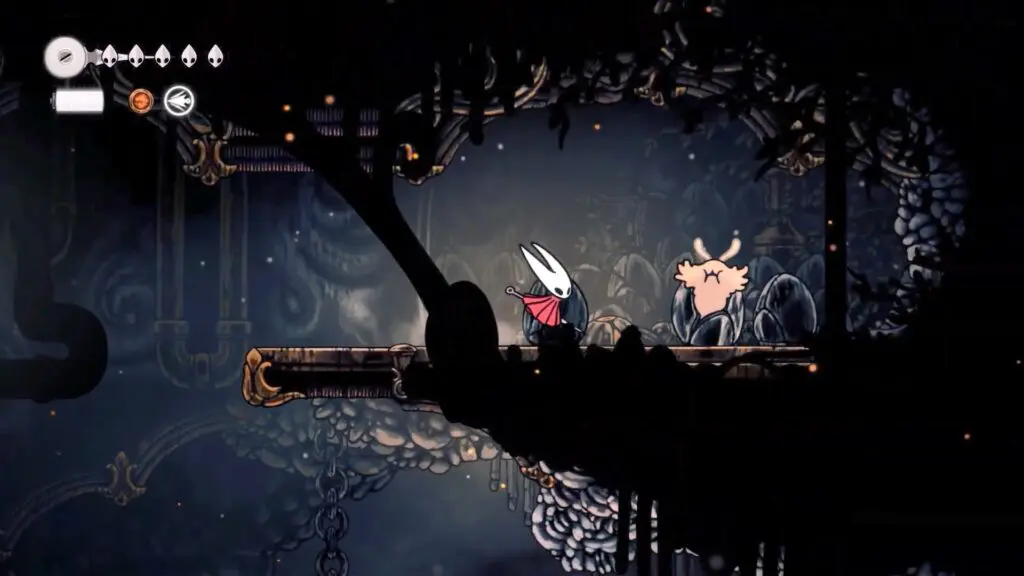
It is located in the upper-left section of the room where you obtain the Swift Step ability.
Lost Flea #4
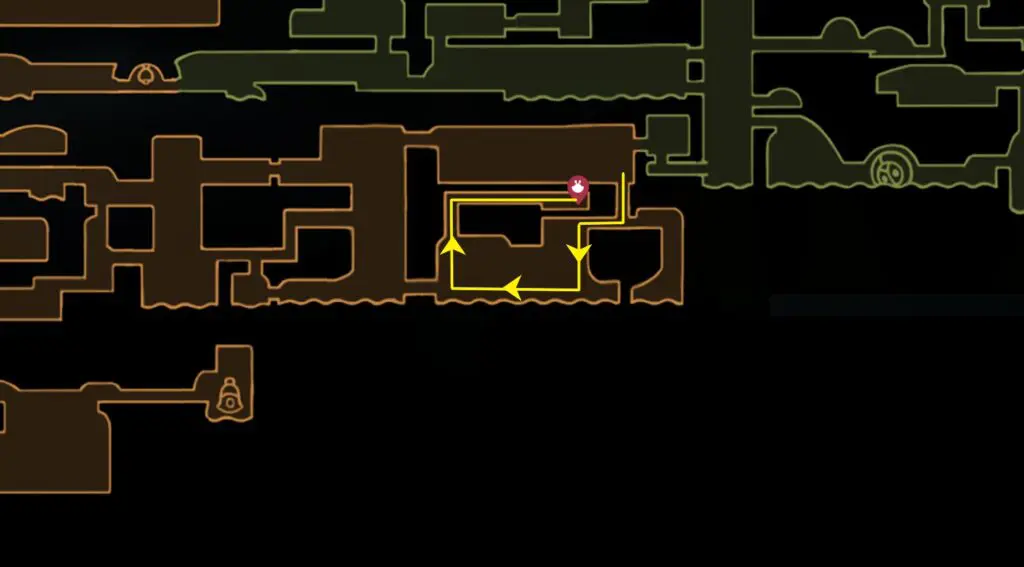
ost Flea #4 is found in a hidden alcove on the eastern side of the Deep Roots area. To reach this location, you will need a Simple Key to unlock the passage and the Clawline ability to climb across the terrain.
Far Fields
Lost Flea #5
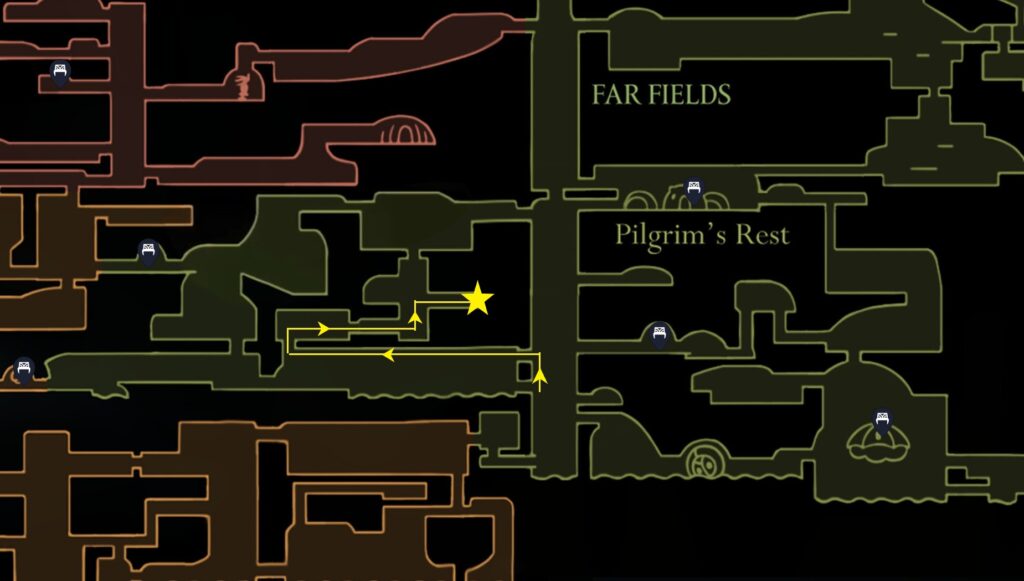
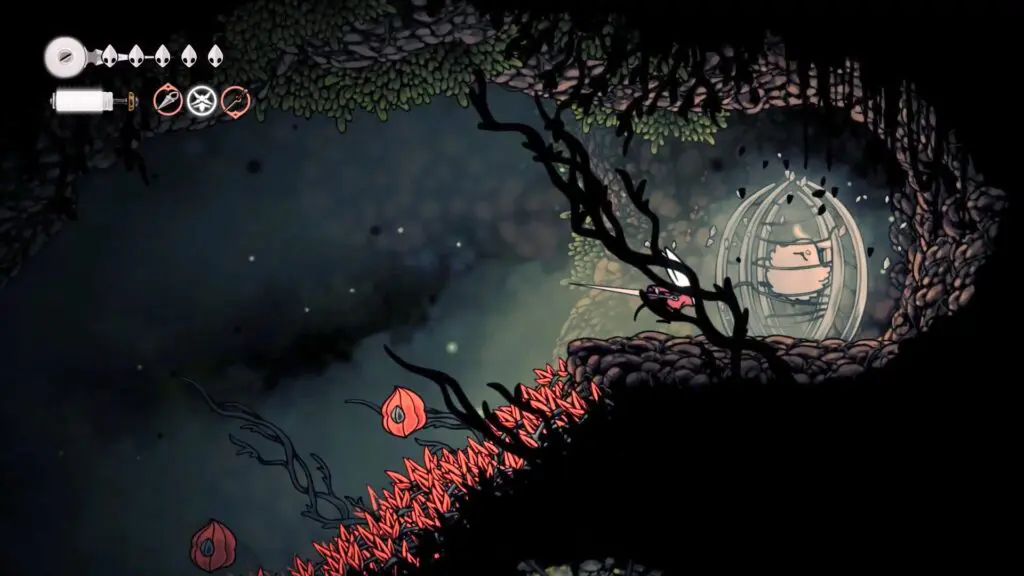
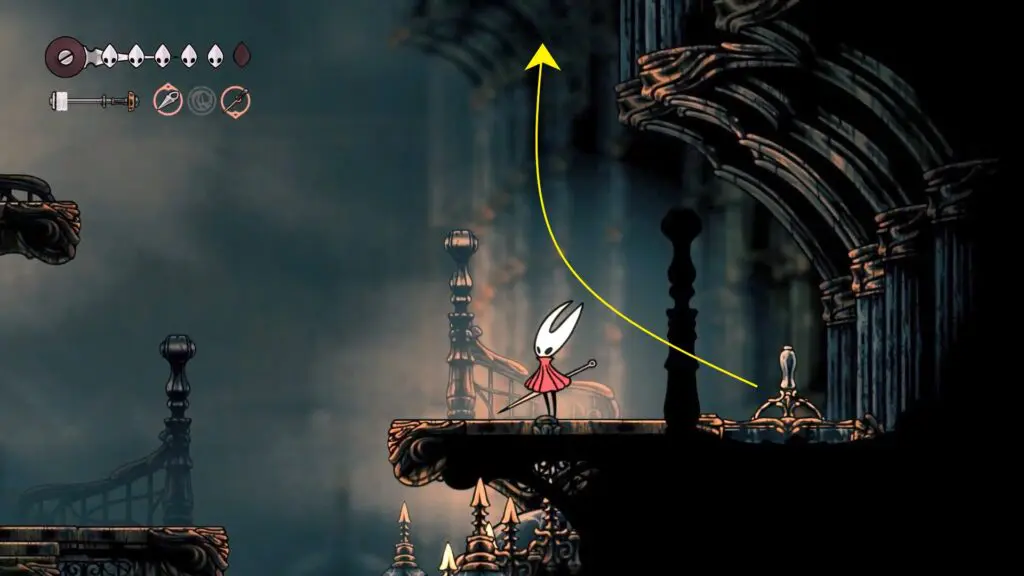
From the large vertical chamber in Far Fields, take the lower-left passage and follow it left and then upward. Continue climbing until you reach a small area where a Lost Flea is trapped inside a cage. Break the cage to free it and add it to your collection.

Lost Flea #6
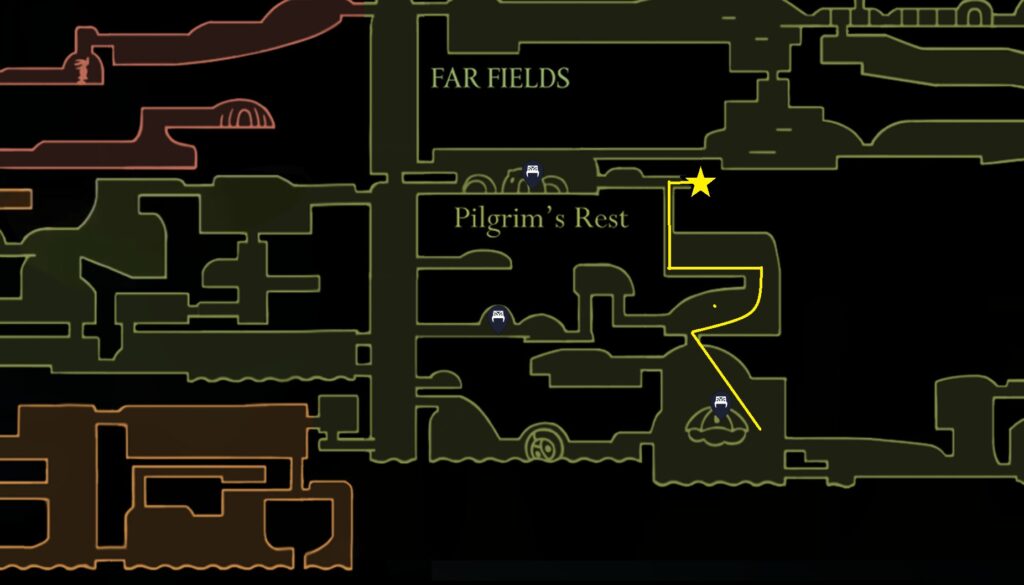
From the lower-right bench in Far Fields, where to obtain Drifter’s Cloak ability, head right. Then make use of the air current to rise upward and reach the top section of the area. As marked on the map, you’ll find the Lost Flea waiting there to be freed.
Hunter’s March
Lost Flea #7
The Lost Flea in Hunter’s March is located on the left side of the area. Climb upward to the top-right corner of the chamber, where you’ll find the Lost Flea waiting to be freed.

Greymoor
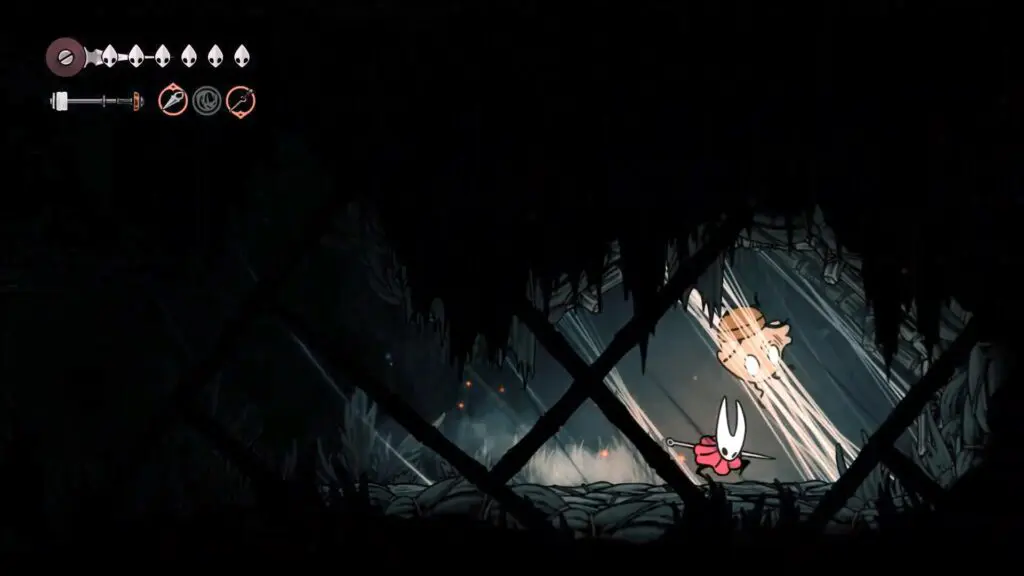
Lost Flea #8
Go to the bottom-right part of Greymoor. Use the balloons to bounce upward. When you are about halfway up, glide to the right, and you’ll find the Lost Flea trapped in a cage.
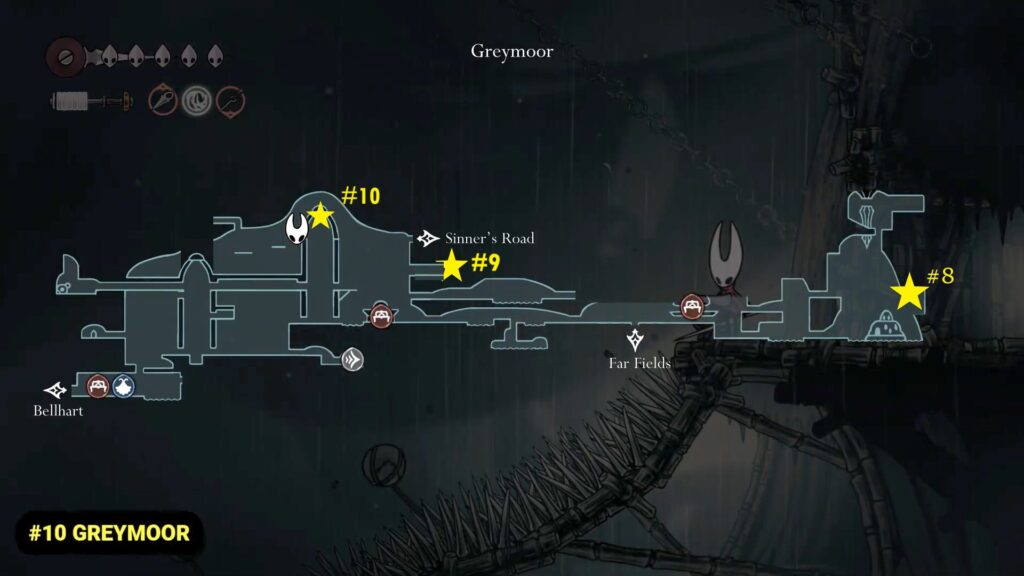
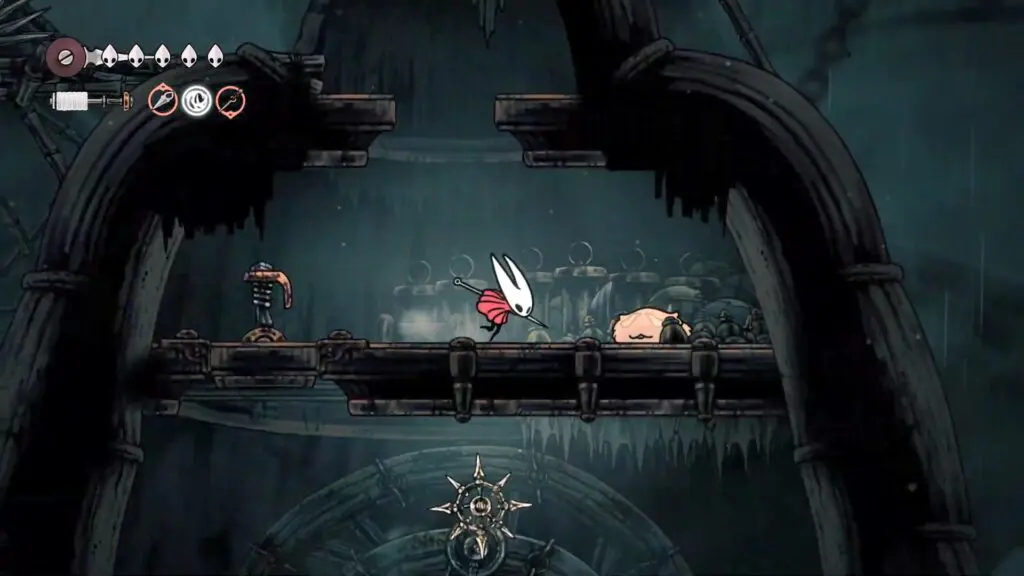
Lost Fleaa #9
You can find this Lost Flea in the top-right part of the central area, just below the exit that leads to Sinner’s Road.
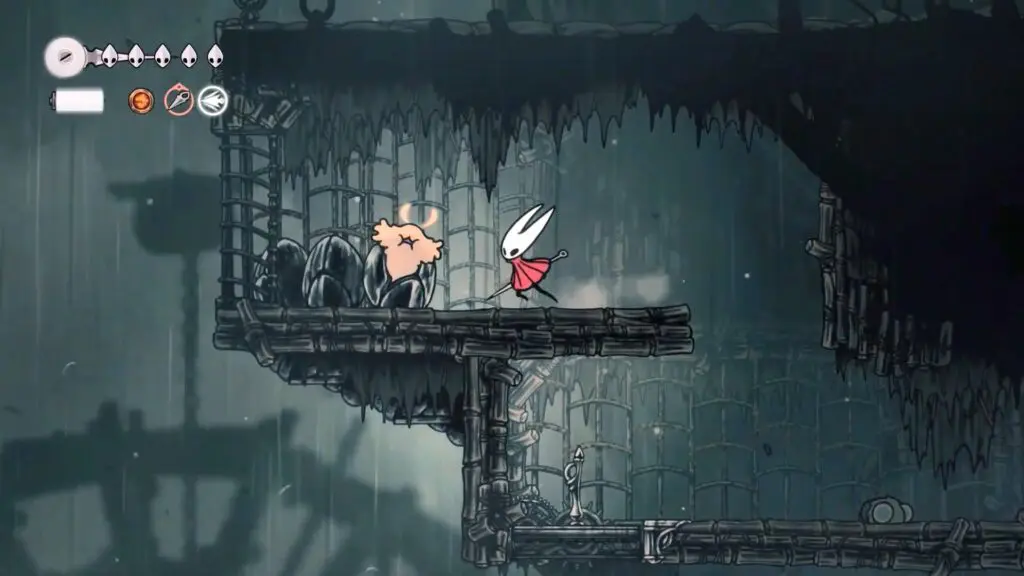
Lost Flea #10
This Lost Flea is at the top of the tower on the left side of the zone. To reach it, you need to go around from the right and use pogo jumps on enemies and spikes to climb up.
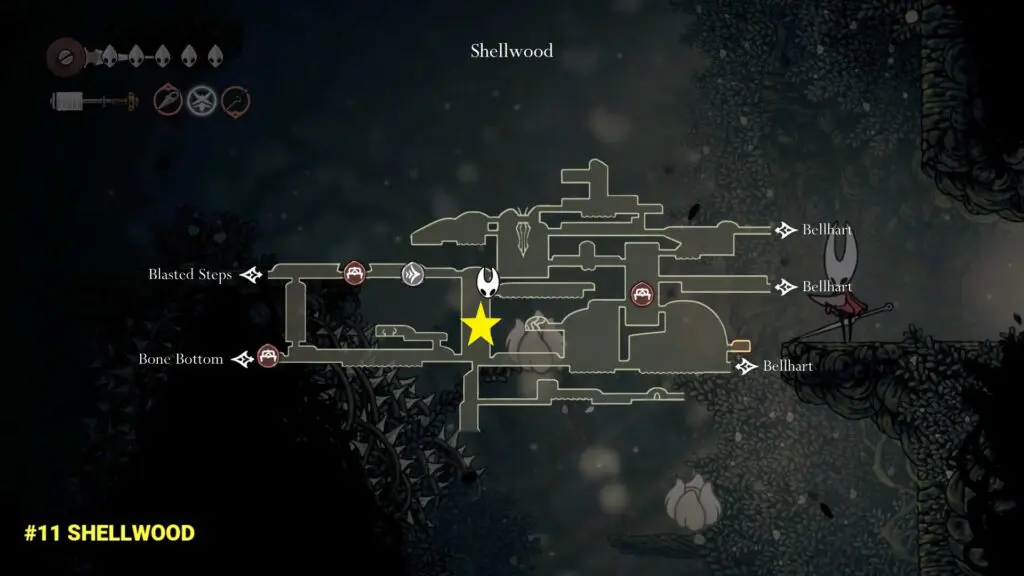
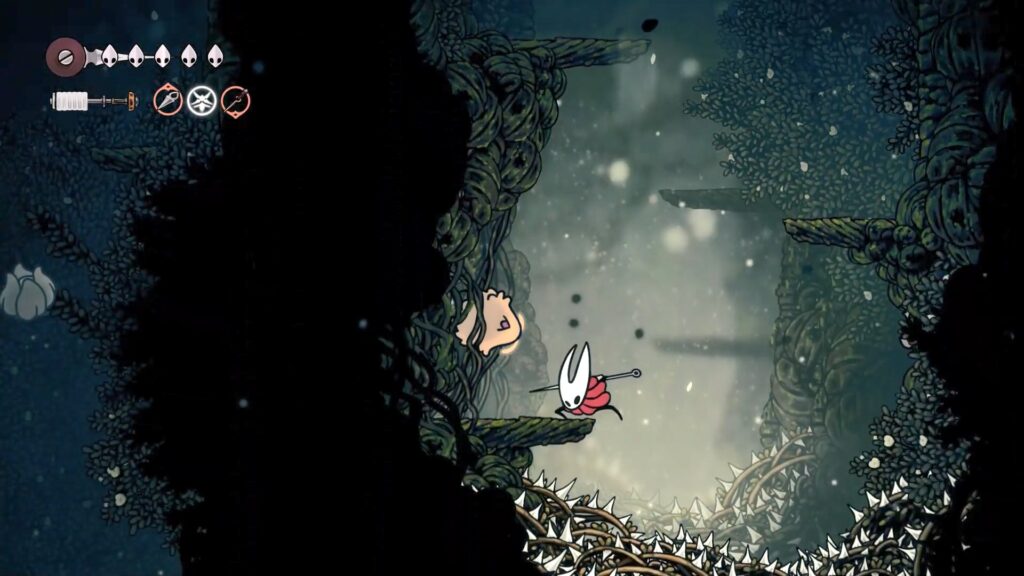
Shellwood
Lost Flea #11
This Lost Flea is found in the central chamber of Shellwood.
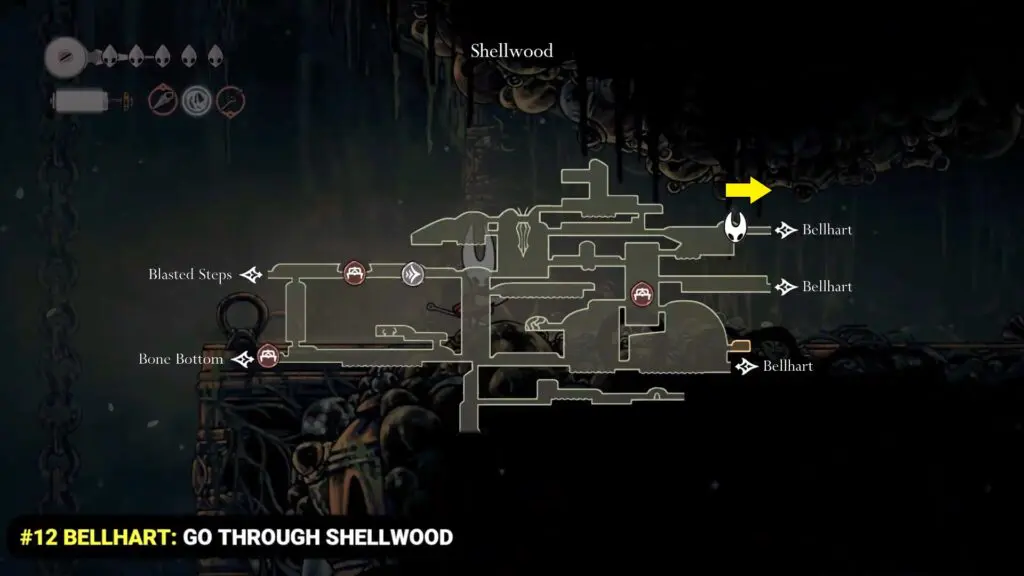
Bellheart (Enter through Shellwood)
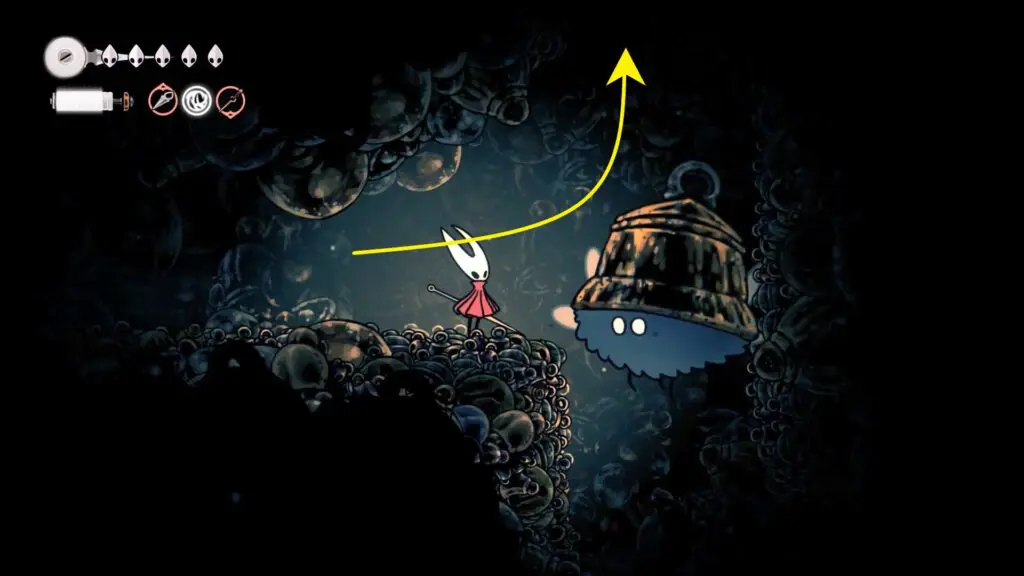
Lost Flea #12
Enter Bellhart from Shellwood. When you reach the first vertical tunnel with bell-covered enemies, climb up and then go left. There you’ll find the Lost Flea.
Blasted Steps
Lost Flea #13
This Lost Flea is at the top of the Blasted Step, just below the Sands of Karak. From the upper bench in Blasted Step, head left and climb up to reach it.

Sands of Karak
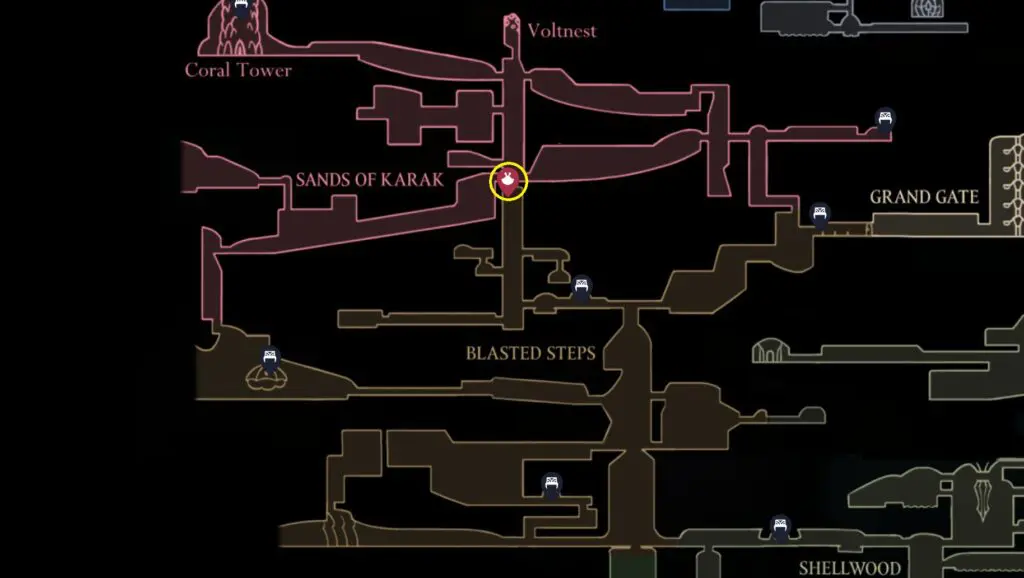
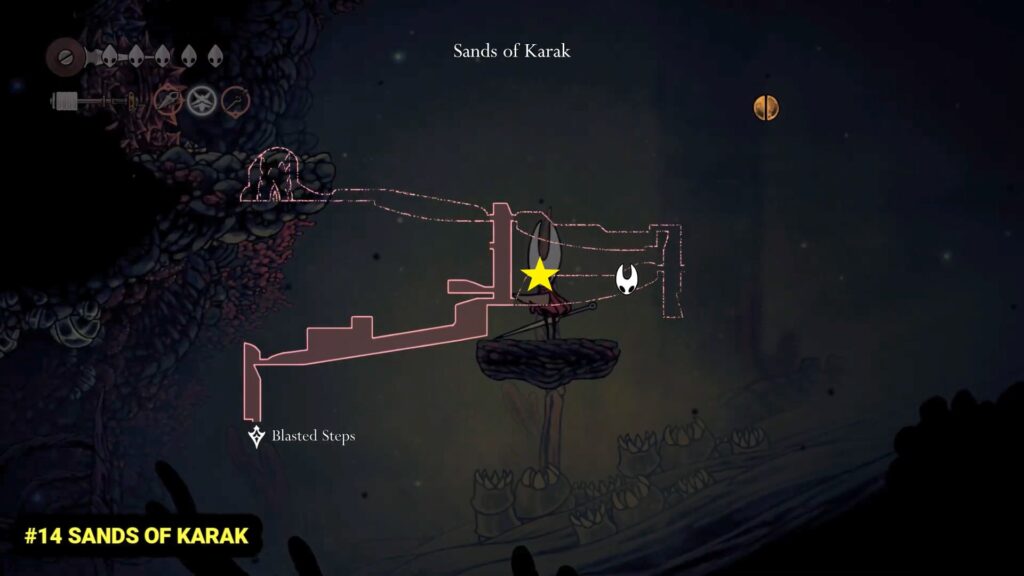
Lost Flea #14
This Lost Flea is in a small nook in the lower-right tunnel of the Sands of Karak.
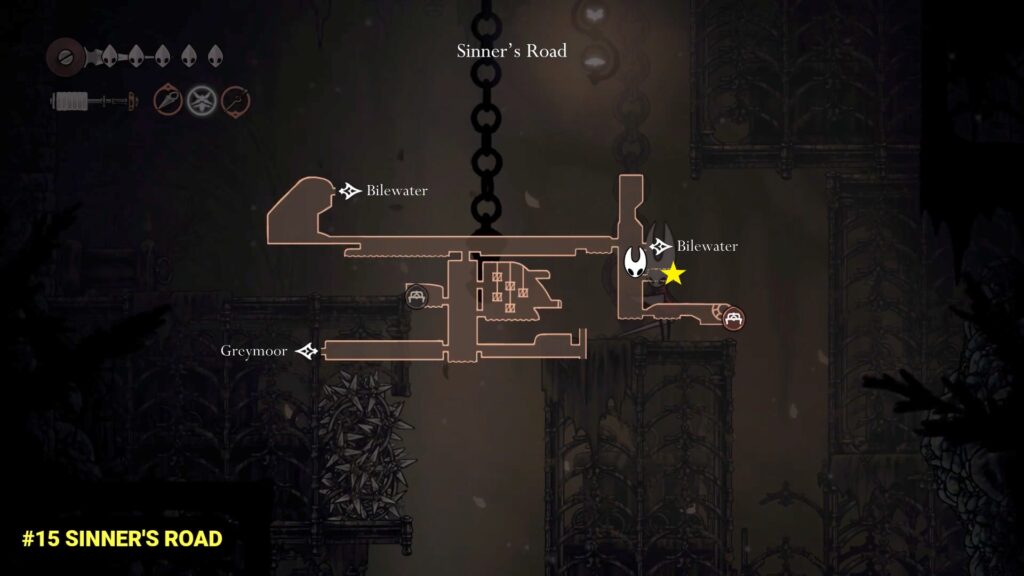
Sinner’s Road
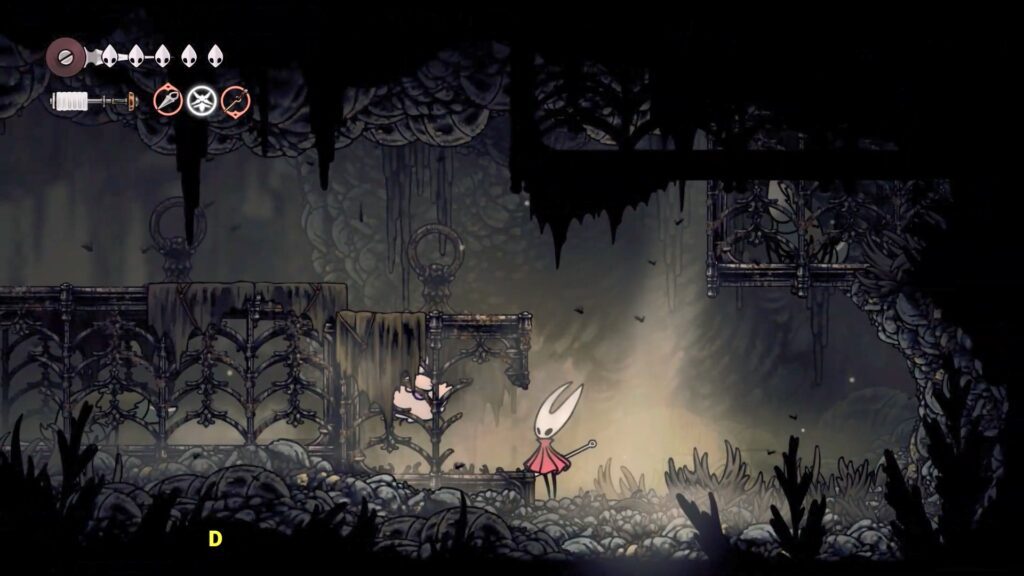
Lost Flea #15
This Lost Flea is on the right side of Sinner’s Road, locked inside a cell.
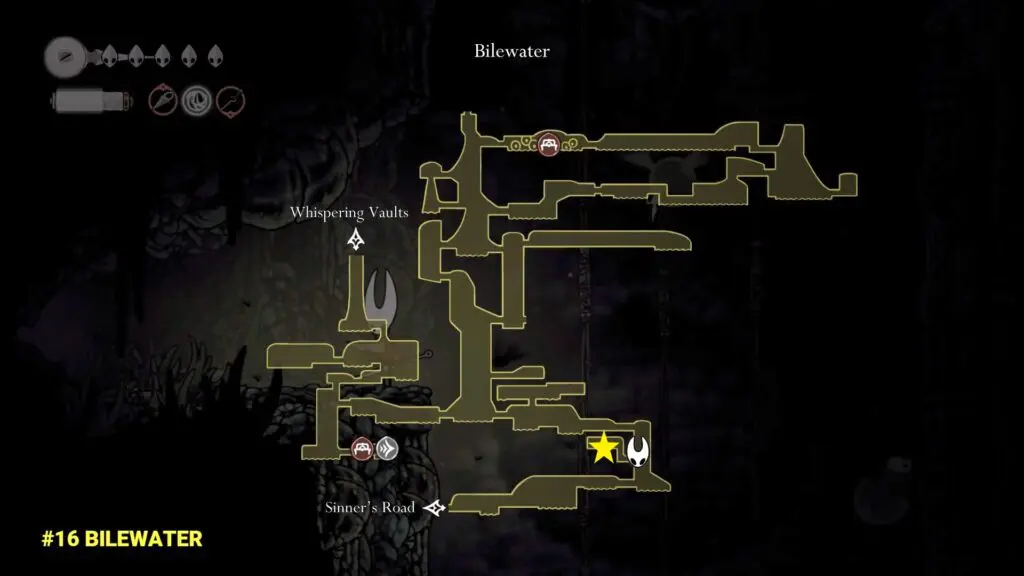
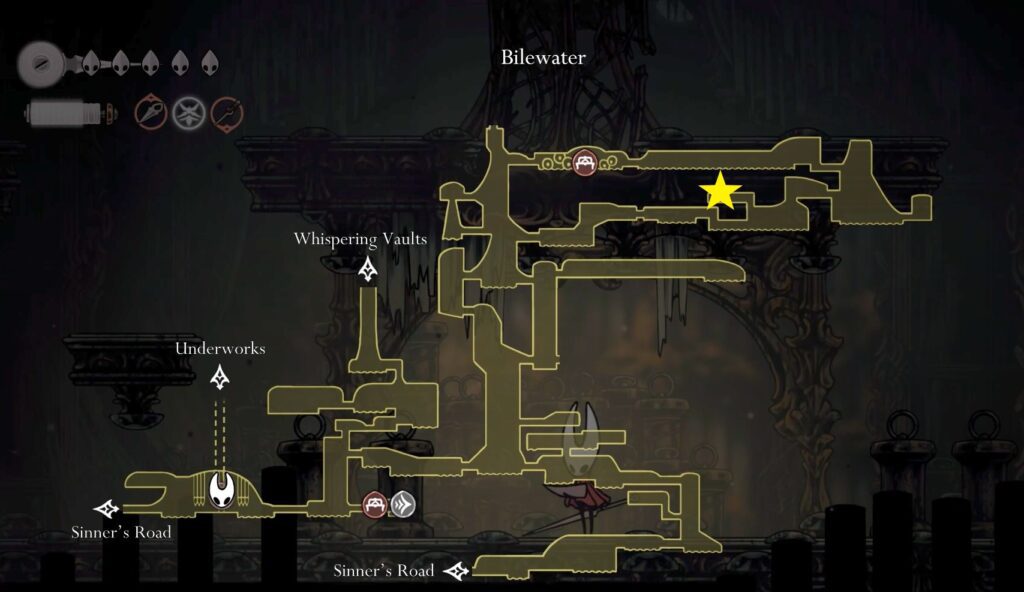
Bilewater
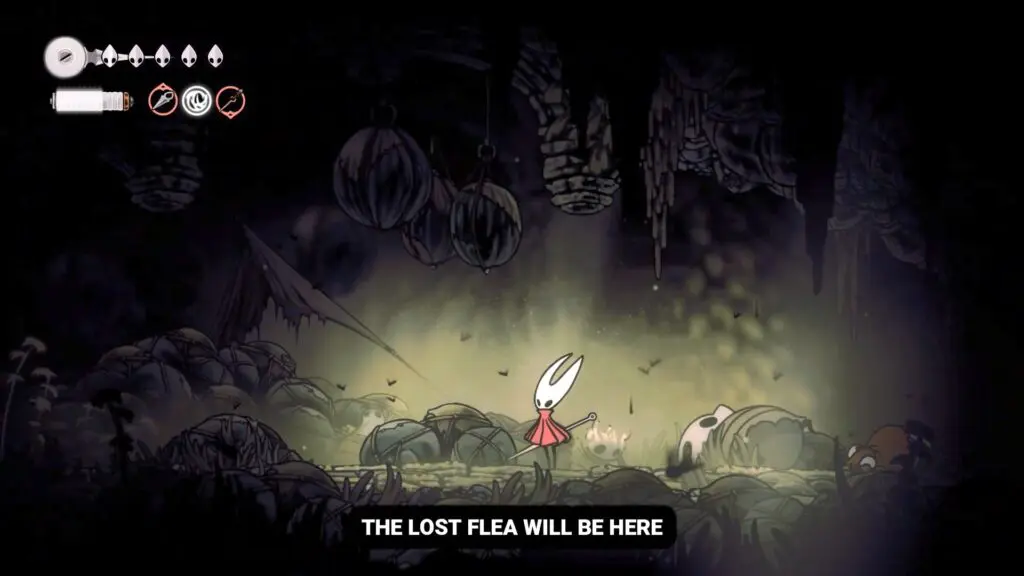
Lost Flea #16
This Lost Flea is in the lower-right part of Bilewater.
Lost Flea #17
The third Bilewater Lost Flea is at the upper-right corner of the region.
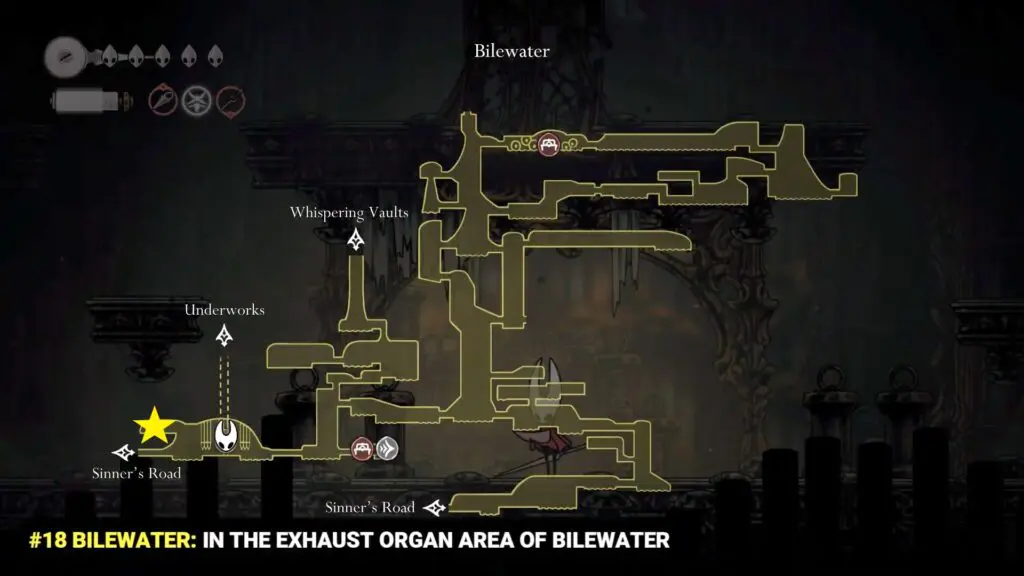
Bilewater (Exhaust Organ)
Lost Flea #18
This Lost Flea is in the Exhaust Organ sub-zone. You can reach it from Sinner’s Road by passing through the Mist. It is in the top left chamber.
Choral Chambers
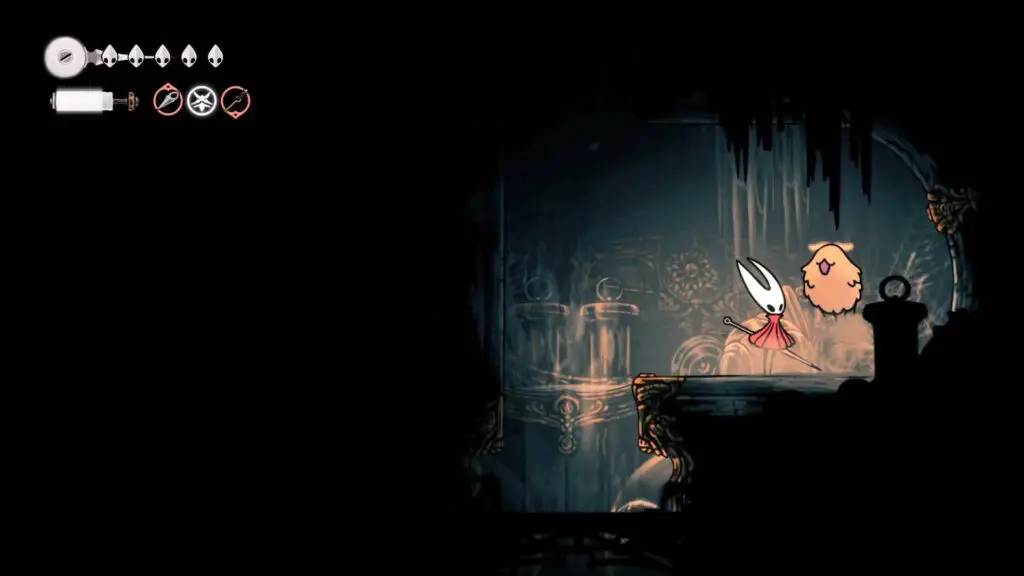
Lost Flea #19
Go to the leftmost vertical chamber, then enter the middle tunnel on the right side to find the Lost Flea.
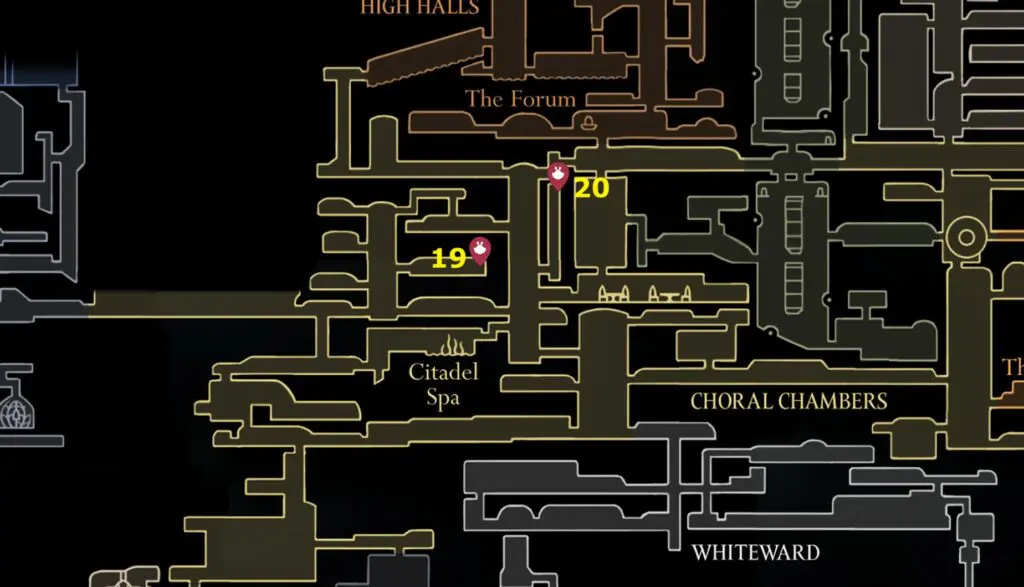
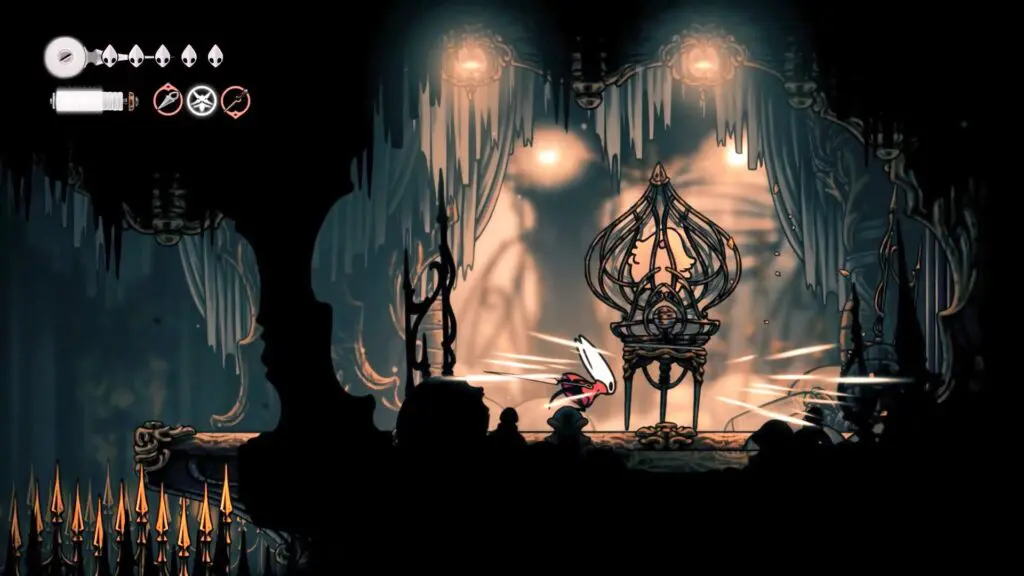
Lost Flea #20
Head to the vertical chamber, as shown on the map, and check the right wall. Break the wall to make a wind current, and ride it into a nook where the Lost Flea is hidden.
The Slab
Lost Flea #21
This Lost Flea is in the central-left part of the zone. Enter the door to find and free the Lost Flea.
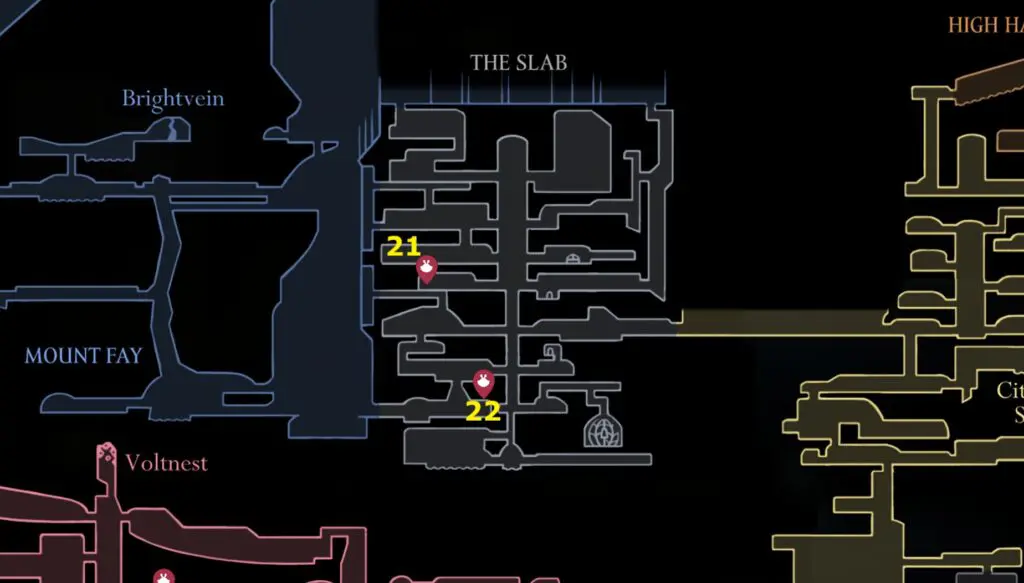
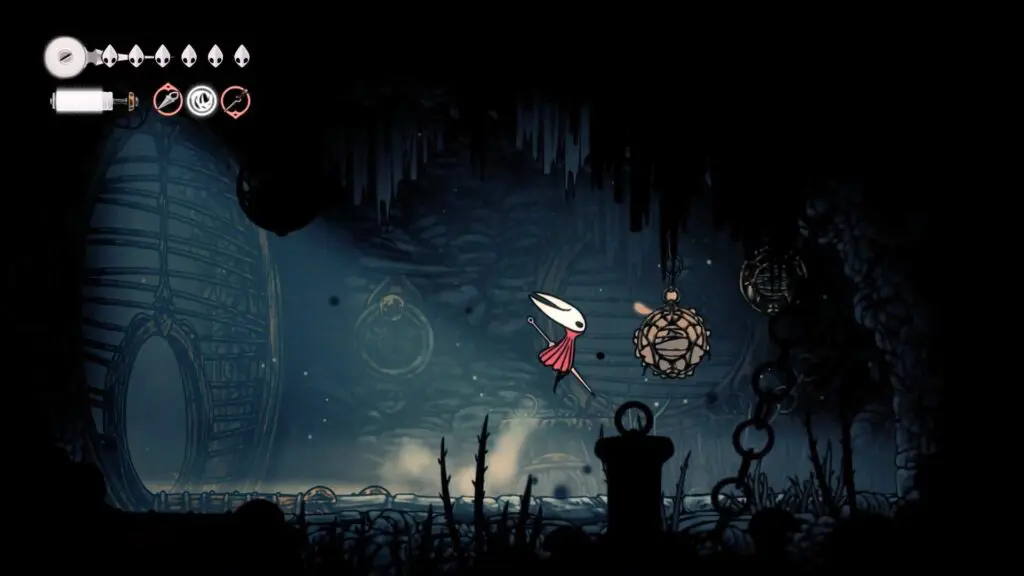
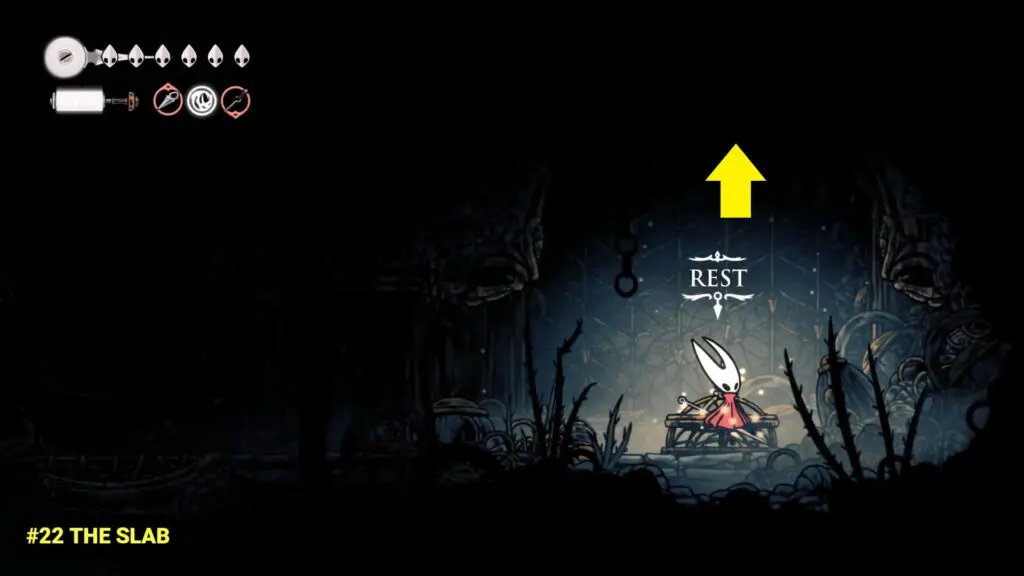
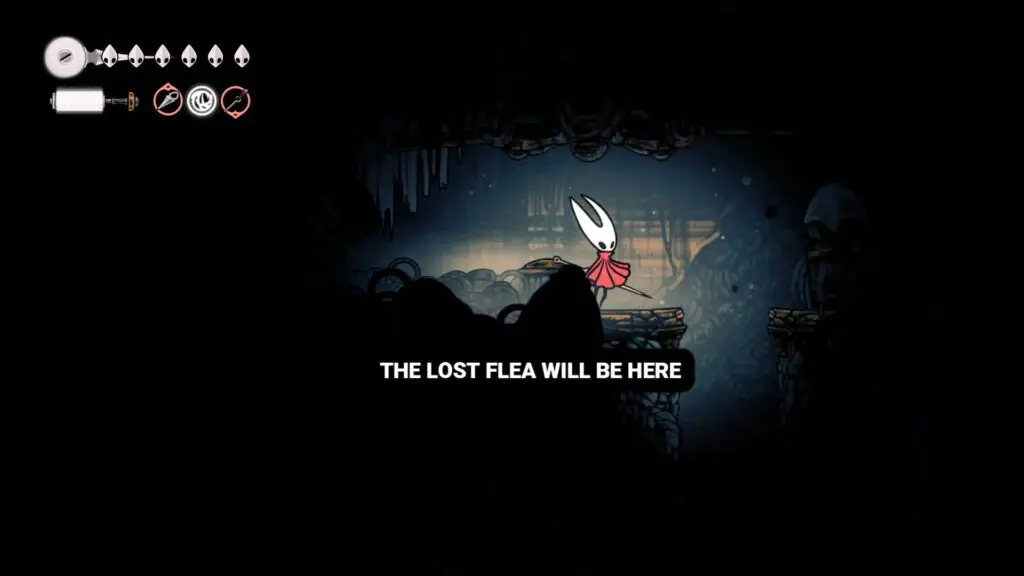
Lost Flea #22
Go to the bottom of The Slab until you find the bench. Double jump to reach the hidden opening above the bench and then reach the top to find Lost Flea.
Underworks
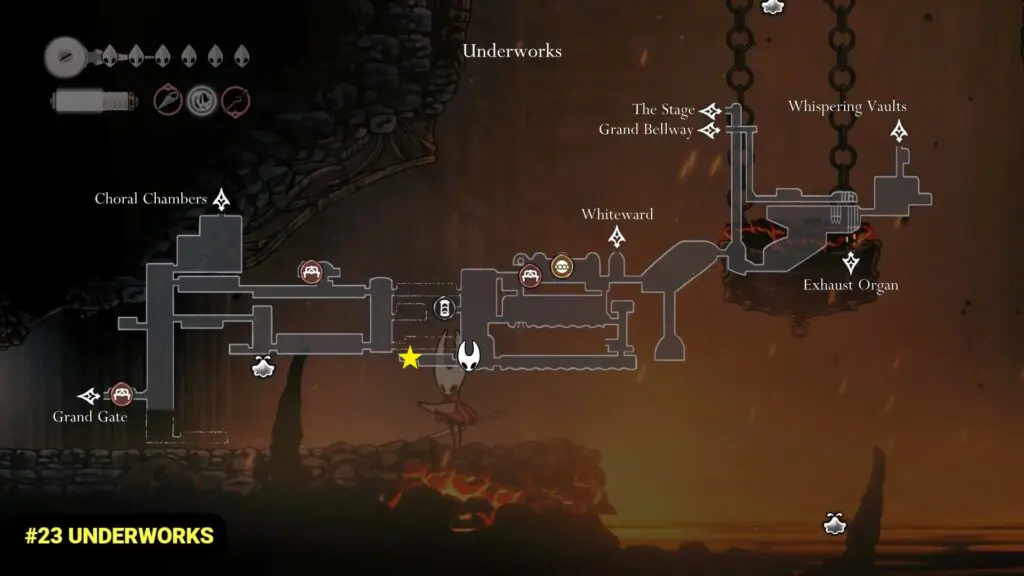
Lost Flea #23
The Lost Flea is in a tunnel located to the left of the Citadel Lift
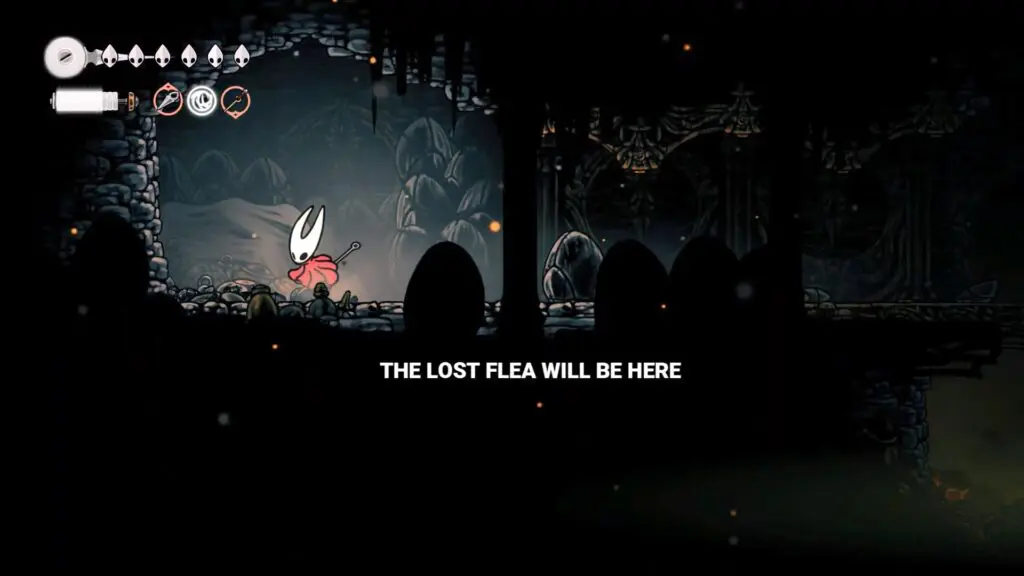
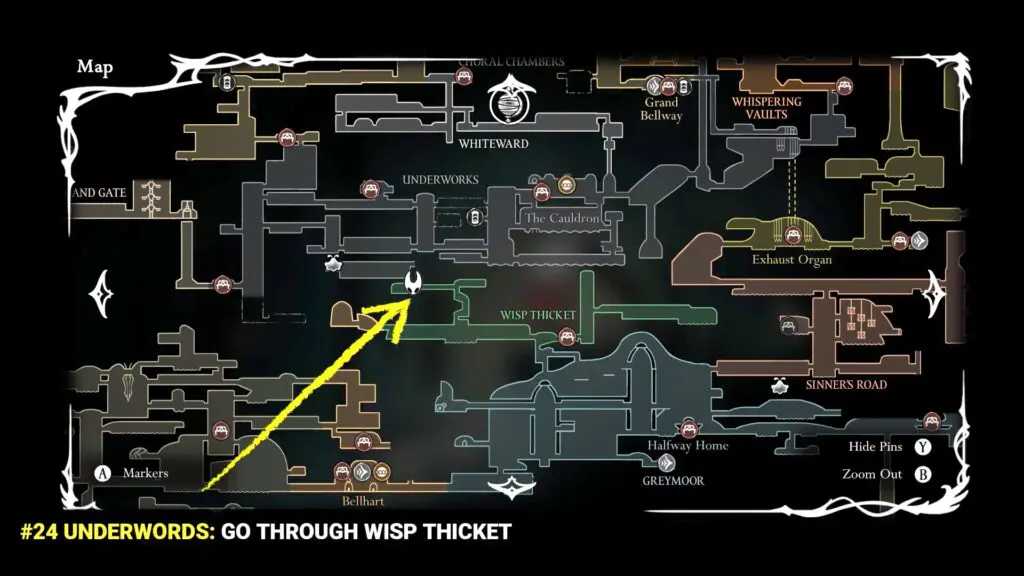
Lost Flea #24
Enter the Underworld from Wisp Thicket and go left. Carefully move across the room past the rotating spiked blocks. The Lost Flea is on the far left side of the chamber.
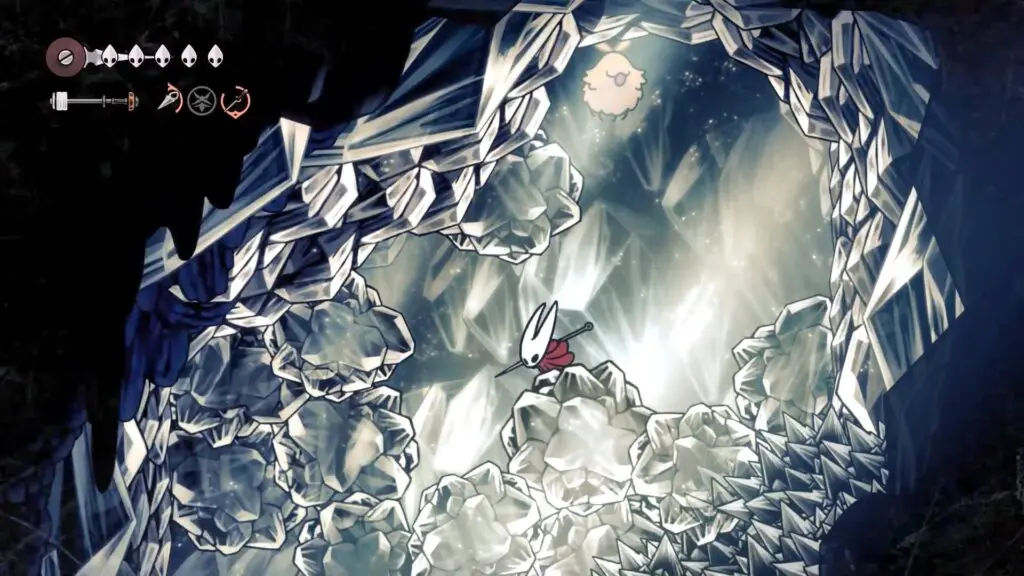
Mount Fay
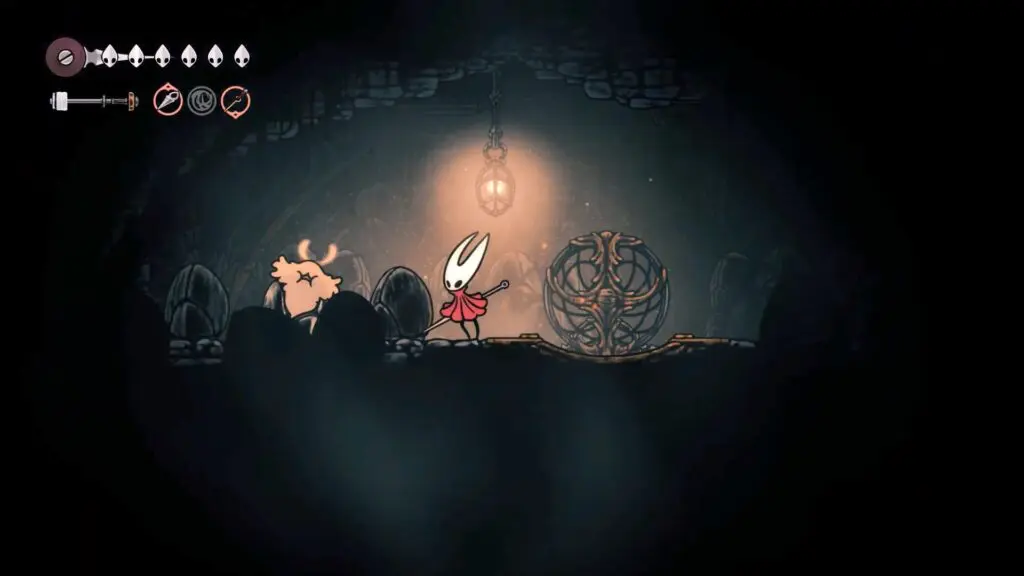
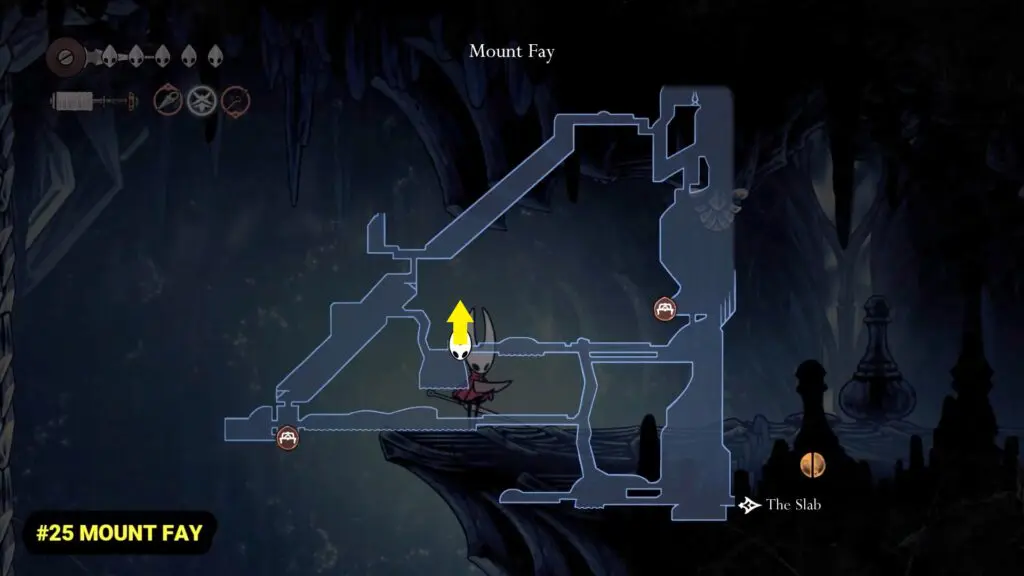
Lost Flea #25
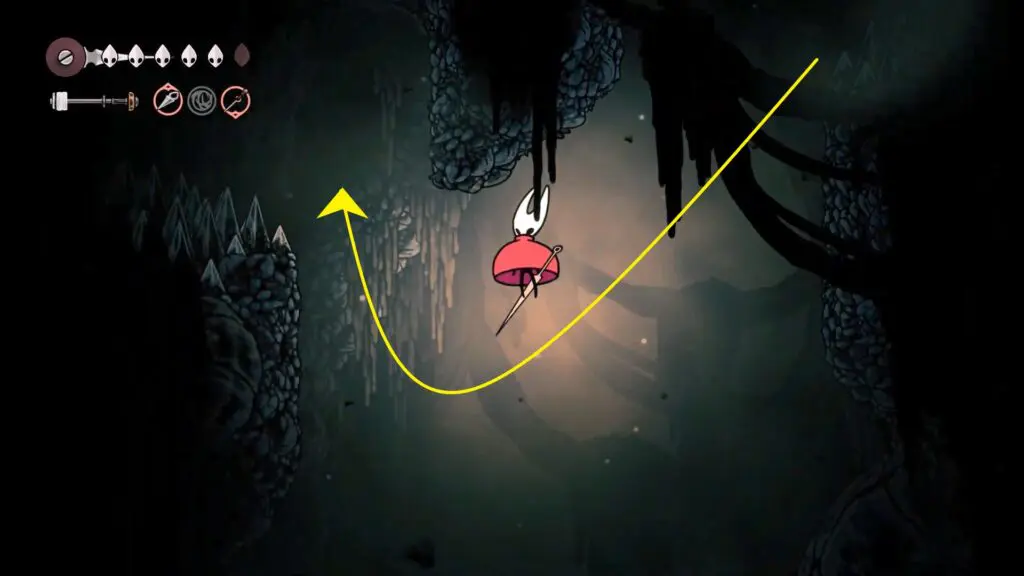
Head to the location marked by the arrow on the map. The ceiling here is fake. Jump and break it. Once you reach the upper room, break the ice to free the trapped creature.
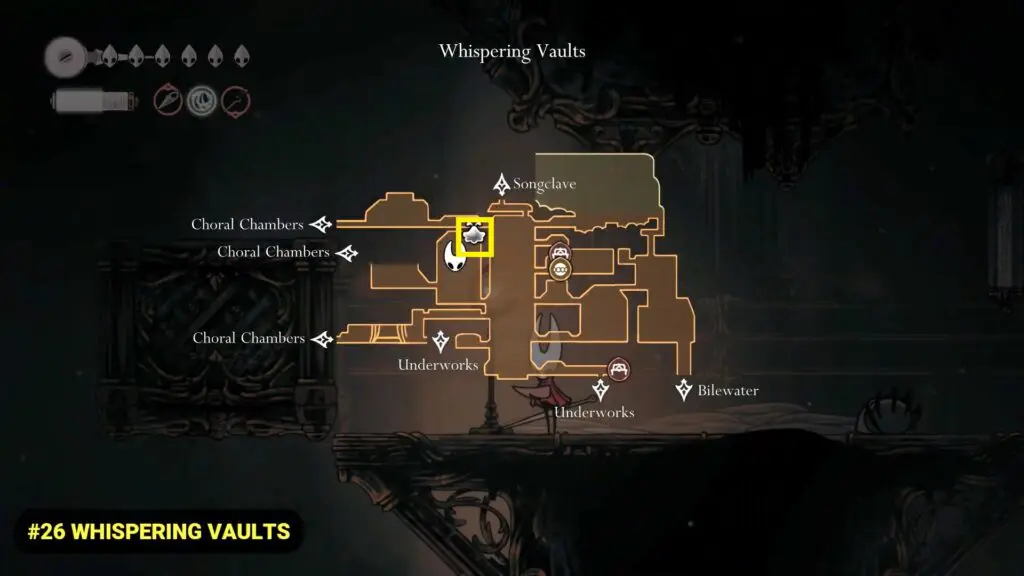
Whispering Vaults
Lost Flea #26
Head to the large room to the left of the main shaft, as shown on the map below. Hit the blocks to move them sideways or upwards, creating ledges you can climb. Once you reach the topmost platform, make your way to the far-right corner to find the Fela.
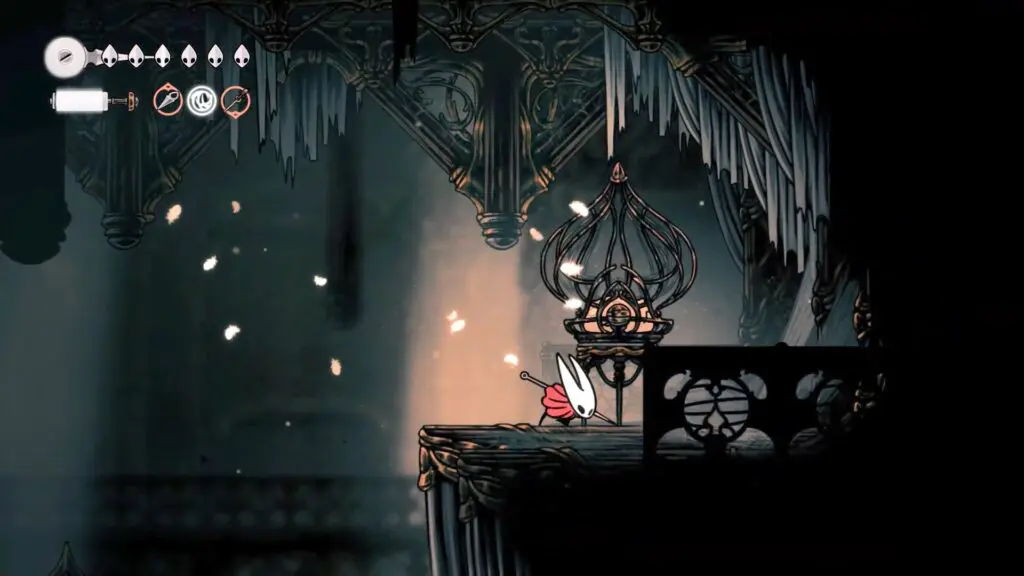
Songclave
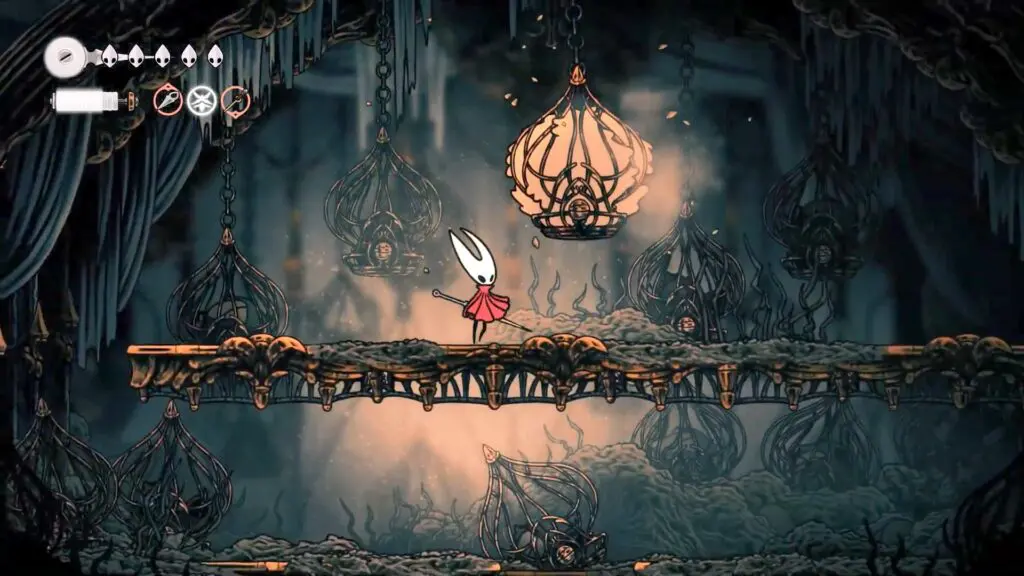
Lost Flea #27
Start at the location shown on the map in the Whispering Vaults and head right until you get a platform to climb up. Below is the complete path map to reach Songclave.
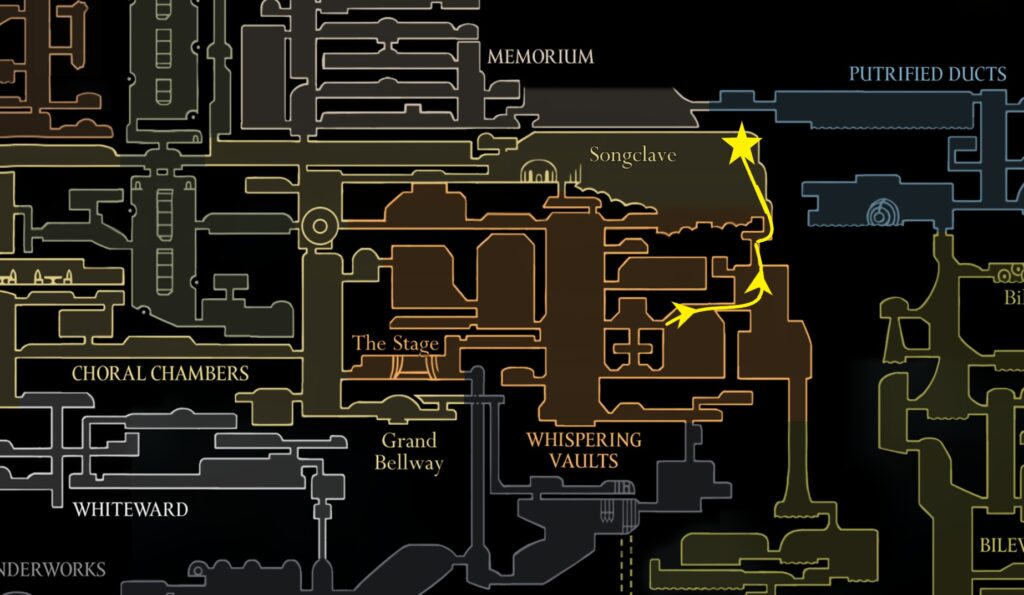
Now, climb up the platform and jump onto the wall to cling to it. From there, jump upward through the narrow opening between the wall and the ceiling. There is a secret path leading to the next area. Enter it by heading right.
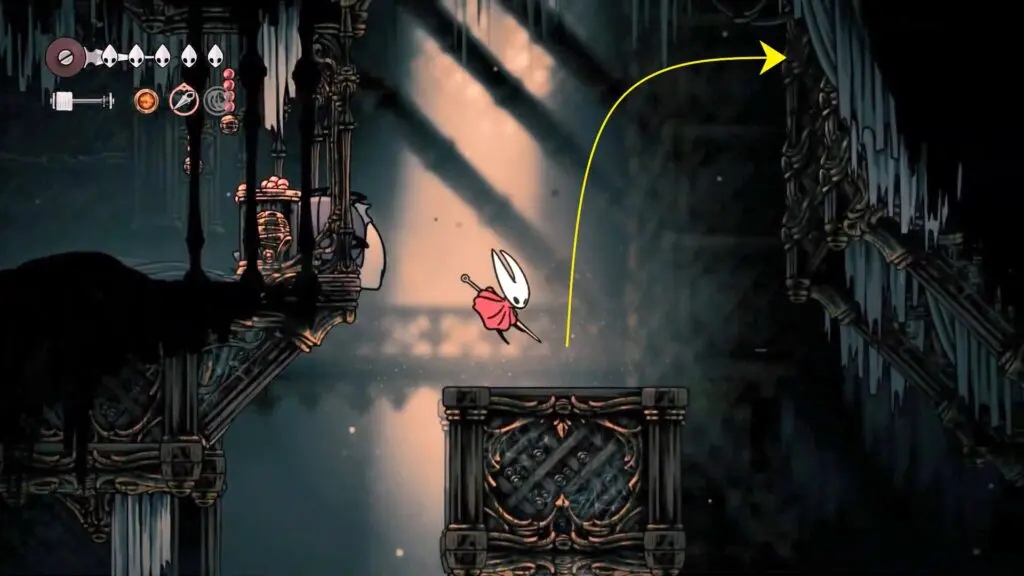
In the next area, follow the path until the end, then climb up and continue heading right. Keep moving forward until you find a ring on the ceiling. Cling to the ring to unlock the path on the floor, then drop down and progress through it.
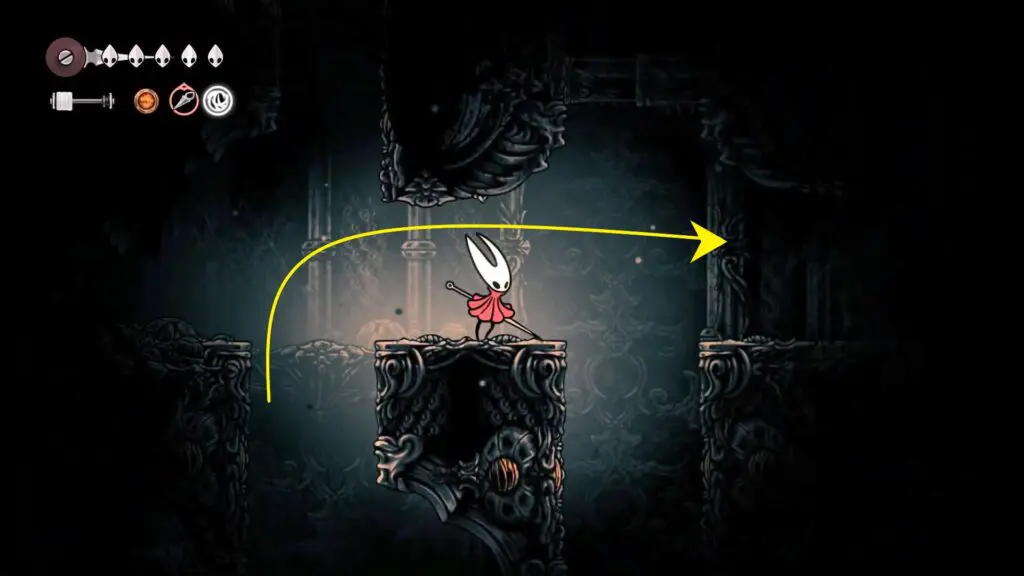
Next, navigate through the section filled with spiked spinning gears.
Next, you need to use your Drifter’s Cloak ability to pass through the spiky wall area.
After gliding down into the large area, use your Cling Grip to attach to the wall on the left. From there, jump upward and continue moving left and following the path upward.
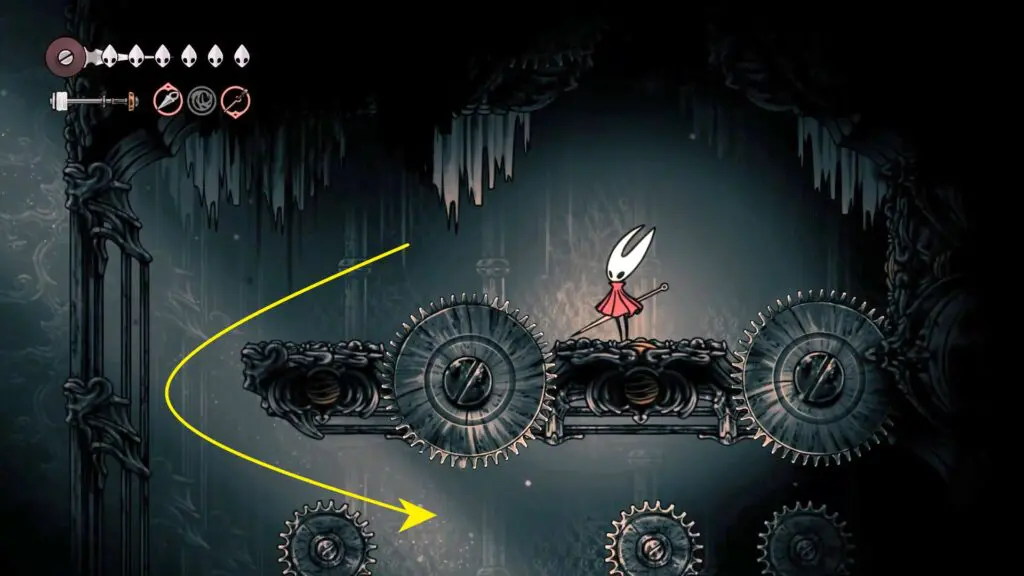
Pass through a few more sets of spiked gears and follow the path until you find a lever on the left. Strike the lever to activate it, then continue heading left.
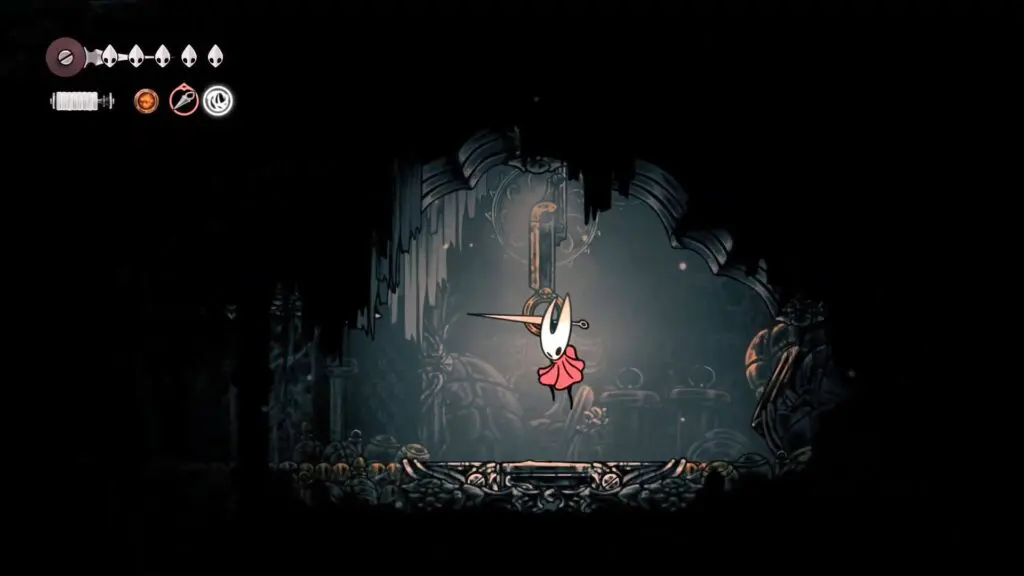
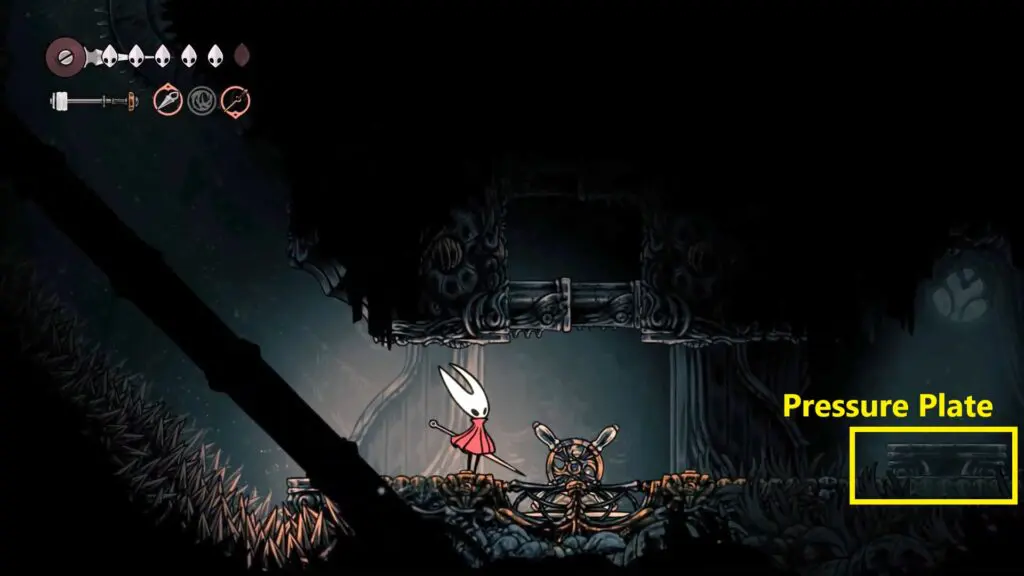
Drop down again and pass through the spiky wall and spinning gears until you reach the wheel at the bottom. Stand on the pressure plate beside the wheel and then hit the wheel multiple times to open an air vent that will take you to the top.
Once you reach the top, you’ll see another lever attached to the ceiling. Strike it to unlock the path and gain access to the next area.
Now, head left and take the first available upward path. At the top, strike the lever to unlock the way forward.
Once you reach Songclave, double jump and start moving upward. You will find the Lost fella there.
Memorium
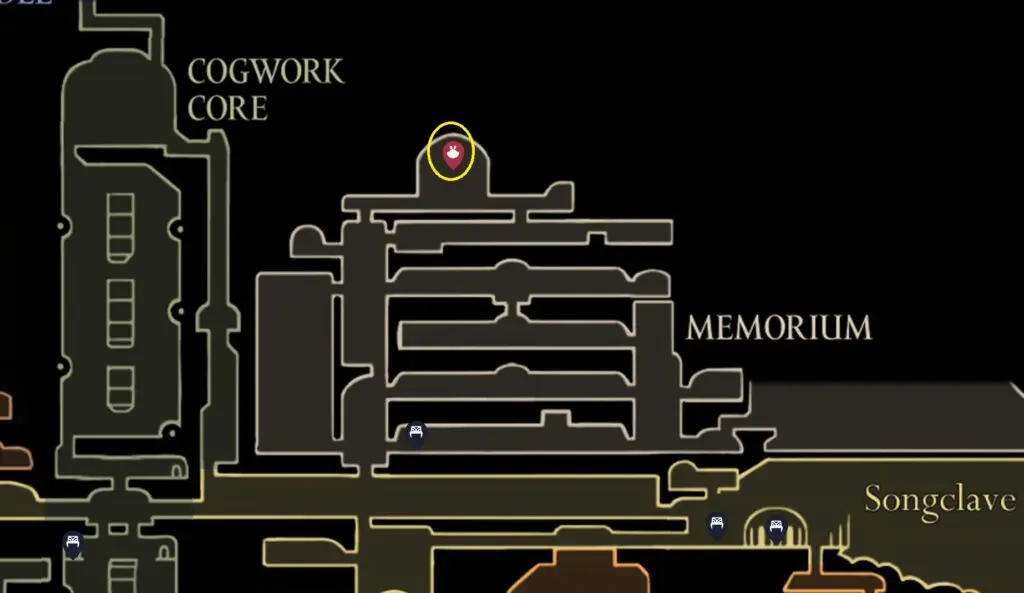
Lost Flea #28
Keep climbing in Memorium until you reach a room with machines channeling purple lightning. Cross it and continue to climb to the topmost corridor. There you will find the Lost Flea.
Wormways
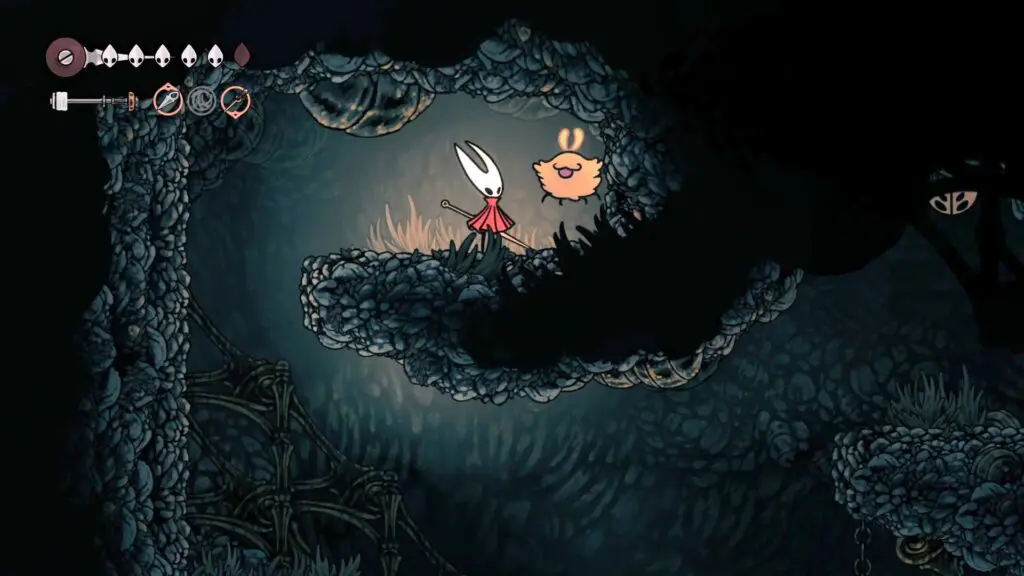
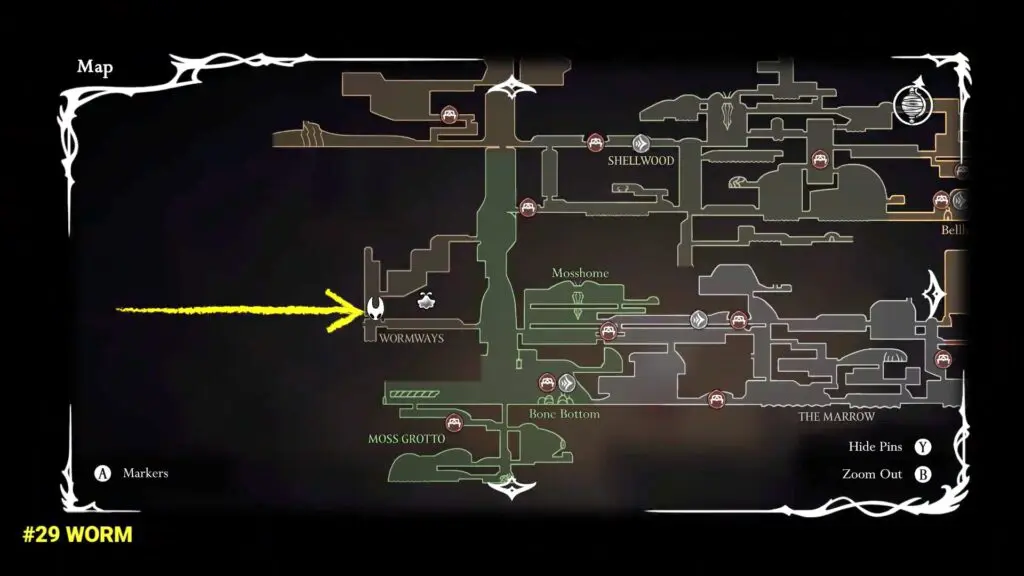
Lost Flea #29
Head to the central vertical shaft, marked on the map below. Once there, look for a breakable wall. Destroy it to enter a small chamber, where you’ll find a flea captured by a flying bug.
Putrified Ducts
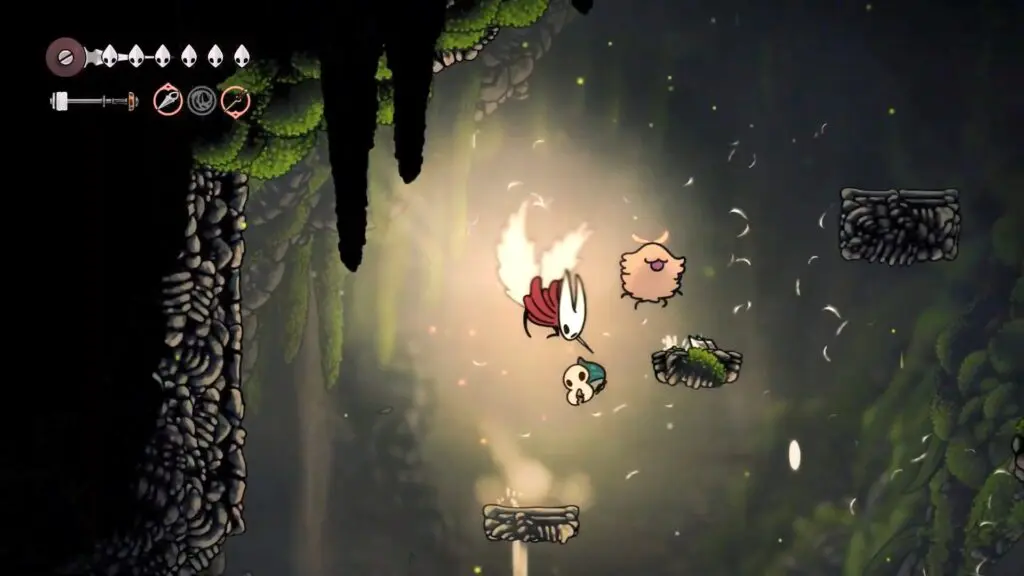
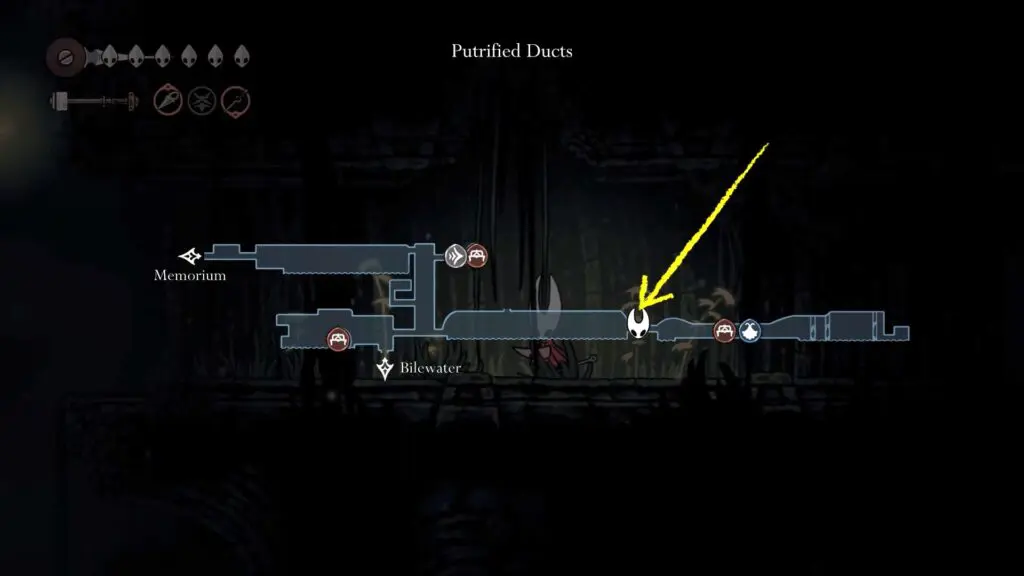
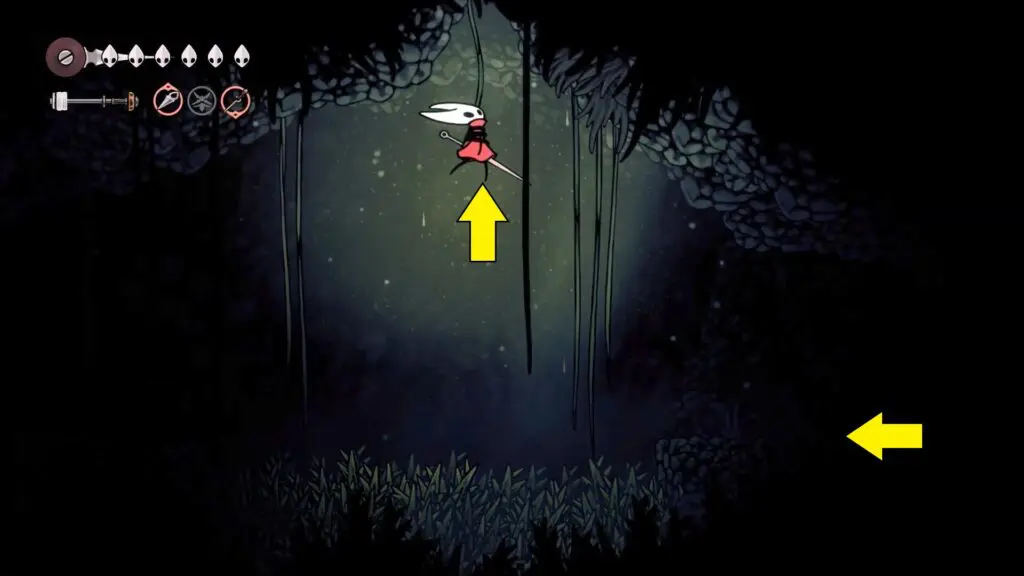
Lost Flea #30
Begin your journey at the spot marked on the map in the Putrified Ducts. From here, start climbing upward toward the higher platforms.
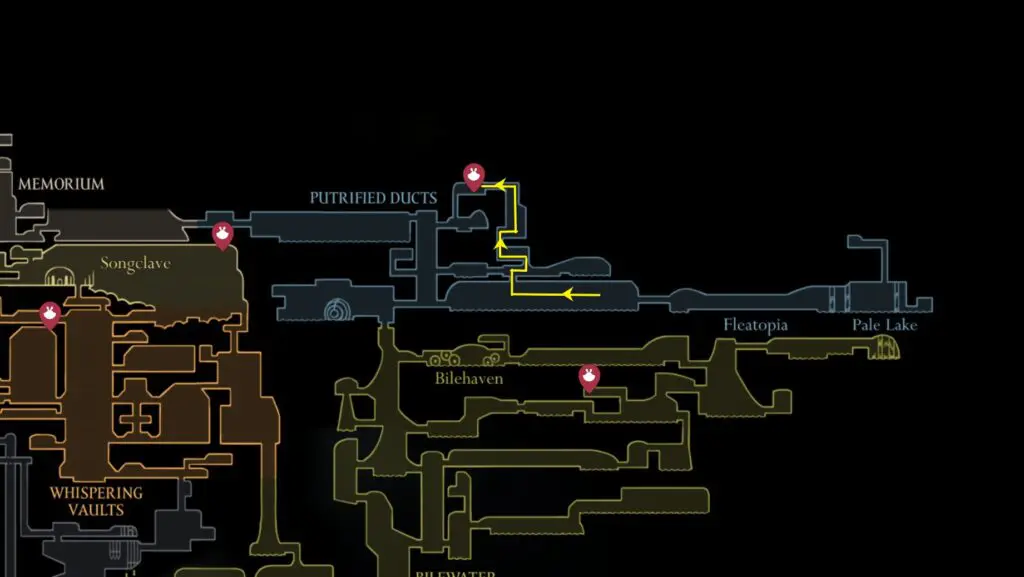
As you move upward, look to the top-left corner of the chamber for a breakable wall. Strike the wall here to reveal a hidden path that will lead you further. Enter this passage to continue.
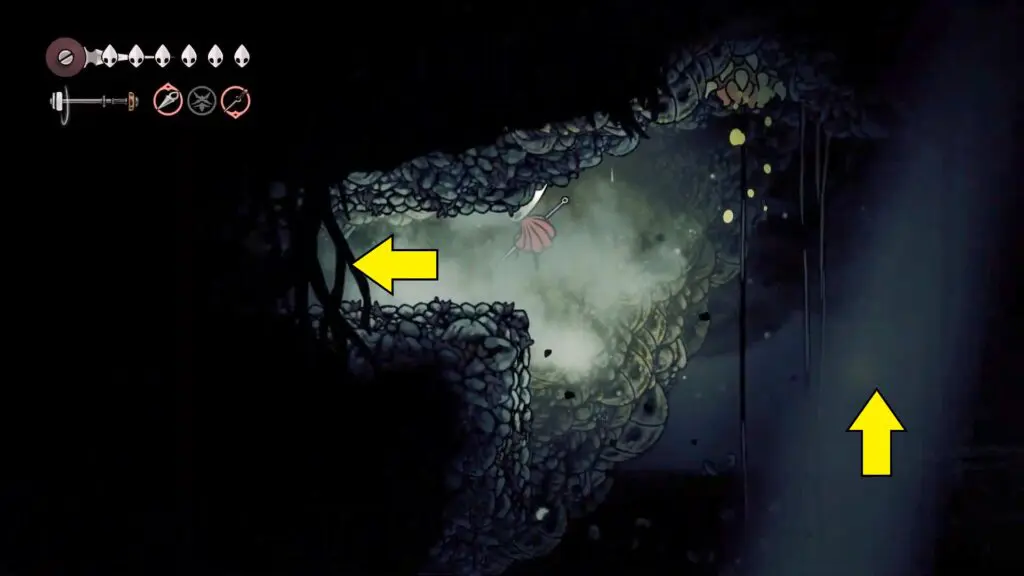
The root-like structures are actually Barnak’s tongues. These strange creatures can pull you upward to higher platforms. Let them lift you to the top, and once you’re at the top, hit the Barnaks to get off their long tongues and make a safe path forward.
Continue following the linear path upward. Once you reach the top, head left to finally arrive at the Vog