This guide covers all 50 secret locations in Directive 8020. Each secret is listed in the order you’ll come across it as you play through the story, so you won’t need to backtrack or replay sections as long as you follow along.
Episode 1 – 10 Secrets
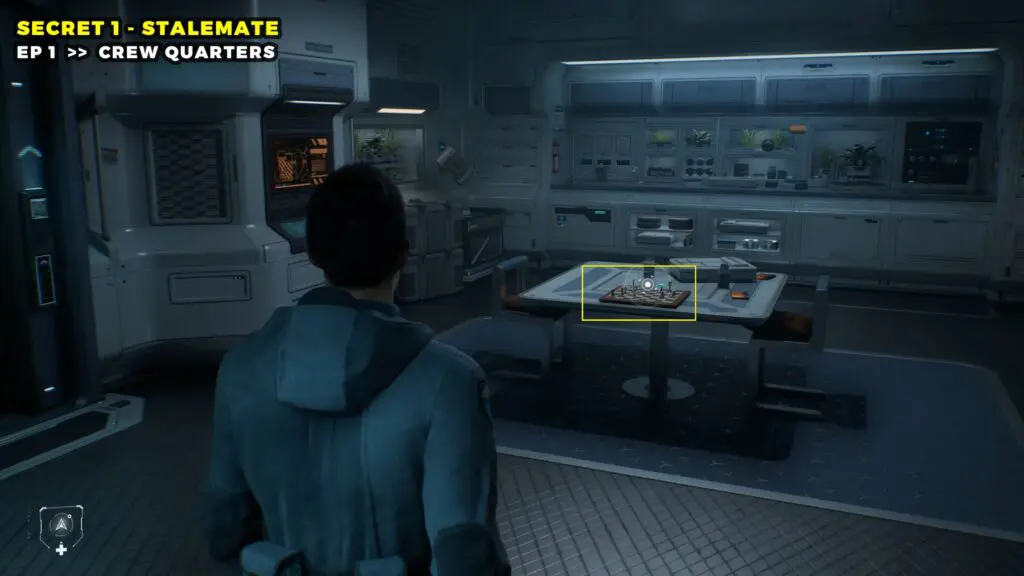
Secret 1 – Stalemate
Right at the start of the chapter, head straight to the Crew Quarters. Once you’re inside, look for the table in the center of the room, and you’ll spot a Chessboard. Walk up to it and interact with it to collect the first secret.
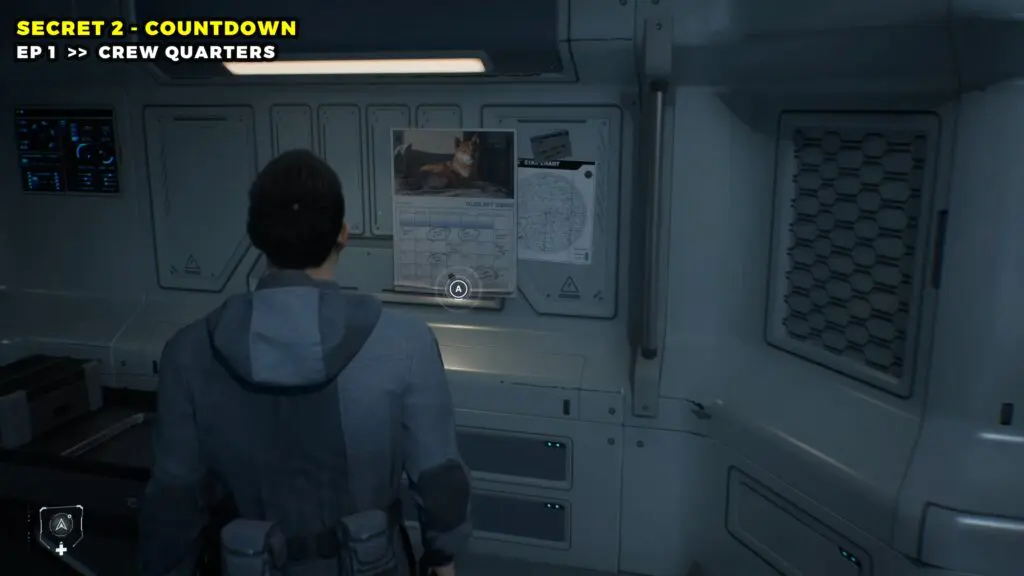
Secret 2 – Countdown
In the Crew Quarters, turn to the right wall near the chessboard, and you will see a Calendar hanging there. Interact with it to pick up the second secret.
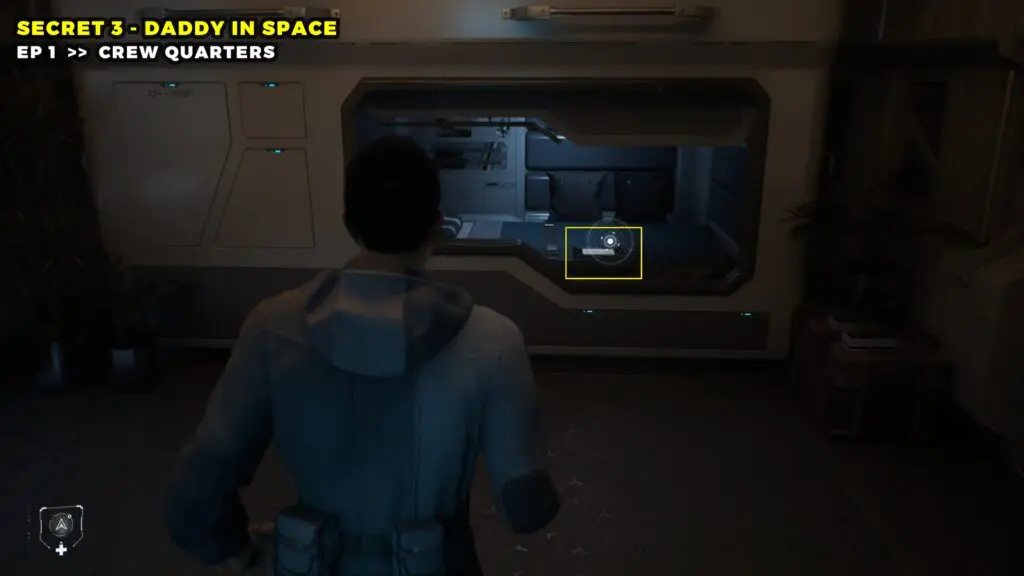
Secret 3 – Daddy In Space
Head into the side room on the right side of the Crew Quarters. Inside the room, you will spot a Tablet on the bed. Interact with it to collect the secret #3.
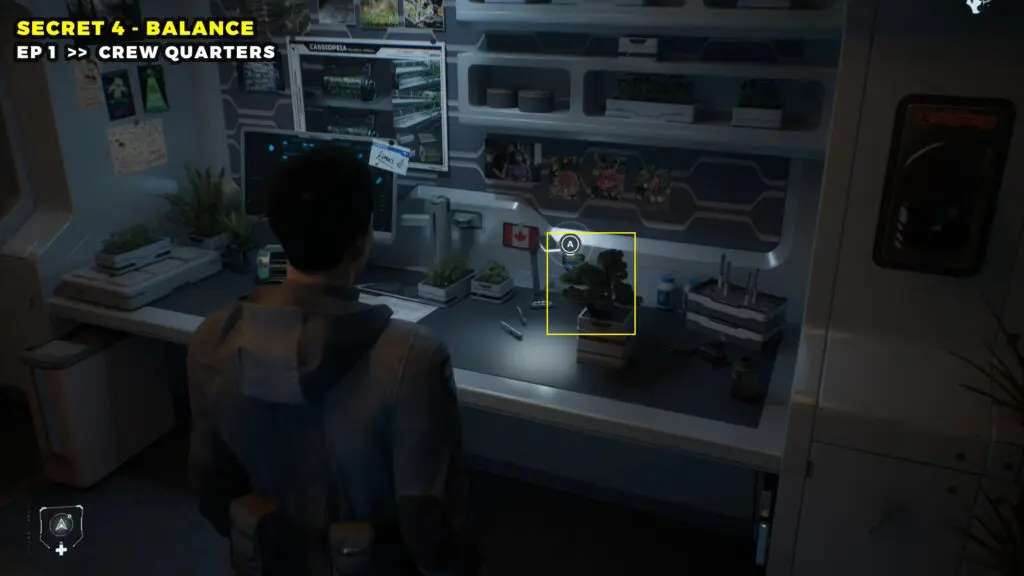
Secret 4 – Balance
The fourth secret is right there in the same room as the last one. Check the desk on the right side of the room, and you will see a Bonsai Tree on it.
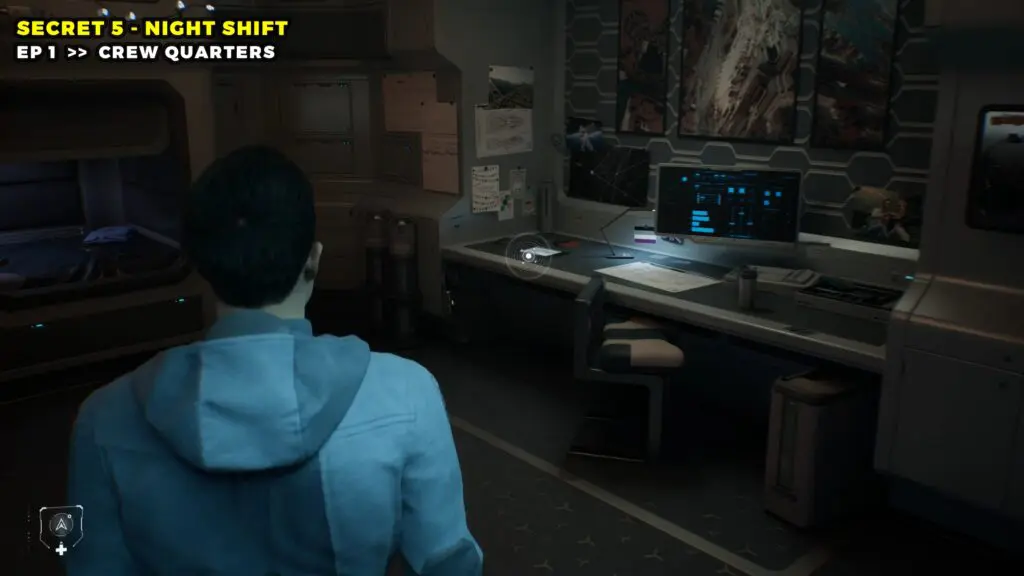
Secret 5 – Night Shift
Now make your way to the other side of the Crew Quarters and enter the side room on the left. Inside, you will spot a desk with a Tablet on it.
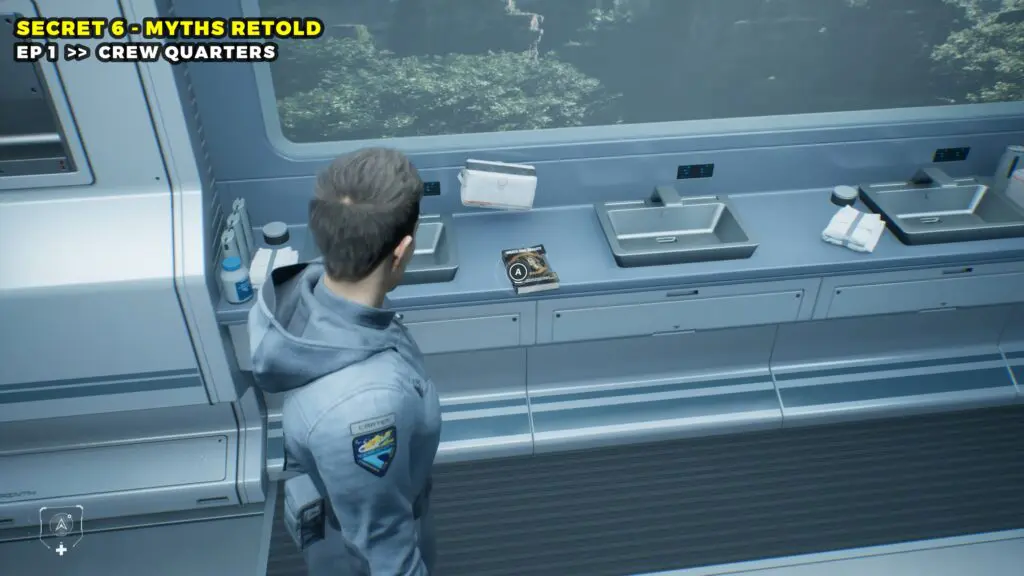
Secret 6 – Myths Retold
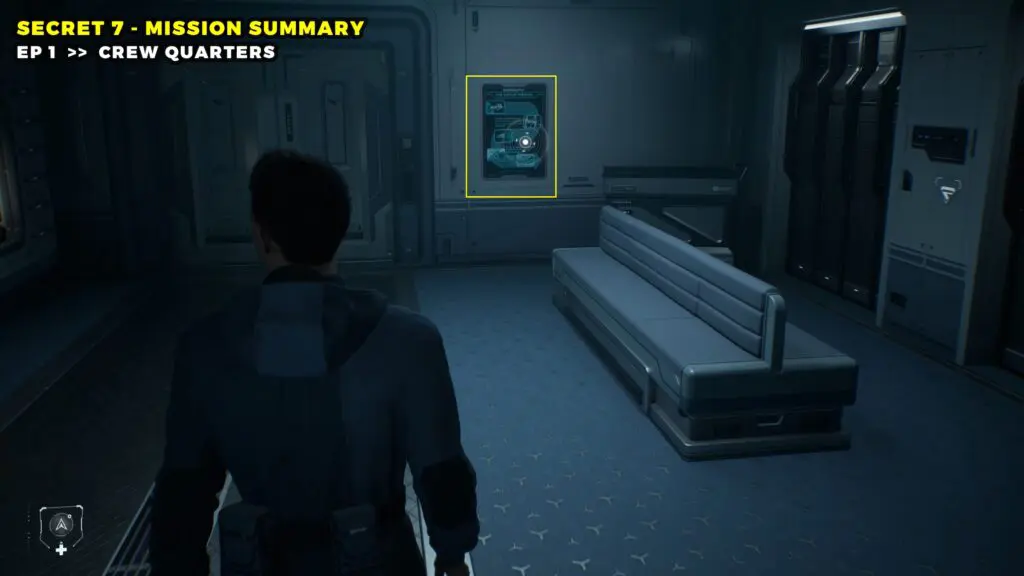
Secret 7 – Mission Summary
Head back to the starting point of the chapter, and this time go left. Keep going all the way to the end of the path, and you will find a Poster on the wall. Walk up and interact with it to collect the secret.
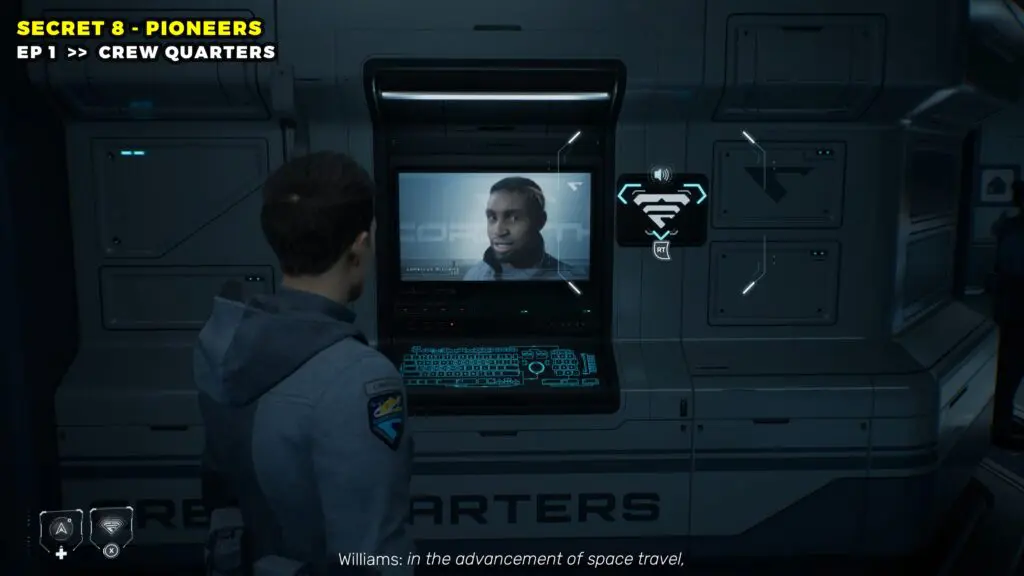
Secret 8 – Pioneers
While you are still at the Poster, look to the left, and you will notice a bed there. On the bed, you will find a device.
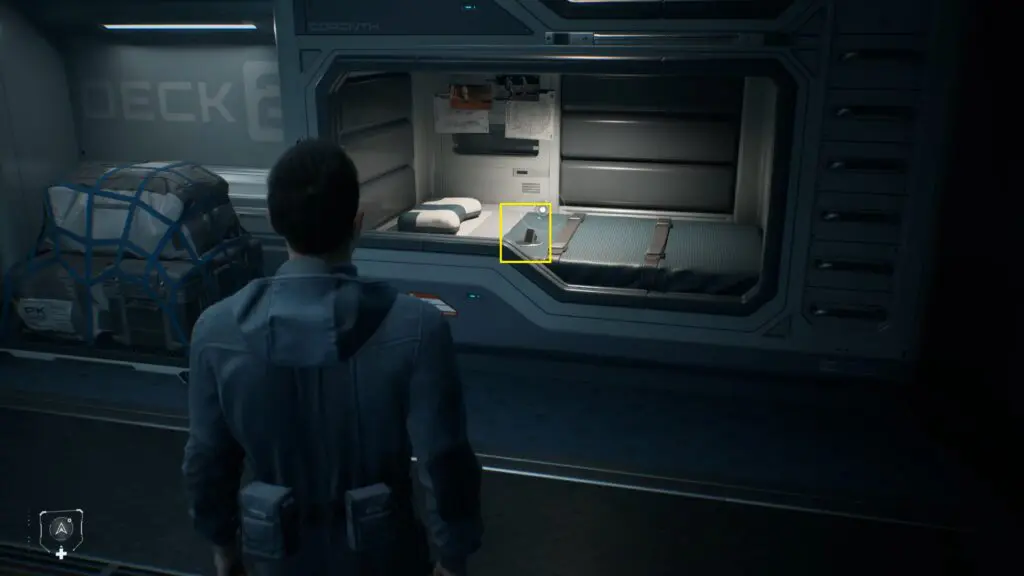
Interact with it and use it to activate the wall monitor to collect the next secret.
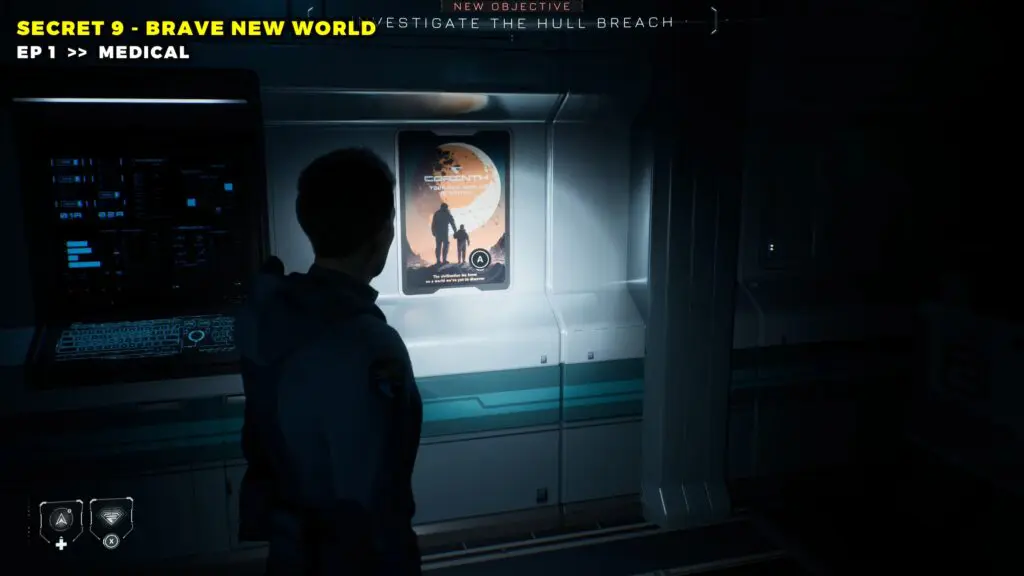
Secret 9 – Brave New World
Once you are inside the Medical Room, the power will go out due to a surge. You will find a digital Poster on the wall advertising the new world.
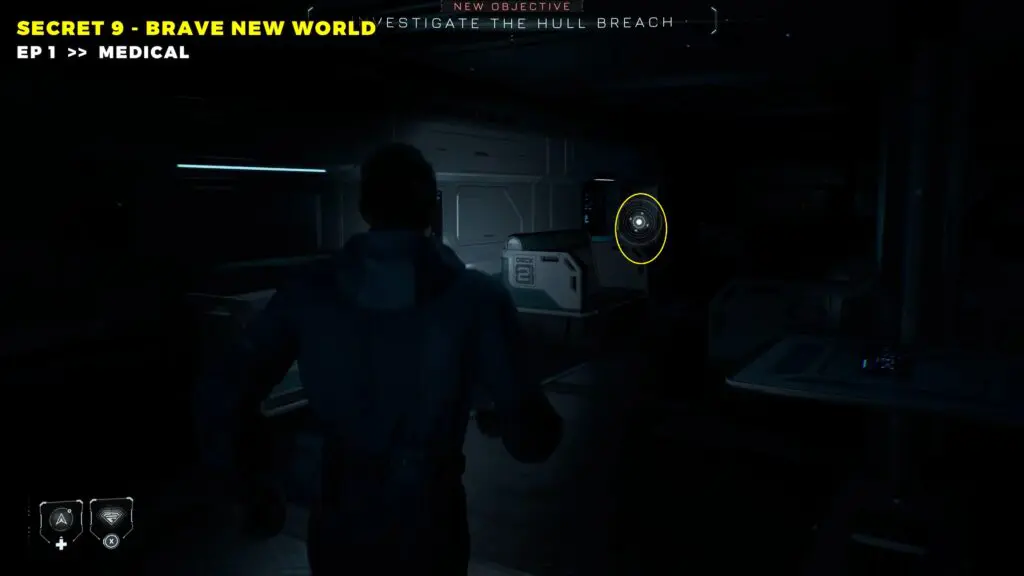
It is dark in there, so switch on your flashlight to spot it, then interact with it to collect the secret.
Secret 10 – The Goldilocks Planet
Once you have lifted the lockdown, look for the window to the right of the main door. Use it to unlock the side office and head inside.
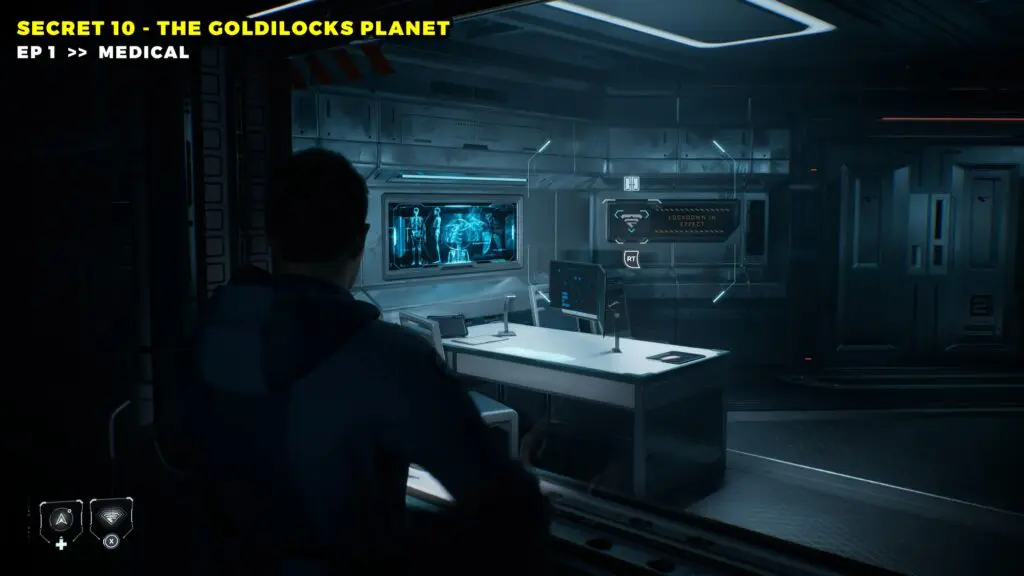
You will find a Tablet sitting on the desk. Interact with it to collect the final secret.

Episode 2 – 14 Secrets
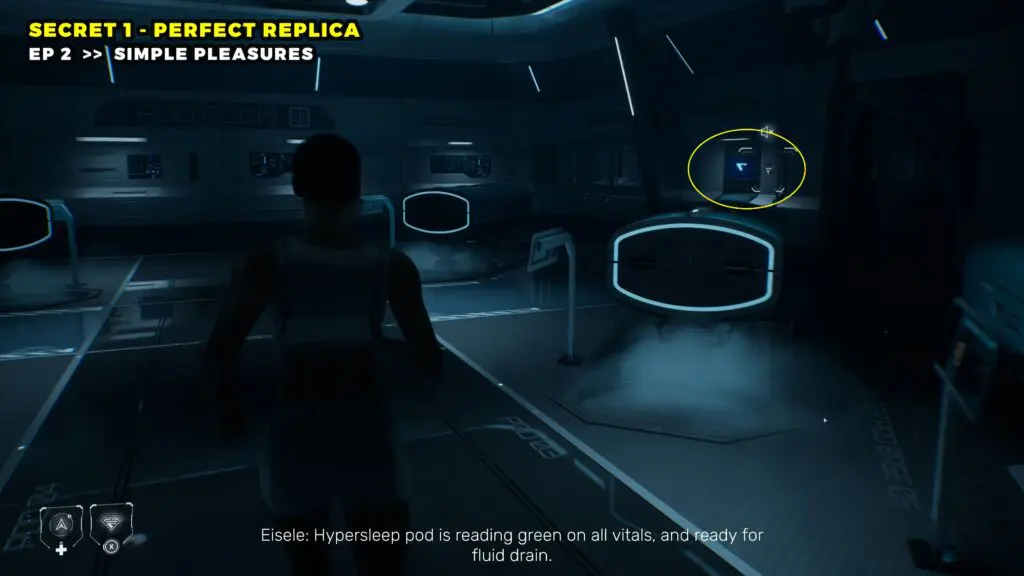
Secret 1 – Perfect Replica
Once you are playing as Young and have exited the pod, look over to the back right wall and activate the Monitor using your Utility Strap. This will unlock the Perfect Replica secret.
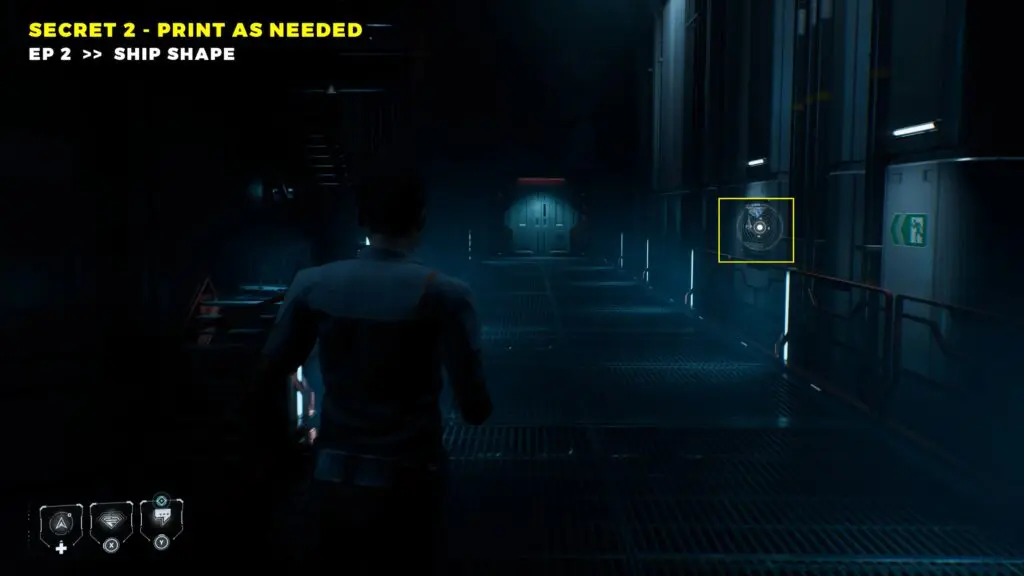
Secret 2 – Print As Needed
In Episode 2: Ship Shape, as soon as you take control of Brianna and enter the Reactor Room, wait for the cutscene to finish. Once it is done, head to the right and you will find a Poster on the wall.
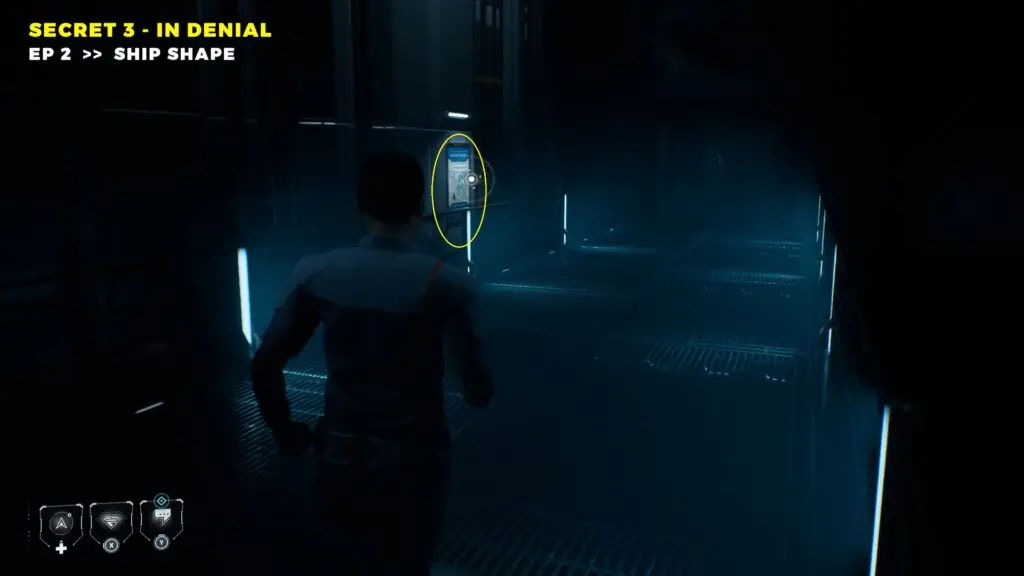
Secret 3 – In Denial
In Episode 2: Ship Shape, once the cutscene finishes, head to the left this time and look for a poster along the wall. Go ahead and interact with it to grab the secret.
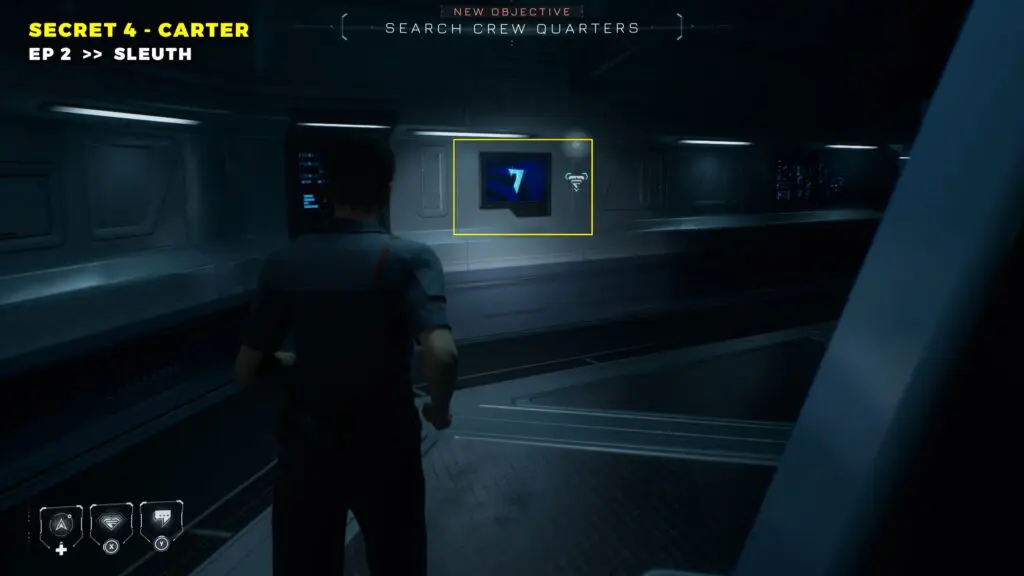
Secret 4 – Carter
In Episode 2: Sleuth, the moment you take control of Eisele, turn to your left to find a Wall Monitor. Use your Utility Strap to activate it and collect the secret.
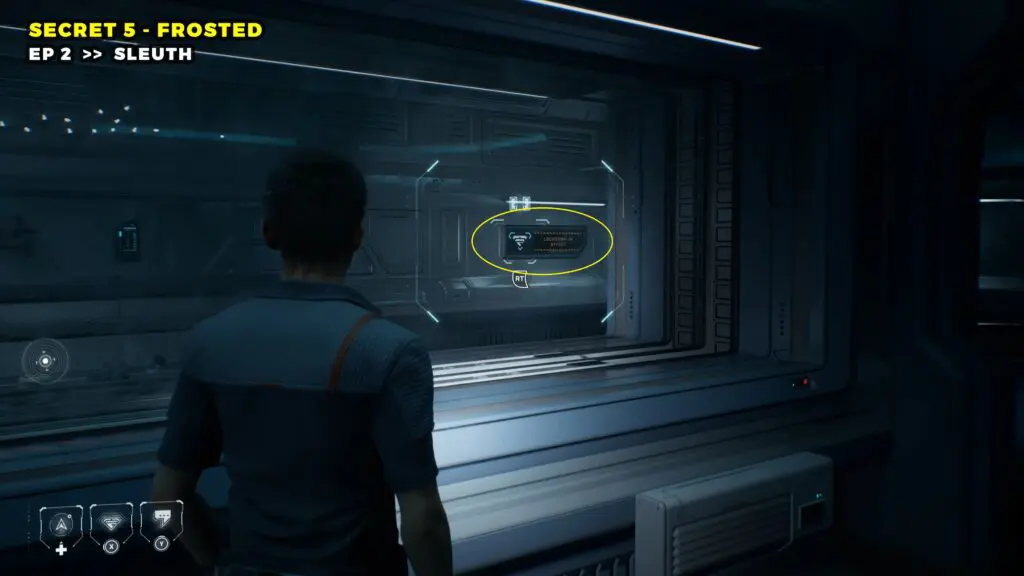
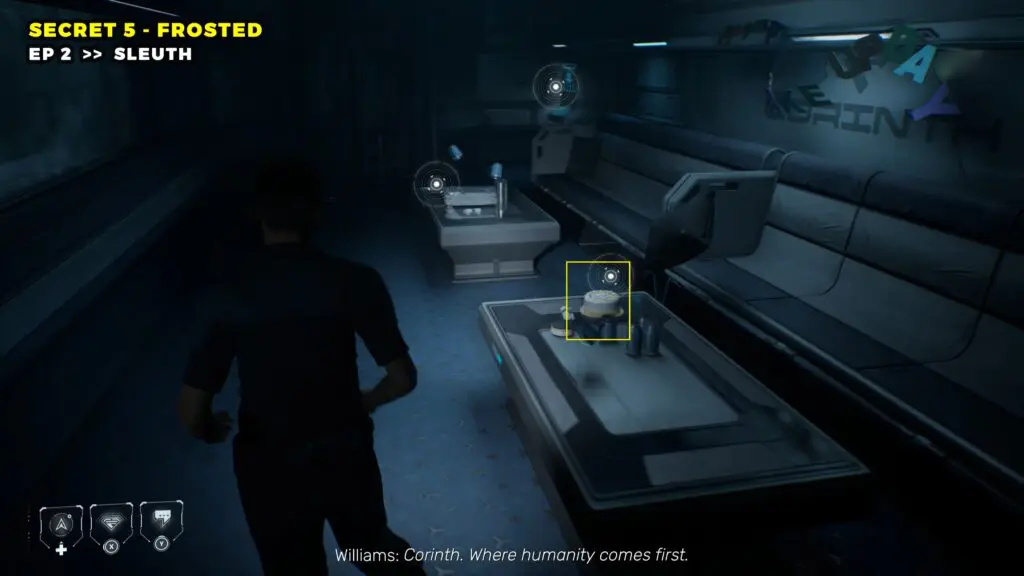
Secret 5 – Frosted
In Episode 2: Sleuth, head upstairs and lift the lockdown to gain access to the room. Once you are inside, look over to the table and you will spot a Cake on it.
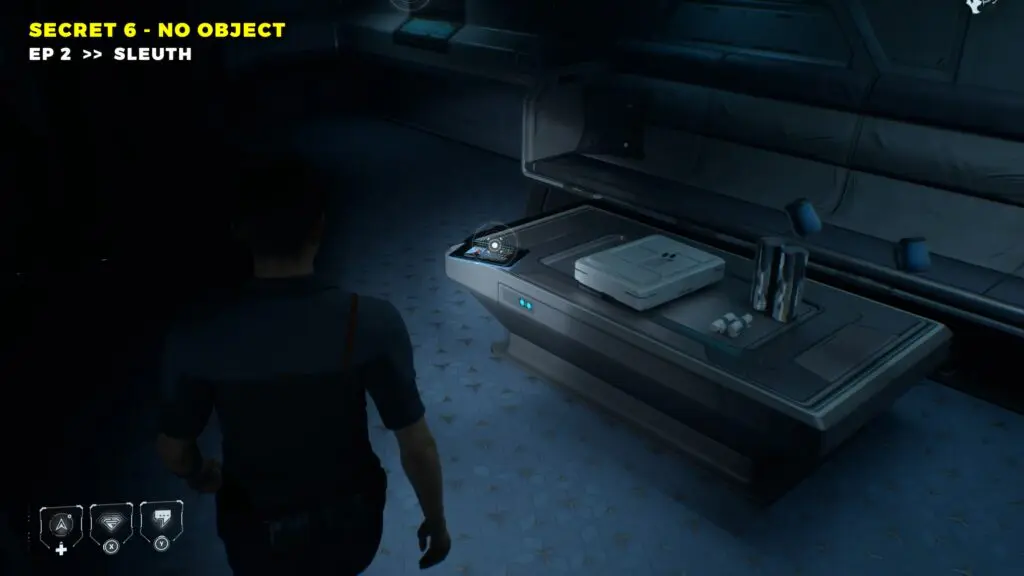
Secret 6 – No Object
Check the second coffee table in the same room. Interact with the tablet to grab the secret.
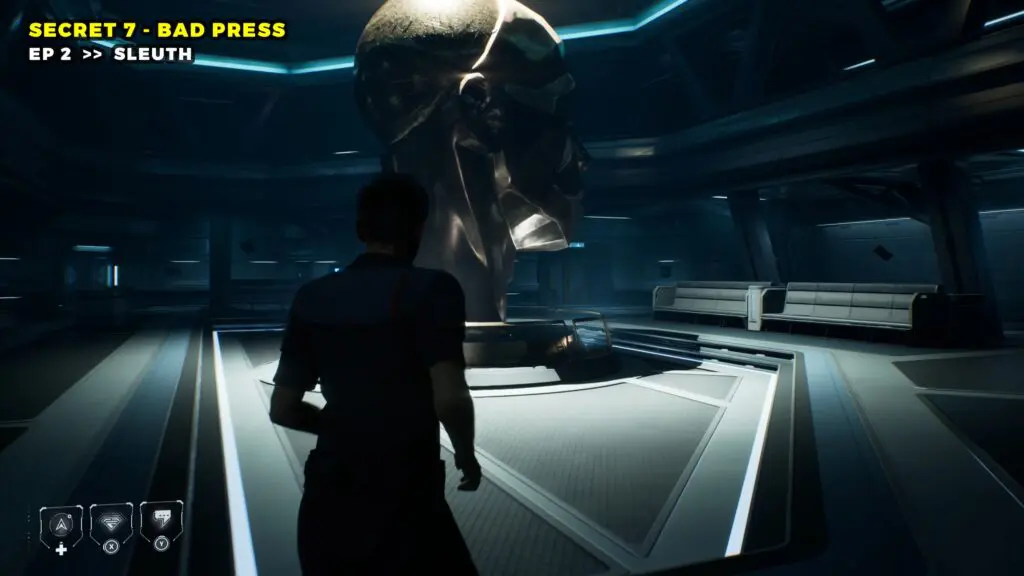
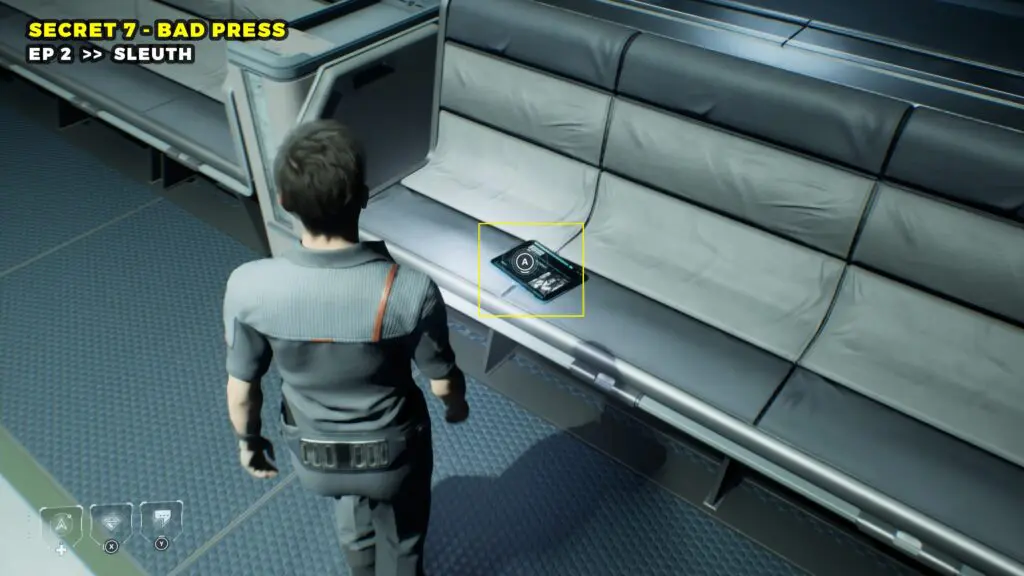
Secret 7 – Bad Press
Make your way to the main hall and walk towards the large head statue. Once you are there, look at the bench directly to its right, and you will spot a Tablet. Go ahead and interact with it to pick up the secret.
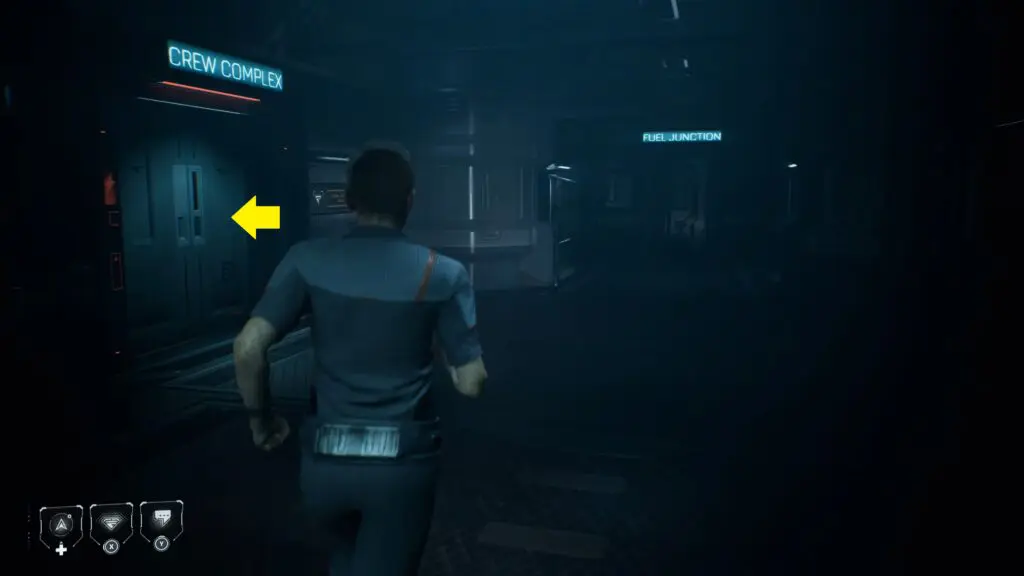
Secret 8 – Weak Spots
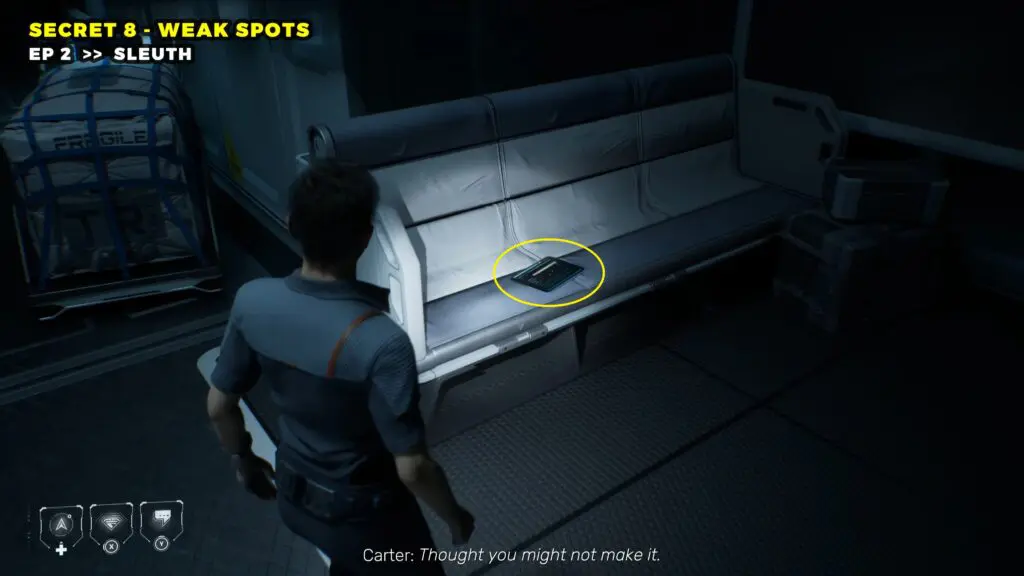
Head right from the previous location and enter the Crew Complex. Keep going until you pass the first set of stairs, and you will come across a set of benches.
Look at the top bench, and you will find a Tablet on it.
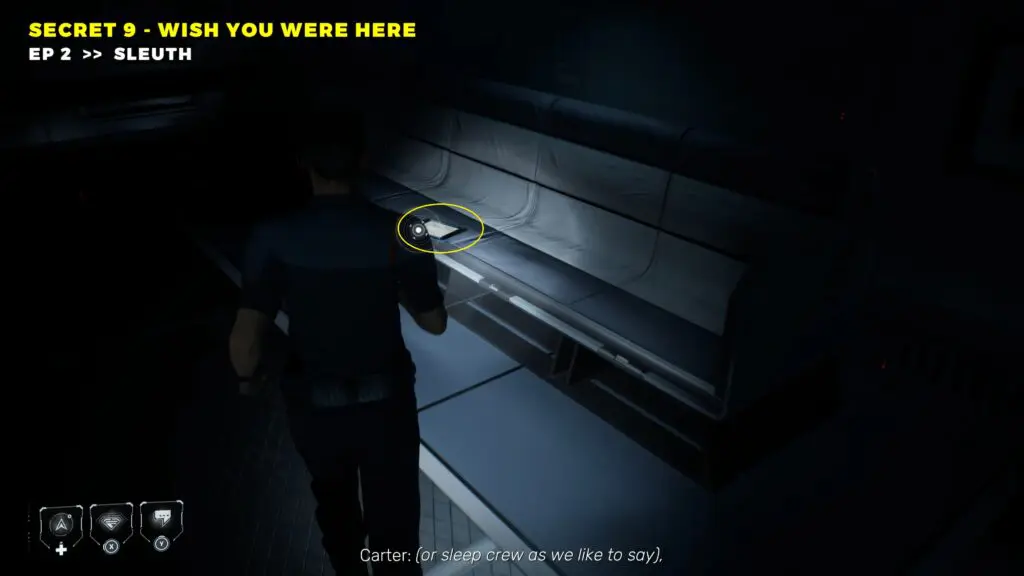
Secret 9 – Wish You Were Here
Head upstairs and make your way towards the Crew Lounge. Just outside the doors you will find a bench with a Tablet on the chairs. Interact with it to collect the secret.
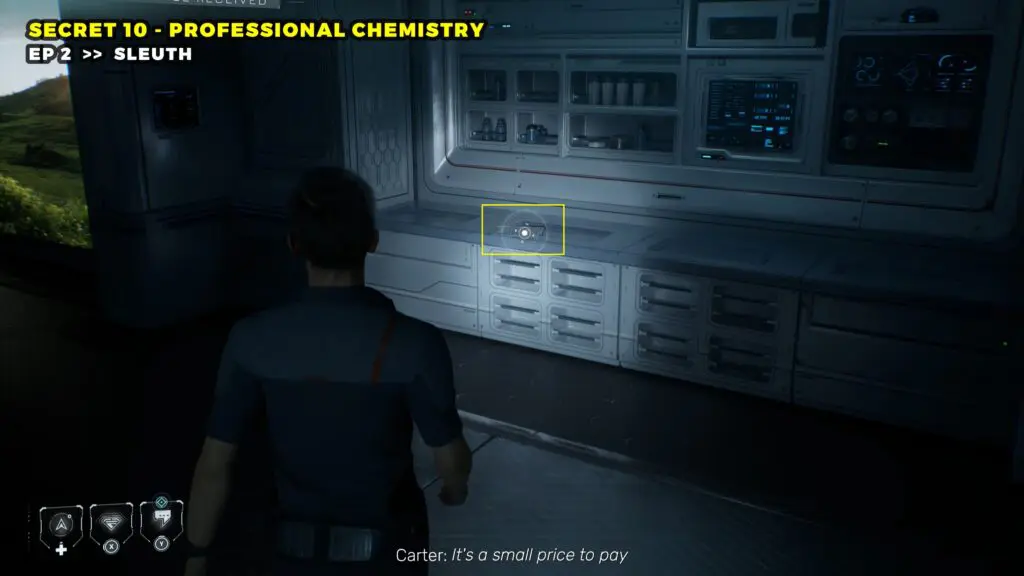
Secret 10 – Professional Chemistry
Go into the Crew Lounge and head towards the back. Once you are there, check the counter, and you will spot a Tablet on it. Walk up and interact with it to grab the secret.
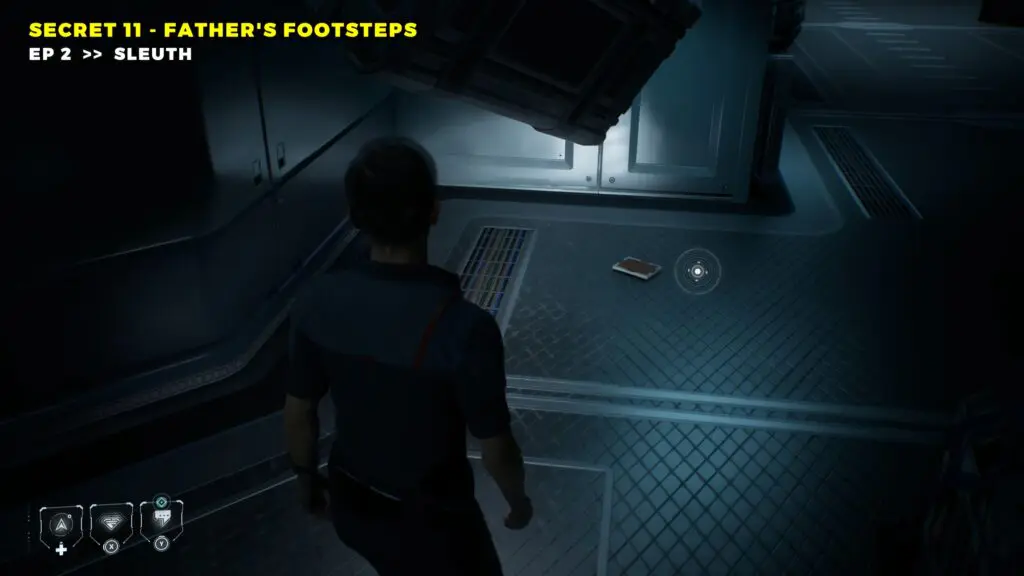
Secret 11 – Father’s Footsteps
Exit the Crew Lounge from the left side (far end) and go downstairs. You will find a Picture frame on the floor on the left side of the stairs.
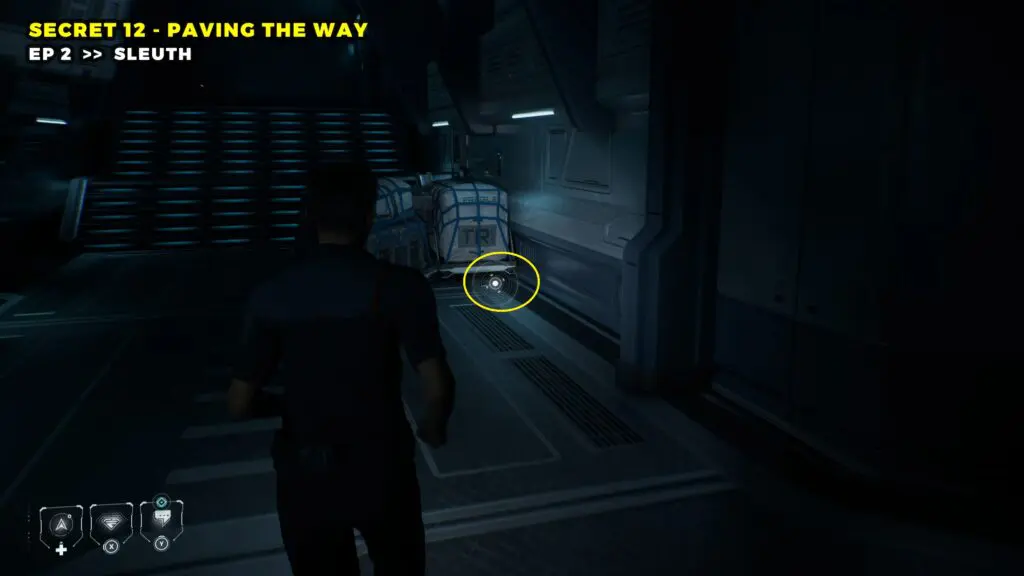
Secret 12 – Paving The Way
Head to the right side of the stairs and look near the crates. You will find a Book sitting on the floor there. Interact with it to collect the secret.
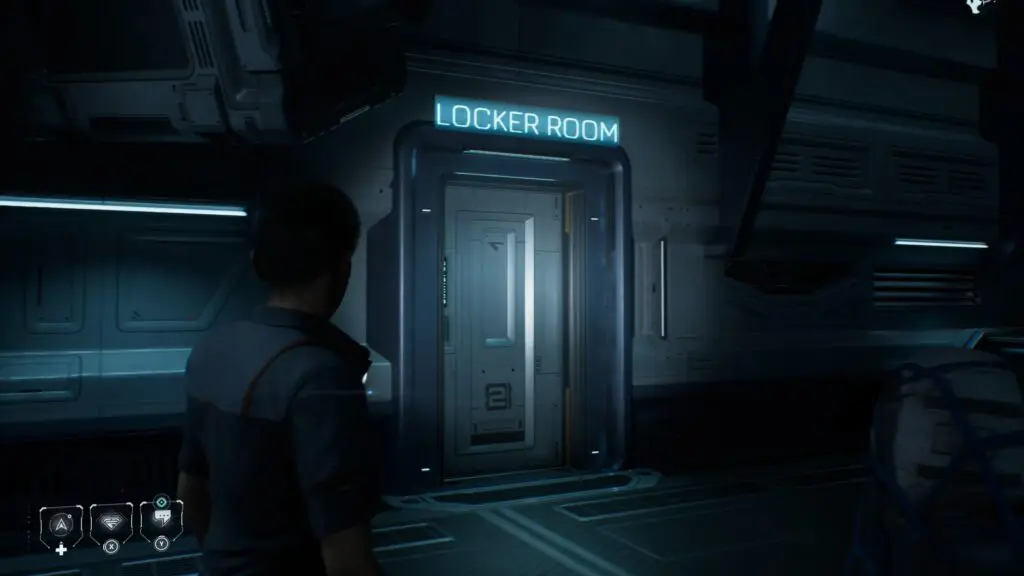
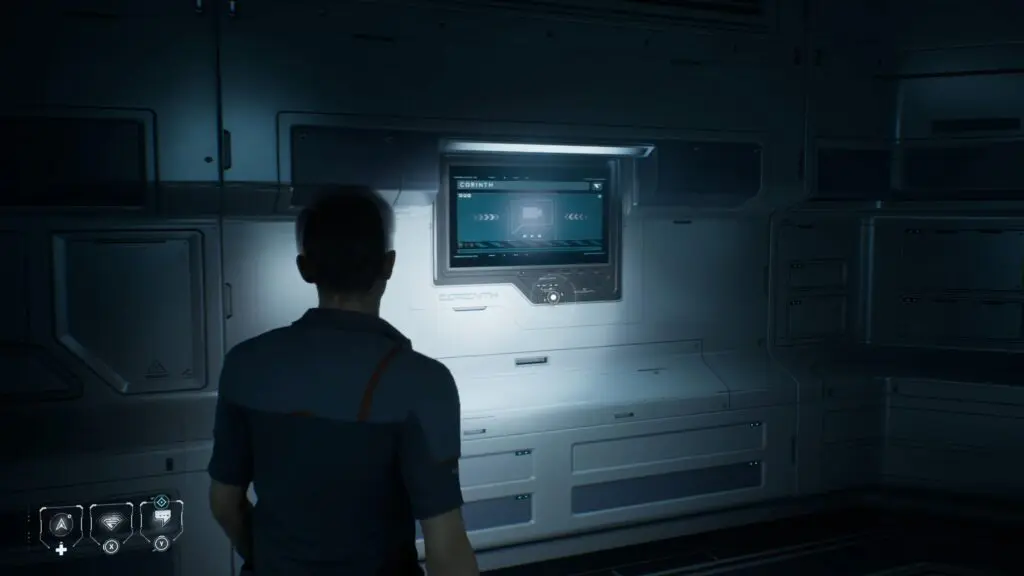
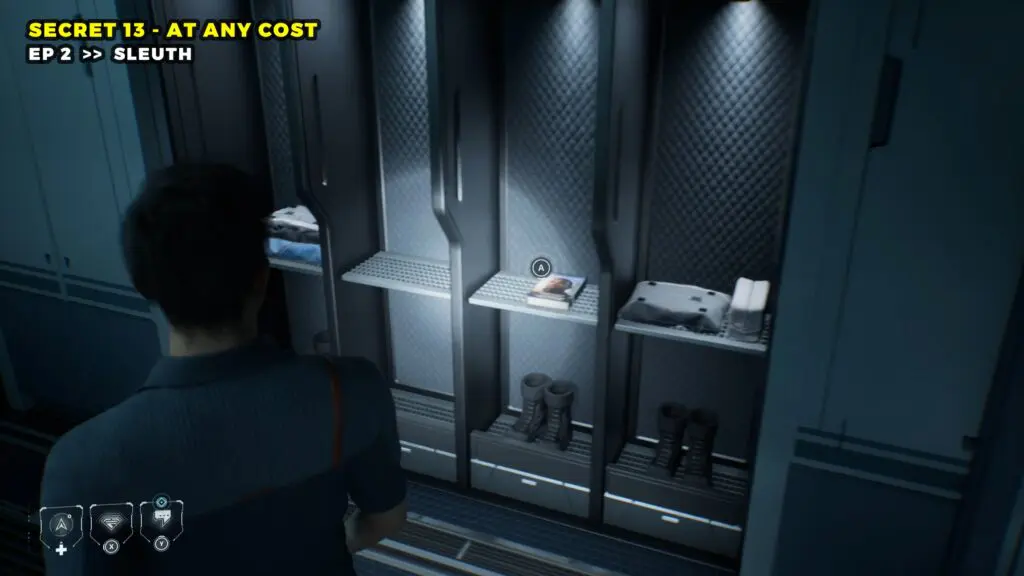
Secret 13 – At Any Cost
Head inside the Locker Room and find the keypad. Enter the code 13576 to unlock the locker.
This will drop the security on the right side lockers. Go ahead and open them up and grab the Book inside to collect the secret.
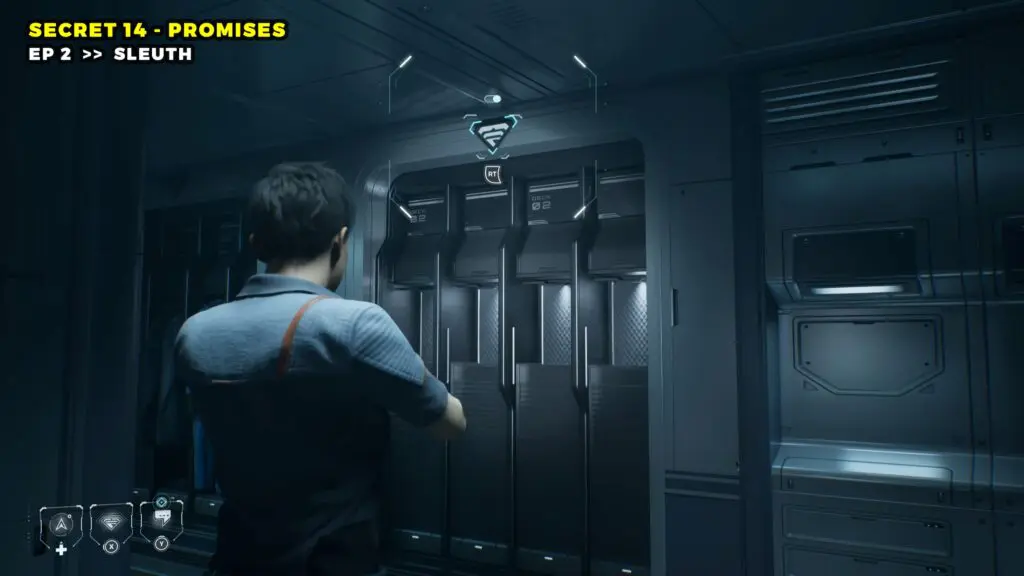
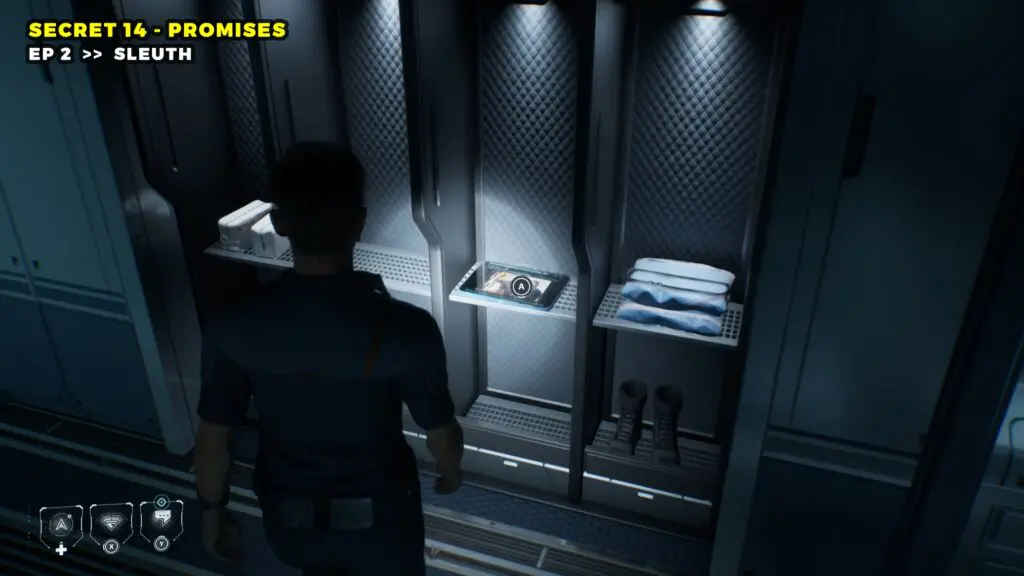
Secret 14 – Promises
Head to the right of the keypad monitor and look up to the left. You will spot another security switch there. Activate it to unlock the lockers on the left side and grab the Tablet inside to collect the secret.
Episode 3 – 6 Secrets
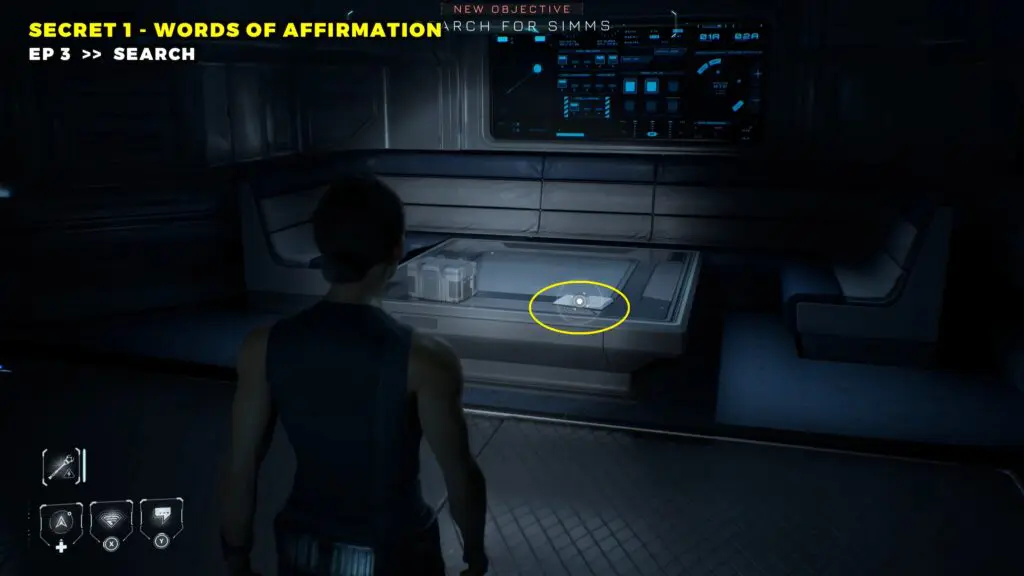
Secret 1 – Words Of Affirmation
In Episode 3: Search, as soon as you take control of Cooper, turn to your right straight away. You will find a Book sitting on the table right there. Interact with it to collect the Words of Affirmation.
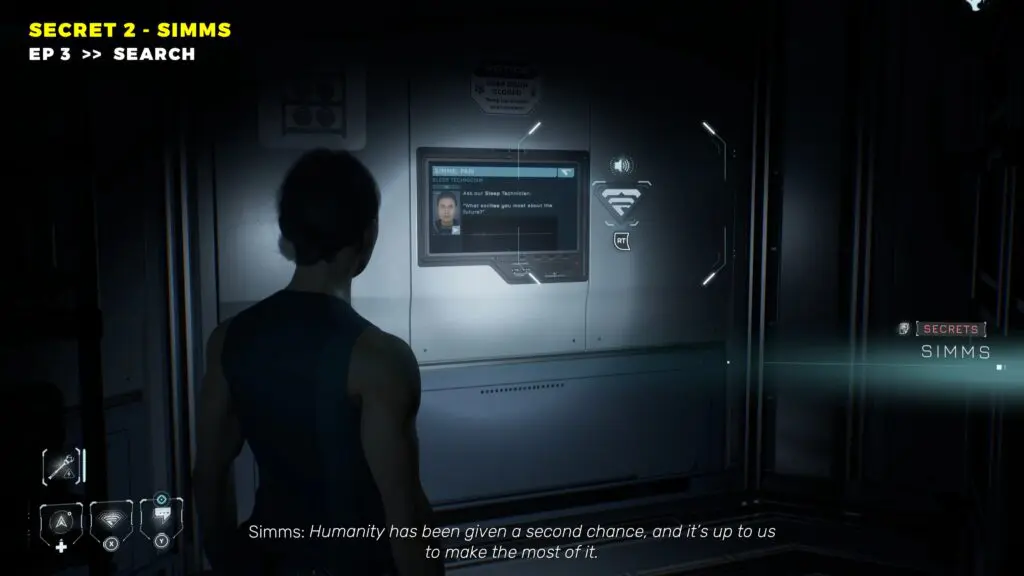
Secret 2 – Simms
At the start of the chapter, use your Utility Strap on the window to unlock the shutter. Then, climb through the window into the next room and turn left.
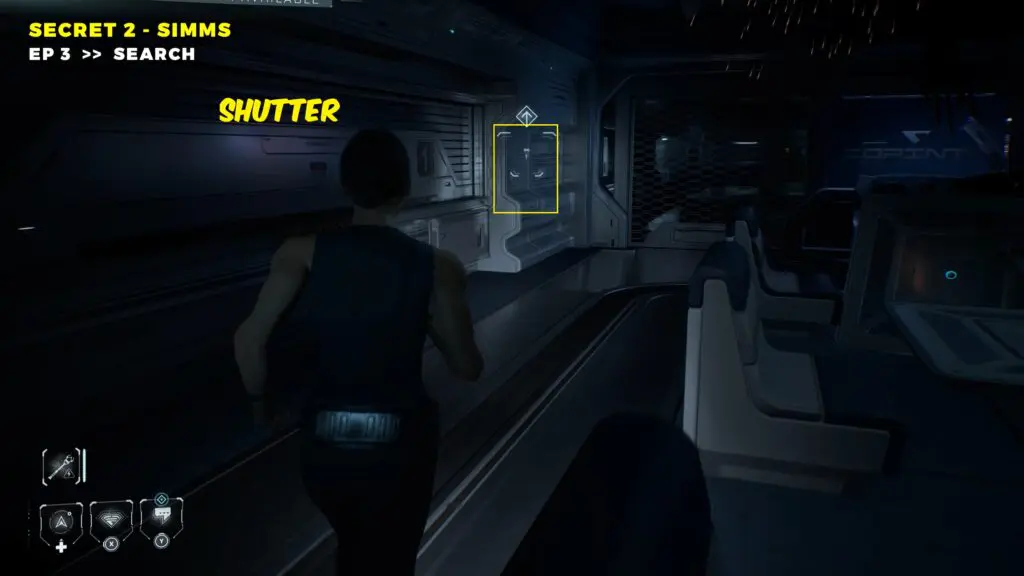
Head all the way to the back left corner. You will find a monitor on the wall. Interact with it to collect the secret #2.
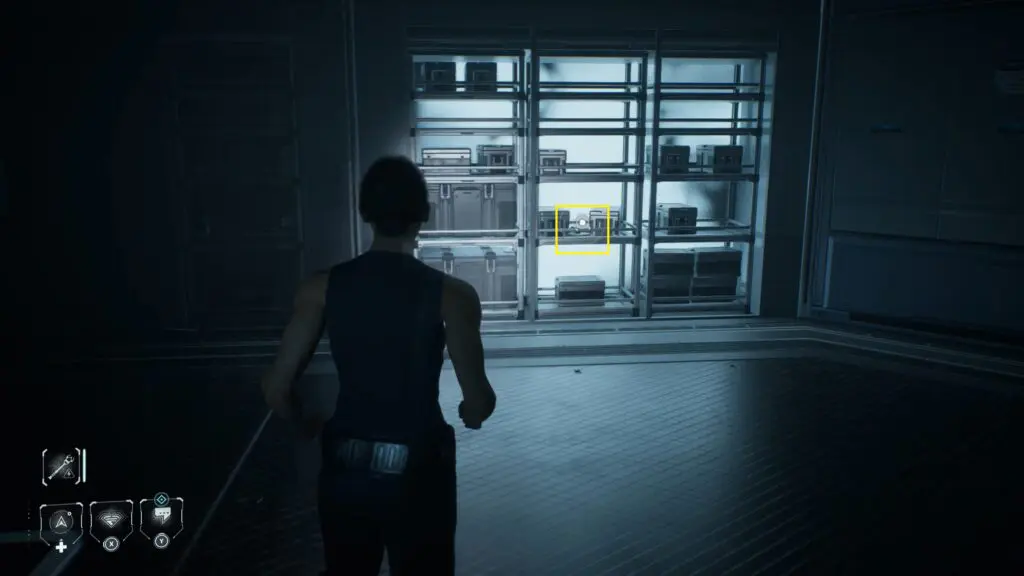
Secret 3 – Game Changer
In the same room, head to the far right side. You’ll find a battery on the shelves to the left side.
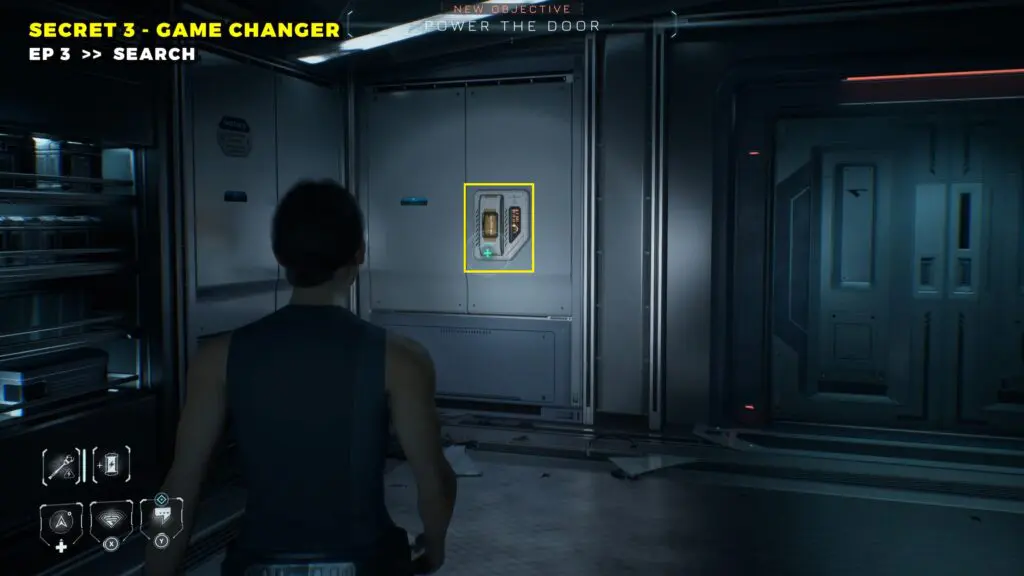
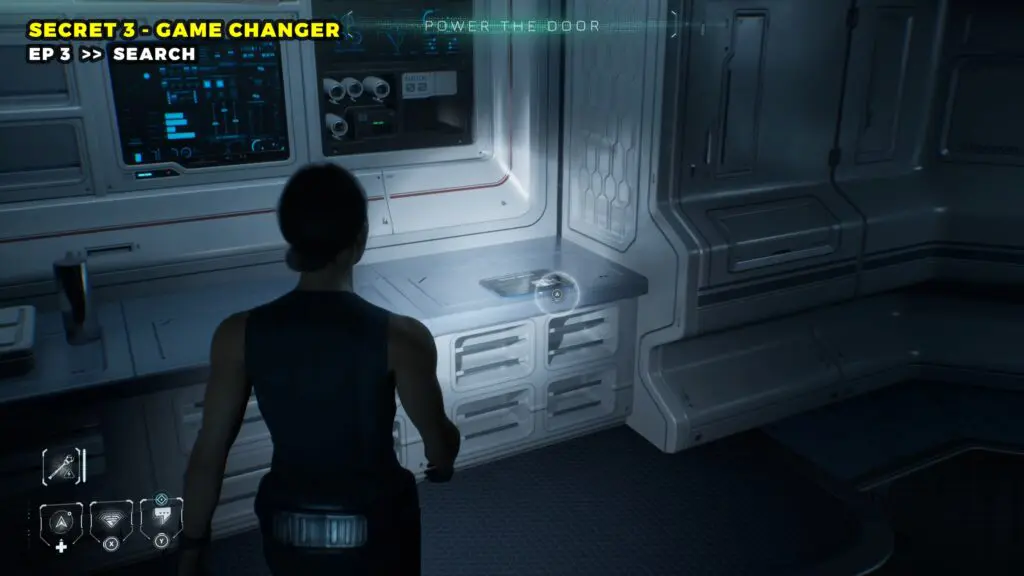
Place the battery into the slot near the door to unlock it. Head inside and look to your left. You will find the next secret sitting on the counter there. Interact with it to collect it.
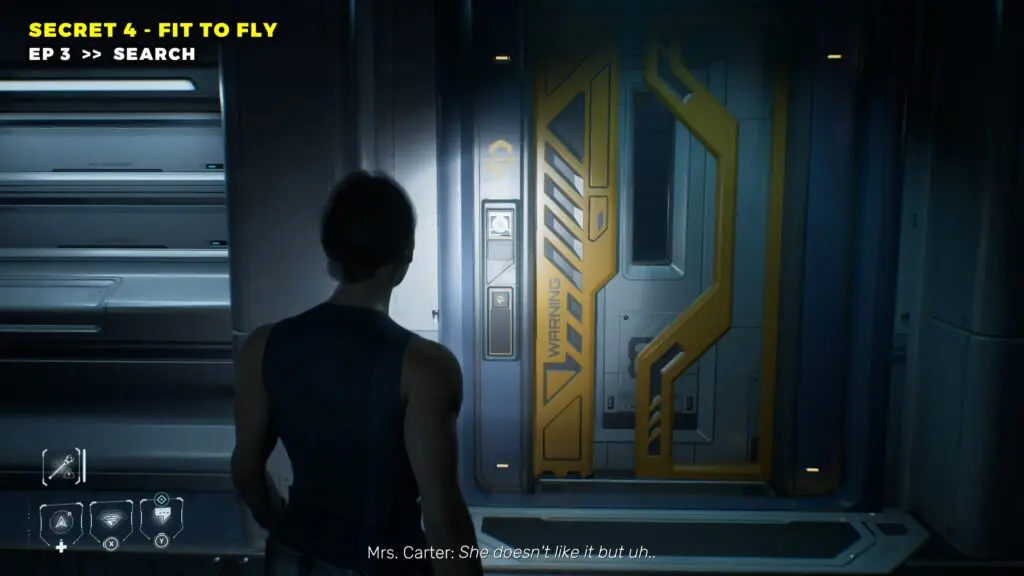
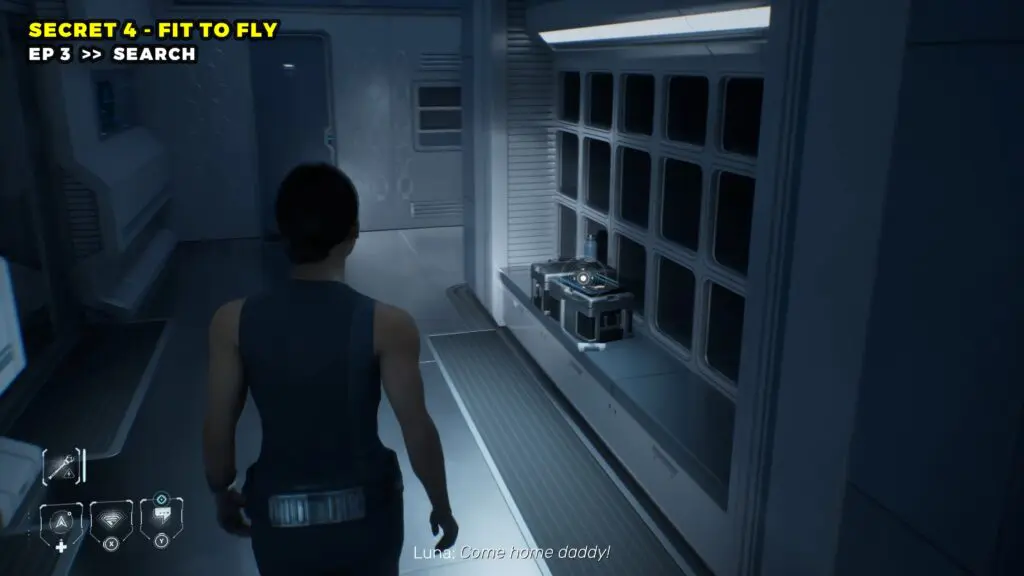
Secret 4 – Fit To Fly
From the previous location, turn right, and you will find a yellow locked door. Get it open and head inside. Make your way to the back of the bathroom area, and you will find a Tablet there. Interact with it to collect the secret.
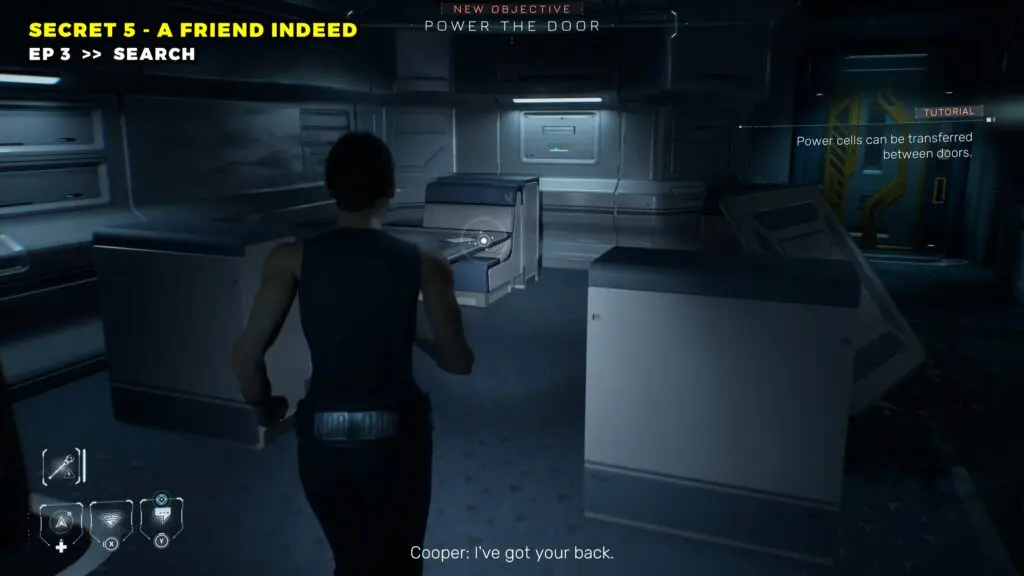
Secret 5 – A Friend Indeed
Return to the previous room and head to the far end of the room. You will find a table with a tablet.
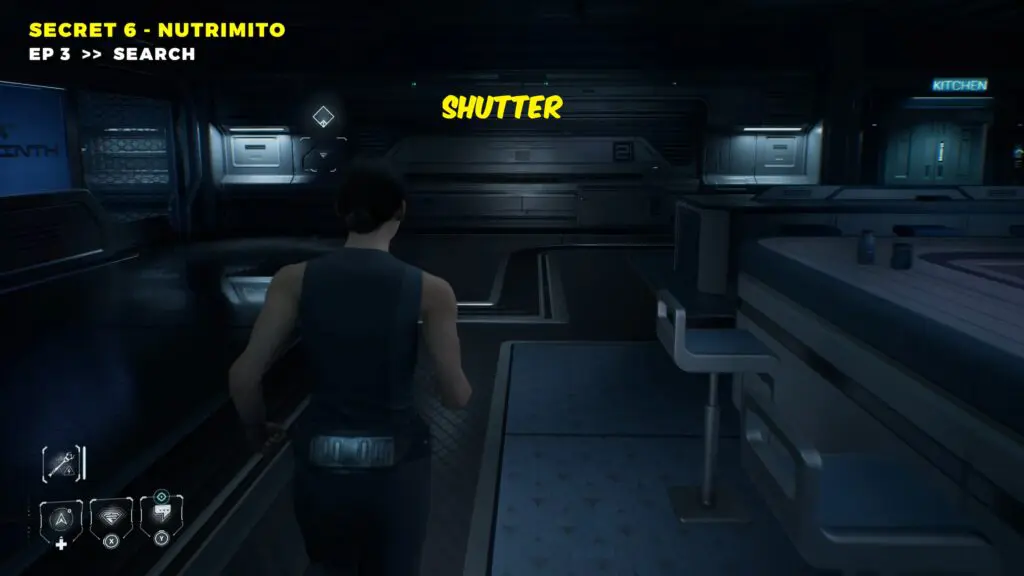
Secret 6 – Nutrimito
Turn to your right and head straight towards the window shutter. Use your Utility Strap to open it and head inside the room.
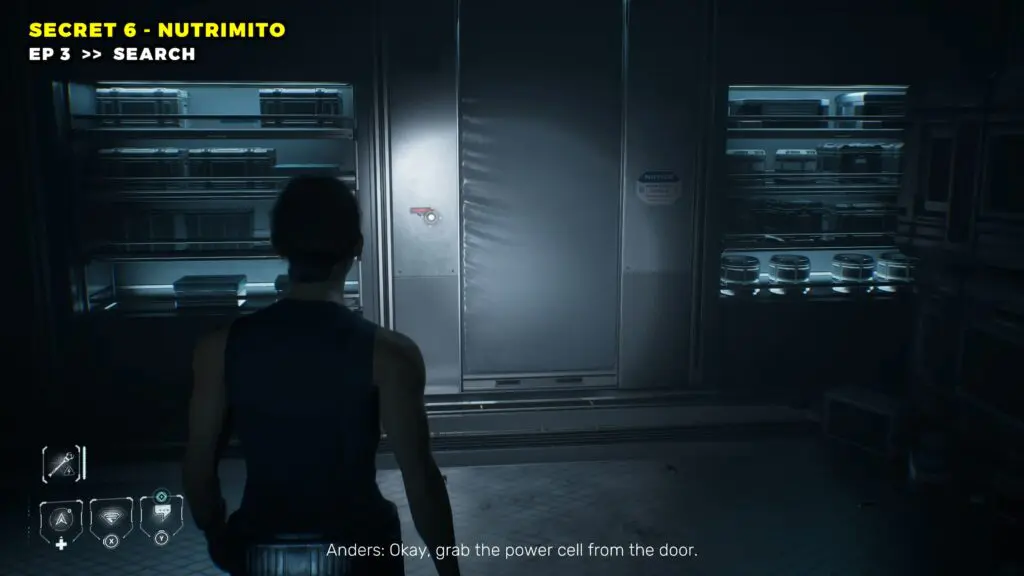
Once you are in, find the keypad and enter the code 0402 to unlock the food storage compartment. Go inside, and you will find the Secret Leaflet waiting there. Interact with it to collect the secret.

Episode 5 – 5 Secrets
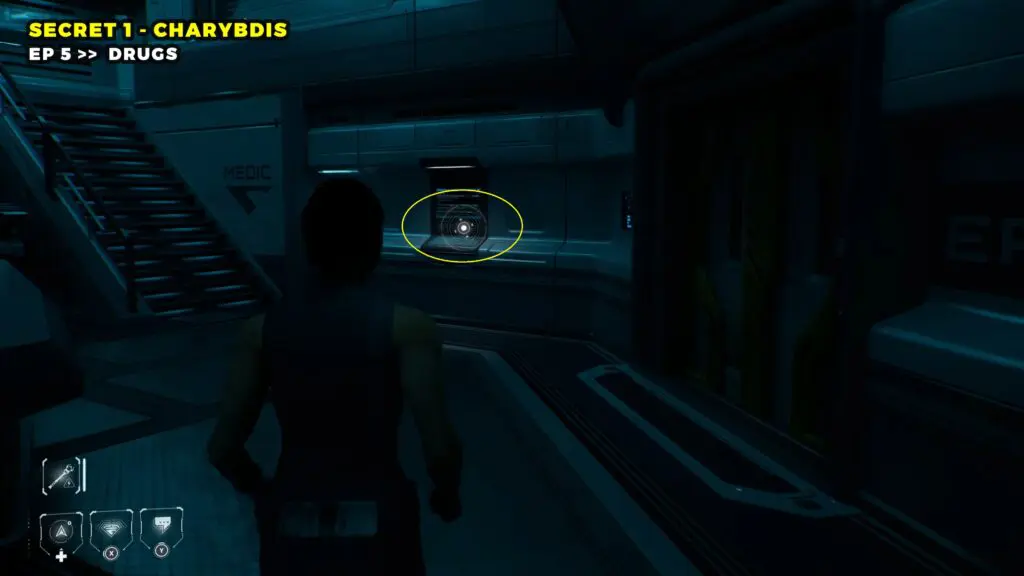
Secret 1 – Charybdis
At the start of the chapter, once you take control of Cooper, head through the door on the left side of the room. Just before the stairs, check the right wall inside to find Secret #1 – Monitor.
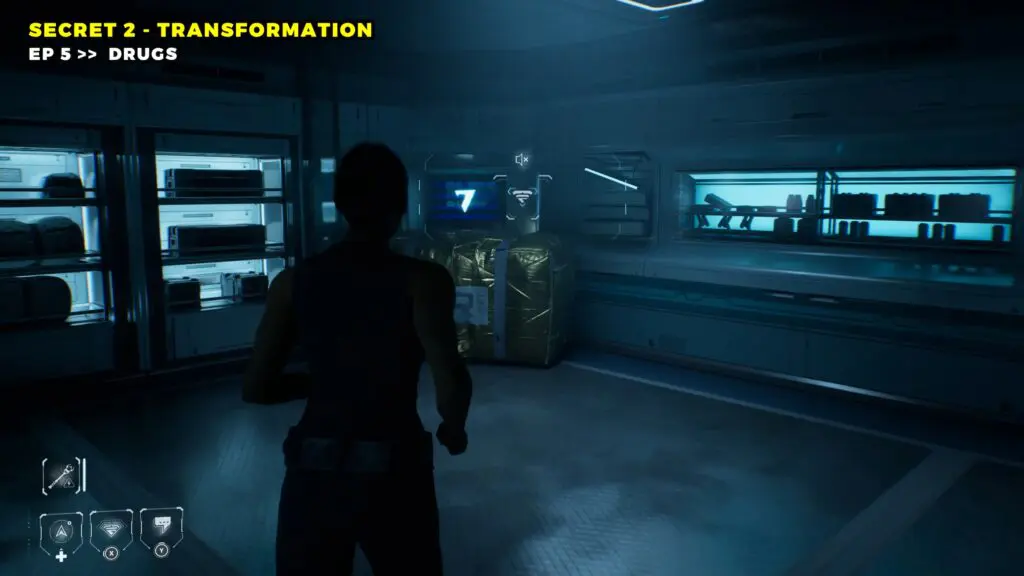
Secret 2 – Transformation
Head back to the previous room and make your way to the next available room, where you can talk to Anders. Look toward the back right of the room and turn on the video. You’ll find the Monitor just behind the golden colored crates.
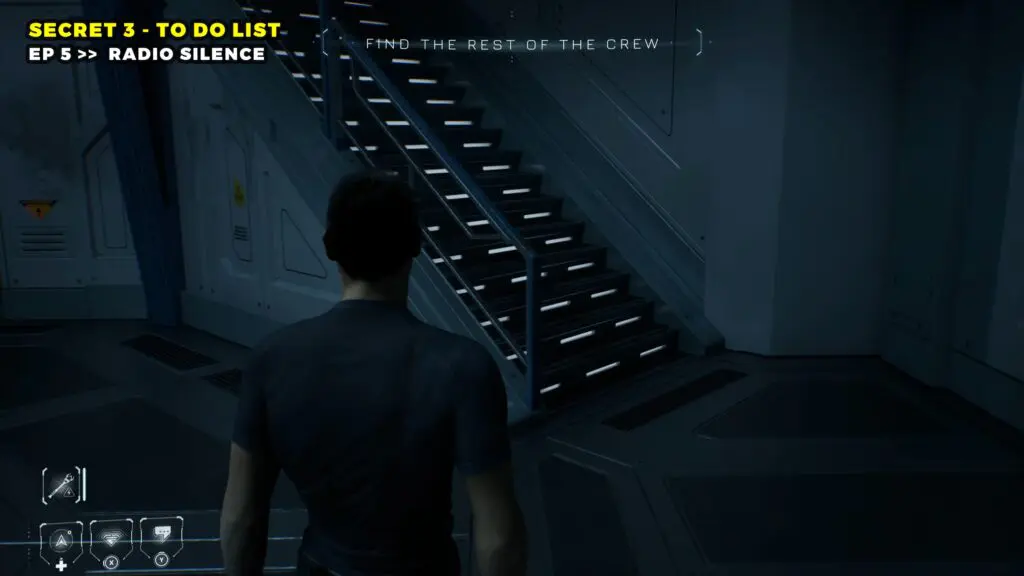
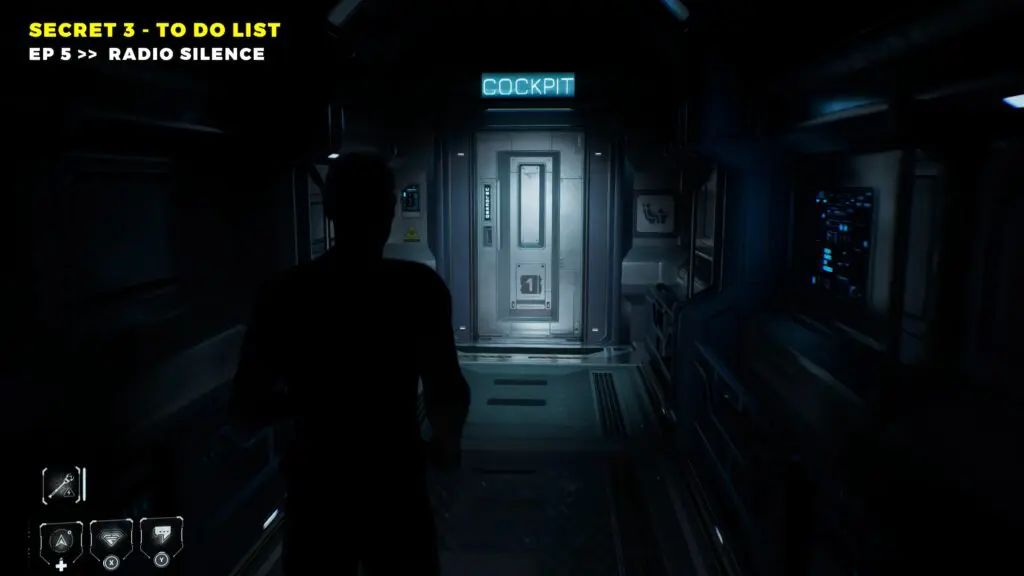
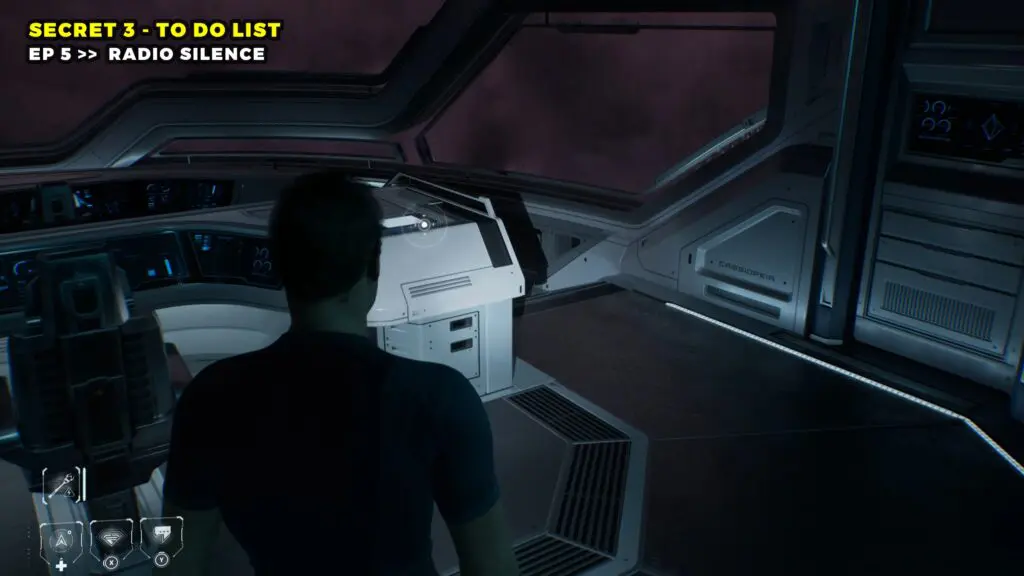
Secret 3 – To Do List
While playing as Cernan, head upstairs. Follow the path until you reach the door near the monitor and go through it.
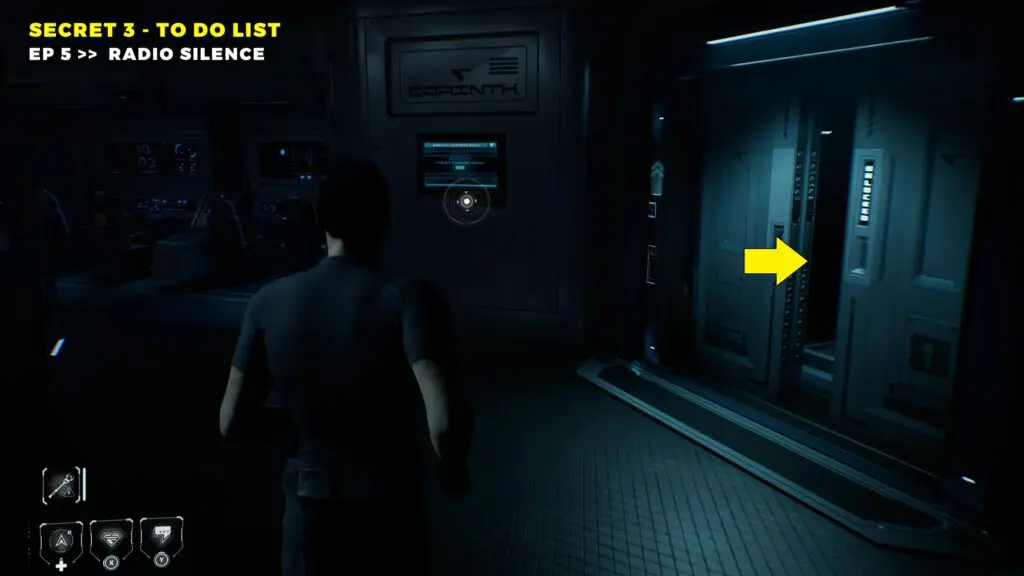
Walk the entire length of the hallway toward the cockpit. Head inside and look to your right to pick up the Tablet.
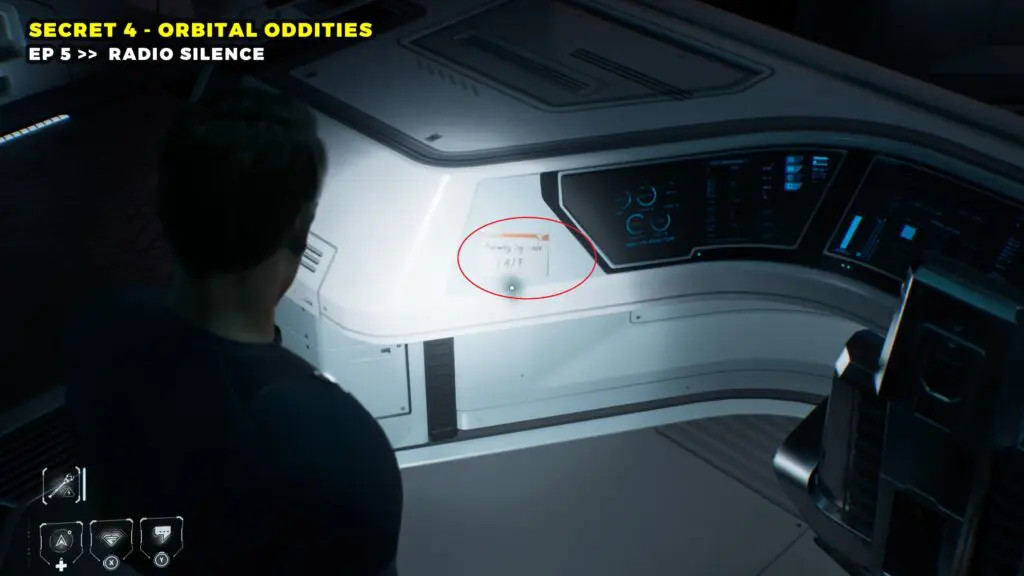
Secret 4 – Orbital Oddities
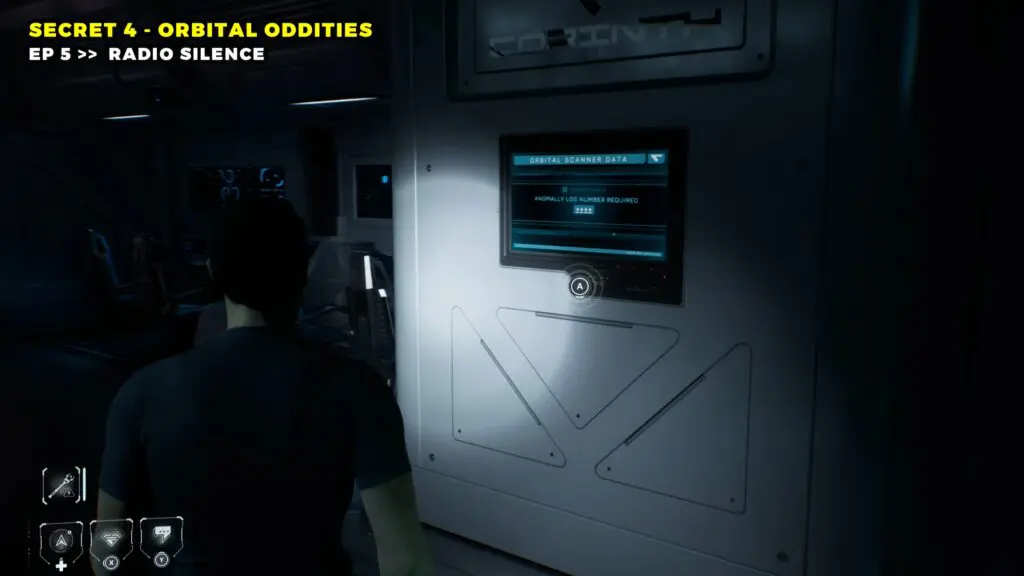
The code for the Monitor is 3196. To find it, look to the left side near the chairs in the cockpit. You’ll spot a note with the code CAIF. Match each letter to its position in the alphabet, so C=3, A=1, I=9, and F=6, giving you 3196.
Once you have the code, backtrack to the monitor upstairs near the door you came through. Interact with it and enter 3196 to unlock it.
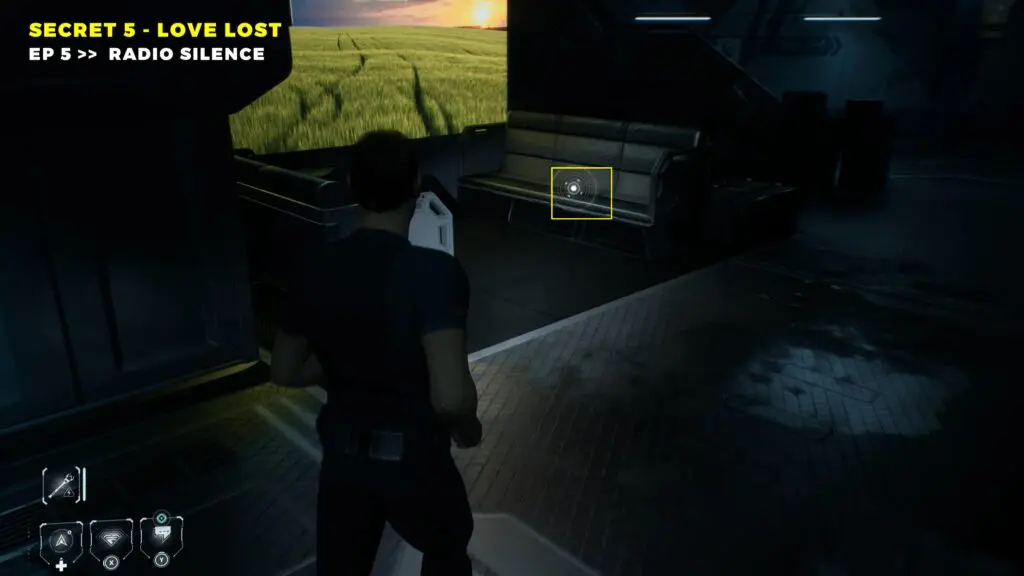
Secret 5 – Love Lost
Continue following the main story until you see Cooper heading through a door. Before you follow her, take the nearby stairs down and turn left.
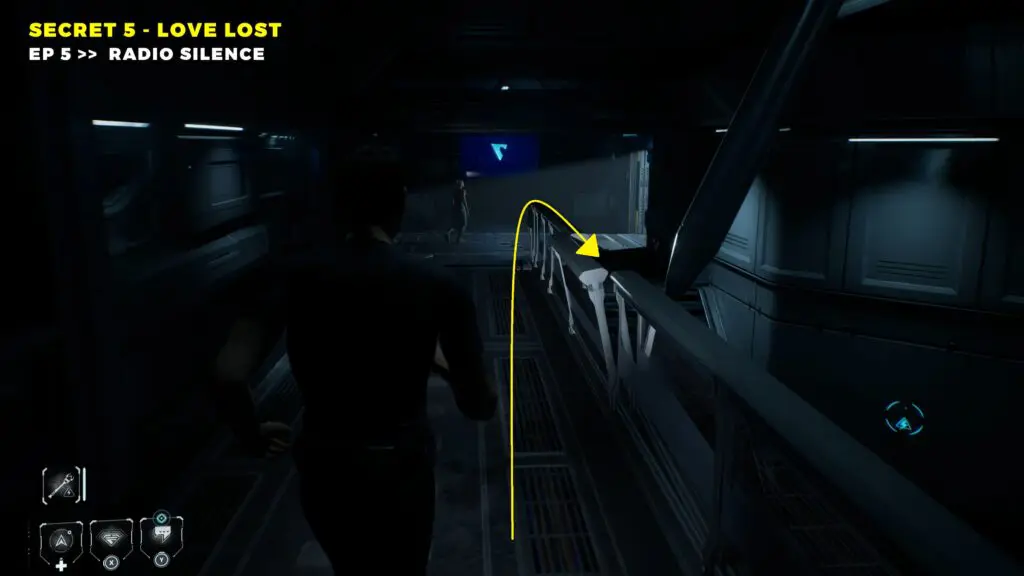
You’ll find a Photo Frame sitting on the seats next to the large picture.
Episode 6 – 6 Secrets
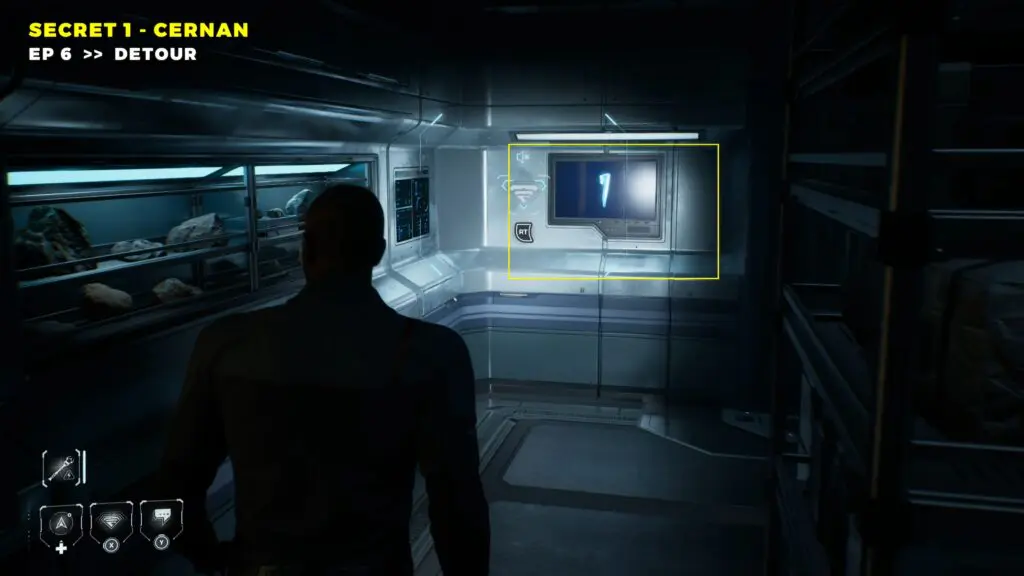
Secret 1 – Cernan
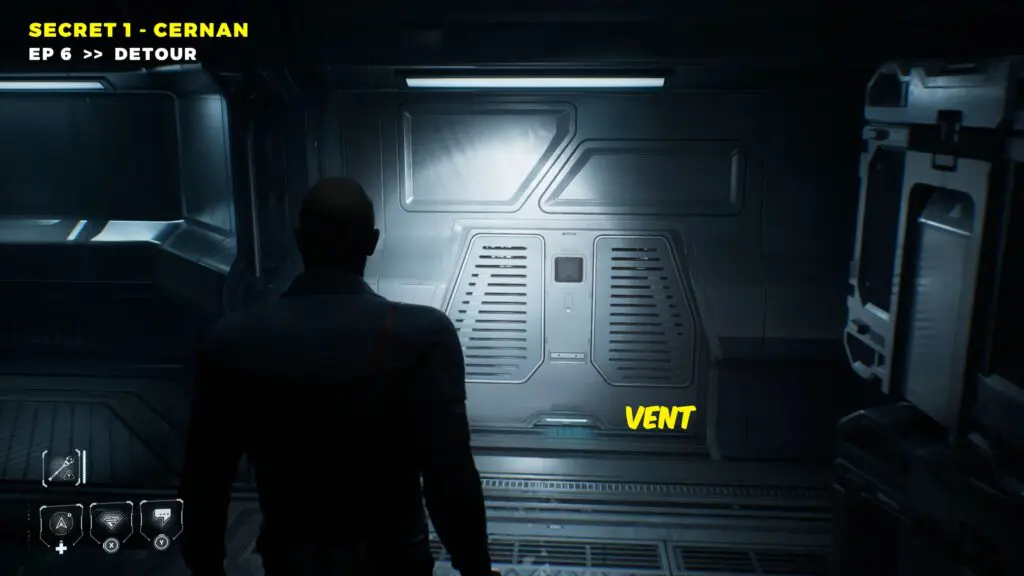
At the start of the chapter, head to the door next to the Exec Room. Inside, you’ll find a vent.
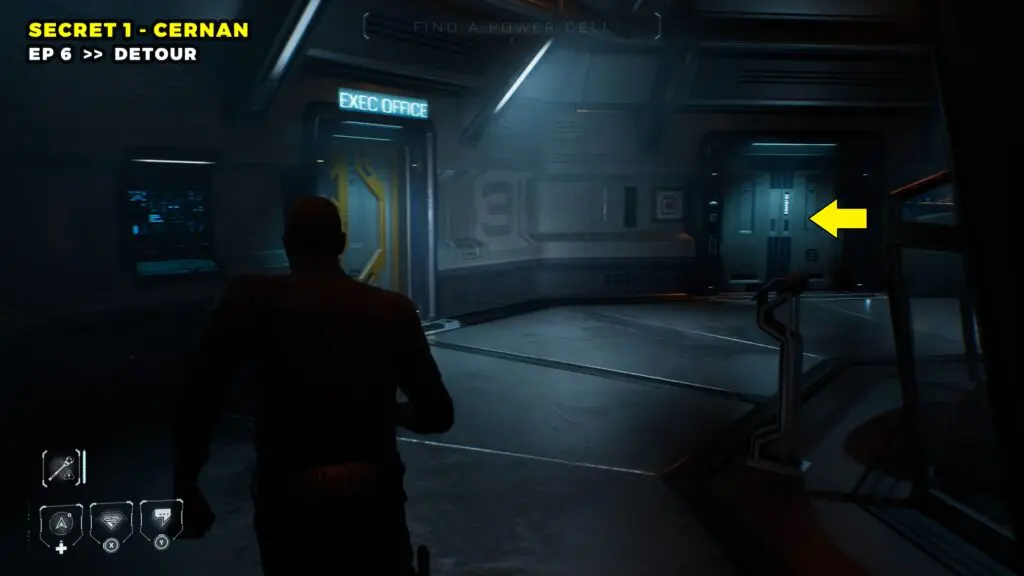
Go through it and turn left to exit into a room. From there, make your way to the back left corner where you’ll find a monitor.
Interact with it to collect Secret #1.
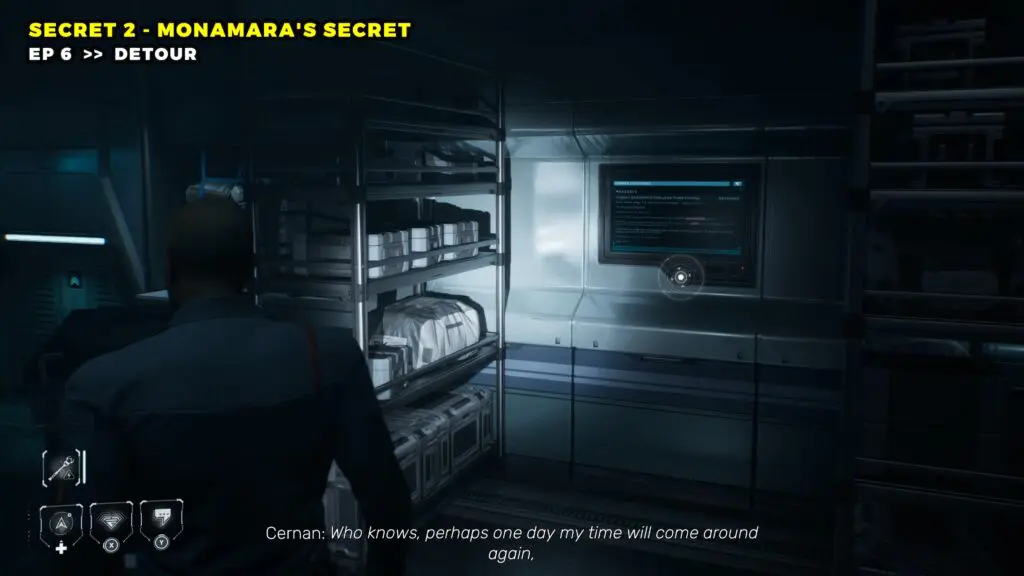
Secret 2 – Monamara’s Secret
Head into the adjacent room and look to the right wall to find a Monitor.
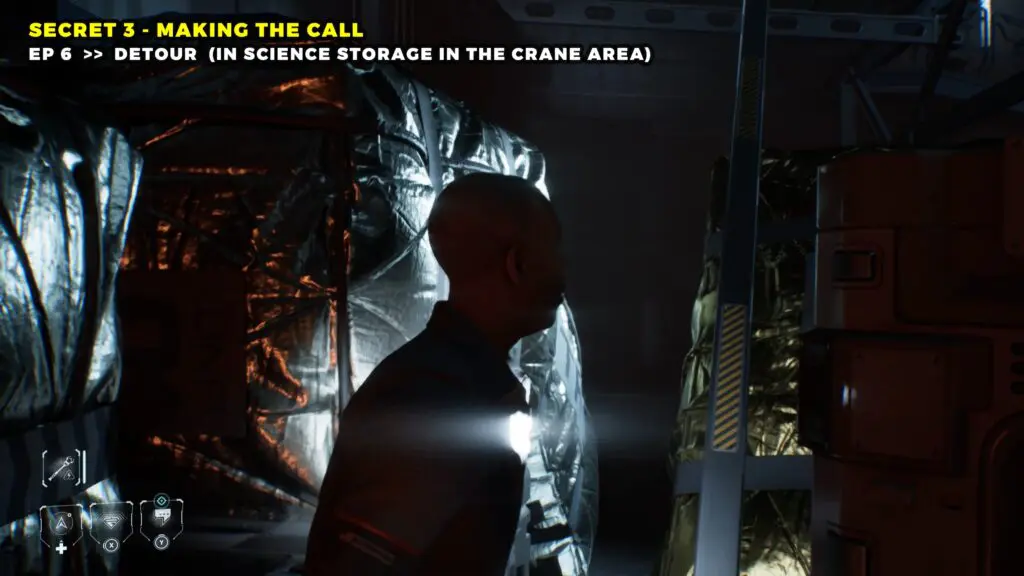
Secret 3 – Making The Call
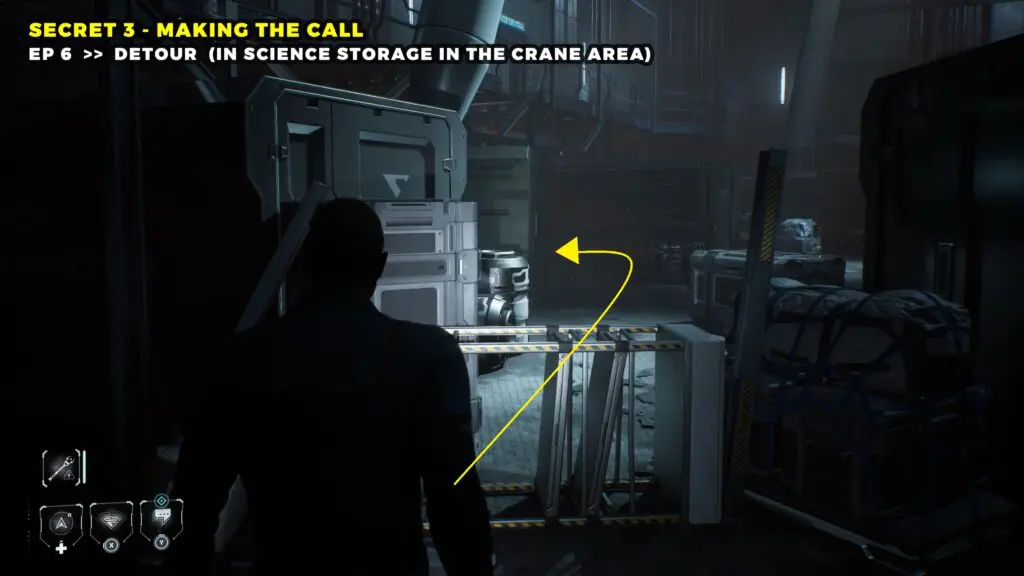
Progress through the chapter until you reach the crane area. Head down the stairs and from midway, drop down to the lower level.
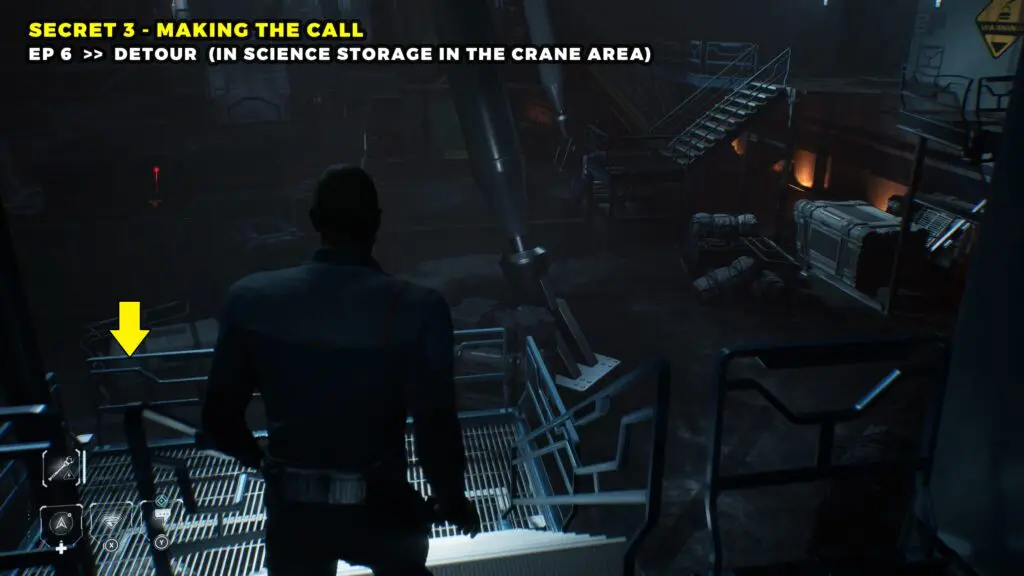
Continue forward and squeeze through the gap to reach the Science Storage door. The door will be locked at this point, so look to your right and climb over the obstacle to get past it.
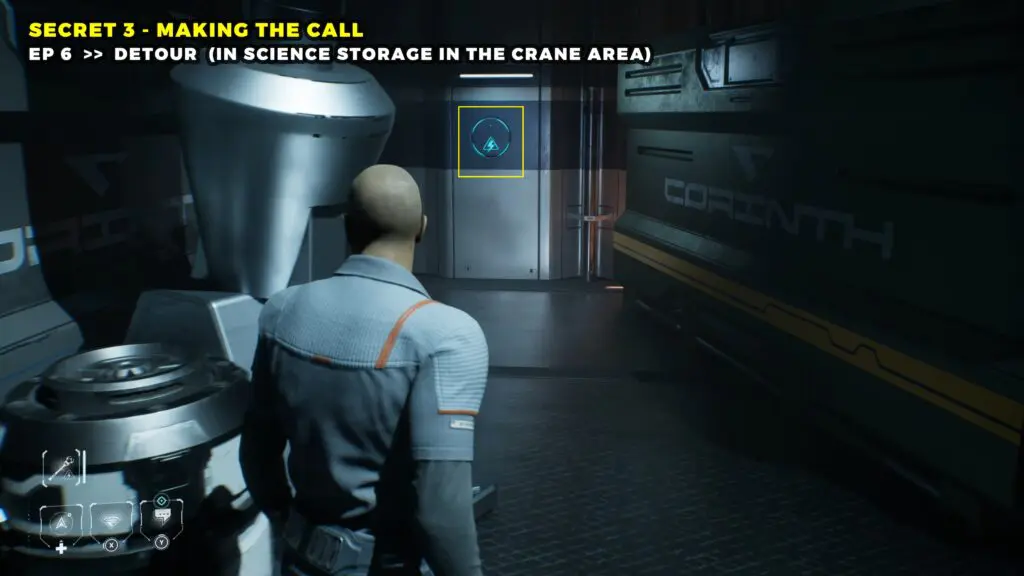
Once you’re over, look to your left to spot a power rerouting panel. Interact with it and direct the power to the Science Storage door.
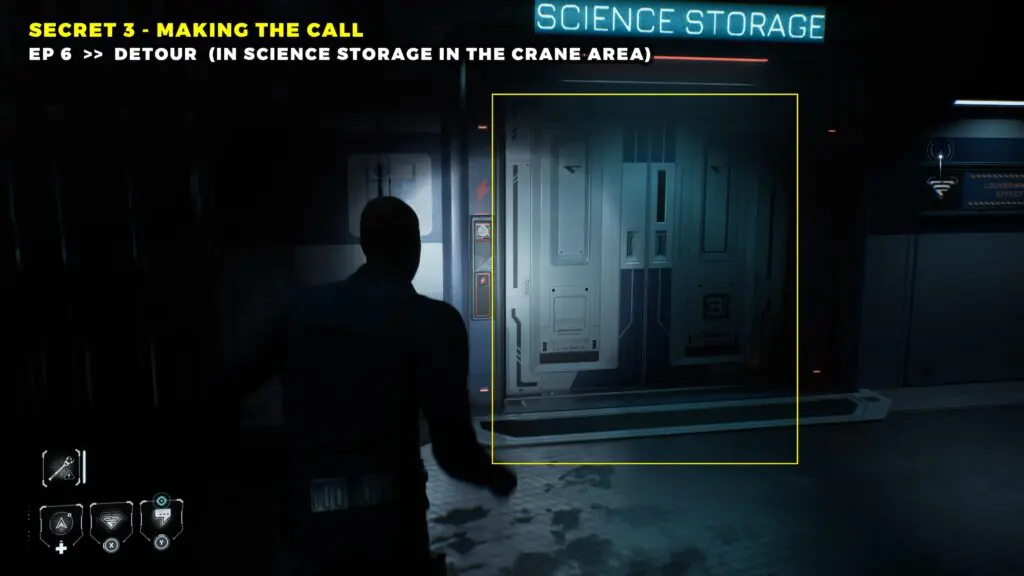
Now head back to the Science Storage door and lift the lockdown to get it open. Head inside and make your way toward the back office.

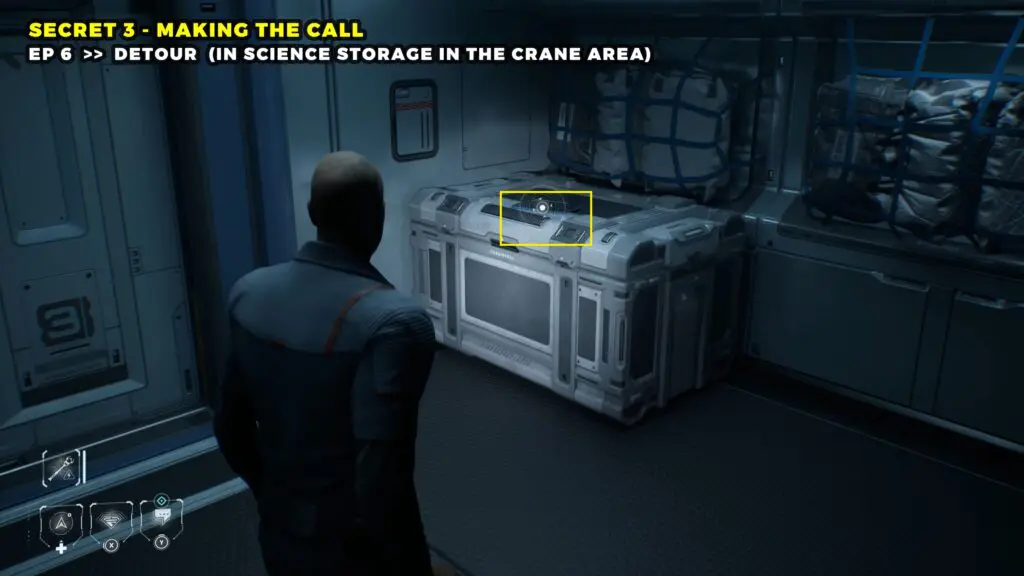
Jump through the broken window, and you’ll find the Tablet sitting on a crate.
Secret 4 – Meet The Tardigrades
After collecting the Power Cell, continue down the hall until you spot Cernan. Just before you reach him, look to your right to find the Astroscience Room.
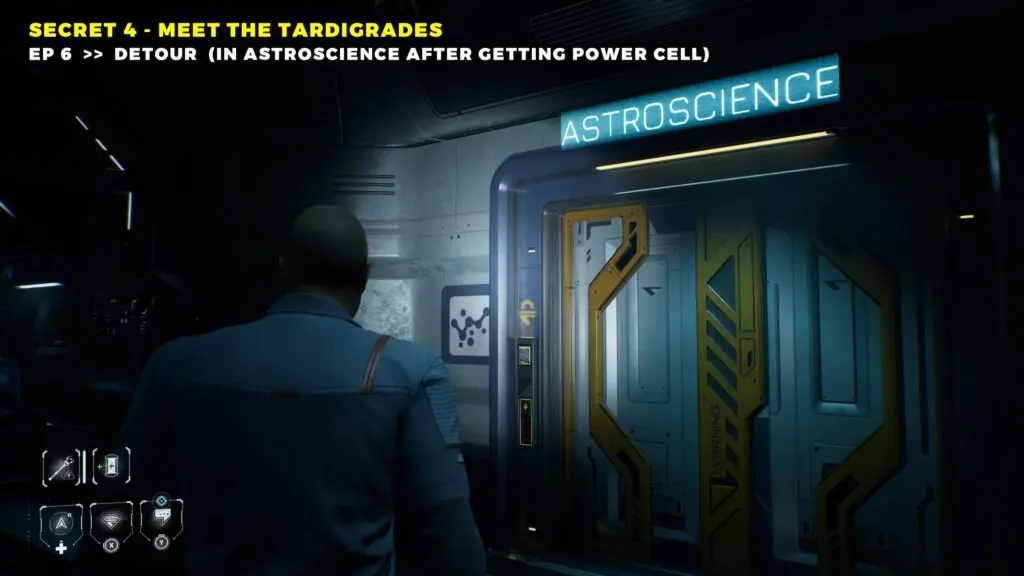
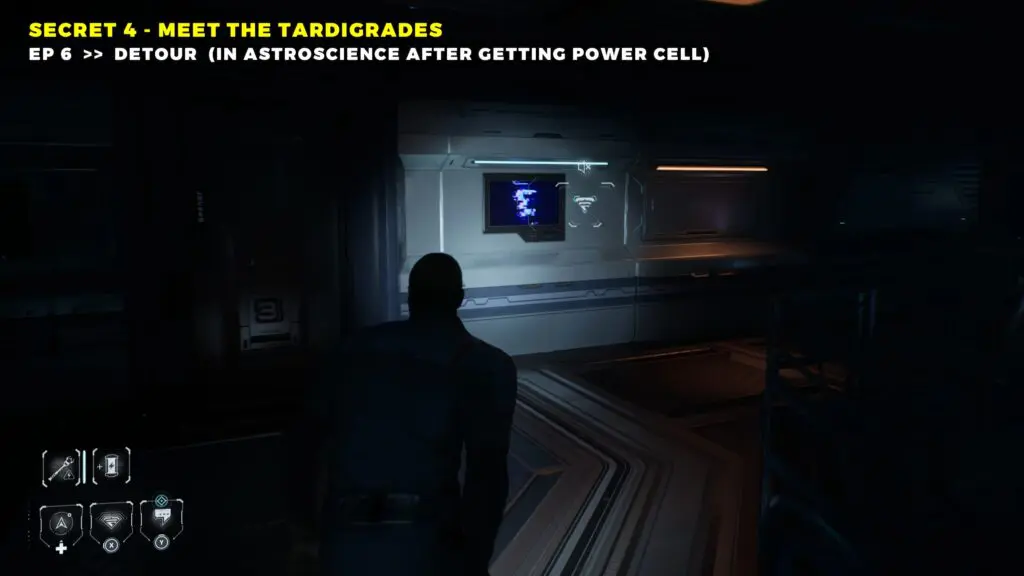
Use your Utility Strap to open the door and head inside. You’ll find the Monitor on the left wall.
Secret 5 – Faster Than Fiction
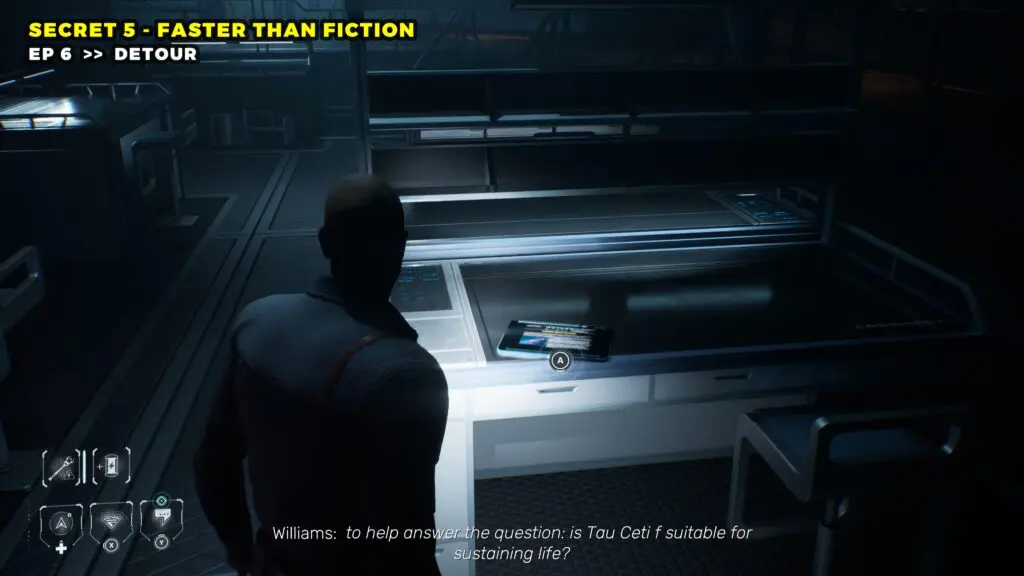
Head into the Astroscience Room. Make your way to the middle of the room and look next to the Solar System display.
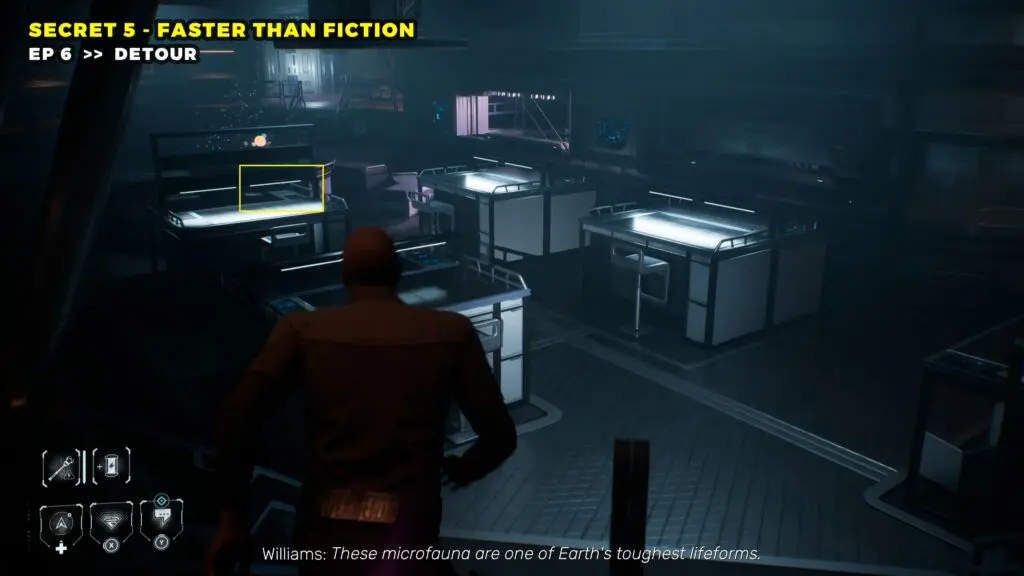
Interact with the Datapad there to collect the secret.
Secret 6 – Stafford
Progress through the story until you obtain a Battery Cell. Use it to unlock the first Hydroponic Door and head inside.
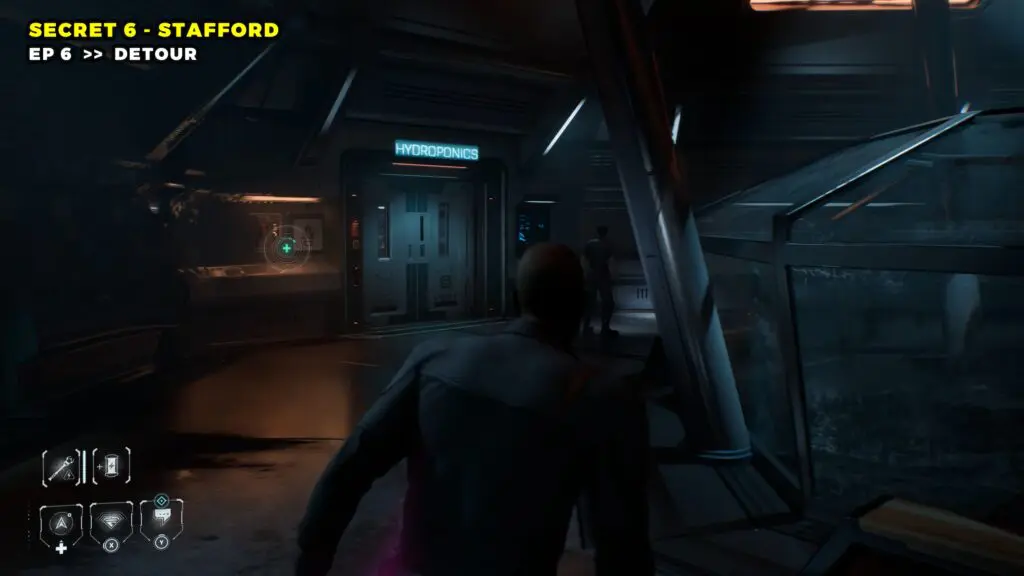
Continue straight until you come across another Hydroponic Door.
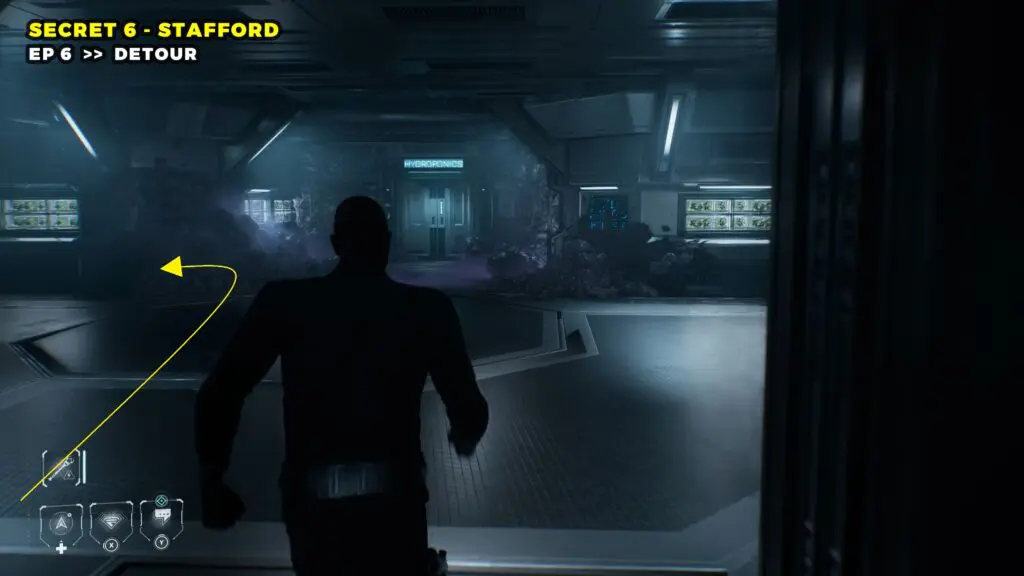
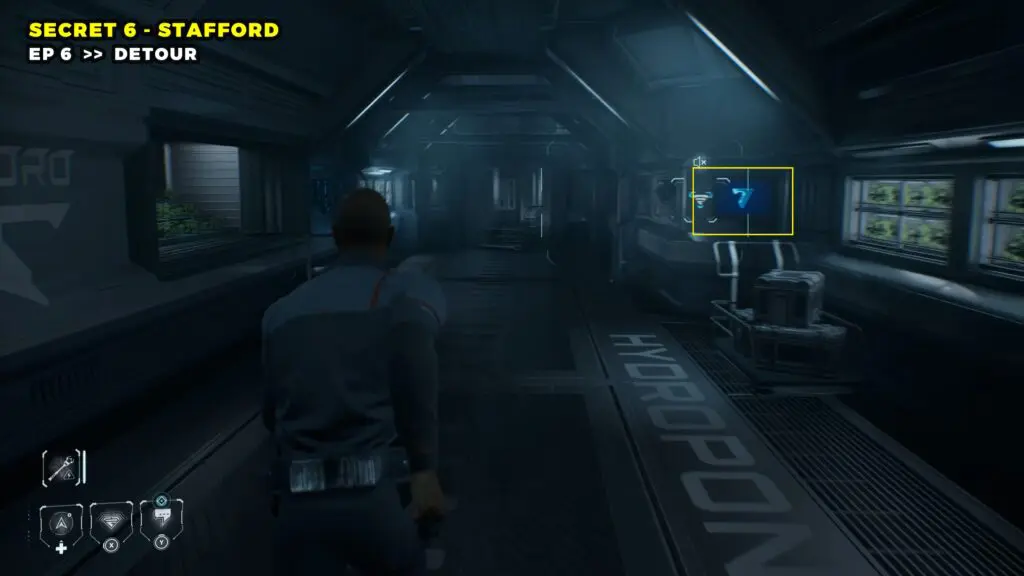
Instead of going through it, turn left and follow the pathway. You’ll find the Monitor just ahead on the right.
Episode 7 – 4 Secrets
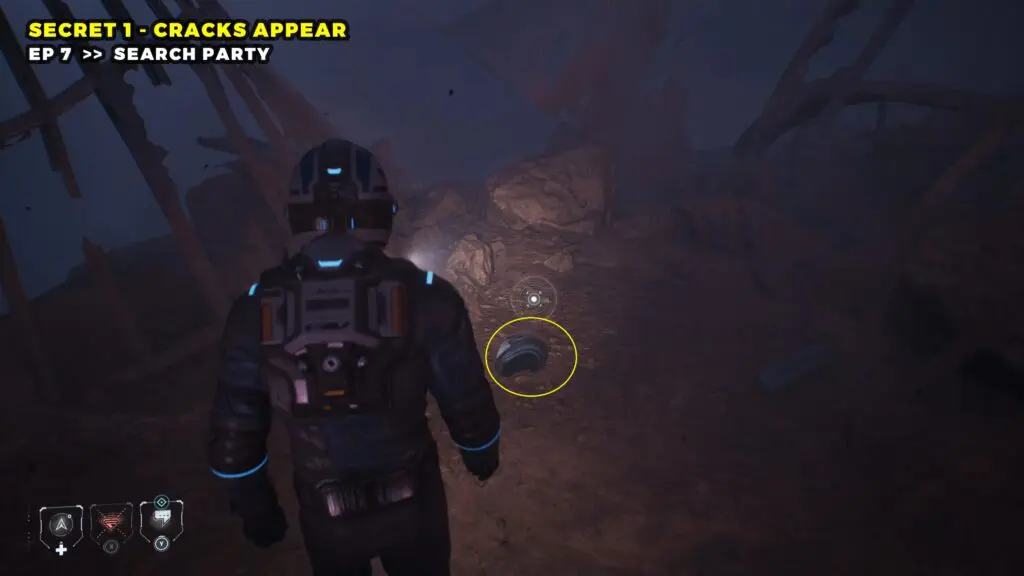
Secret 1 – Cracks Appear
Follow the trail past the waterfall until the path splits. Take the left path going up the slope instead of the main path going down.
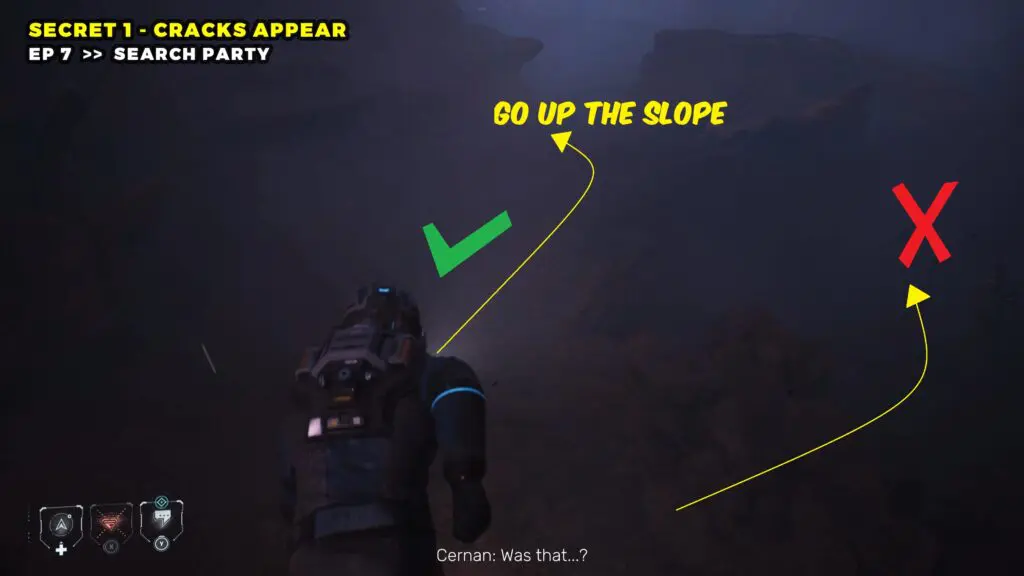
Follow it all the way to the end and look on the ground to find the Broken Helmet.
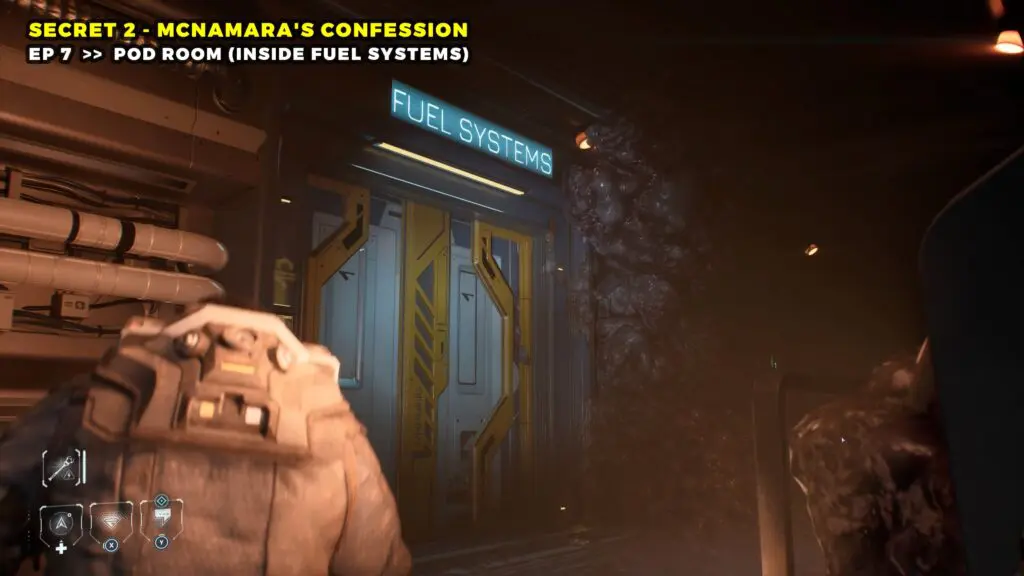
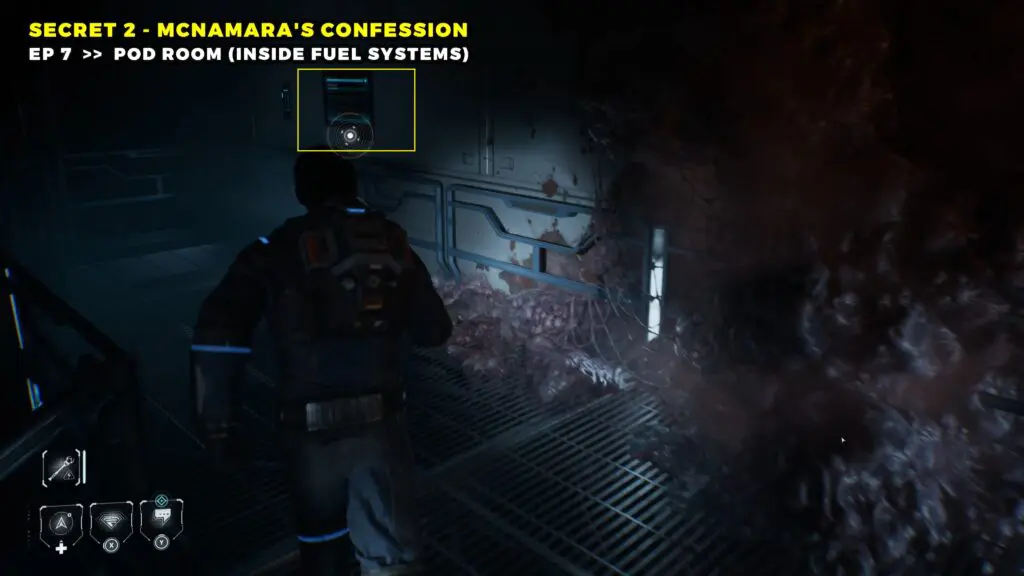
Secret 2 – McNamara’s Confession
Enter the Fuel System room with the fans and pods.
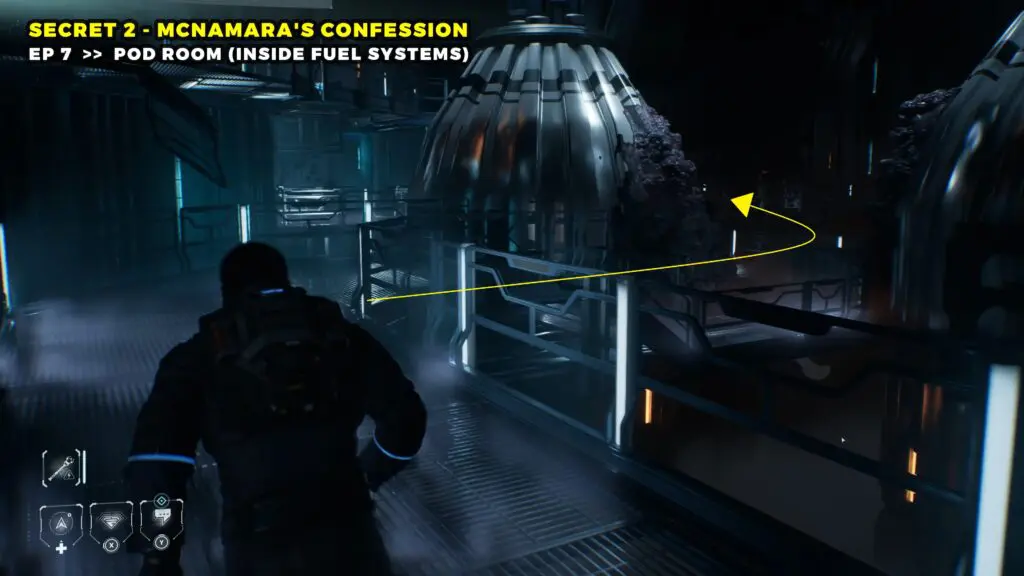
Turn left and follow the path, then turn left again until you reach a point where you can use your Utility Strap to pull the ladder down.
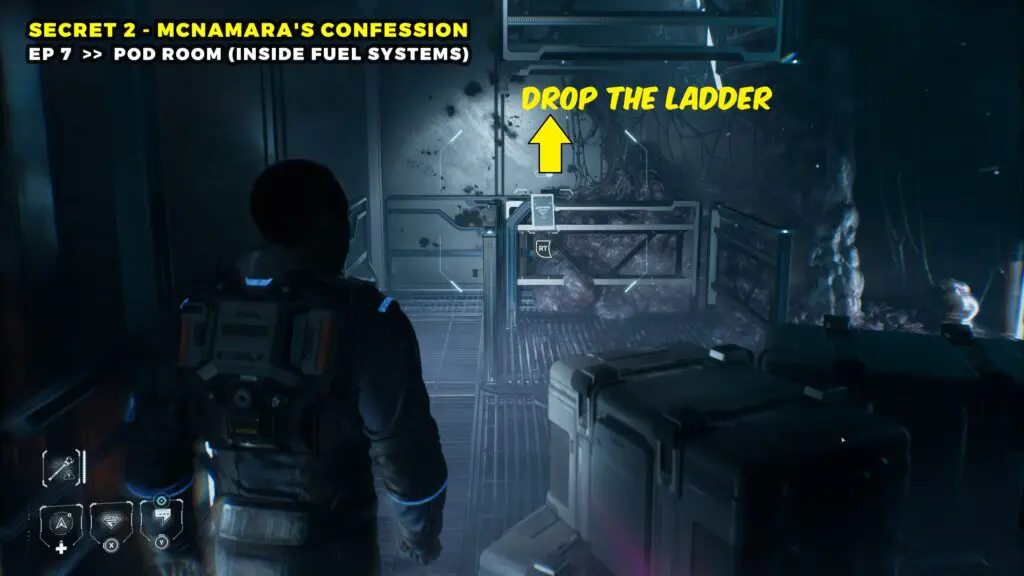
Climb up and head right along the catwalk to find the Monitor.
Secret 3 – Mitchell
From the previous location, drop down and head to the left. Go up the small set of stairs and through the door.
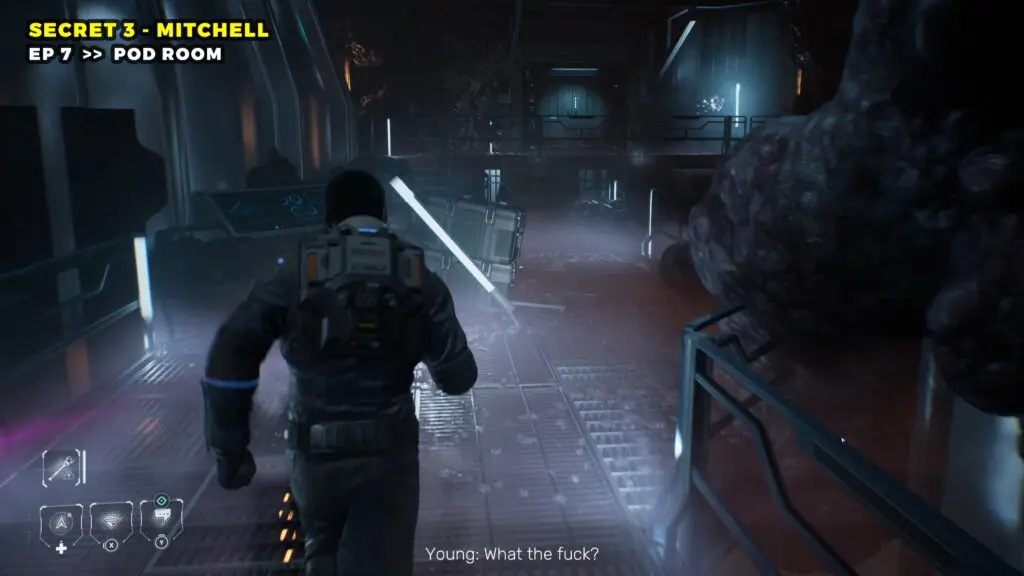
Once inside, head to the right, jump over the obstacle, and squeeze through the narrow path to reach the Reactor Room.
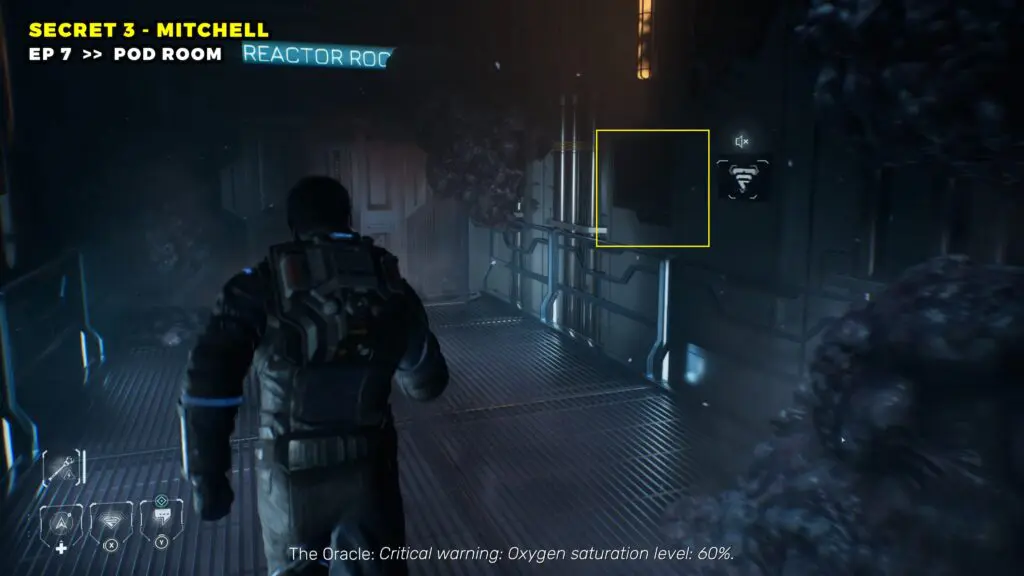
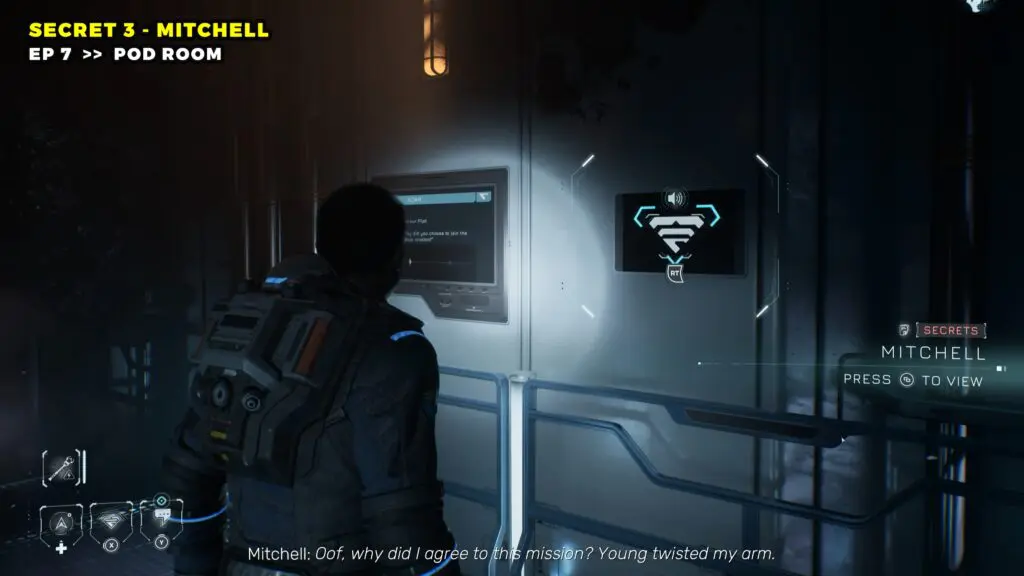
You’ll find the Audio Log Monitor on the wall to your right.
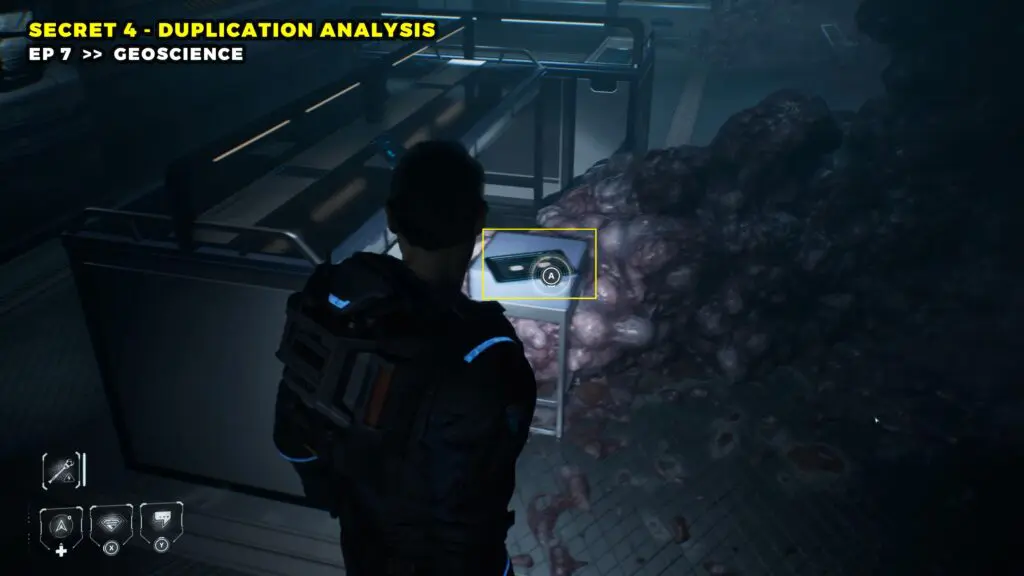
Secret 4 – Duplication Analysis
While playing as Cernan, turn around and follow the hallway. At the end, look to your left to find the power supply.
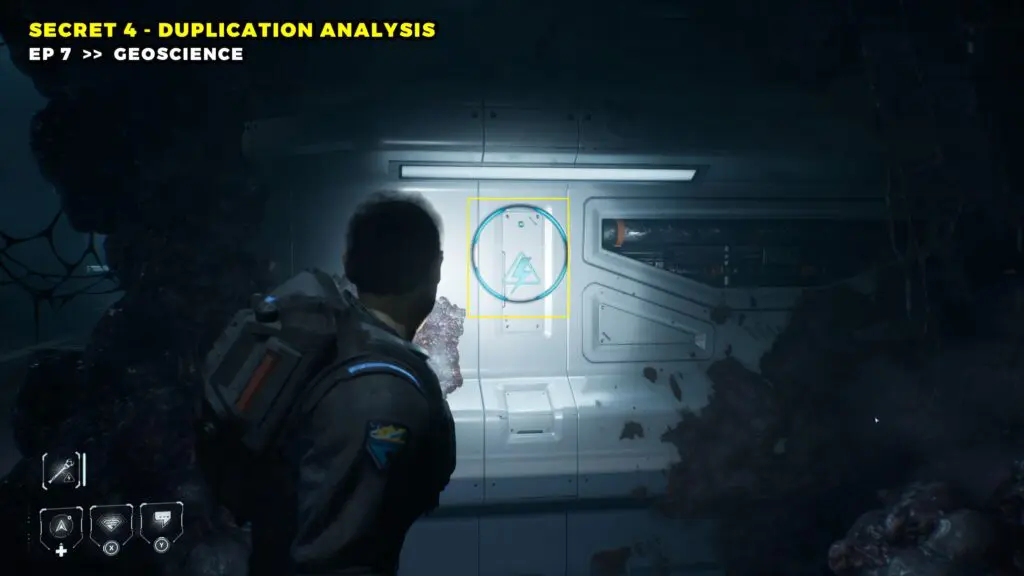
Reroute the power to open the door on the left side and head through the door to enter.
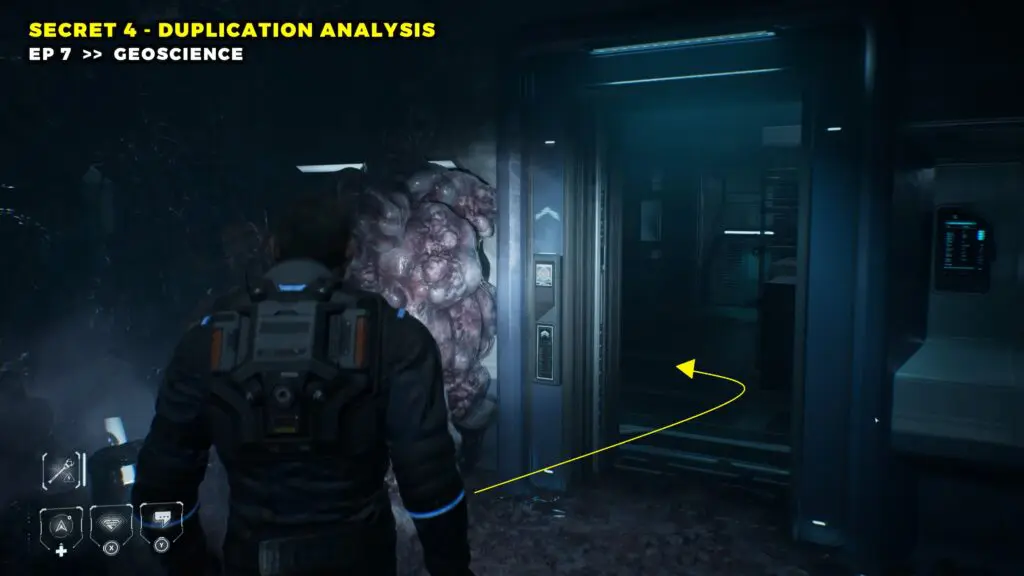
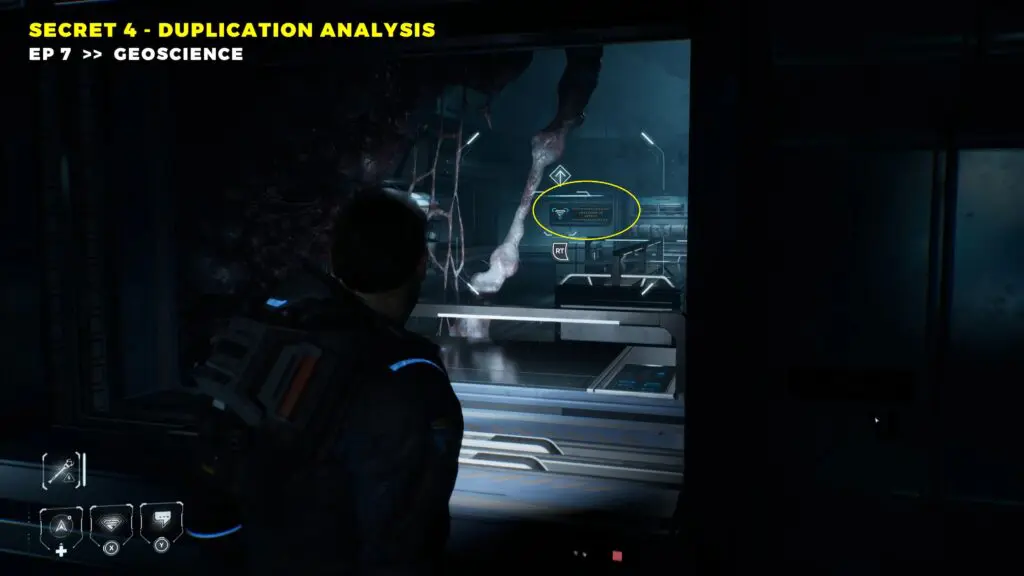
Once inside, look through the window ahead and unlock the door at the far end.
Head back out to the hallway and climb through the newly open window on your right.
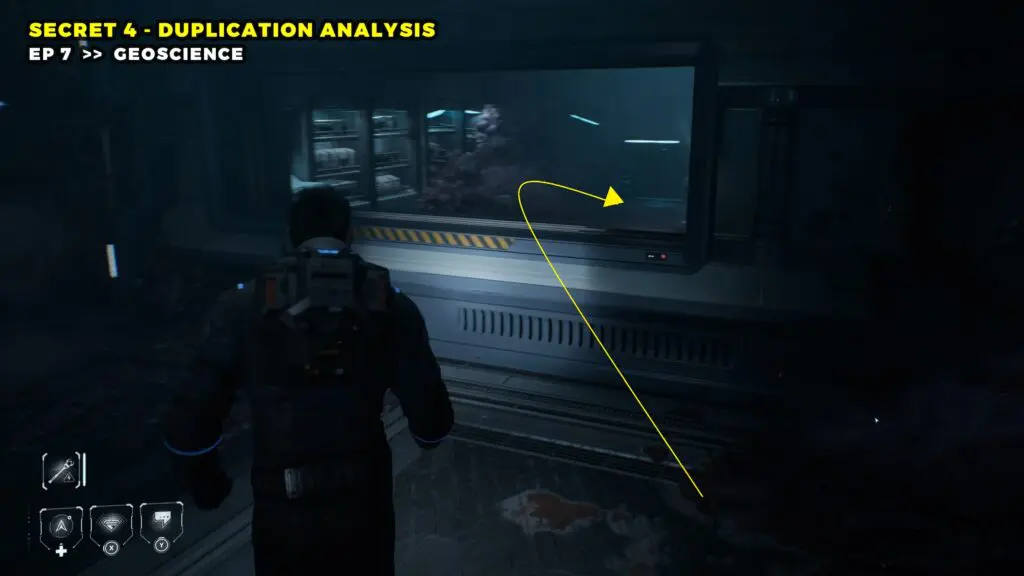
You’ll find the Tablet on the right side of the room.
Episode 8 – 5 Secrets
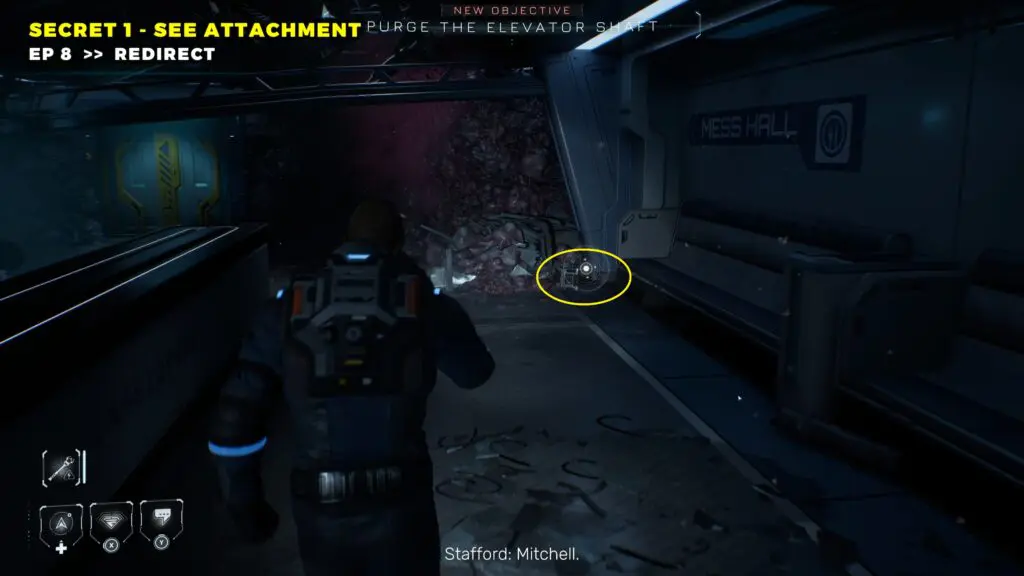
Secret 1 – See Attachment
As soon as you take control of Stafford at the beginning of the chapter, turn right. You’ll find a tablet sitting in the corner next to a sofa.
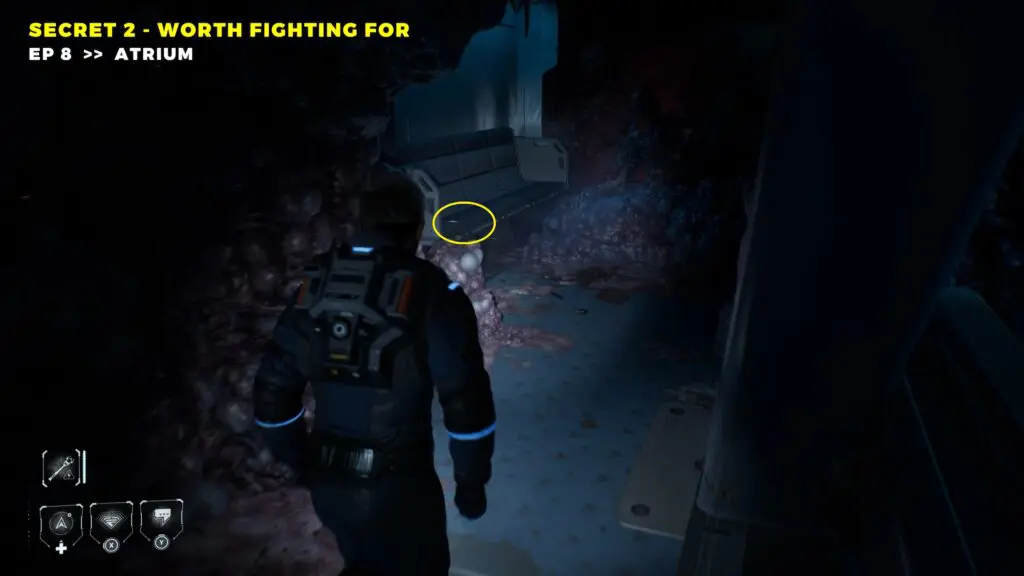
Secret 2 – Worth Fighting For
Once you reach the Atrium, head upstairs. At the top of the stairs, turn left, and you’ll find a datapad on a bench.
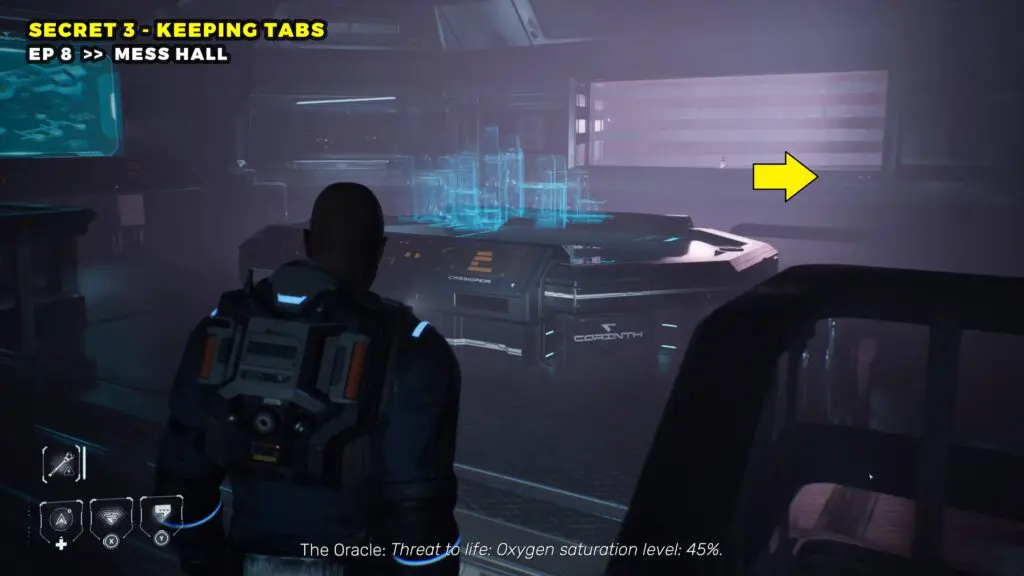
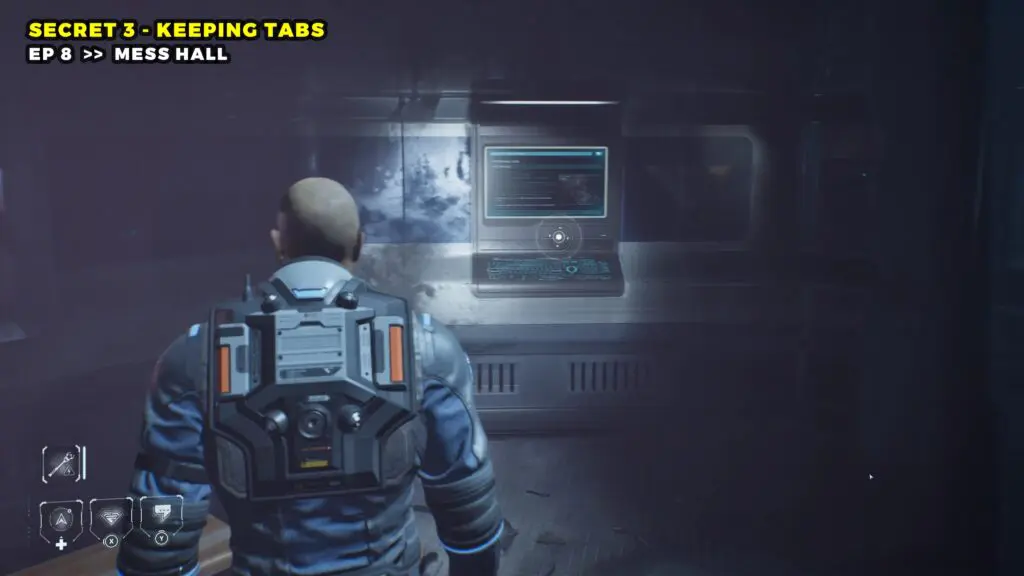
Secret 3 – Keeping Tabs
Fast travels to the Mess Hall. Now, head straight into Colony Control Room.
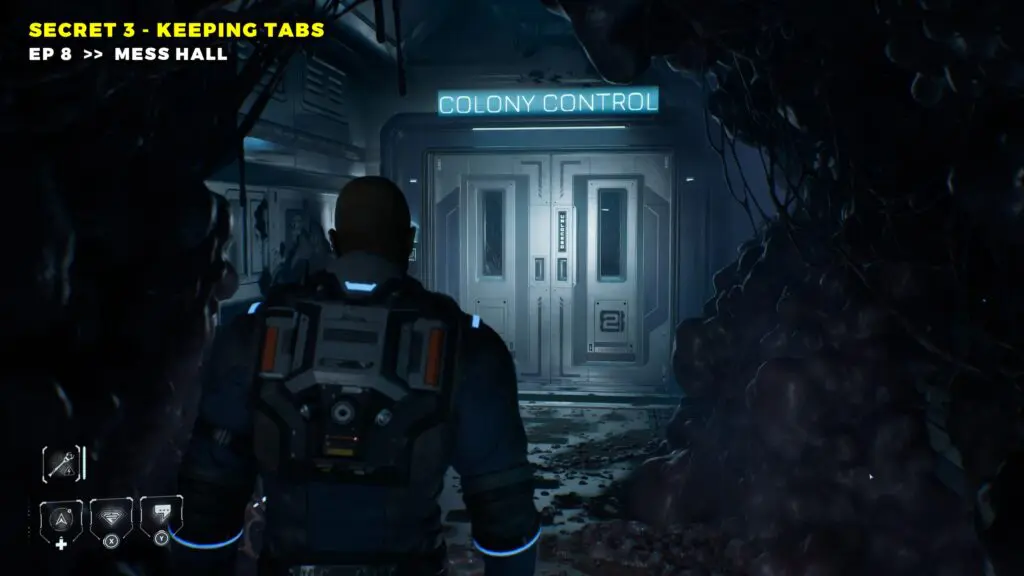
Follow the halls and continue to the last room on your right, where you’ll find a monitor on the wall.
Secret 4 – Williams 2.0
After escaping the life form in the Mess Hall, head into the maintenance area and go down the stairs.
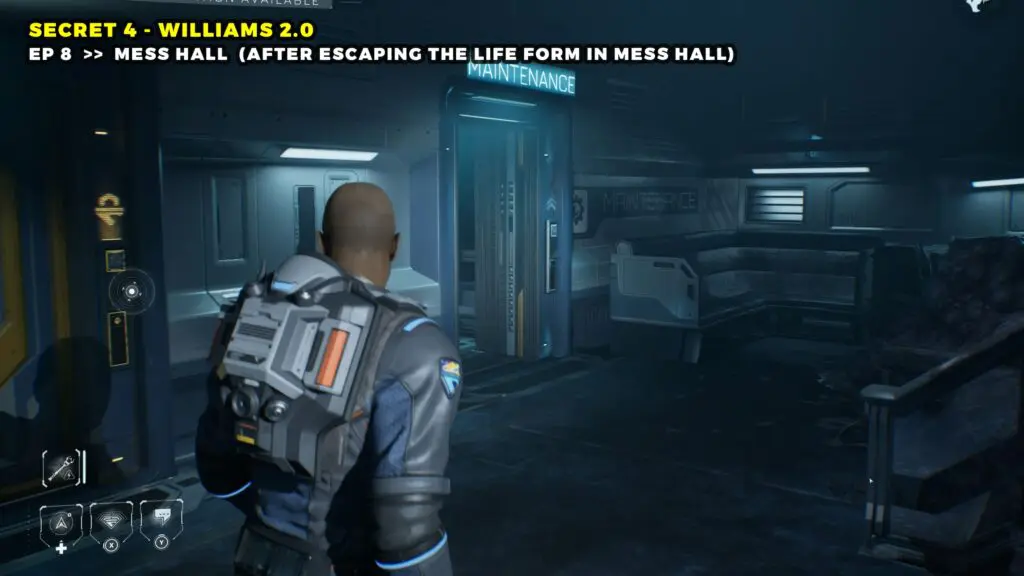
Look for the second row of servers, and you’ll find a tablet sitting on a small box at the back.

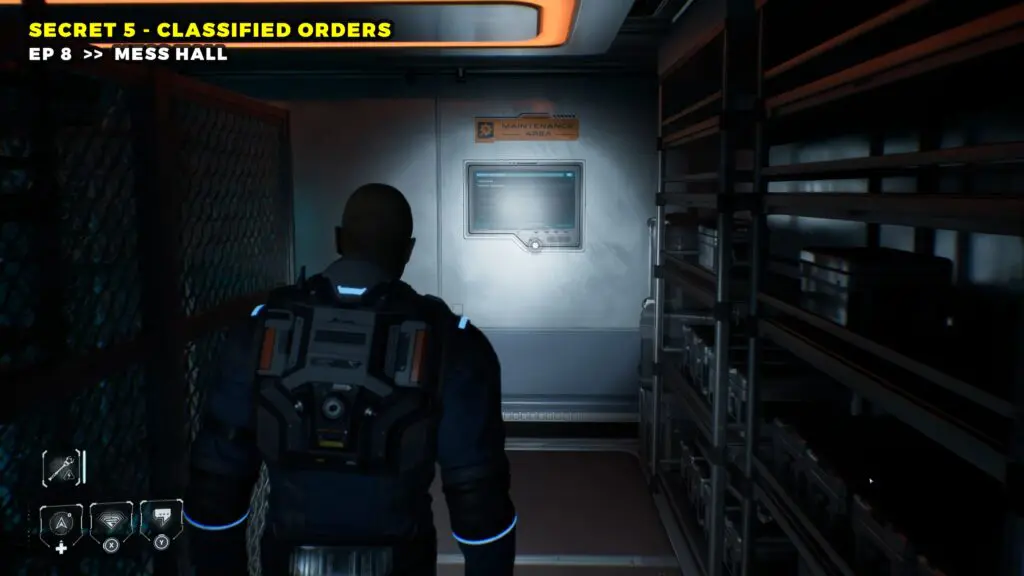
Secret 5 – Classified Orders
Head to the back left side of the maintenance area, and you’ll find a monitor on the back wall.