Chapter 5 of Resonance: A Plague Tale Legacy contains several collectibles that can be easy to miss while progressing through the story. In this guide, we’ll show you the locations of all Chapter 5 collectibles and explain how to reach each one.
Also Read: Resonance: A Plague Tale Legacy All Collectible Locations Guide
#1 Resonance Point
Sub-Chapter: 2 – Battle grounds
Objective: Reach the central temple
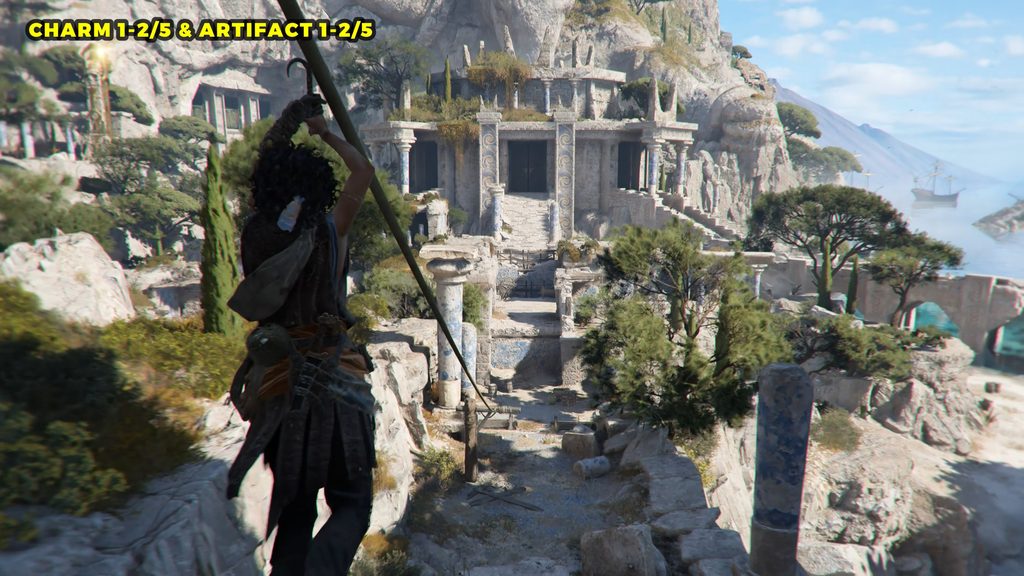
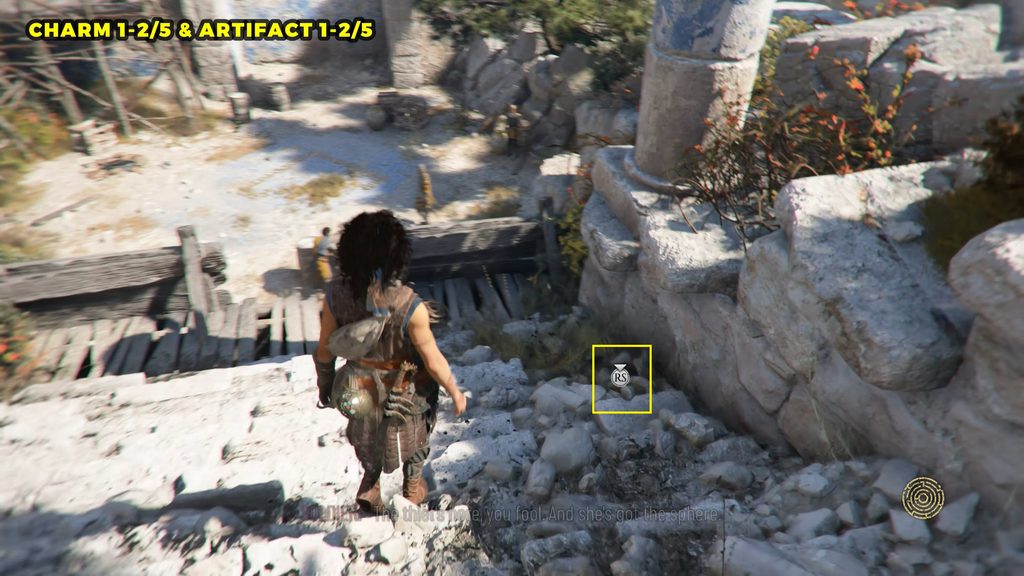
You will find it on the right side of the stairs after using the Zipline.
#2 Resonance Point
Sub-Chapter: 2 – Battle grounds
Objective: Reach the central temple
Defeat the enemies in the area directly below the stairs to unlock this Resonance Point as part of the story.
#3 Resonance Point
Sub-Chapter: 2 – Battle grounds
Objective: Reach the central temple
Pull down the barricade and turn right. Stay on the lower level and do not climb the ledge. Enter the room on the lower floor. You’ll find the collectible inside, next to a tent.
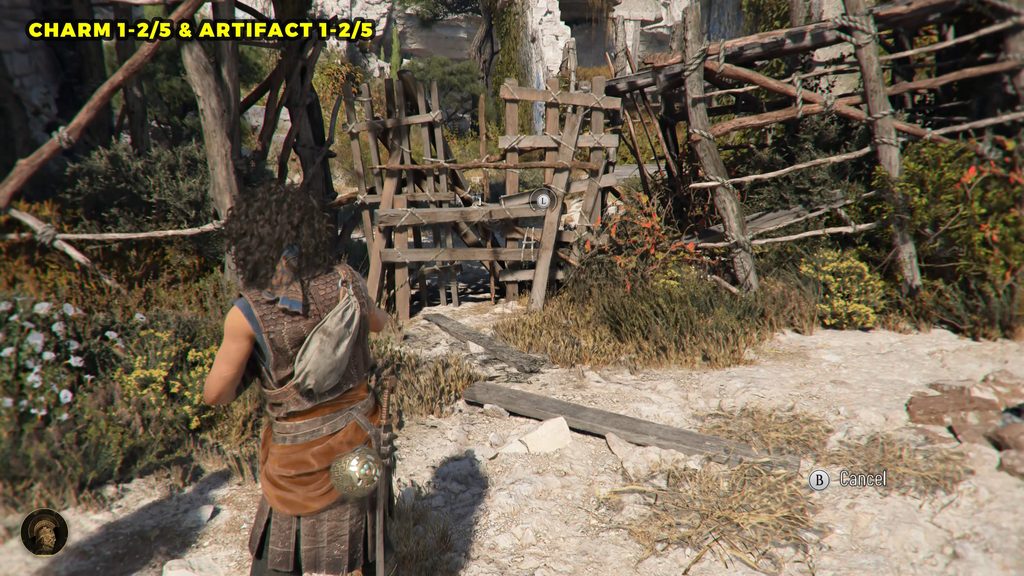
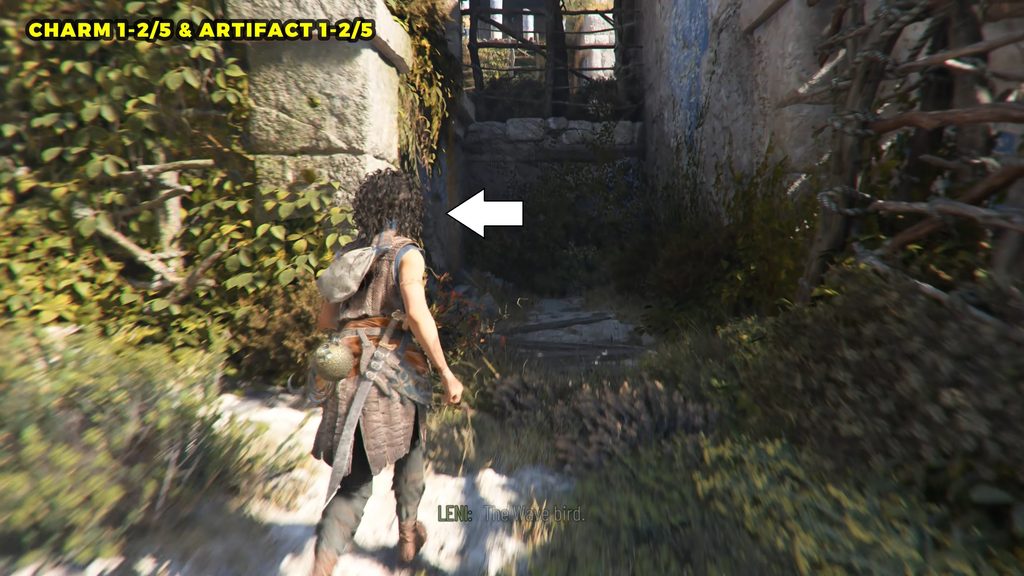
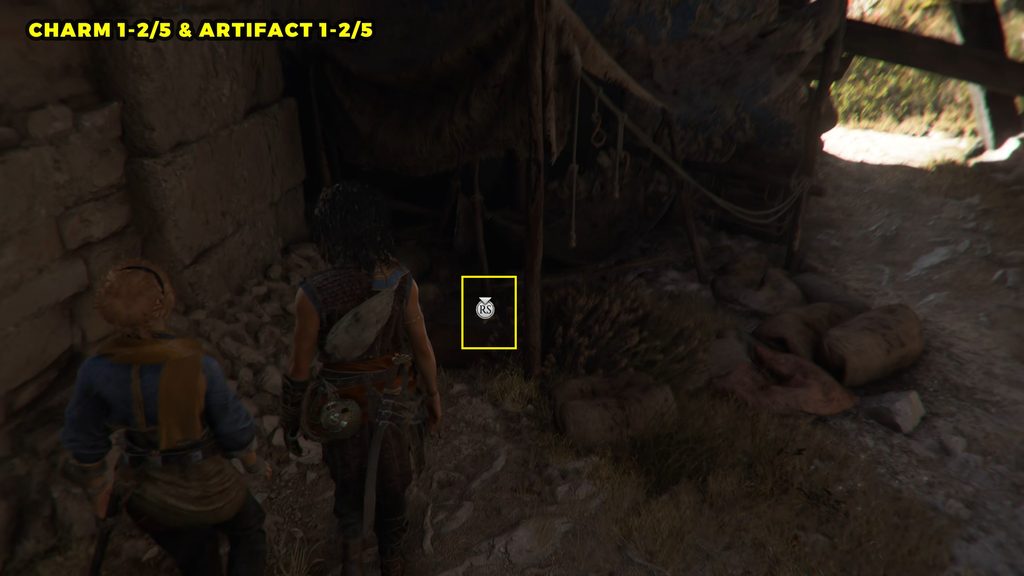
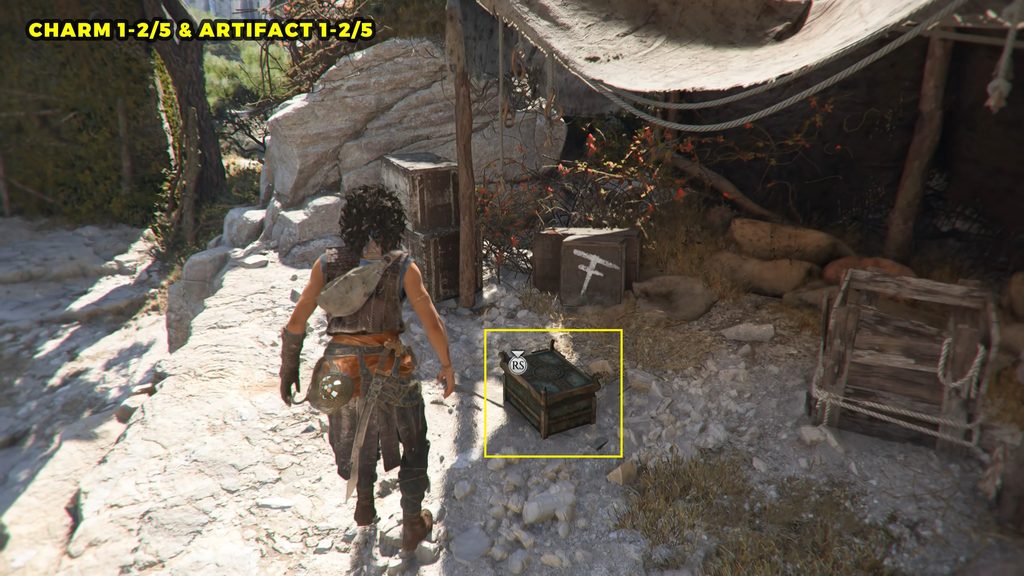
Charm: Trinket #2
Sub-Chapter: 2 – Battle grounds
Objective: Reach the central temple
Leave the previous room through the right-side exit to reach an open area. Climb up the ledge on your left to find a chest near an abandoned enemy camp.
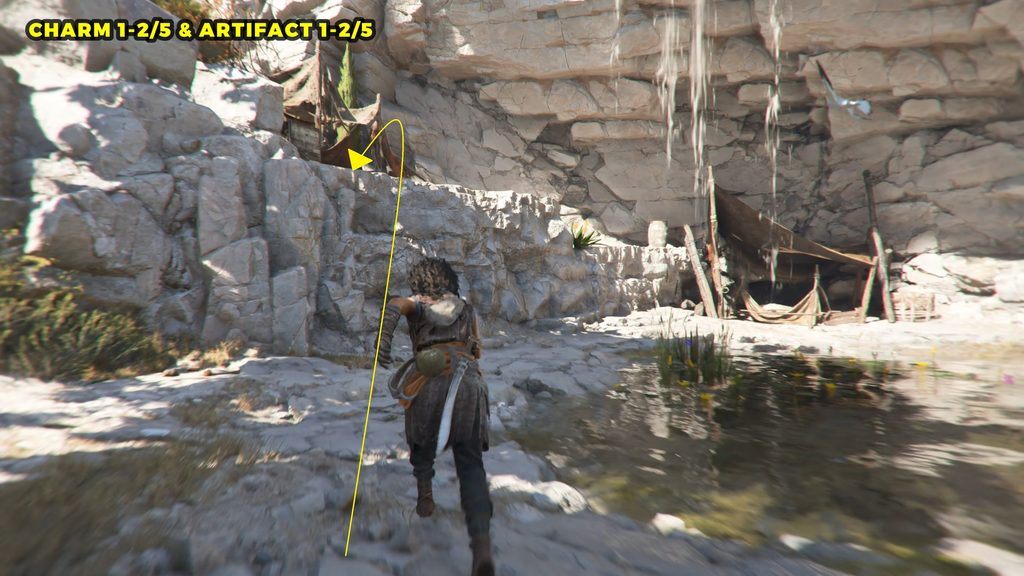
#4 Resonance Points
Sub-Chapter: 2 – Battle grounds
Objective: Reach the central temple
Defeat the group of enemies that attack you after getting the previous collectible.
#5 Resonance Points
Sub-Chapter: 2 – Battle grounds
Objective: Reach the central temple
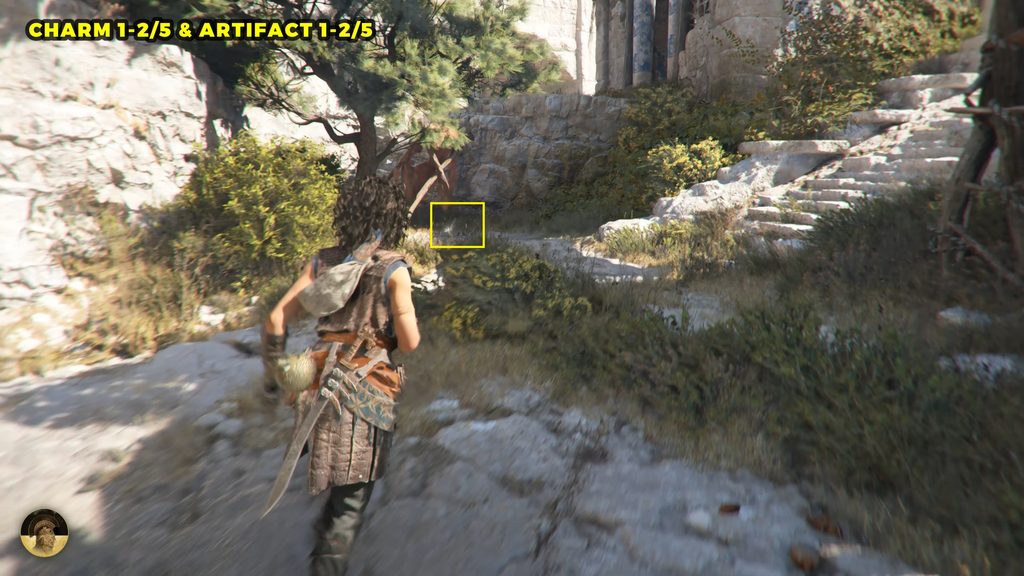
In the same area, go to the red tent near the stone stairs.
#6 Resonance Points
Sub-Chapter: 2 – Battle grounds
Objective: Reach the central temple
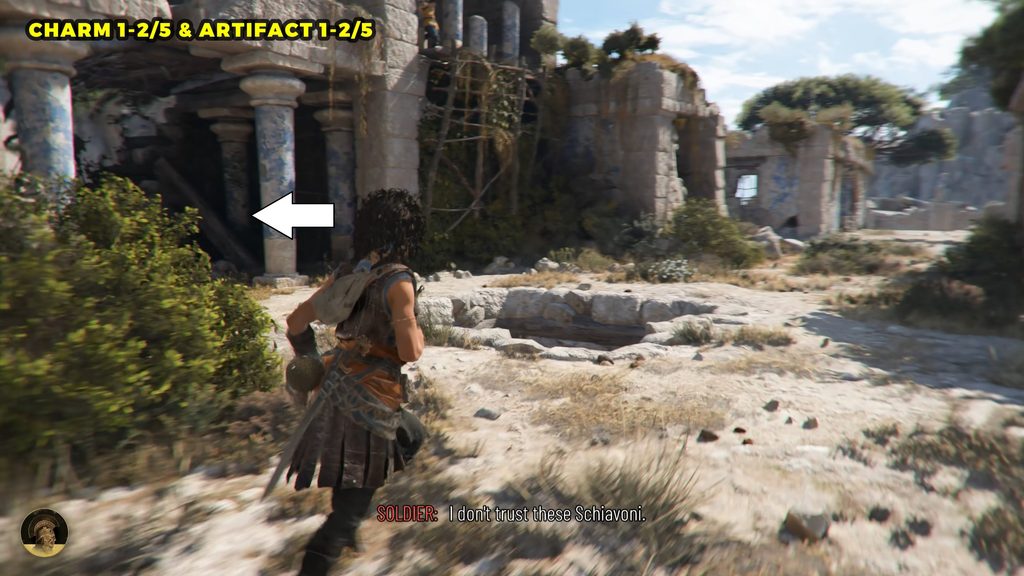
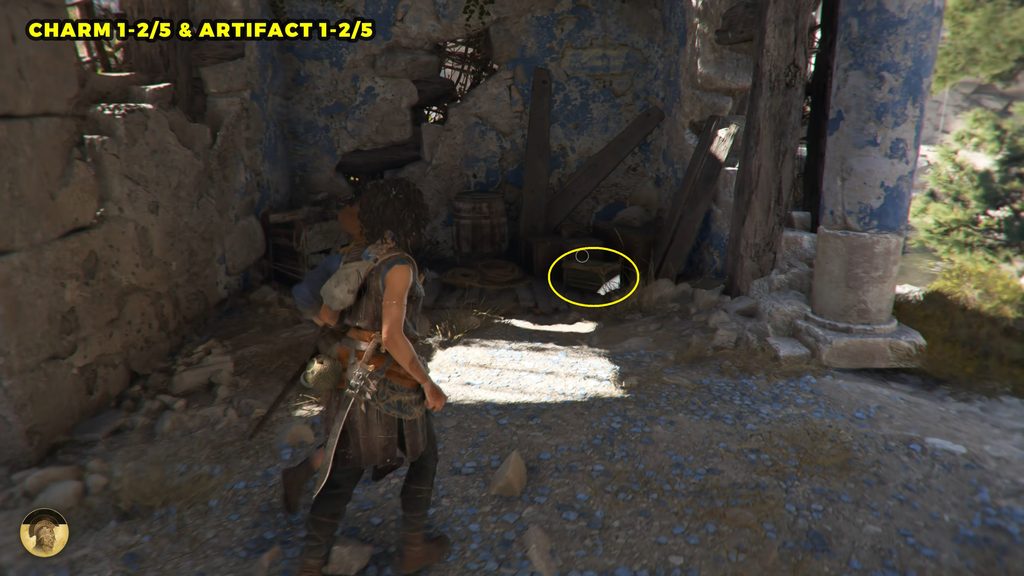
Go up the stairs and clear out the enemies. Then head to the room on the left side. The collectible is inside a chest in teh corner of the room.
Artefact – Relics of the Past: Griffin Figurine
Sub-Chapter: 2 – Battle grounds
Objective: Reach the central temple
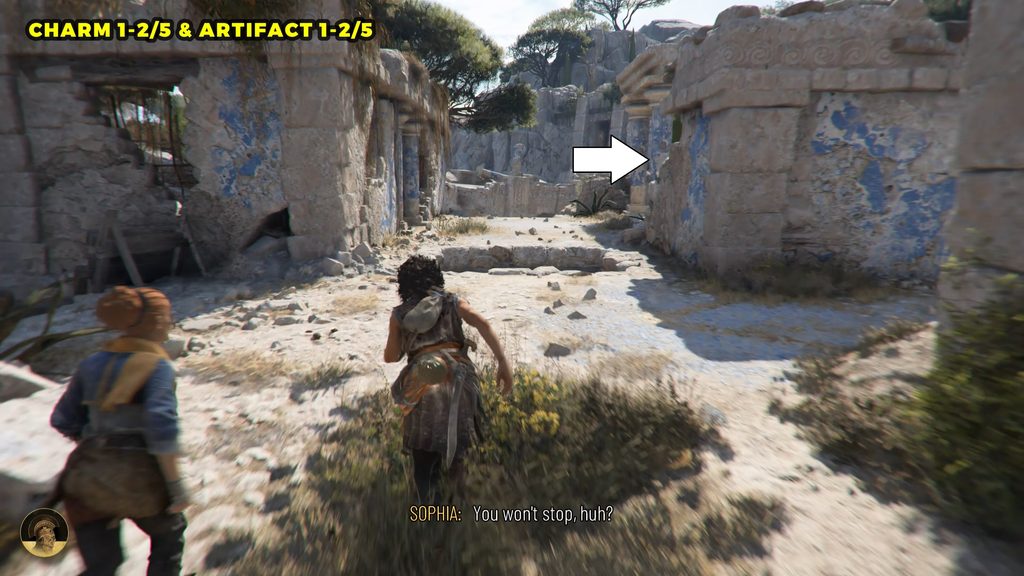
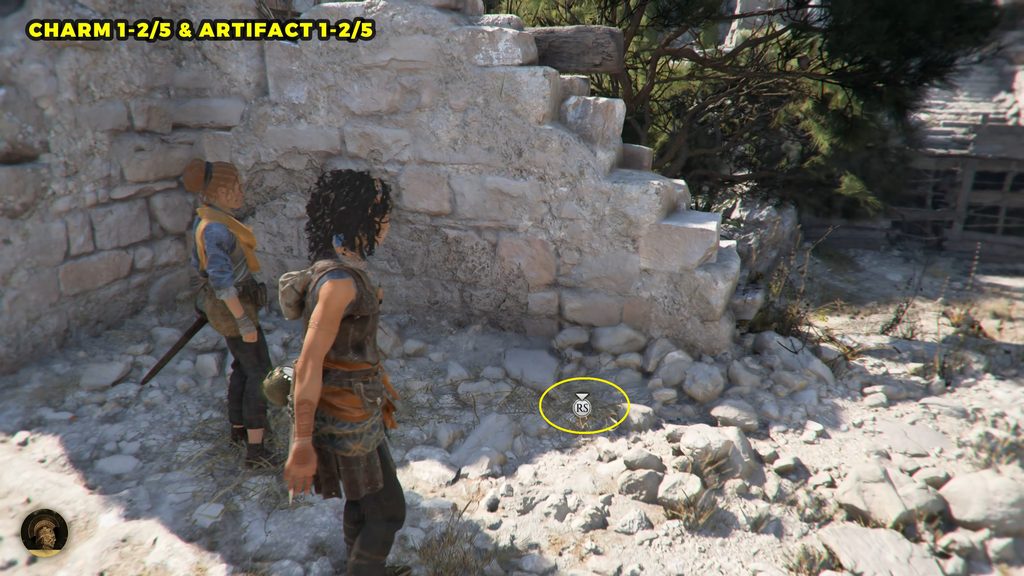
From the charm, backtrack to the previous and go straight. Turn right just after the second hole on the ground. You will find the Artefact on the floor in the ruin.
Artefact – Relics of the Past: Griffin Figurine
Sub-Chapter: 2 – Battle grounds
Objective: Reach the central temple
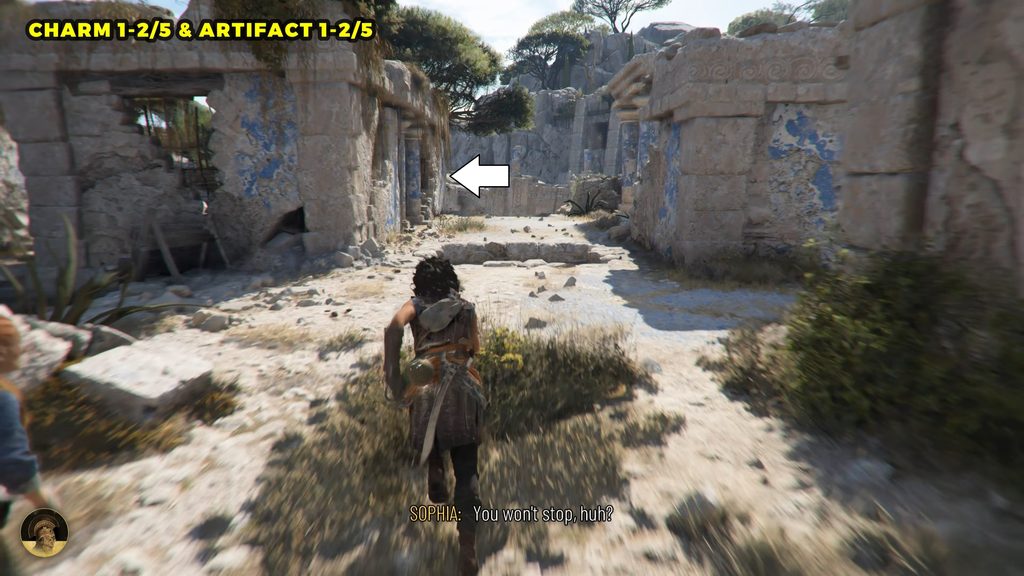
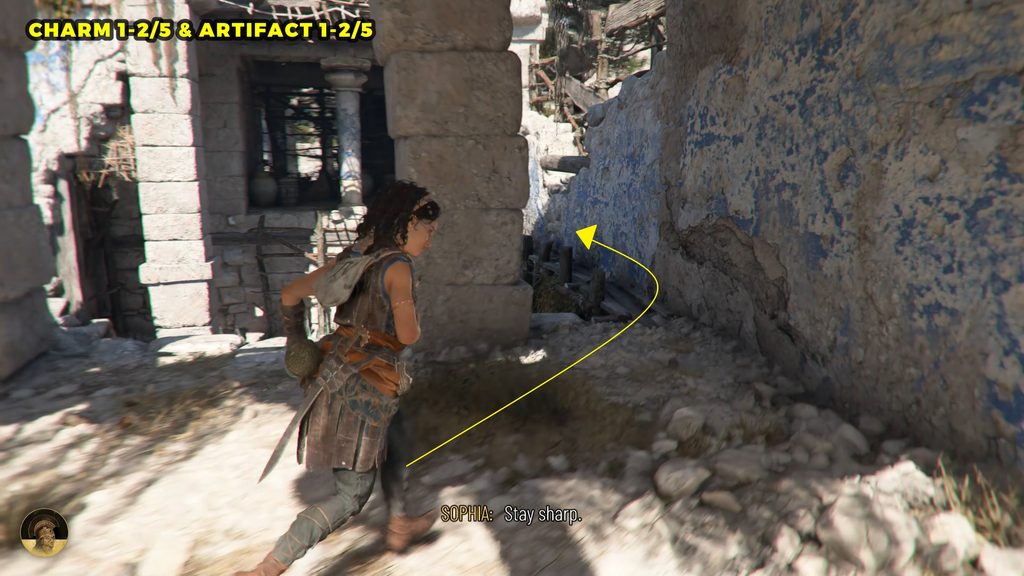
Backtrack to the previous and now go to the room on the left side. Carefully move along the narrow ledge to pass the spike-covered floor and reach the room on the other side. Once inside, check the corner near the wooden boxes to find the collectible.
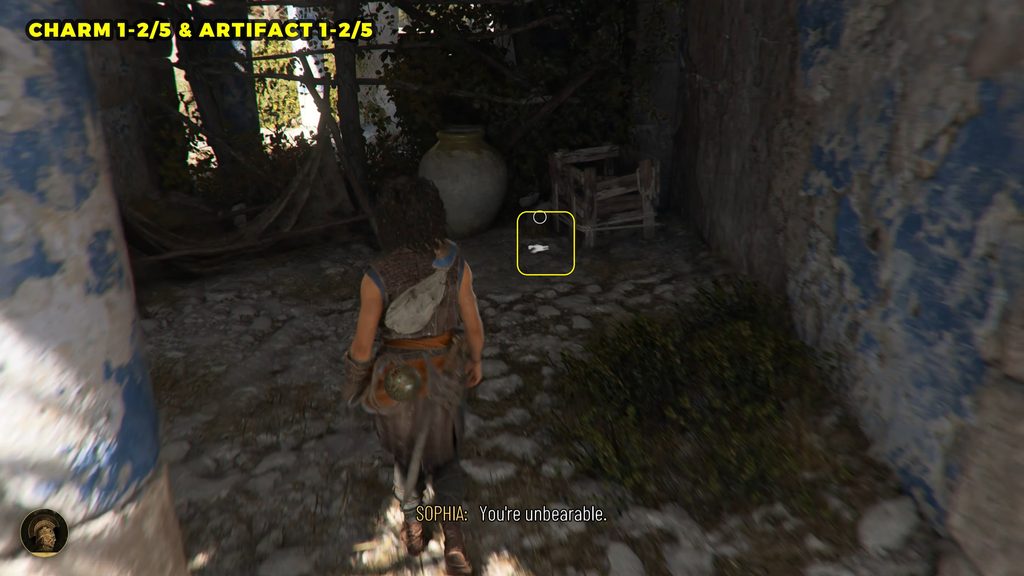
#7 Resonance Point
Sub-Chapter: 2 – Battle grounds
Objective: Reach the central temple
Go back to the previous room and head straight toward the water. The Resonance Point is on the ground beneath a tree, next to an Alevora plant.
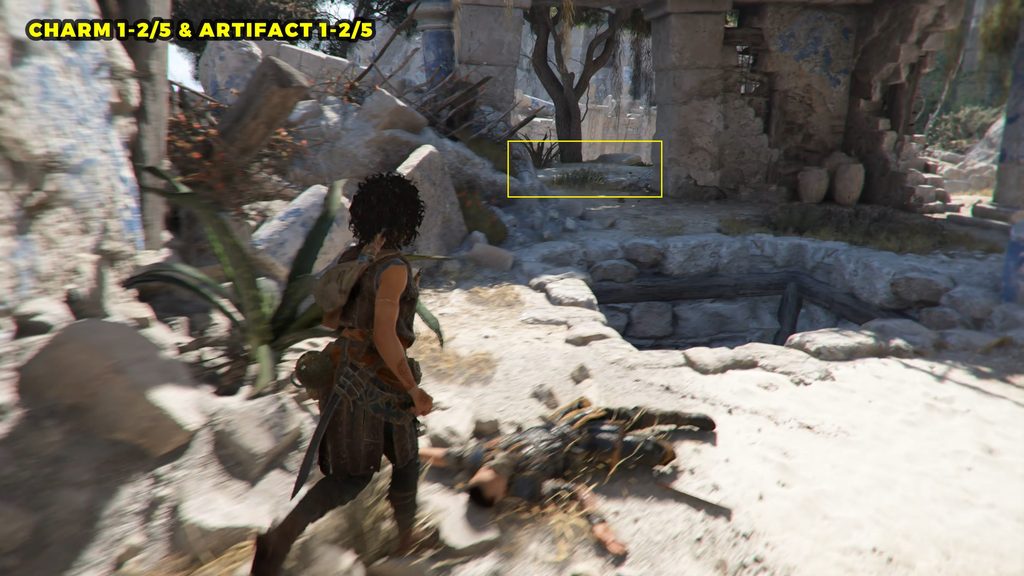
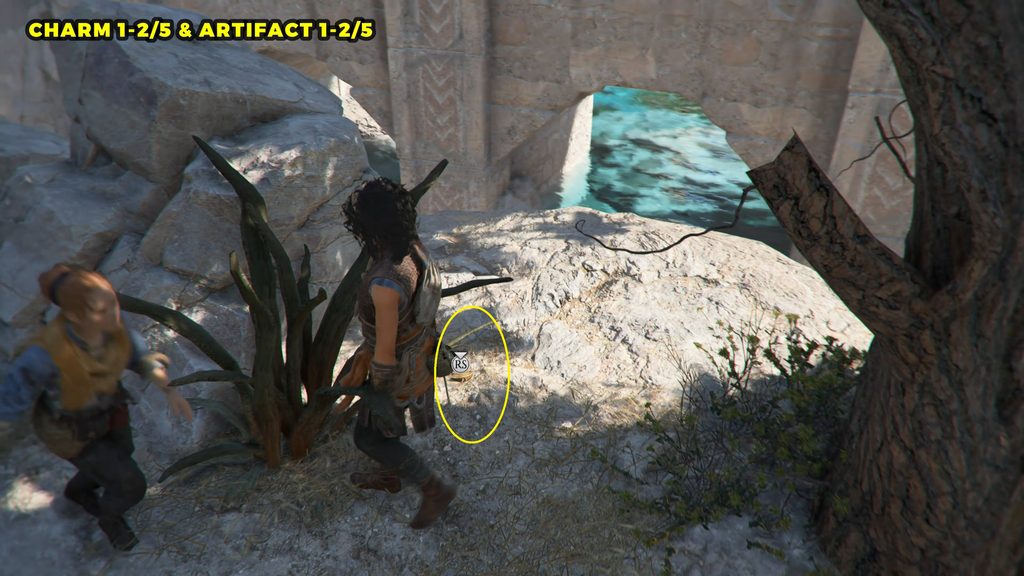
#7 Resonance Point
Sub-Chapter: 2 – Battle grounds
Objective: Reach the central temple
From the previous Resonance Point, turn left and crouch through the rubble. Continue straight ahead and do not take the path on the right toward the door. On the left, you’ll see three wooden barrels. The Resonance Point is hidden underneath them.
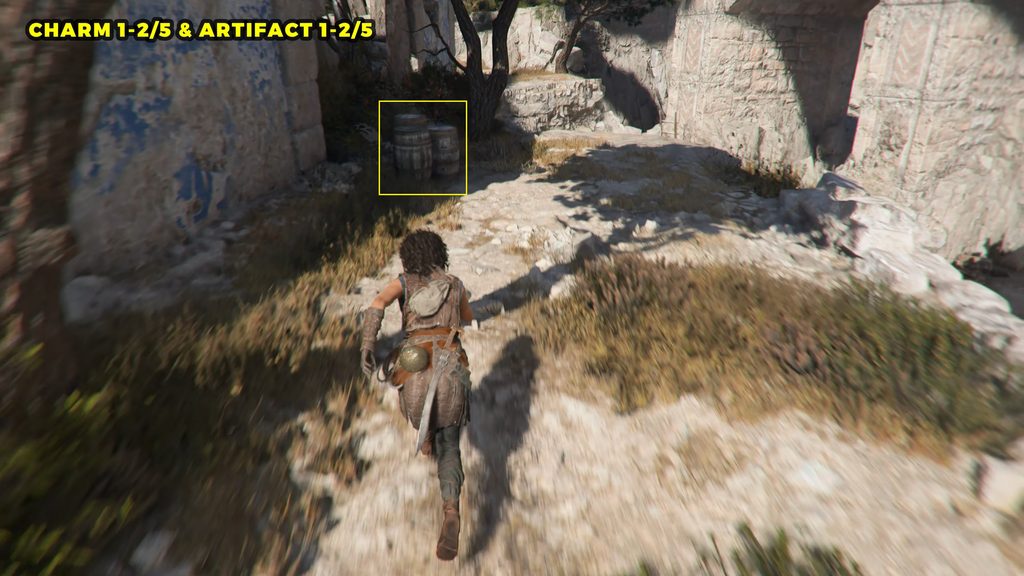
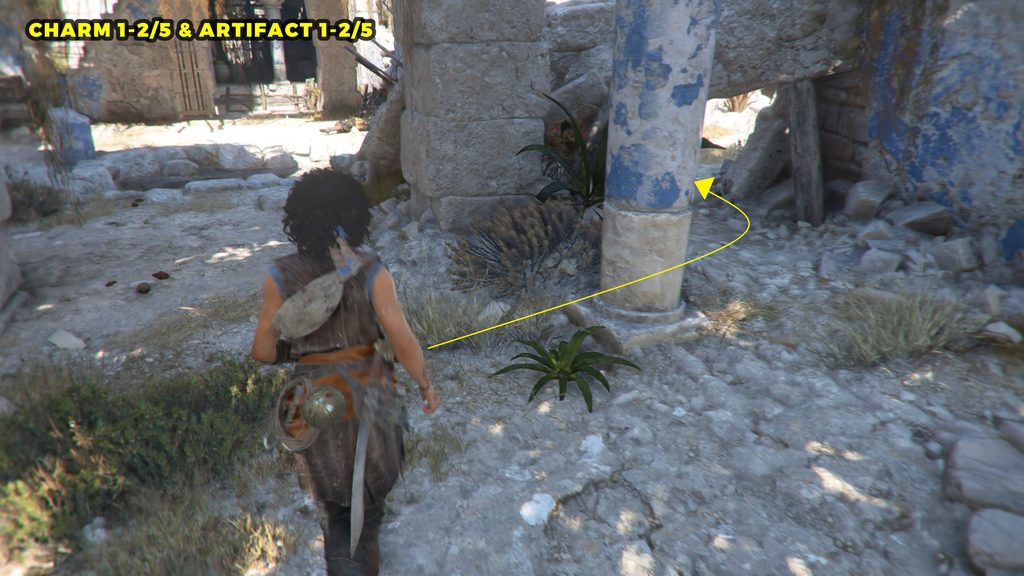
Artefact – Relic of the Present: Dante’s Inferno – Canto XII
Sub-Chapter: 2 – Battle grounds
Objective: Reach the central temple
Climb down the ladder to reach the enemy camp and defeat all the enemies. Then, check the right side of the camp. You’ll find the collectible between the two white tents.
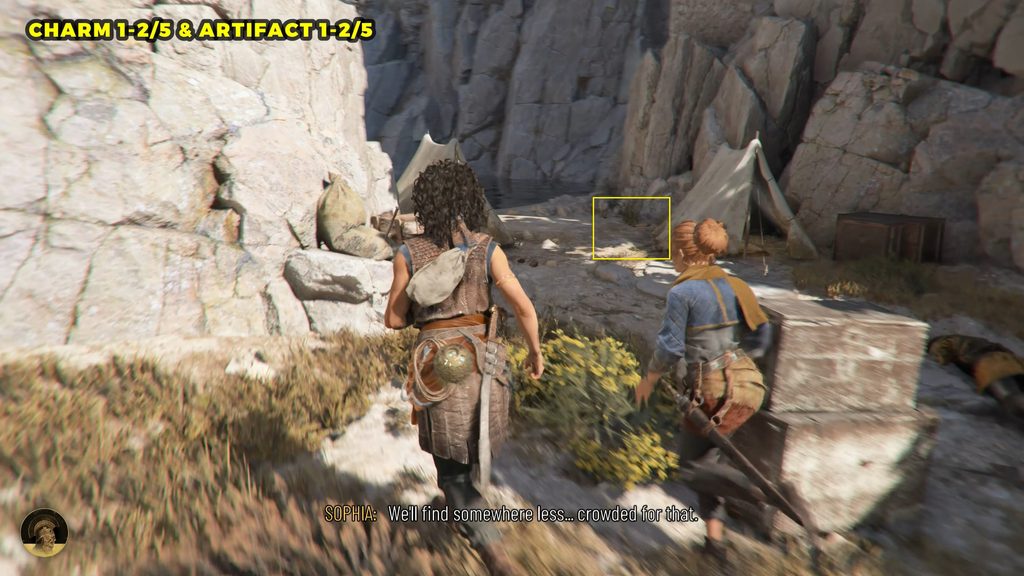
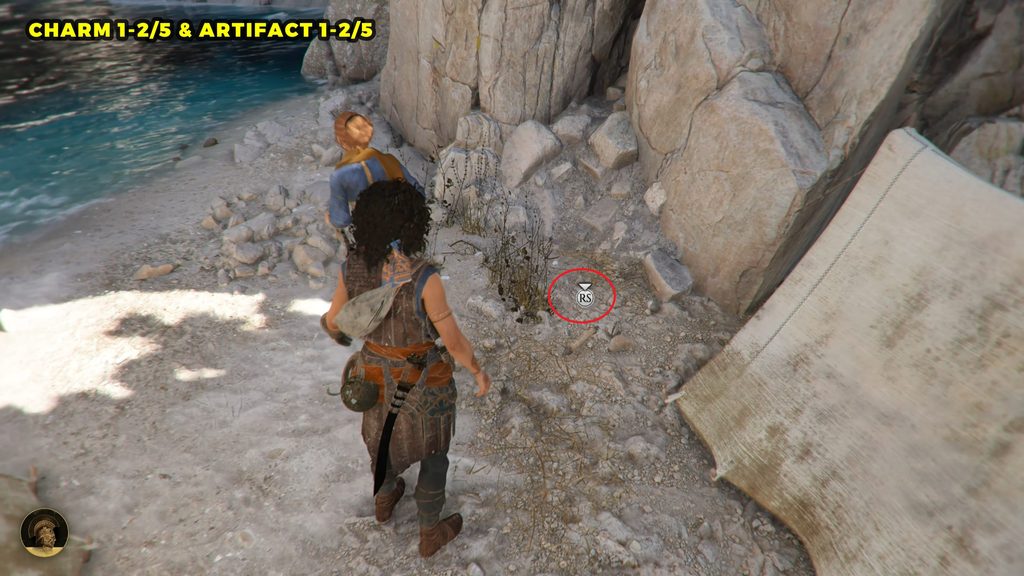
#8 Resonance Point
Sub-Chapter: 3 – The four symbols
Objective: Find the second symbol
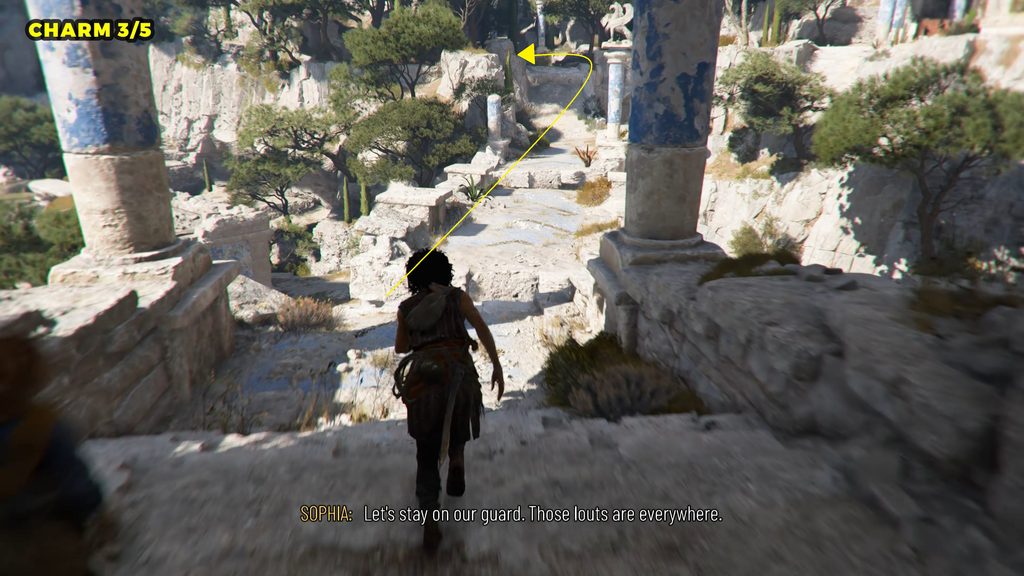
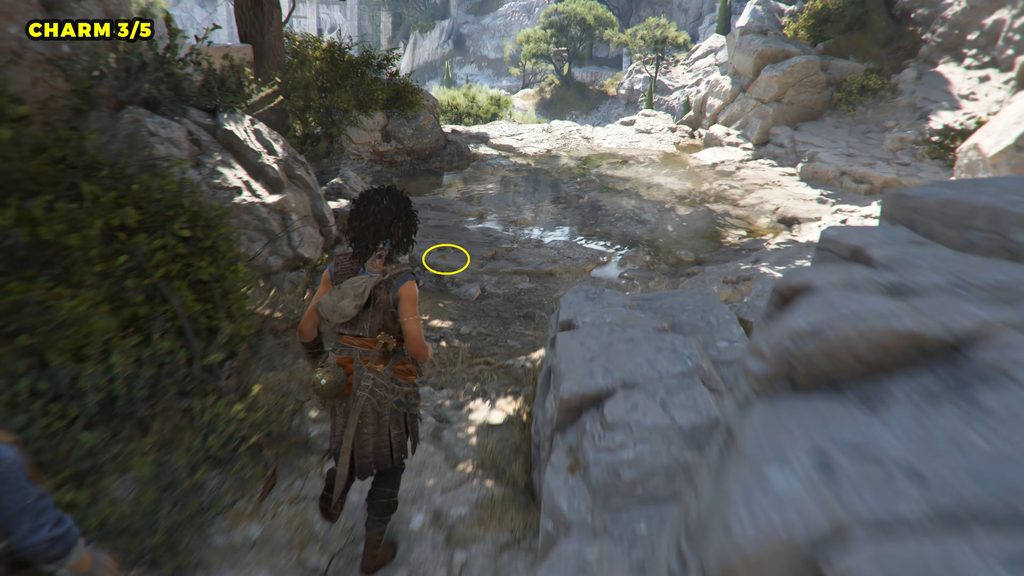
From the pedestal room, take the path leading to the door marked with the “O” symbol with three lines.
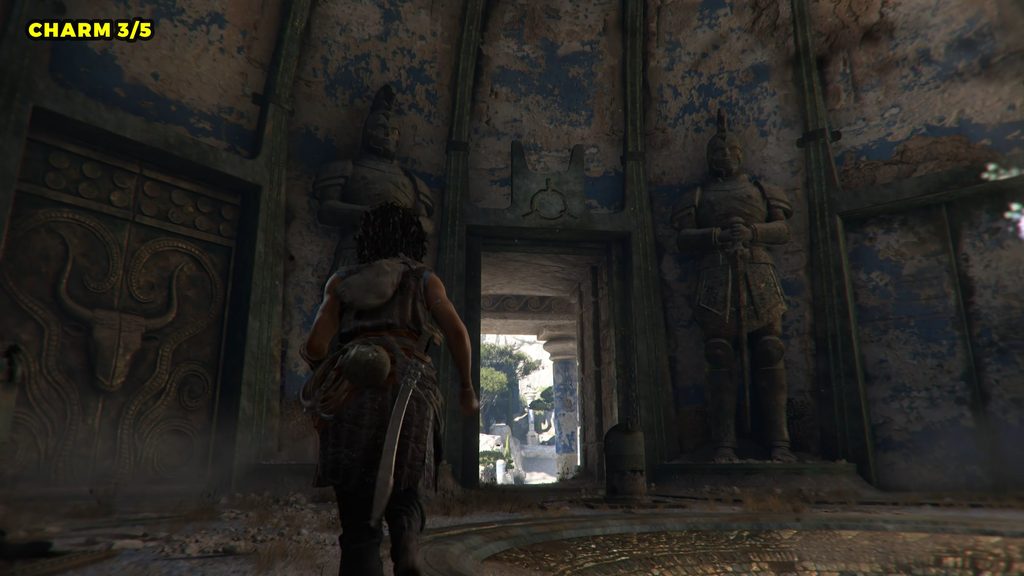
Cross the bridge and follow the leftmost path and climb over the rock. Once across, check the ground beside the large puddle of water to find the collectible.
Charm: Pierced Coin #1
Sub-Chapter: 3 – The four symbols
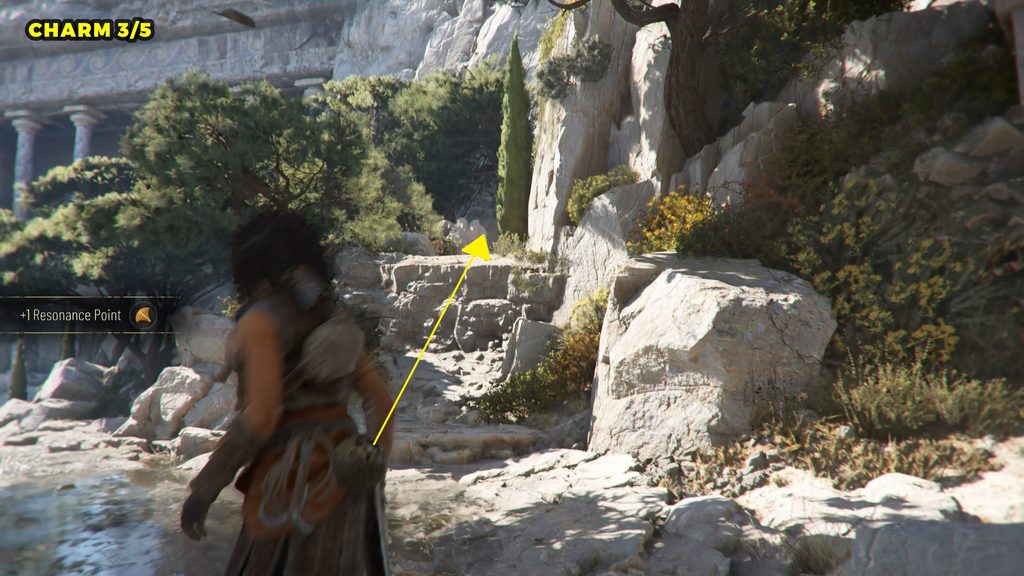
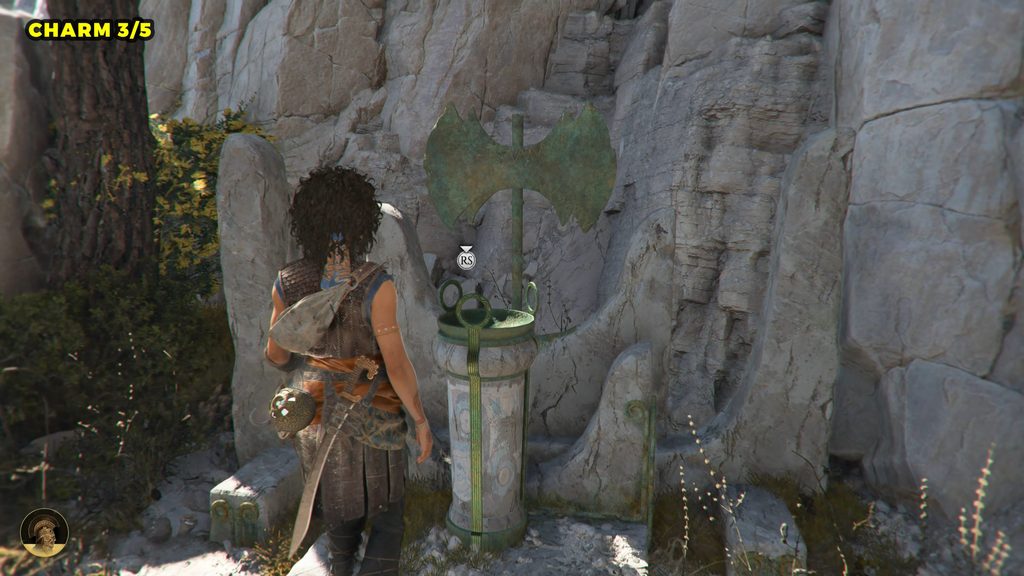
Objective: Find the second symbol
From the Resonance Point, head right and climb onto the ledge. Then climb the ladder to reach the top of the area. Defeat the enemies there, then interact with the Axe.
#9 Resonance Point
Sub-Chapter: 3 – The four symbols
Objective: Find the second symbol
In the same area, head downhill and drop down to the area. Defeat the enemies in the area. Turn around from the green door and follow the path on the opposite side to reach a campsite. At the campsite, interact with the green gem on the bull-shaped pillar.
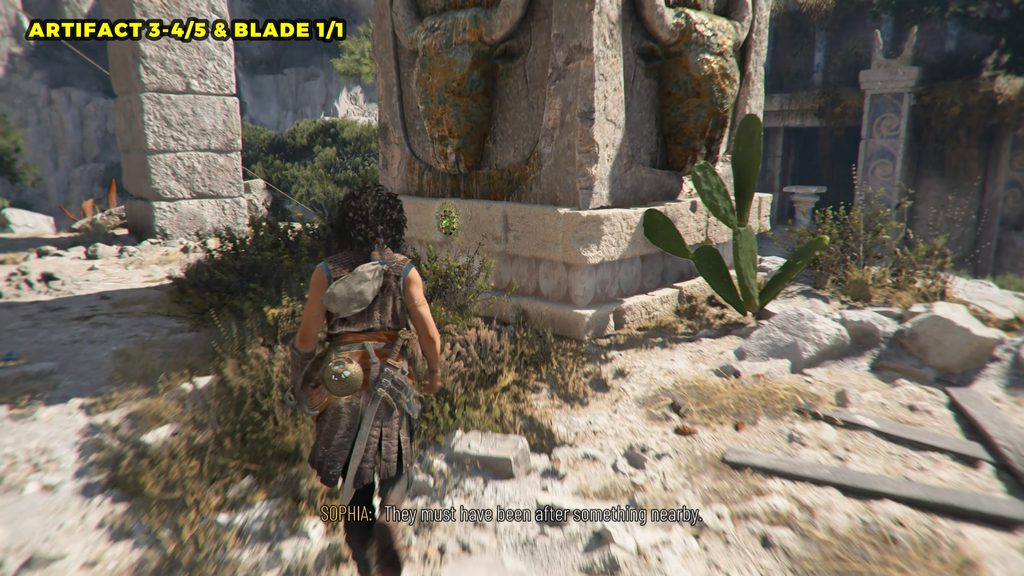
#10 Resonance Point
Sub-Chapter: 3 – The four symbols
Objective: Find the second symbol
From the previous Resonance Point, climb the wall near the tents to reach the upper area. At the top, look for a bird’s nest. The Resonance Point is located on the ground nearby.
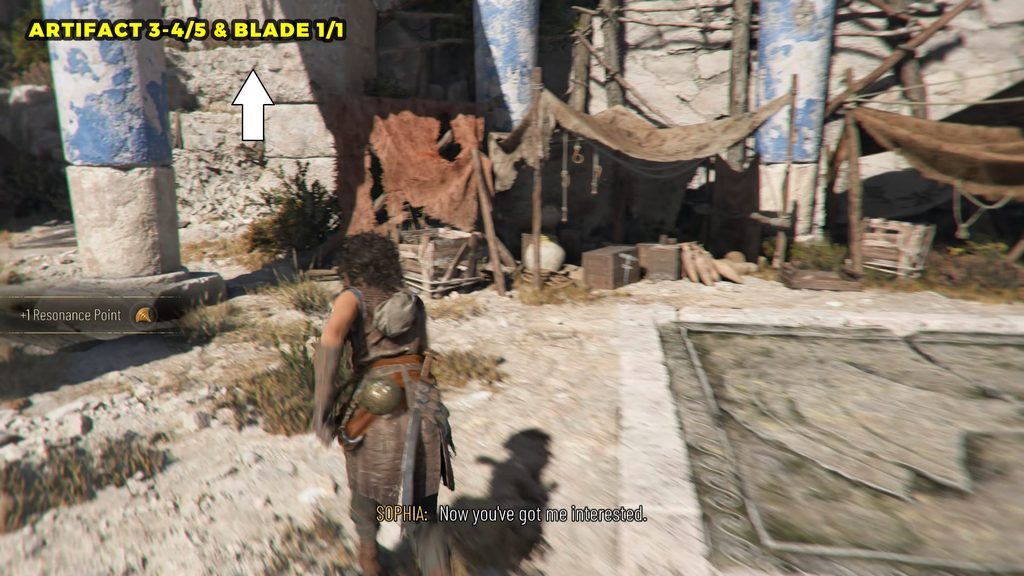
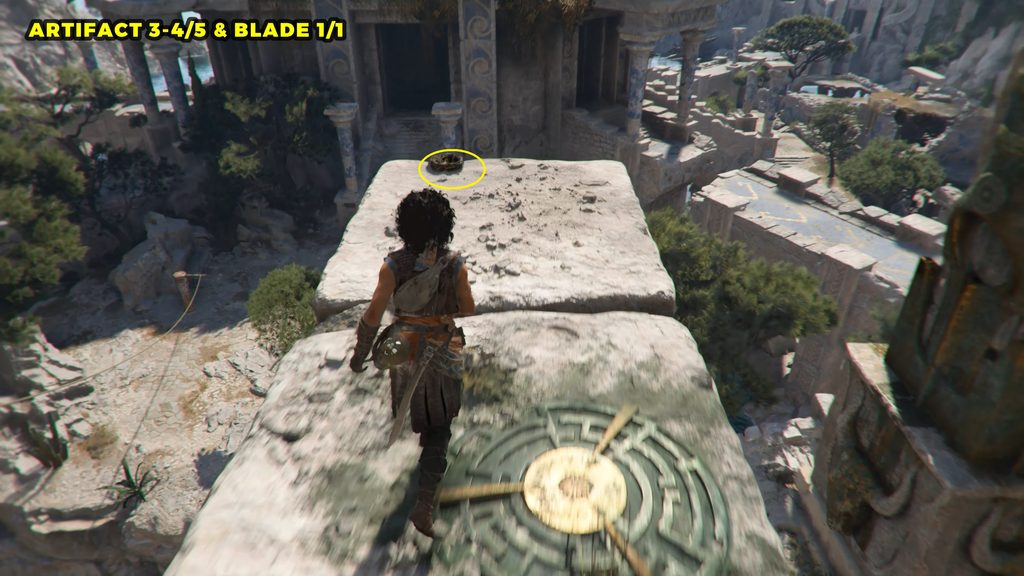
Artefact – Relic of the Present: Condottiero Stamp
Sub-Chapter: 3 – The four symbols
Objective: Find the second symbol
From the previous collectible, return to the bull pillar. Take the path on the right and go down the stairs. At the bottom, check near the base of the rock, just before the gap, to find the collectible.
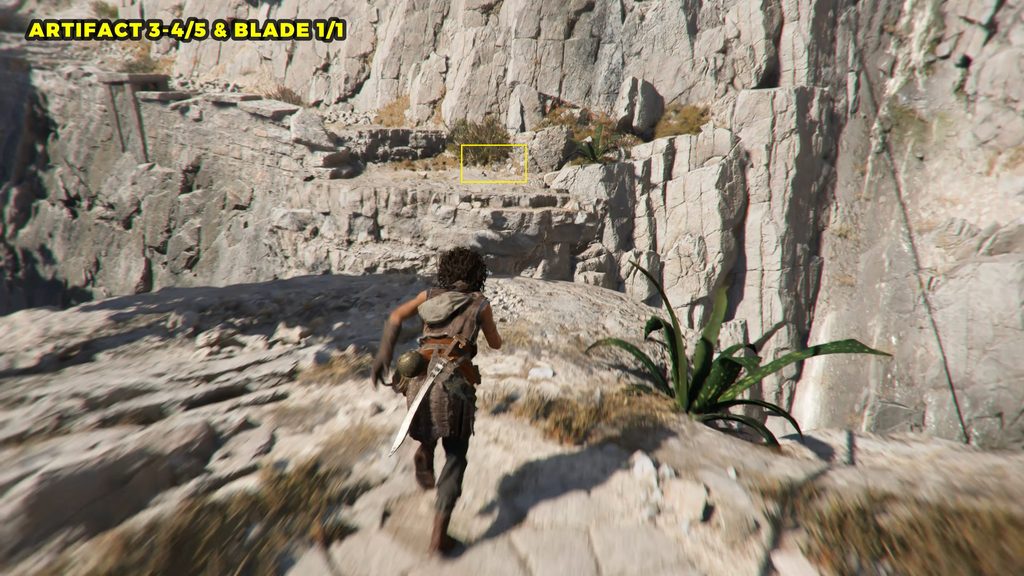
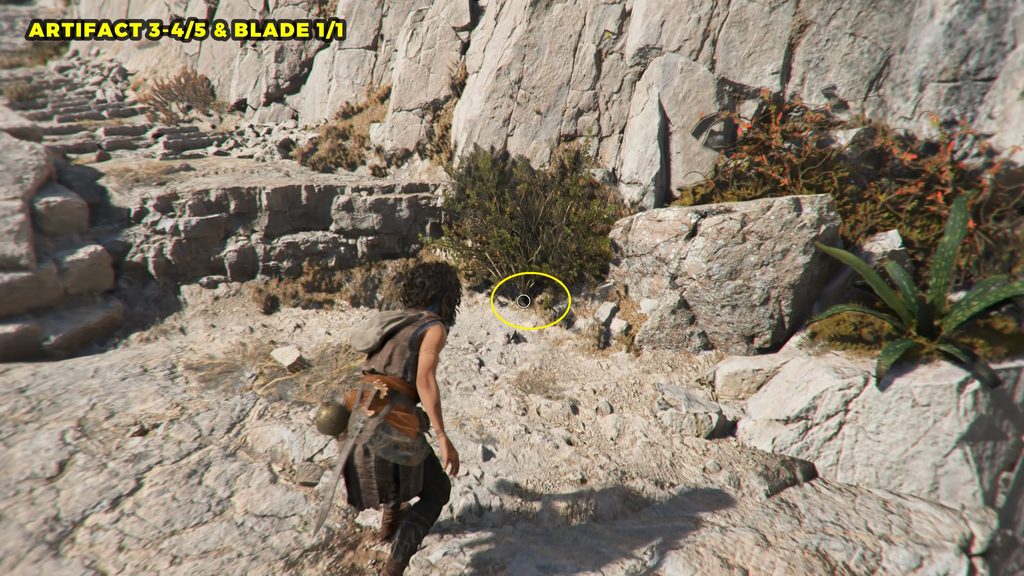
#11 Resonance Point
Sub-Chapter: 3 – The four symbols
Objective: Find the second symbol
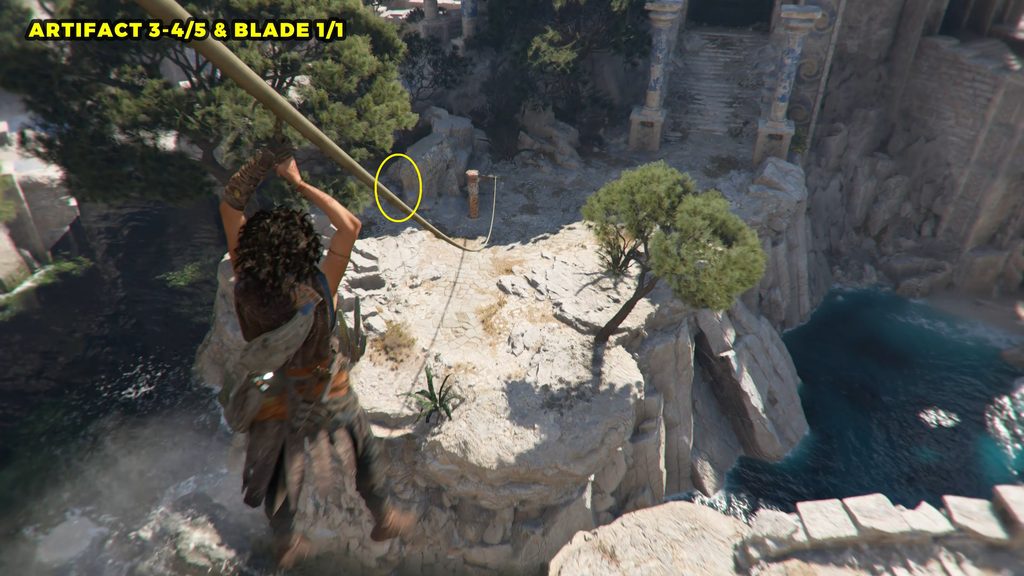
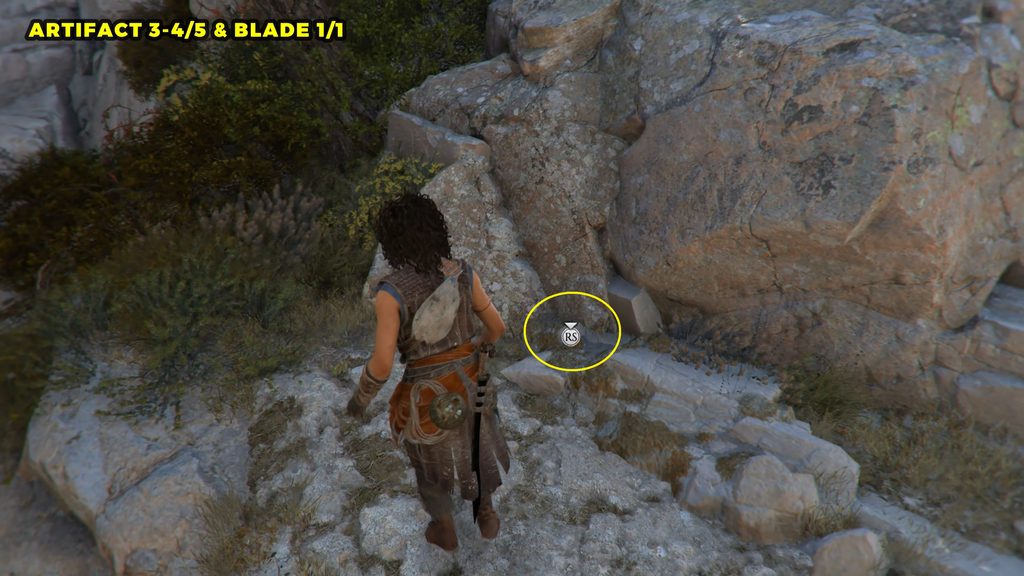
Jump across the gap and look to the left of the zipline. The collectible is on the ground beside the rock.
Blade: Greek Sword (Spinning Sword)
Sub-Chapter: 3 – The four symbols
Objective: Find the second symbol
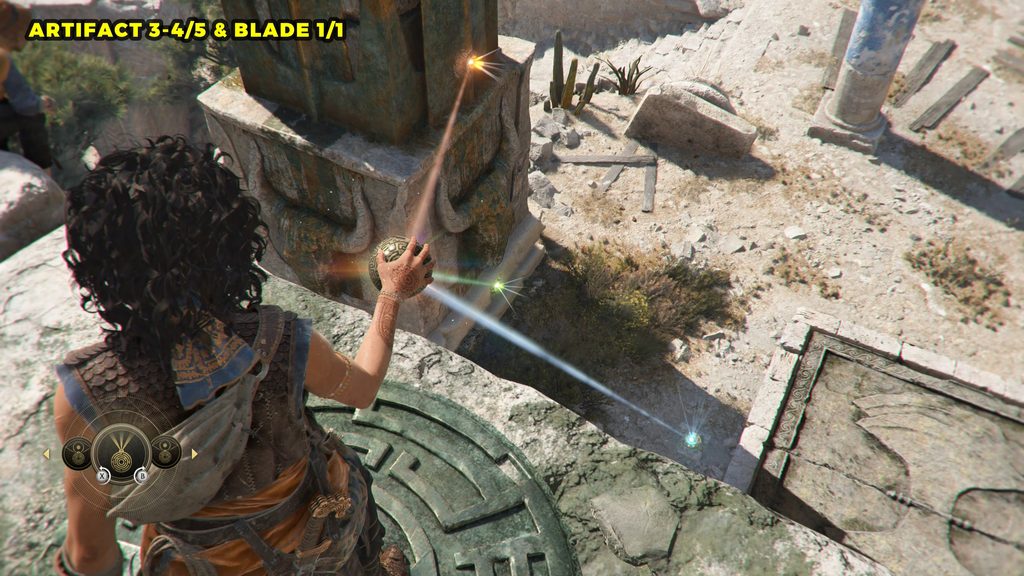
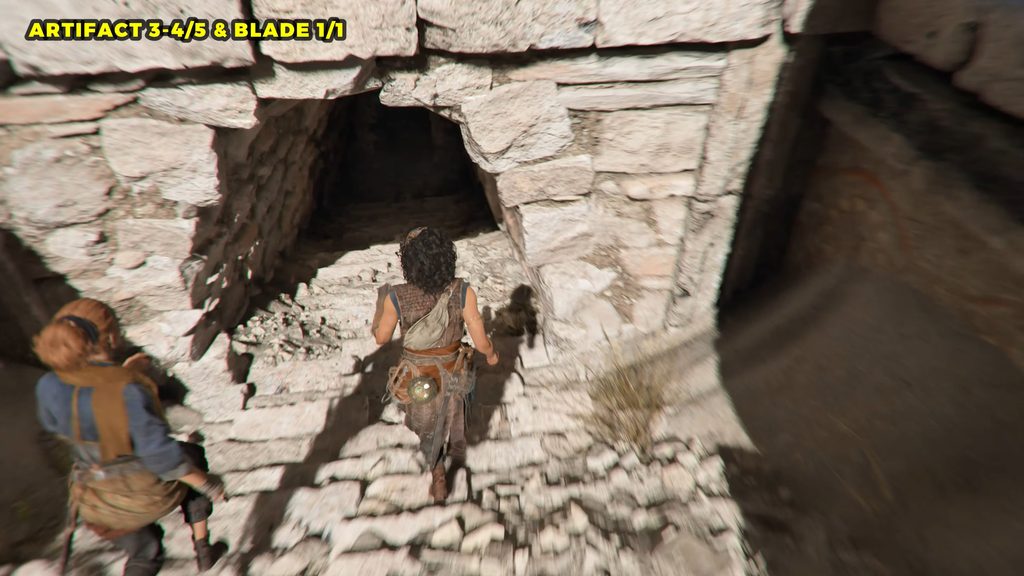
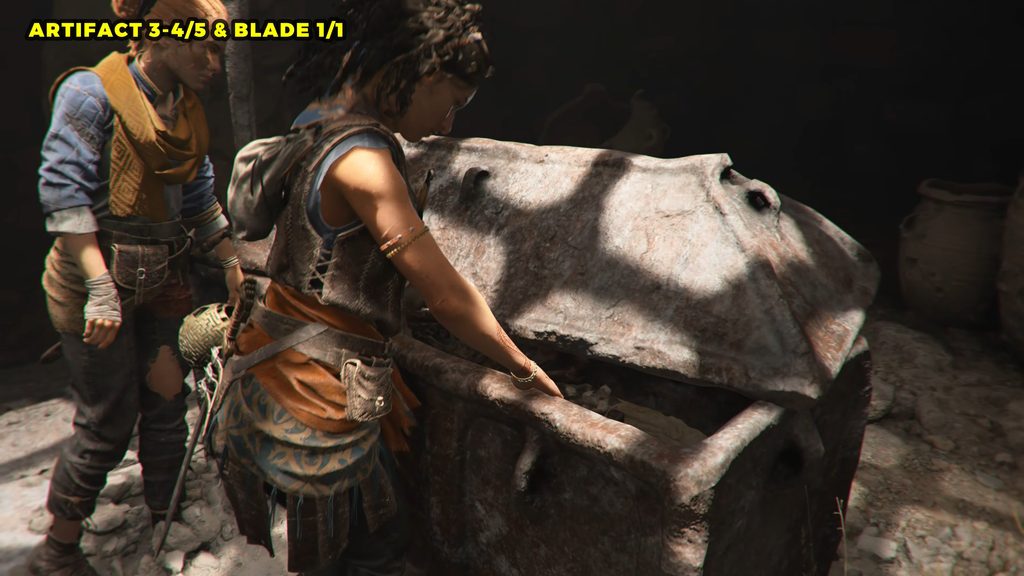
Return to the bull pillar and climb the wall near the tents to reach the upper area. Head toward the bird’s nest, then align the three lights with their matching spear symbols to unlock the crypt. Enter the crypt and open the chest inside to obtain the sword.
Artefact – Relic of the Past: Ceremonial Blade
Sub-Chapter: 3 – The four symbols
Objective: Find the second symbol
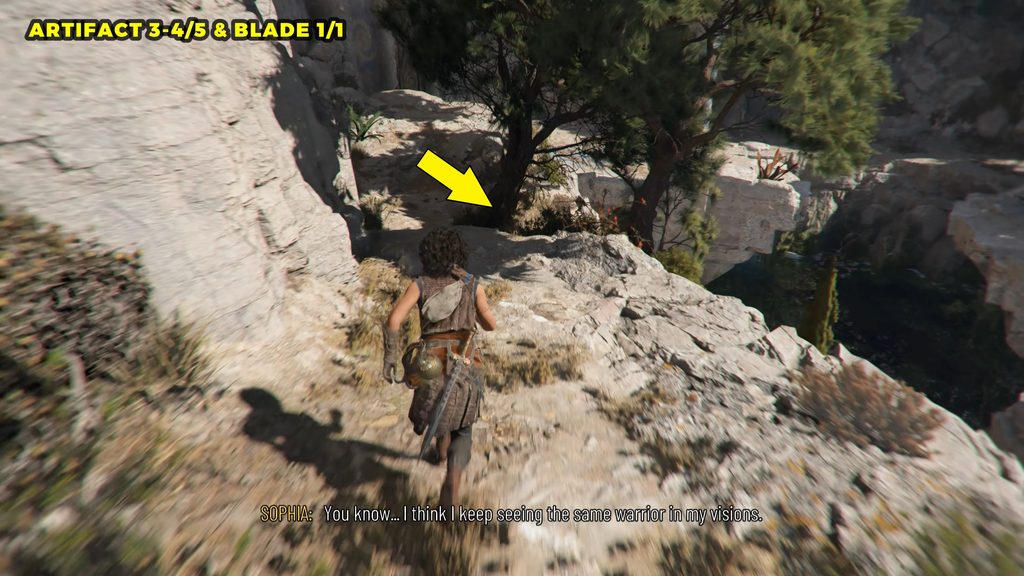
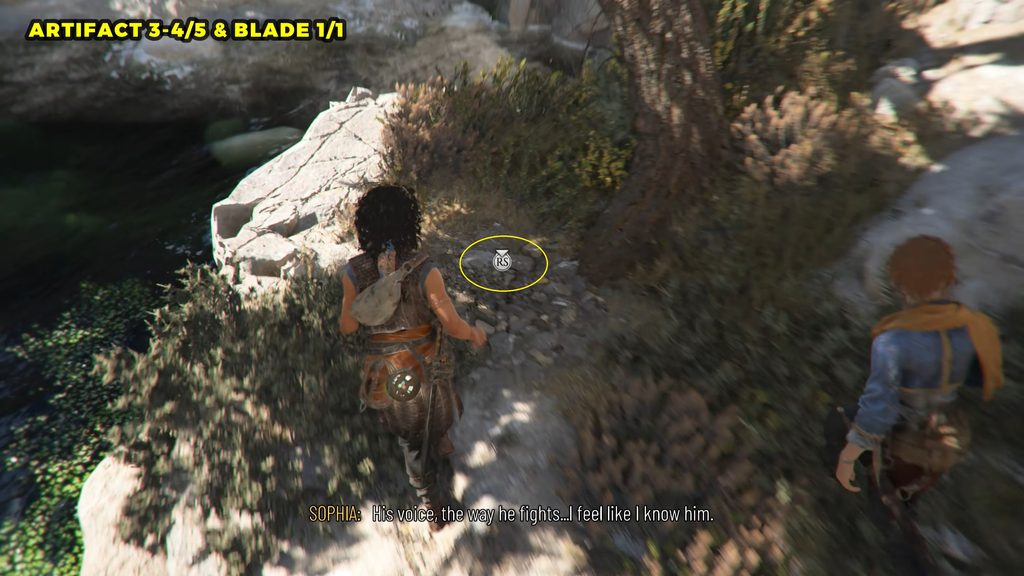
Return to the bull pillar and take the path to its left, passing through the camp. Follow the path downhill until you reach a turn on the right, just after the tree. Take this path to reach the relic near the water.
Charm: Bracelet #3
Sub-Chapter: 3 – The four symbols
Objective: Find the first symbol
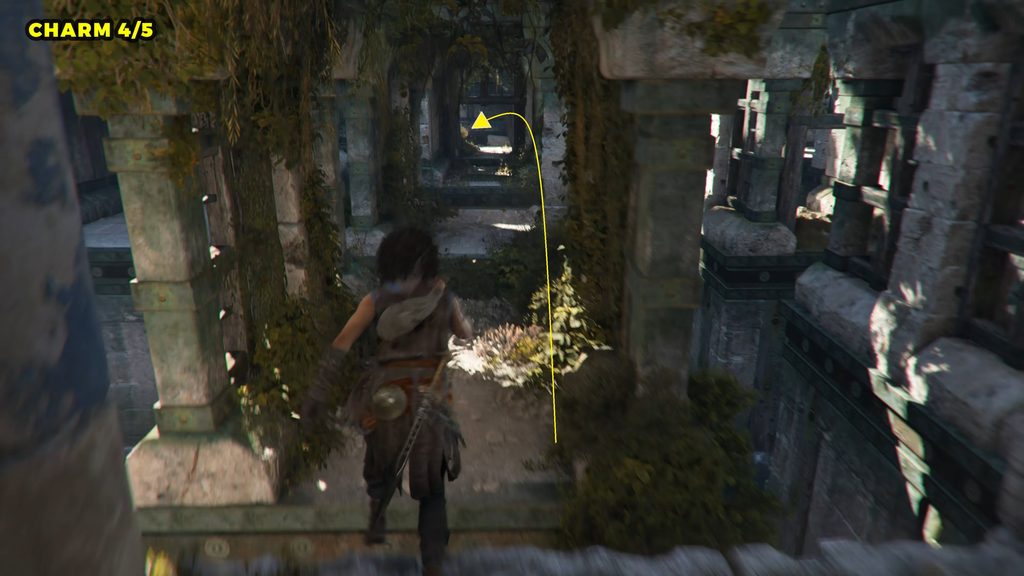
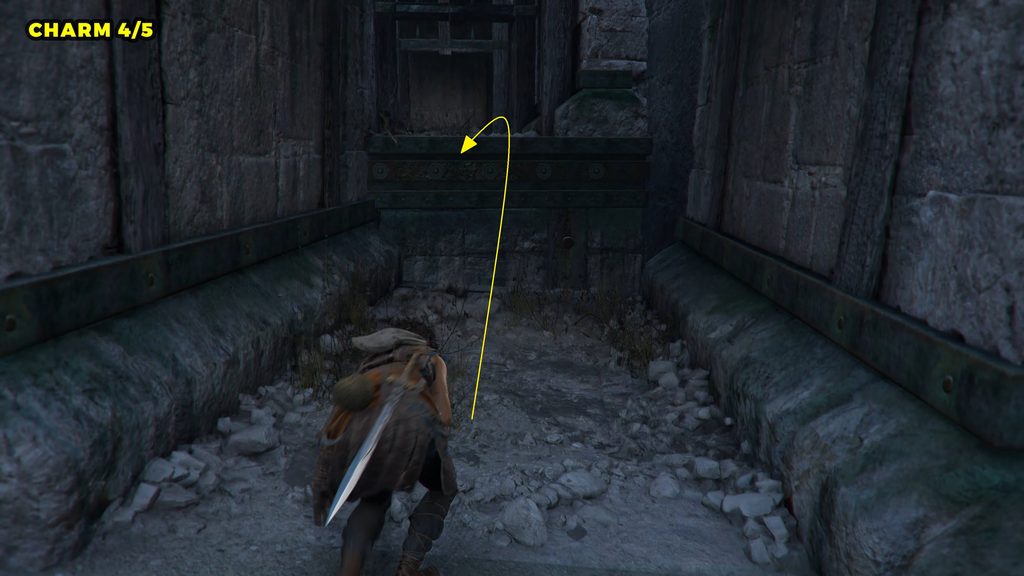
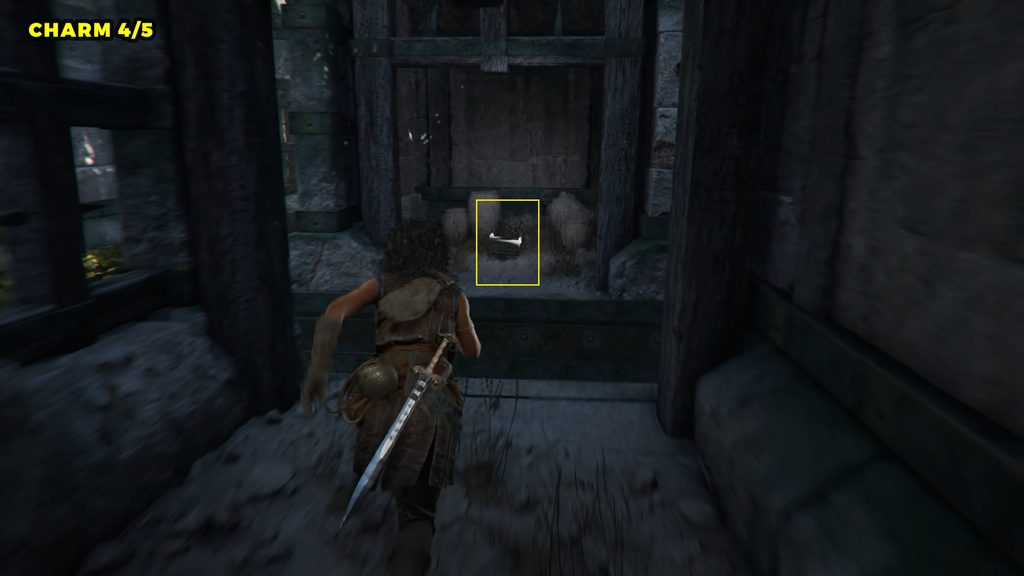
After getting separated from Leni, go through the series of platforms. Once you reach the bottom, immediately turn left and climb up the ruins. Follow the path to the end to find a chest.
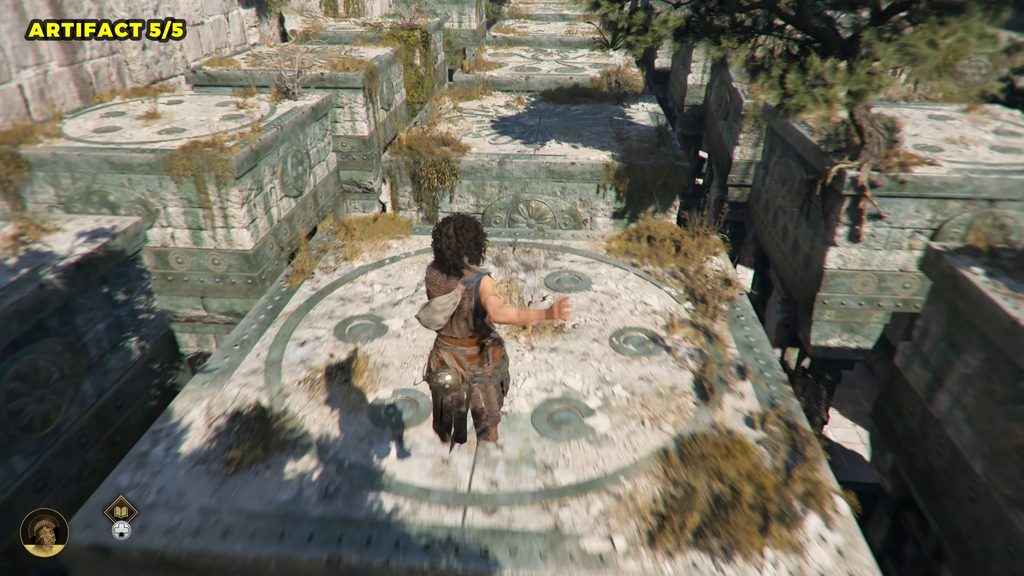
Artefact – Relic of the Past: Scarab Amulet
Sub-Chapter: 3 – The four symbols
Objective: Find the first symbol
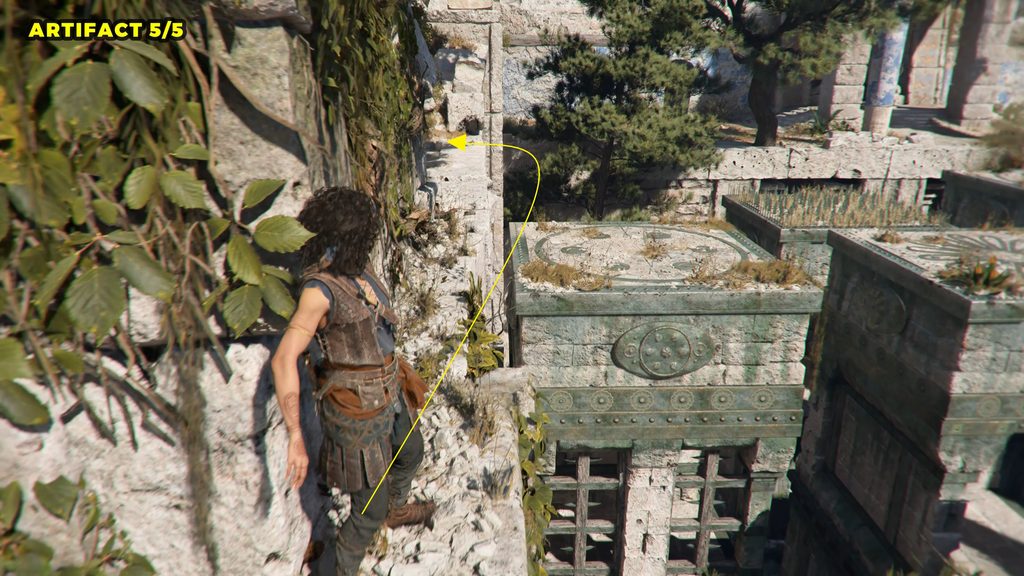
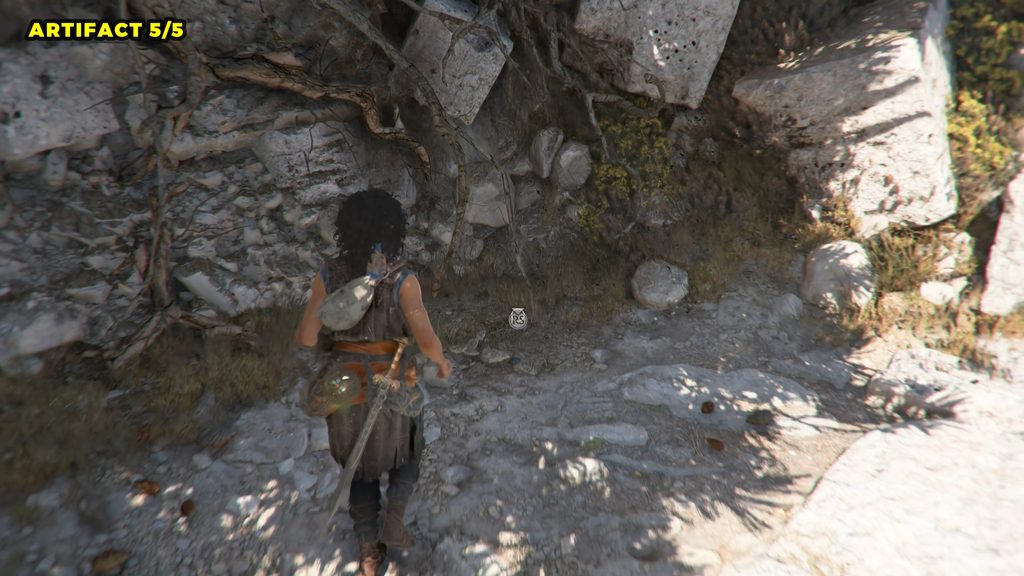
When you reach the section with five platforms marked with different symbols, carefully jump across by landing only on the platforms with the correct safe symbols. The artifact is located on the left side of this platforming section.
#12 Resonance Point
Sub-Chapter: 3 – The four symbols
Objective: Find the first symbol
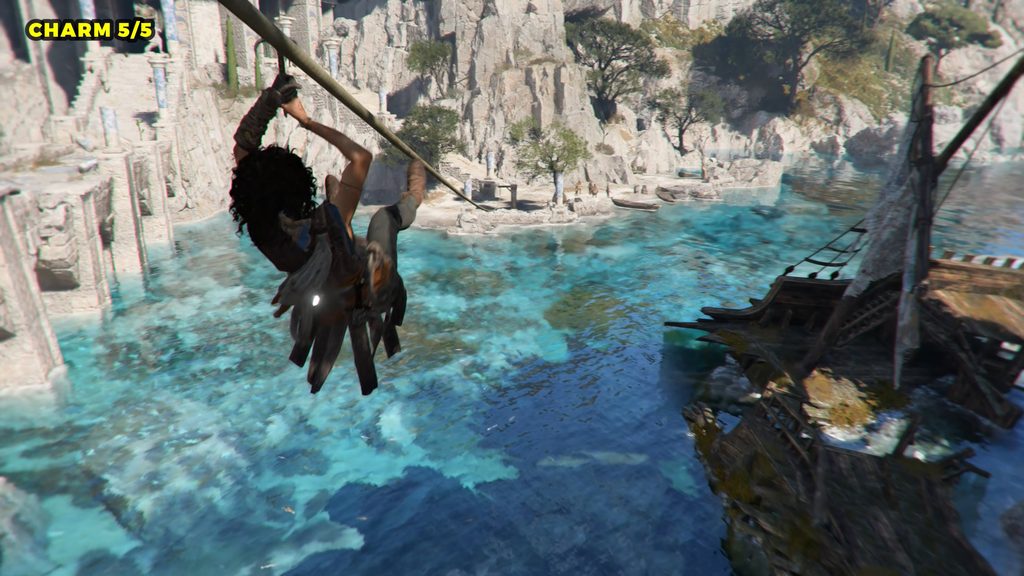
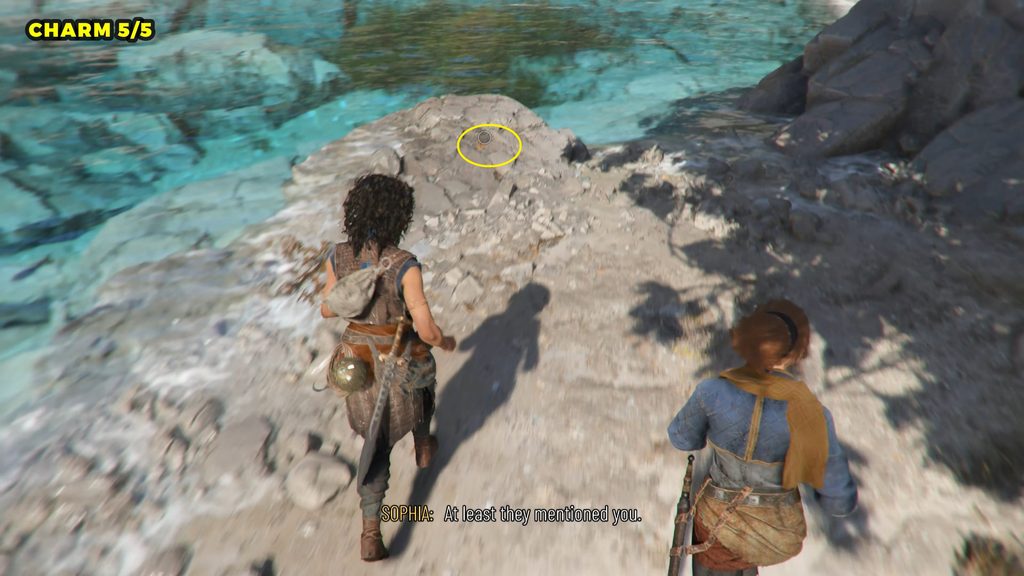
After collecting the first symbol, use the zipline to return to the previous area. Defeat the enemies along the way, then check the left side of the beach to find the collectible near the edge.
Charm: Armband #3
Sub-Chapter: 3 – The four symbols
Objective: Find the first symbol
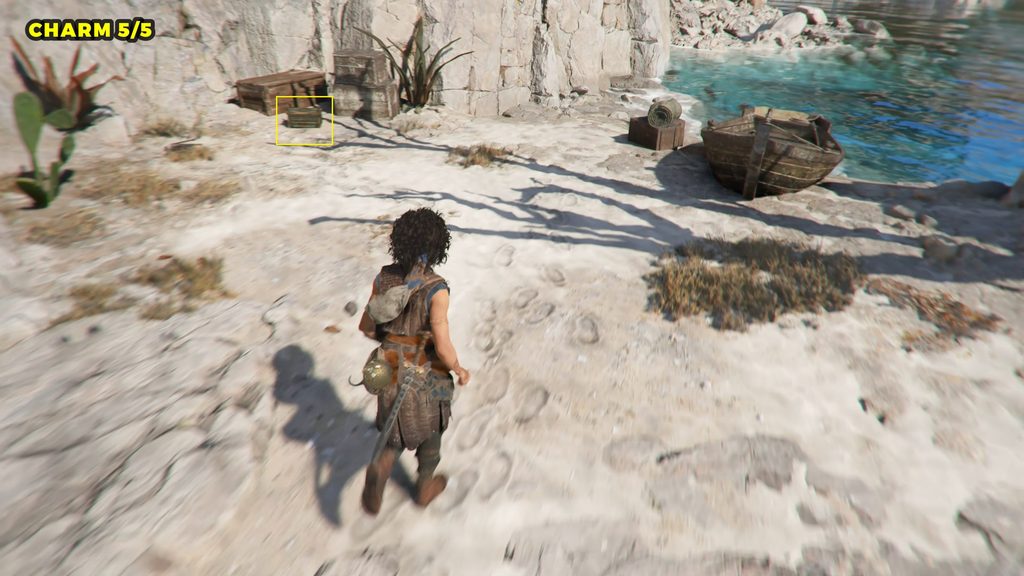
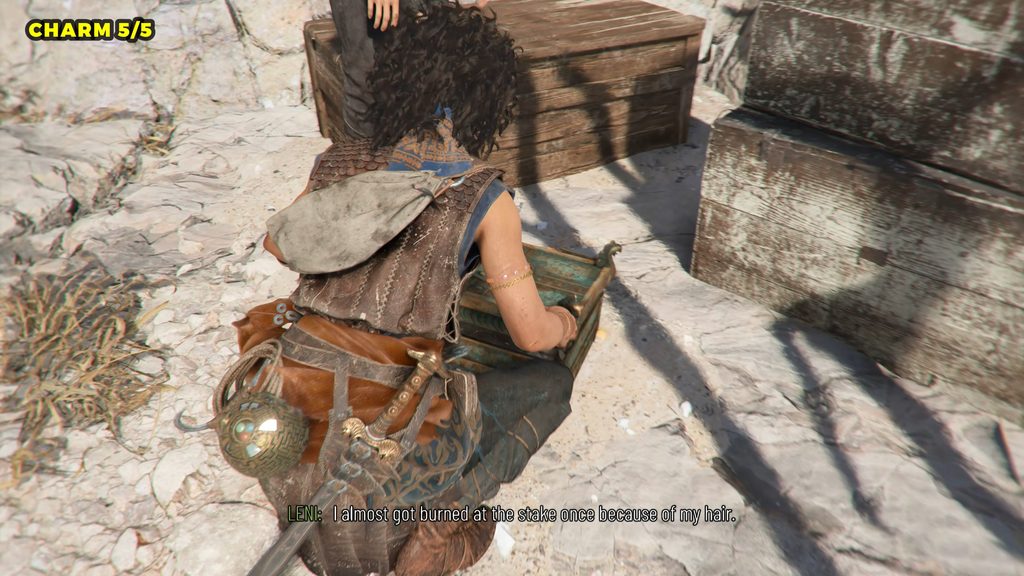
From the previous Resonance Point, head toward the far right side of the beach. Look near the water, beside the boat, to find the collectible.