This guide shows you how to get all Luxurious Chests in Gavireh Lajavard & Realm of Farakhkert in the game of Genshin Impact 3.6. There is only 8 Luxurious Chest available in this region.
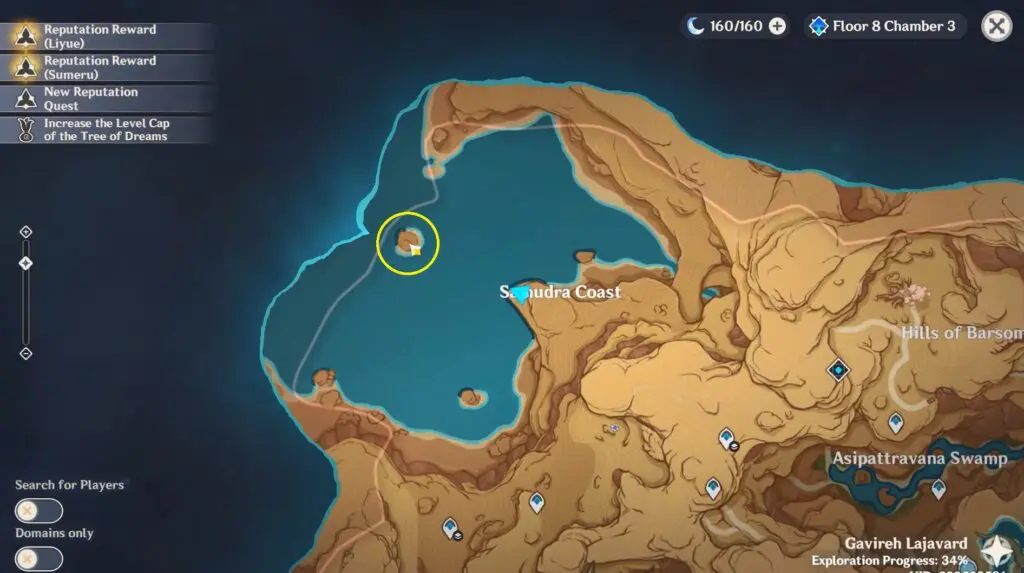
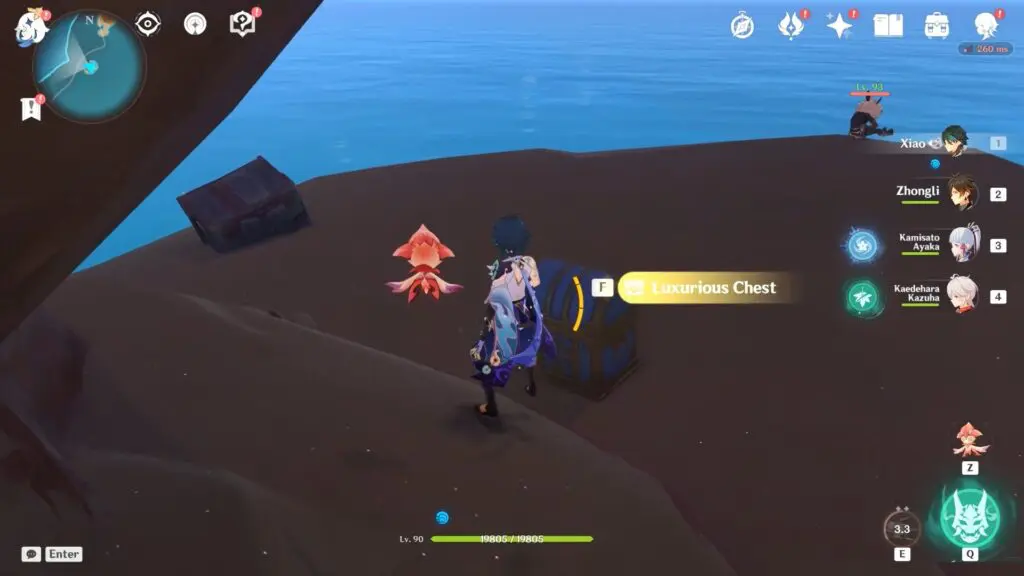
1) Luxurious Chest – Samudra Coast
The first luxurious chest can be found at the upper left corner of the map on a small island as shown in the below map. Head over to the northern part of the map and then glide down over to the small island in the sea.
2) Luxurious Chest – As The Khvarena’s Light Shows: Nirodha Quest
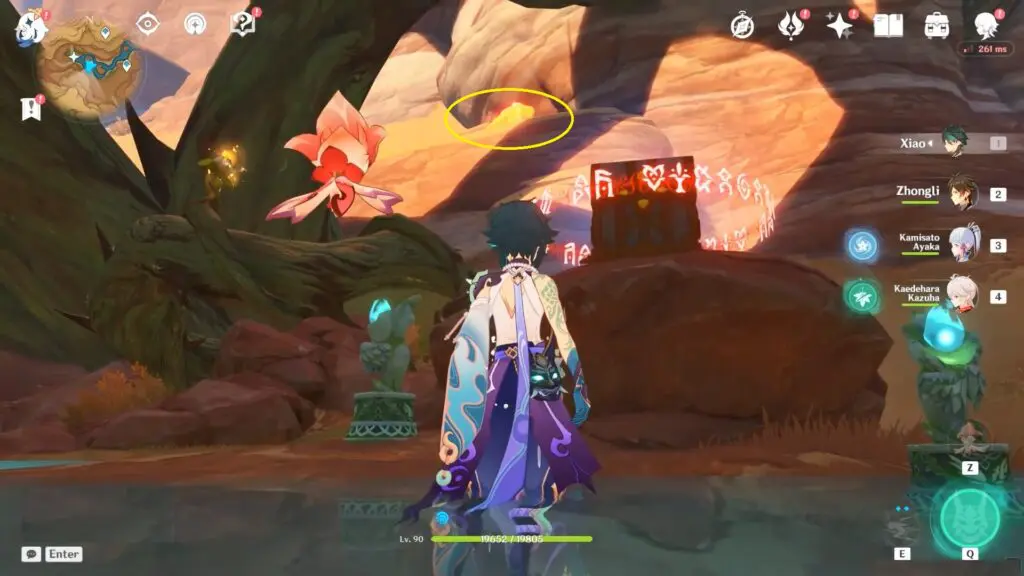
The 2nd Luxurious Chest is available during the world quest “As The Khvarena’s Light Shows: Nirodha“. At the near completion of the world quest, you will have to Use the Ruin Cannon to destroy the Golem’s core and then head to Obtain the Great Song of Khvarena. The Luxurious Chest is inside the tunnel waiting for you.
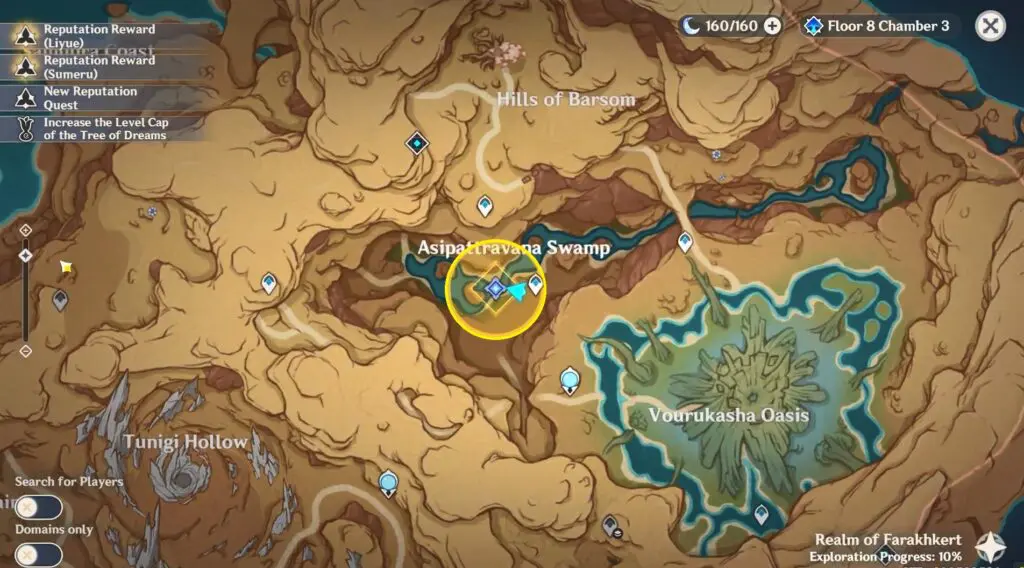
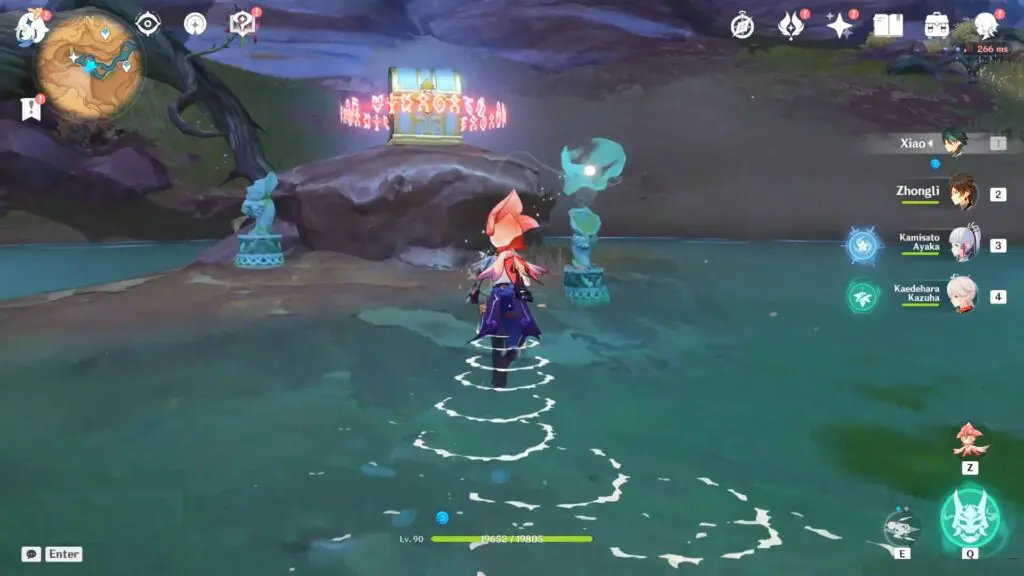
3) Luxurious Chest – Asipattravana Swamp Seelie Puzzle
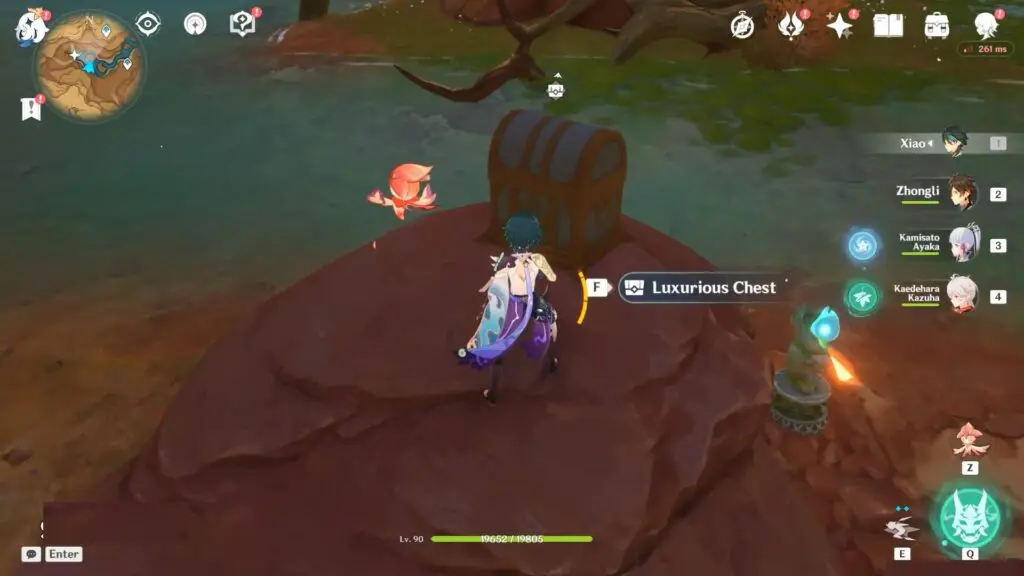
To get the luxurious chest you need to bring three Seelies to their respective homes. Two of the Seelies are located nearby and are covered in Purple Mist that you need to clear. The third Seelie is confined within an orange crystal.
Seelie 1 & 2 Locations and Purple Mist Puzzle
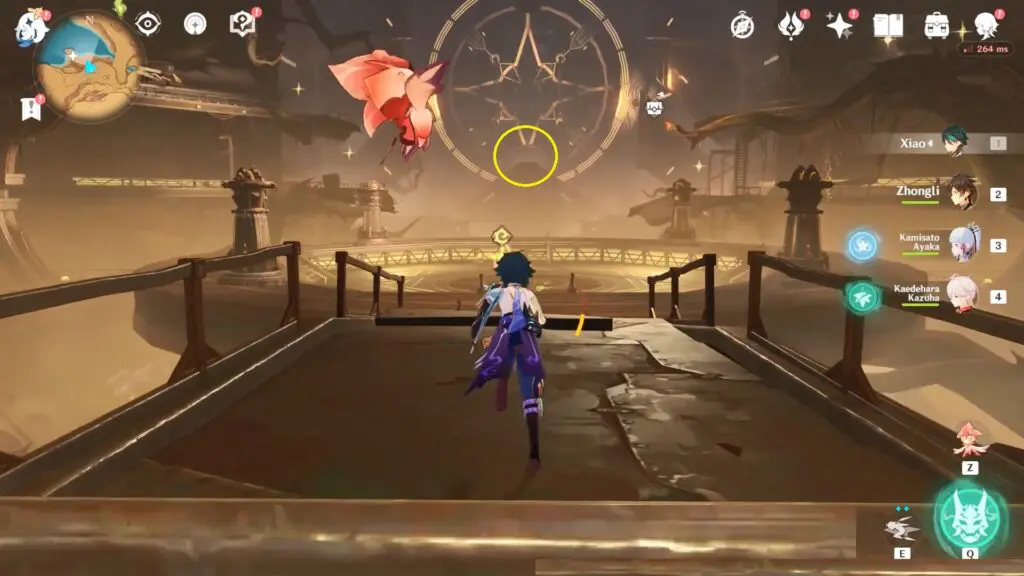
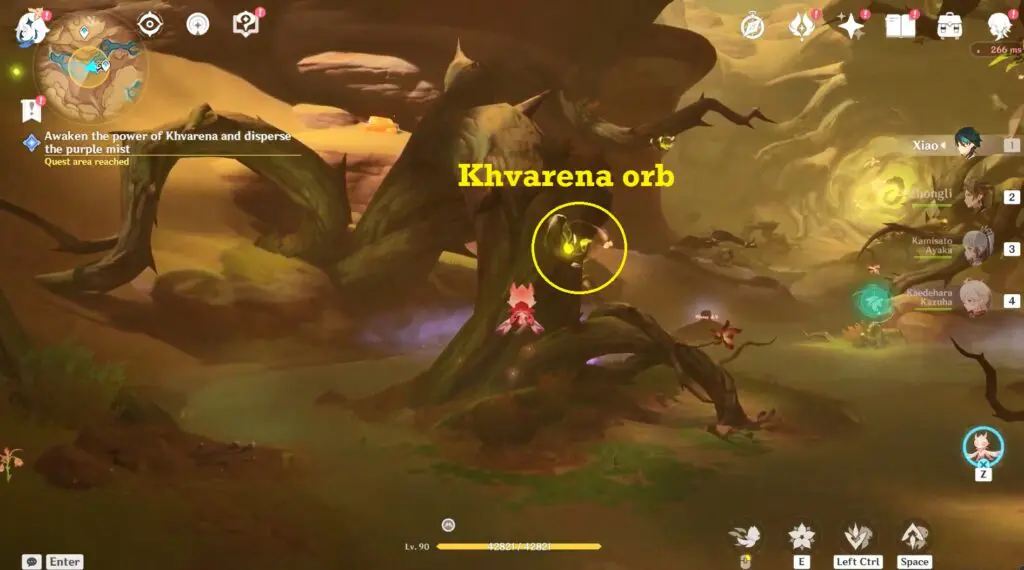
For the first two Seelie, players must first awaken the Power of Khvarena. This requires the assistance of Sorush, who possesses the ability to awaken the power.
To begin, players should allow Sorush to approach the Khvarena orb by navigating through the thorny branches. Once Sorush is in position, uses her power to awaken the Khvarena. As Sorush awakens the Khvarena. The game will initiate a 180-second time trial using Sarush’s ability to eliminate the defiled entities.
To complete this time trial, players must find and collect Nirodha Fruits and utilize Sarush’s throwing ability to clear the defiled entities. These fruits can be found near the thorny branch.
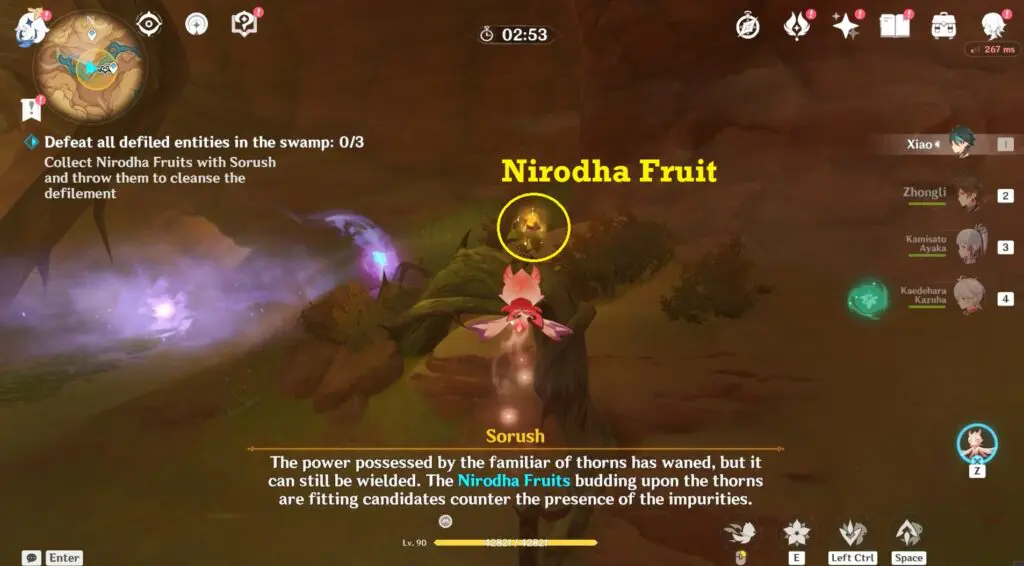
Use her power to collect the fruits, and once that’s done, approach the Purple Mist, and throw the Nirodha Fruits to clear the purple mists. Players must throw the Nirodha Fruit when the entities are in a bubble state and not moving. Once you complete the challenge successfully then one of the Seelie will get unlocked.

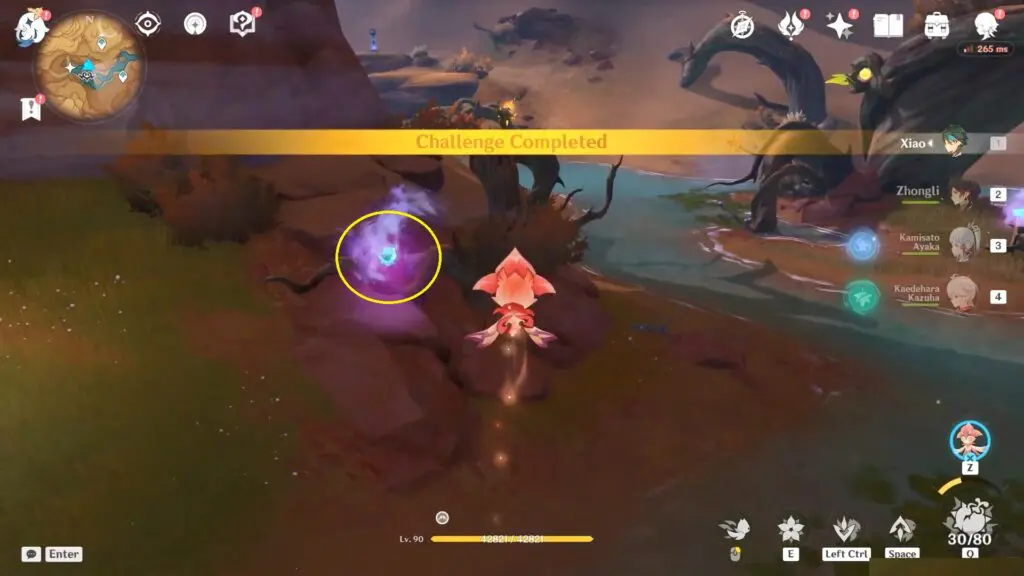
Start the challenge again to get the 2nd Seelie similarly.
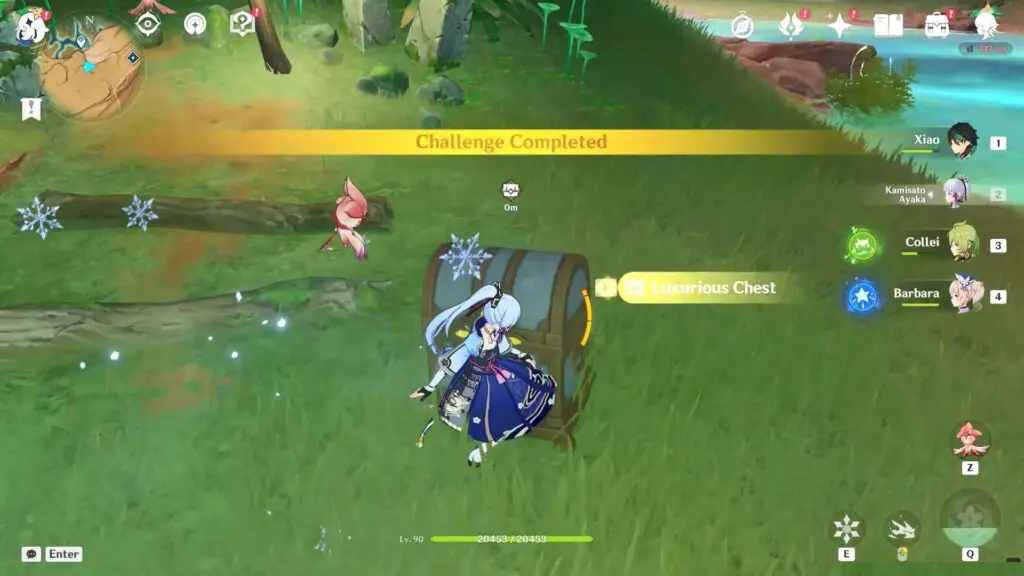
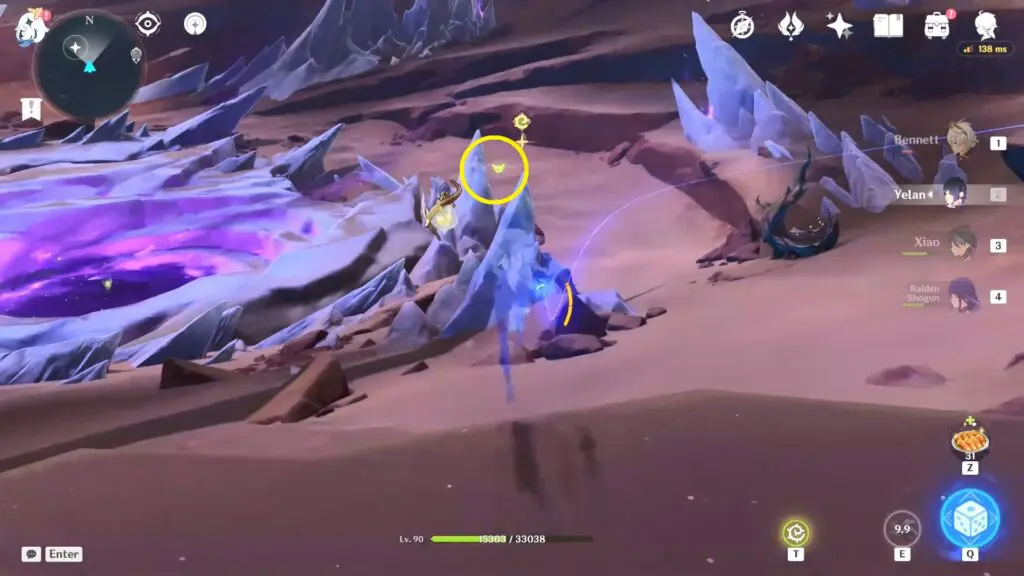
Seelie 3 Location and Yellow Crystal
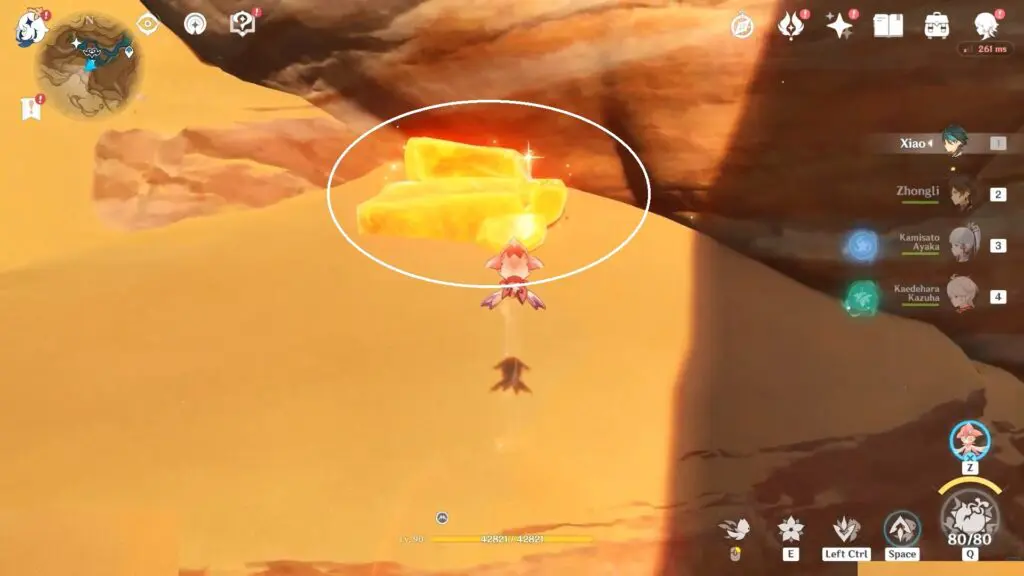
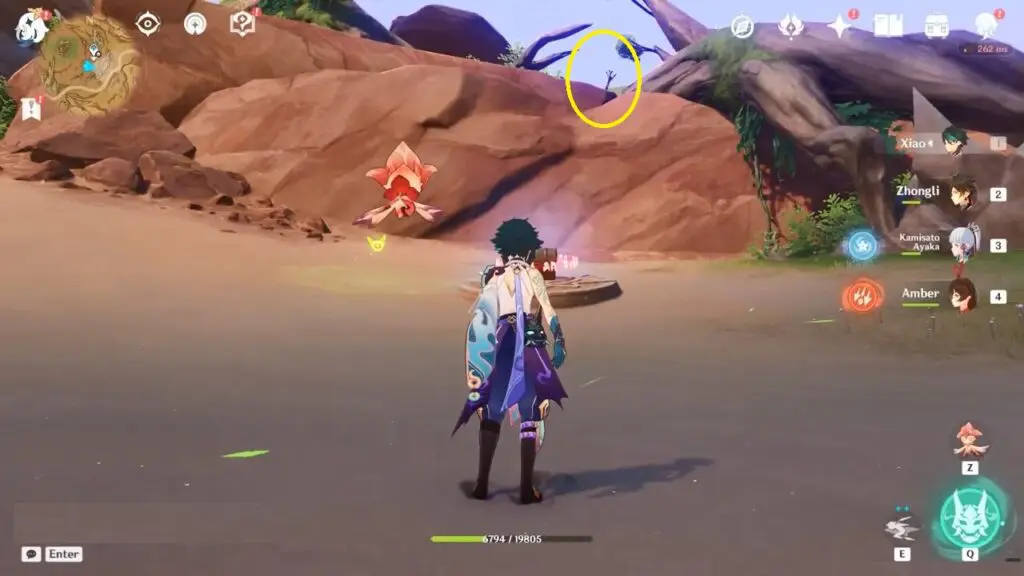
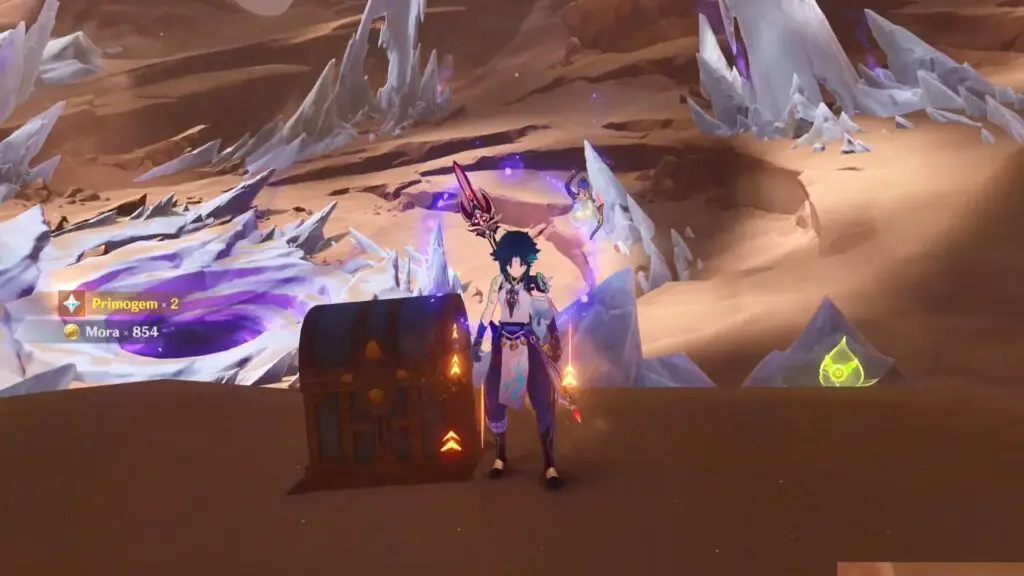
This Seelie is not trapped in the purple mist like the others but instead trapped inside an orange crystal on the south side above the ground level. To free the Seelie, players can utilize Sarush’s skill by picking up a nearby Nirodha Fruit and hurling it at the crystal
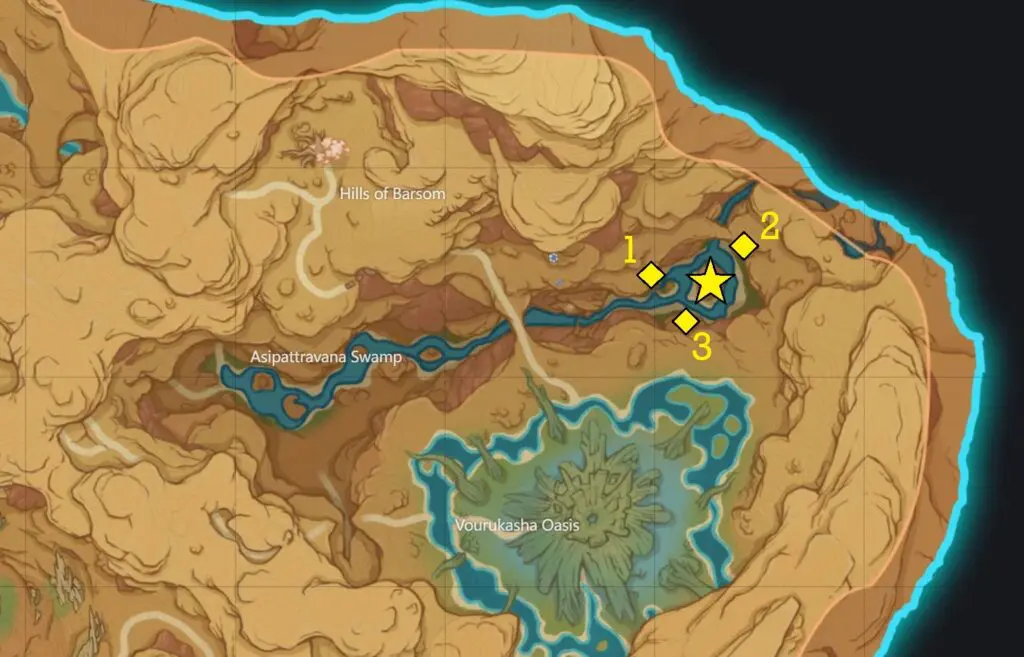
4) Luxurious Chest – Asipattravana Swamp Drum Puzzle
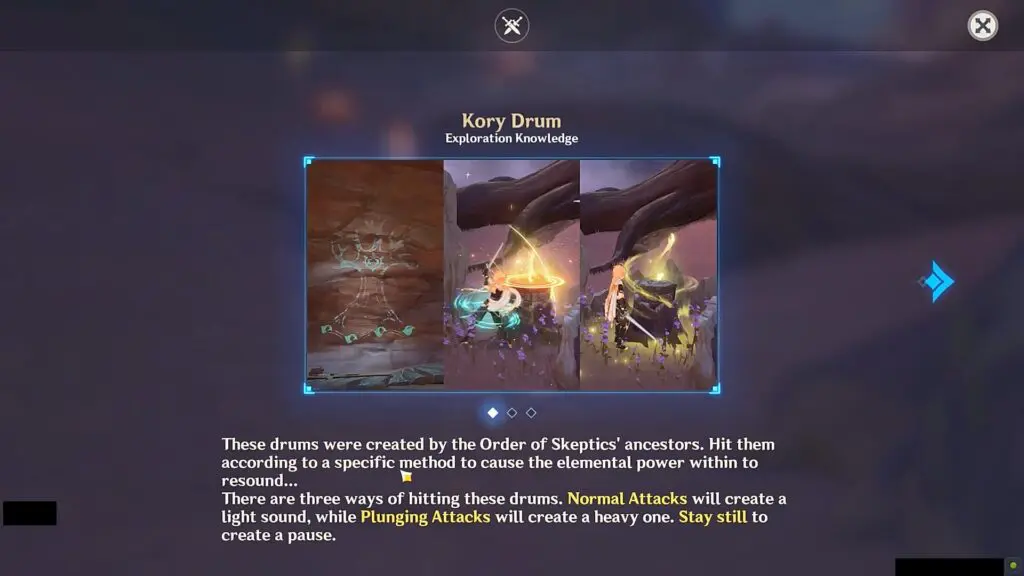
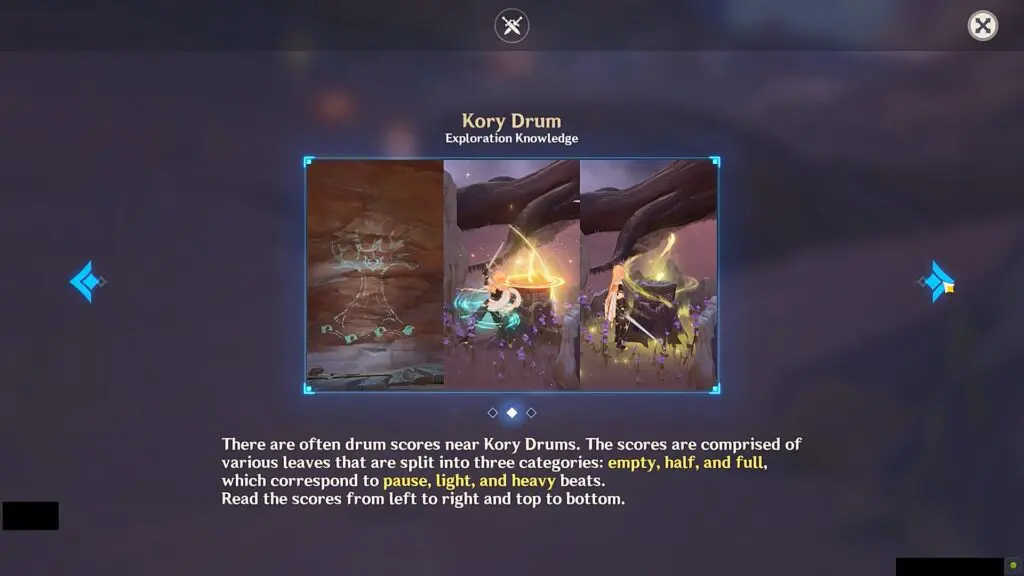
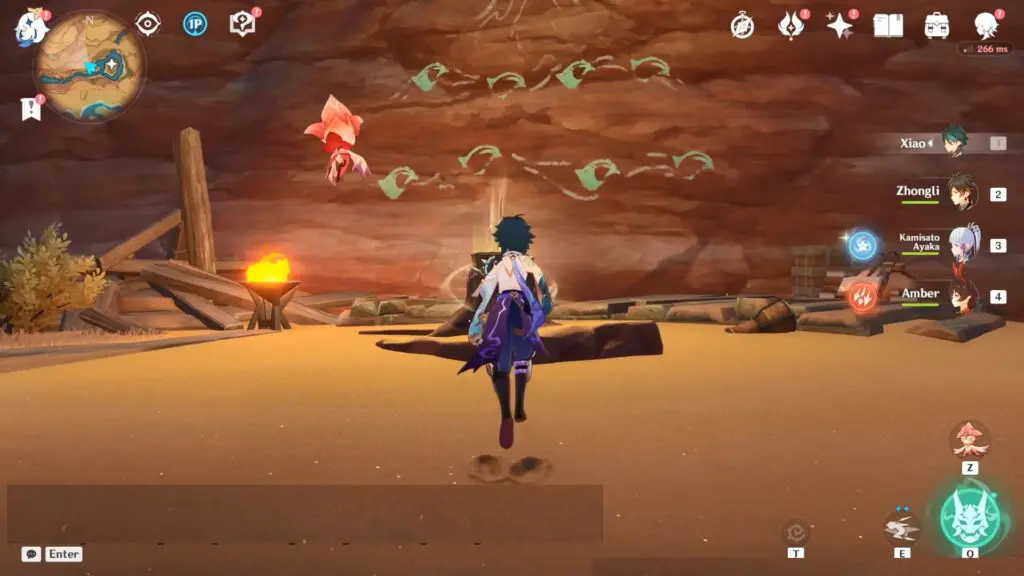
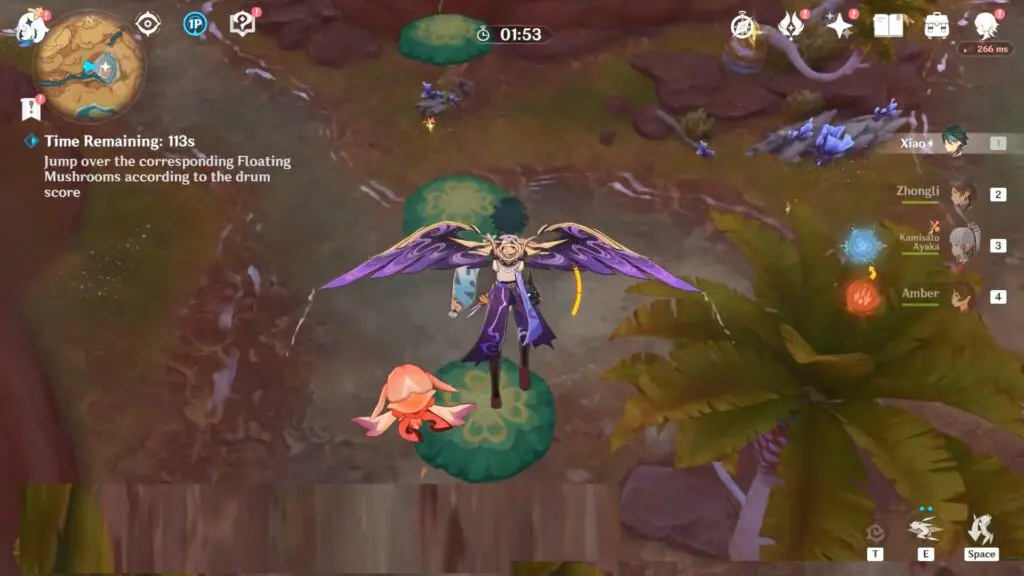
You need to solve three Kory Drums puzzles located on the eastern side of the Asipattravana Swamp. As you go near the drum, you will be able to see the drum score.
You need to perform as per the drum score to complete the puzzle. When the light glows above the drum, it represents one beat. You can take three actions as the beat appears: Normal Attack, Plunging Attack, or Stay Still. Take the actions as per the drum score to complete the puzzle. The drum score consists of three types of leaves: Empty, Half, and Full, which corresponds to Stay Still, Normal Attack, and Plunging Attack. The solution to all five Kory Drum puzzles is shown below in the article.
Asipattravana Swamp Drum Locations
#1 Asipattravana Swamp Drum – Hit, Wait, Hit, Wait, Hit, Wait, Hit, Wait
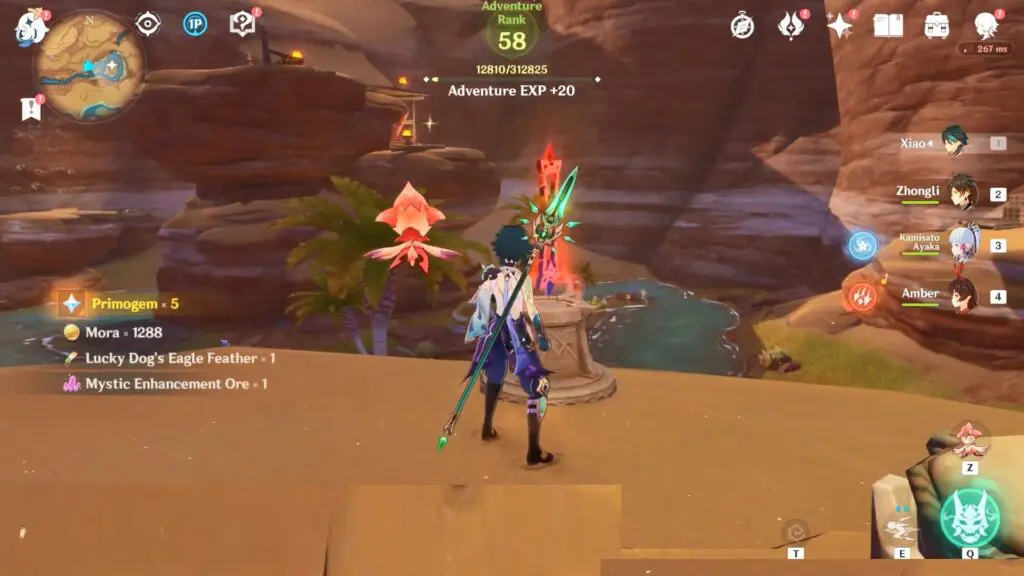
Once you’ve followed the drum score, you’ll be required to take on a time trial challenge where you must jump or skip on the platforms in the exact sequence as instructed by Kory Drums.
#2 Asipattravana Swamp Drum – Hit, Wait, Wait, Hit, Wait, Hit, Hit, Wait
#3 Asipattravana Swamp Drum – Hit, Hit, Wait, Hit, Hit, Wait, Hit, Hit

After successfully completing all three-time trial challenges and you will be rewarded with a Luxurious Chest.
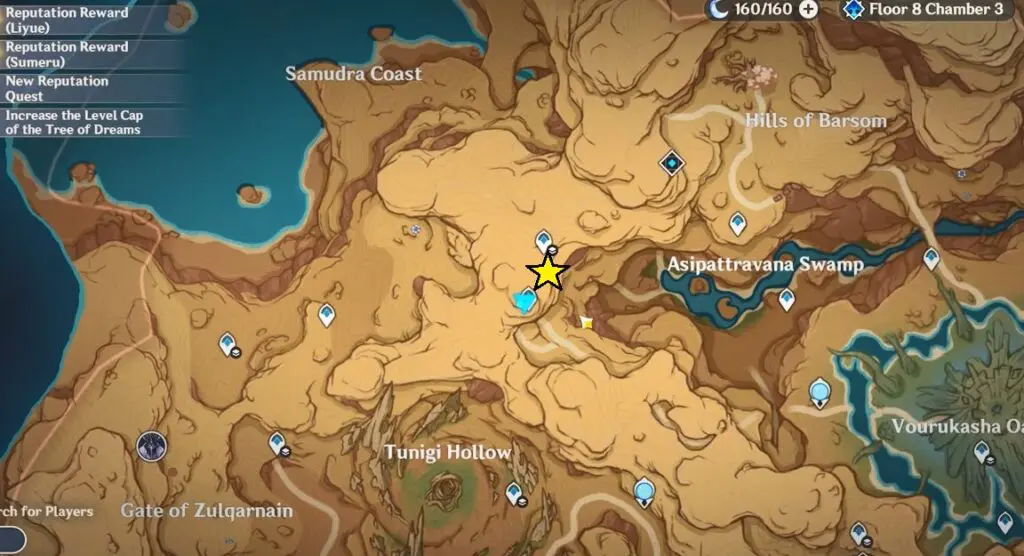
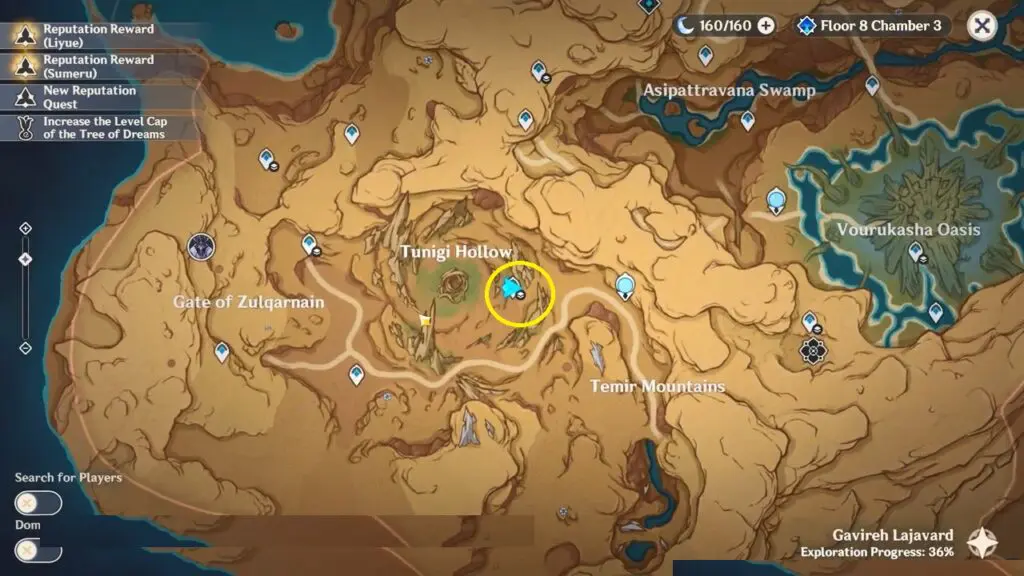
5) Luxurious Chests – Temir Mountains
Go to the teleport waypoint to the east of Tunigi Hollow as marked on the map.
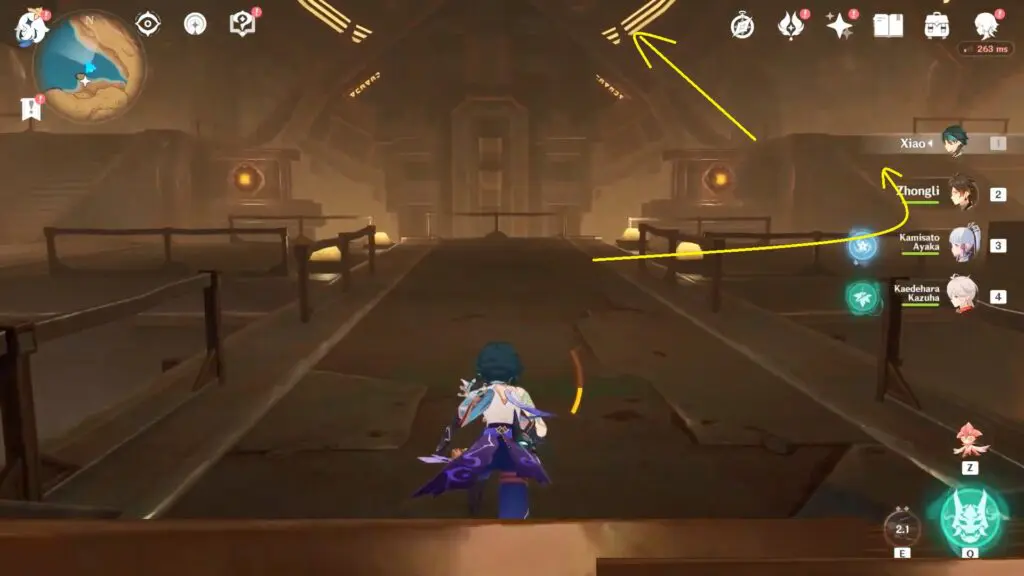
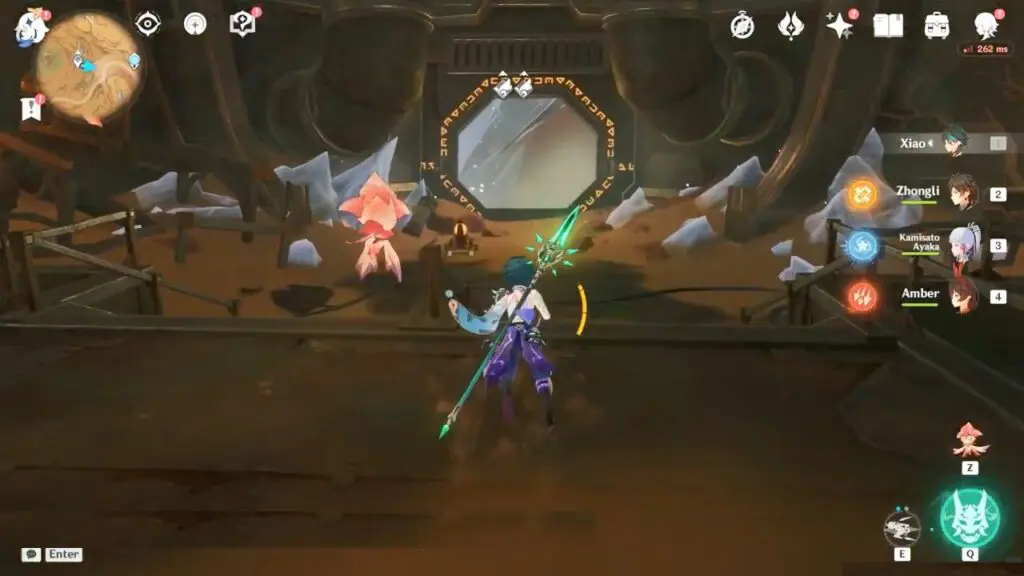
Upon arriving at your destination, descend into the hole located at the center of the room and make your way to the platform below.
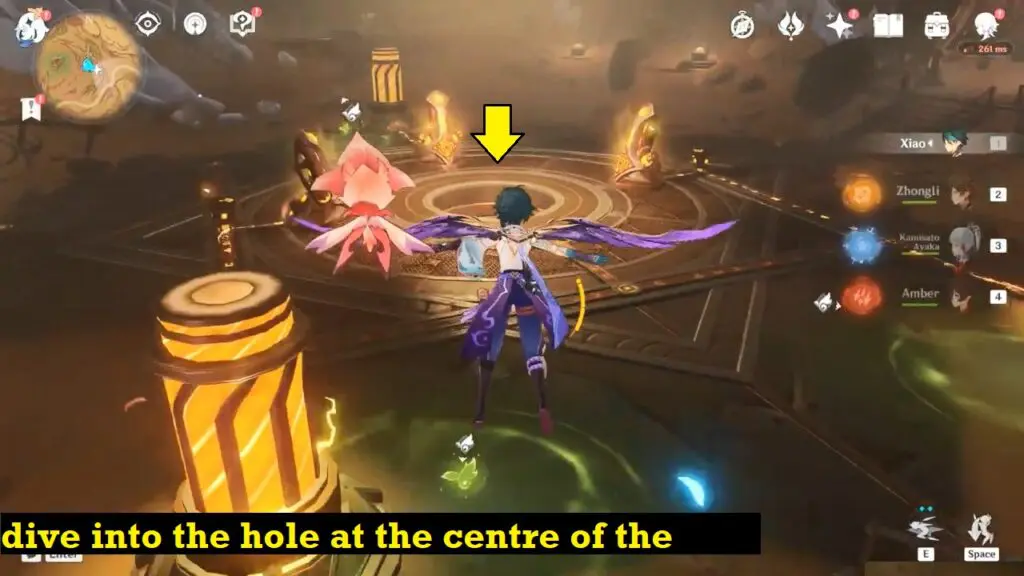
From there, glide down to reach the elevator situated in the middle, which will transport you to the lower level. Refer below image.
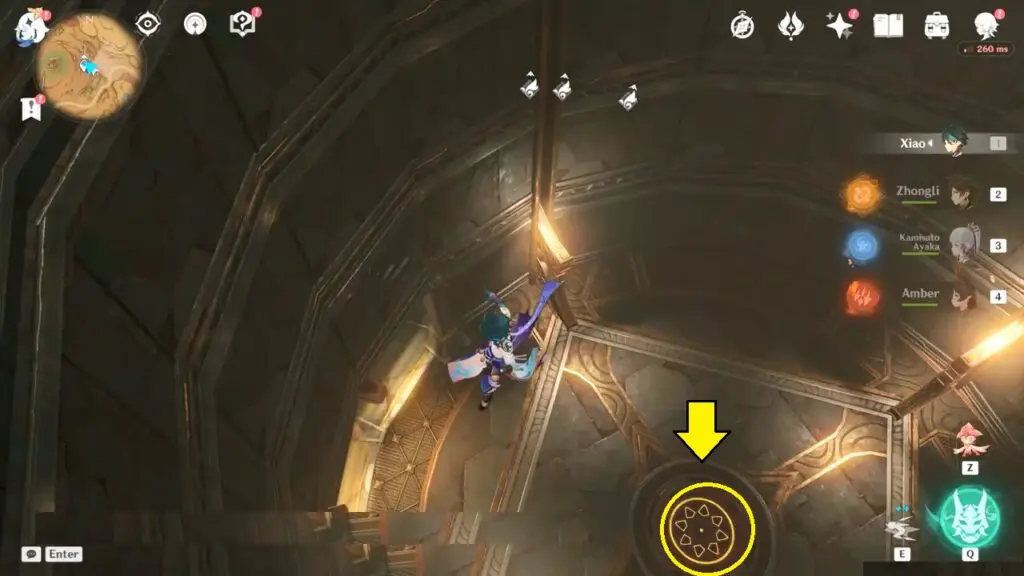
Once you reach the bottom, leave the mechanical structure and proceed towards the tunnel located on your right. After a short while, you will arrive at Hangeh Afrasiyab.
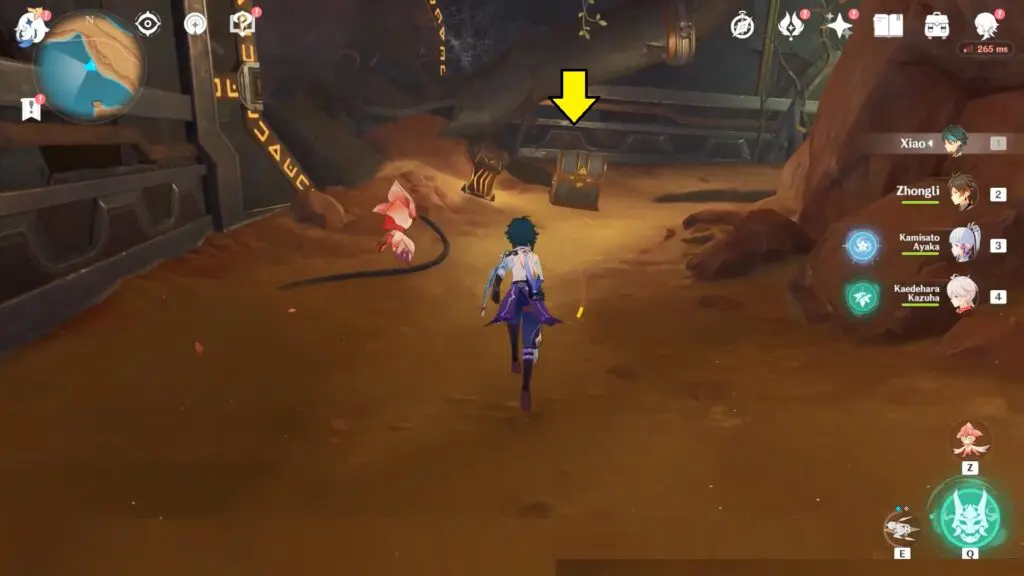
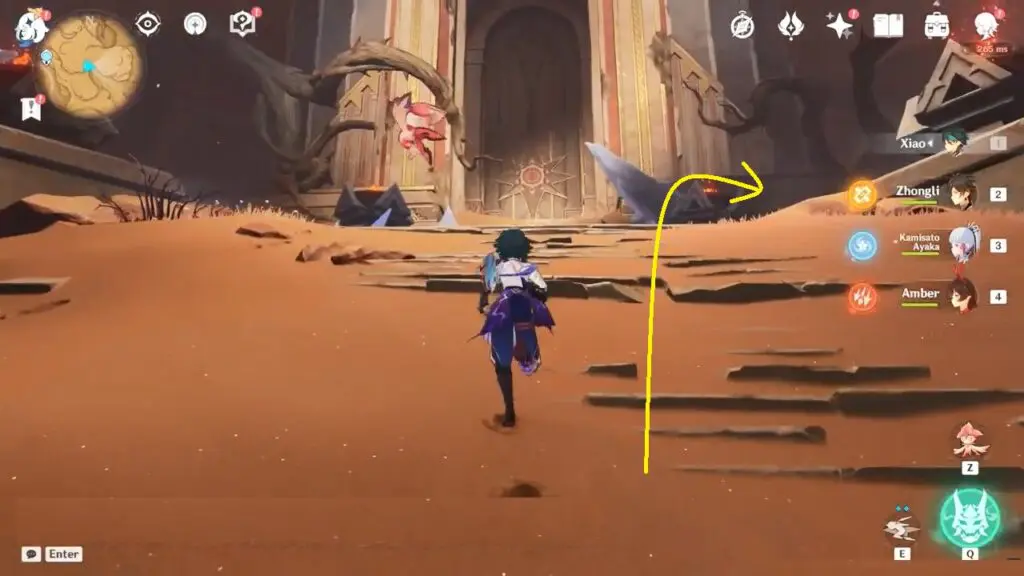
Upon reaching Hangeh Afrasiyab, you’ll need to cross a big gap to reach the giant gate on the opposite side. To do so, ascend the cliff located on your right until you can access the gate situated in front of you.

After crossing the huge gap, you will find the luxurious chest in a corner on the right side of the gate half buried in the sand

6) Luxurious Chest – Vourukasha Oasis
The player will have to solve a set of puzzles in this specific area. Players must complete each connected puzzle before going on to the next one since they are interconnected. These puzzles are typically consisting of Seelies and Mayflies placed near locked chests.
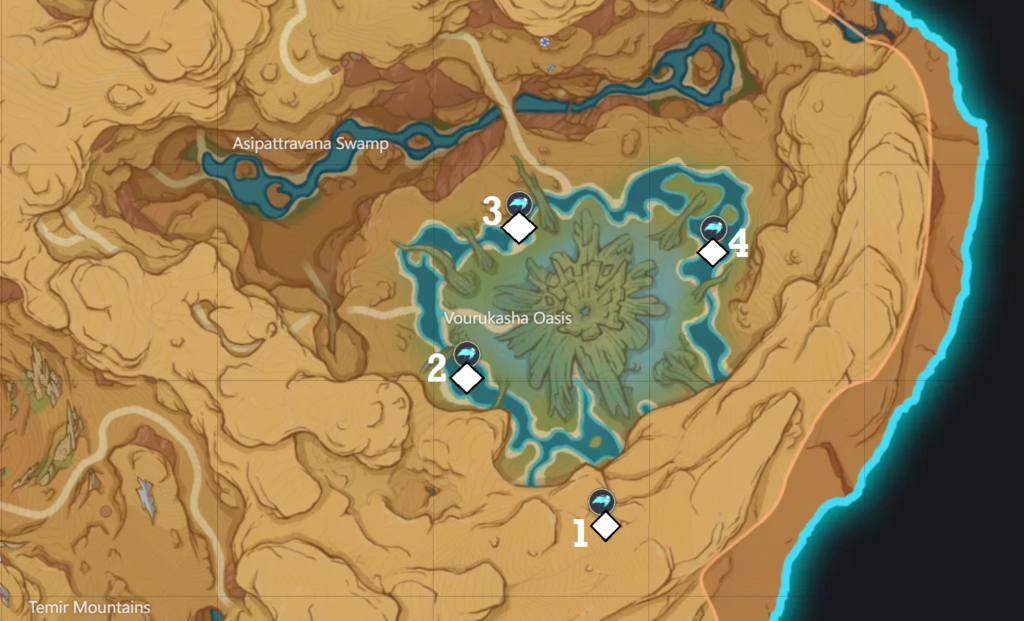
Location #1
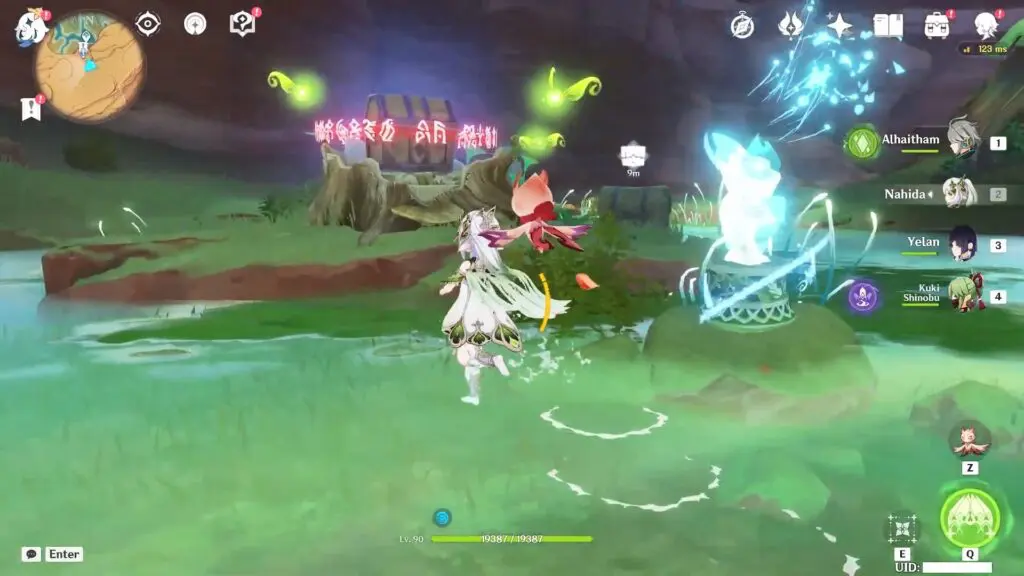
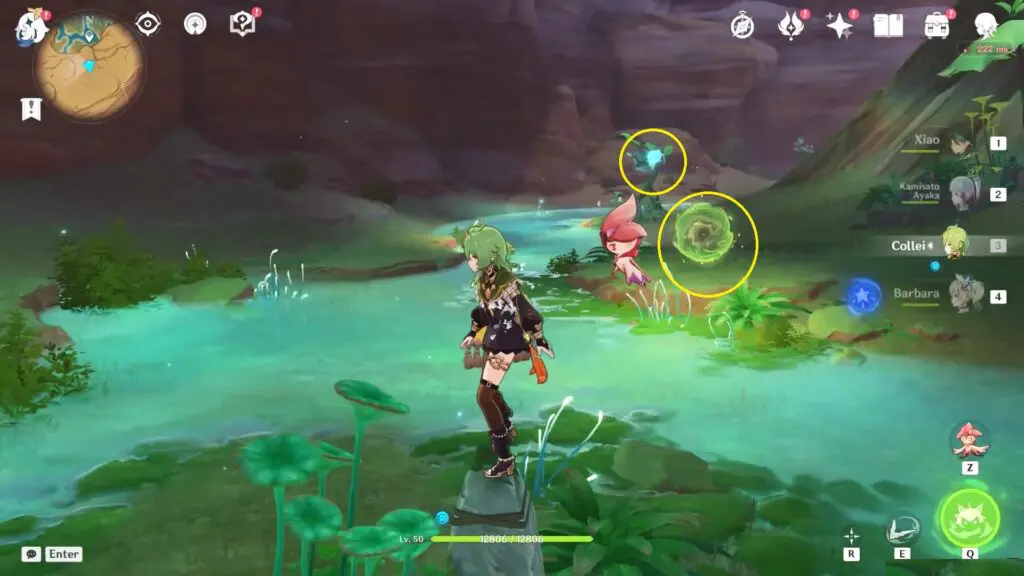
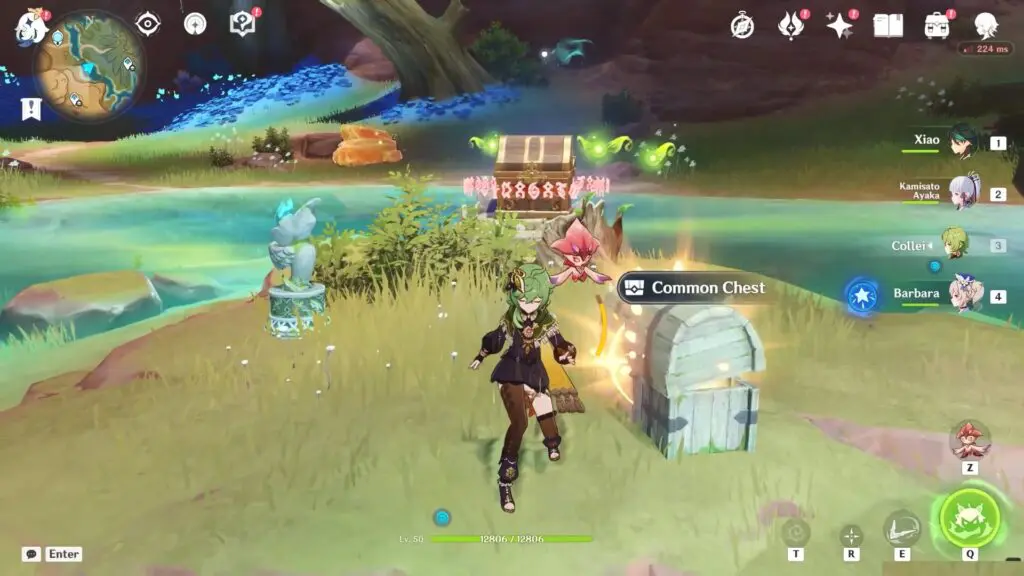
It is recommended that players start their journey by selecting one of the locations and solving the Mayflies puzzle at that particular site. Go to the location to find a locked chest and three Mayflies near it. Once you interact, Mayflies will fly away to start a time-limit trail to catch the Mayflies. Players must recapture the Mayflies and return them to the chest to unlock it.
Once this puzzle is completed, follow Seelie through the teleportal again to the next location. Upon successfully unlocking the chest, the Seelie will proceed towards a teleportal, which players can use to automatically trail the Seelie to the subsequent location in the guise of a mayfly. When the Seelie reaches its destination, it will generate a common chest.
Location #2
The procedure is fairly comparable to the previous area. The players will be required to hop on the mushrooms to gather the Mayflies.
Location #3
Two of the Mayflies can be found on the ground level, while the third one soars toward a frozen branch nearby.
Location #4
The first Mayfly is situated close to the chest. The second one will be perched atop a bulb that can be accessed with a four-leaf sigil. The third Mayfly can also be found near the location of the four-leaf sigil.
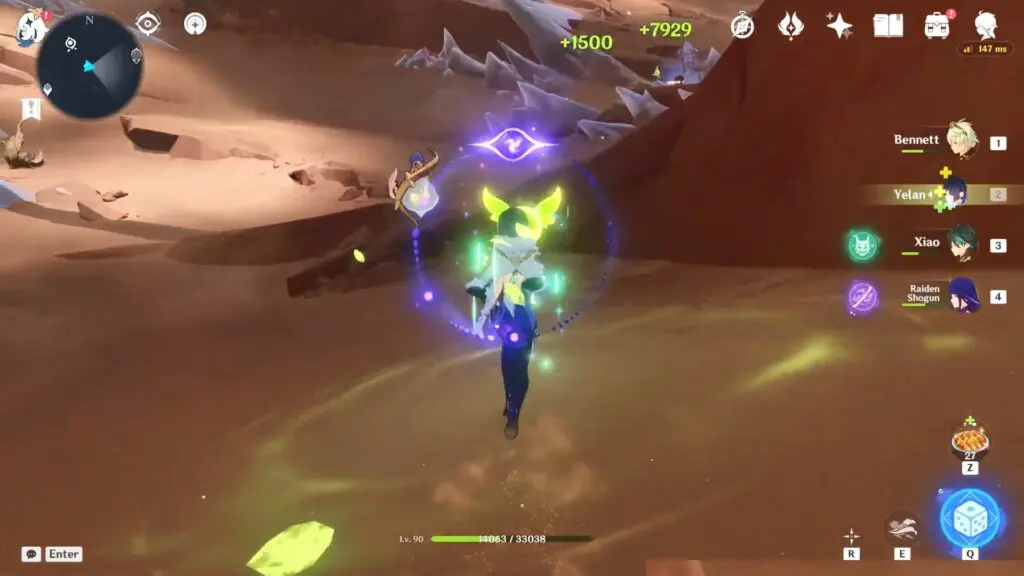
78 Dendro Particles Time Trial Challenge
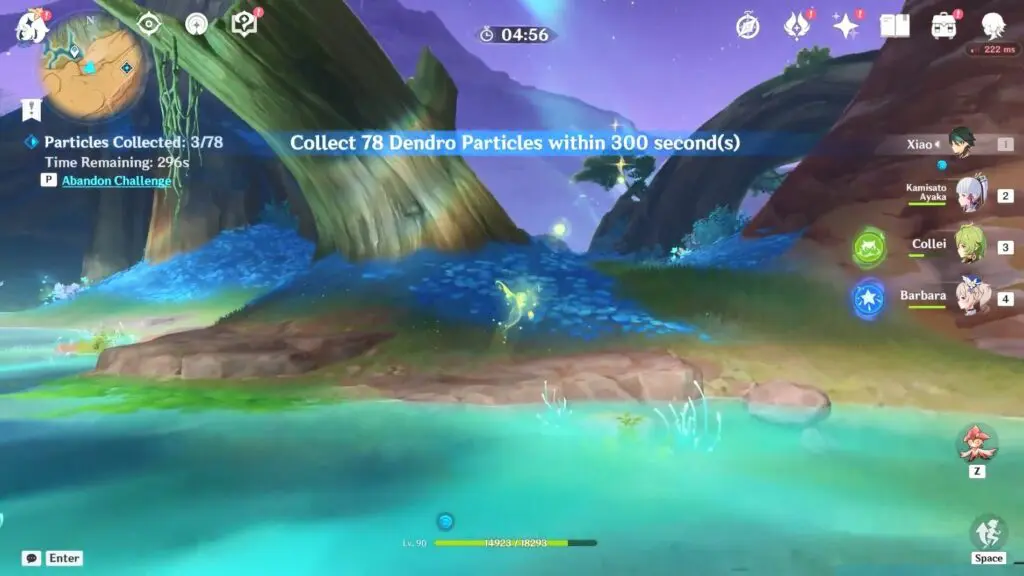
Once the chest has been looted, a portal will emerge. Players should step into it to encounter a challenge, which requires them to gather 78 Dendro particles within 300 seconds or fewer.
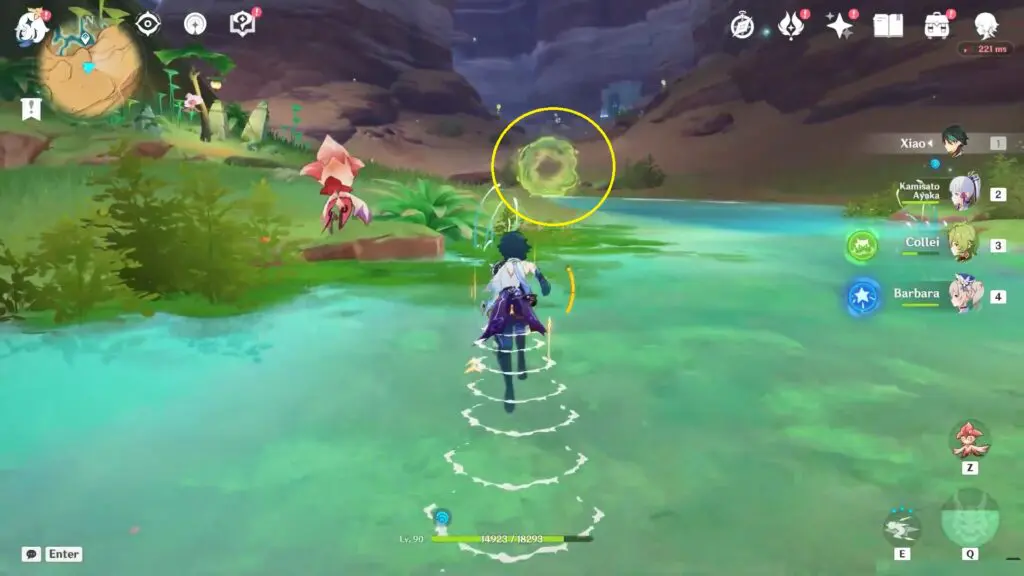
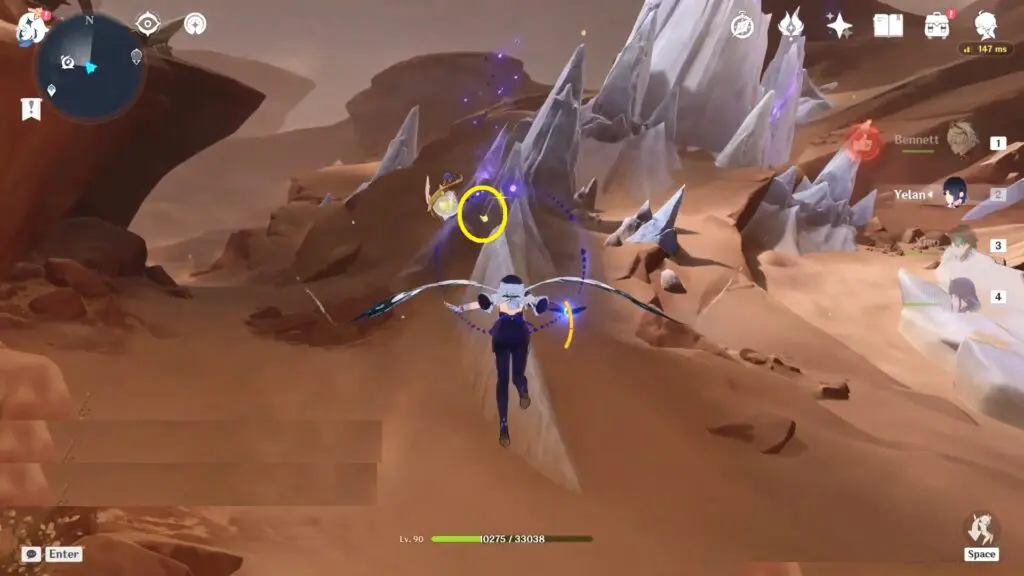
To acquire the Dendro particles, players may utilize the scattered four-leaf sigils located in the area. Additionally, players can also use other portals that transform them into Mayflies, facilitating the automatic collection of certain Dendro particles.
Once finished, players will be taken back to the beginning, where a luxurious chest will be waiting for them to claim it.
7) Luxurious Chest – Tunigi Hollow
In order to unlock the Luxurious Chest, you must accompany three Farrwicks in the southern region of Tunigi Hollow until they reach their destination, as well as solve the puzzle that corresponds to each of them.

Farrwicks #1
The first Farrwicks is near a common chest. Use a Pyro Character like Amber to light the 4 torches around the chest. When all torches are alight, the common chest will unlock, as well as a Farrwick. Farrwick is similar to a Seelie, a small green floating ball. Proceed to follow the Farrwick until it settles in a particular area.
Farrwicks #2
The Farrwicks is on top of a spiky rock, go near it and it’ll start to move. Continue following it and it’ll lead you to some enemies that you’ll need to defeat before it moves again. It will come to a halt at a different location.
Farrwicks #3
The last one is to the west on top of another pointy rock. Go near it and it’ll start to move. Continue following it and it’ll lead you to some other enemies that you’ll need to defeat before it moves again. It will come to a halt at a different location.
Once all three have been placed you can then go to the area shown below. Defeat all enemies unlock including the Luxurious Chest!
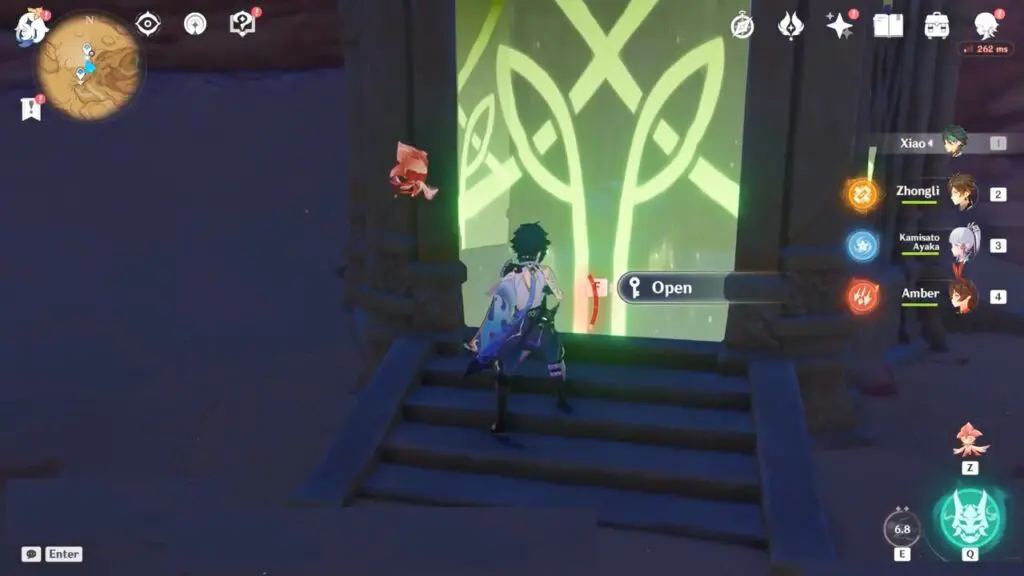
8) Luxurious Chest – Shrine of Depths
Teleporter west of Asipattravana Swamp, and follow the sloping path as it loops around. Use a Shrine of Depths Key to remove the barrier to pick up the Luxurious Chest.