This is a step-by-step guide on how to solve all the Overflowing Palette puzzles in Wuthering Waves. Overflowing Palette puzzles are part of Whisperwind Haven Exploration, released with version 2.0 on January 2, 2025
1 Whisperwind Haven – Overflowing Palette
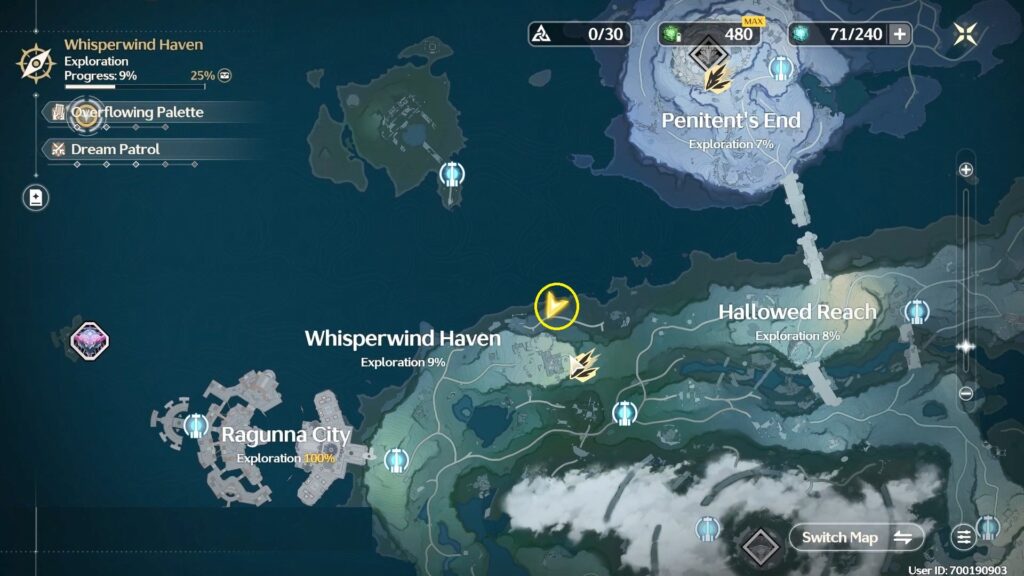
The first puzzle is located in Polyphemos Windmills and the location is marked below.
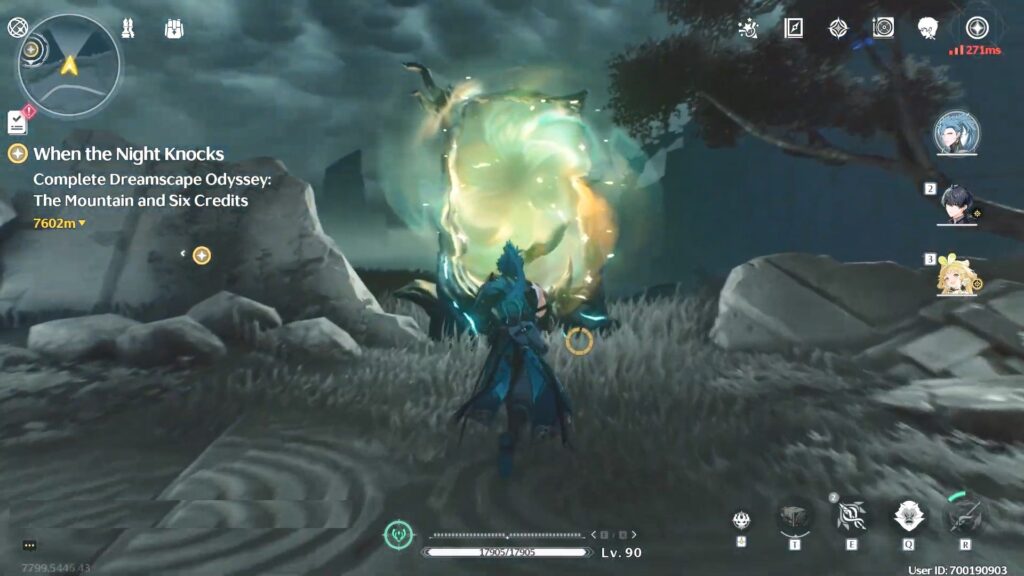
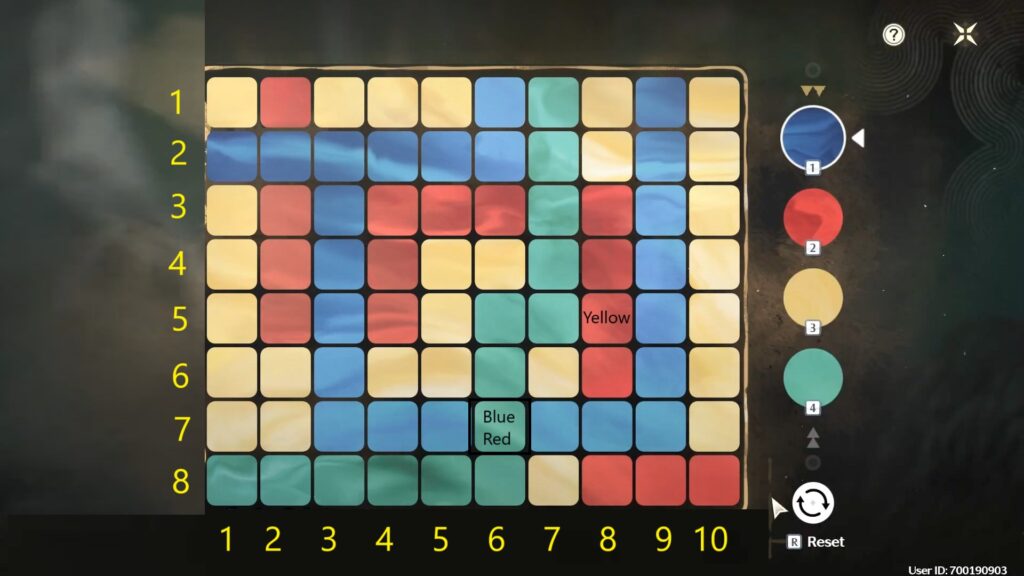
To begin the puzzle, interact with the spiraling painting. The player has three moves to turn the entire palette yellow and solve the puzzle. To solve the first puzzle press the block colors and positions in the given order.
Grids in the image are marked along the X & Y axis.
Blue: 6×7
Red: 6×7
Yellow: 8×5
2 Whisperwind Haven – Overflowing Palette
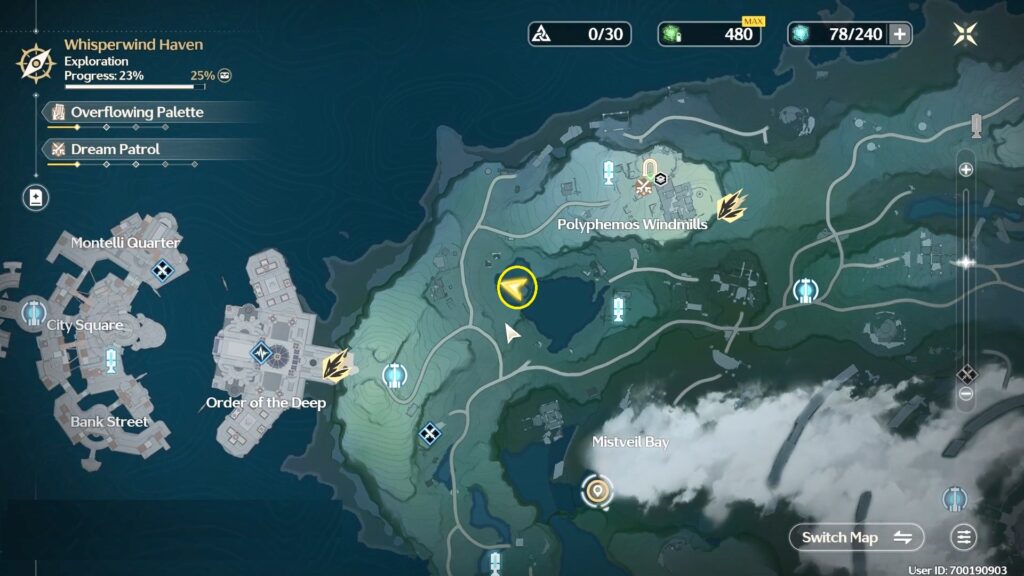
The second puzzle is located southwest of the Polyphemos Windmills and the location is marked below.
To solve the puzzle press the block colors and positions in the given order.
Red:7×4
Yellow: 7×4
Blue: 7×3
3 Whisperwind Haven – Overflowing Palette – Egla Town
The third puzzle is located north of Egla Town and the location is marked below.
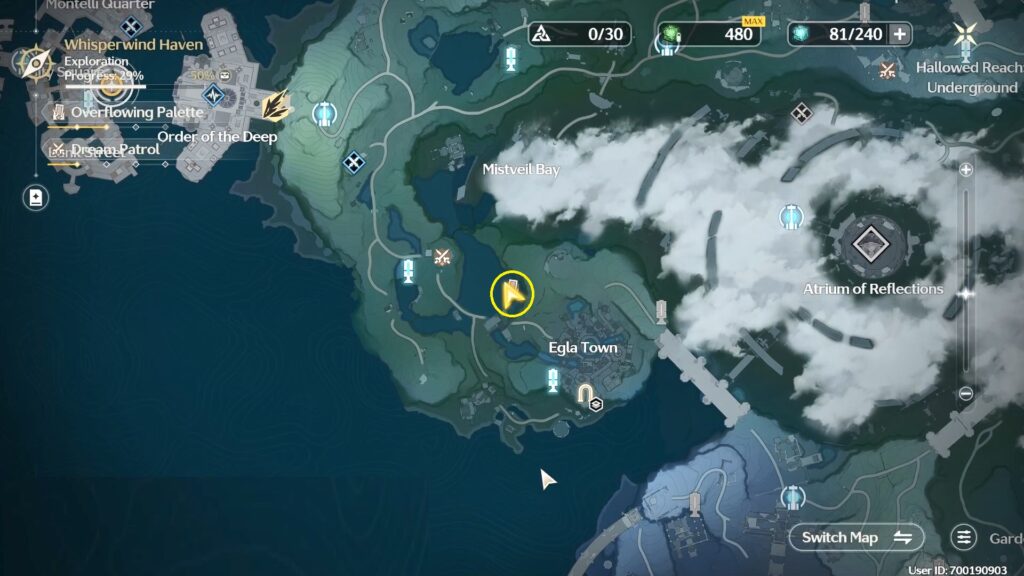
To solve the puzzle press the block colors and positions in the given order.
Green: 7×5
Blue: 9×2
Red: 8×4
4 Whisperwind Haven – Overflowing Palette – Egla Town
The fourth puzzle is marked below.
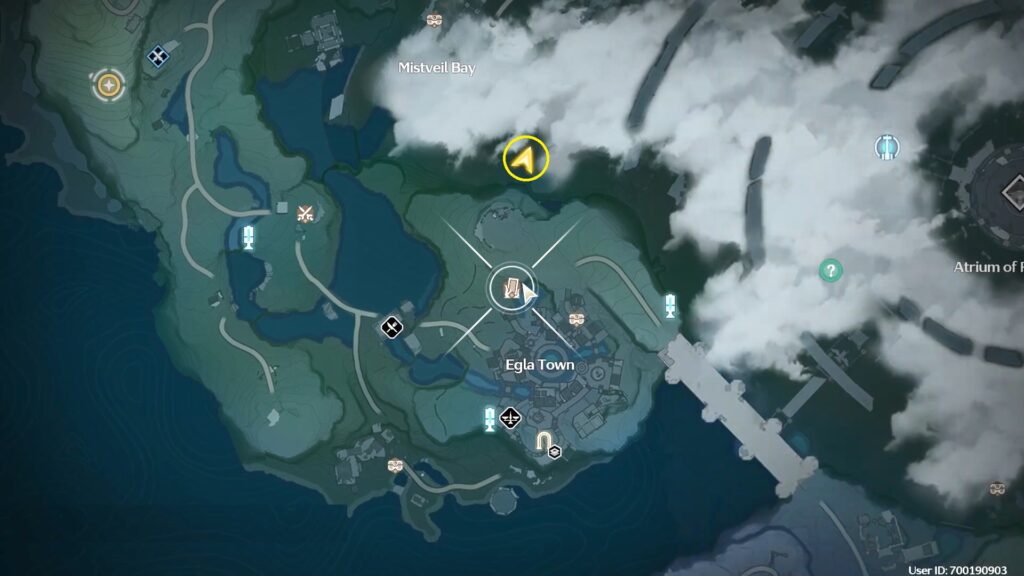
To solve the puzzle press the block colors and positions in the given order.
Yellow: 5×5
Blue: 5×4
Green: 4×6
5 Nimbus Sanctum – Overflowing Palette
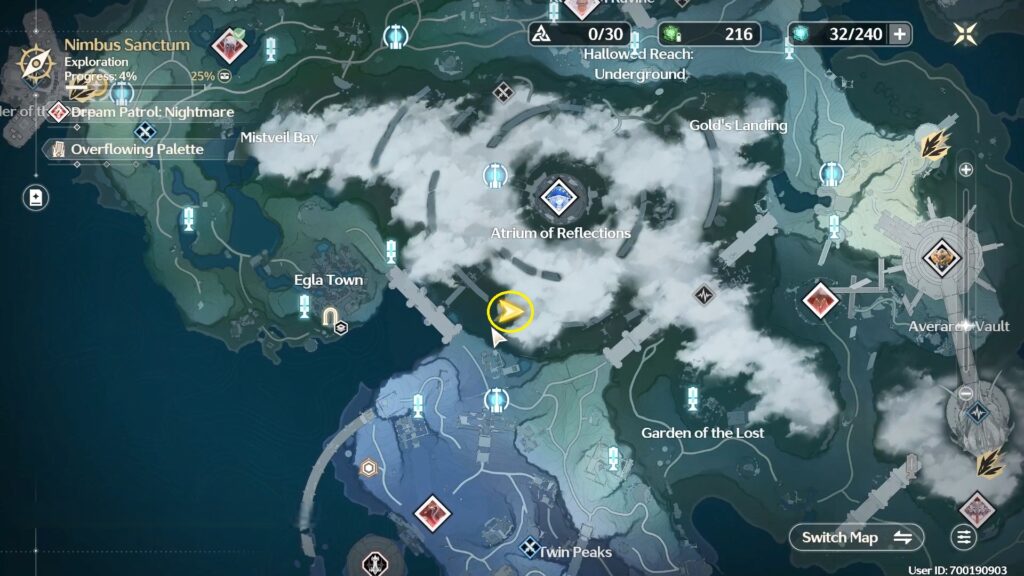
Green: 9×5
Yellow: 7×4
6 Nimbus Sanctum – Overflowing Palette
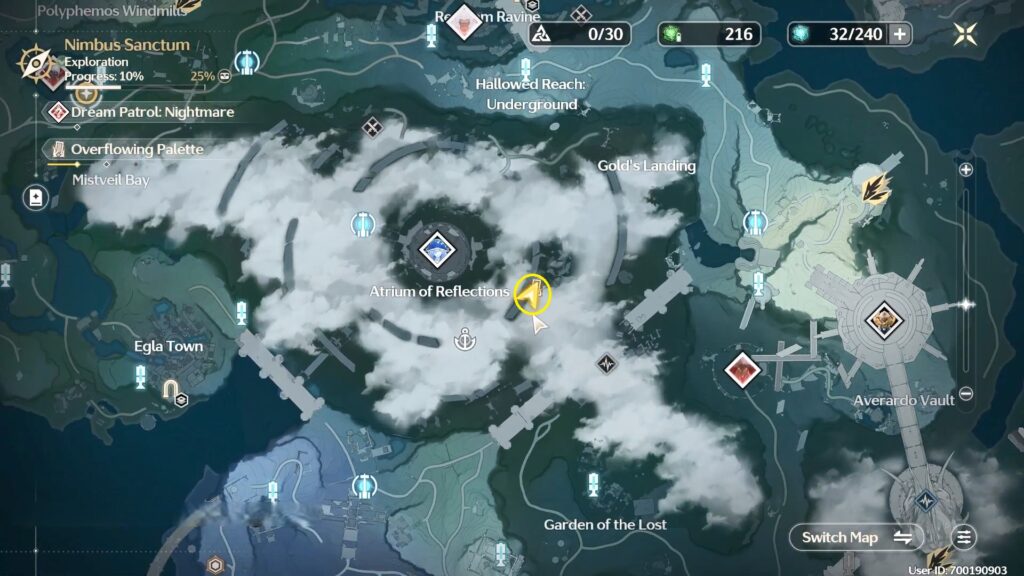
Red: 7×4
Red: 4×5
Yellow: 7×5
7 Nimbus Sanctum – Overflowing Palette
Yellow: 7×5
Yellow: 8×5
Yellow: 9×6
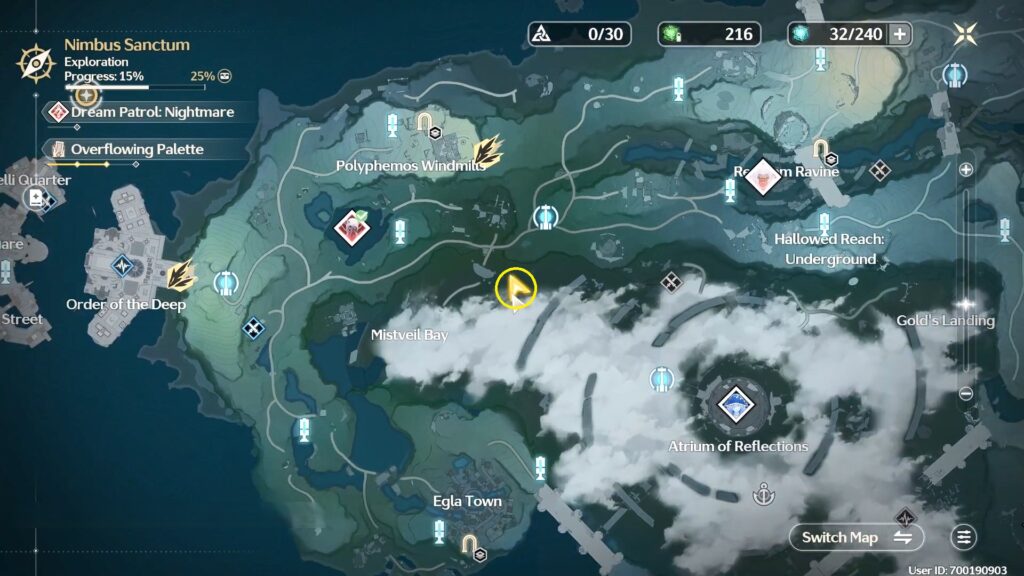
8 Hallowed Reach – Overflowing Palette
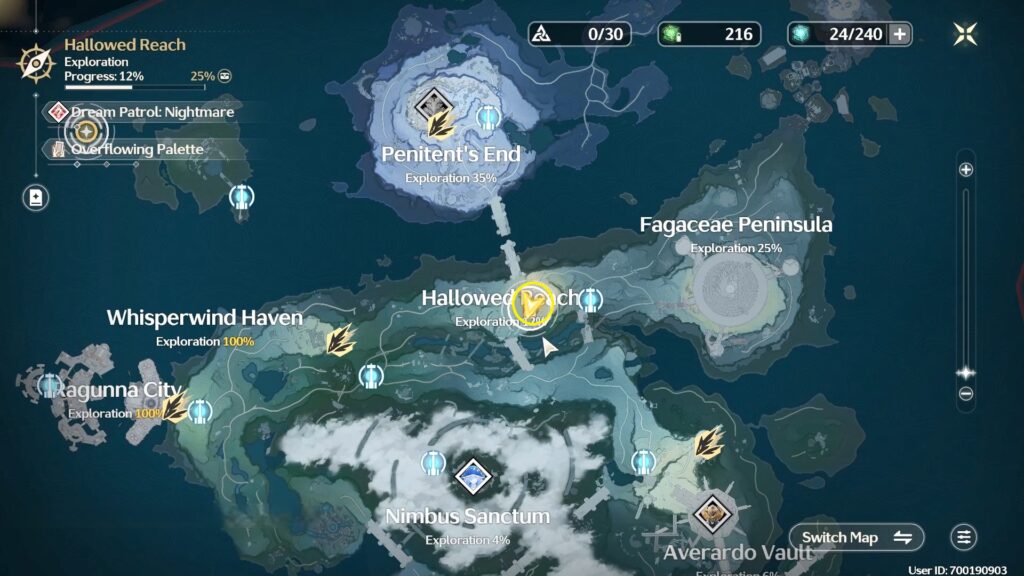
Red: 8×4
Green: 8×4
Blue: 7×5
9 Hallowed Reach – Overflowing Palette
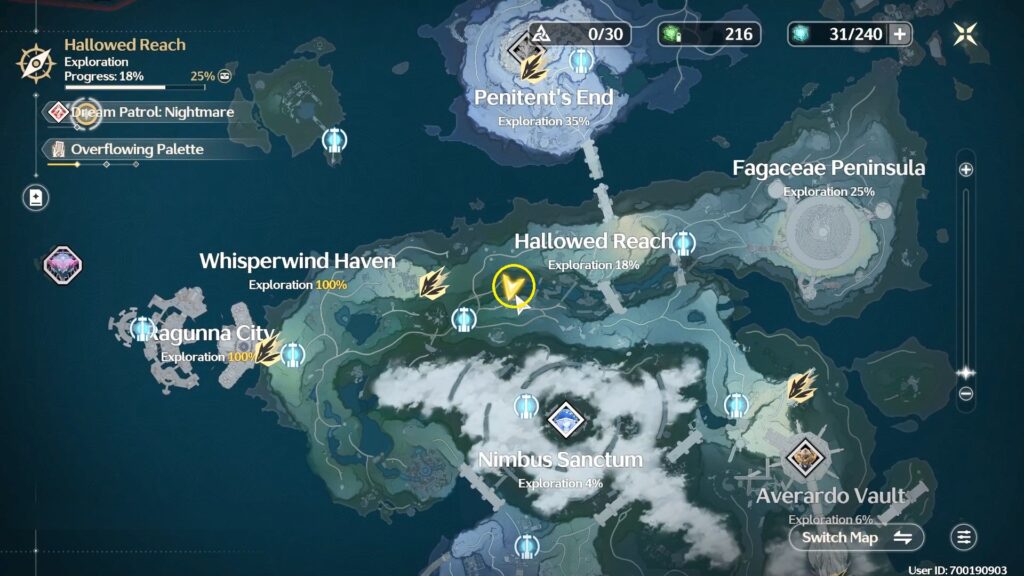
Yellow: 6×5
Red: 6×5
Green: 6×4
10 Hallowed Reach – Overflowing Palette
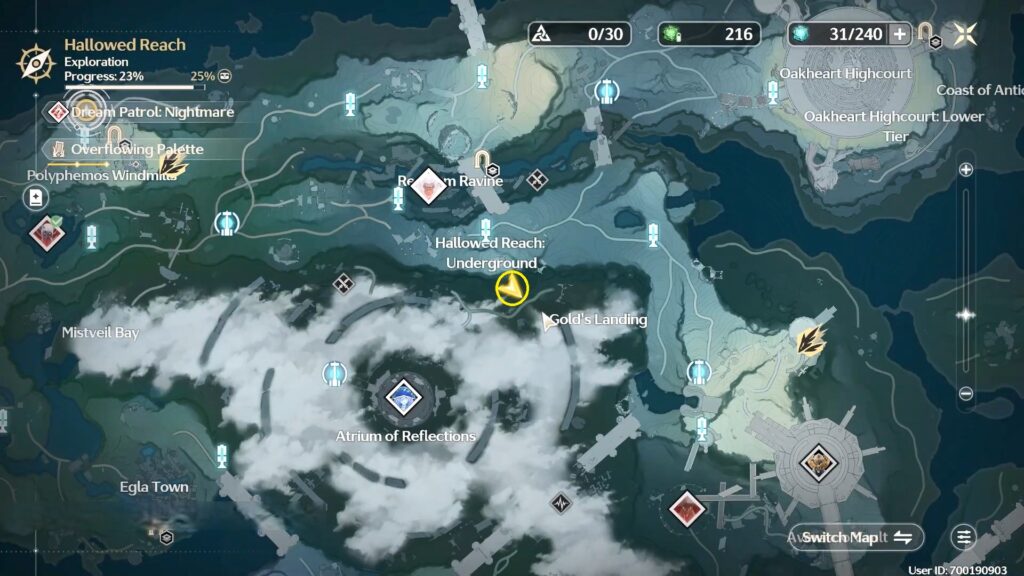
Red: 7×5
Yellow: 7×5
Blue: 7×5
11 Penitents End – Overflowing Palette
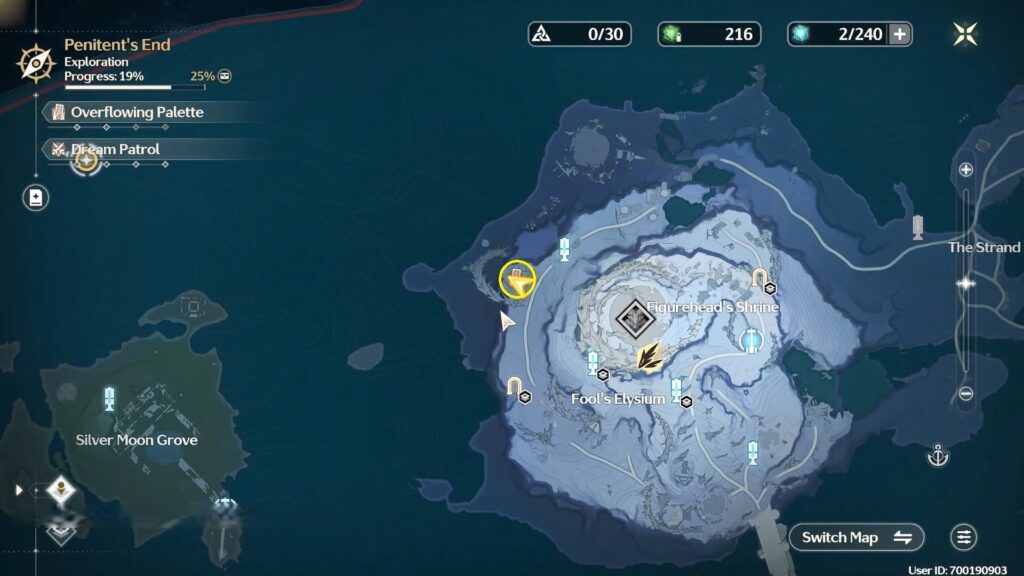
Green: 6×4
Red: 6×4
Yellow: 8×4
Blue: 8×4
12 Penitents End – Overflowing Palette
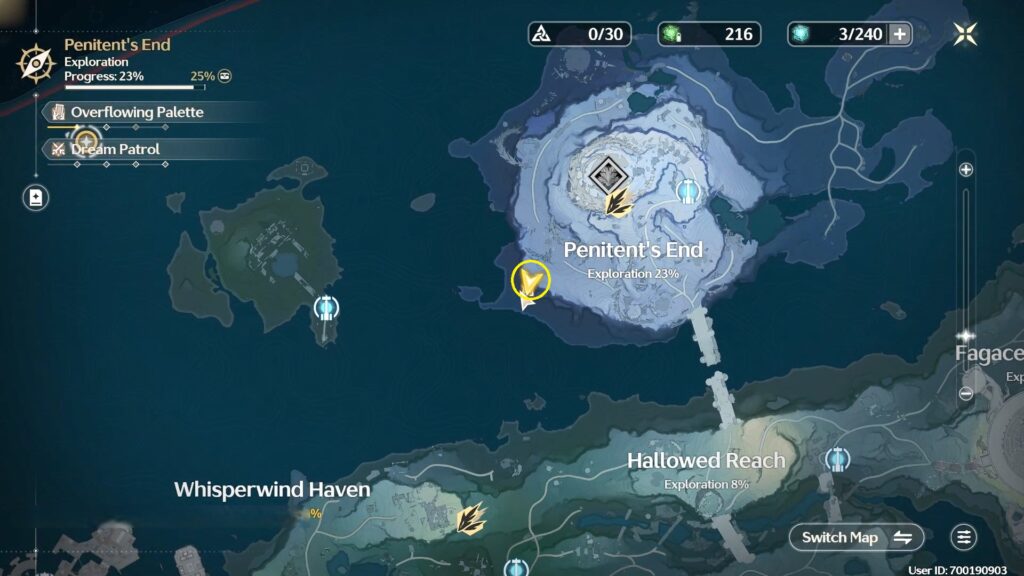
Yellow: 4×5
Red: 4×5
Blue: 5×5
13 Penitents End – Overflowing Palette
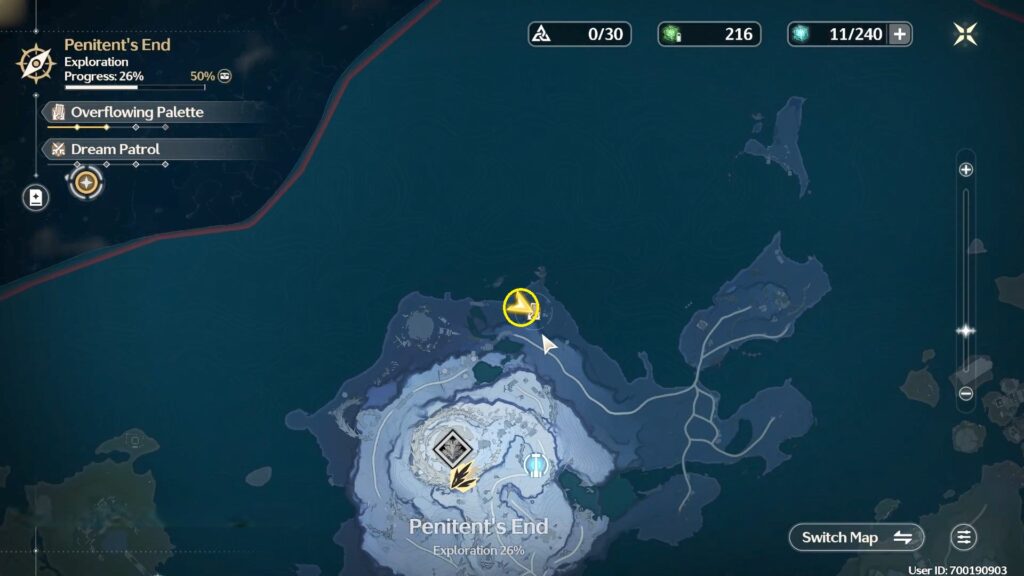
Yellow: 9×4
Yellow: 8×4
Red: 8×5
14 Penitents End – Overflowing Palette
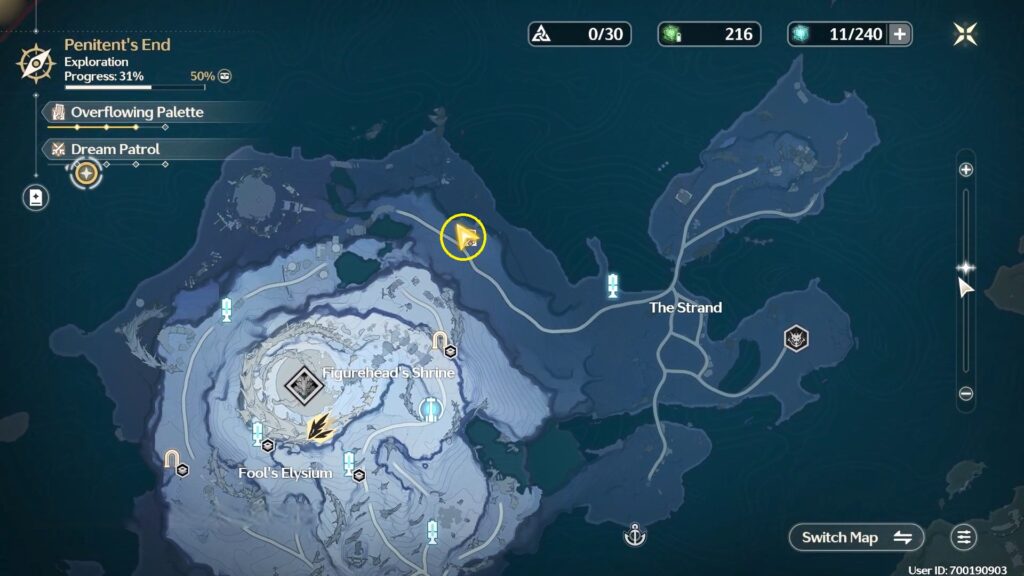
Blue: 6×5
Red: 6×5
Green: 6×5
Yellow: 6×5
15 Fagaceae Peninsula – Overflowing Palette
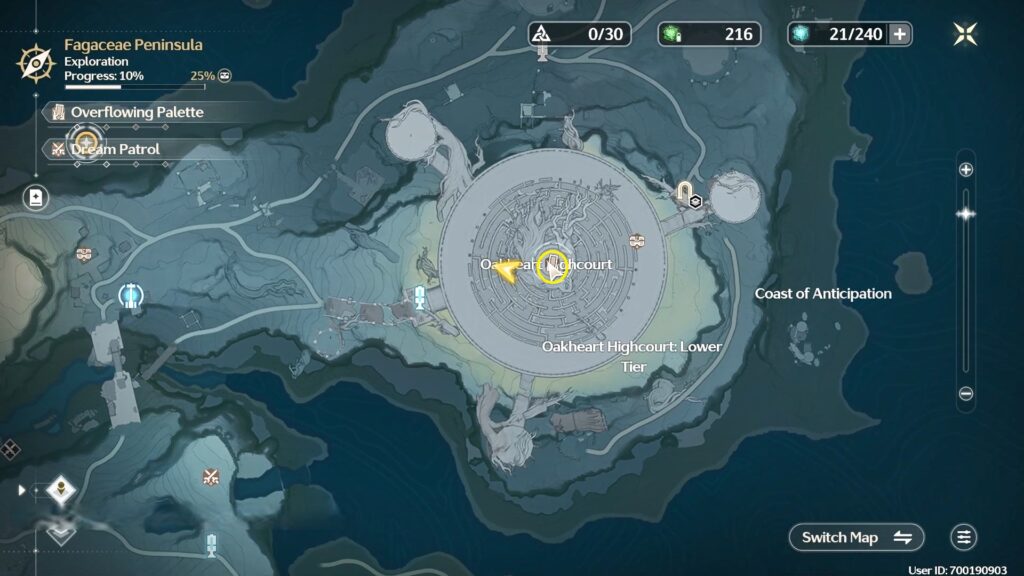
Blue: 7×5
Blue: 8 ×5
Blue: 5×5
Blue: 5×5
16 Fagaceae Peninsula – Overflowing Palette
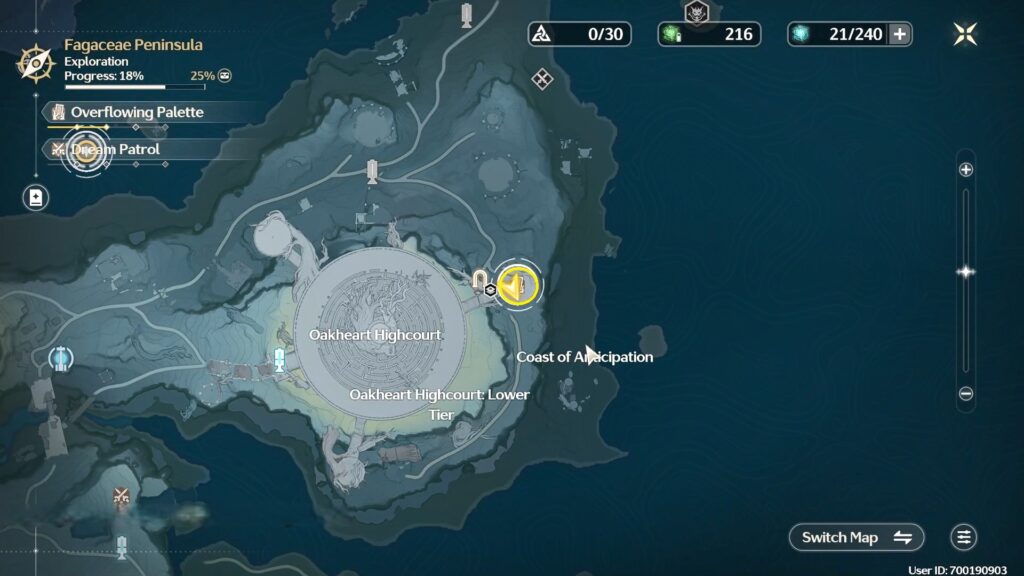
Green: 5×5
Red: 5×5
Yellow: 7×5
17 Fagaceae Peninsula – Overflowing Palette
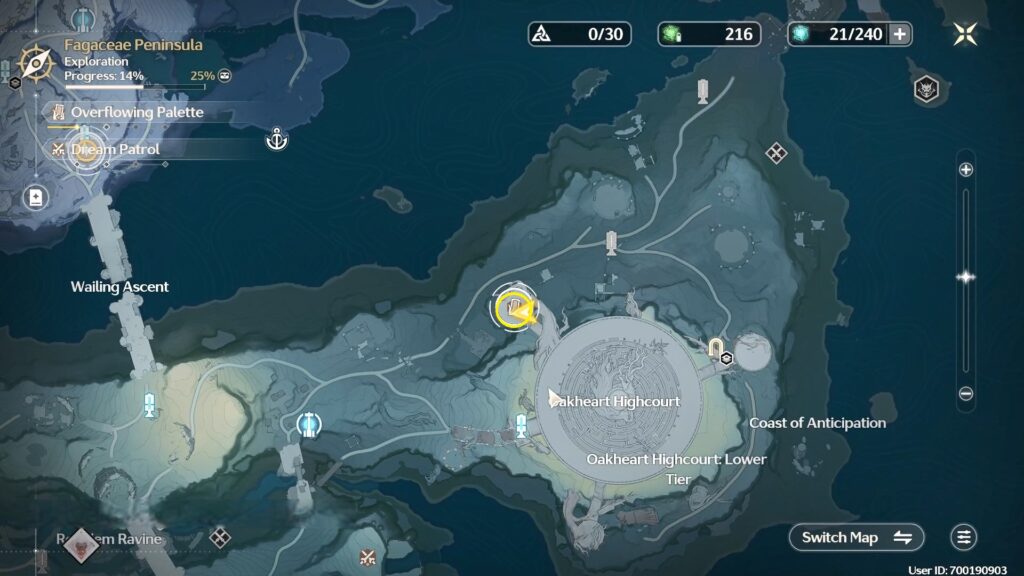
Green: 6×4
Yellow: 8×5
Red: 7×5
18 Fagaceae Peninsula – Overflowing Palette
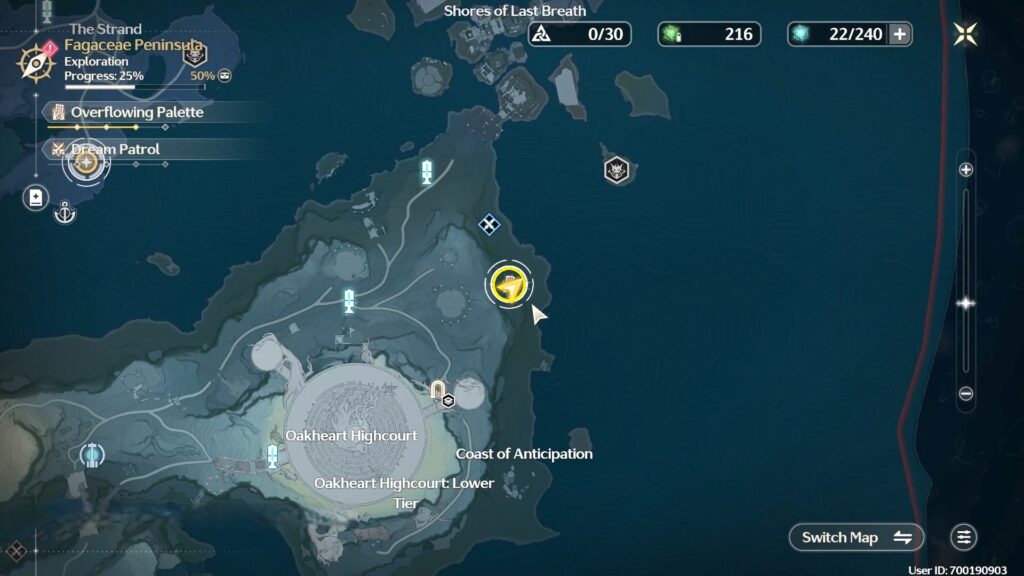
Red: 7×5
Blue: 7×5
Blue: 7×5
19 Averardo Vault – Overflowing Palette
The first puzzle is located south of Averardo Vault and the location is marked below.
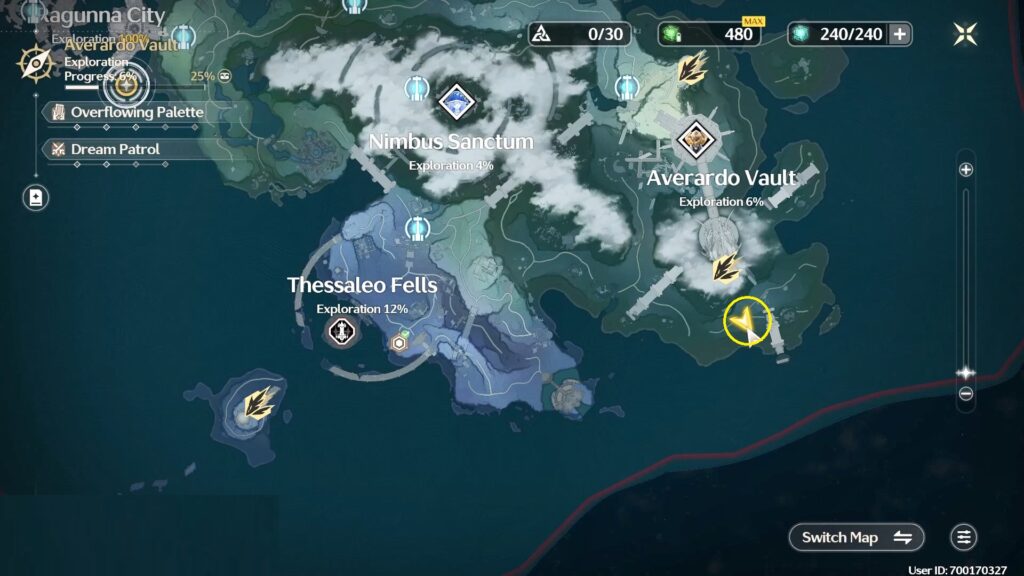
To begin the puzzle, interact with the spiraling painting. The player has three moves to turn the entire palette yellow and solve the puzzle. To solve the first puzzle press the block colors and positions in the given order.
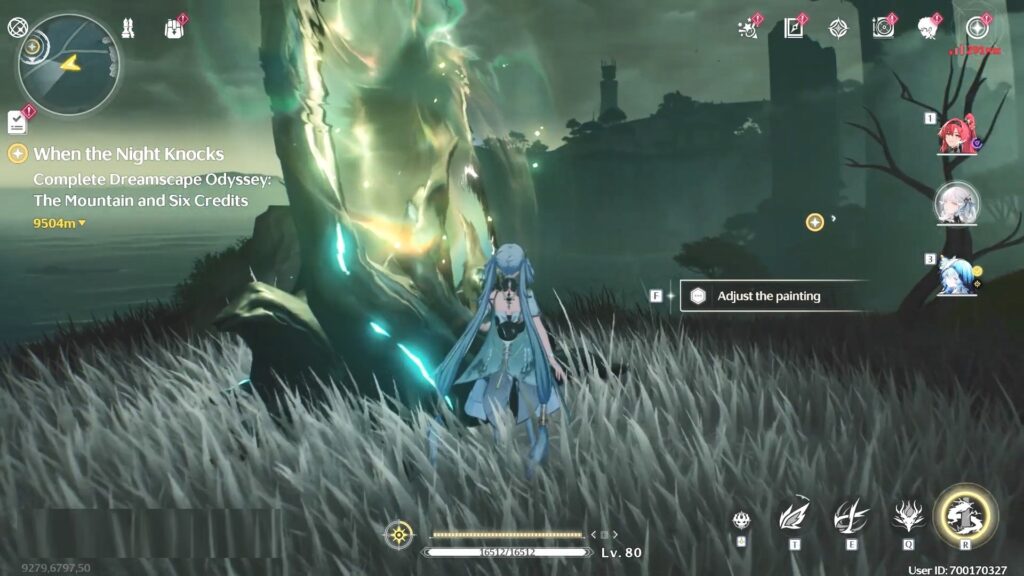
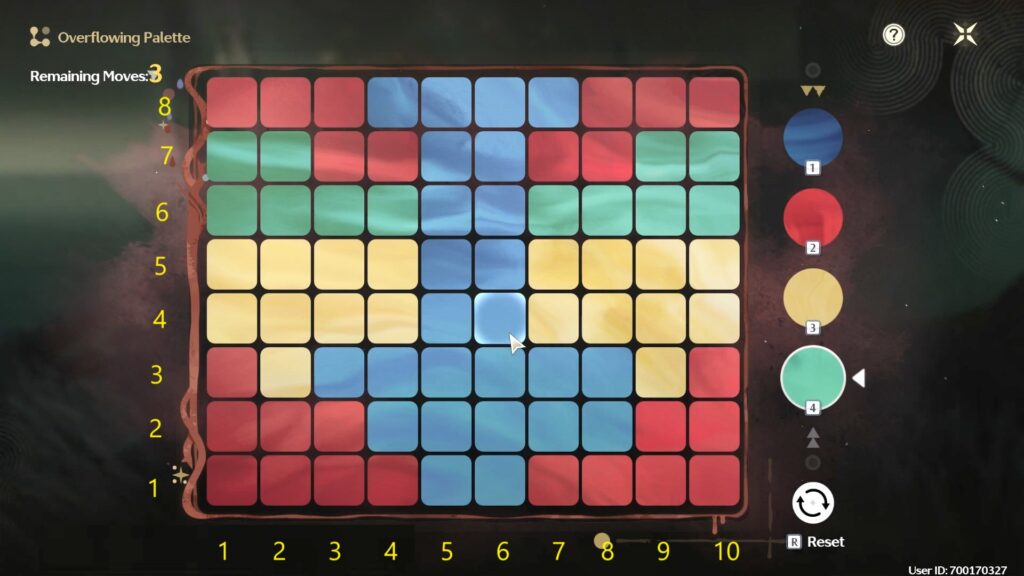
Grids in the image are marked along the X & Y axis.
Green: 6×4
Yellow: 6×4
Red: 6×4
20 Averardo Vault – Overflowing Palette
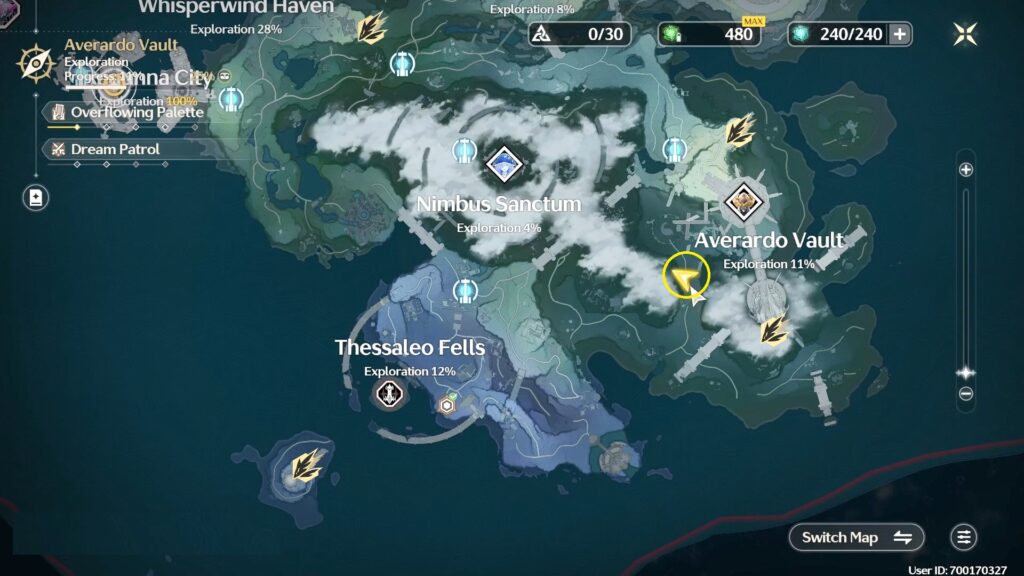
The second puzzle is located west of Averardo Vault and the location is marked below. Grids in the image are marked along the X & Y axis.
Blue: 6×5
Yellow: 6×5
Green: 6×5
21 Averardo Vault – Overflowing Palette
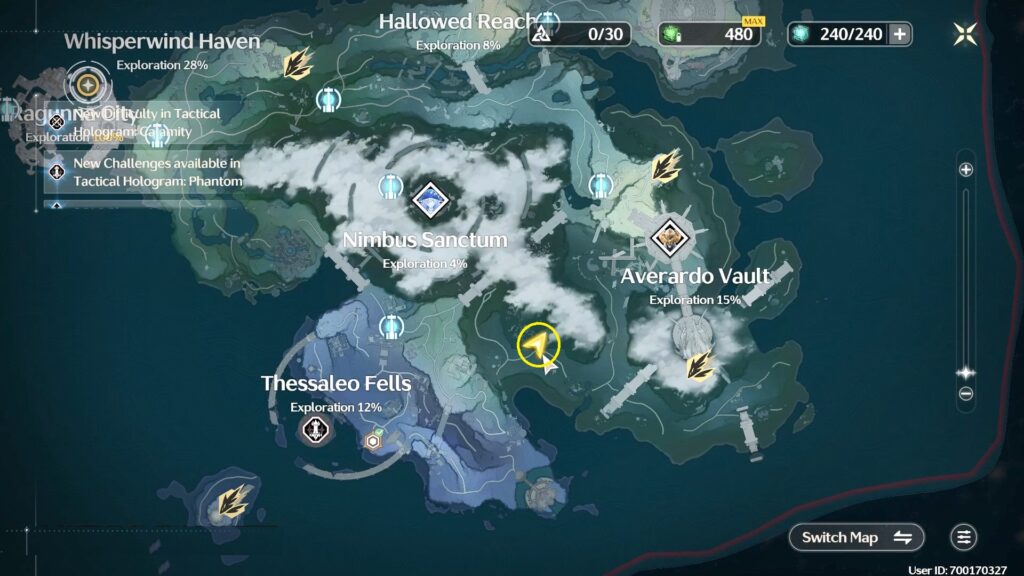
The third puzzle location is marked below. Grids in the image are marked along the X & Y axis.
Blue: 6×8
Red: 6×7
22 Averardo Vault – Overflowing Palette
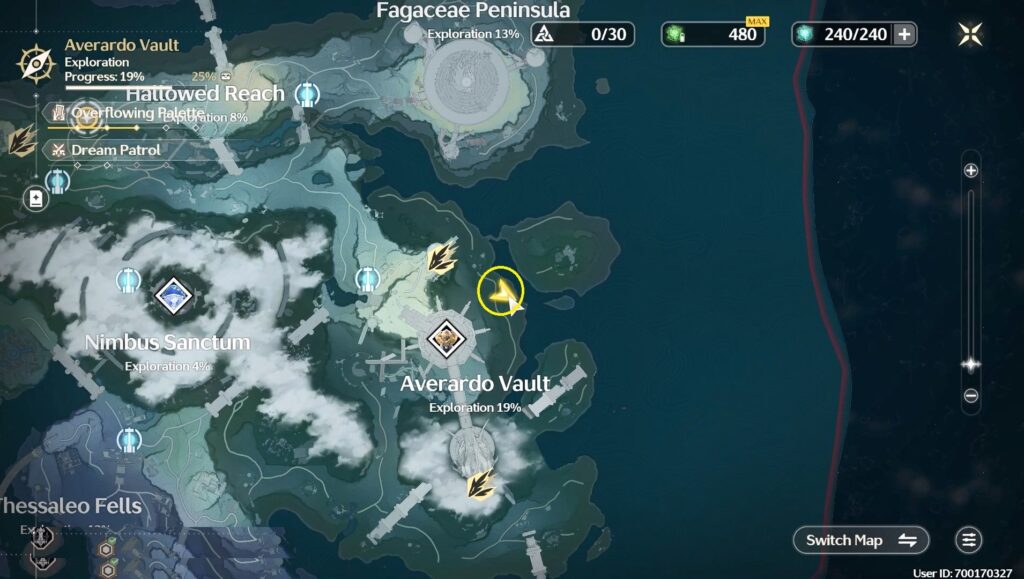
The fourth puzzle location is marked below. Grids in the image are marked along the X & Y axis.
Red: 8×5
Yellow: 6×5
Blue: 7×6
23 Averardo Vault – Overflowing Palette
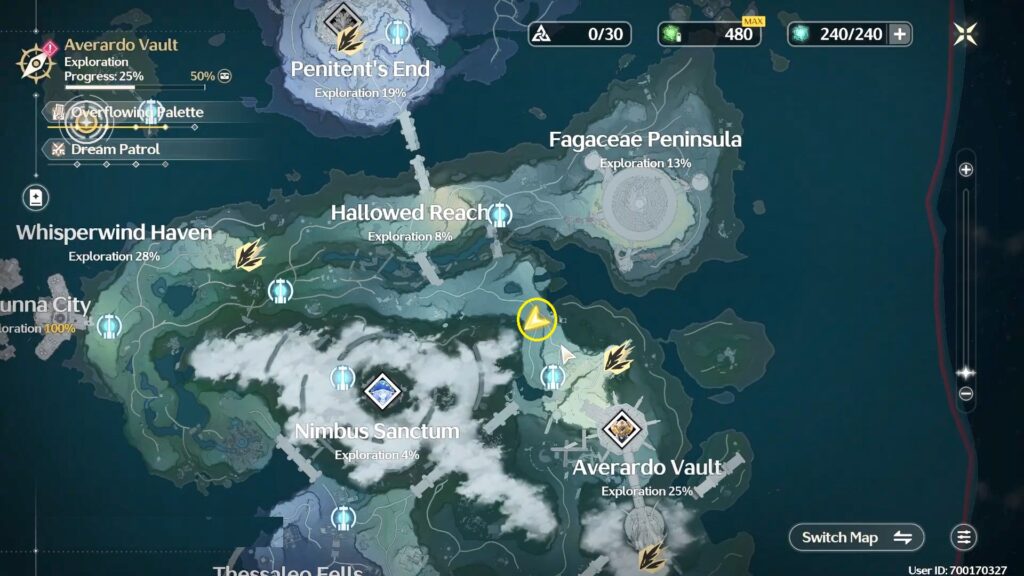
The fifth puzzle location is marked below. Grids in the image are marked along the X & Y axis.
Red: 5×5
Red: 5×4
Red: 5×5
24 Thessaleo Fells – Overflowing Palette
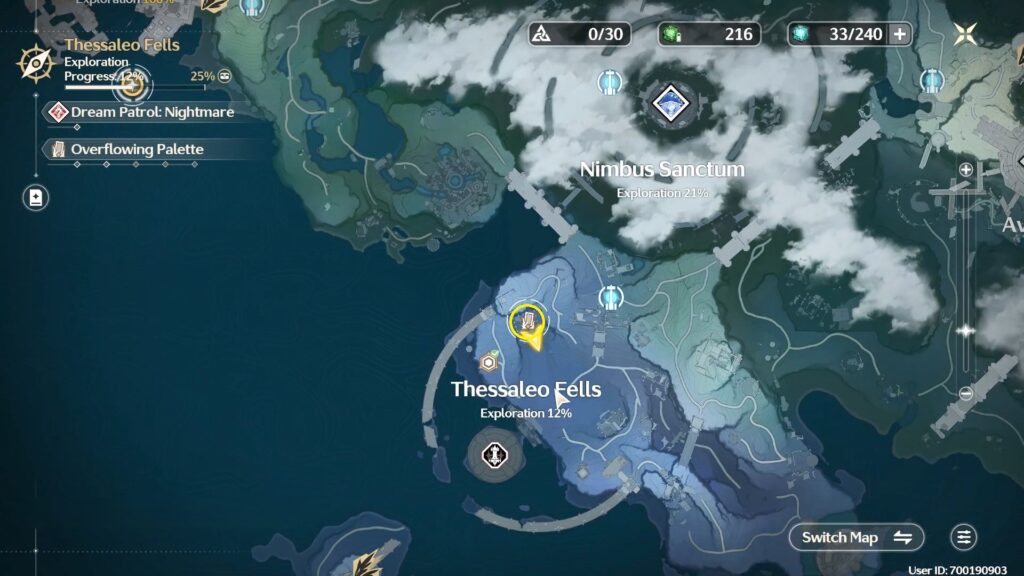
Yellow: 4×4
Yellow: 7×4
Red: 6×4
Blue:6 x 4
25 Thessaleo Fells – Overflowing Palette
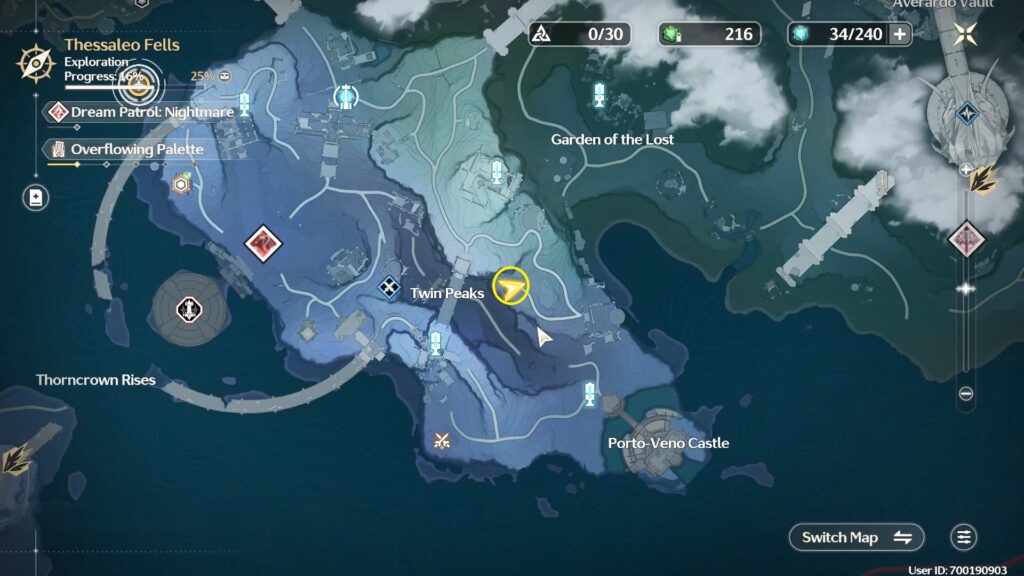
Blue: 7×4
Blue: 5×2
Red: 6×4
26 Thessaleo Fells – Overflowing Palette
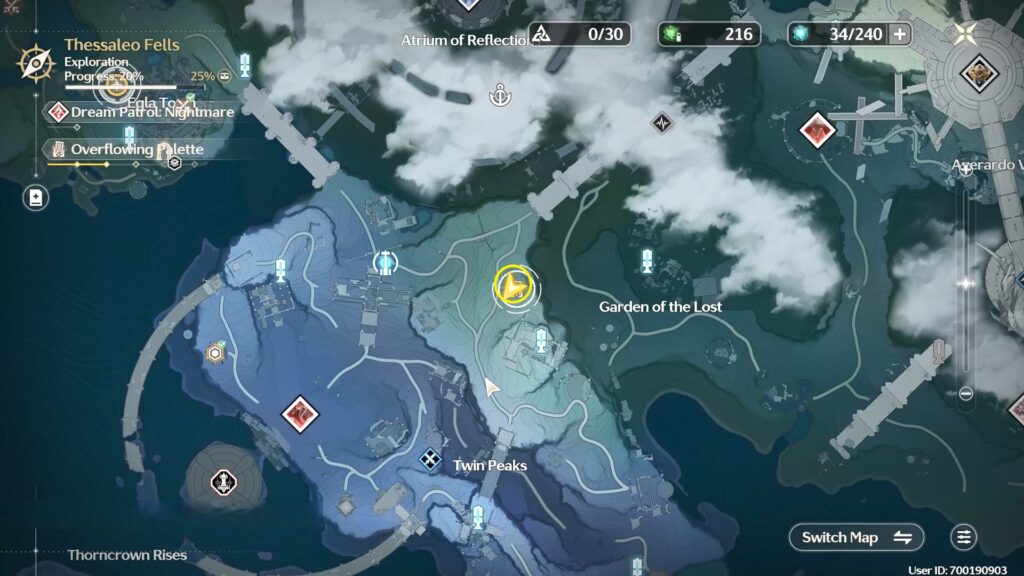
Green: 8×5
Red: 7×6
Yellow: 7×5
27 Thessaleo Fells – Overflowing Palette
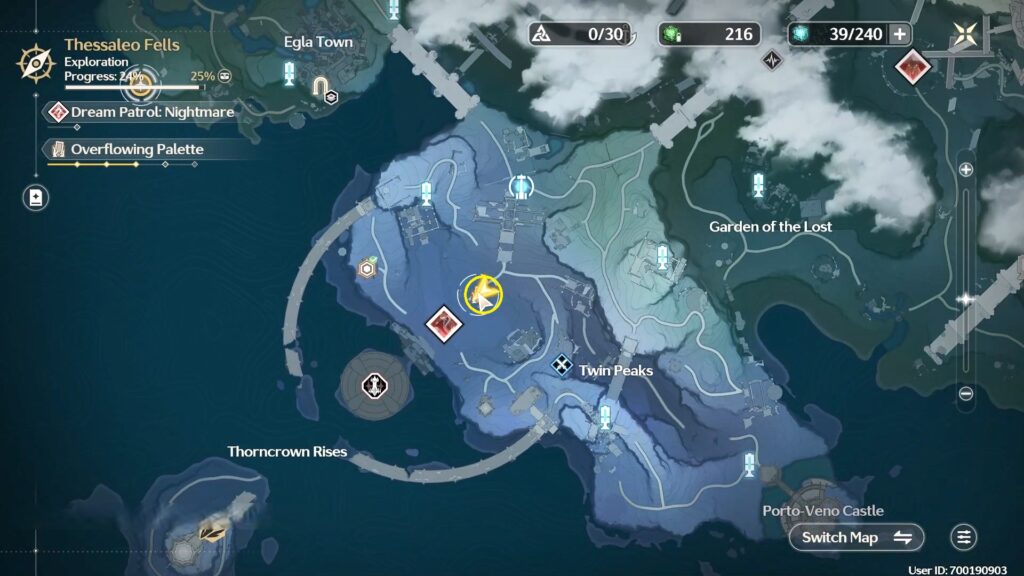
Yellow: 6×4
Y3llow: 5×7
Red: 7×5
Blue: 8×5
28 Thessaleo Fells – Overflowing Palette
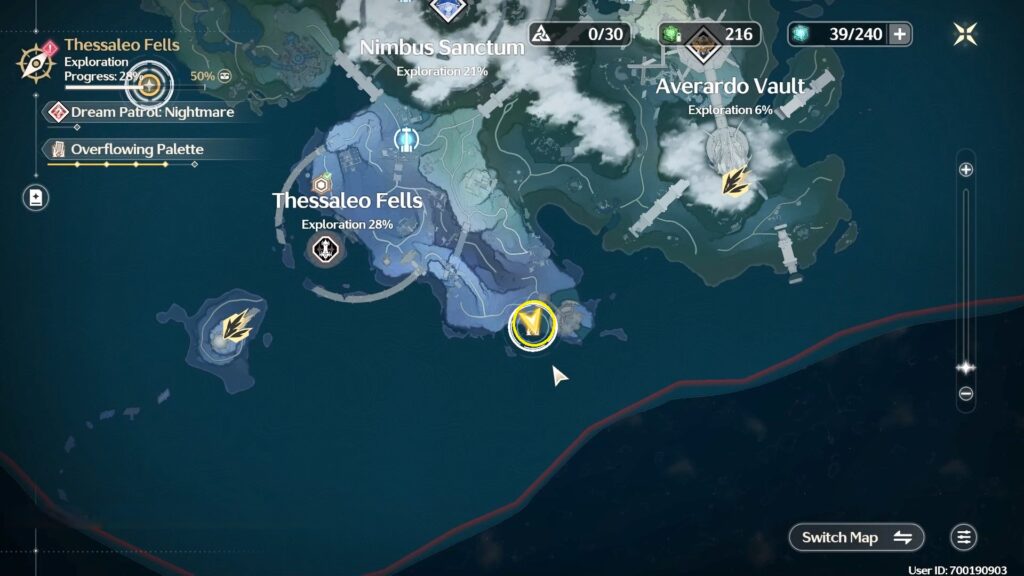
Red: 7×3
Blue: 5×6
Red: 5×8
Yellow: 8×3