Chapter 10: End of Days
This guide shows how to complete Chapter 10: End of Days in Dead Space Remake. The guide only shows the main mission objectives and does not include the collectibles. Please note that you will be able to access some areas only from the story progression. So, if you are unable to open some doors then don’t fret as you will be able to access those areas later.
Also Read: Dead Space Remake Walkthrough & Collectibles
Reach the Executive Shuttle
As the mission starts, proceed ahead and go to the Comms Access Hall. Then make your way to the Main Atrium. From there, go toward Crew Deck and enter the Tram Tunnel. Then make your way to the Crew Deck Tram Station. The objective gets canceled once you reach there.
Find the Crew Deck Key
From the Crew Deck Tram Station, go to the Common Area. Then make your way to the Zero-G Gym. As you enter the room, you will see an unpowered elevator on the left side. Open the Airlock next to the elevator and you will find the power cell there as shown in the picture below. Take the Power Cell and insert it into the elevator power socket. Now take the elevator up to find the Crew Deck Key as shown in the second picture below.
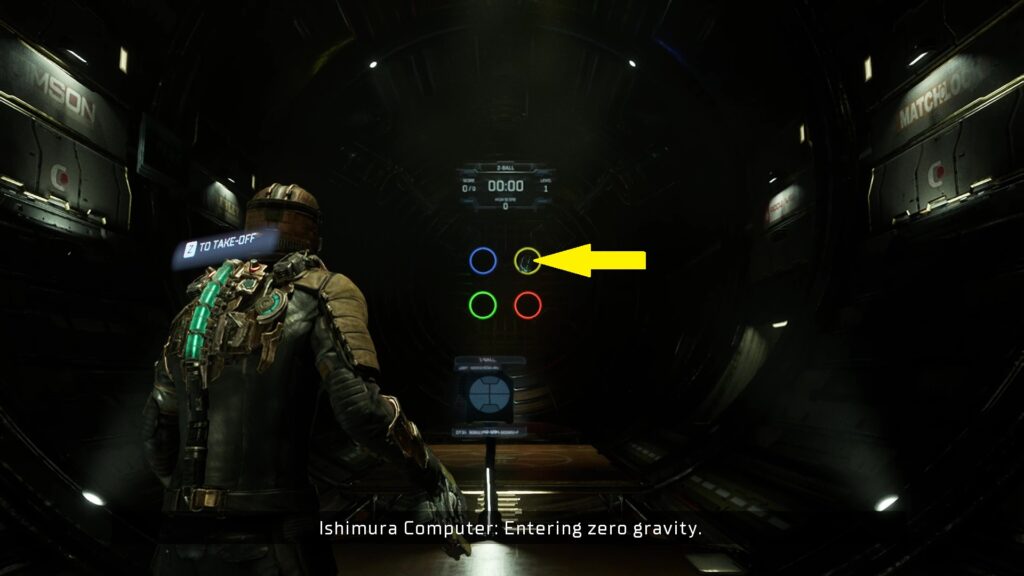
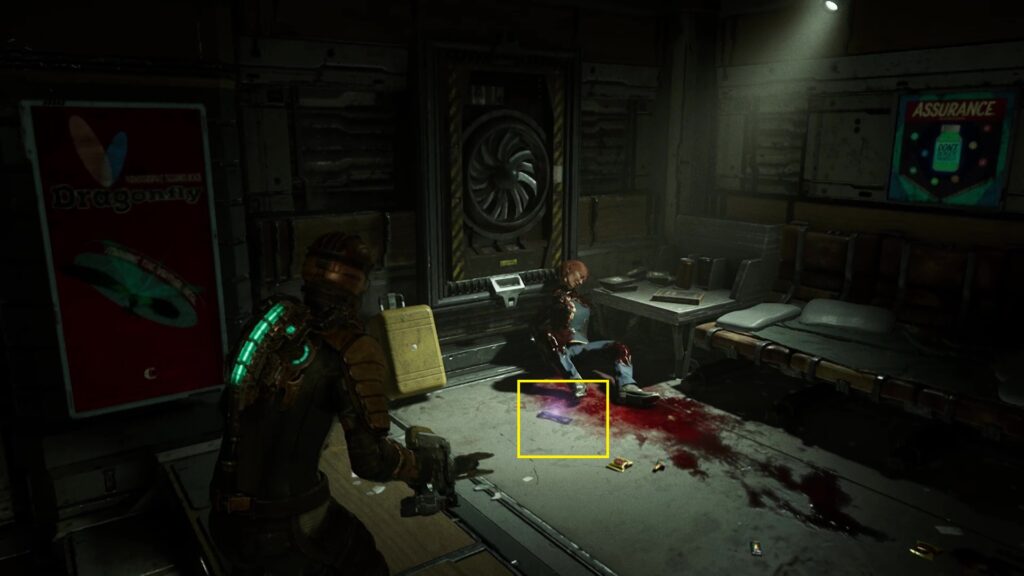
Reach the Executive Shuttle
Make your way back to the Common Area. Once you are there, use the Key Card on the elevator and take it to the Central Nexus. The objective gets canceled when you reach there.
Escape the Hunter
As you reach the Central Nexus, a cutscene with Dr. Mercer will start. After the cutscene, you will be attacked by a monster. This monster cannot be killed, so you will have to run from it. Unfortunately, the path the locator will point you to take will be blocked by tendrils.
Shoot the legs of the Hunter to slow it and then go behind the glass, where Dr. Mercer was standing. Shoot the boil there to clear out the tendril blocking your path. This will reveal a door leading to the Mess Hall as shown in the second picture below. Go out through this door and go to the Mess Hall to complete the objective.
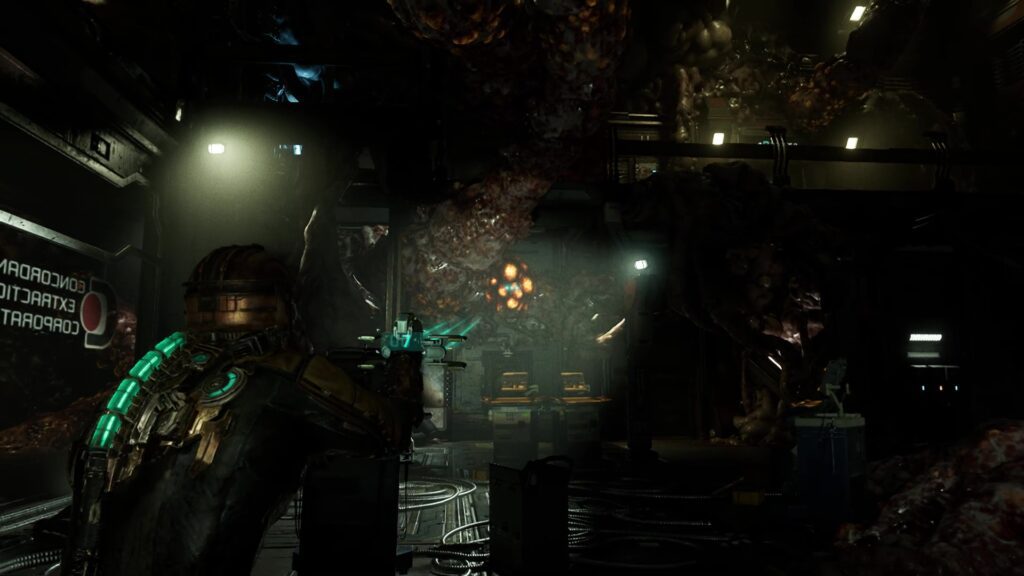
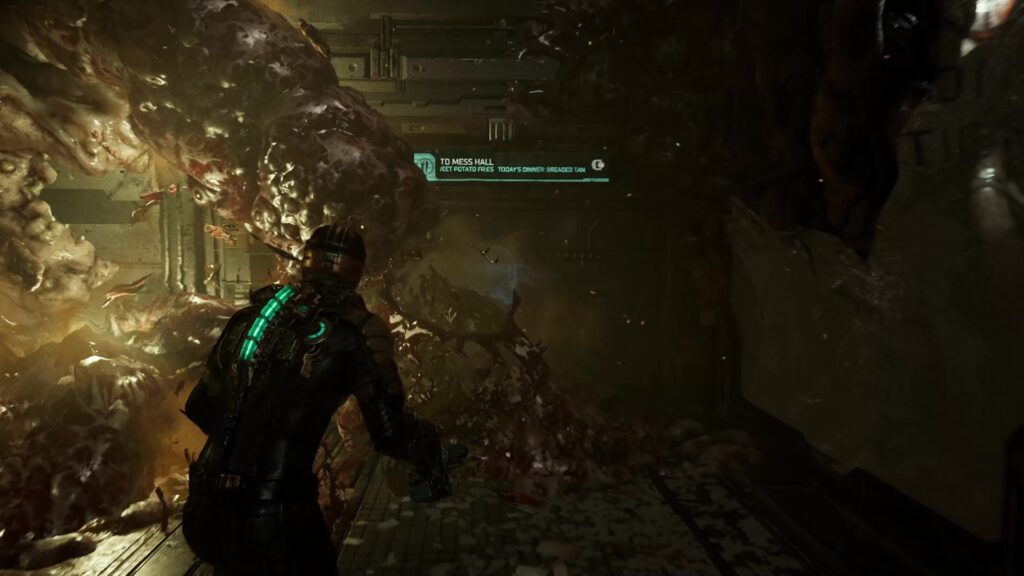
Clear the Way to the Shuttle
To complete this objective, you will have to complete four sub-objectives, in which you will have to destroy four tendrils.
Destroy Tendril in Standard Quarters
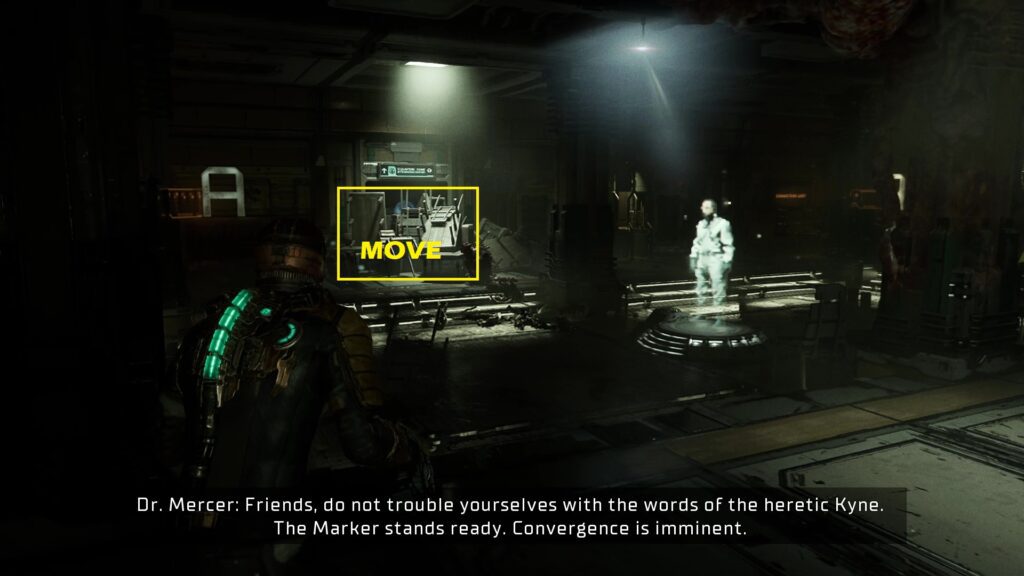
Go to the mess hall and take the elevator down. Then make your way towards the Standard Quarters. You will find the door to Standard Quarters blocked by some tables as shown in the picture below. Use Kinesis to move the tables and then go inside.
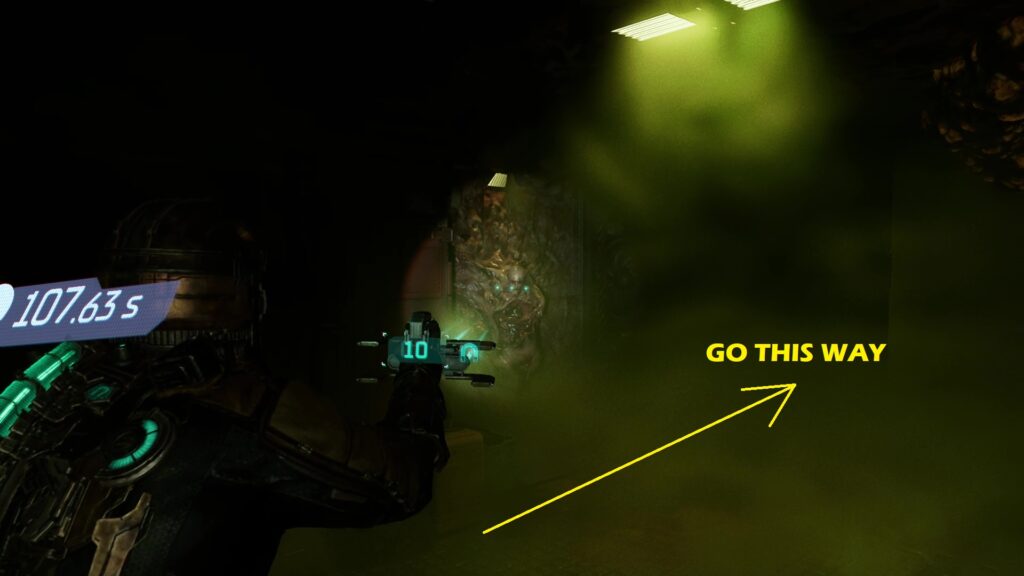
After entering the Standard Quarters, go right up to the wall. Then turn right and proceed ahead. On the left wall, you will see a monster as shown in the picture below. Shoot it and continue straight ahead up to the wall. Then turn right and shoot the boil there to clear the tendrils.
Destroy Tendril in Deluxe Quarters
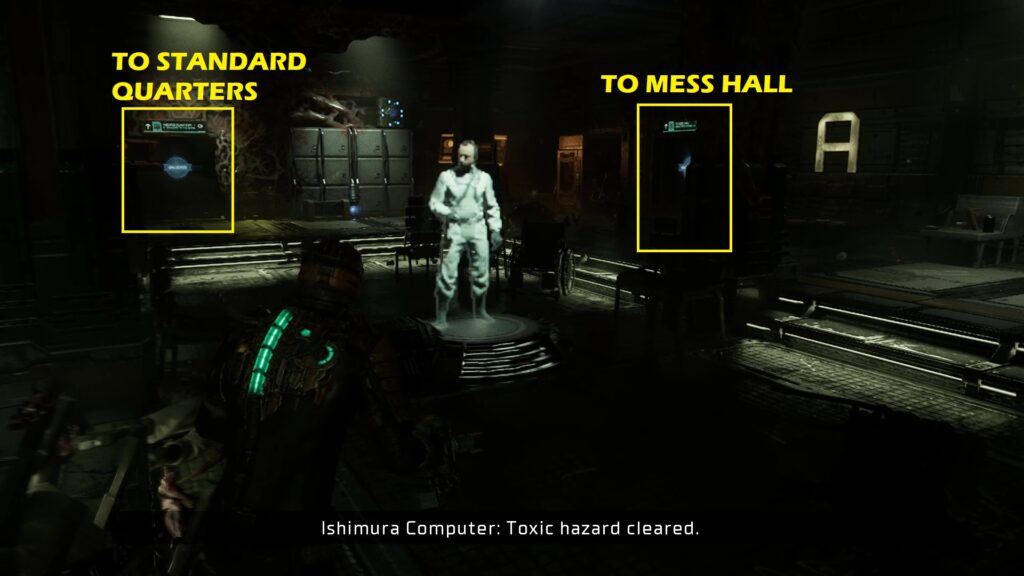
Go out from the Standard Quarters through the door you came from. Once outside, you will see that a new door to the Standard Quarters has been unblocked as shown in the picture below. Go inside through that door. Then turn right and enter the Storage Room. Pick up the power cell there. Then come back outside and go through the door leading to the Mess Hall as shown in the picture below. Use the power cell to power up the elevator there and take it to reach the upper level.
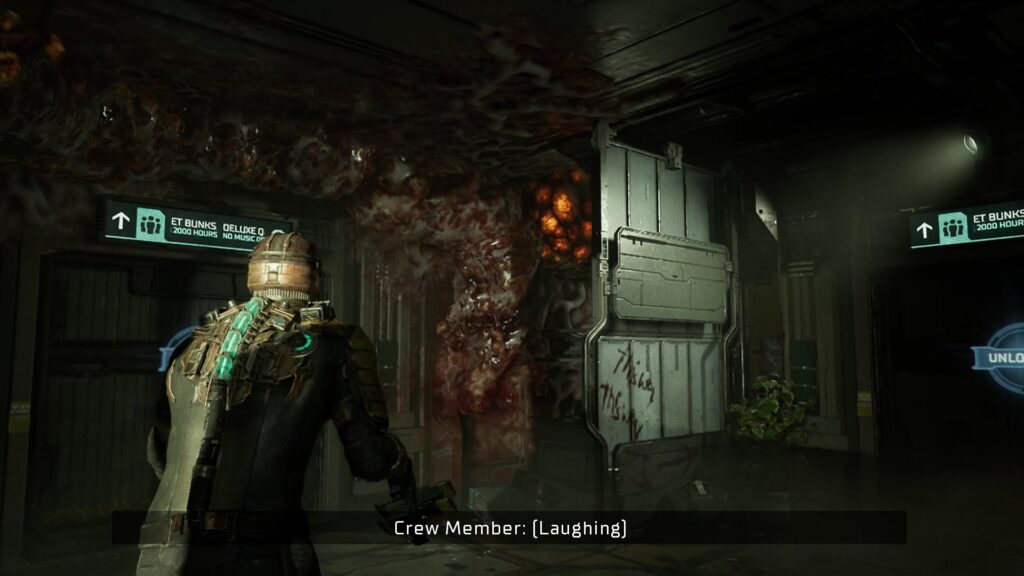
Exit the elevator and enter the Mess Hall. From there, make your way to the Central Nexus. Use the lift there to go to the upper level. Hop off the elevator and go to the Deluxe Quarters. After entering the Deluxe Quarters, go left and you will see a boil as shown in the picture below. Shoot it to clear the tendrils.
Destroy Tendril in Executive Quarters
Go back to Central Nexus and use the locator to reach the Executive Quarters. Then proceed to the Executive bathroom and you will find the boil there as shown in the picture below. Destroy it to clear the tendrils.
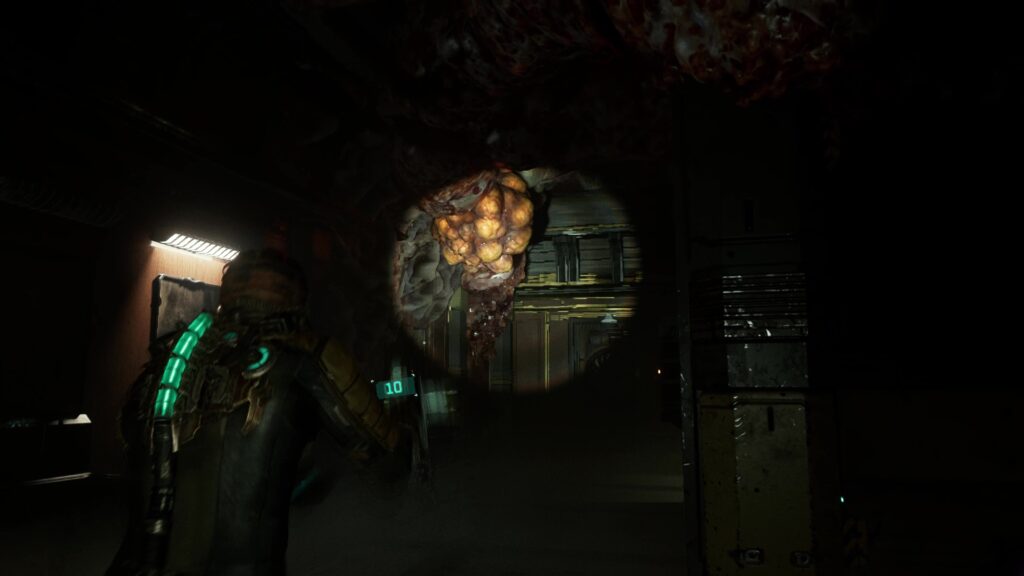
Destroy Tendril in Chief Steward’s Office
Go back to Central Nexus and use the locator to reach Chief Steward’s Office. There you will have a cutscene with Dr. Kyne as shown in the picture below. After the cutscene, proceed inside and destroy the boil to clear the tendril. This also completes the Clear the Way to the Shuttle objective.
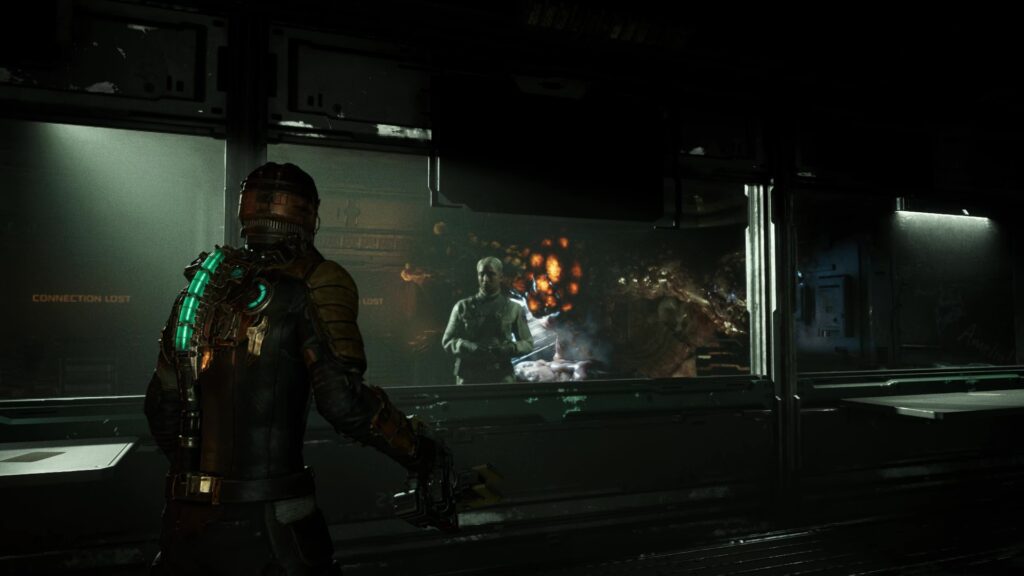
Retrieve the Marker
Go back to Central Nexus and use the console there to complete the objective.
Retrieve the Executive Shuttle & Install the Singularity Core
Use the locator to reach the Executive Shuttle Bay and Install the Singularity Core as shown in the picture below to complete the objective.
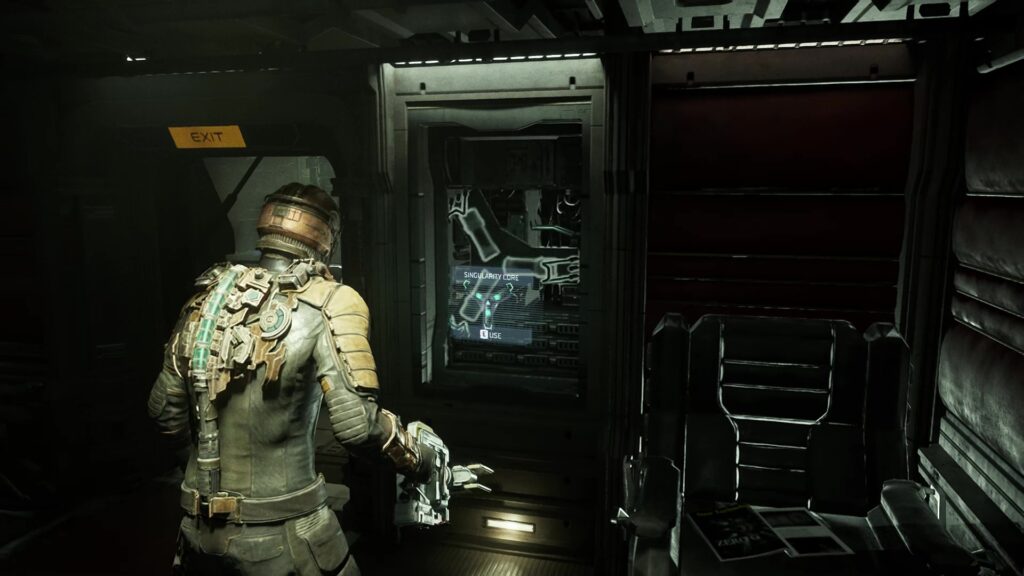
Test-Fire the Engines & Kill the Hunter
Go to the Shuttle Bay Controls room and use the console there to Test-fire the engines. At this point, you will be attacked by the Hunter. Lure it behind the shuttle. Then shoot its legs and use Stasis to slow it down as shown in the picture below. Now quickly go back and use the Test-Fire console. This will burn the Hunter.
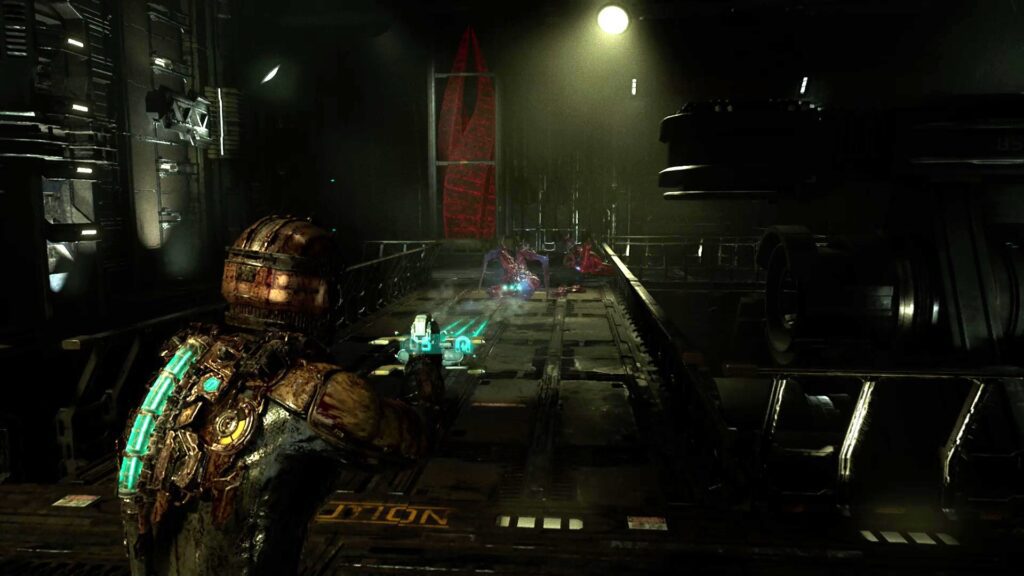
Load the Marker
As you exit the room, you will be attacked by a tendril. Shoot its boil to destroy it. The objective gets canceled there. This completes the mission.