Chapter 4 of Resonance: A Plague Tale Legacy features several trial puzzles that can be tricky to solve. This guide covers all the trial puzzles in Chapter 4 and explains how to complete each one step by step.
Trial Puzzle 1 (Mirror Puzzle)
To start the mirror puzzle, climb the stairs to the higher platform and step on the pressure plate. This activates the light source and starts the puzzle. Leni will then automatically take your place and stand on the pressure plate, keeping the light source active while you work on the mirrors.
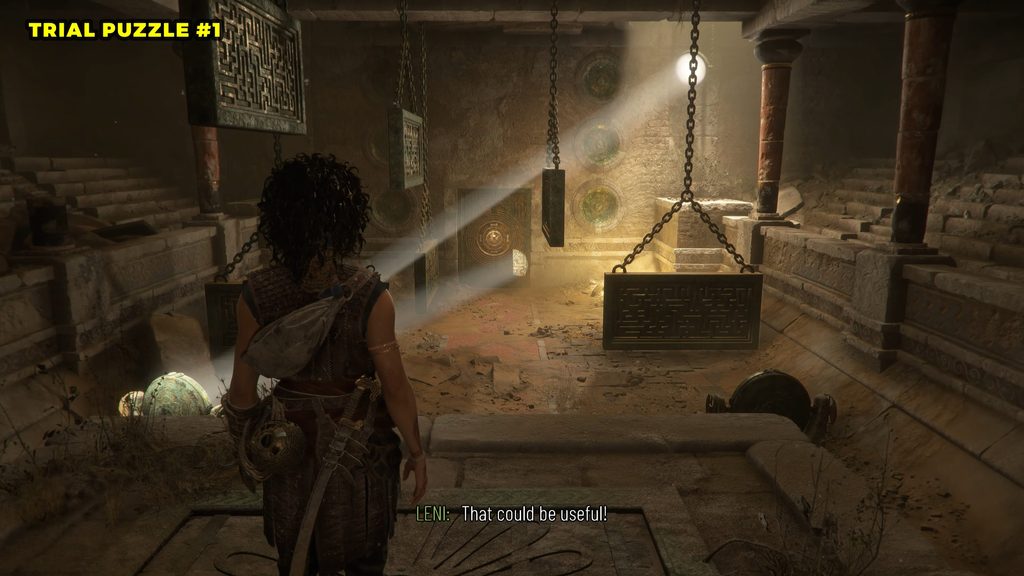
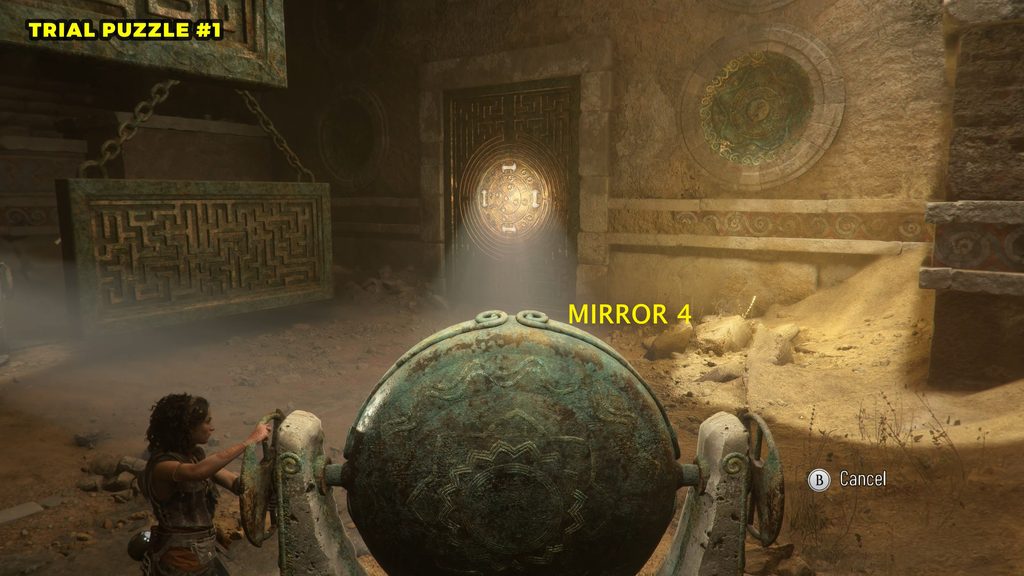
Your goal is to guide the light through all four mirrors and finally make it hit the door. Start with Mirror 1, located on the lower-left side. Rotate it until the light beam reflects toward Mirror 2, which is on the lower-right side.
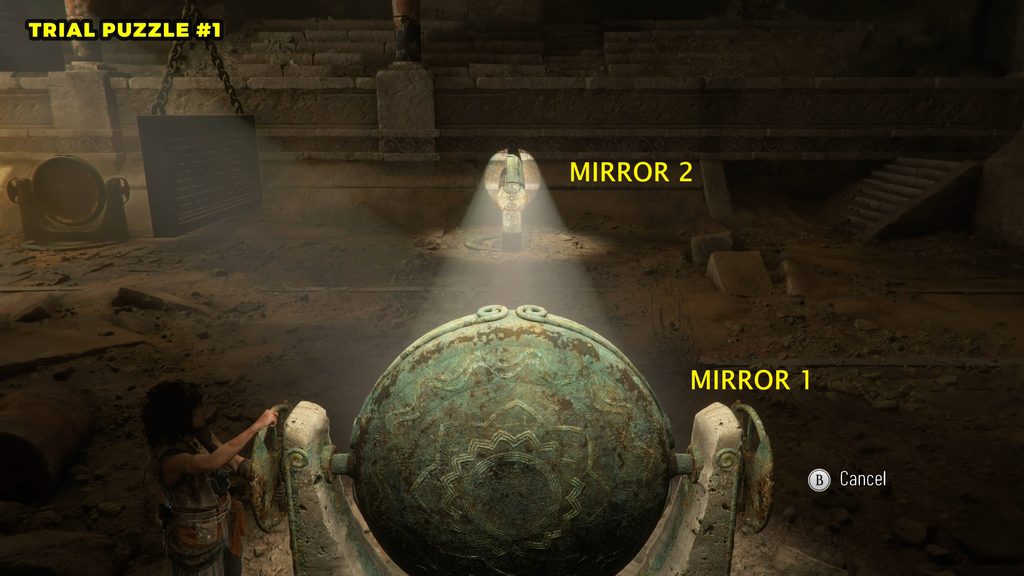
Next, go to Mirror 2 on the right and rotate it so that the reflected beam travels diagonally toward Mirror 3 on the upper-left side.
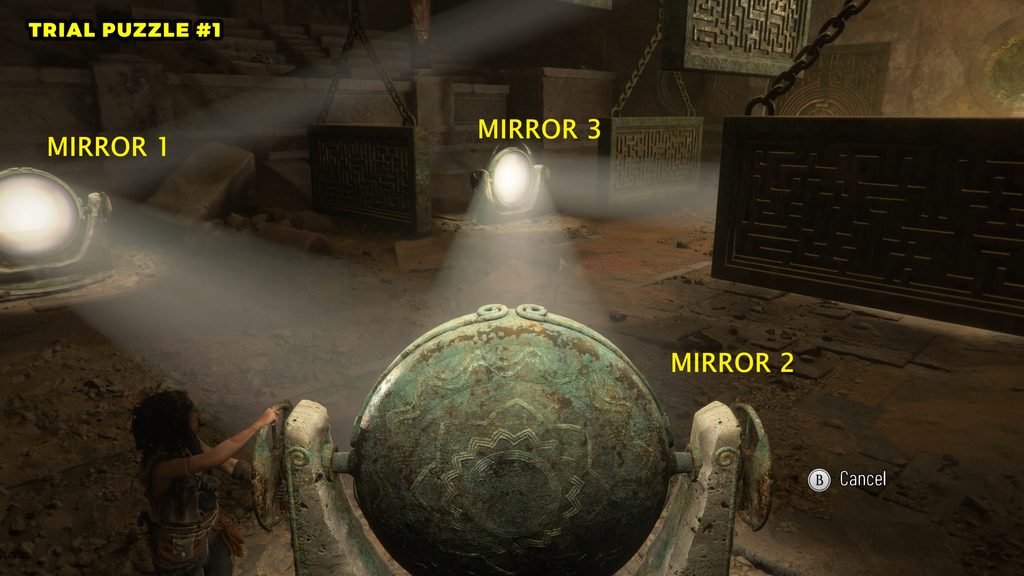
Mirror 3 is already positioned correctly, so you do not need to rotate it. Once the light reaches Mirror 3, it will automatically reflect the beam toward Mirror 4 on the upper-right side.
Finally, go to Mirror 4 and rotate it so that it redirects the light toward the door. When the beam successfully reaches the door, the mirror puzzle is completed, and the door will open.
Trial Puzzle 2 (Pedestal Symbol Puzzle)
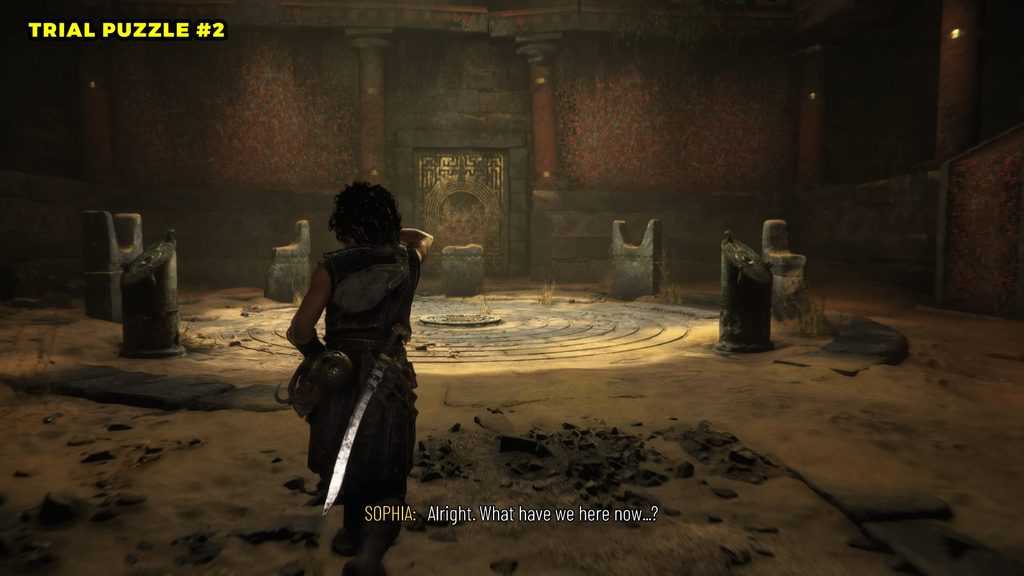
This puzzle has two pedestals, and each pedestal needs a symbol. The correct symbols can be found on the stone pillars around the maze. To reveal them, use the Sphere’s Light Reveal ability.
Raise the sphere to reveal the hidden blue markings on the floor in the form of a maze. Start from each pedestal and follow the blue markings through the maze. The markings will lead you to a stone pillar with a symbol. Check which pillar is connected to each pedestal without a break in line. Then take note of the symbol on the pedestal.
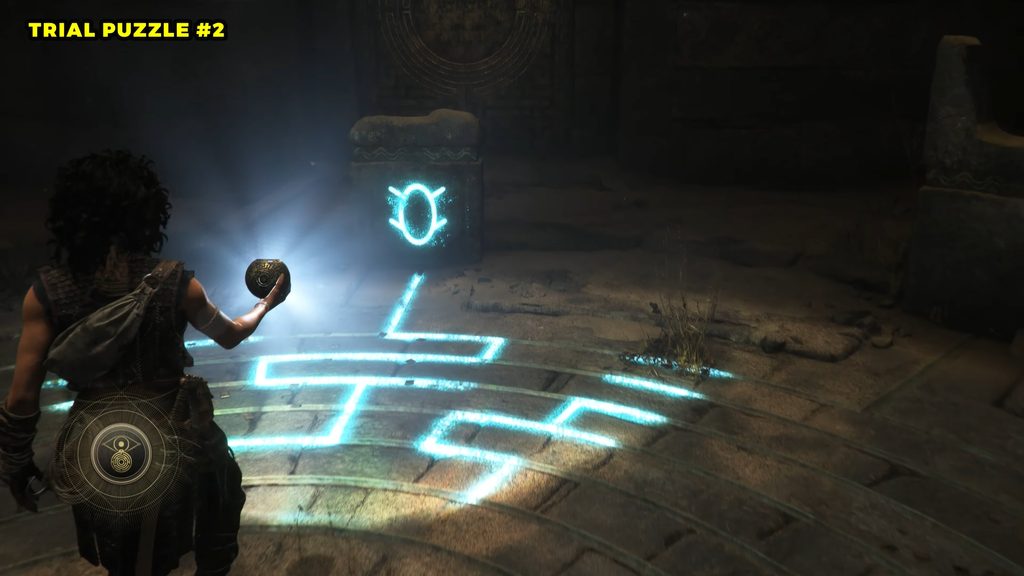
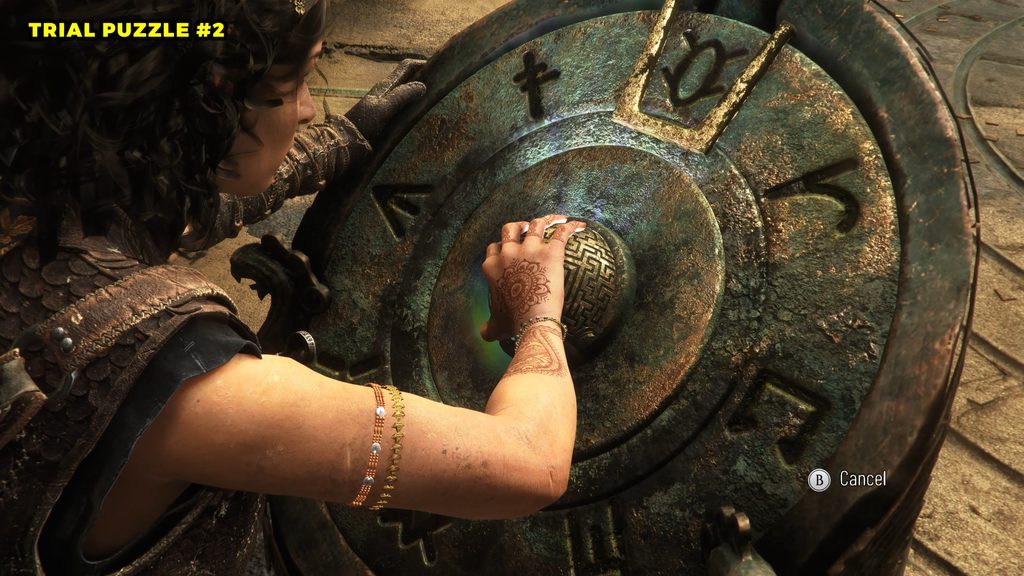
Once you find both symbols, return to the pedestals and enter the correct ones. Enter the bug-like symbol on the left pedestal and the T-like symbol on the right pedestal.
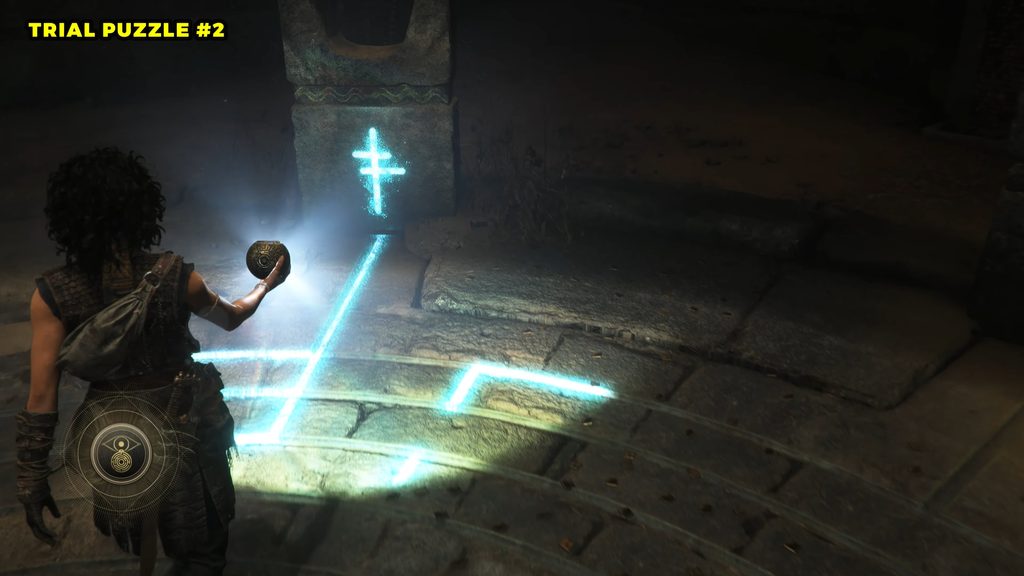
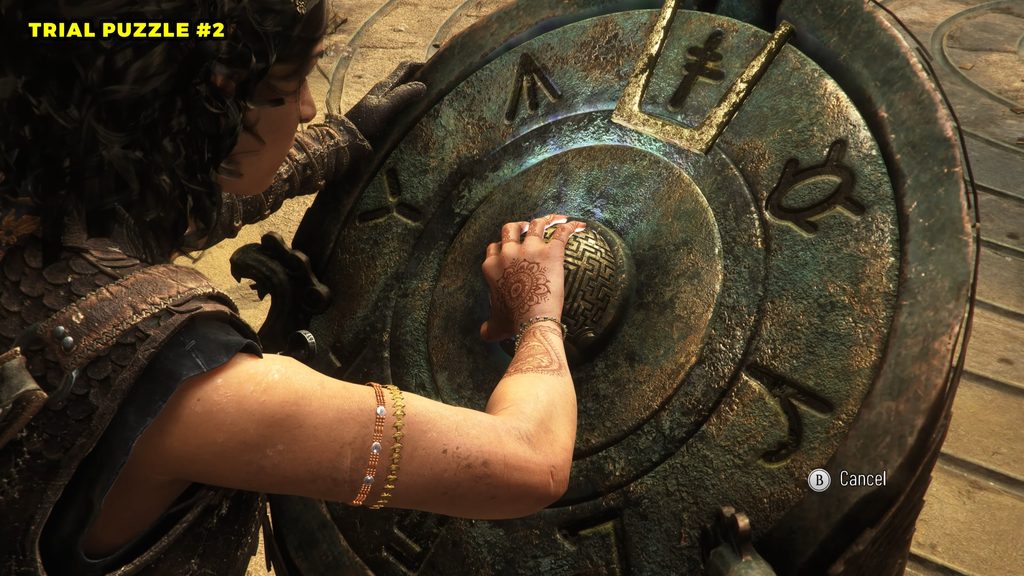
After entering both symbols correctly, the puzzle will be solved, and you can continue forward.
Trial Puzzle 3 (Spike Traps Puzzle)
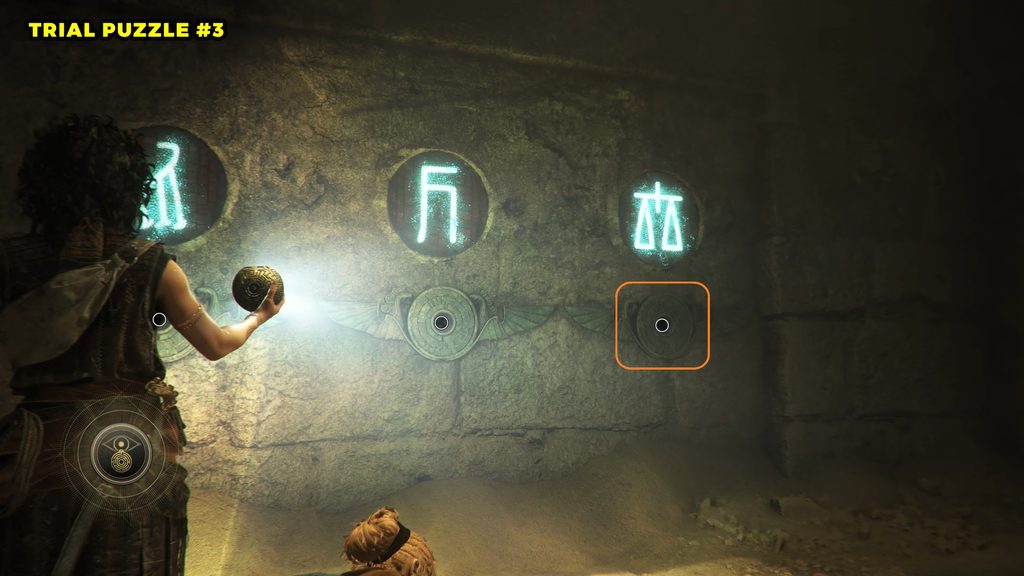
This trial puzzle is made up of three sections, and each one has spike traps that can hurt you if you step on the wrong tiles. The key is to find the safe symbols and use them to cross the path. Use the Sphere to reveal the hidden blue symbols on the walls. These symbols show you which tiles are safe to step on.
First Puzzle
For the first section, start from the pressure plate on the left side and walk straight to cross the path.
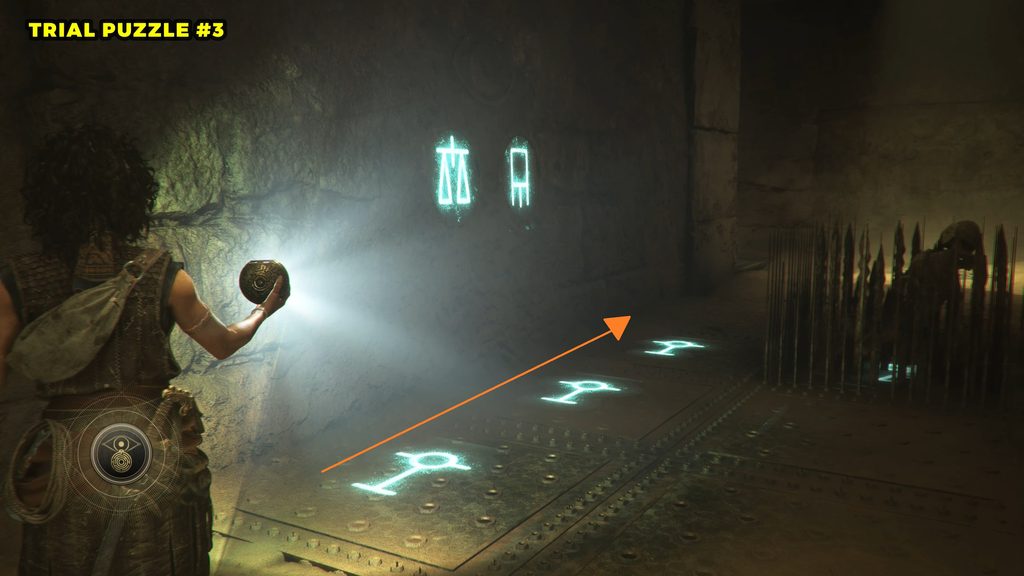
Second Puzzle
For the second section, start from the right side. Move up two tiles, turn left, and continue moving upward.
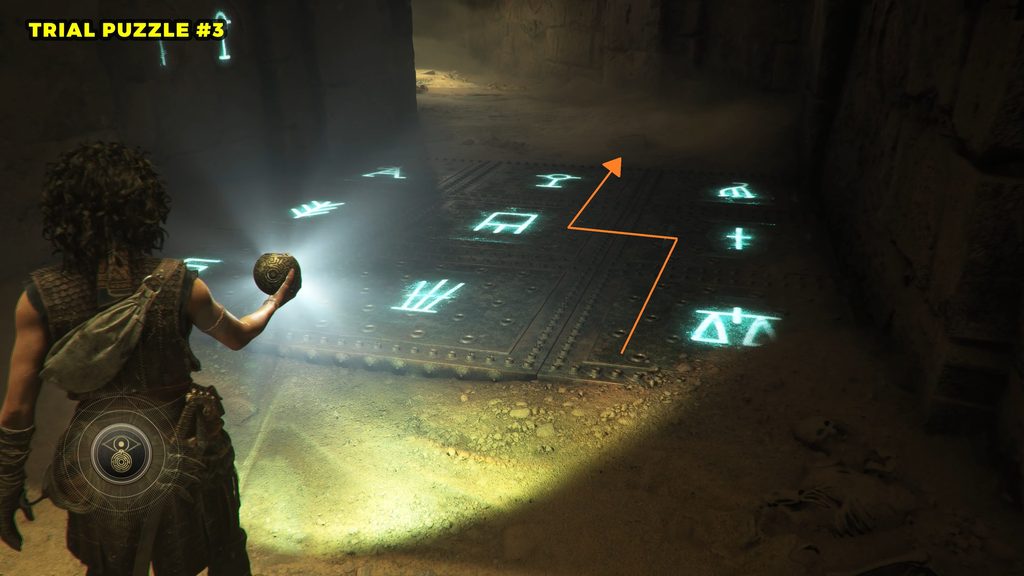
Third Puzzle
The final section works differently. Instead of following a tile path, you need to use the Sphere. Look for the socket marked with the two-triangle symbol and place the Sphere into it. This is the third symbol on the left side.
Trial Puzzle 4
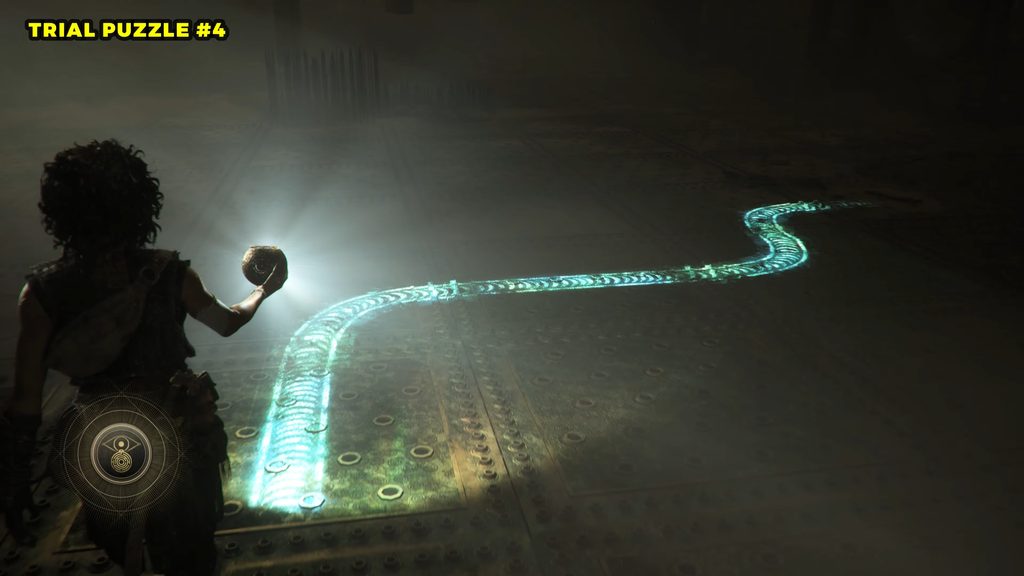
In this trial, the room is filled with spike traps. First, help Leni climb up so she can control the light source. Once Leni is standing on the pressure plate and shining the light on you. Now, use the Sphere’s ability to reveal a trail of hidden blue markings across the floor. These markings show the safe path through the room. Carefully follow the blue path from the starting point to the other side. Avoid stepping onto the surrounding tiles.