This step-by-step guide will show you how to complete Chapter 4 of Senua’s Saga Hellblade II (2024).
Also Read: Senua’s Saga Hellblade 2: All Chapter and Collectables Guide
Checkpoint: Enter the Caves
Collectible: Face #8
At the start of the chapter, you will be inside a cave. Drop down from the first ledge and duck through a low-ceiling path. Stoneface is on the left wall.
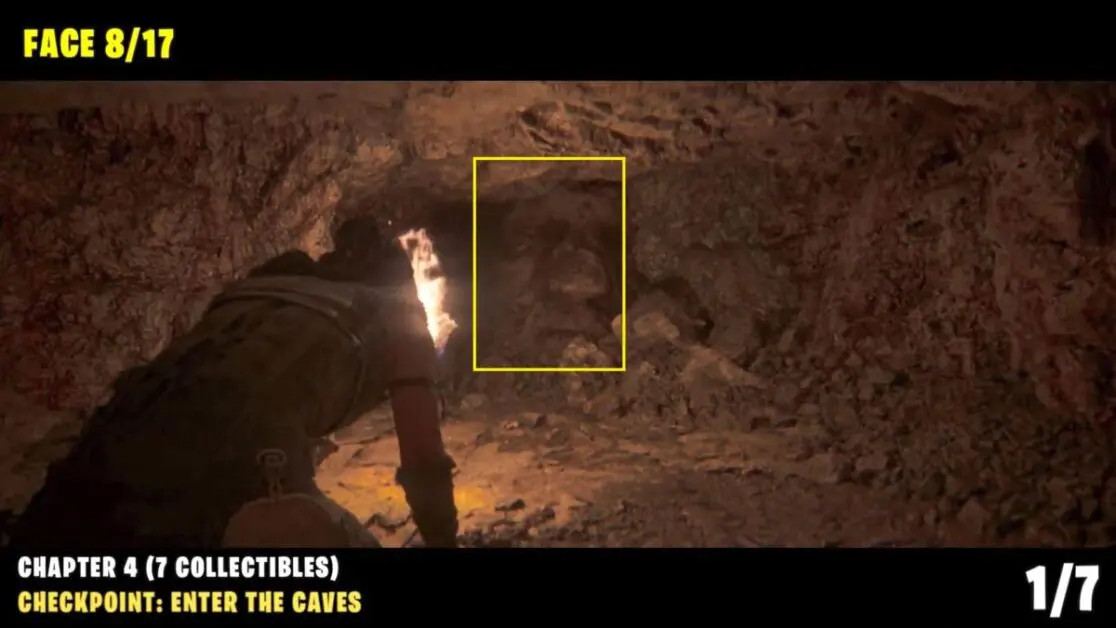
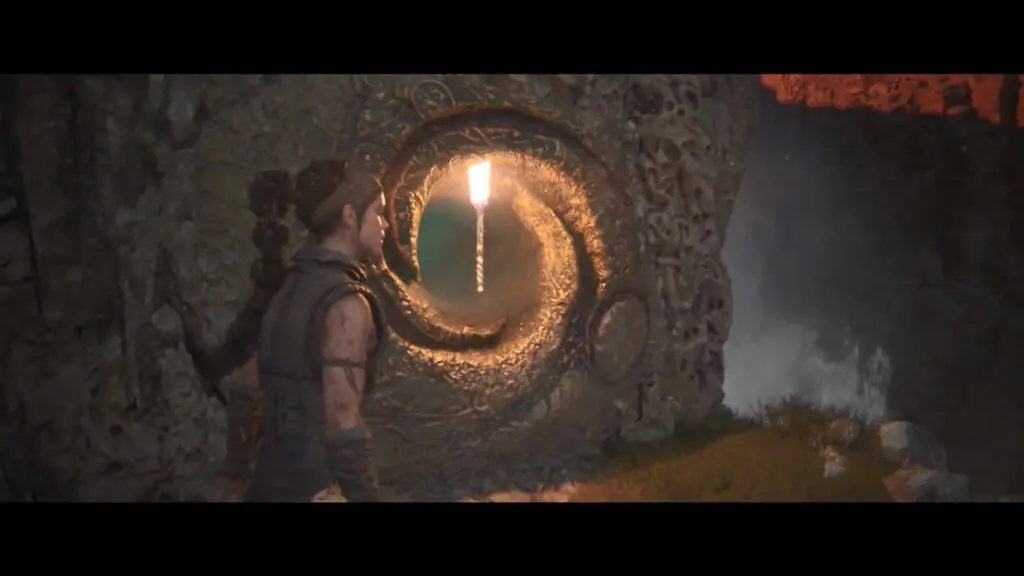
Zoom in on the stone face to open a new path. Go inside and look at the tree.
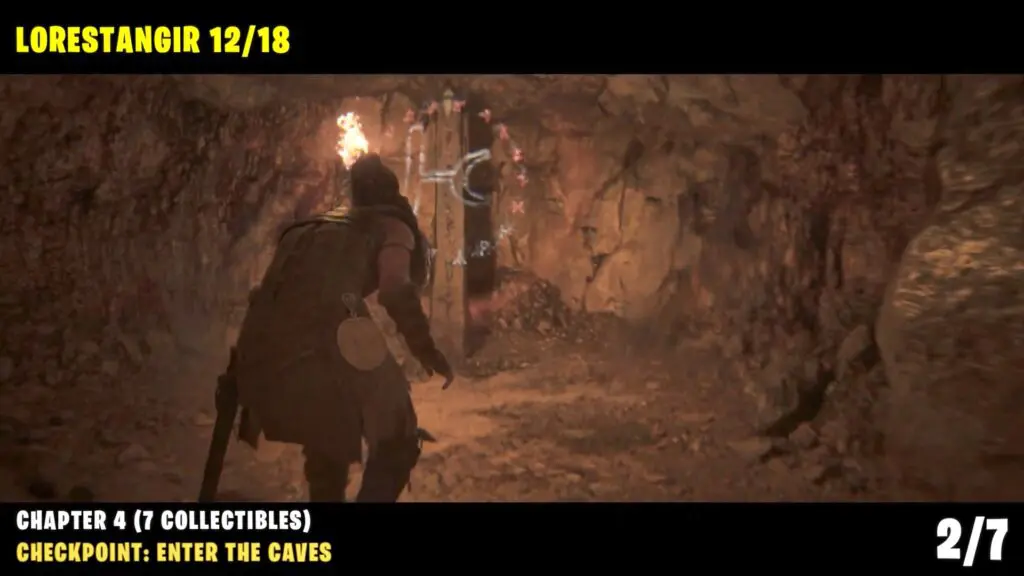
Collectible: Lorestangir #12
Continue to follow the main path until you drop down into a larger room with a puddle of water.
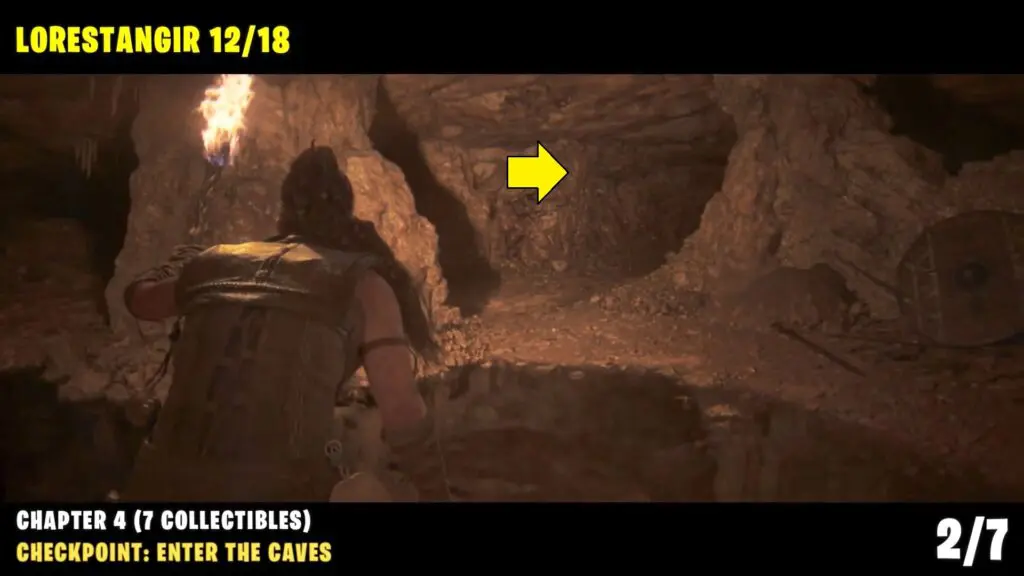
Head to the right side and climb up another ledge to reach the Lorestangir totem.
Collectible: Face #9
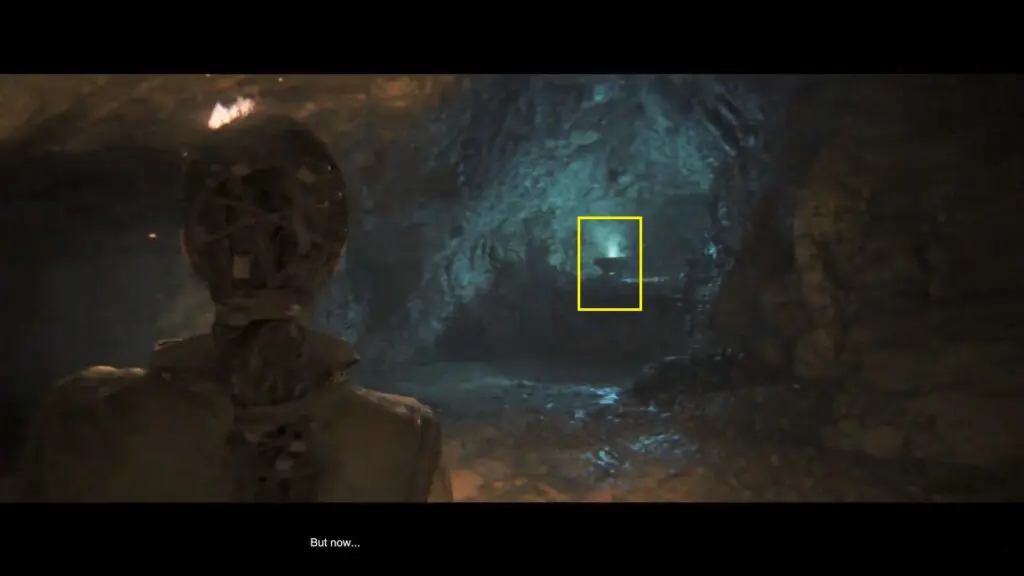
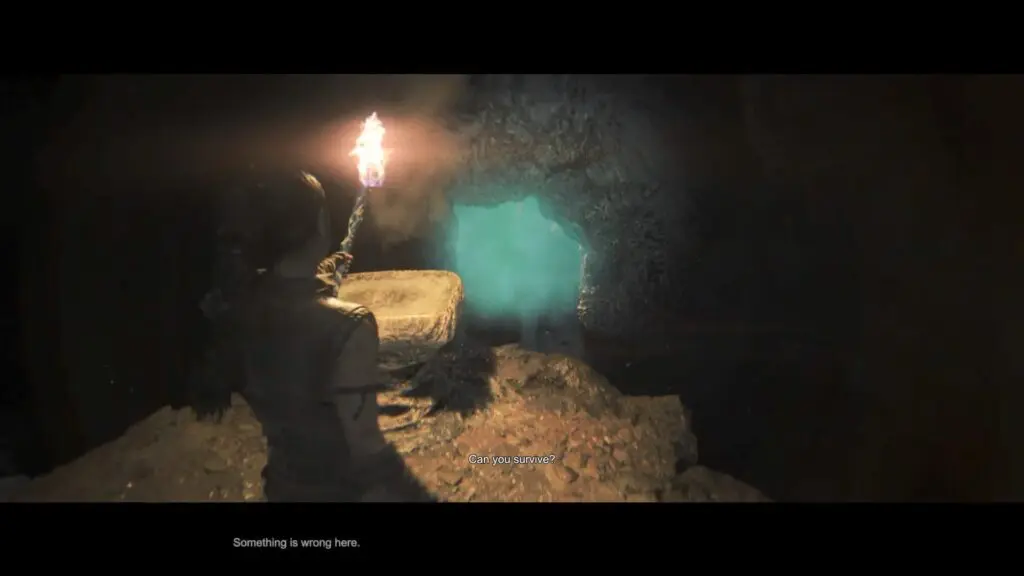
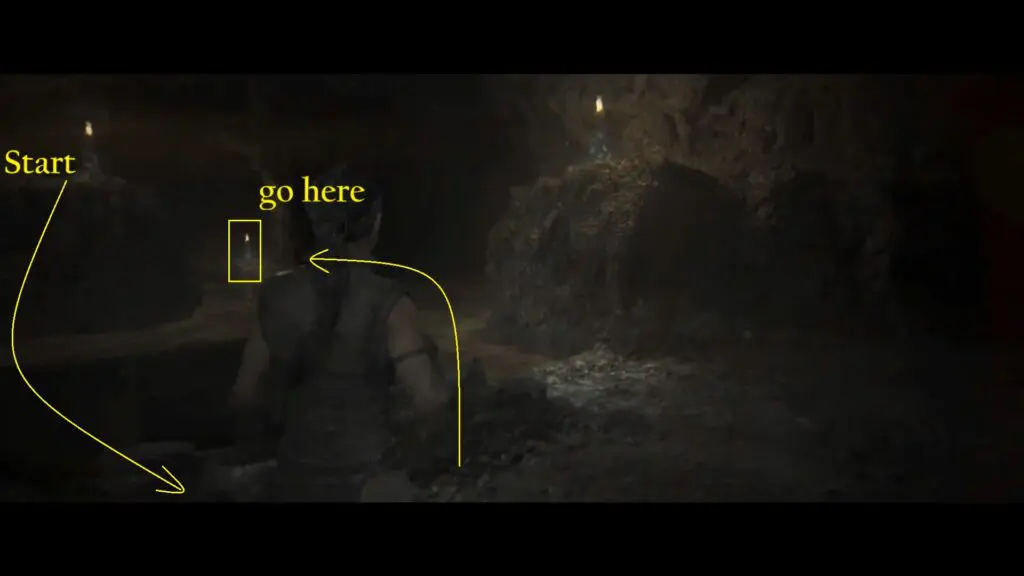
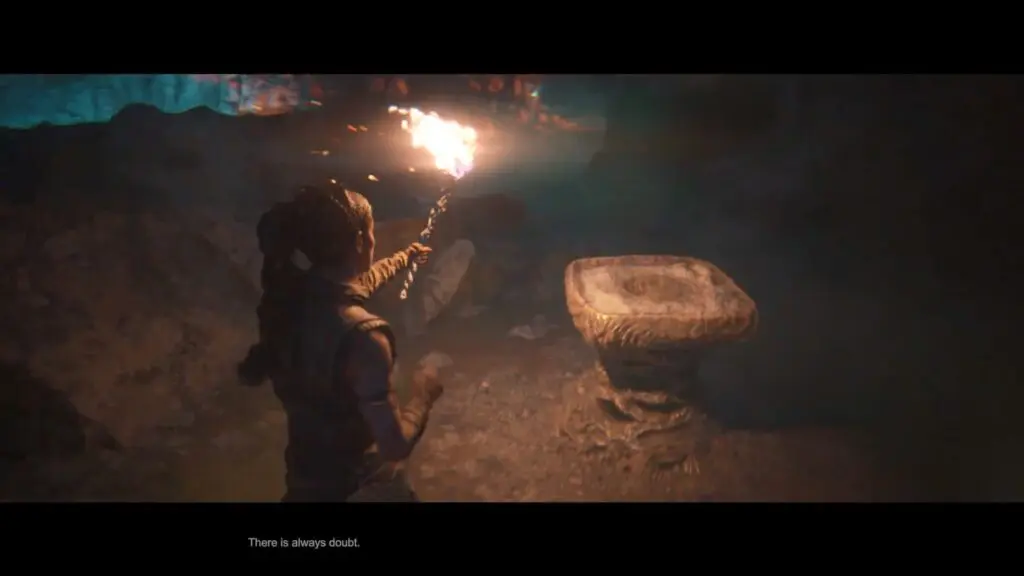
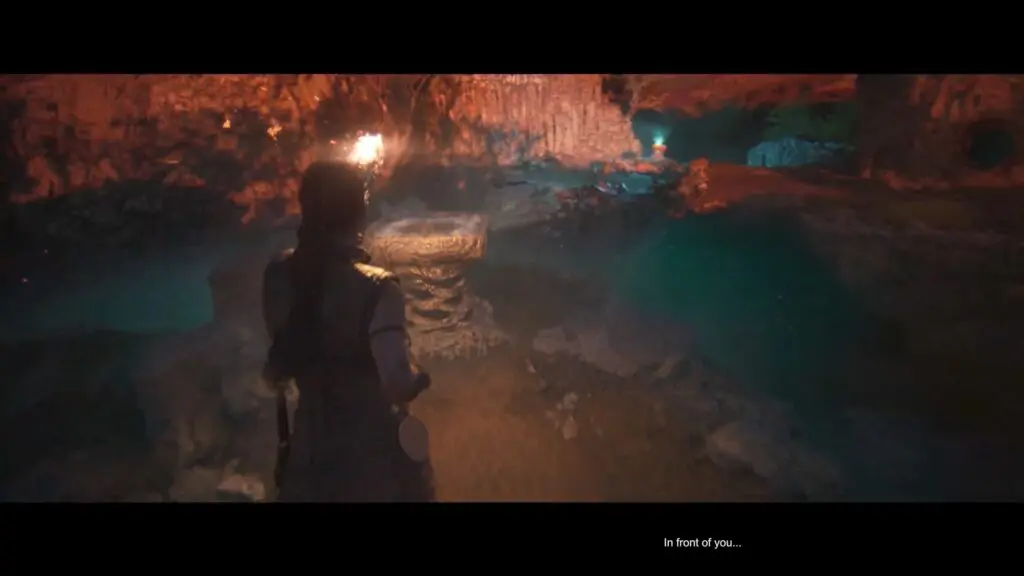
From the previous location, follow the main path until you reach a brazier that you need to be light.
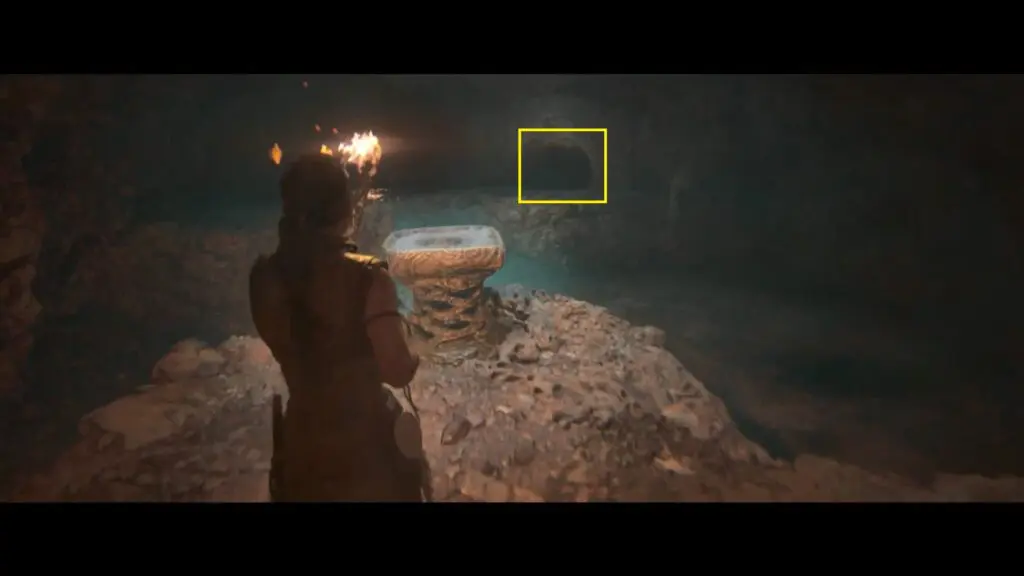
Continue further into the cave to reach the second blue flame brazier.
Collectible: Face #9
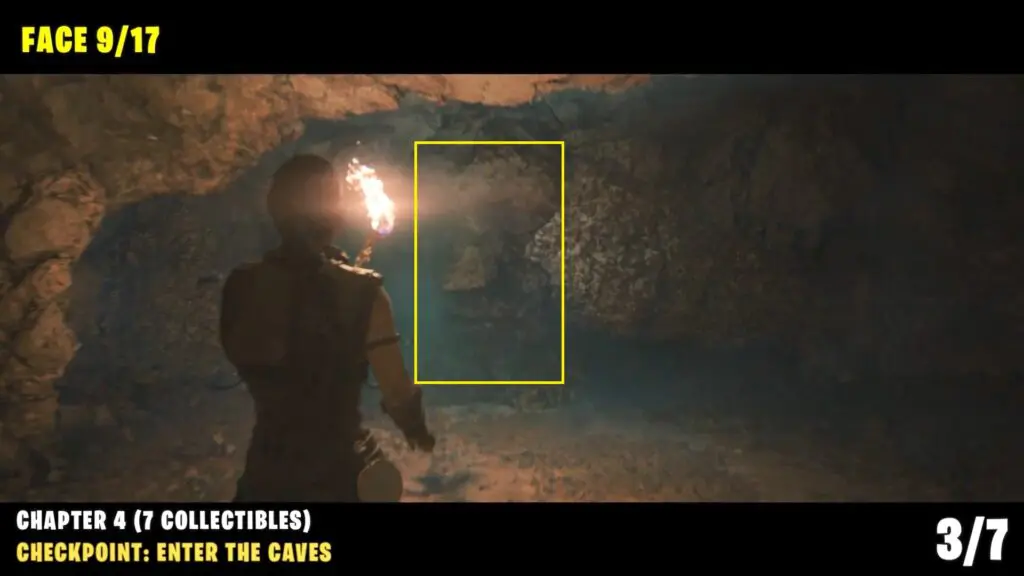
Extinguish the brazier and then turn around to see the stone face on the wall. This stone face is visible after you extinguish the brazier only.
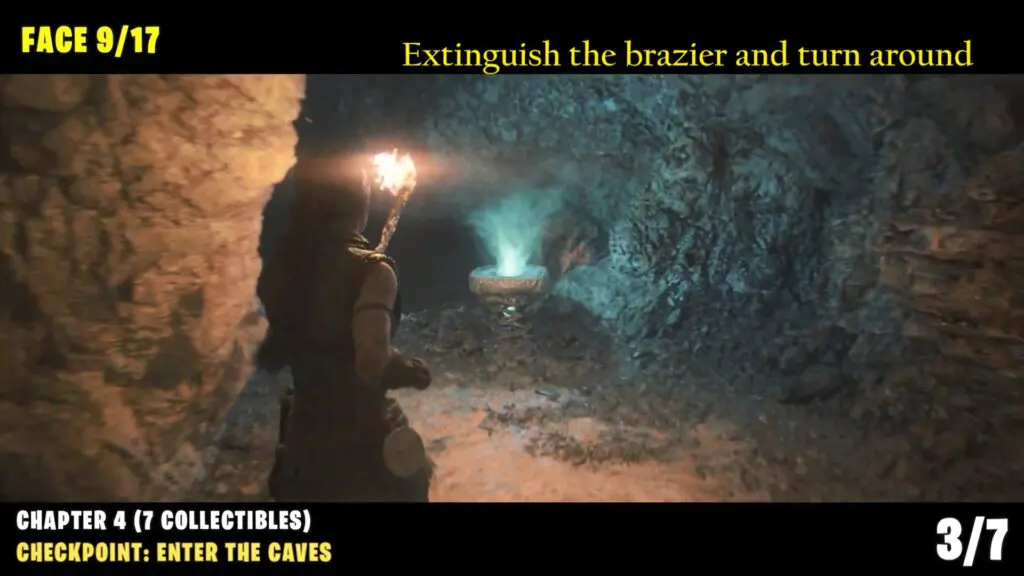
Extinguish the brazier and then turn around to see the stone face on the wall. This stone face is visible after you extinguish the brazier.
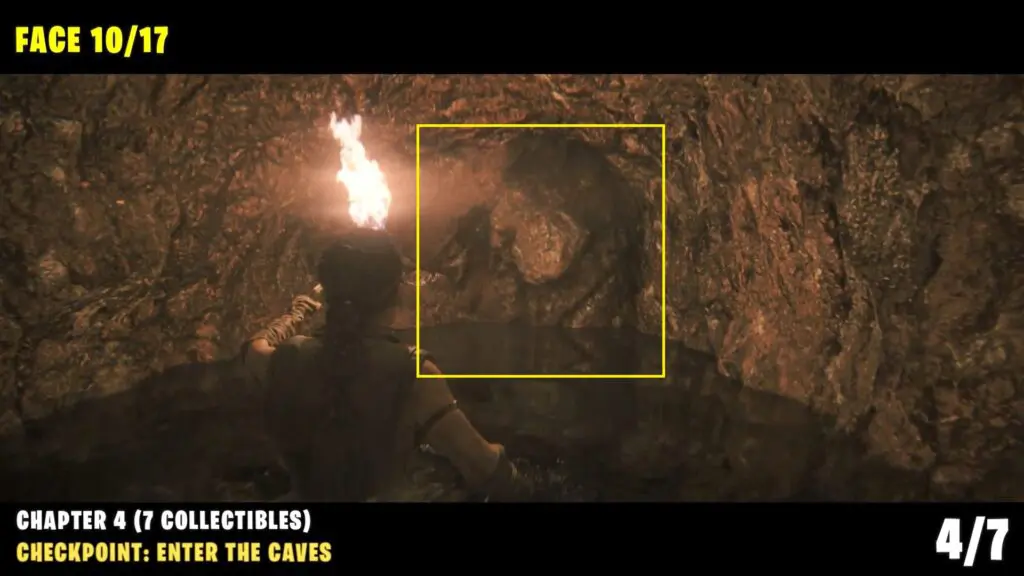
Collectible: Face #10
Continue to follow the main path until you drop down into a flooded area.
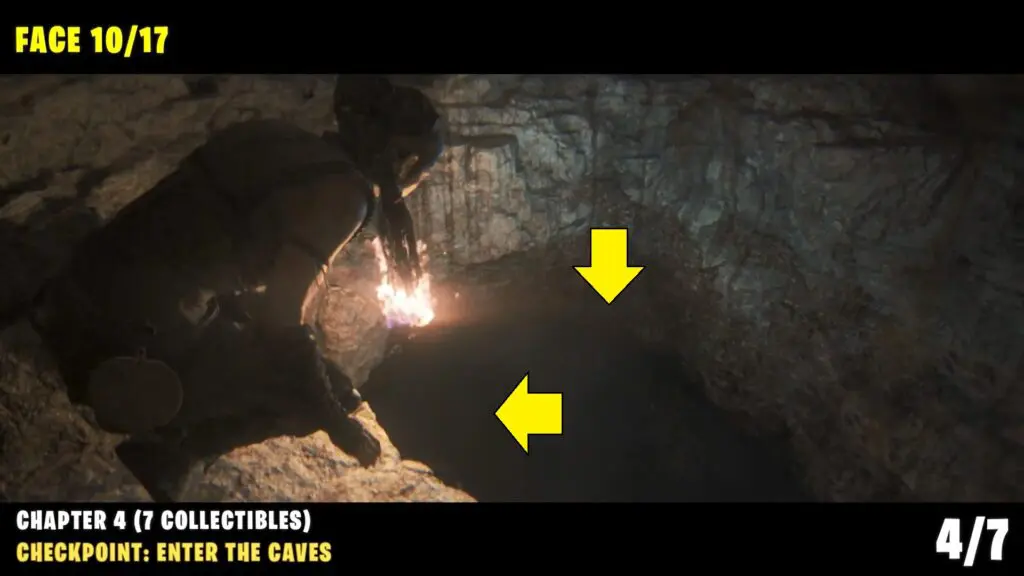
Turn around and proceed until the end of the flooded path to find the Stoneface. (This is the opposite of the story path).
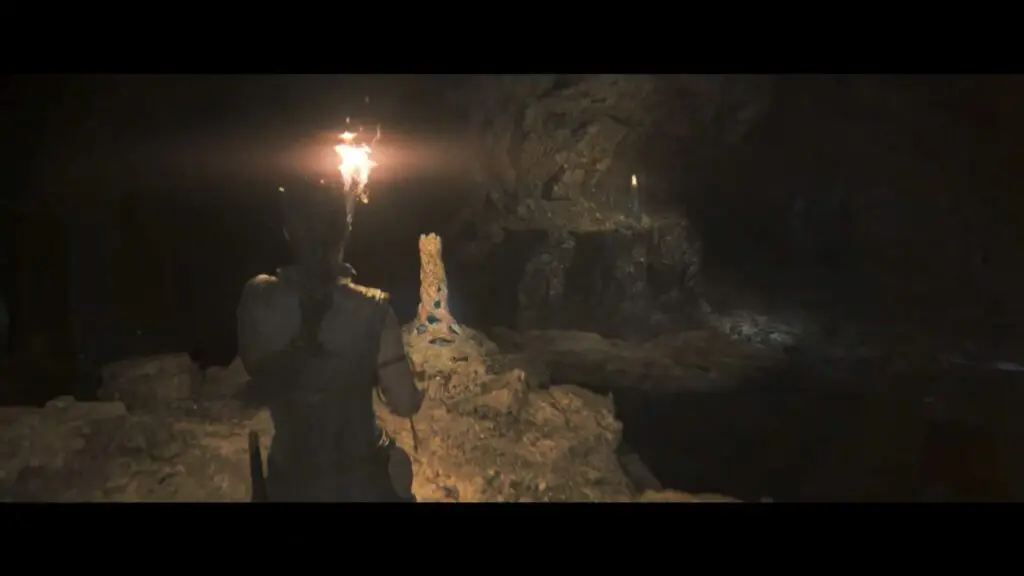
Follow the main story path to a room with brazier. Squeeze through the gap in the right corner then follow the path to the brazier and light it up.
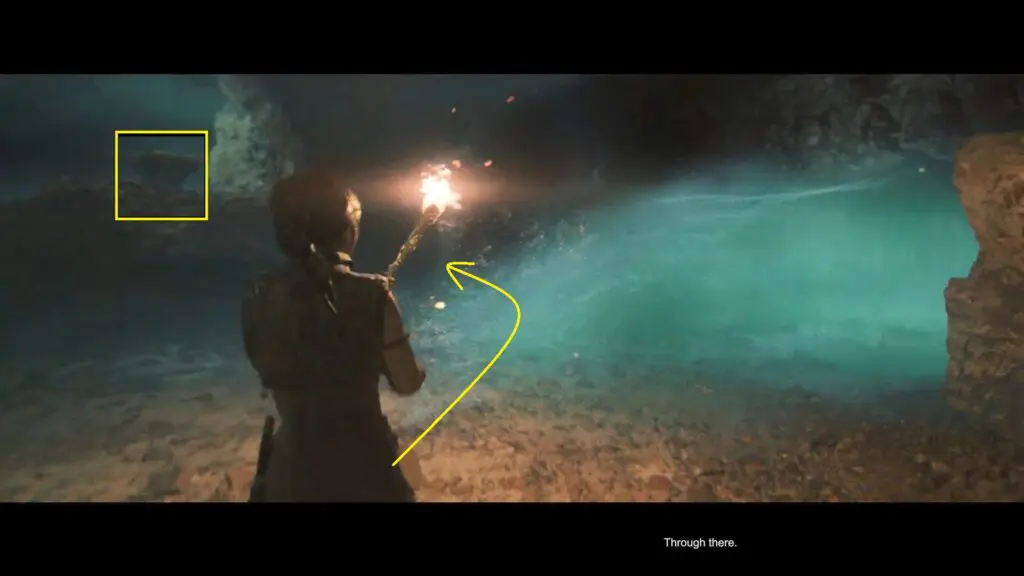
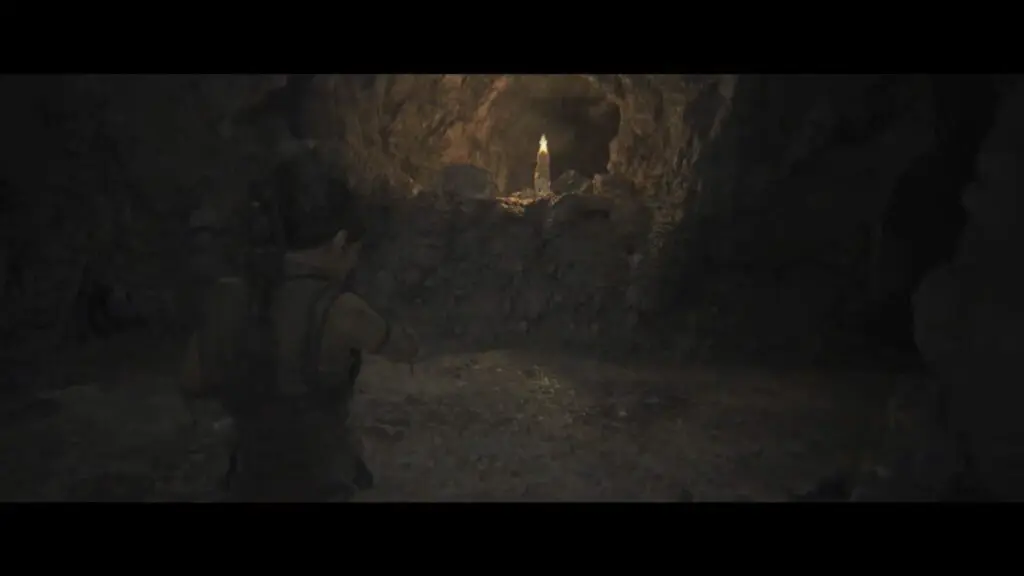
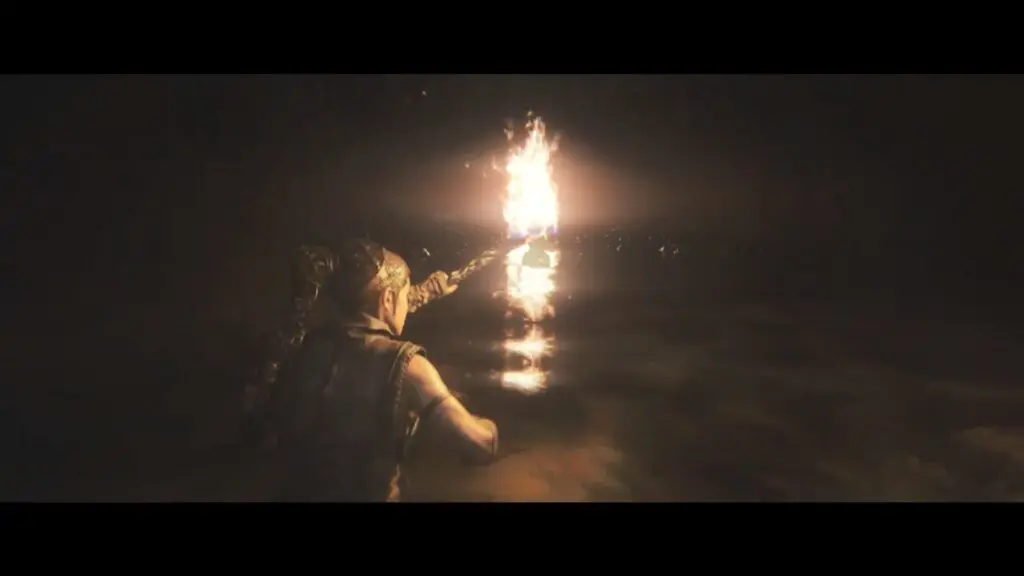
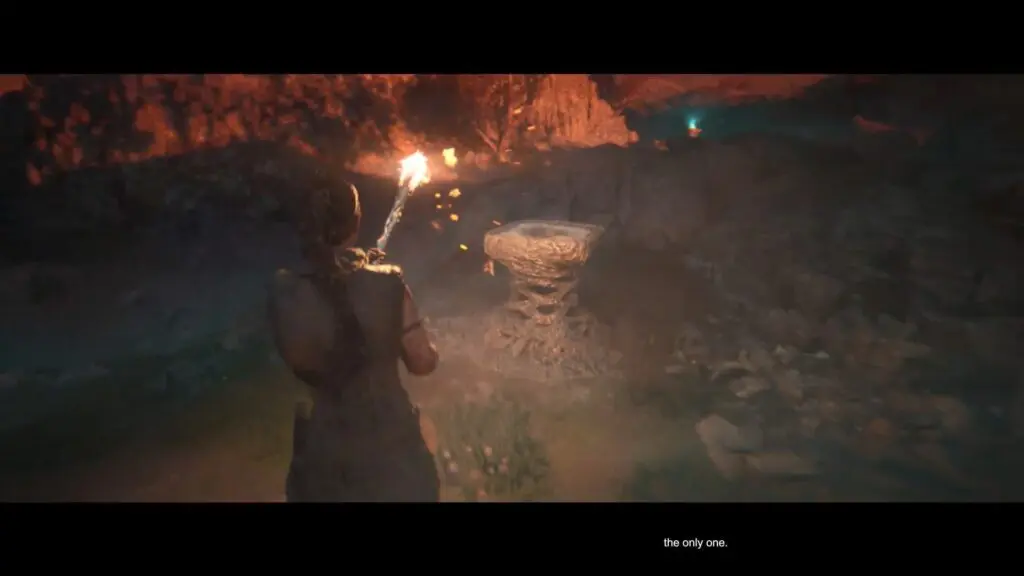
Jump down from the ledge and go up the now-open path to light up a big Torch/Candle.
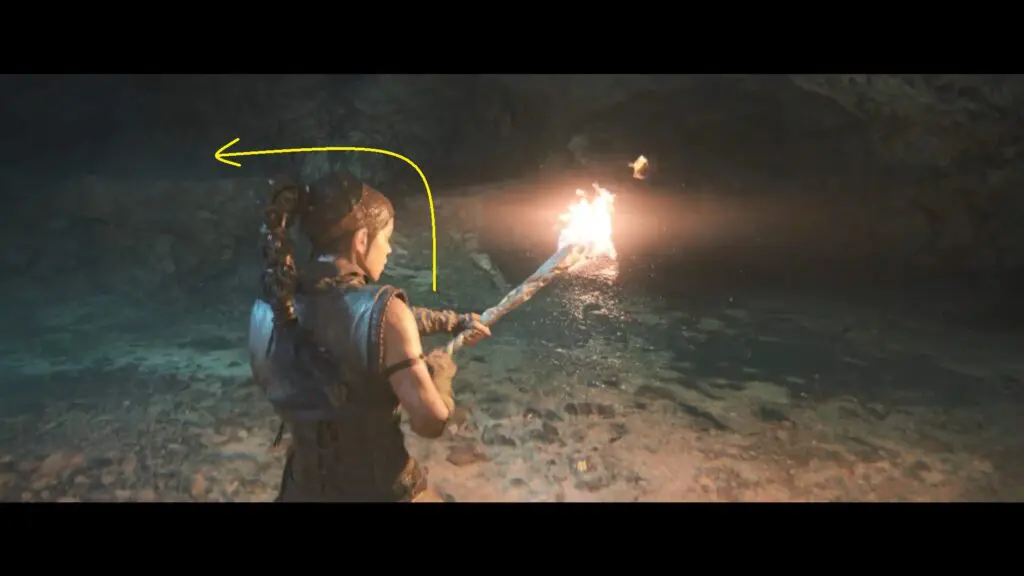
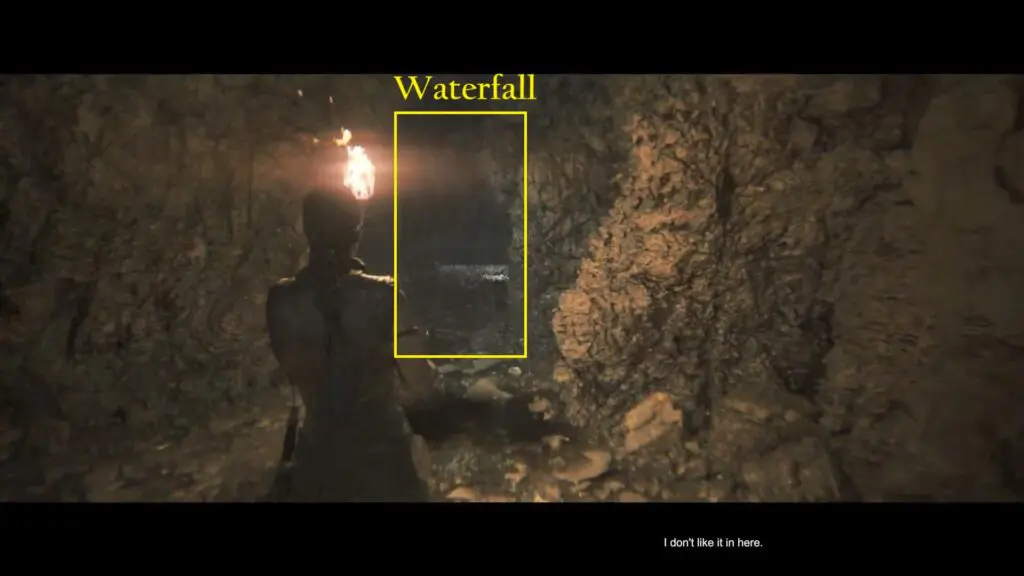
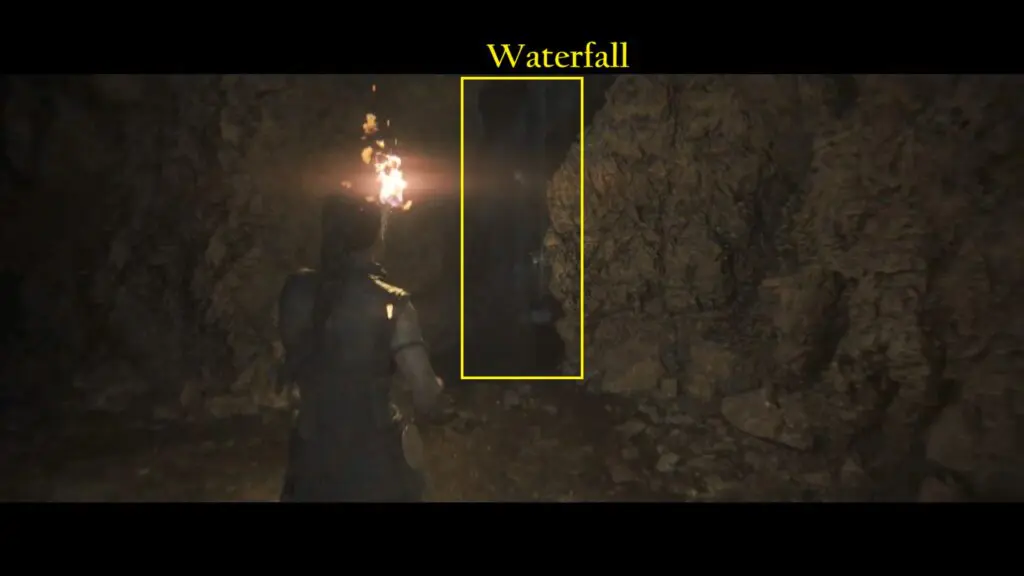
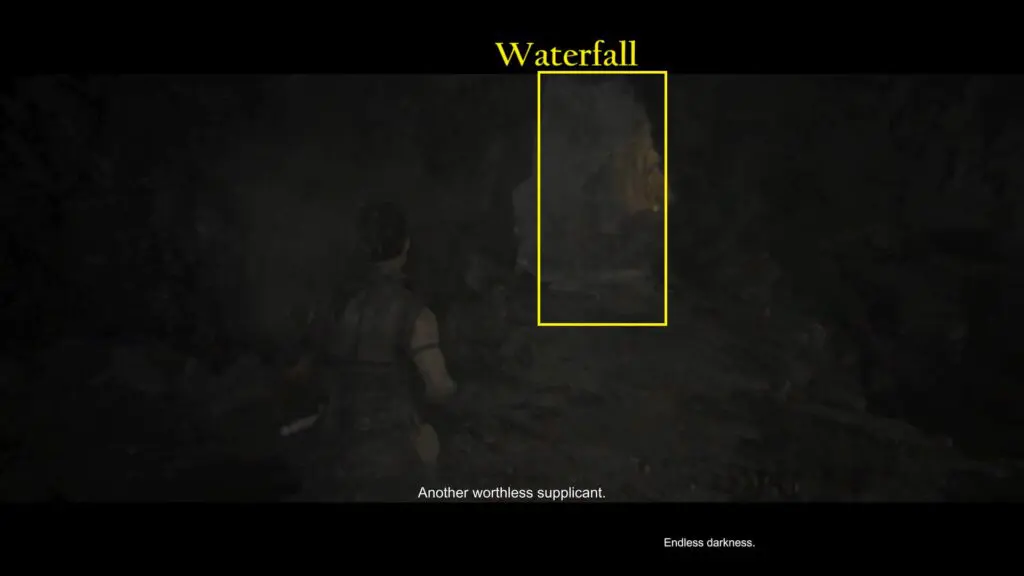
Jump down from the ledge on the left, go to the brazier (previous brazier), and put out the fire. Proceed through the waterfall afterward.
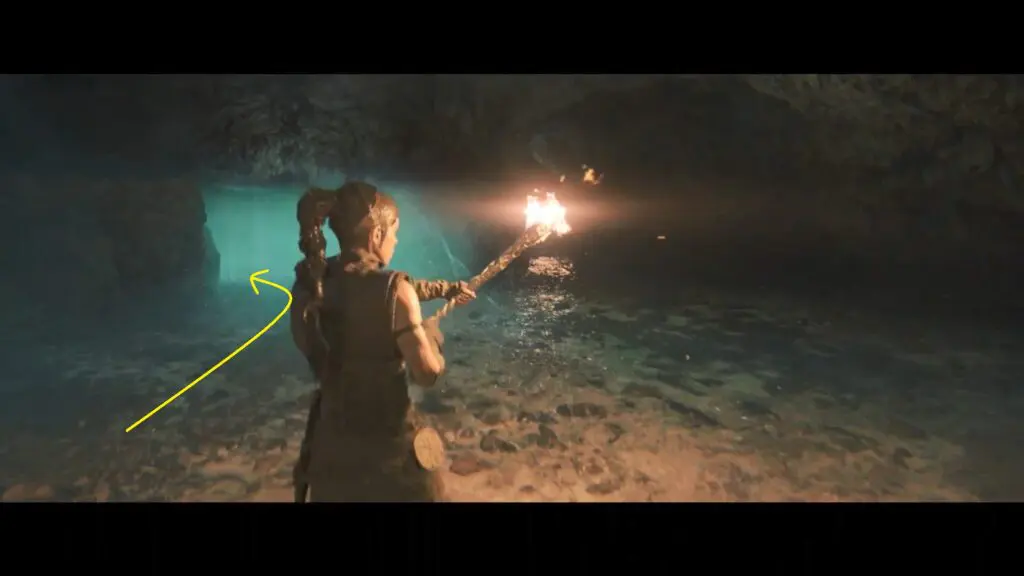
Collectible: Lorestangir #13
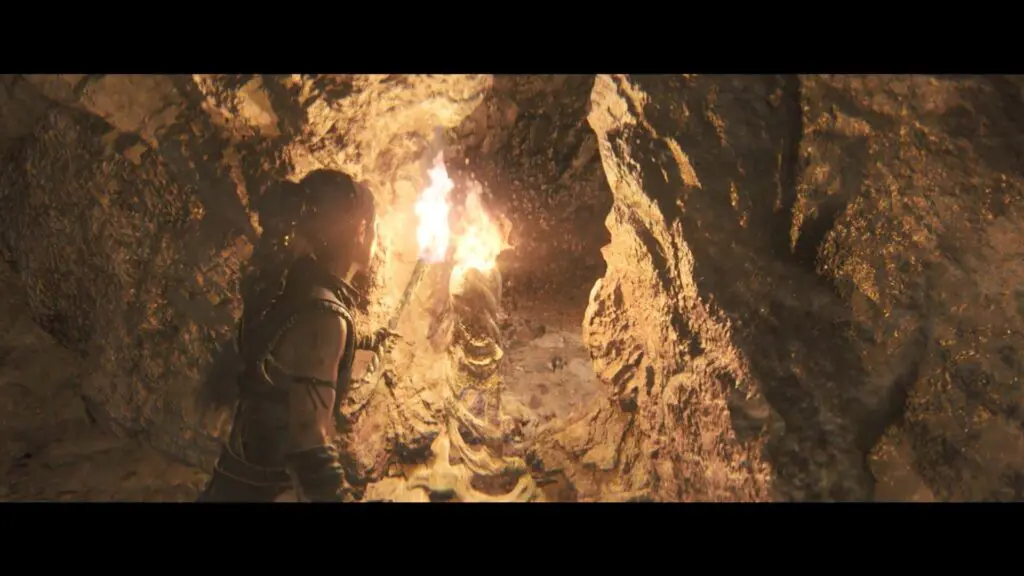
Follow the main story, after the waterfall to reach a brazier and light up the fire. Cross over the bridge and enter the low-ceiling cave.
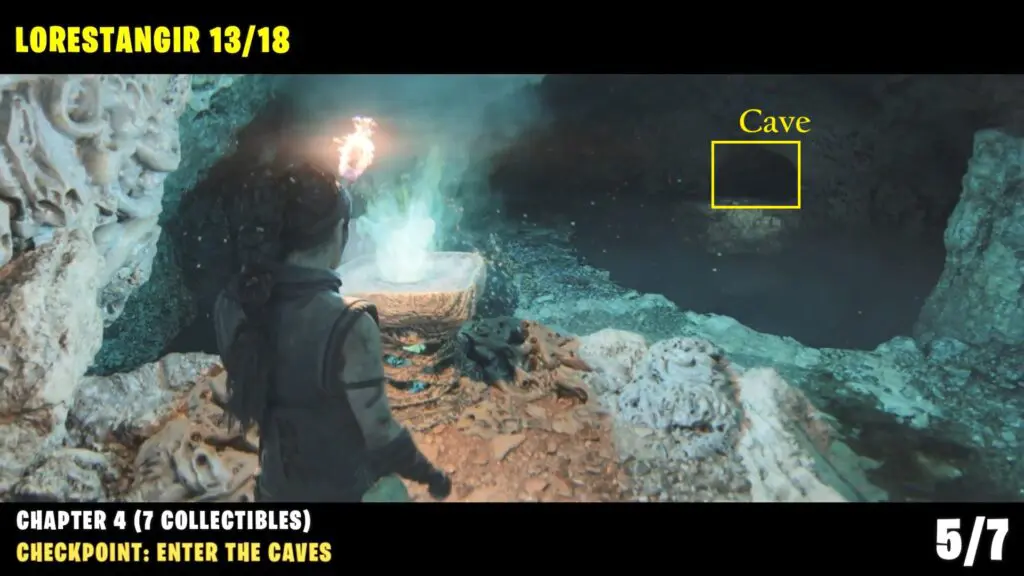
As you progress further, look to the right side for a place where you can drop down to reach the Lorestang totem.
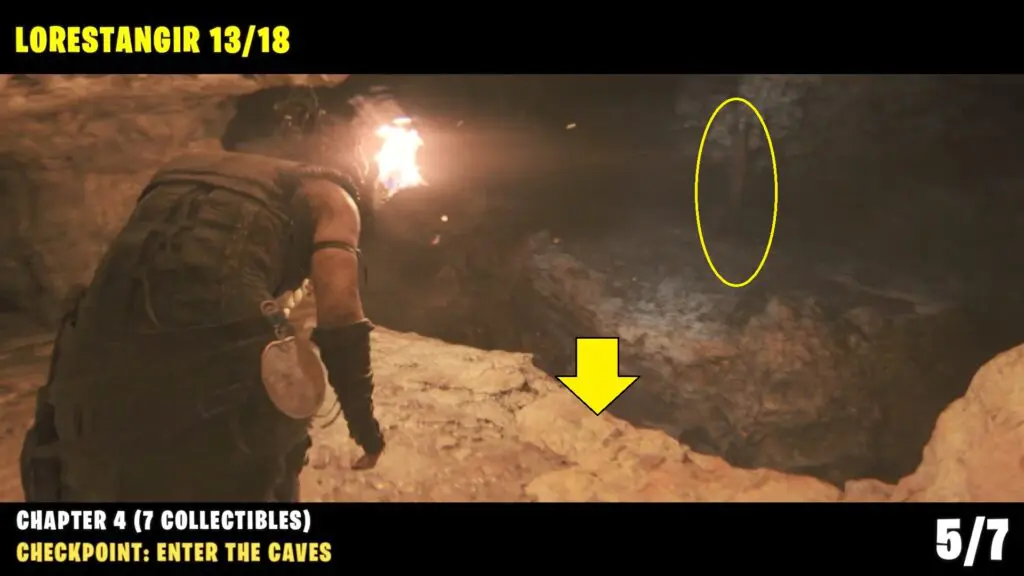
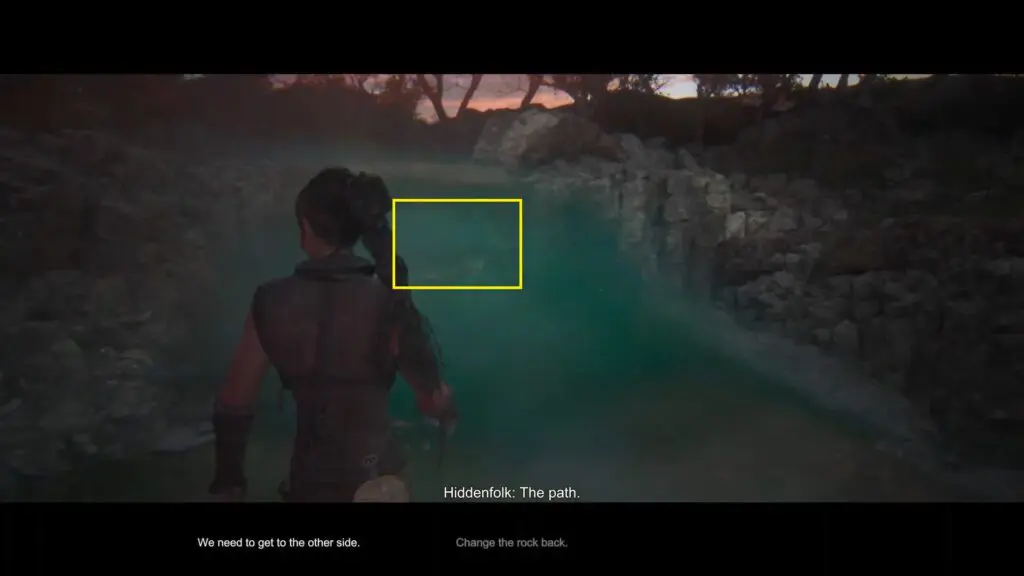
After collecting the item, go to your left path and drop down on the left side to get back to the main story path. Follow the main path to reach a flooded area with a brazier turquoise fire.
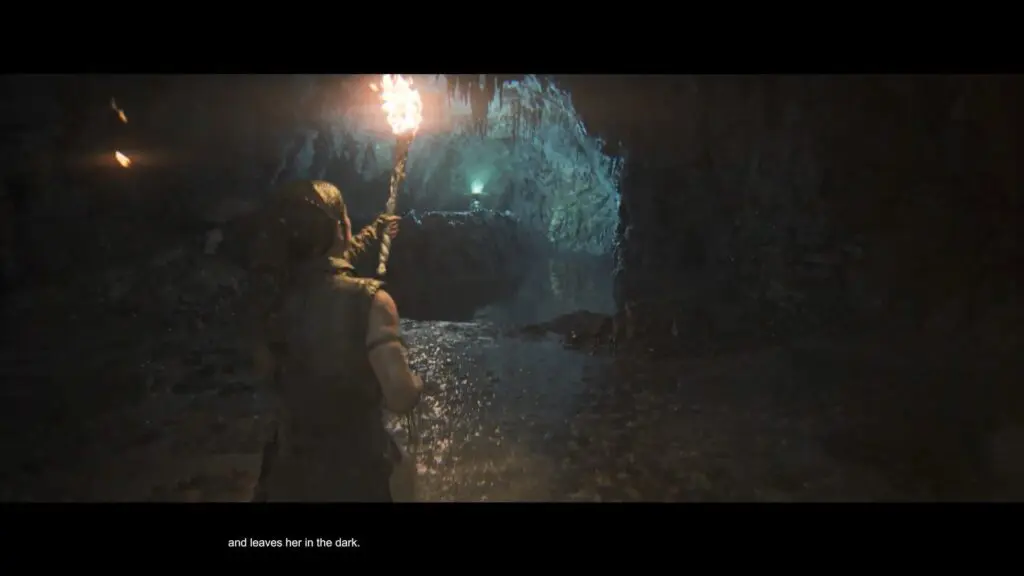
Wade through the water and extinguished the fire.
Start following the newly opened path, pass a little waterfall and sidewalk through the narrow ledge.
Go up the path and light up your torch, drop down on the left, and wade through water to reach the same small waterfall again.
Quickly turn left and follow the path through another waterfall. Then, turn right, and crawl under the wall on the left to reach your torch.
Turn around and climb up the path to light up another torch.
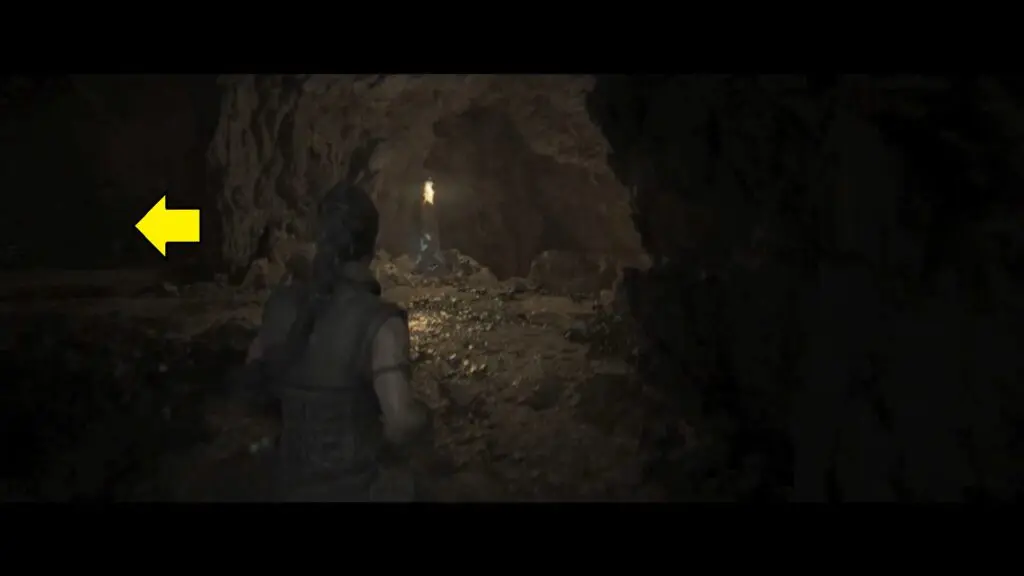
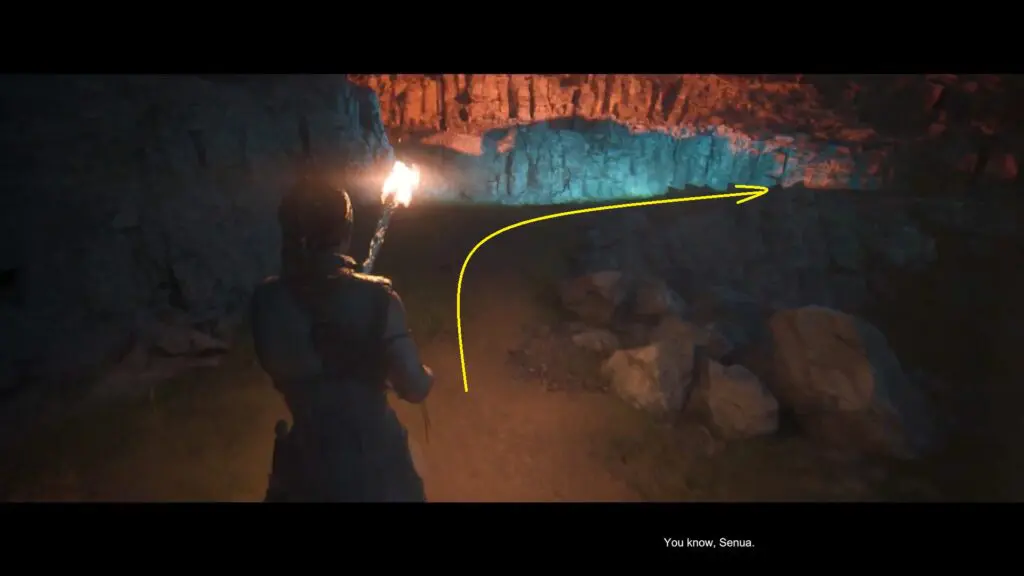
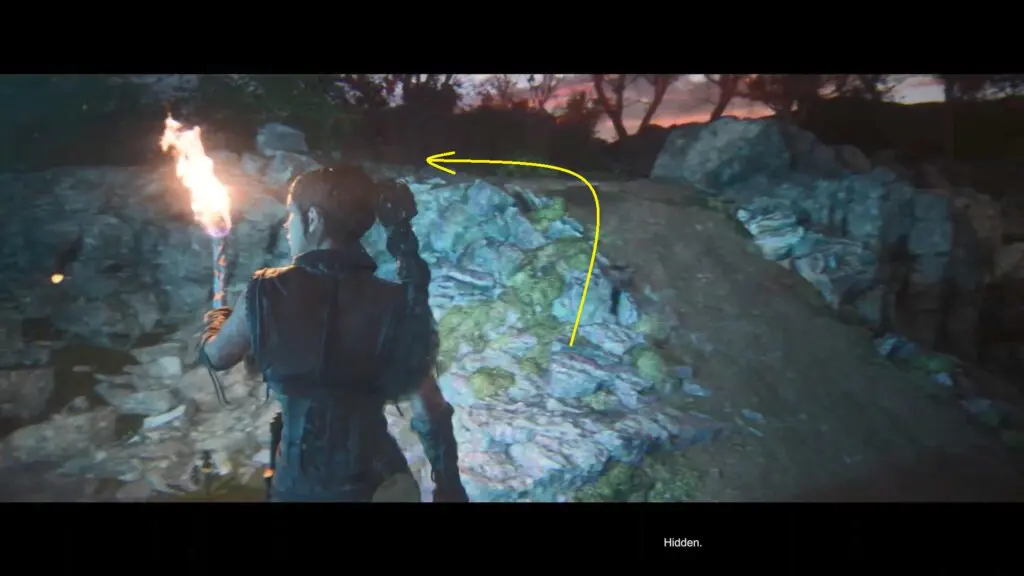
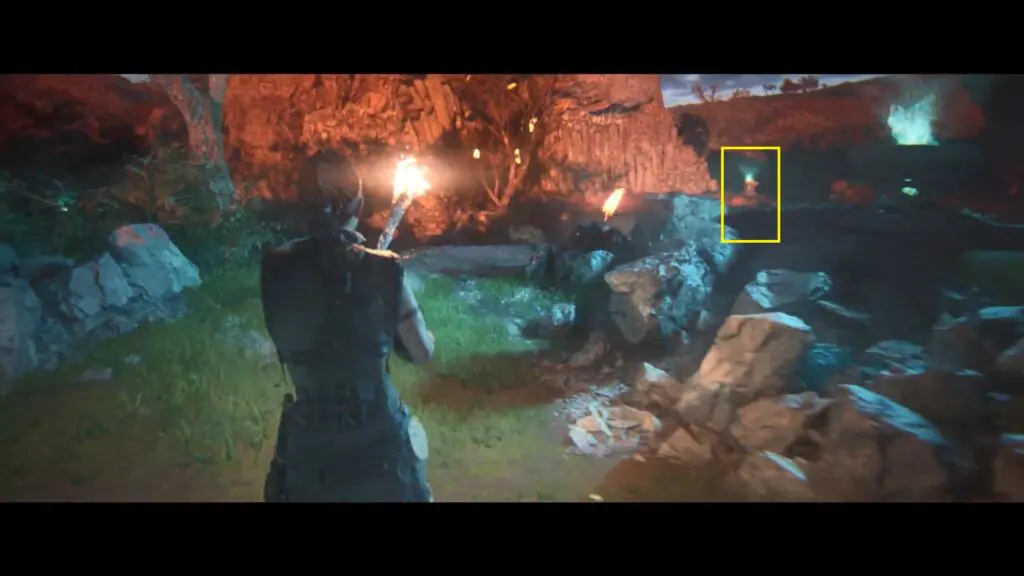
Follow the path to reach the next torch ahead, as shown in the picture, and then wade through the water to the torch behind it a bit further away.
Light up your torch and move on to the next ledge where you will automatically dive to cross to the other side.
Now move forward again and cross a small waterfall. After you pass it, your torch will go out. Run straight to the end to get out of the water. Follow the path to exit the cave.
Checkpoint: Trial of Wisdom
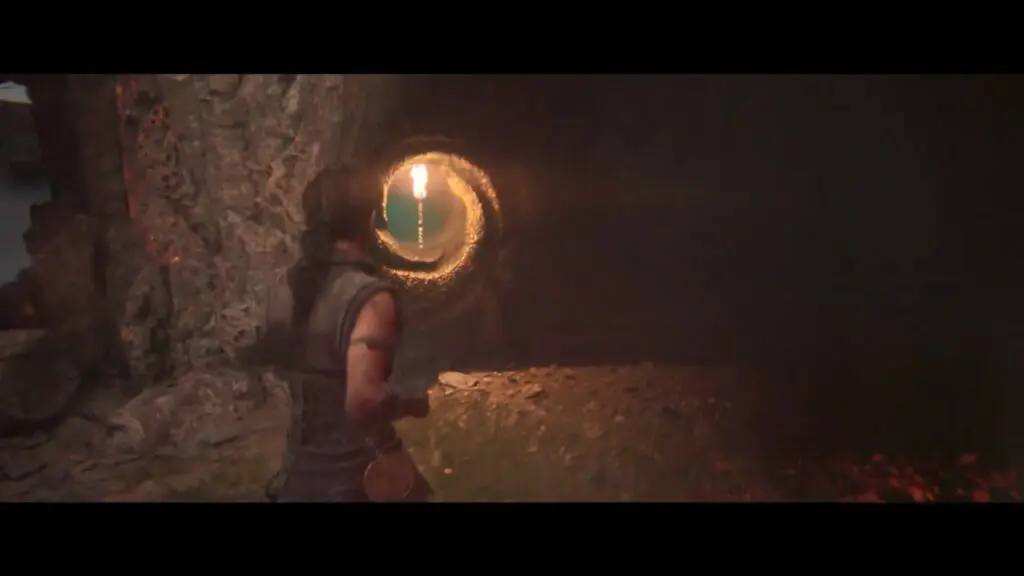
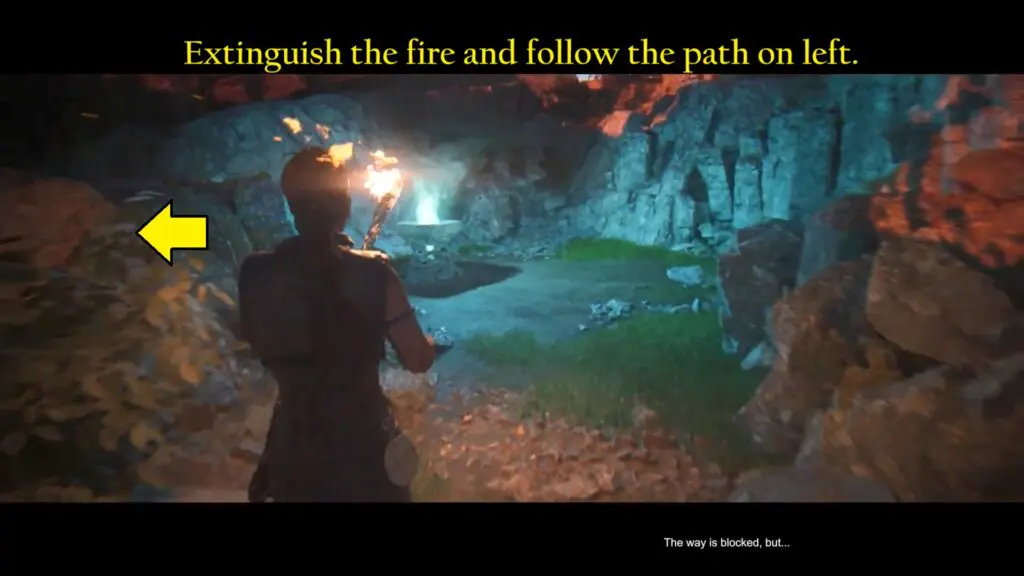
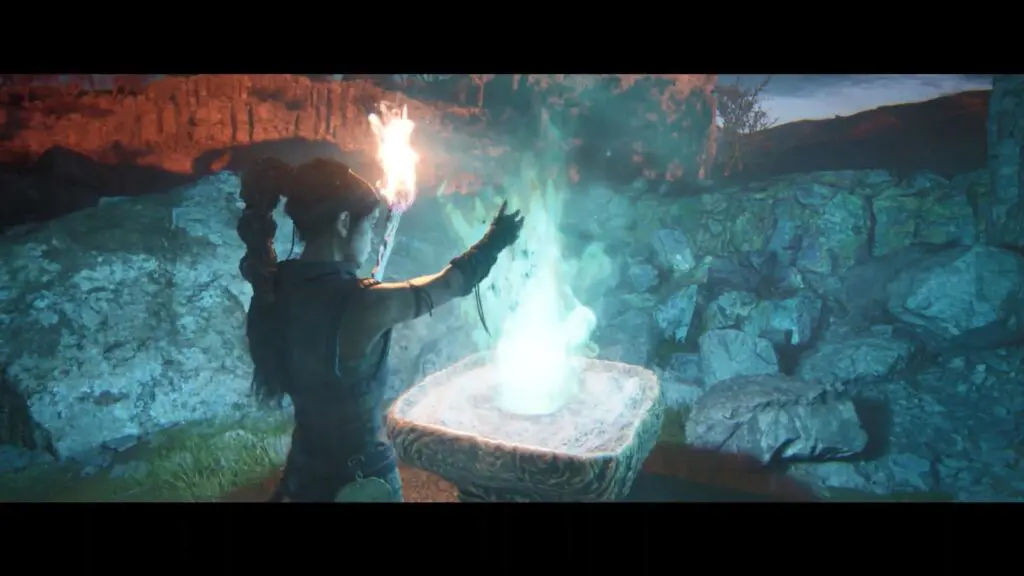
Grab the torch from the wall and light up the turquoise fire in the area.
Follow the newly open path to reach the second turquoise fire and extinguish it. Follow the path on the left.
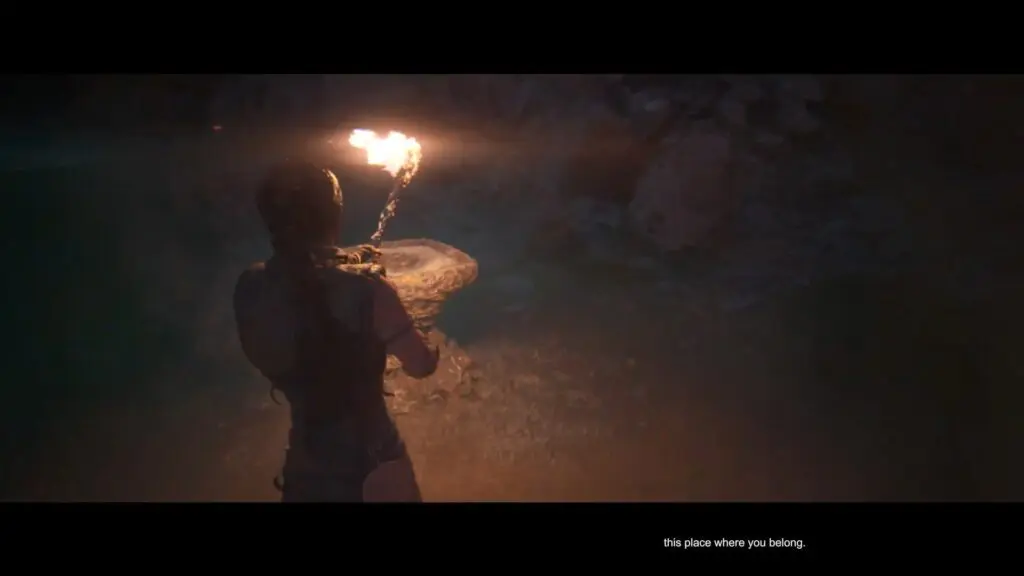
Reach the third turquoise fire and extinguish it.
Return to the second turquoise fire and light it up.
Follow the path on the left to reach the fourth turquoise and light it.
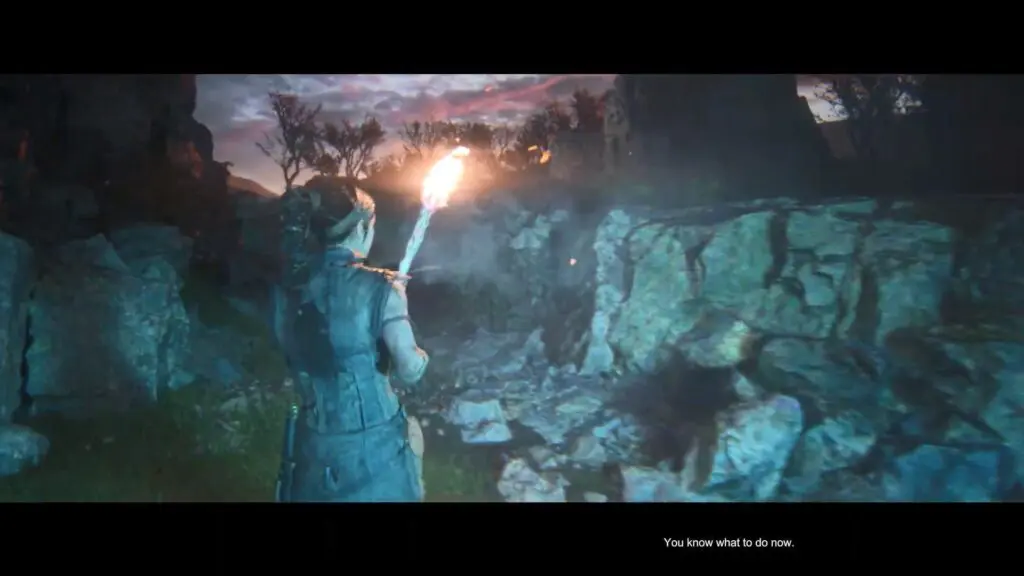
Turn around and follow the newly open path on your right and at the end place the torch into the wall.
Turn around and drop down from the ledge, go to the fifth turquoise fire and extinguish it.
Crawl through the path on your left and go up the hill. At the end grab the torch from the wall.
Go back to the previous turquoise fire and light it up.
Go up the little ramp on your right and light up another turquoise fire.
Go to the next turquoise fire in the distance and put it out.
This opens a new path, follow it and put your torch into the wall again.
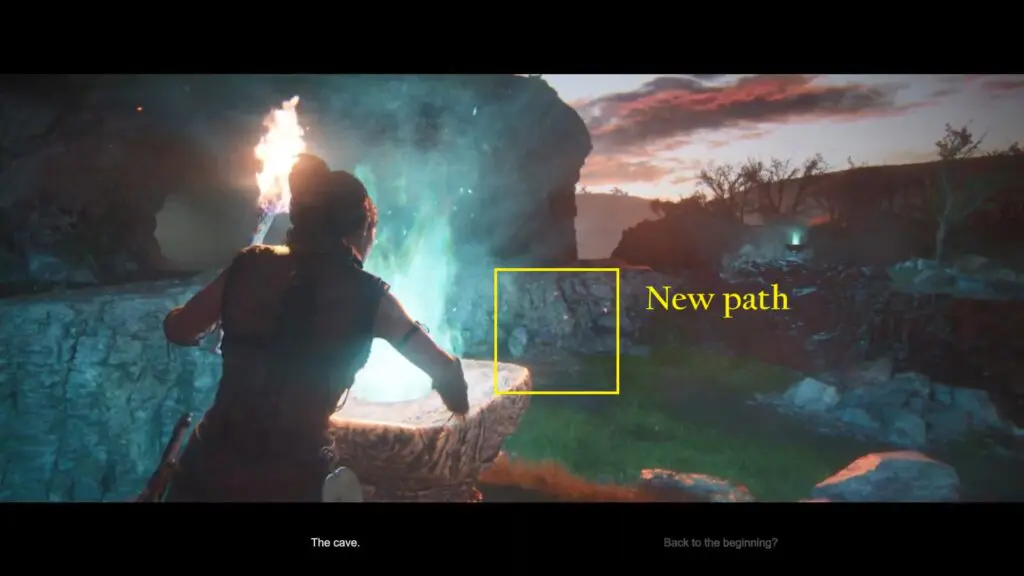
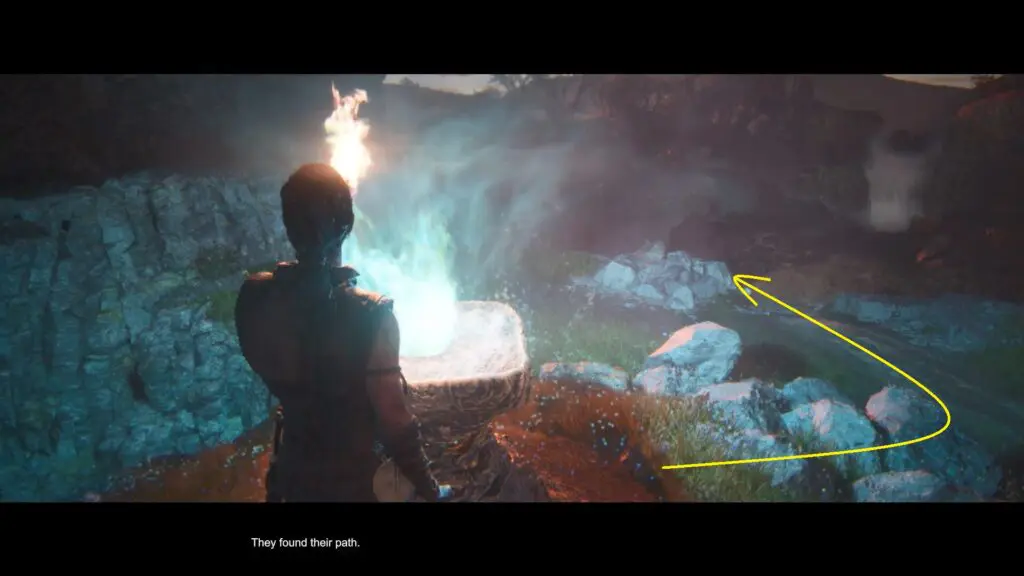
Wait for the Spirit to light up a turquoise fire at a distance and then Follow the path to the left and enter the cave.
Checkpoint: Into Darkness
In this part, you need to get out of the cave by following the blue light on the ground. Defeat any enemies you meet, then keep following the light.
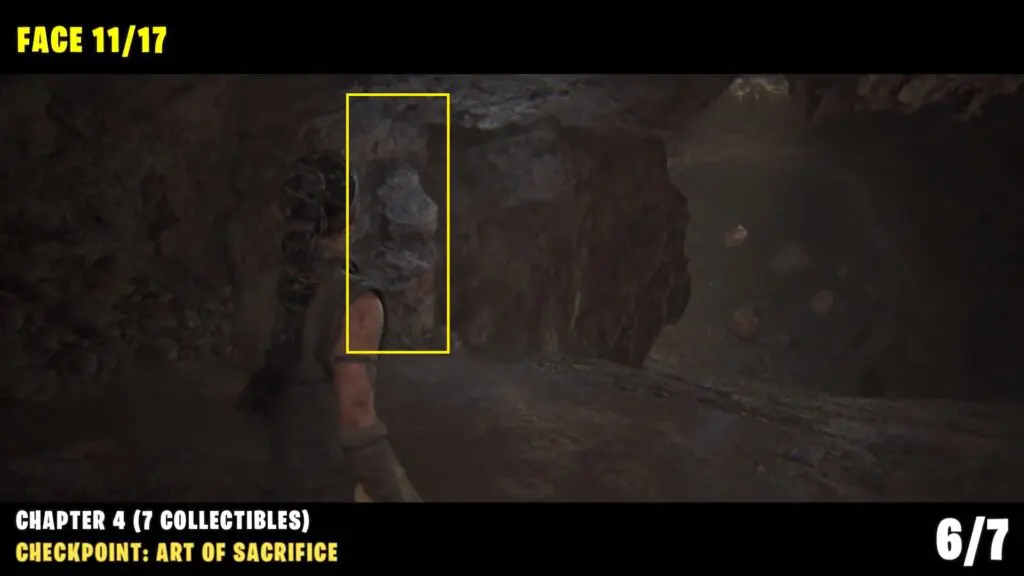
Checkpoint: Act of Sacrifice
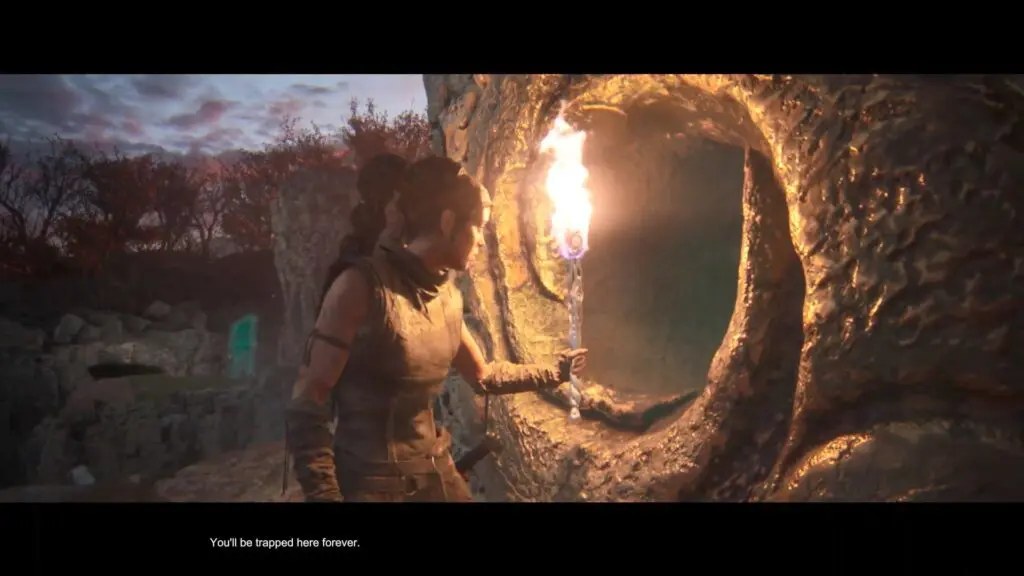
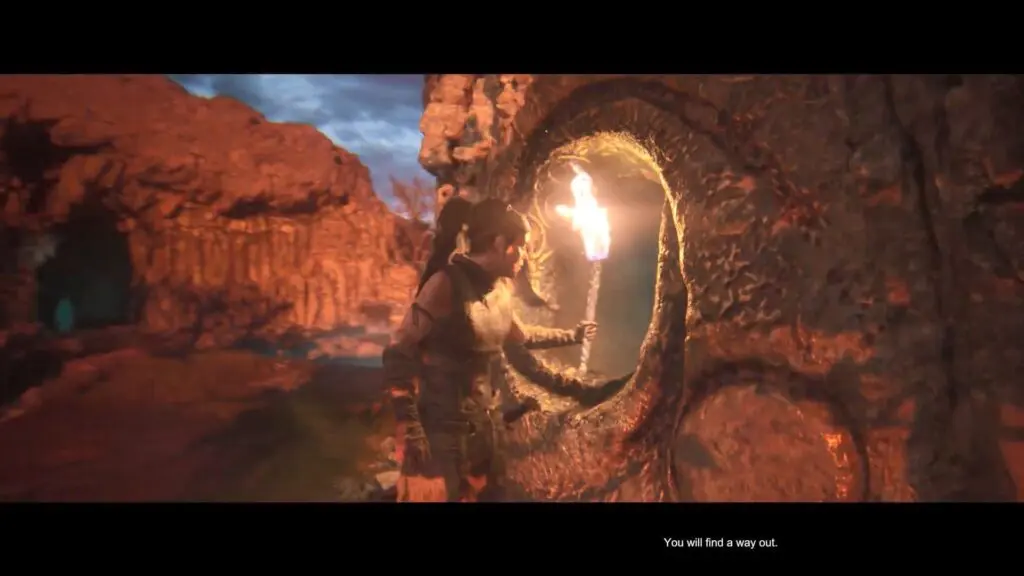
Follow the blue light again. At the end, cross along the narrow ledge and squeeze through a gap to reach another cave with daylight.

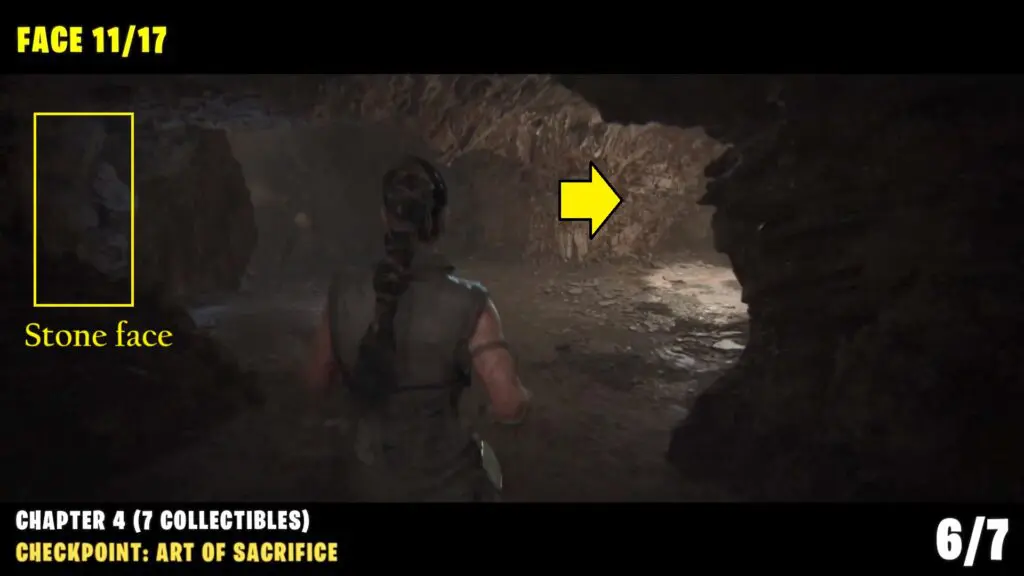
Collectible: Face #11
Follow the linear path till the fork. look to the left to find this face on the rock.
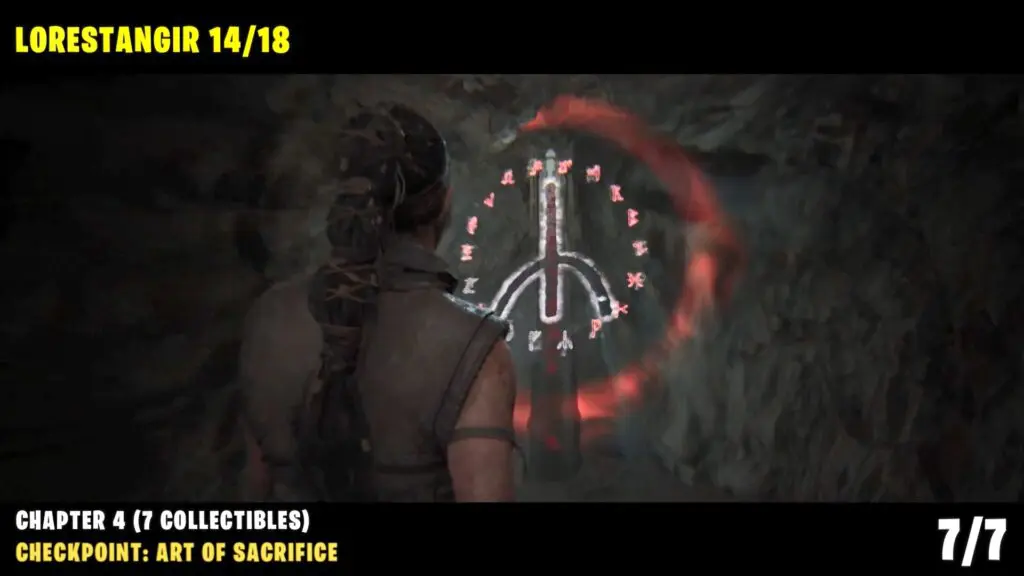
Collectible: Lorestangir #14
Return to the previous fork along the path and then follow the path to the right until you drop down from the ledge.
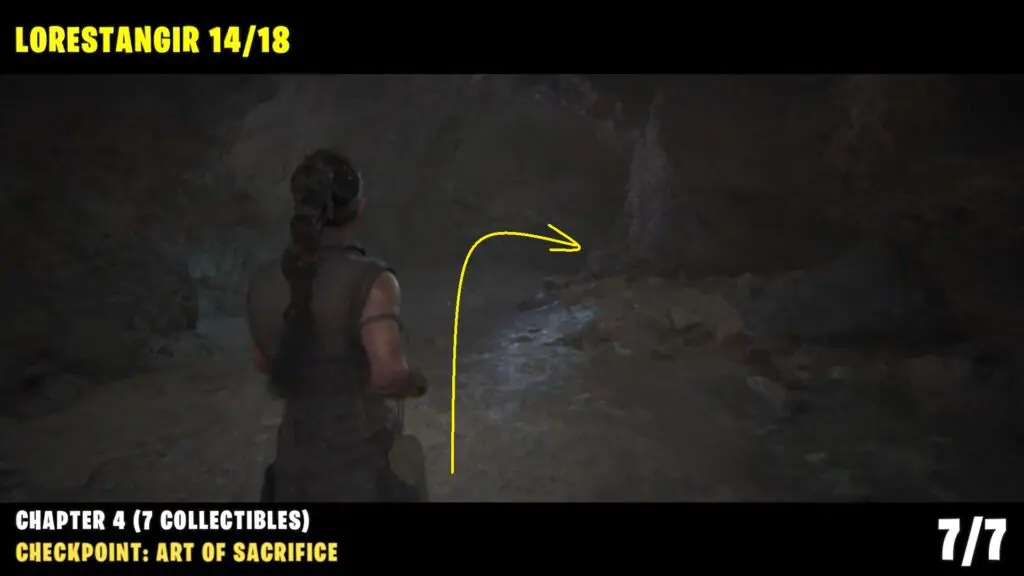
Go straight and take the right path to reach the Lorestangir totem. (left path is the main story path)
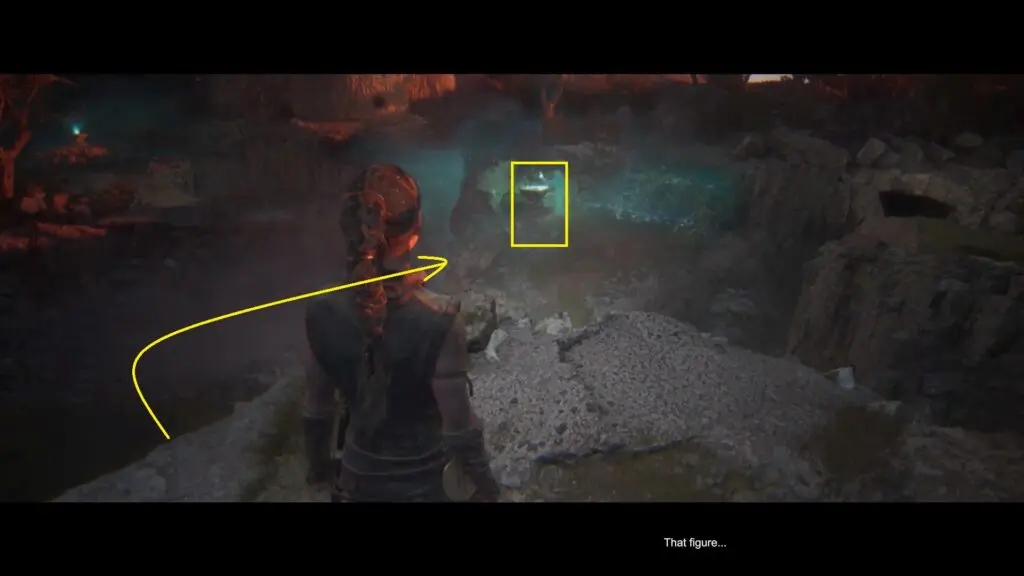
Follow the main path to reach a larger circular room with water bubbles. Scan the water bubble in the middle.

Then, take the path to the left and keep scanning the water bubbles until you reach the end of the left -side path. Finally, open the exit door. (But still not accessible)
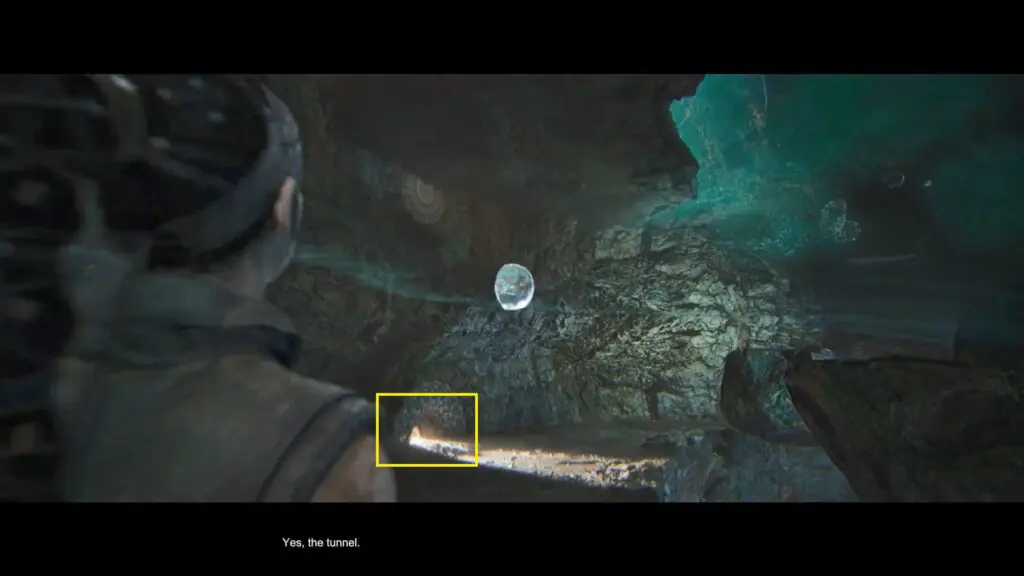
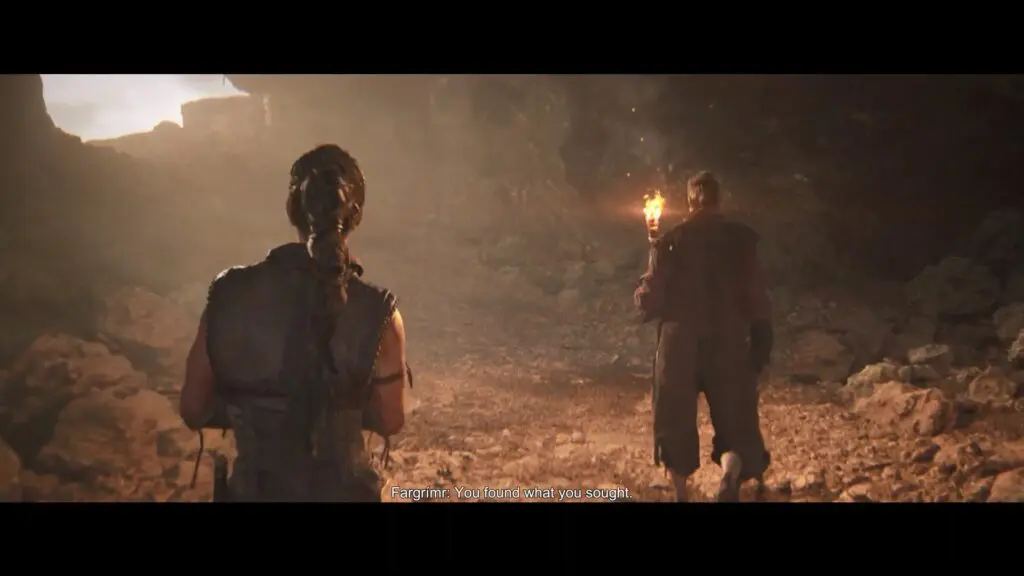
Similarly, start heading to the right and keep scanning the water bubbles until you reach the exit door. Crawl through the tunnel (exit) to trigger a cutscene.
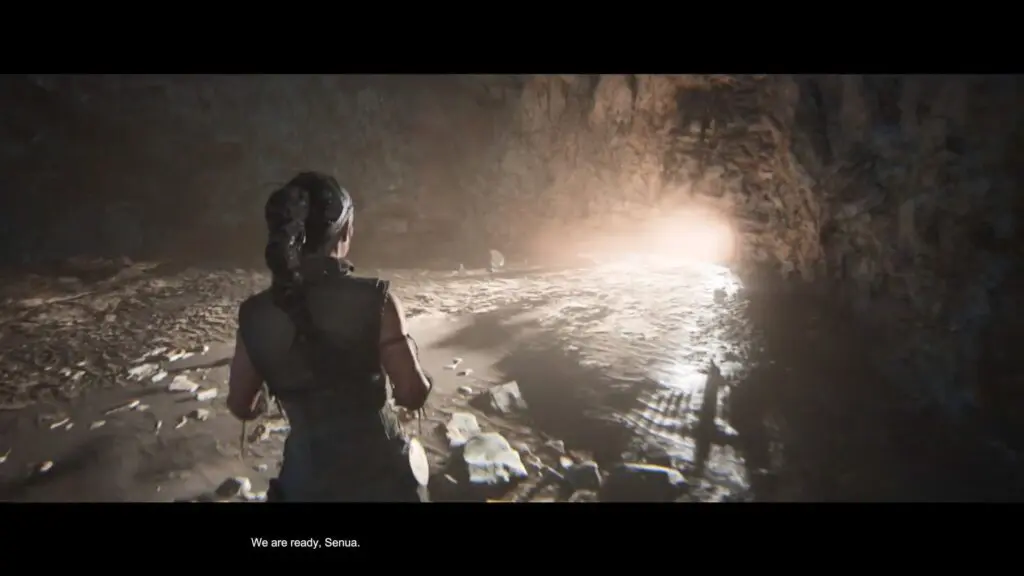
Checkpoint: Breaking Through
Follow the blue light and trigger another cutscene at the end.
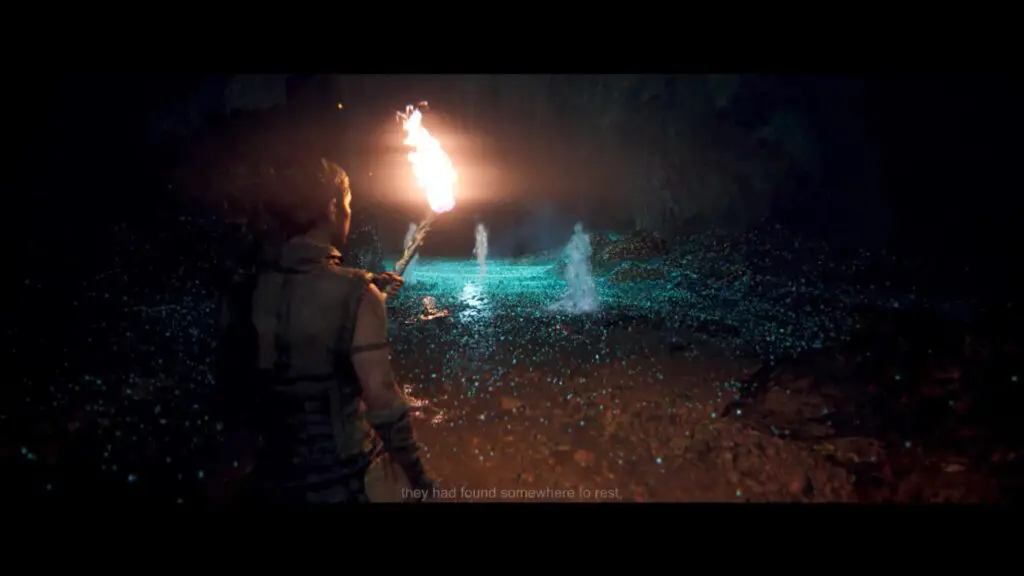
Checkpoint: A Gift Returned
Defeat the monsters.
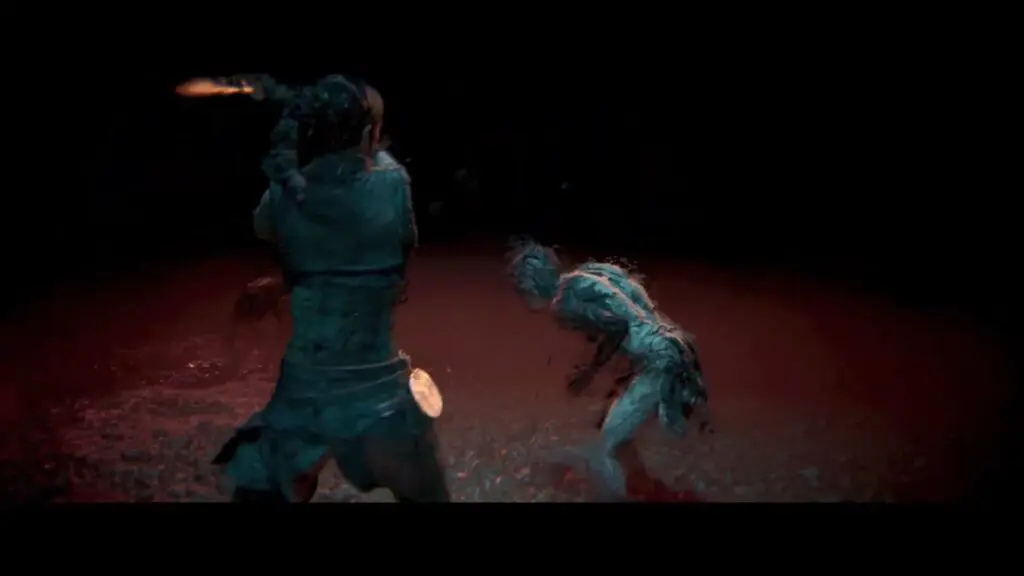
Checkpoint: The First Ritual
After that cutscene follow the guy outside in an open area to trigger another cutscene.
Here you need to fight against a giant. To defeat him, you must destroy his chains. Hide behind the pillars and move to the next pillar only after the giant attacks. Reach the first chain and interact with it to destroy it.

Similarly, destroy three more chains (four in total) to end the chapter.