This step-by-step guide will show you how to complete Chapter 5 of Senua’s Saga Hellblade II (2024).
Also Read: Senua’s Saga Hellblade 2: All Chapter and Collectables Guide
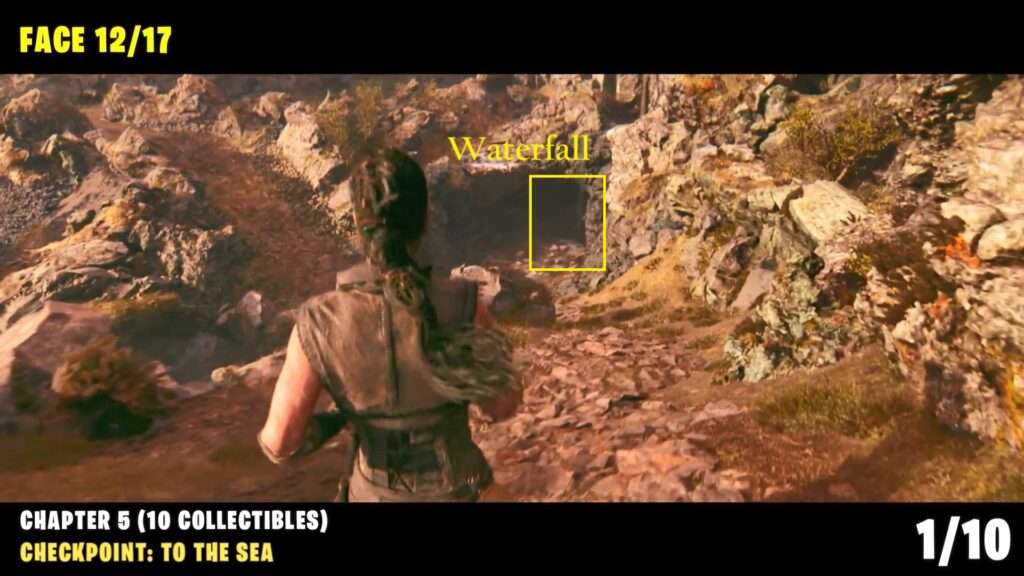
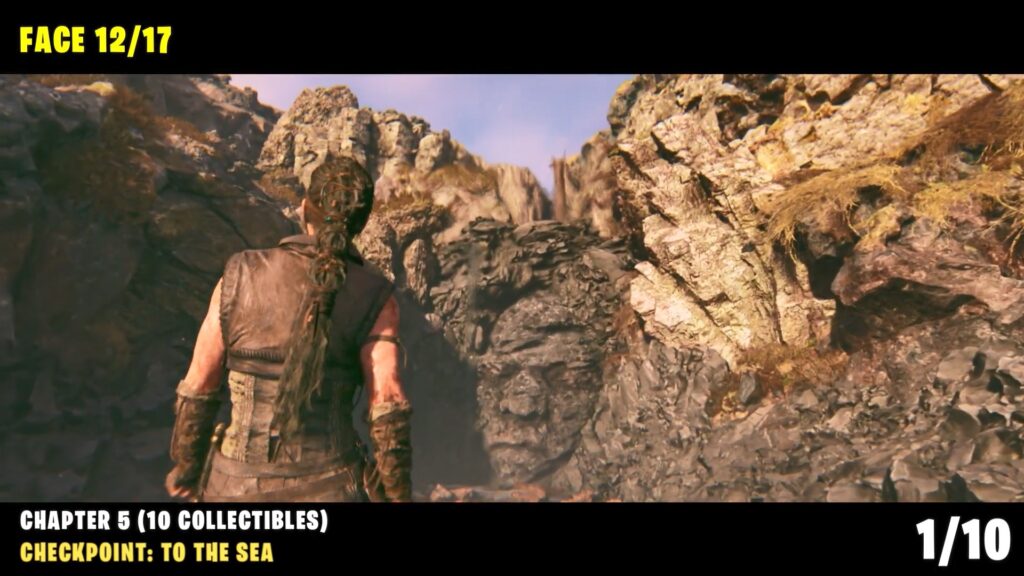
Checkpoint: To the Sea
Collectible: Face #12
After the start of the chapter, continue to follow the path downhill until you reach a small stream. The stone face will be on the right side.
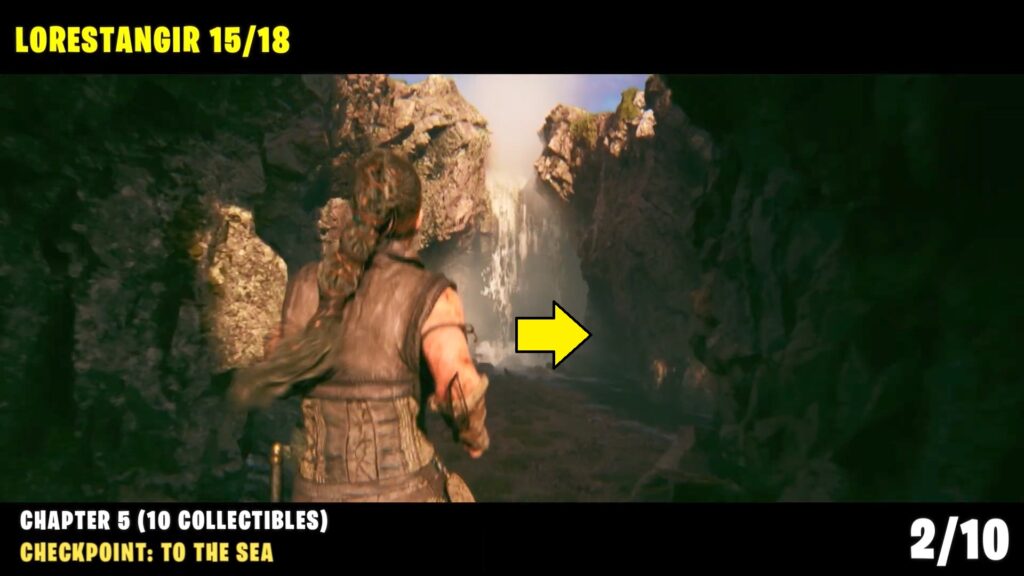
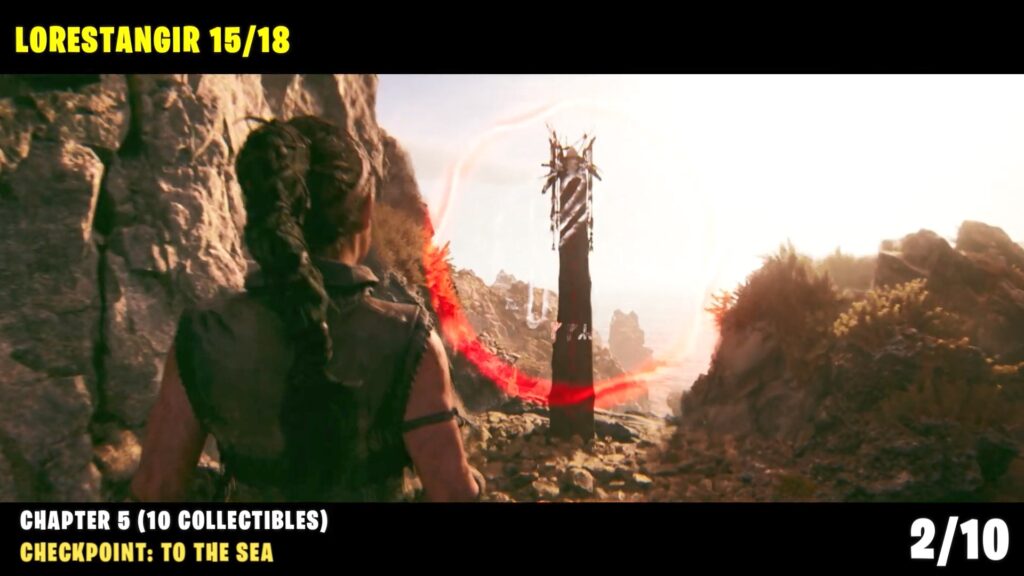
Collectible: Lorestangir #15
Go up on the main path then turn right.
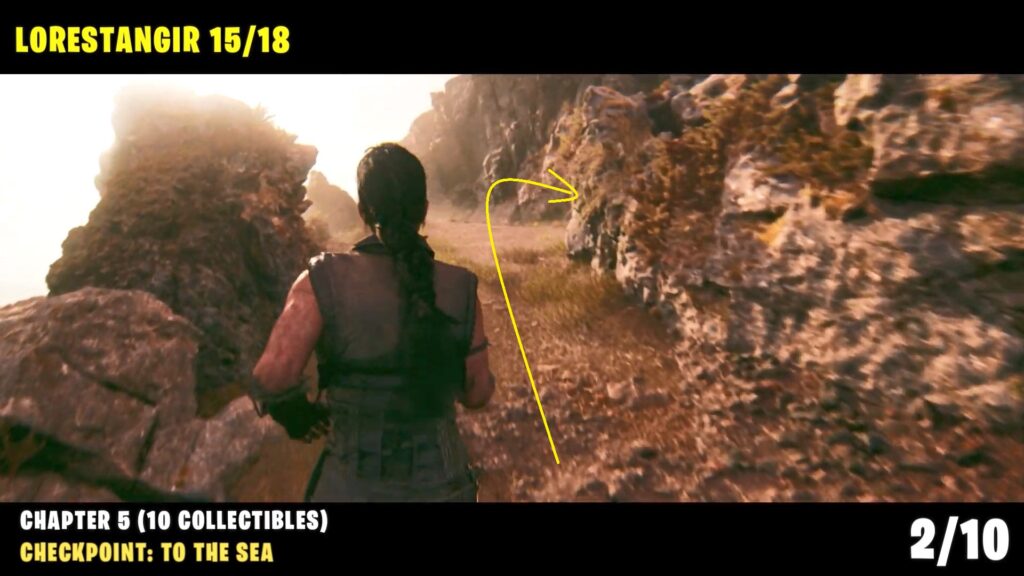
Continue along the path and turn right before the waterfall to find the Lorestangir totem.
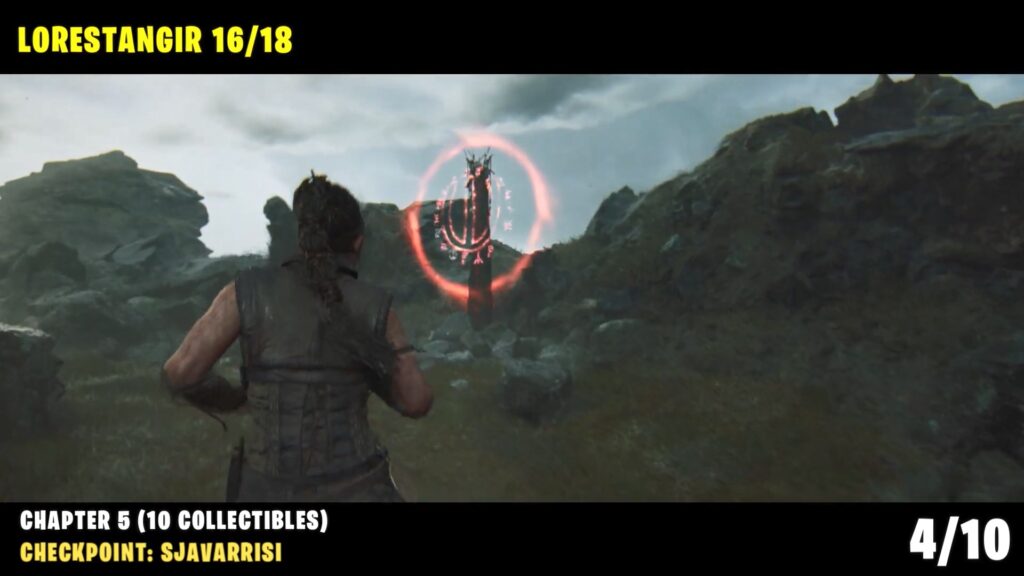
Checkpoint: Sjávarrisi
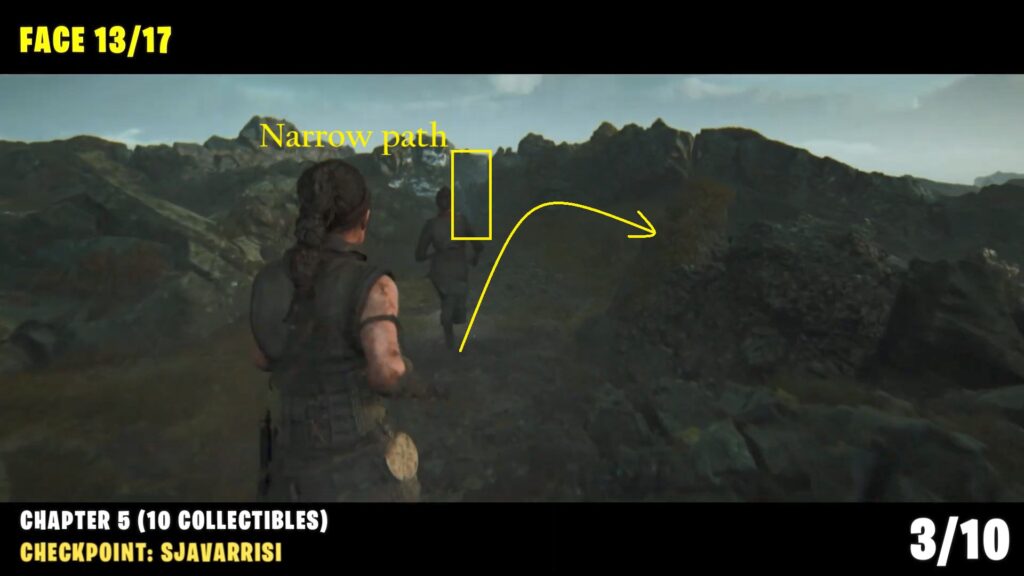
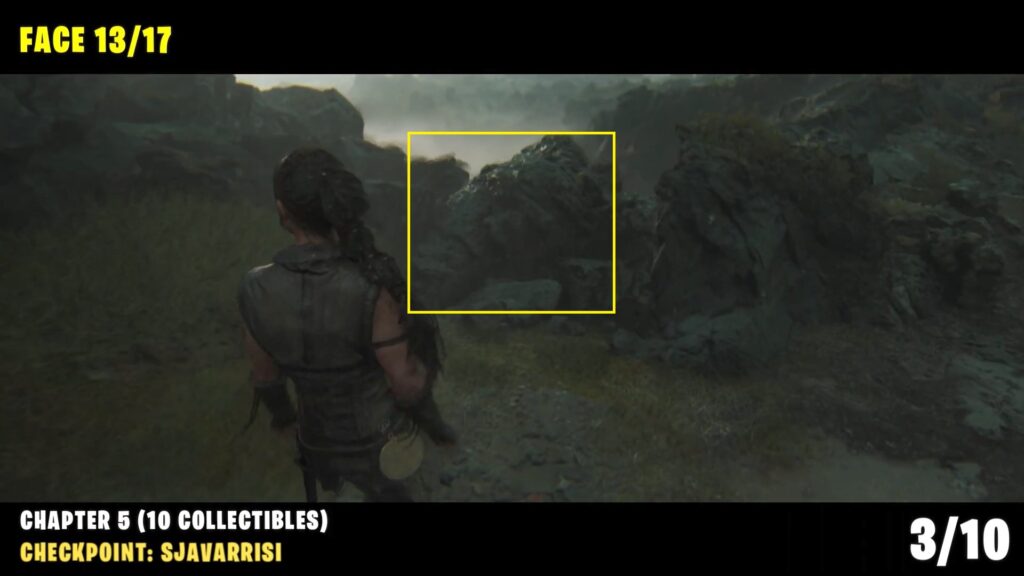
Collectible: Face #13
Progress further in the chapter to trigger a cutscene and after that, you will be walking with a woman named Astrior. Just before Astrior squeezes through the narrow trail, turn around and look to your left to find a stone face.
Collectible: Lorestangir #16
Continue to walk along with the woman until you need to hop over a small wall to reach an open area with grass. Look to your right to see the Lorestang totem at a distance.

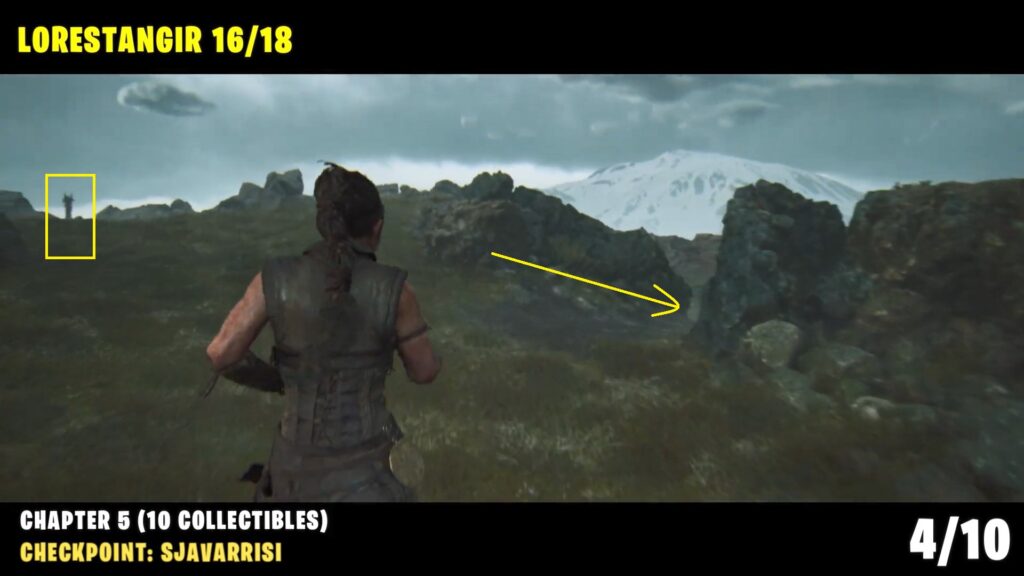
Follow the path on the right side, and crouch through the small opening in the rock to reach the Lorestang totem.
Return to the main path and continue to follow the woman again, and climb up the mountain wall, go down a ladder until a cutscene gets triggered where a fight will start
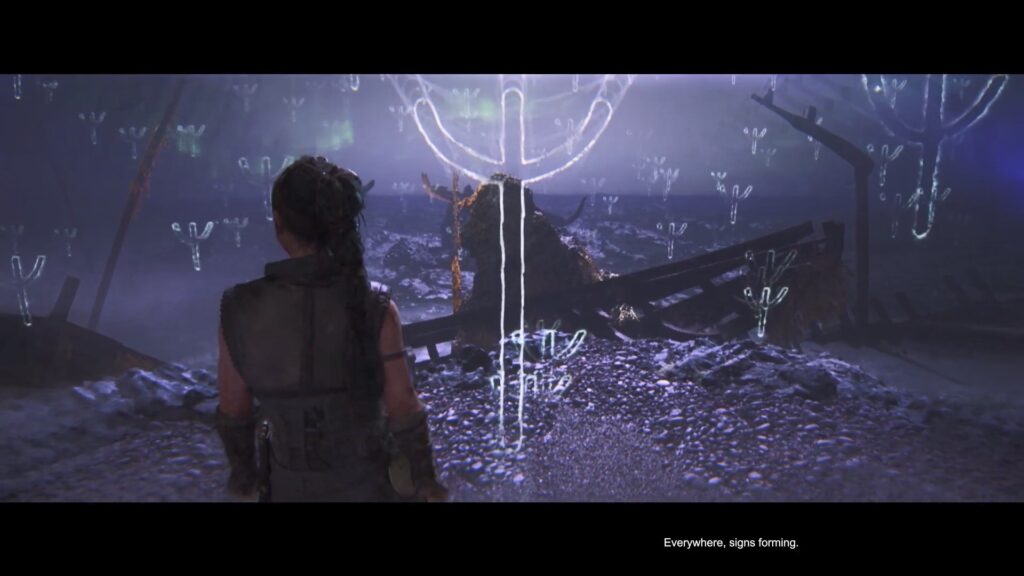
# Symbols Puzzle
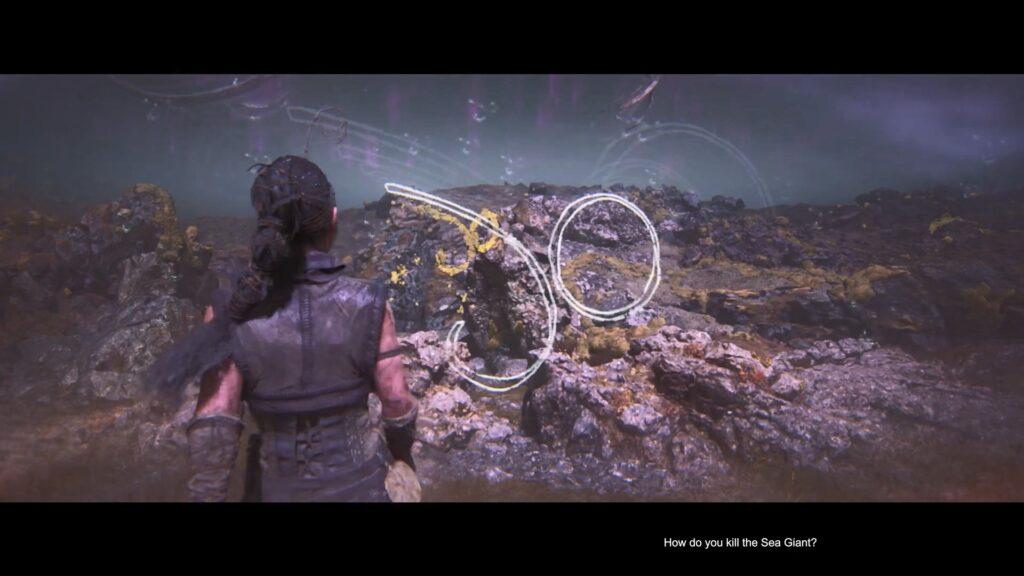
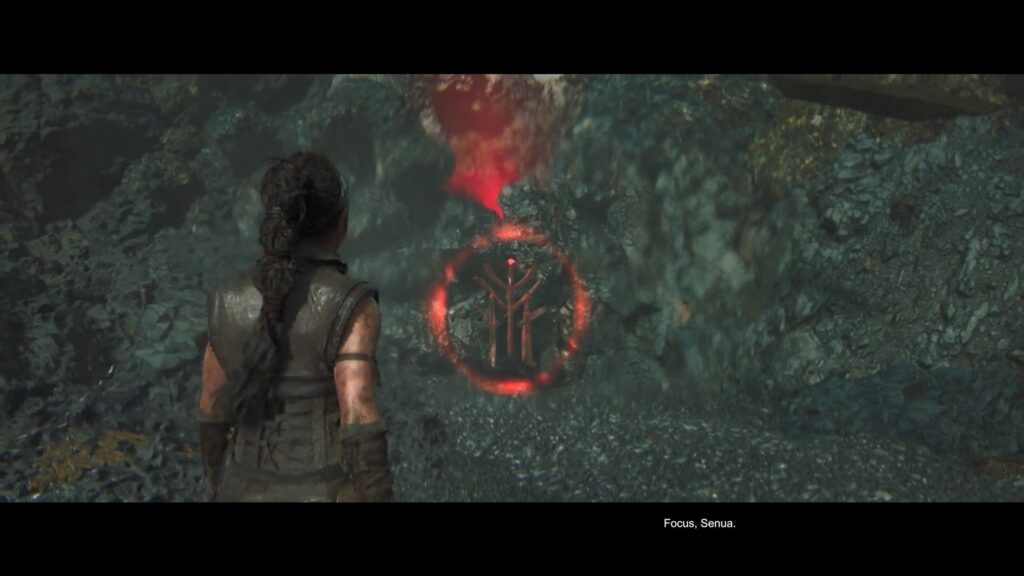
After the fight, follow the main story path to reach a blocked path where you need to solve a puzzle.
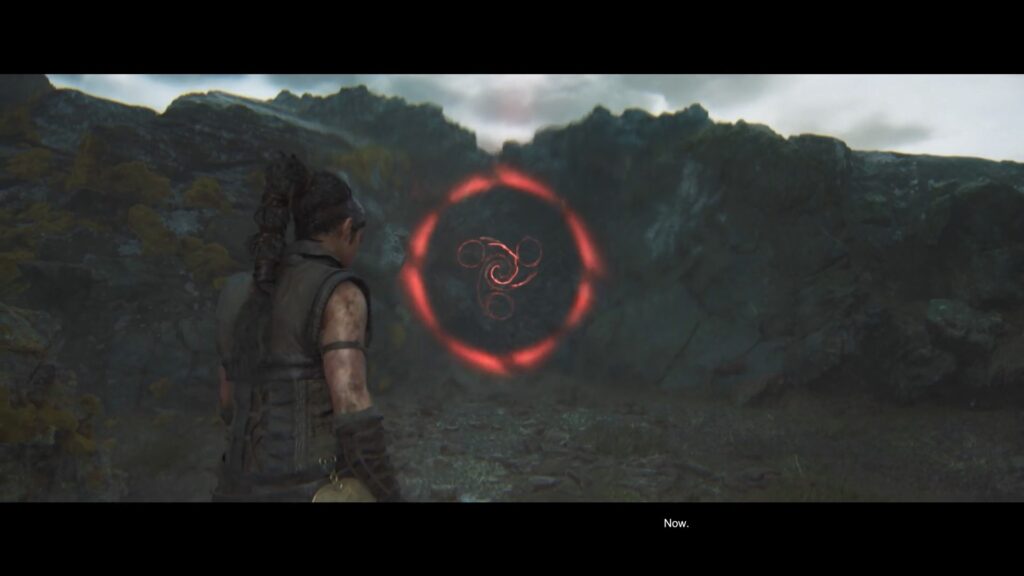
From the blocked path, turn around and climb the small flat platform. Scan the symbol on your left.
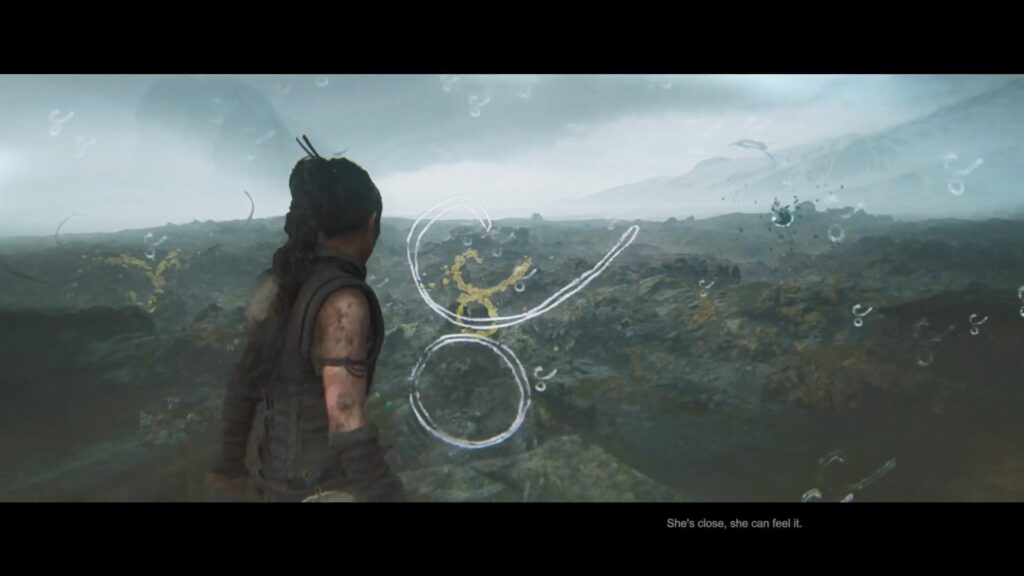
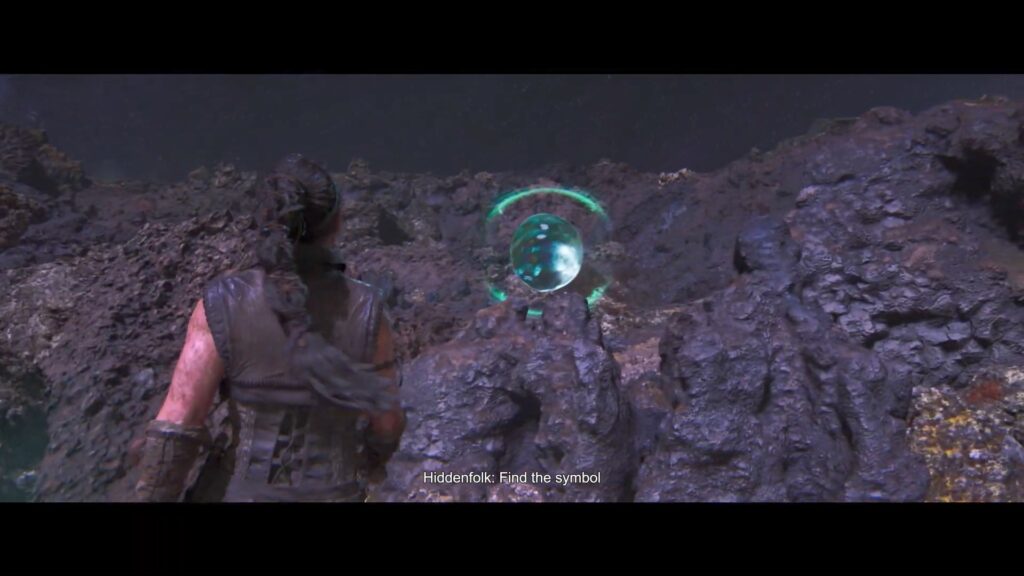
From the blocked path, turn left and scan the bubble. Turn around and follow the path to find the second symbol.
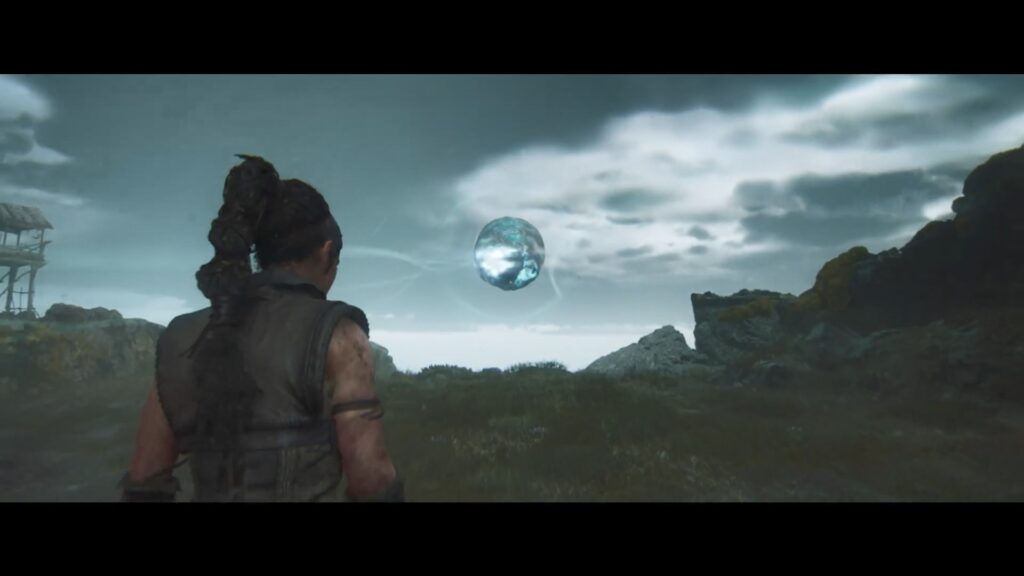
Continue along the path to find another water bubble. Scan it, then go right until the end of the path and scan the symbol.
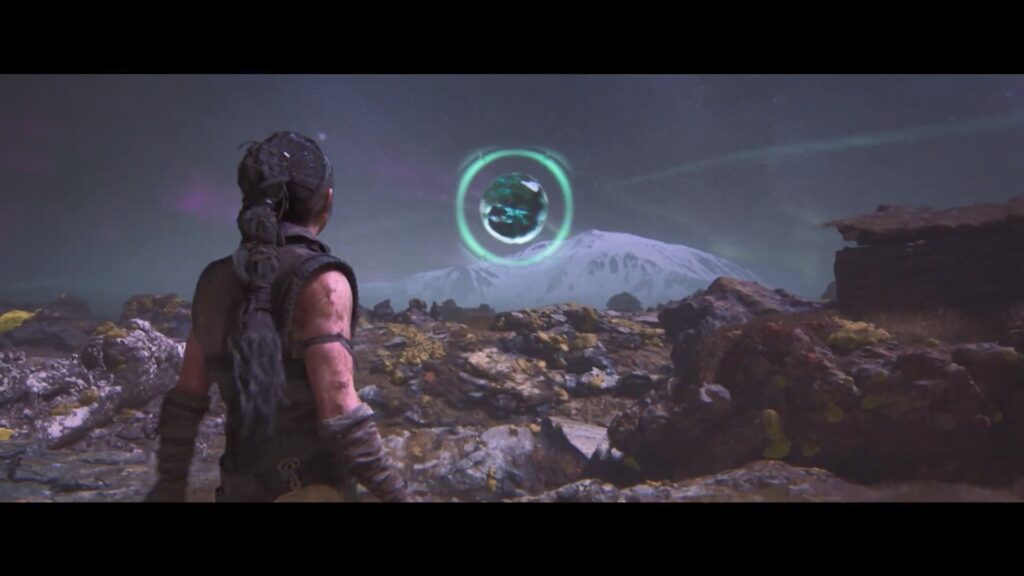
Now you can pass the blocked path.
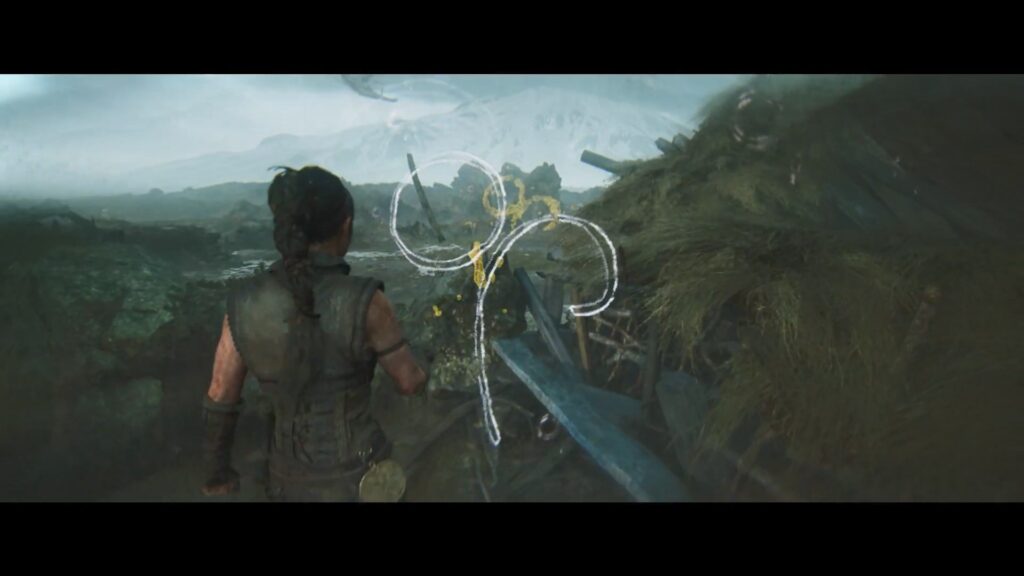
Checkpoint: Another Question
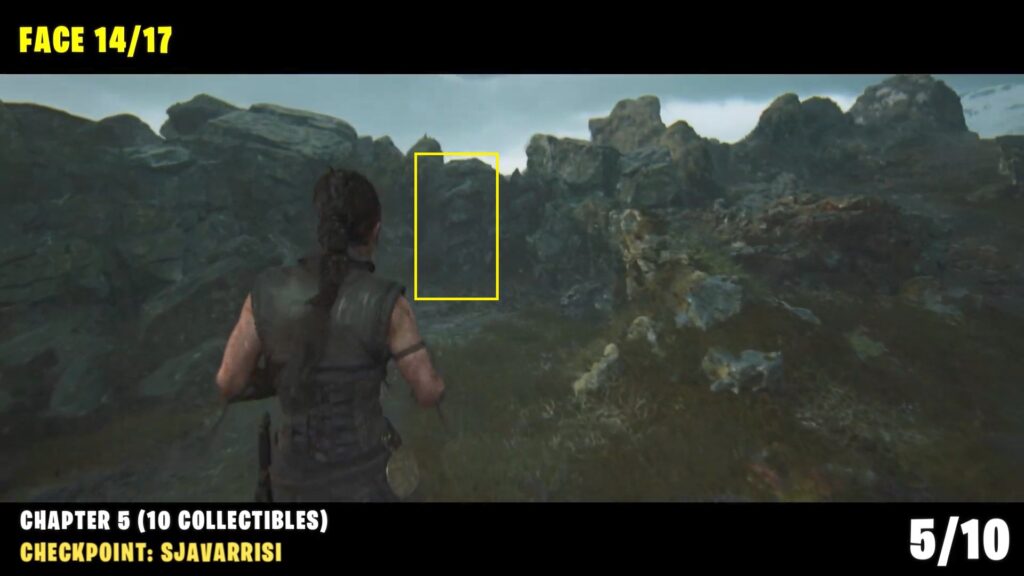
Collectible: Face #14
Follow the main path after solving the Hidden Folk challenge you must find 3 glyphs to open a locked path. (Just before reuniting with the woman)
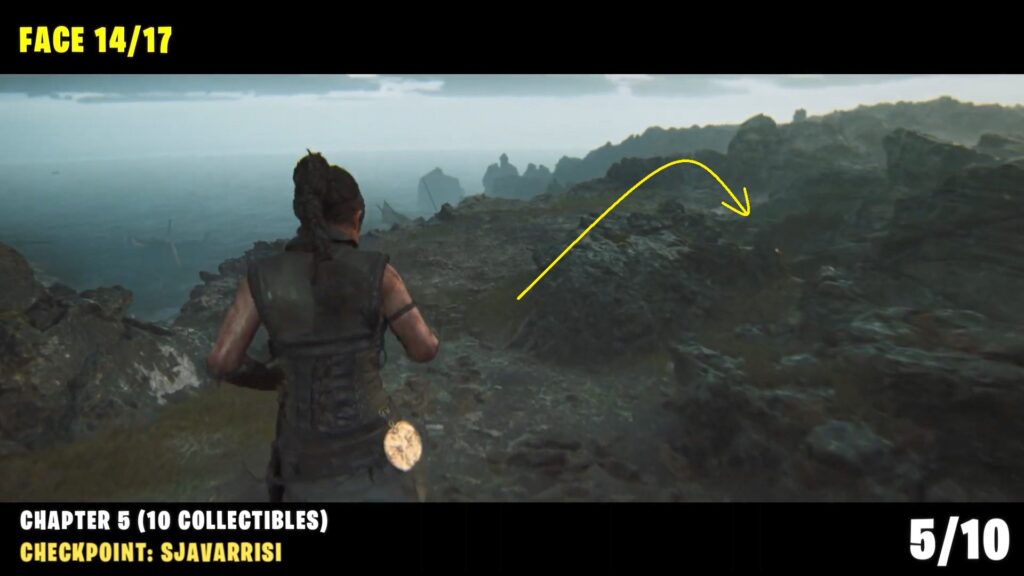
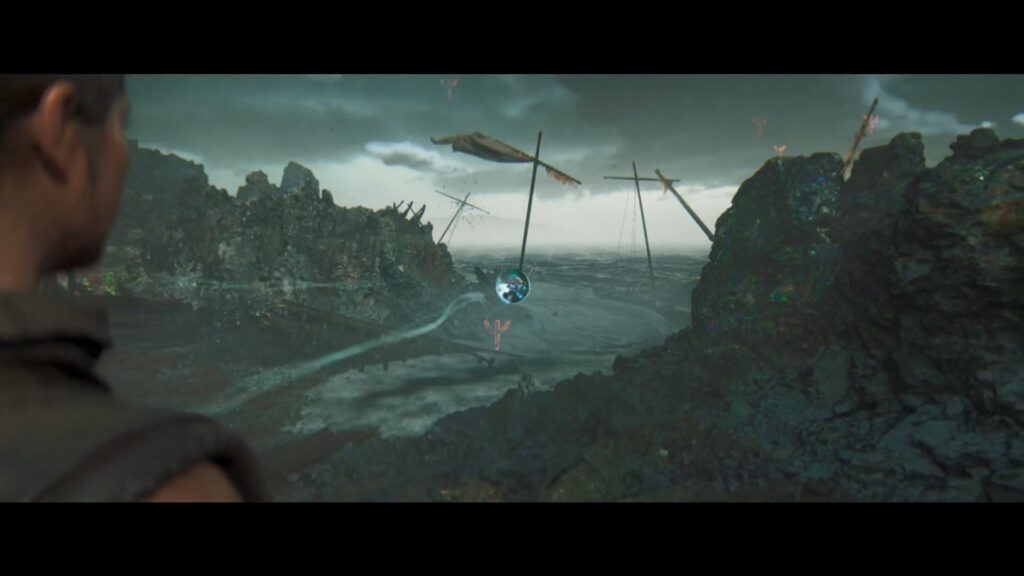
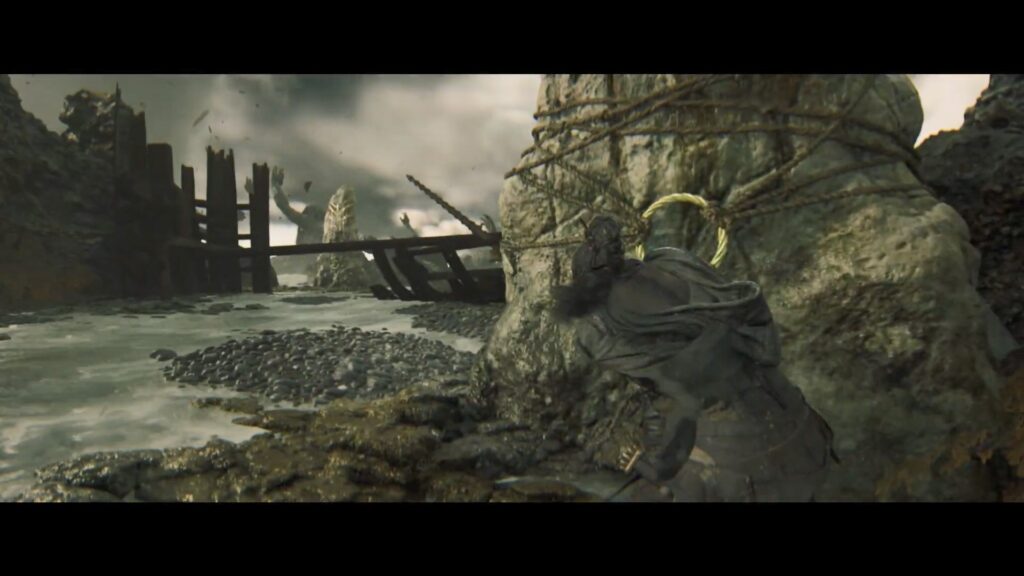
Look for the stone face on the right side once you reach the cliff overlooking several shipwrecks.
Follow the path to reach a beach with a blocked path. Scan the symbol on the blocked path.
Symbol Puzzle #2
Follow the path until you end up on a beach in front of a blocked path. Scan the symbol on the beach. Here you need to solve another symbol puzzle.
Symbol #1 Location
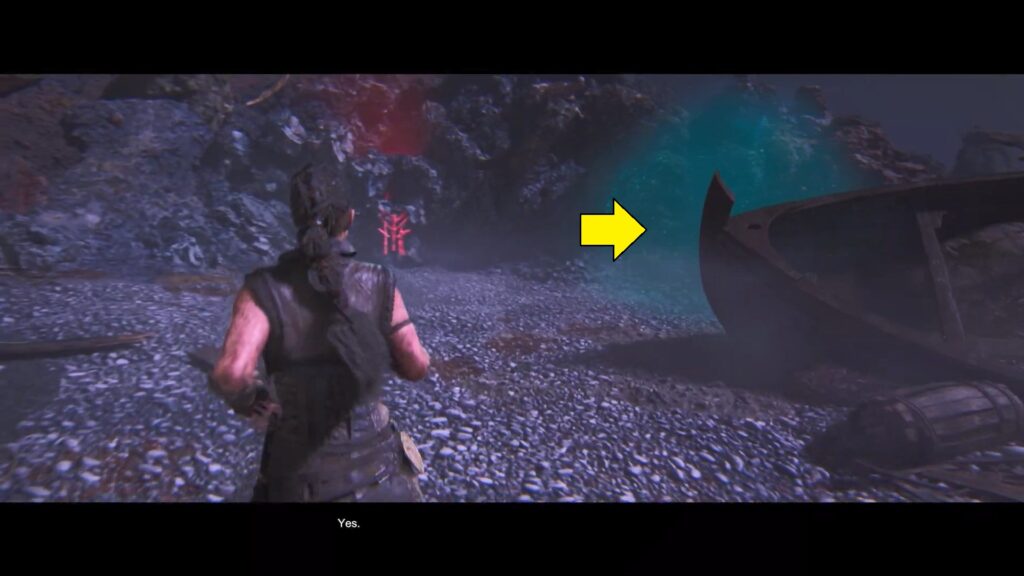
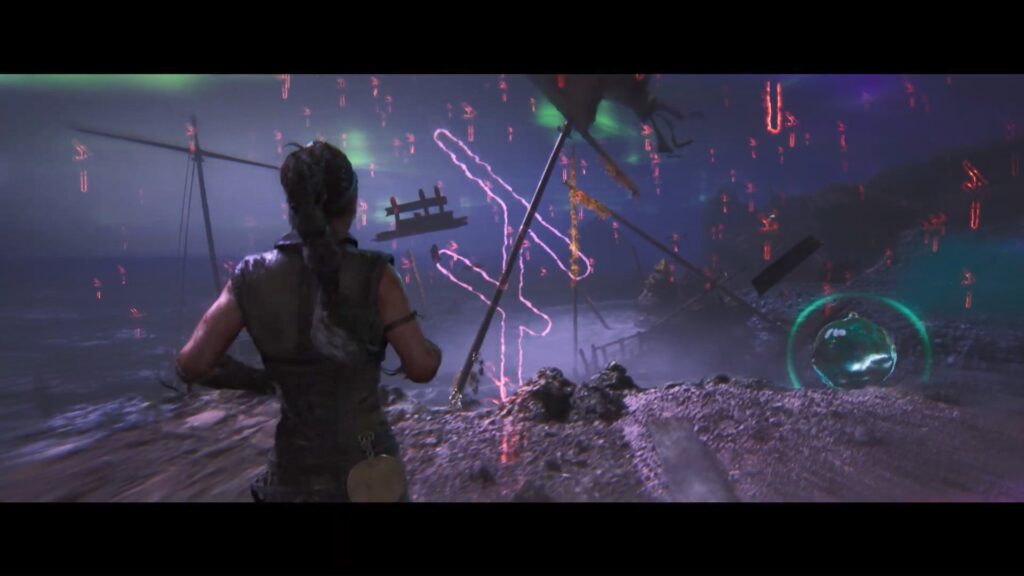
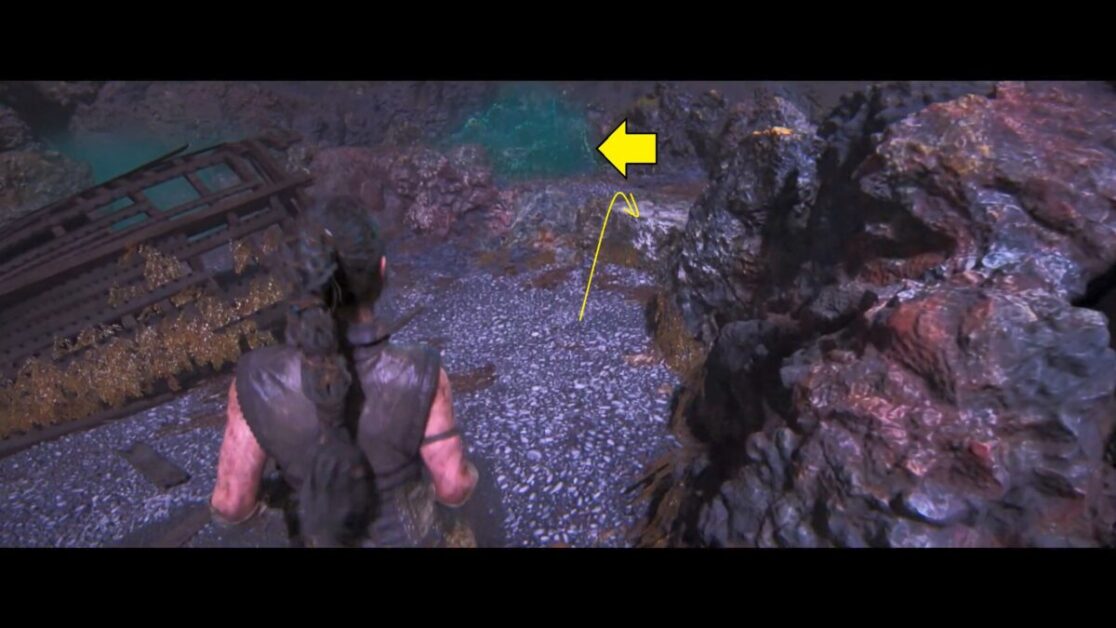
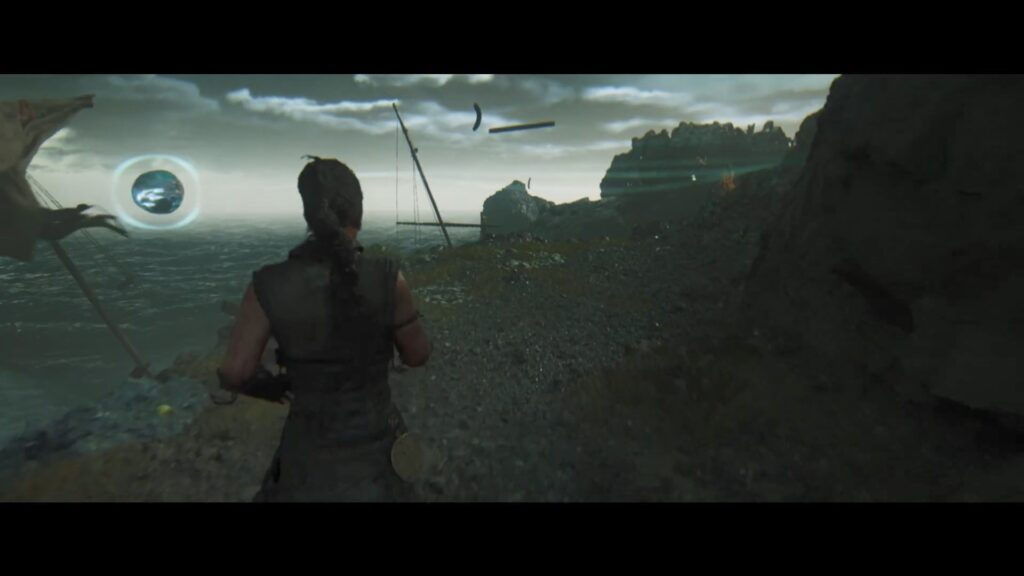
Turn around and head toward the sea to scan the water bubble. This will open a path on your left behind the wooden boat.

Follow the newly opened path and scan the bubble again from the side of the boat.
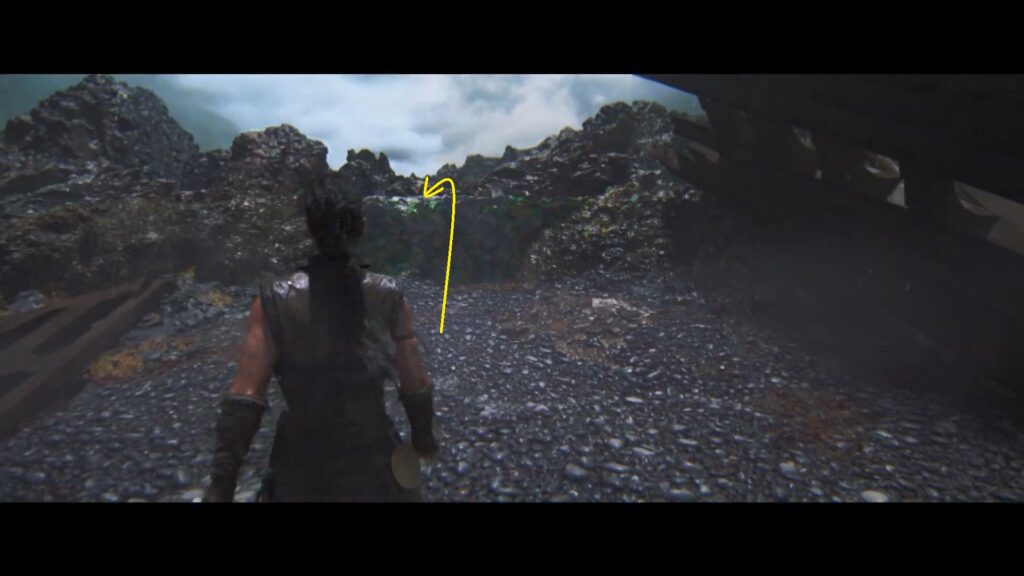
Climb up the ledge on your left and follow the path to find another bubble to scan.
Scan it, then backtrack a bit and take the first left turn. At the end, you will find the first symbol.
Symbol #2 Location
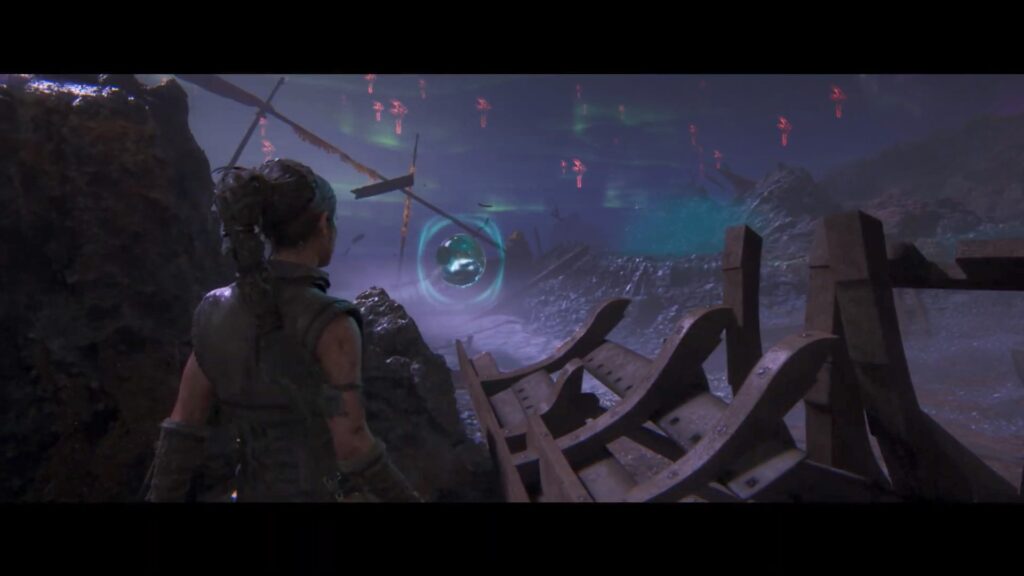
From the blocked path, turn around and head toward the sea to scan the water bubble.
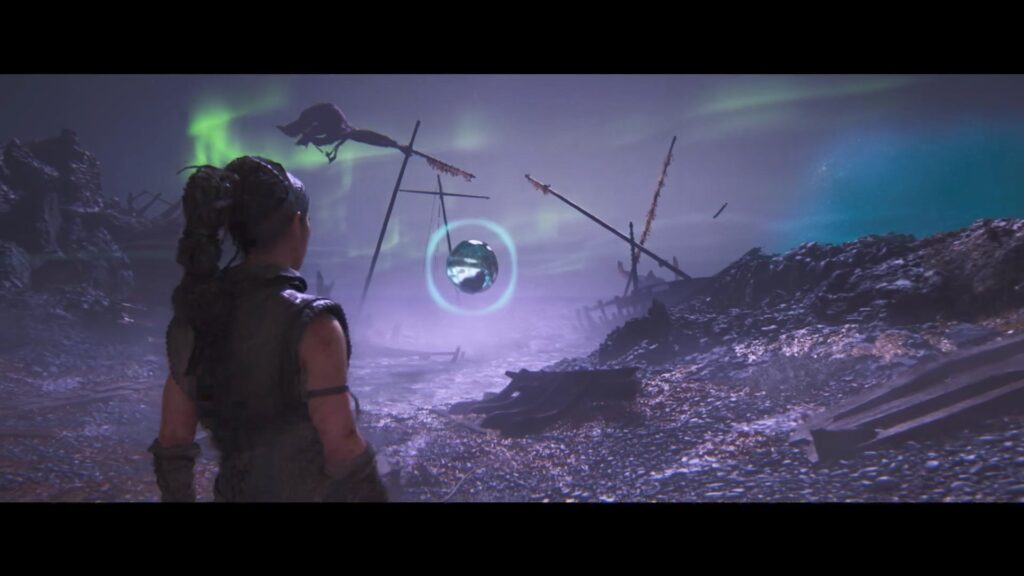
Climb up the ledge on your right.
Follow the path until the end. Scan the water bubble on your left. Follow the newly open path to reach the 2nd symbol.
Symbol #3 Location
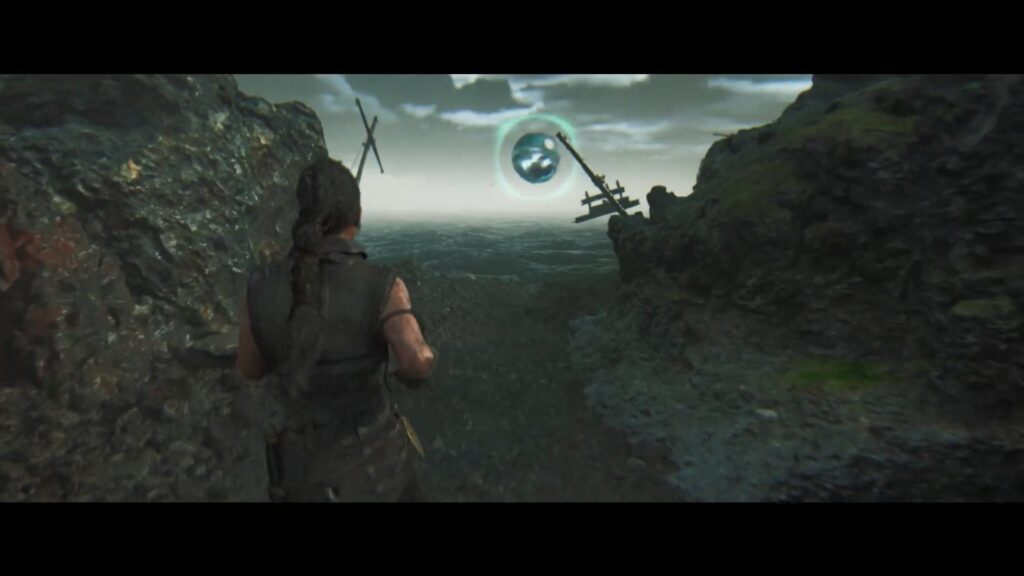
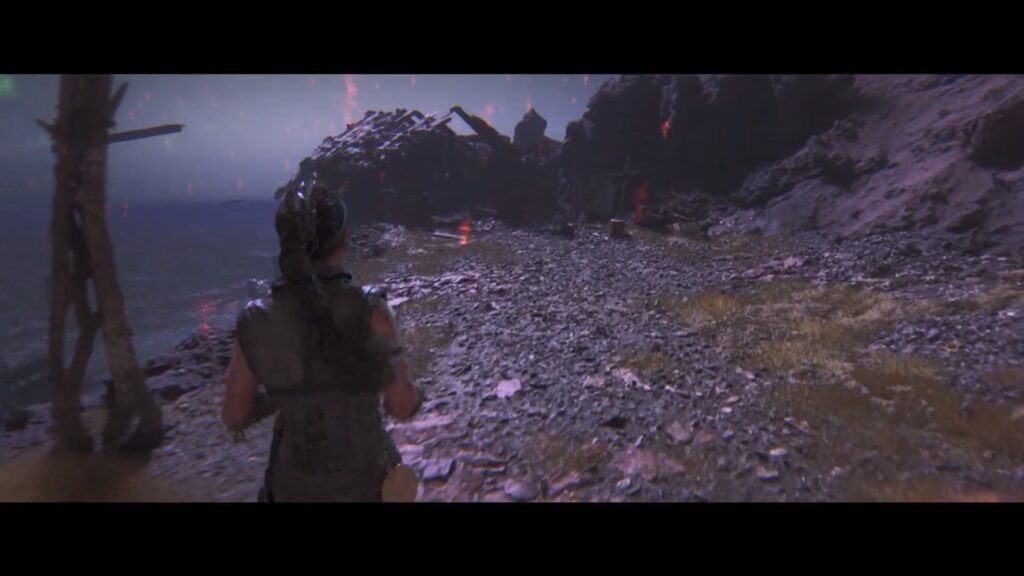
Continue further along the same path. Drop down from the ledge and climb another ledge near a broken boat.
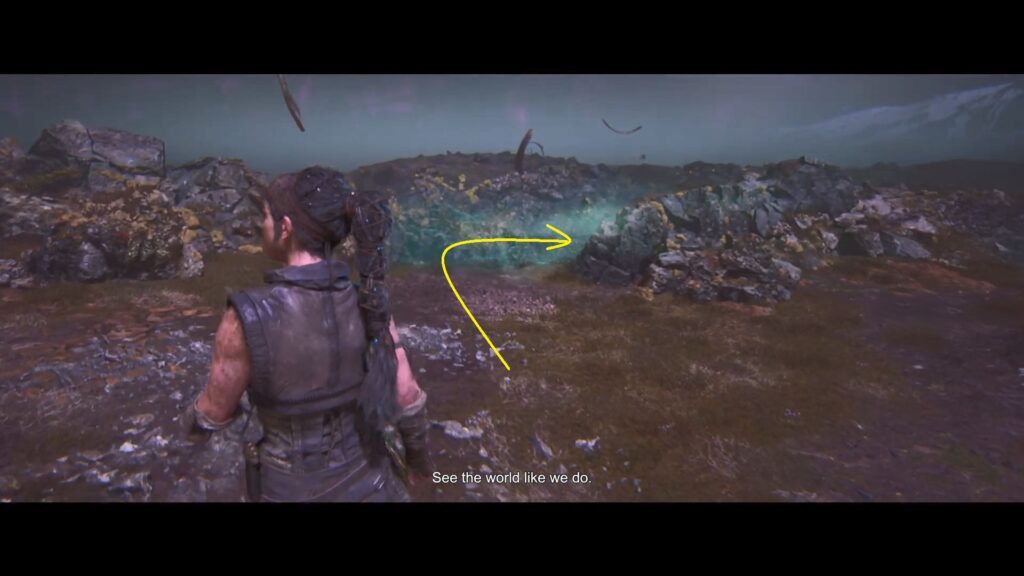
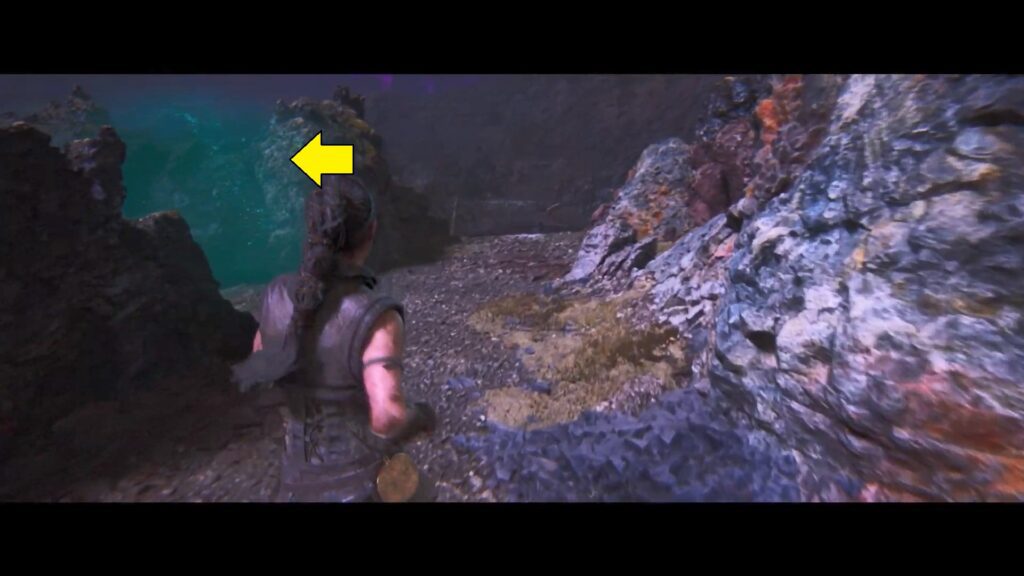
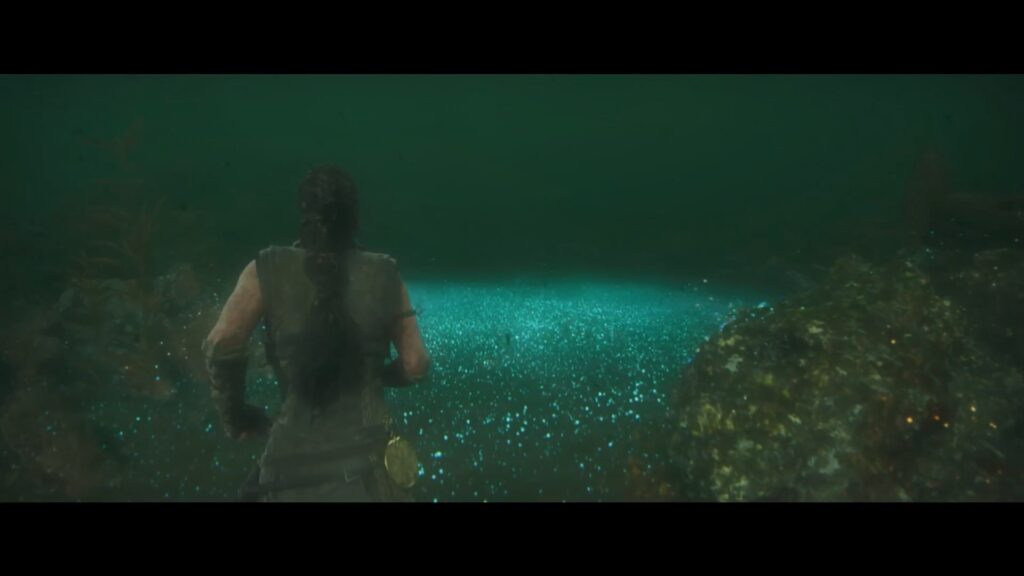
Go through the turquoise-colored dust and scan the water bubble on your right.
Continue further and scan another water bubble on your left.
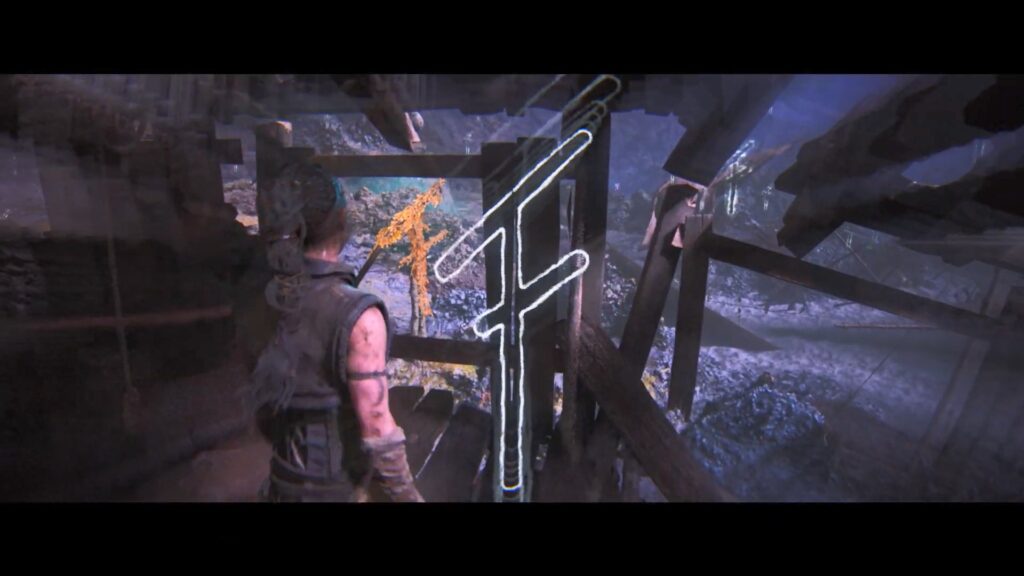
Follow the path to reach a destroyed hut.
Look through the left window to find the third symbol.
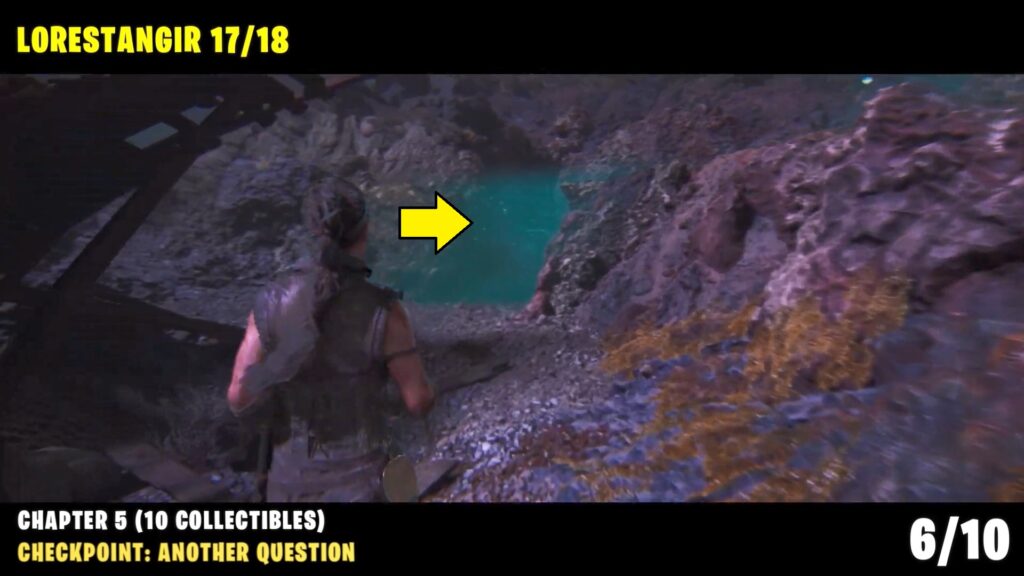
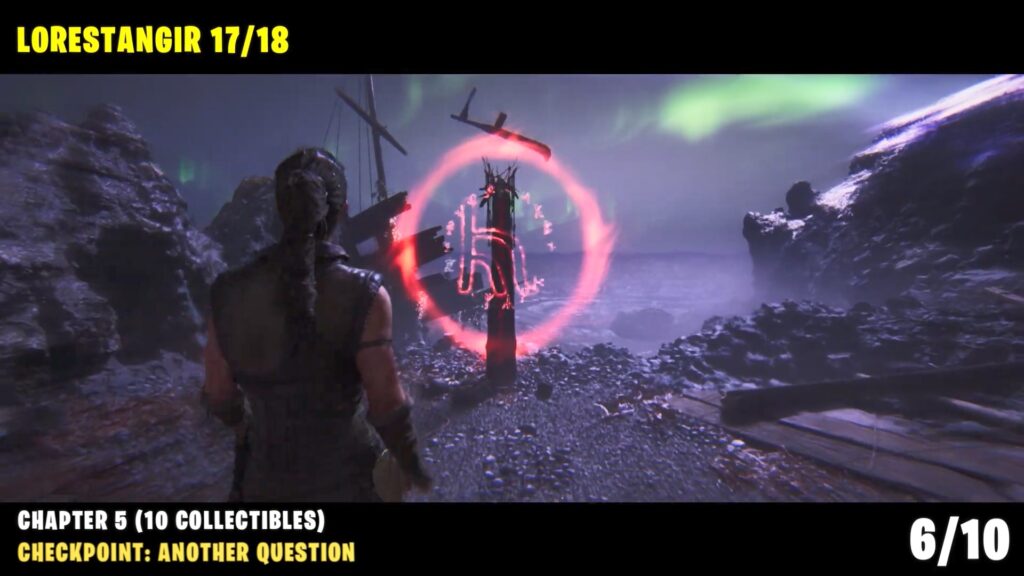
Collectible: Lorestangir #17
Now follow the path to the right of the broken boat.
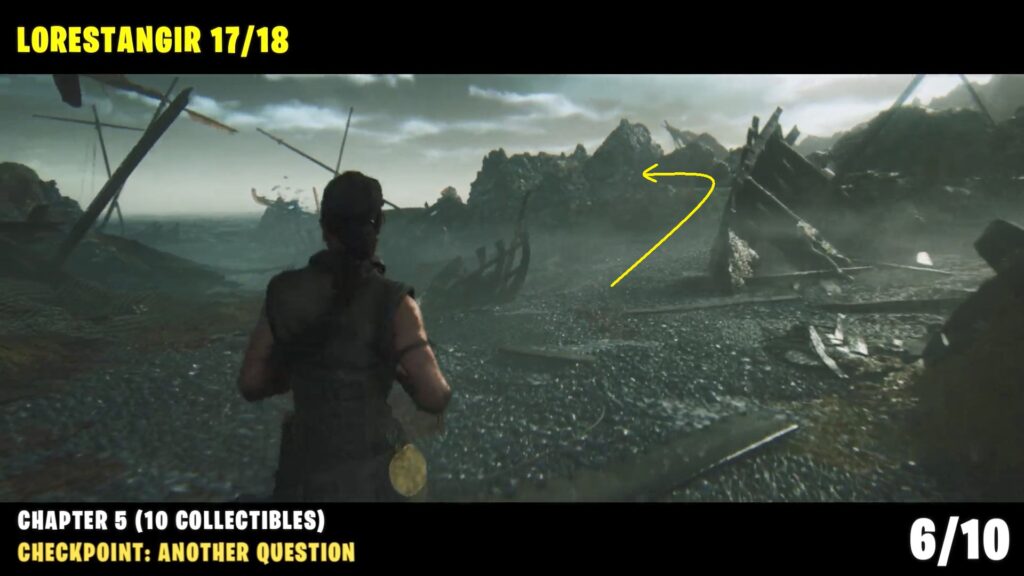
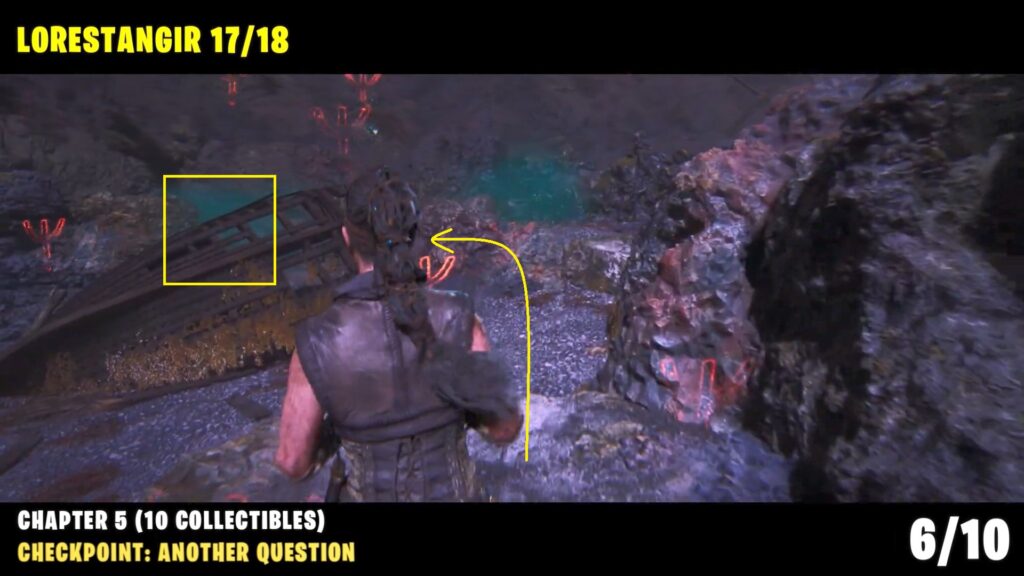
Go through it and follow the path to find the Lorestang totem.
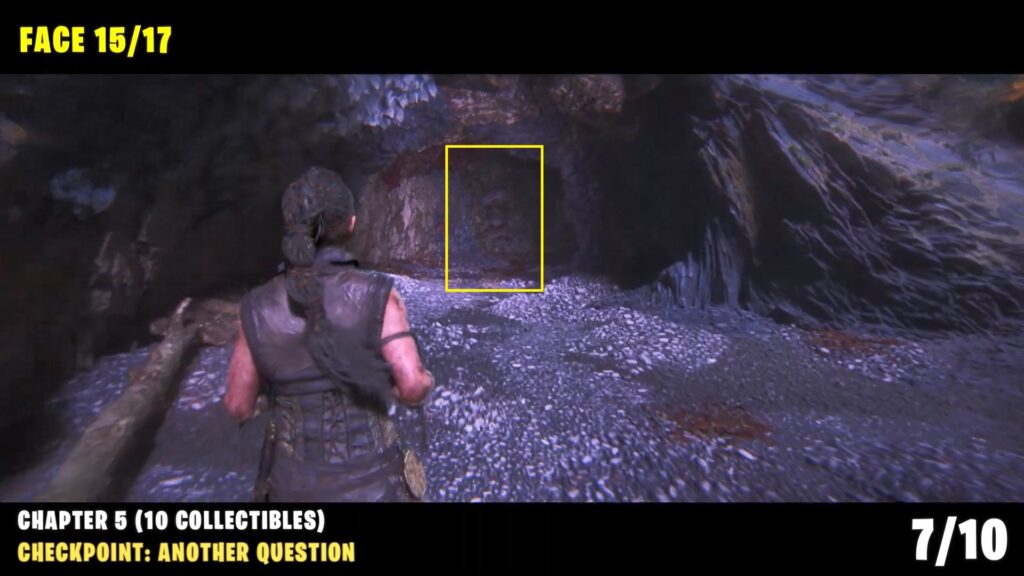
Collectible: Face #15
As you retrace your steps from the last collectible spot, look for a stone face on the left side of the cave wall.
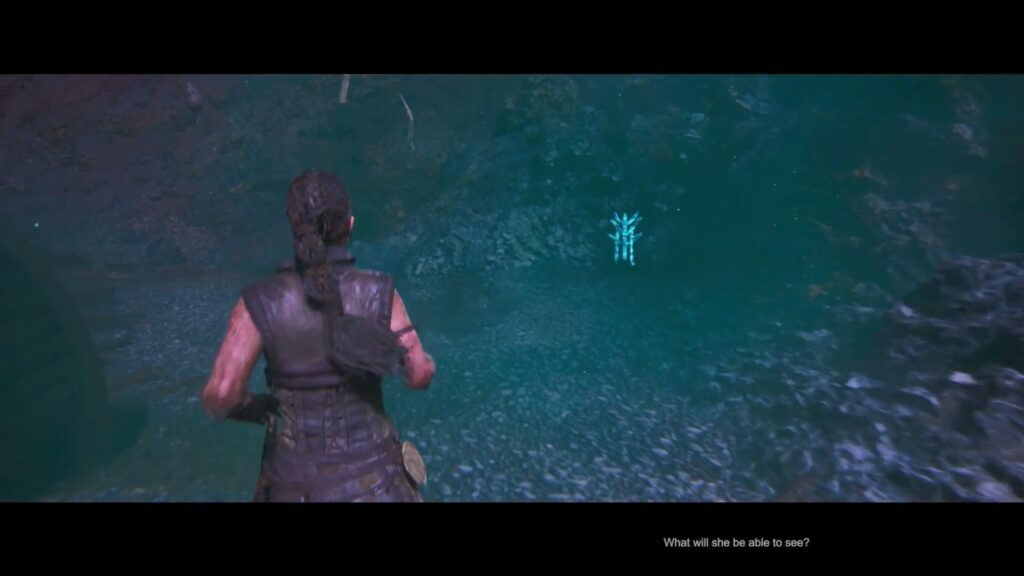
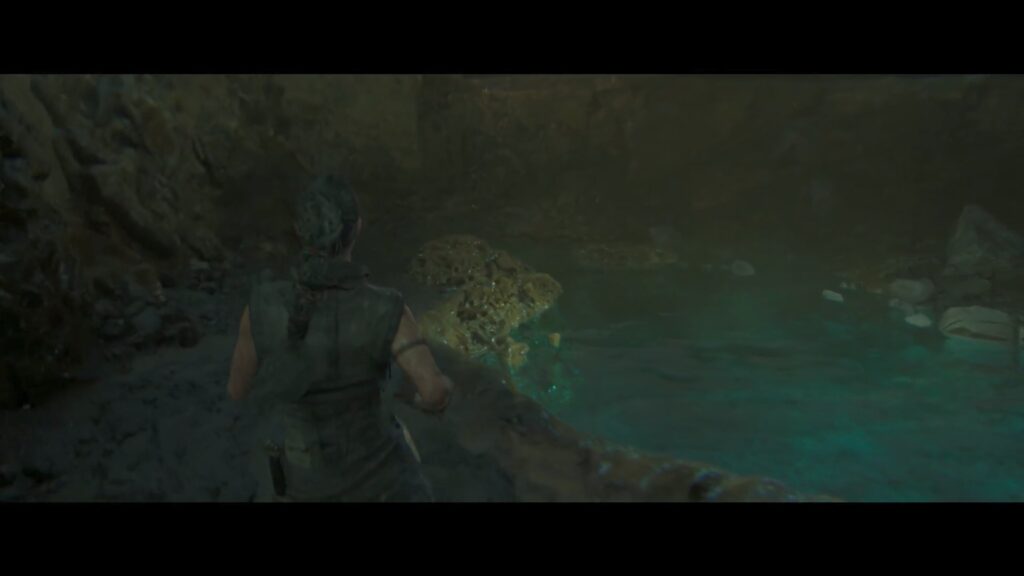
Now you can enter the blocked path, follow the path inside the cave, and finally go near the water. Scan the bubble to reach the underwater section and follow the blue light.
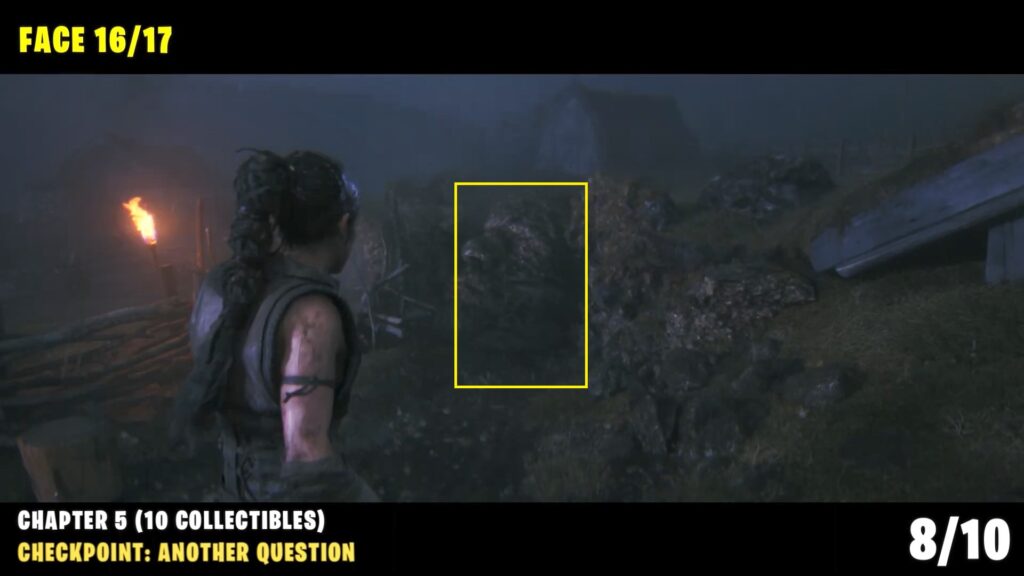
Collectible: Face #16
After the underwater section, you will be in a village. Follow the main path on the right and turn right after the third house to find the stone face near a burning torch.
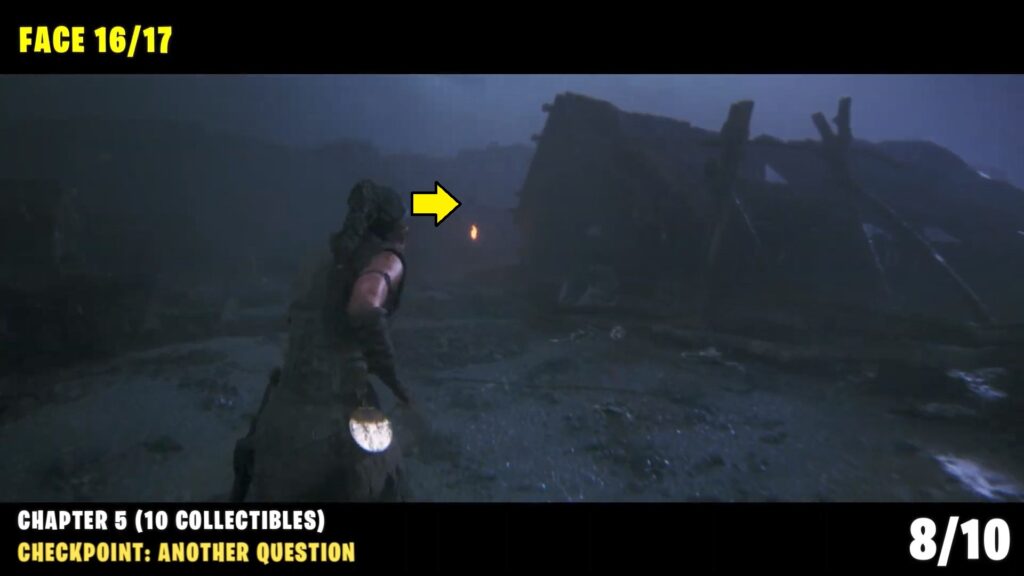

Stone Face is in the backyard of the third house.
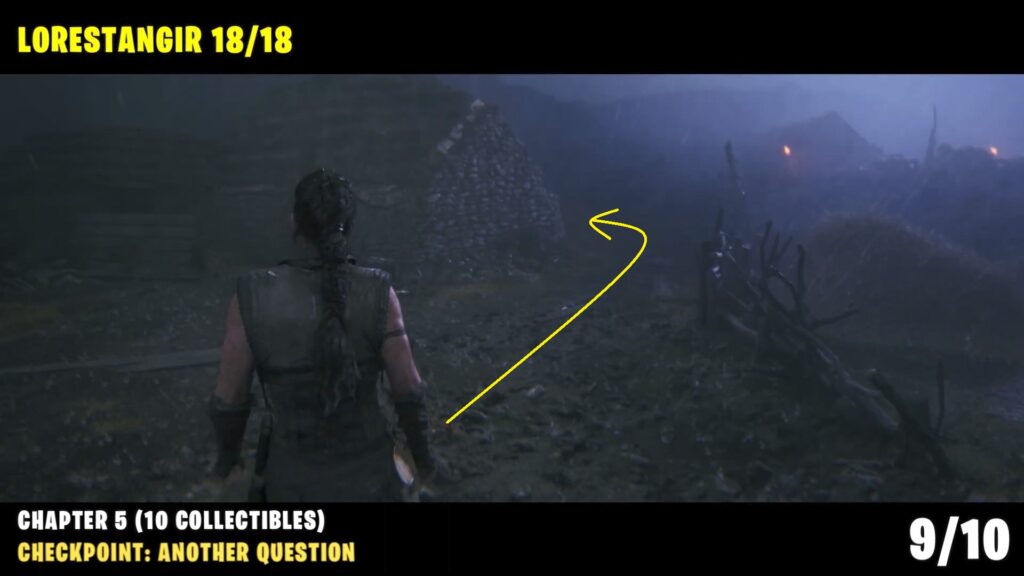
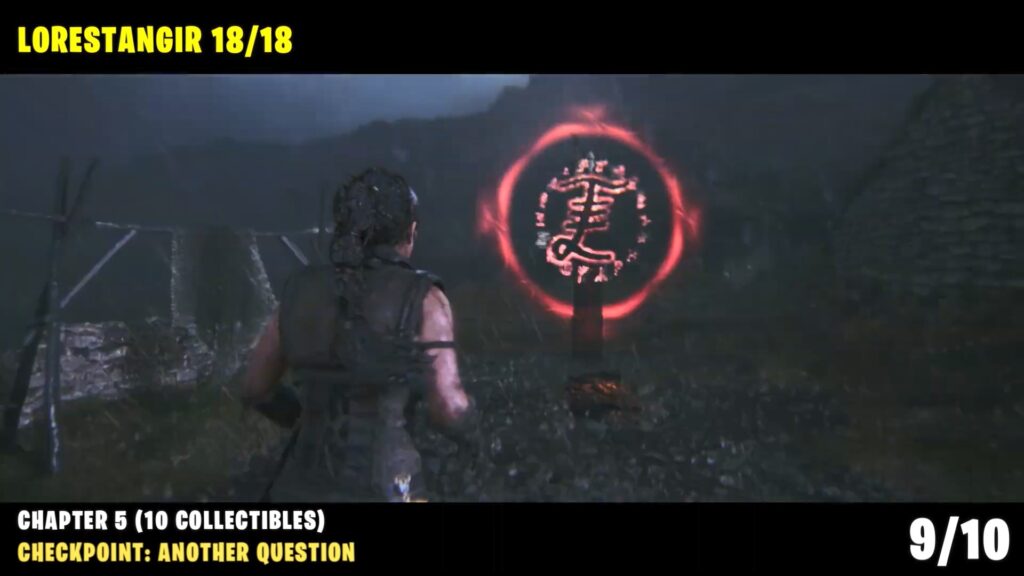
Collectible: Lorestangir #18
Go back to the main path and head to the right side. Go up the hill until you see small stone walls. Lorestangir is behind the stone walls.
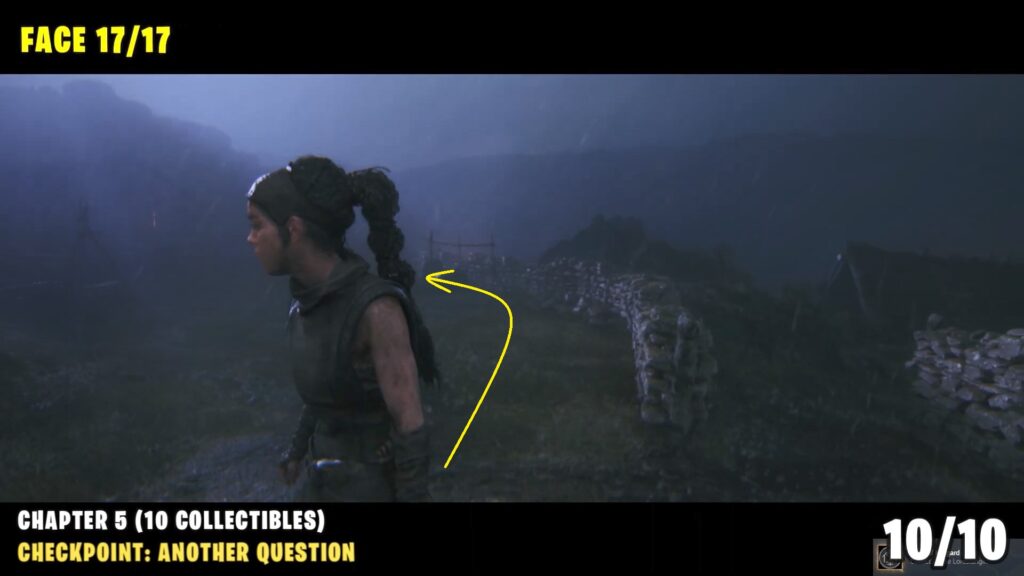
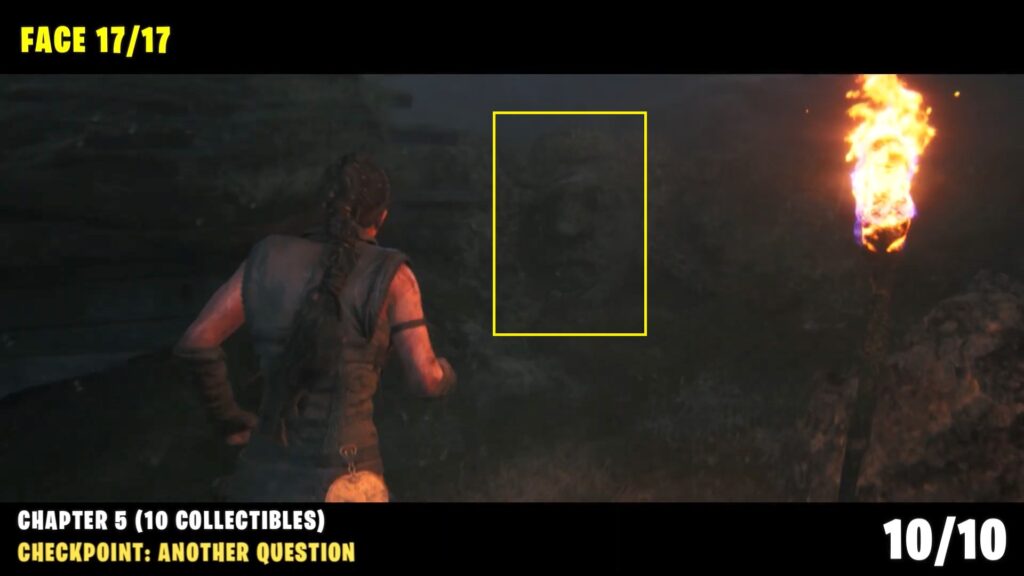
Collectible: Face #17
Head left from the previous location to find the Stone Face at the end of the path, behind the hut with a fire burning inside.
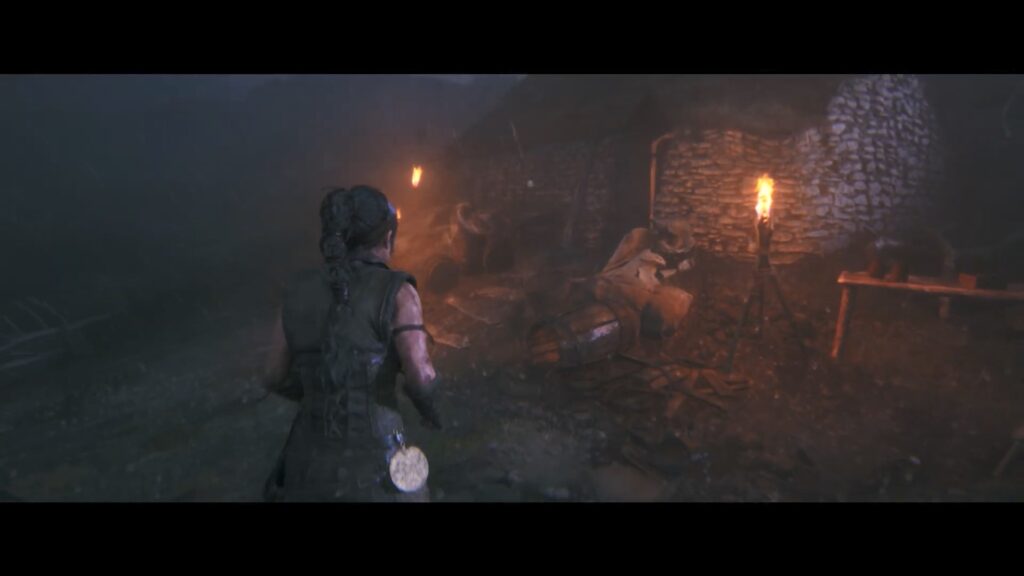
Turn around, drop down the ledge, and go left. Enter the open house on the left to start a cutscene with the woman.
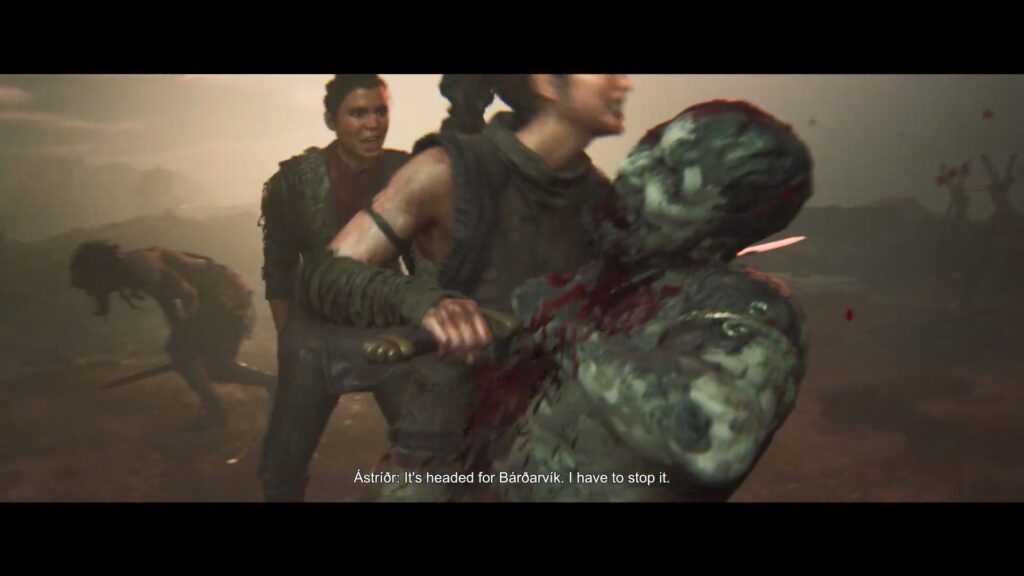
Checkpoint: Ástriŏr’s Story
After the cutscene, Defeat multiple enemies in the area.
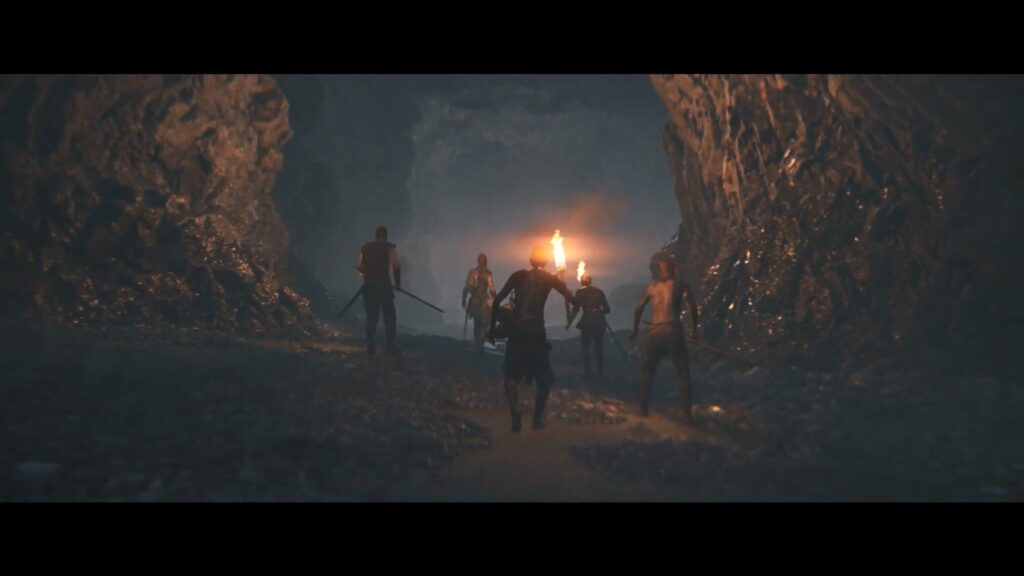
Checkpoint: Waking the Giant
After the cutscene, you will enter a cave with a group of people that you saved earlier.
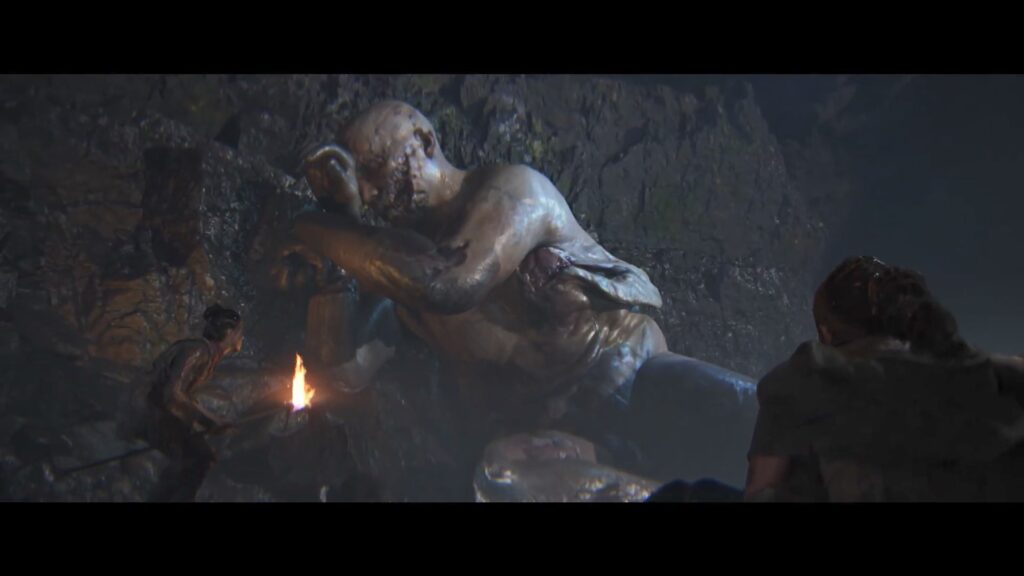
Go all the way to the end. You will wake up the giant, and he will chase you. On your way out of the cave, stop four times to throw a burning spear at the giant.

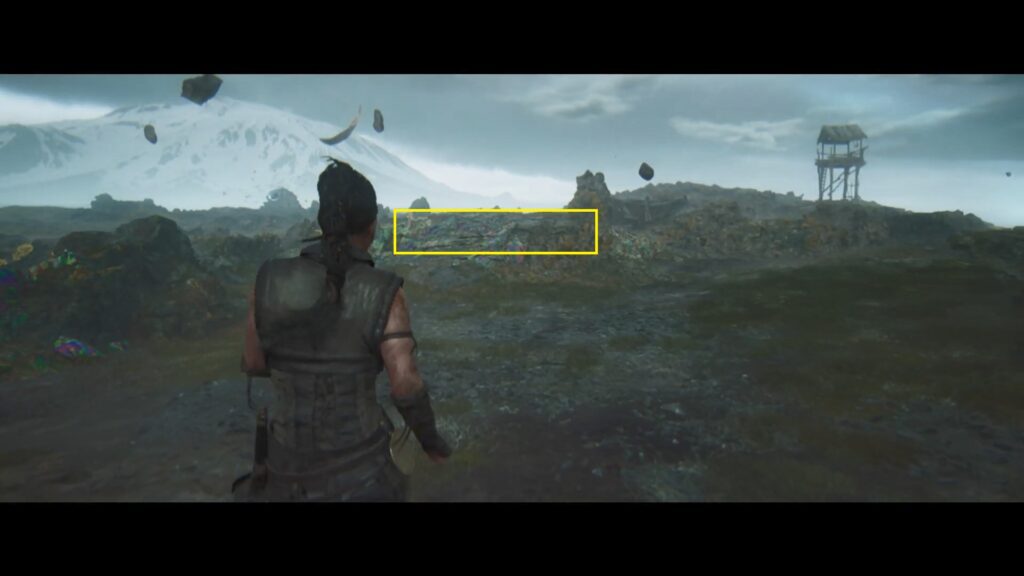
Checkpoint: The Second Ritual
After the cutscene, you will be on the beach with a big tornado. To reach the tornado, move from one rock to another. Hide behind the big rocks before waves hit the shore and move to the next rock when the water recedes.
Then fast the area while doing the falling rocks from the sky. Look for shadows on the ground for the falling rocks.
Follow the path inside the tornado to reach another giant and the chapter ends here.