In this guide, you’ll find the exact locations of all secrets, gold, toys, and codex entries hidden throughout Chapter 6 – Siege Part 1 in the game Doom: The Dark Ages.
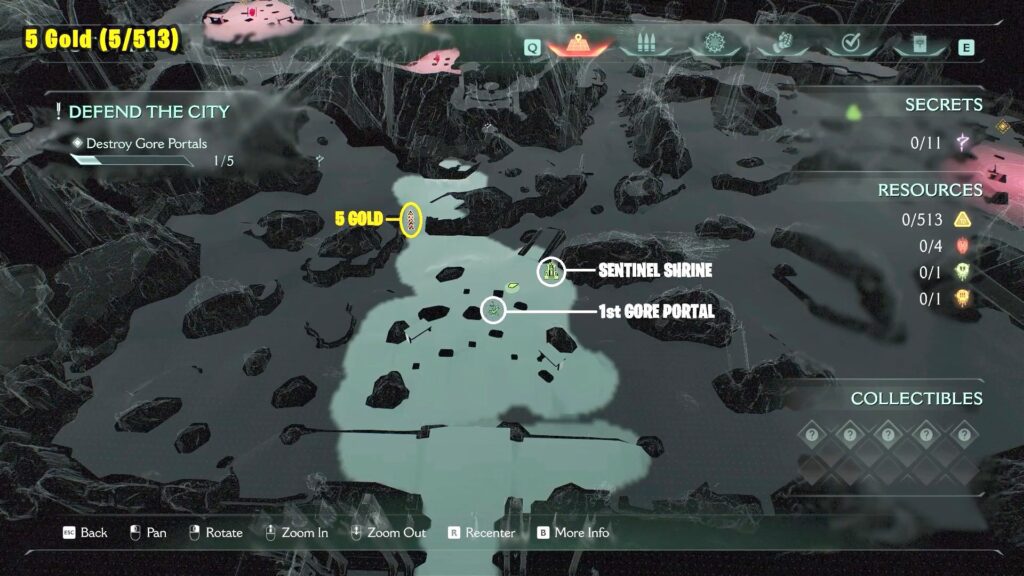
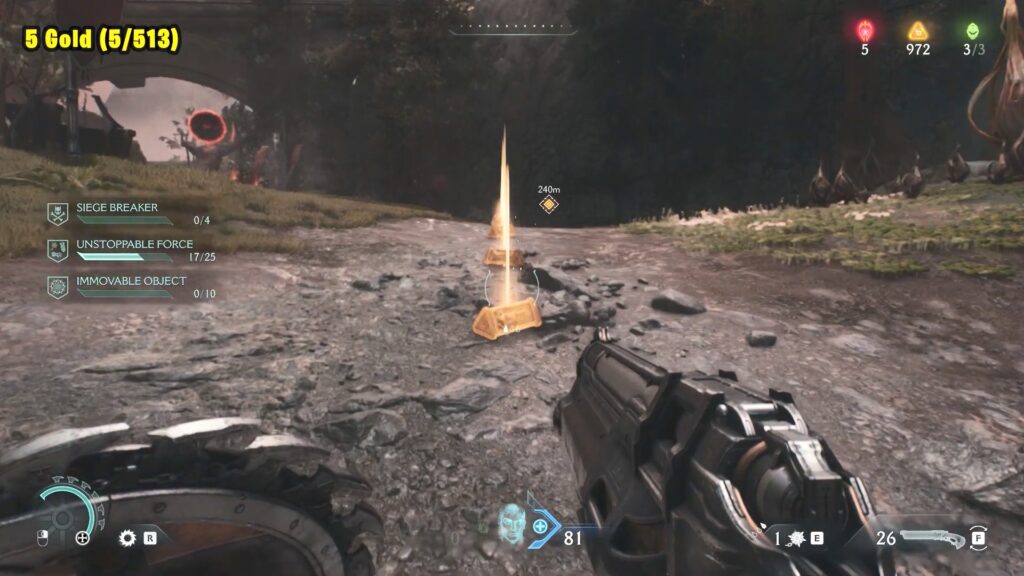
5 Gold (5/513)
Go left from the sentinel shrine and cross the river to find 5 gold on the ground.
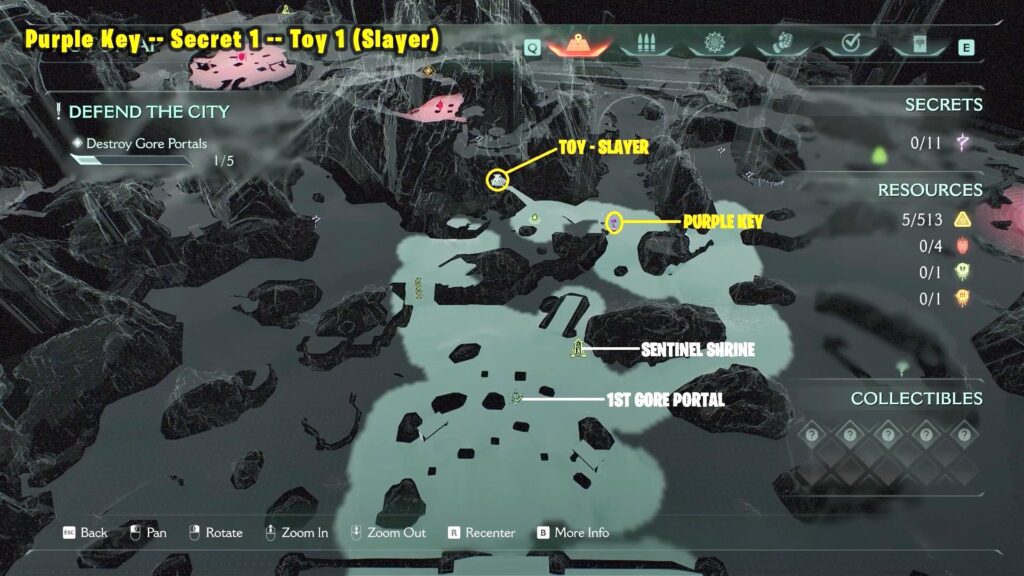
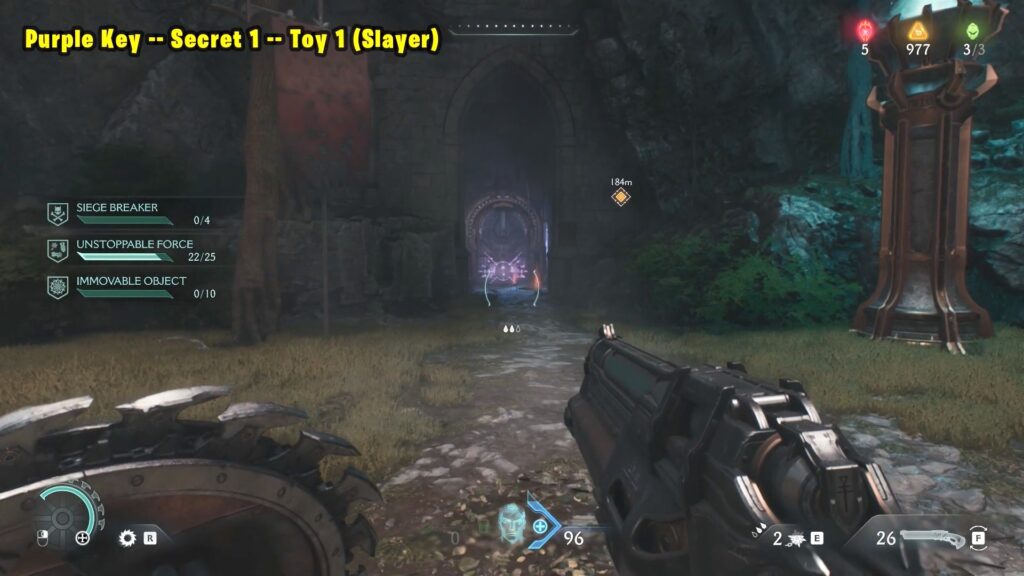
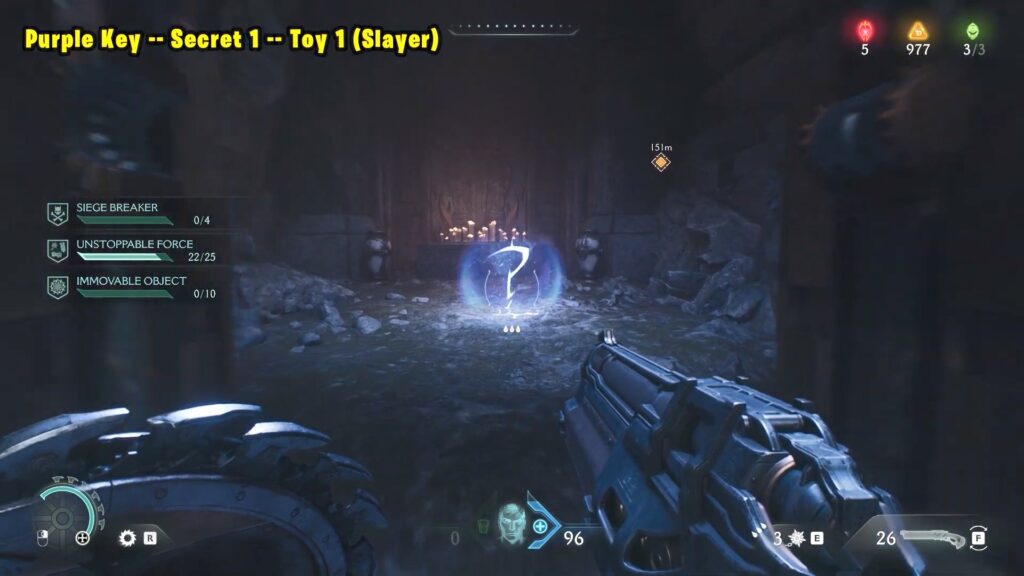
Purple Key — Secret 1 — Toy 1 (Slayer)
Keep moving forward from the Sentinel Shrine and make your way to the location marked on the map. Pick up the purple key near the archway, then use it to unlock the purple gate and collect the toy.
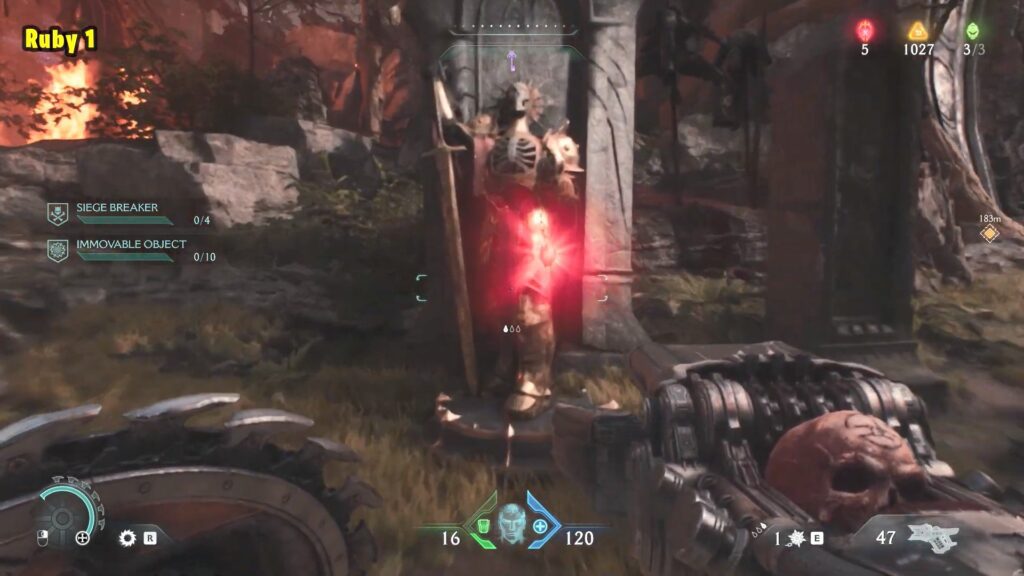
Ruby 1
Head west from the last collectible and check the map below for guidance. Defeat all the enemies in the area to remove the barrier around the ruby.

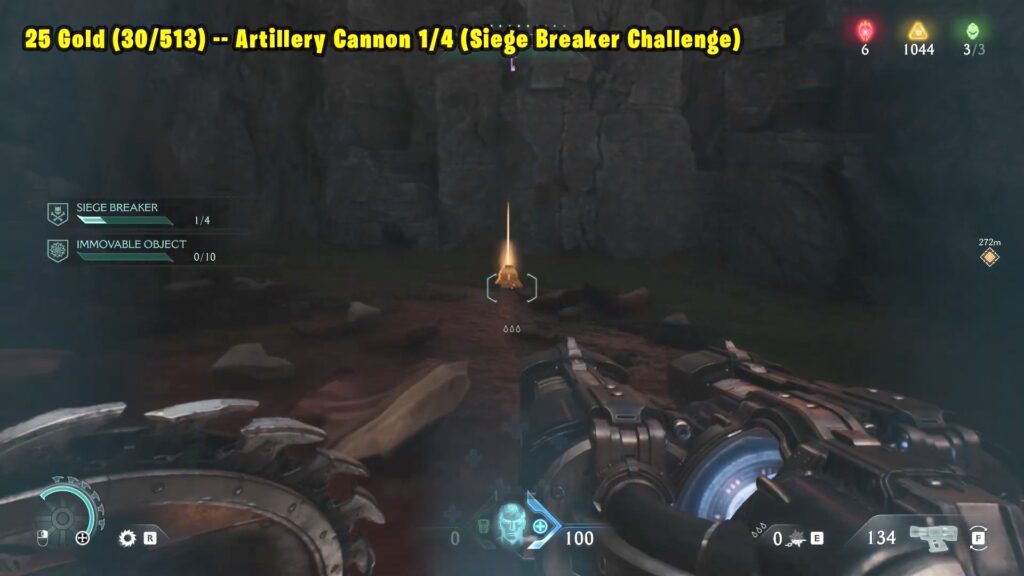
25 Gold (30/513) — Artillery Cannon 1/4
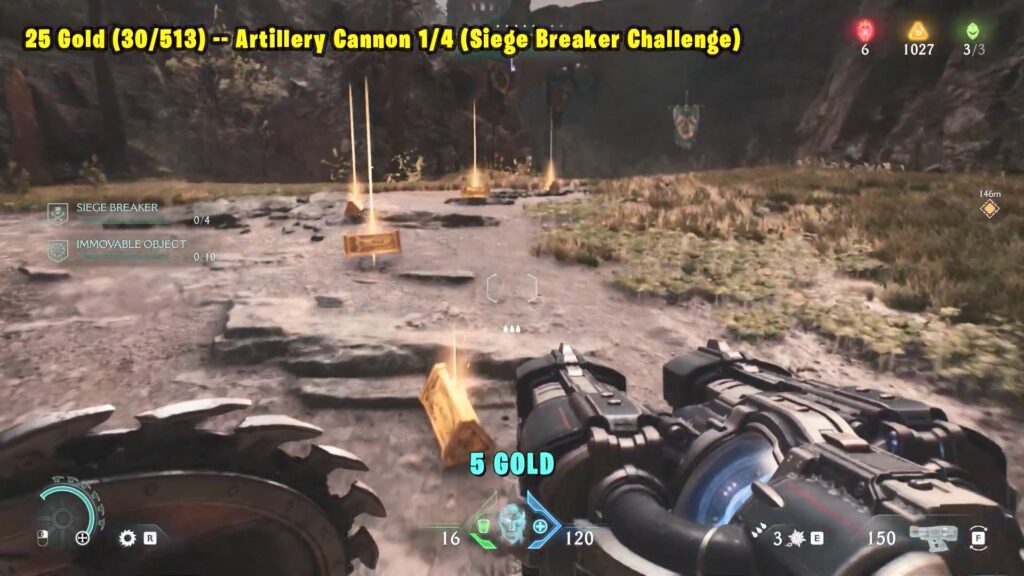
Move forward from the previous collectible to find 5 gold on the ground.
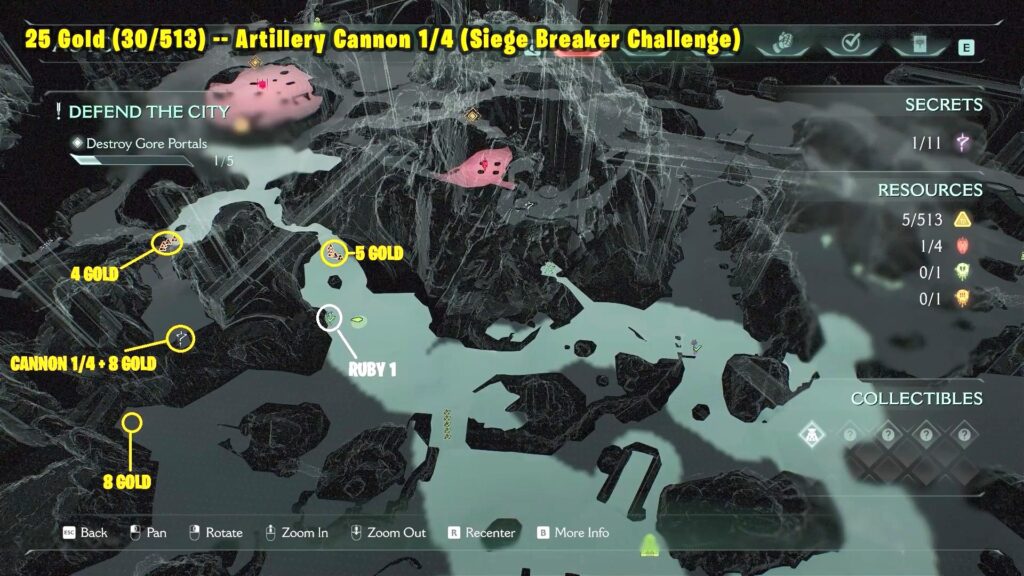
Keep following the path and take the left turn just before the archway. Head up the slope to find another 5 gold pieces on the ground.
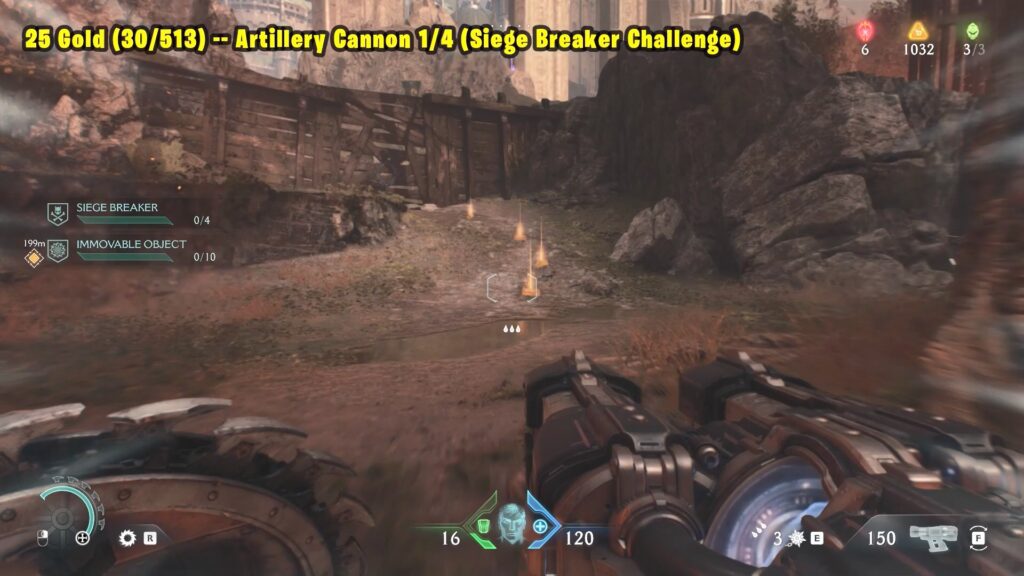
Break the barrier behind the gold and continue onward. Defeat the enemies and destroy the Artillery Cannon to earn 8 gold.

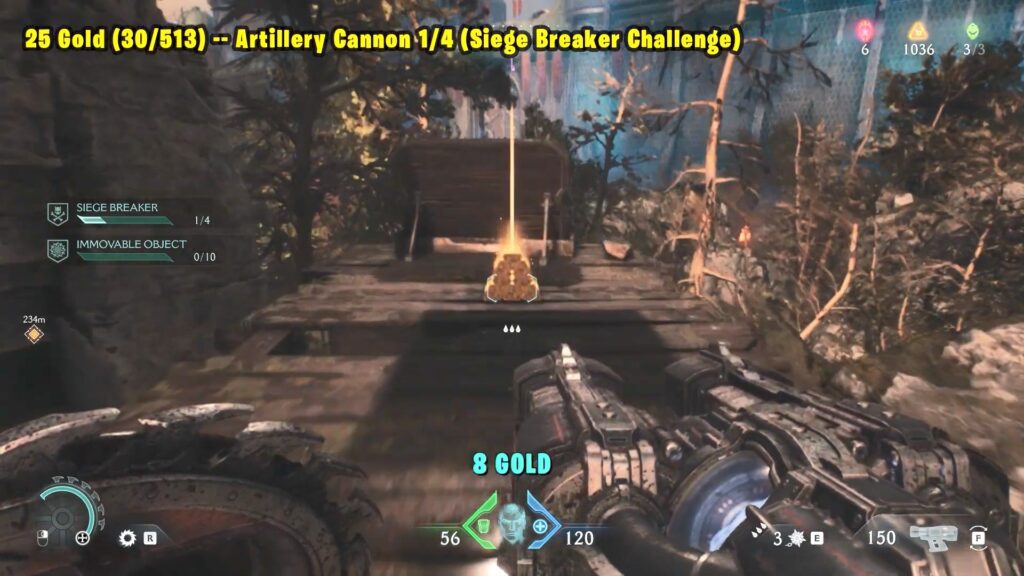
Finally, jump to the right side and destroy the floating tank to collect another 8 gold.

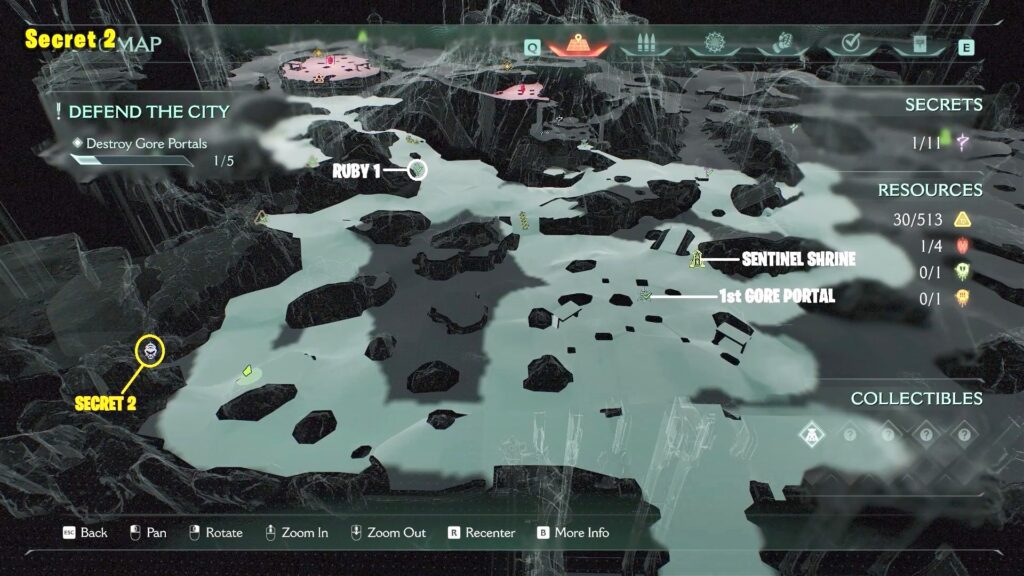
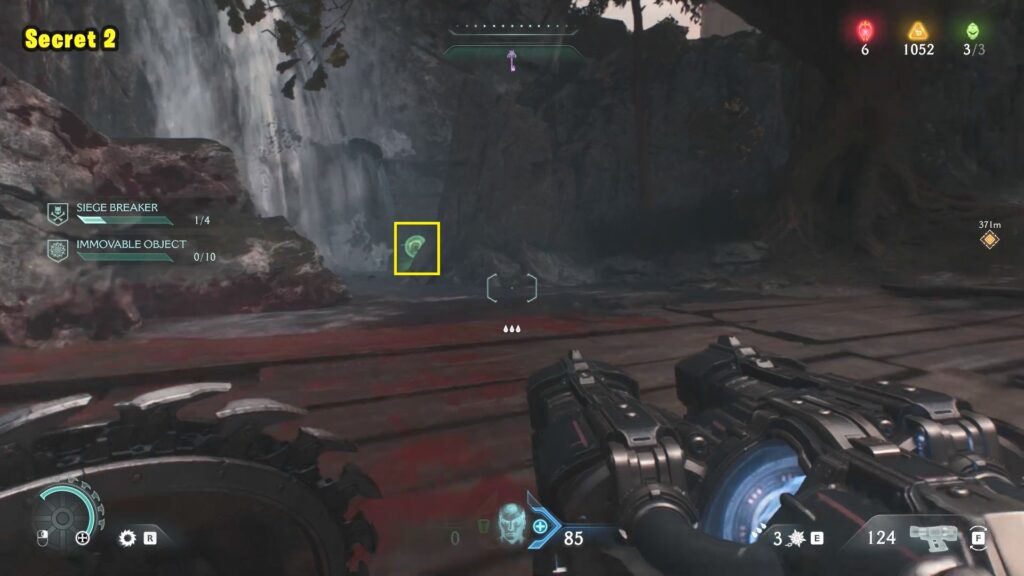
Secret 2
Go to the location marked on the map to find Secret 2 near a waterfall.
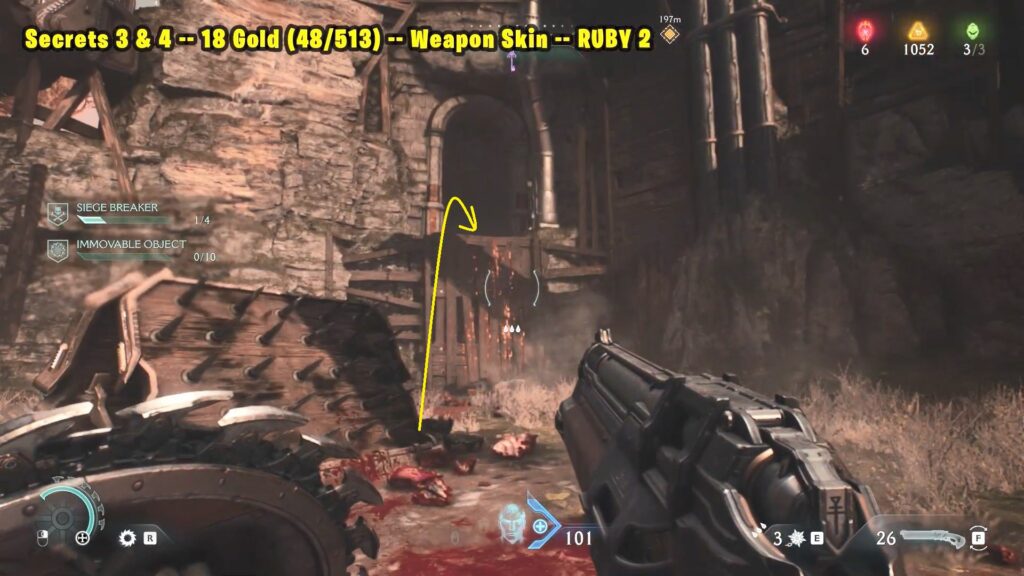
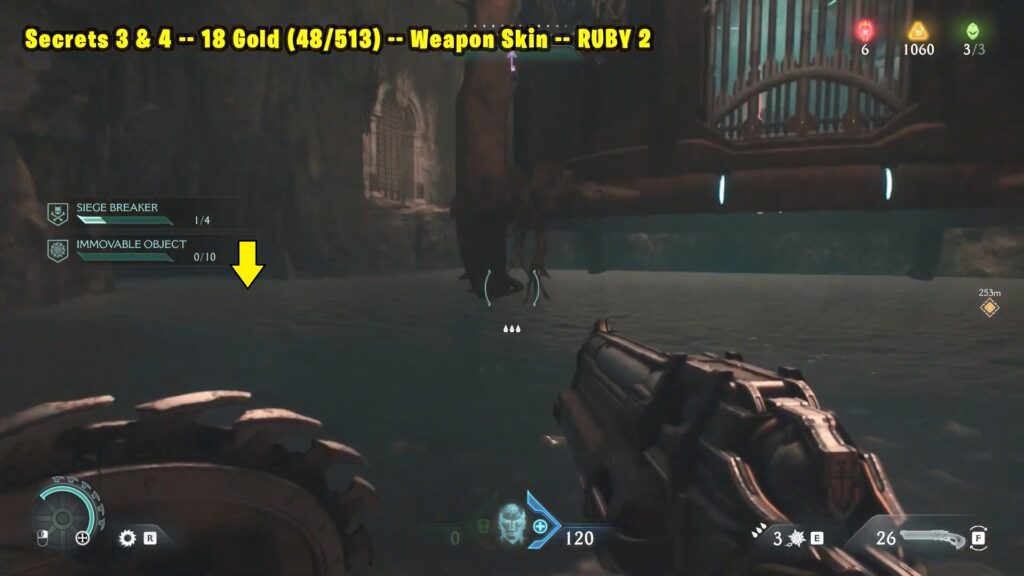
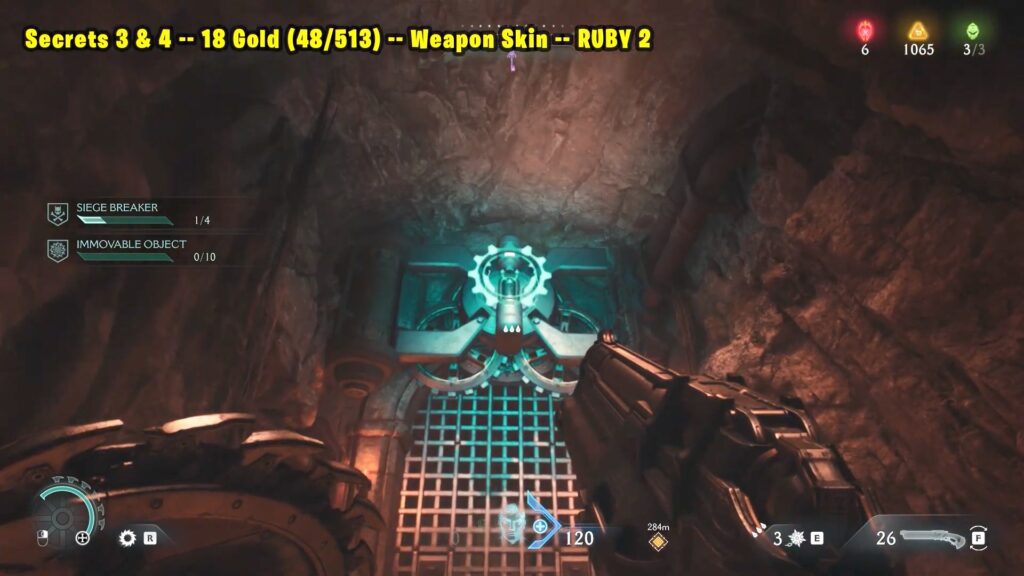
Secrets 3 & 4 — 18 Gold (48/513) — Weapon Skin — RUBY 2
Go to the top-left part of the map, as shown below. Climb up the wall to find the first 4 gold pieces in this area.
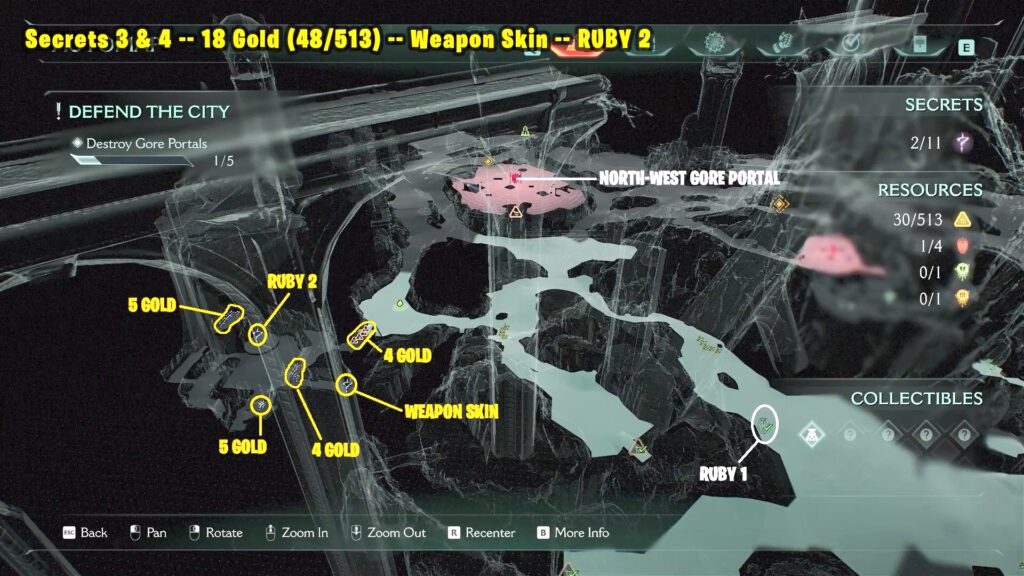
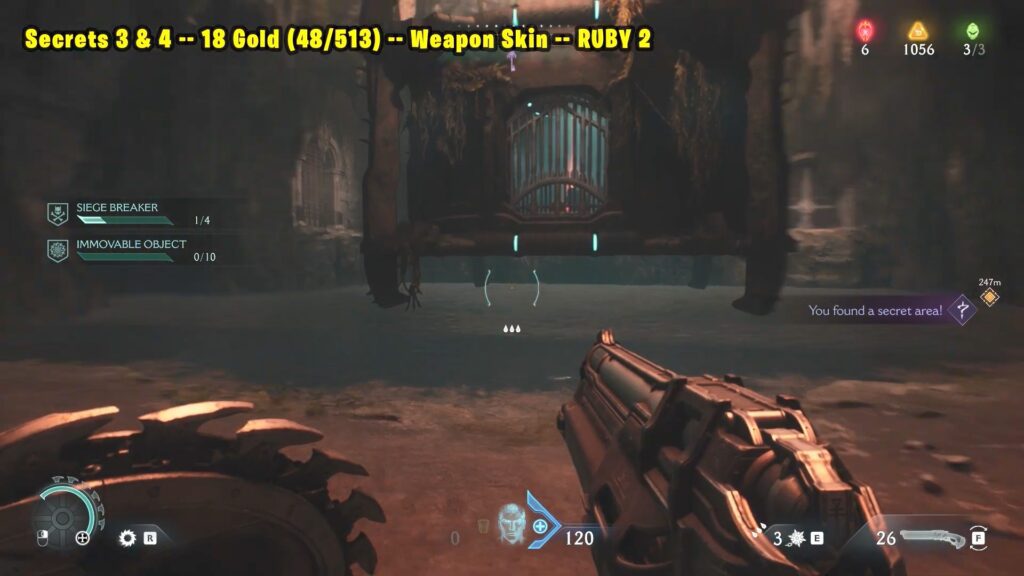
Keep going inside until you reach some water with a hanging cell above it. This will unlock the first secret.
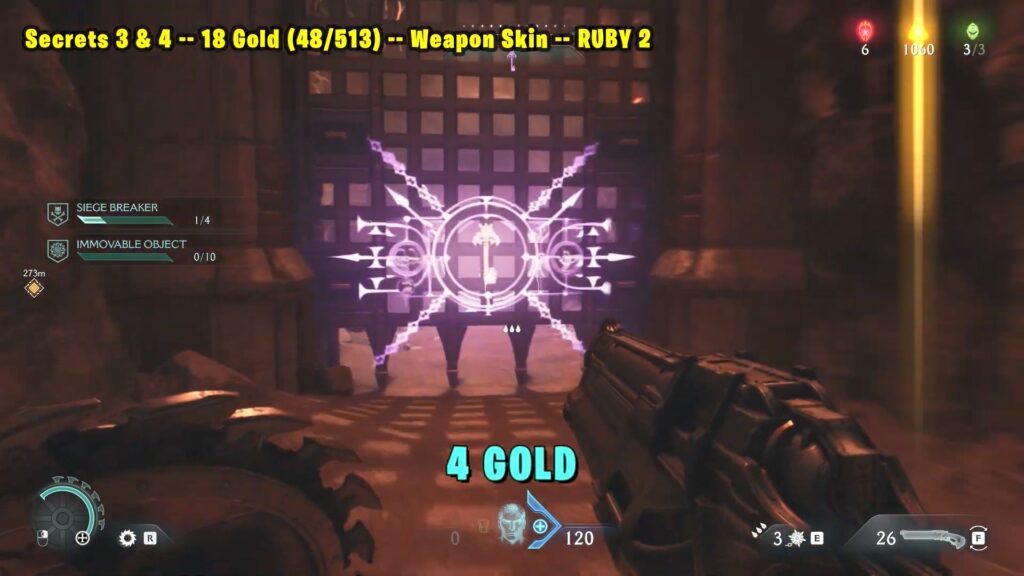
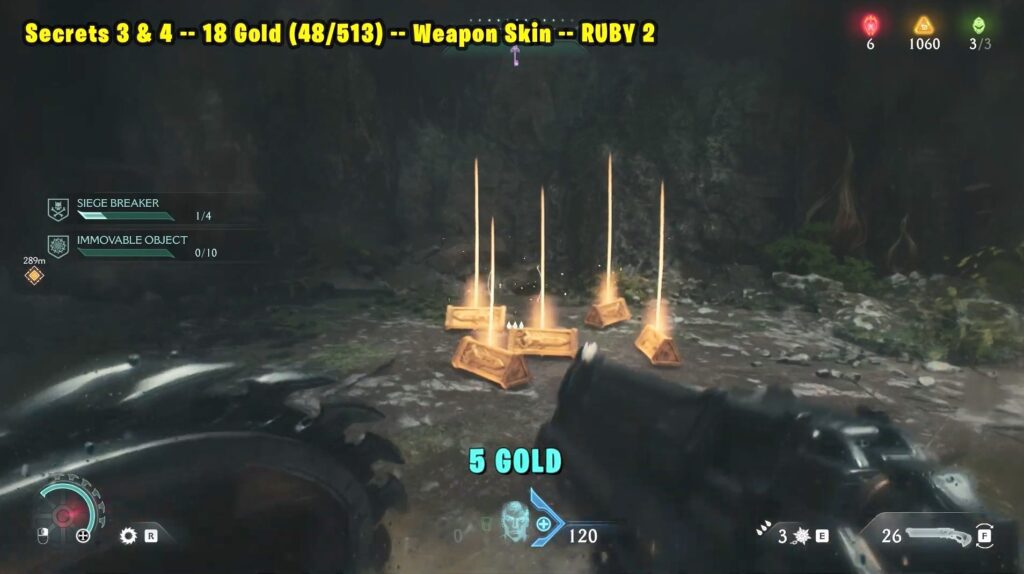
From there, go left to find 4 more gold pieces. You’ll also see a purple gate—open it to get a cool weapon skin.
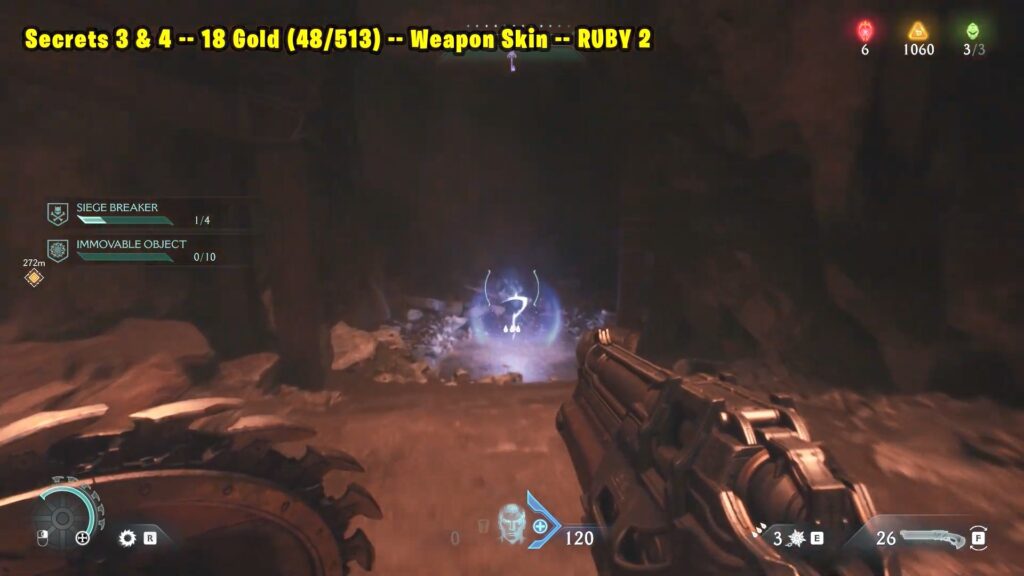
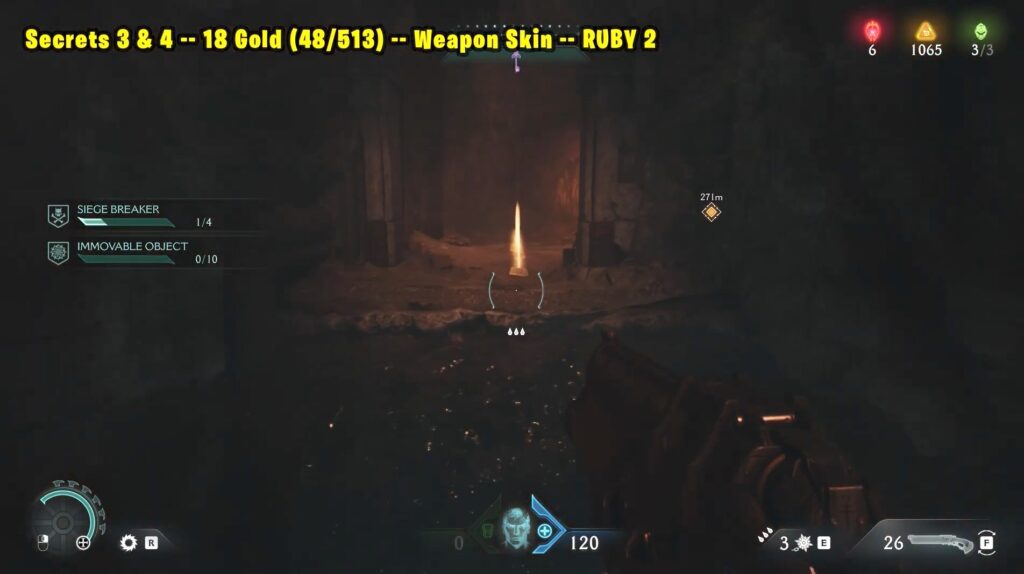
Now go back to the water area. Swim to the left and dive underwater. Keep swimming forward until you come back up to the surface. You’ll find 5 gold pieces here.
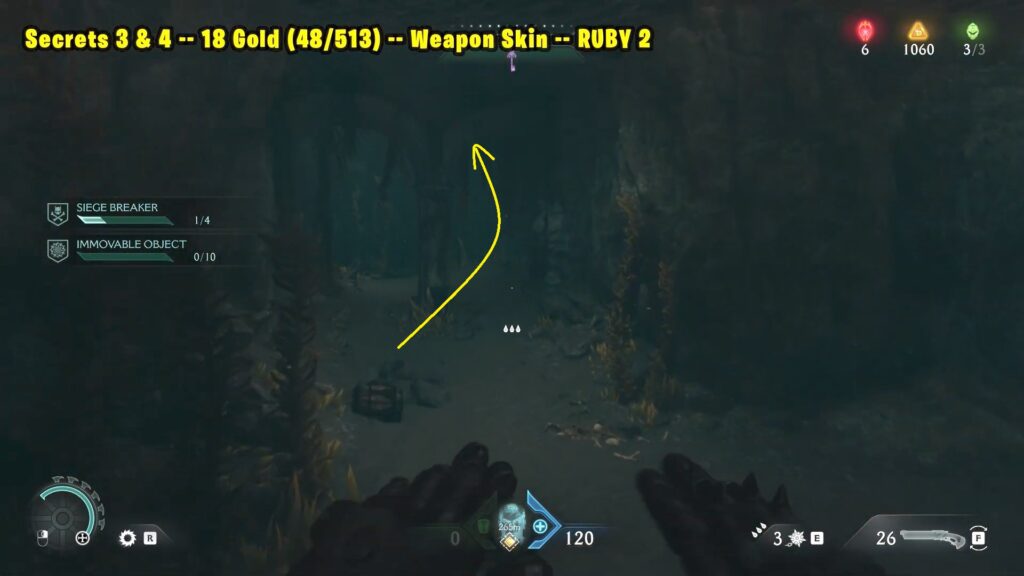
Turn around and jump across to a climbable wall. Climb up and follow the path.

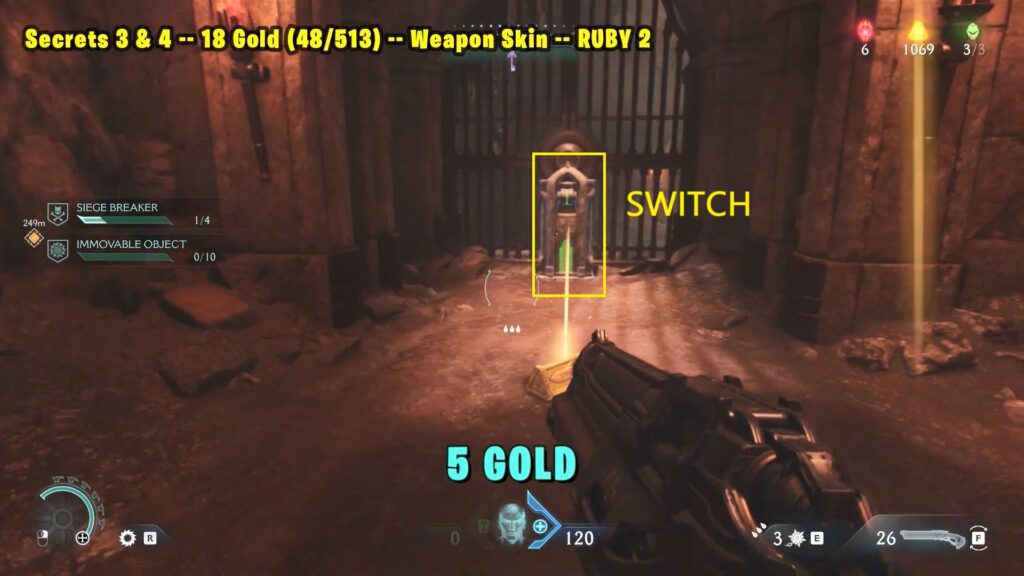
Break the wooden wall, then keep going. Hit the switch above the grated gate and go inside to find 5 more gold pieces.
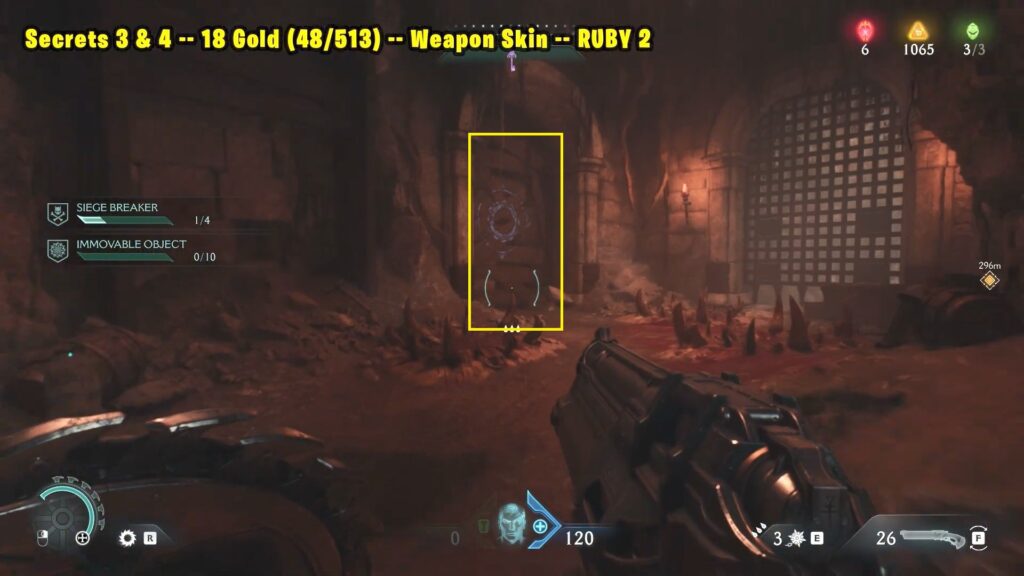
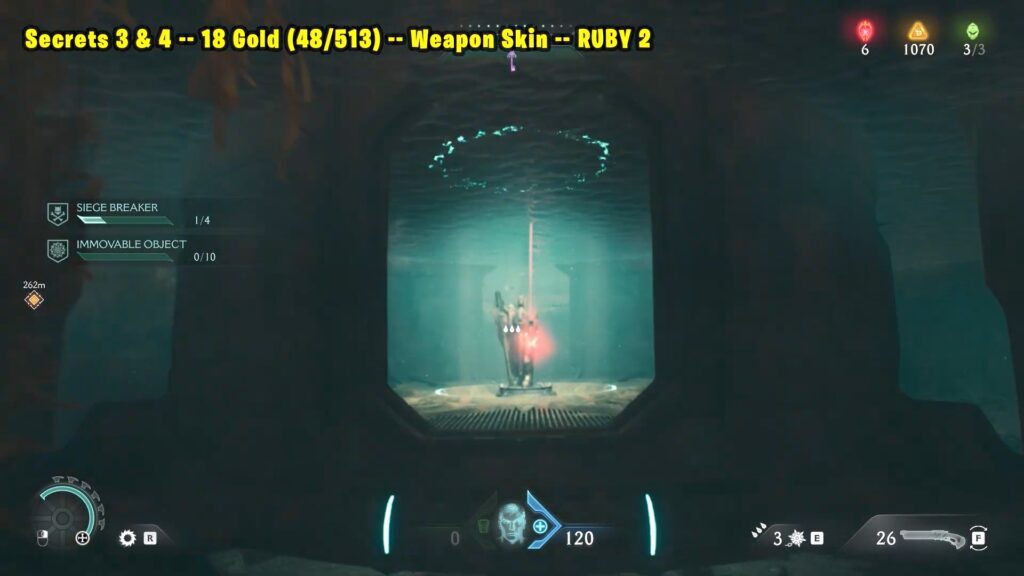
Look for a switch on the left and press the switch. This will lower the hanging cell into the water.
Go back location where you dive into the water area and enter the cell. Inside, you’ll find the ruby
65 Gold (113/513) + Secret 5
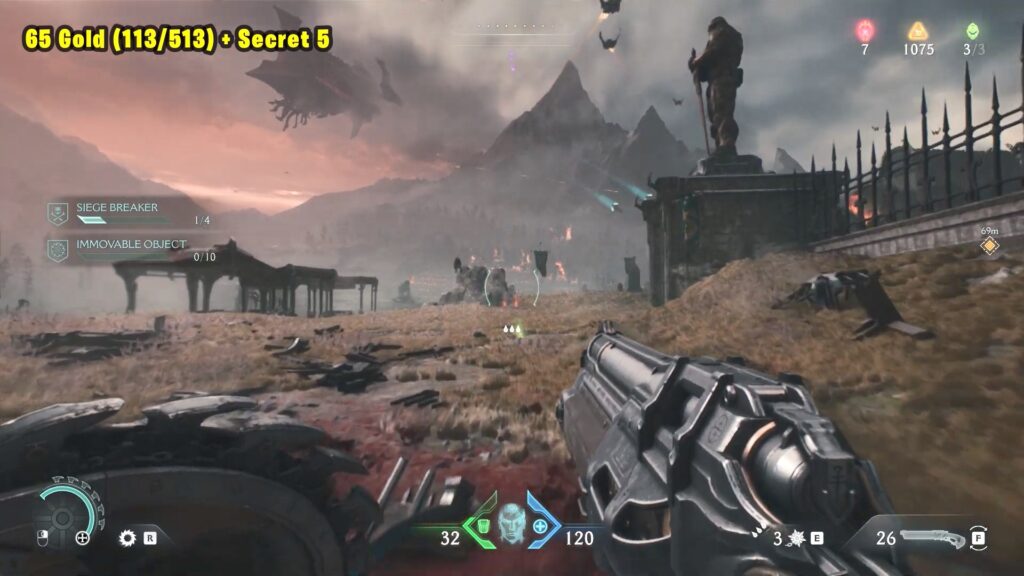
Head northwest from the Gore Portal to find 5 gold pieces on the ground. You can check the map below for help.
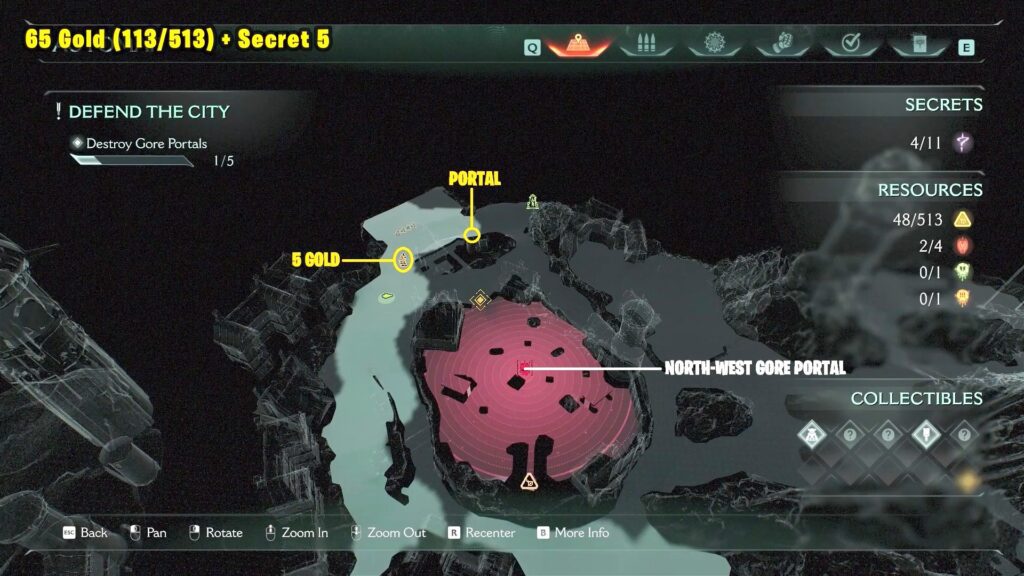

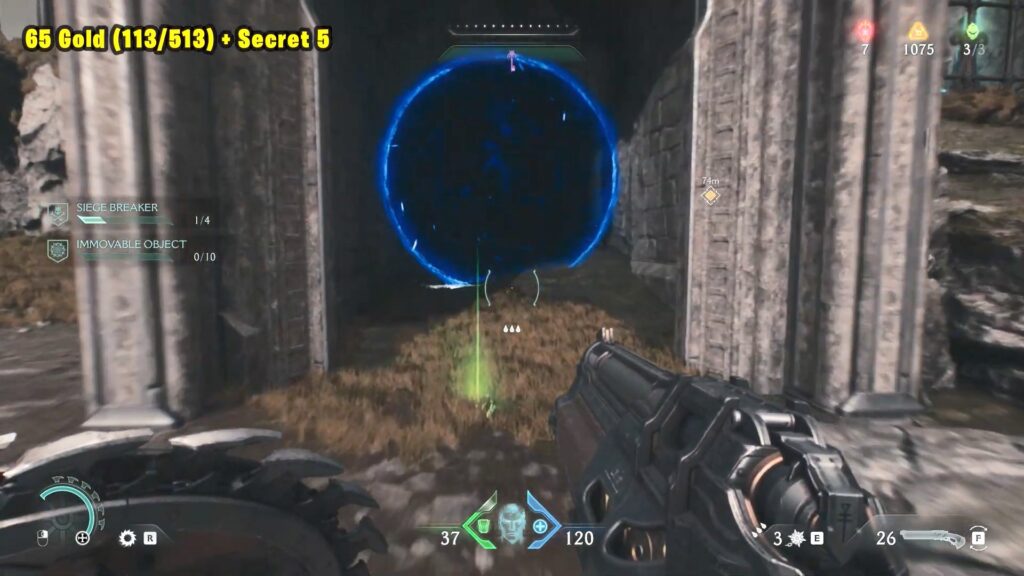
Next, follow the path to the left side. It will lead you to a blue portal below a giant statue. Enter the portal to obtain Secret 5.
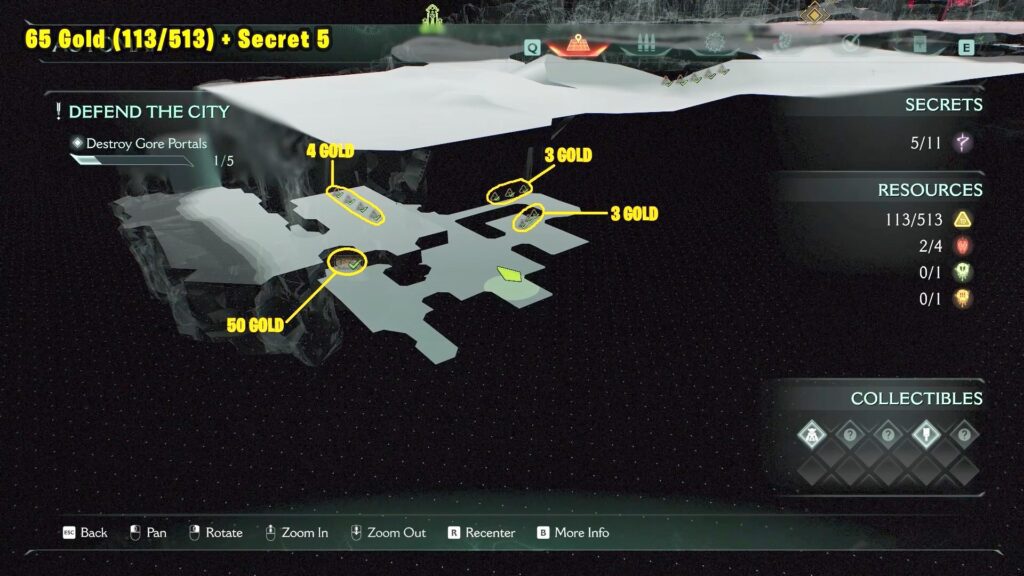
You’ll automatically get this by defeating the Mancubus leader at the top-left Gore Portal. Go behind the portal to find gold pieces. Below are the location of Gold.
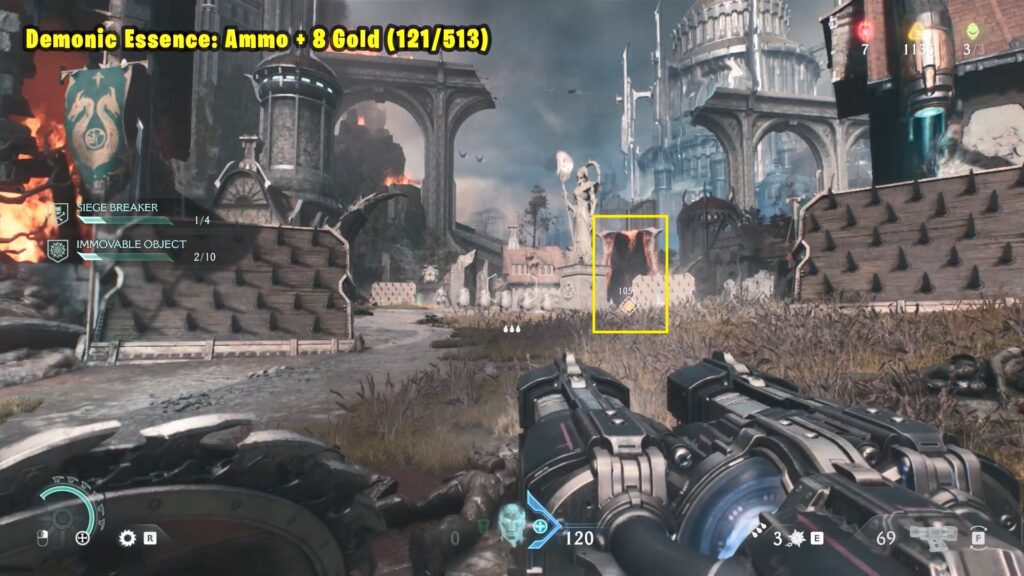
Demonic Essence: Ammo + 8 Gold (121/513)
You’ll automatically get this by defeating the Mancubus leader at the top-left Gore Portal. Go behind the portal to find 8 gold pieces.
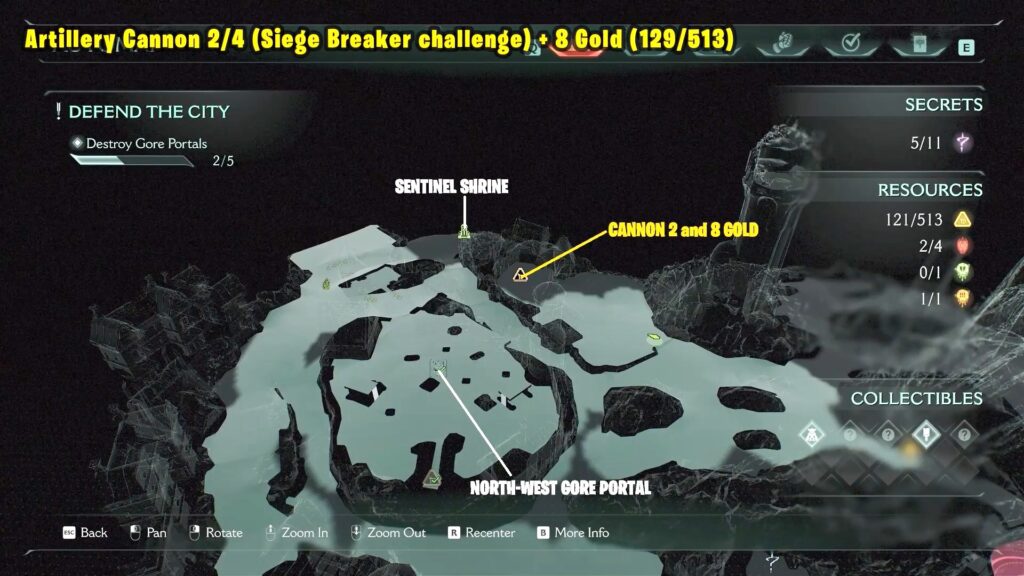
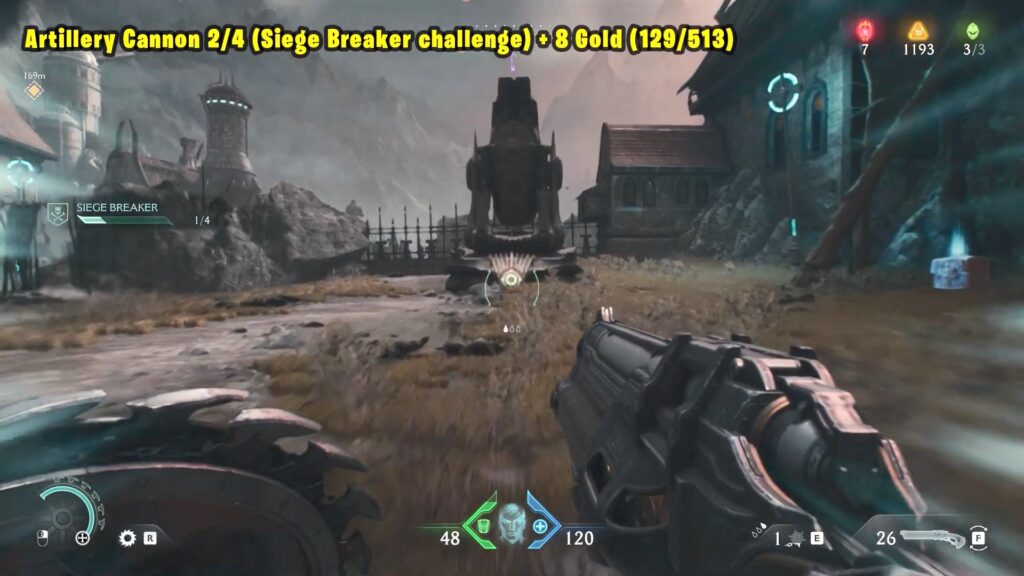
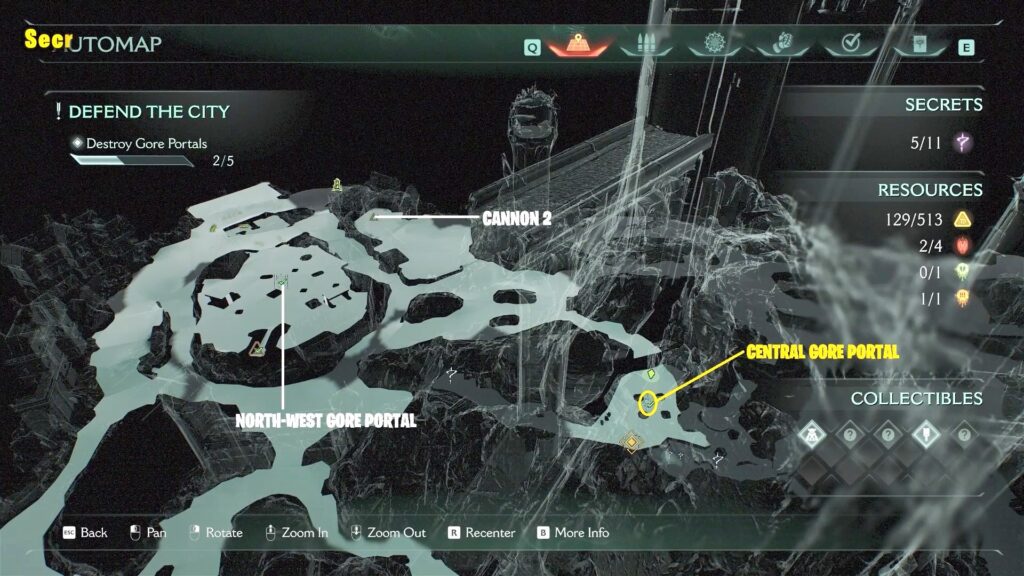
Artillery Cannon 2/4 + 8 Gold (129/513)
Go northeast of the Gore Portal and destroy it to reveal 8 gold pieces.
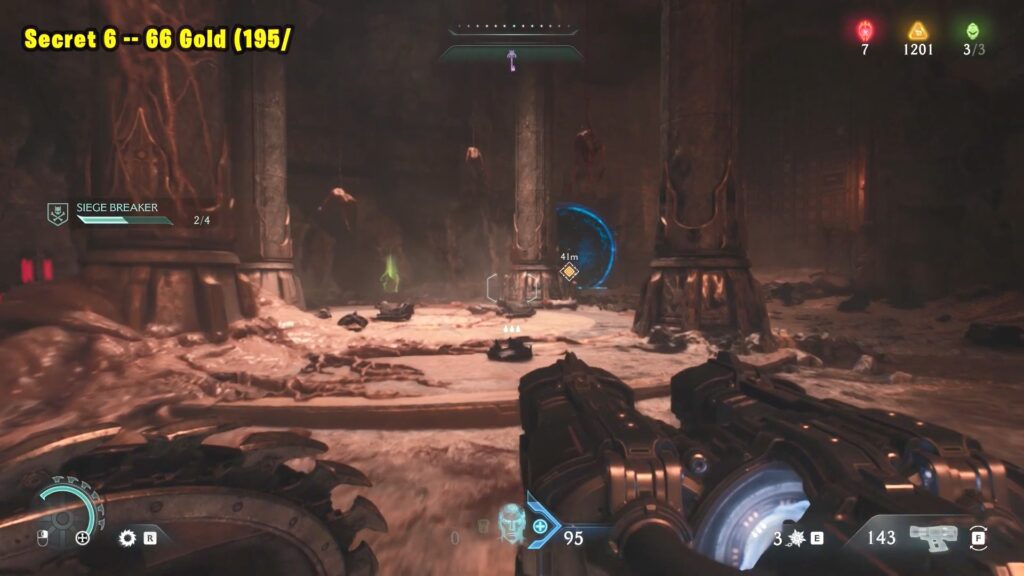
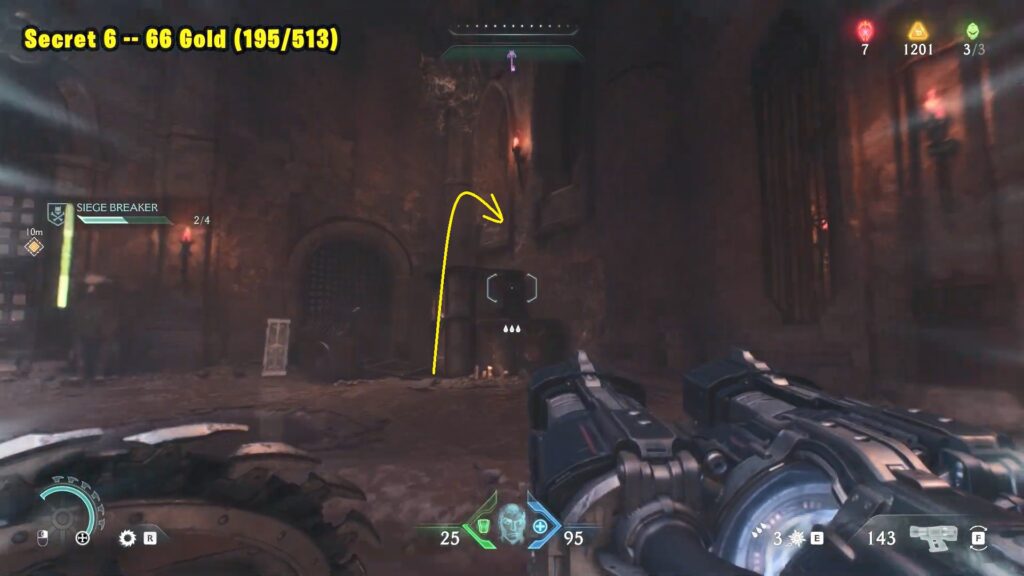
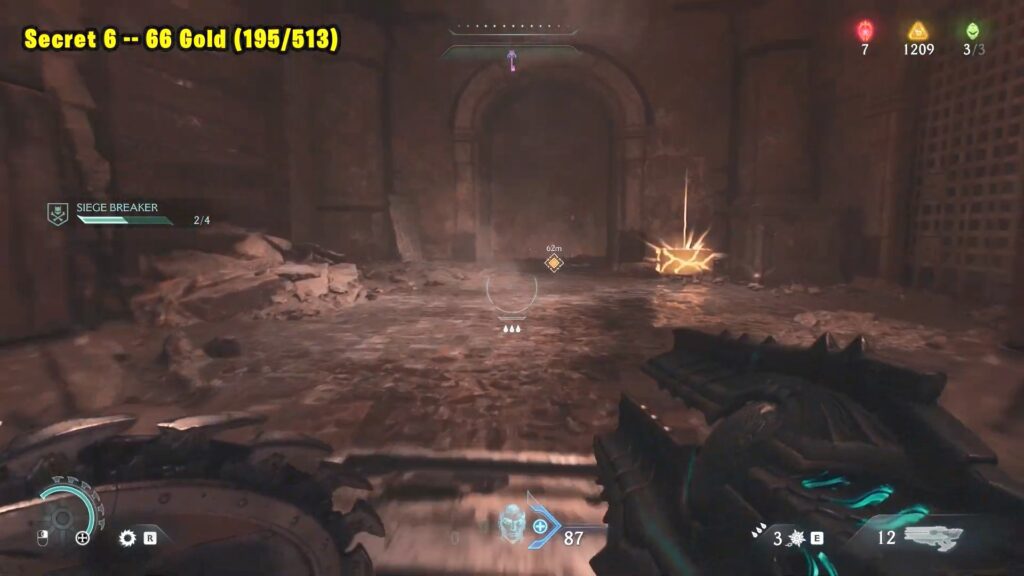
Secret 6 — 66 Gold (195/513)
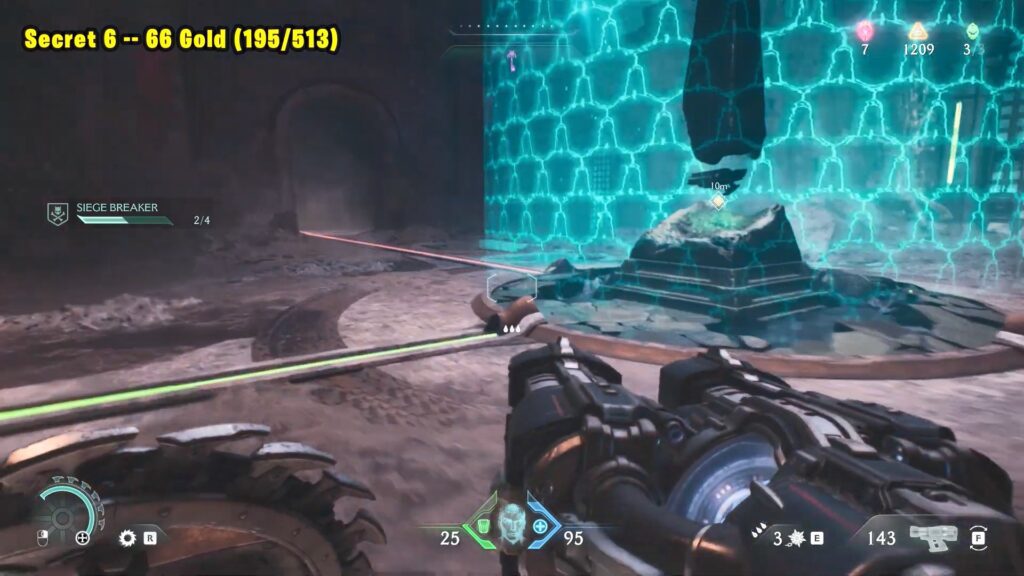
Go to the Gore Portal just south of the Artillery Cannon, as shown on the map. Enter the room and step into the blue portal.
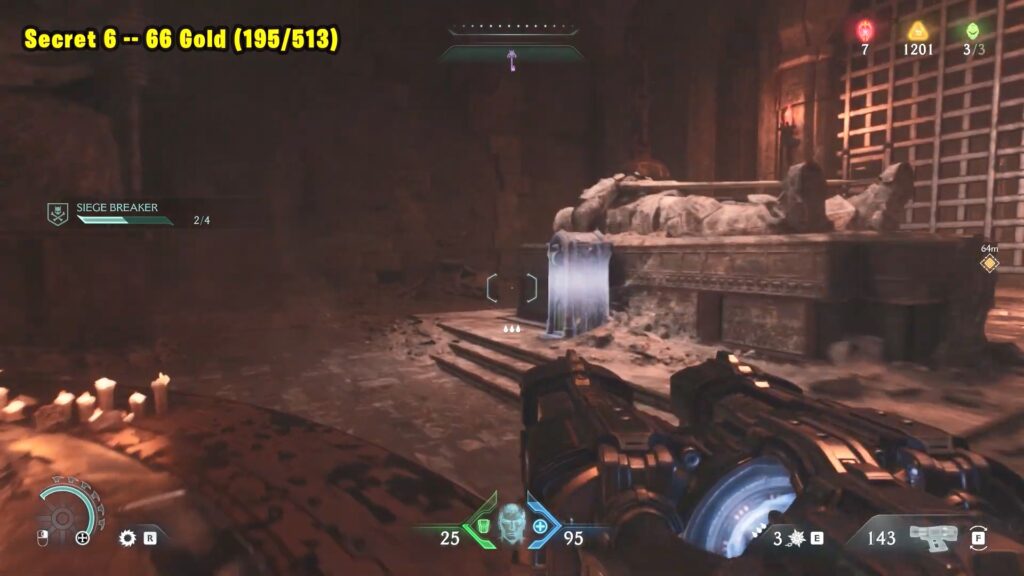
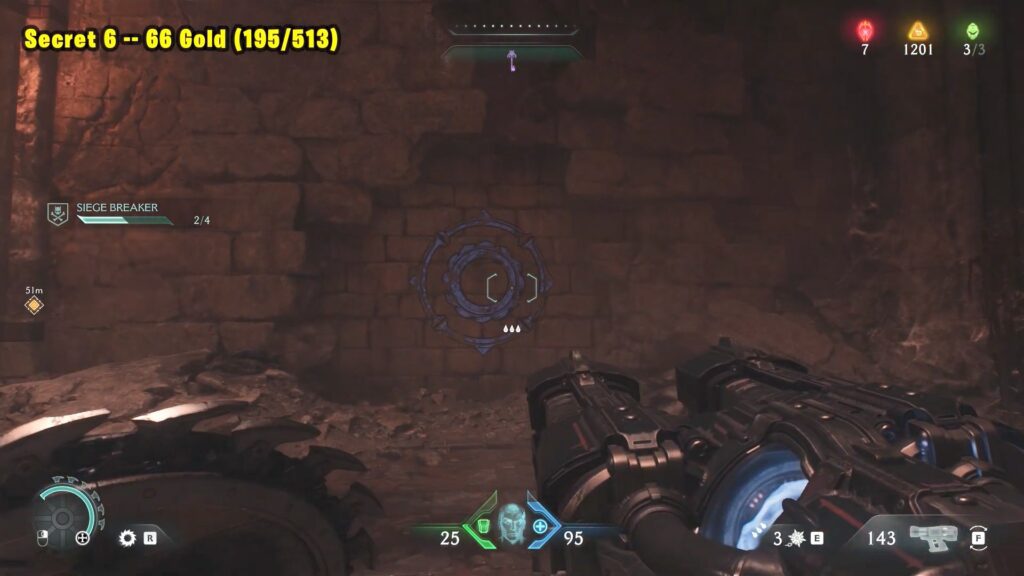
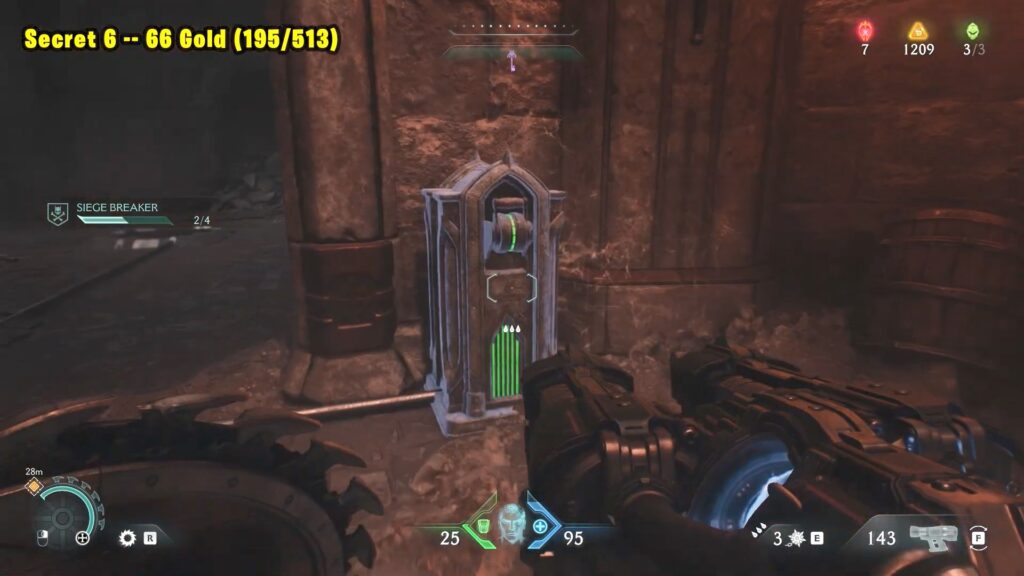
Once inside, turn left and throw your shield above the gate to unlock it. Go through the gate, then turn left again. Press the switch near the coffin to open another gate.
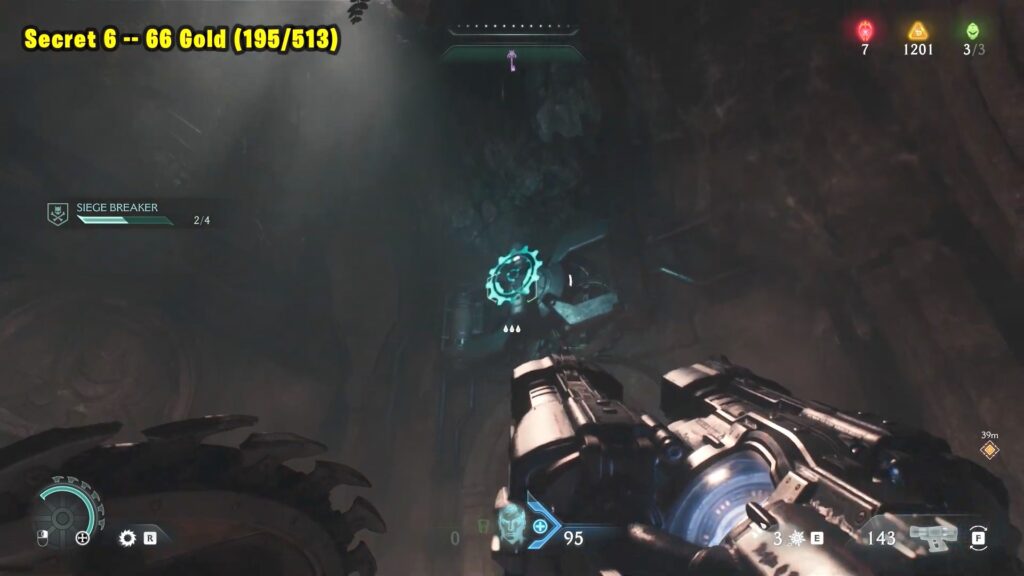
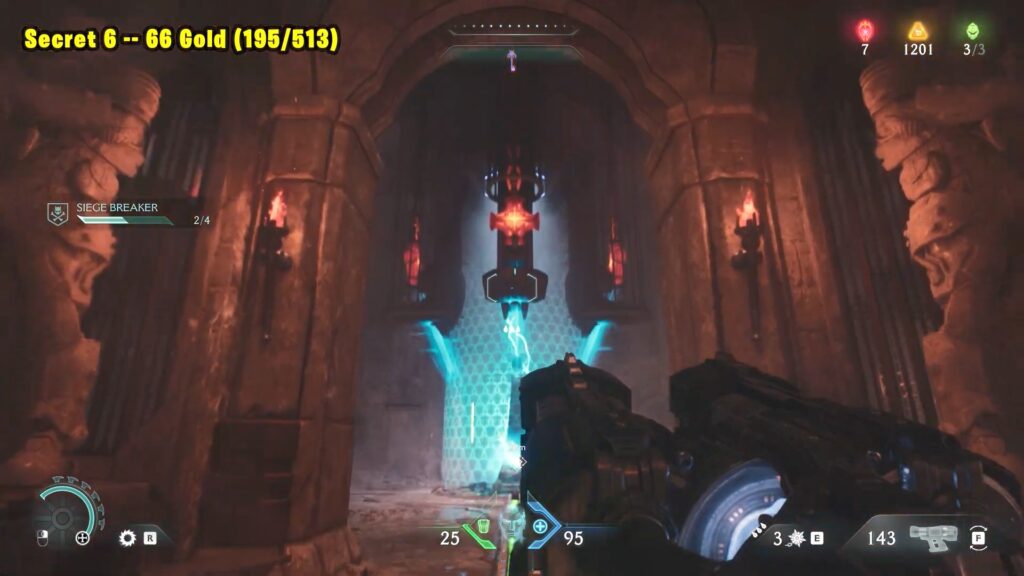
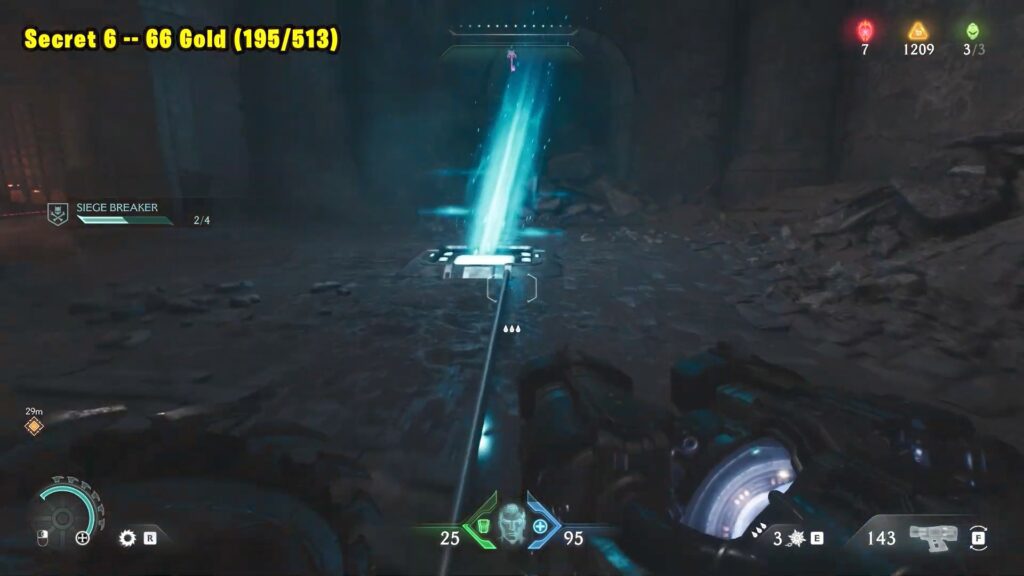
Head through that gate and step on the floor switch. Then, throw your shield at the chain hanging in the center of the area.
Next, go right and climb the crates in the corner. Drop down on the other side and break the cracked wall to uncover a secret and collect 8 gold.
Return to the previous room and throw your shield at the chain near the gate to unlock it.
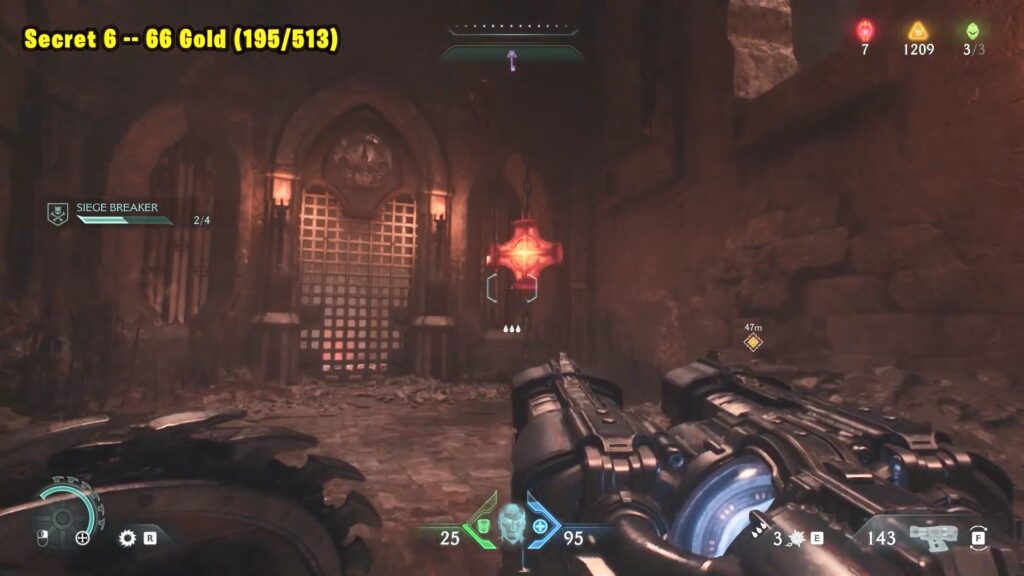
Step on the next floor switch, then throw your shield at the second chain.
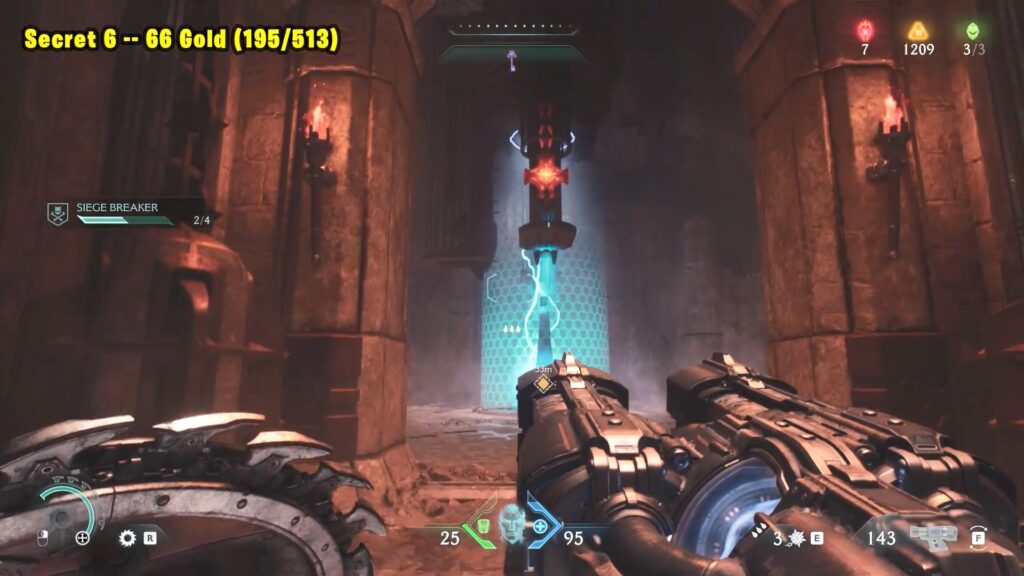
Now go through the door behind the barrier. Inside, look to the left for a room with a wolf statue. Interact with the switch nearby—this will activate a launch pad in the previous room.
Use the launch pad to reach the upper floor. Continue through this area until you reach a pressure plate on the ground. Stand on it and hit the third and final chain above the barrier.
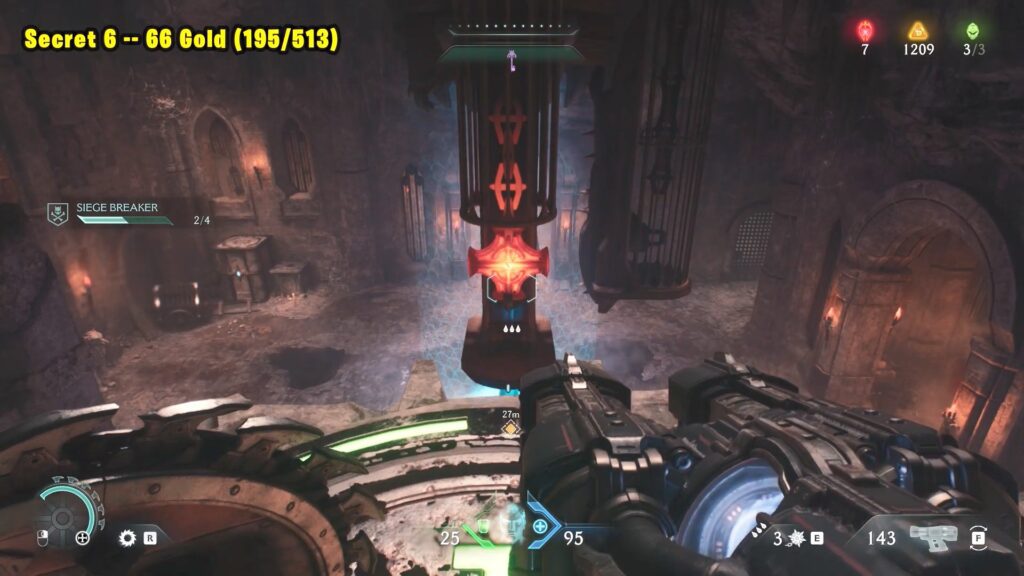
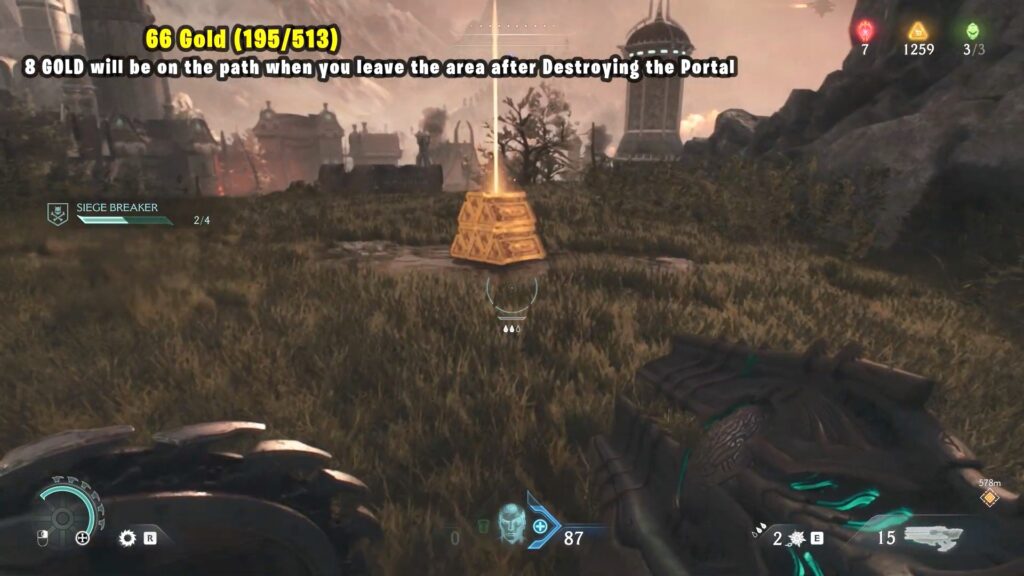
Once the barrier is fully destroyed, pick up the Chainshot weapon and go through the newly opened gate to find a gold chest right in front of you.
After destroying the portal, exit the area, and you’ll find 8 more gold directly in your path.
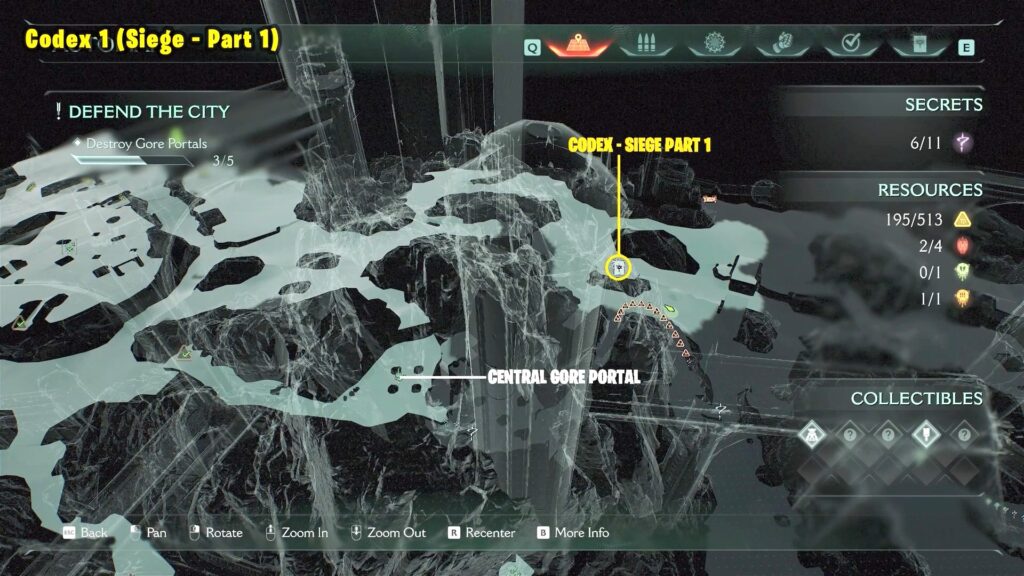
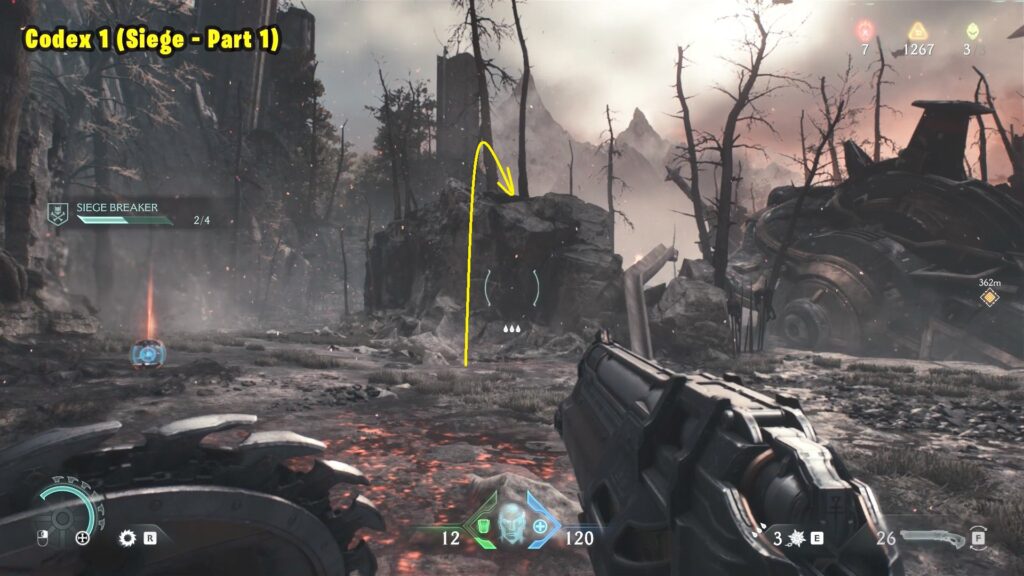
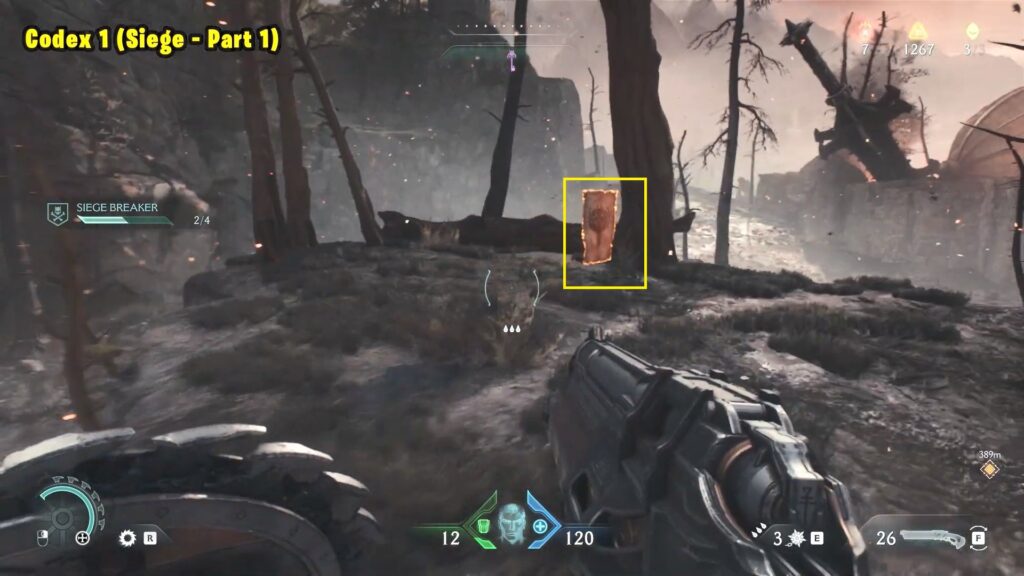
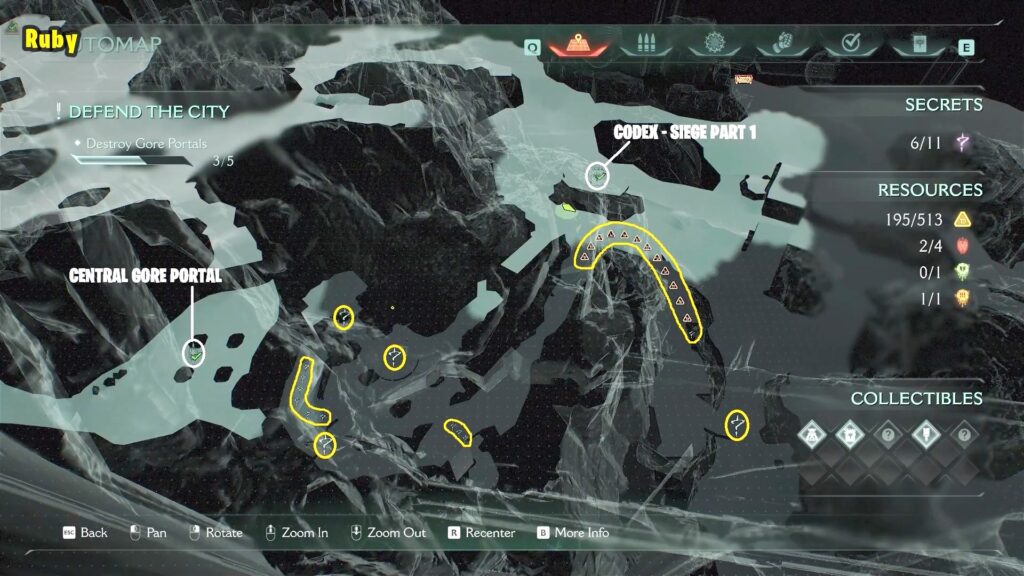
Codex 1 (Siege – Part 1)
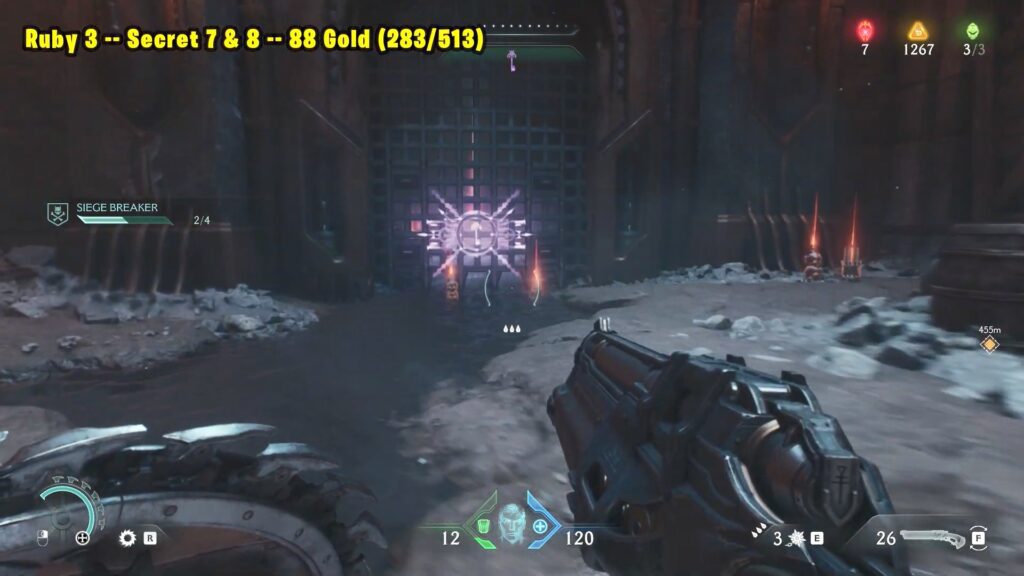
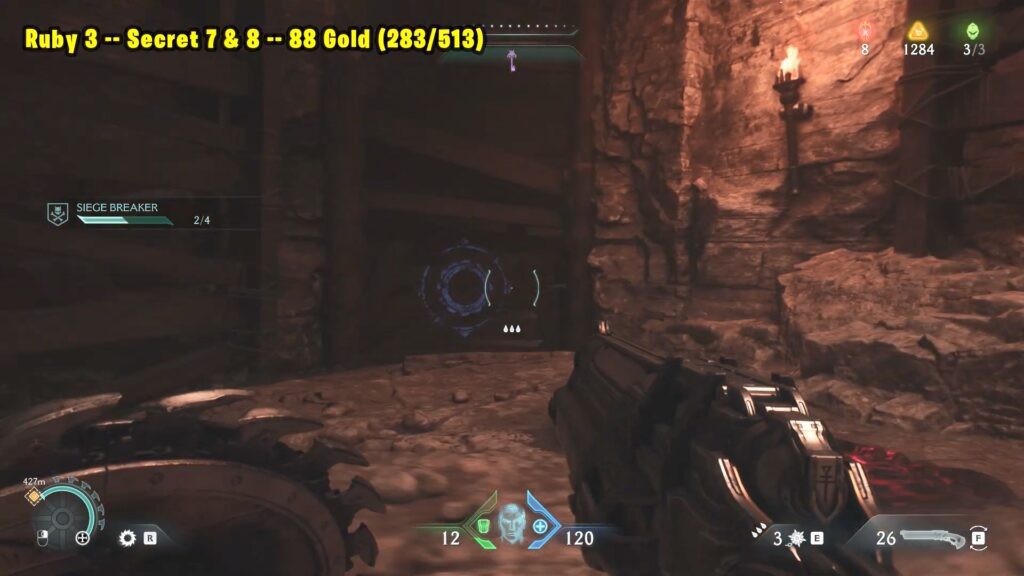
Ruby 3 — Secret 7 & 8 — 88 Gold (283/513)
Head south from the previous collectible, as shown on the map, and enter the dungeon.
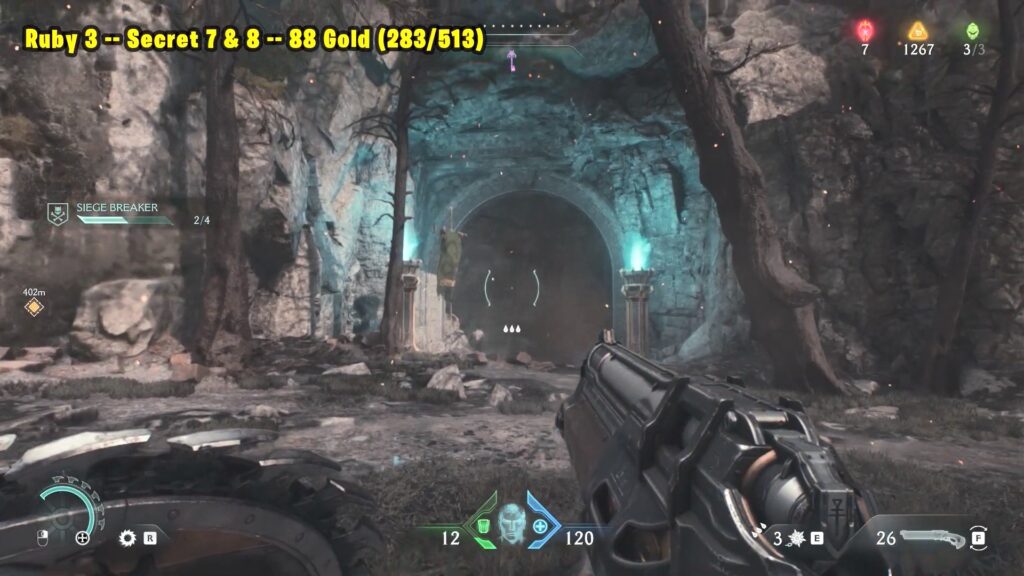
Go to the right and you’ll see a purple locked gate. Unlock it to reveal a secret room with a ruby inside.
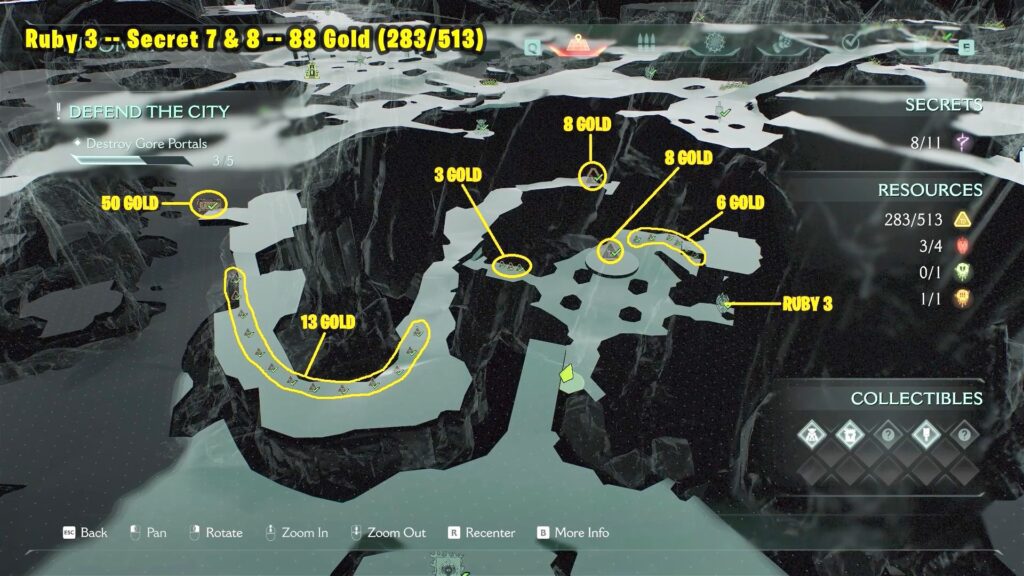
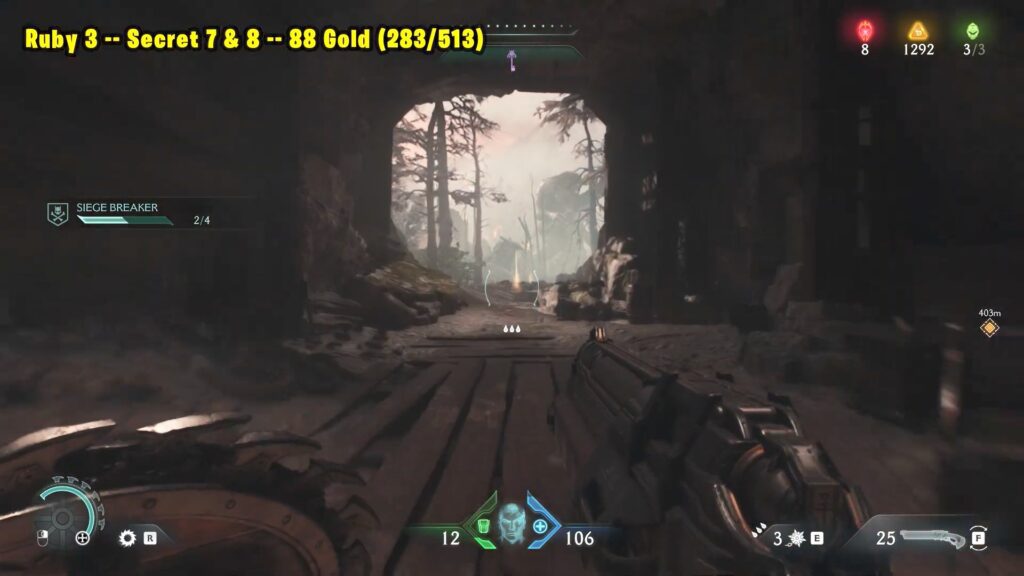
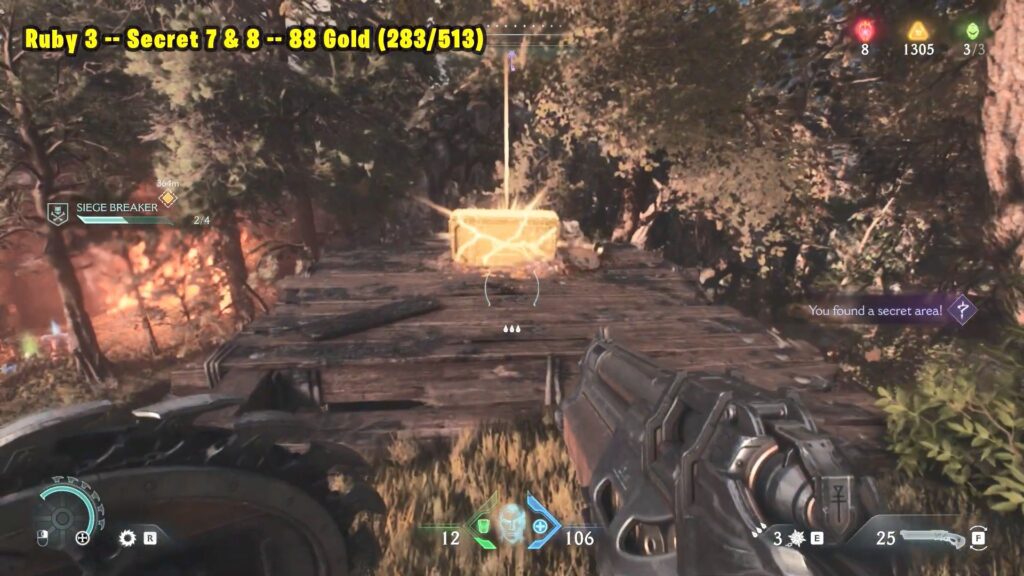
Leave the secret room, then go right and head up the slope. You’ll find some gold on the ground along the way. Keep going until you reach a yellowish painted wall.
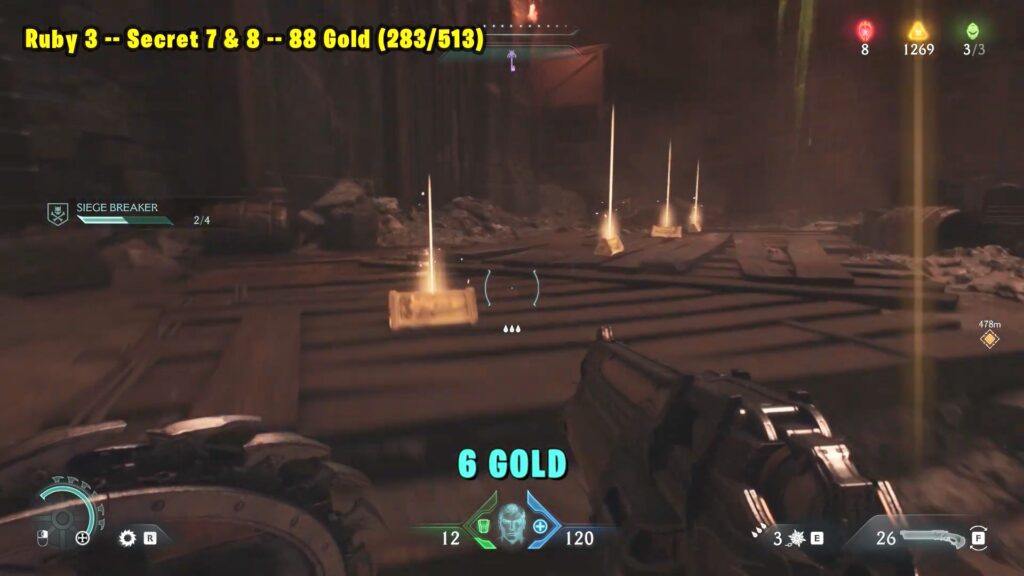
Throw your shield to the top of the wall to create a jump point. Use it to jump up. From there, drop down onto the central platform that has 8 gold pieces.
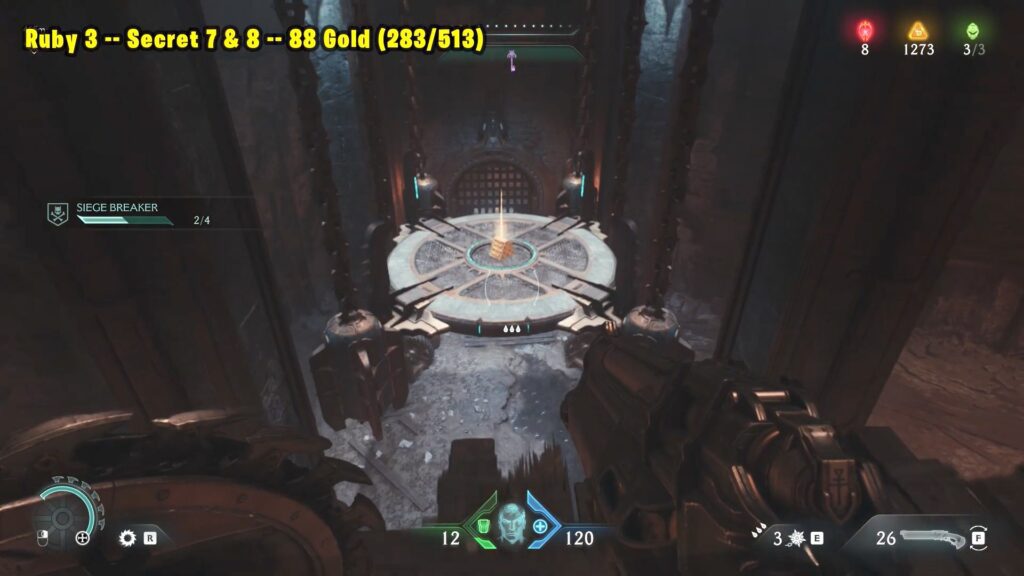
Once you land, the platform will lower, and a gate in front of you will open.

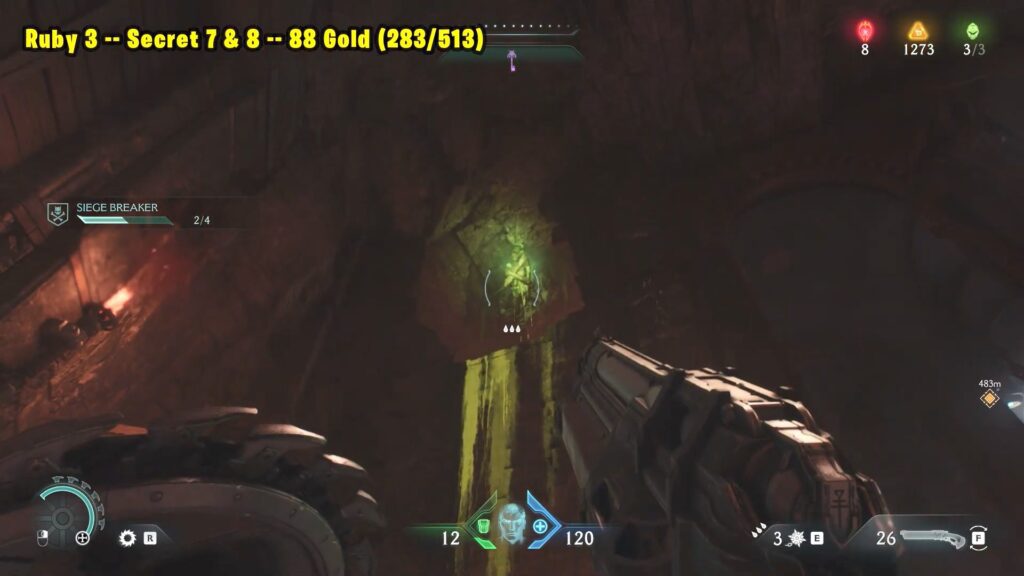
Go through the gate to find 3 more gold pieces. Climb up the crate and the wall. At the top, turn left and you’ll see a breakable wall—smash through it to find 8 more gold.
Exit the room and leave the tunnel. Once outside, stick to the right wall and keep moving forward to collect more gold and eventually reach a chest on wooden platform near the cliff.
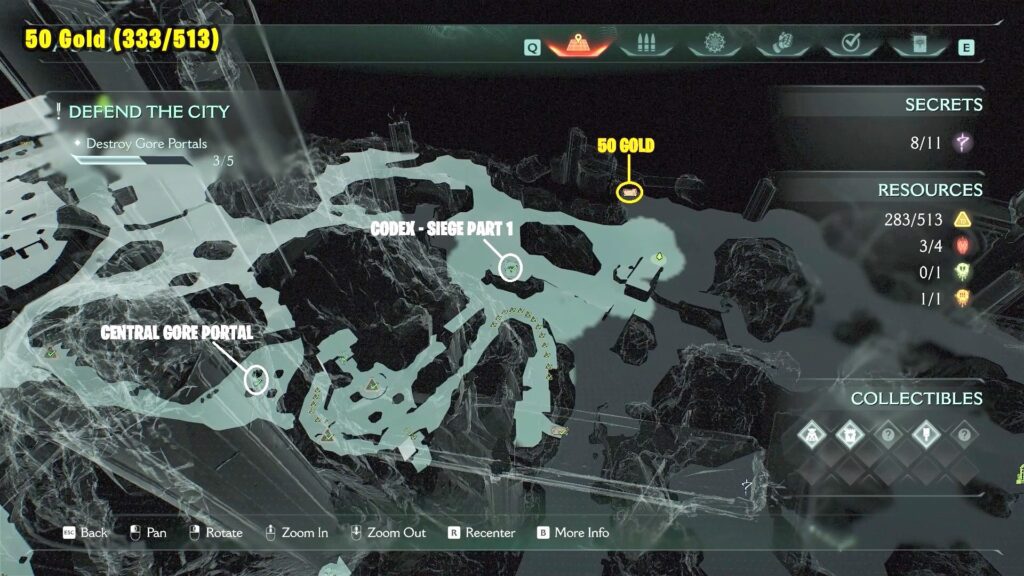
50 Gold (333/513)
The gold chest is located northeast of the Codex – Siege Part 1 collectible. Refer to the map below.

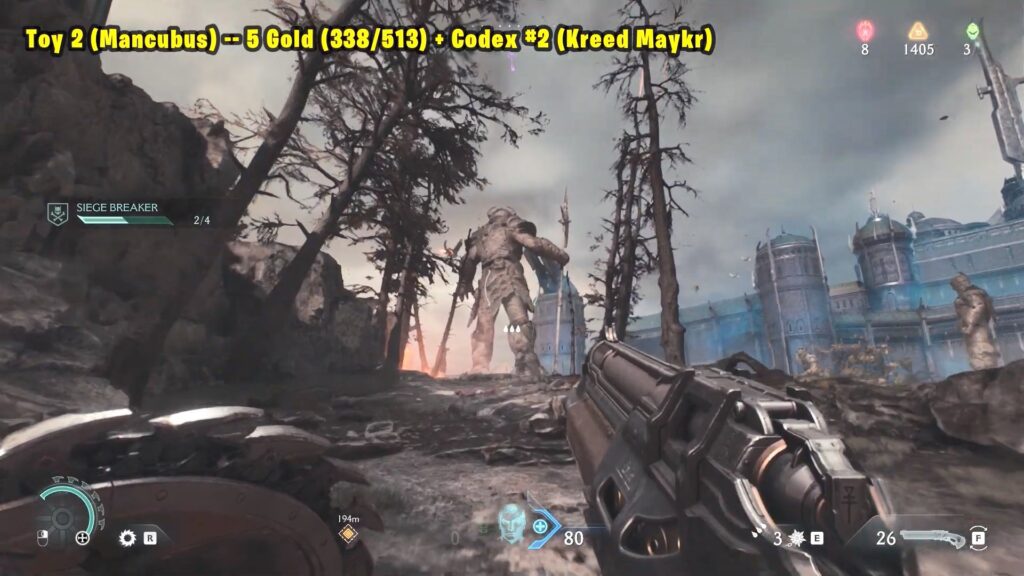
Toy 2 (Mancubus) — 5 Gold (338/513) + Codex #2 (Kreed Maykr)
Collectible Toy #2 (Mancubus) is located on a cliff just north of Sentinel Shrine. You’ll find a large statue, and the toy is located at its feet.
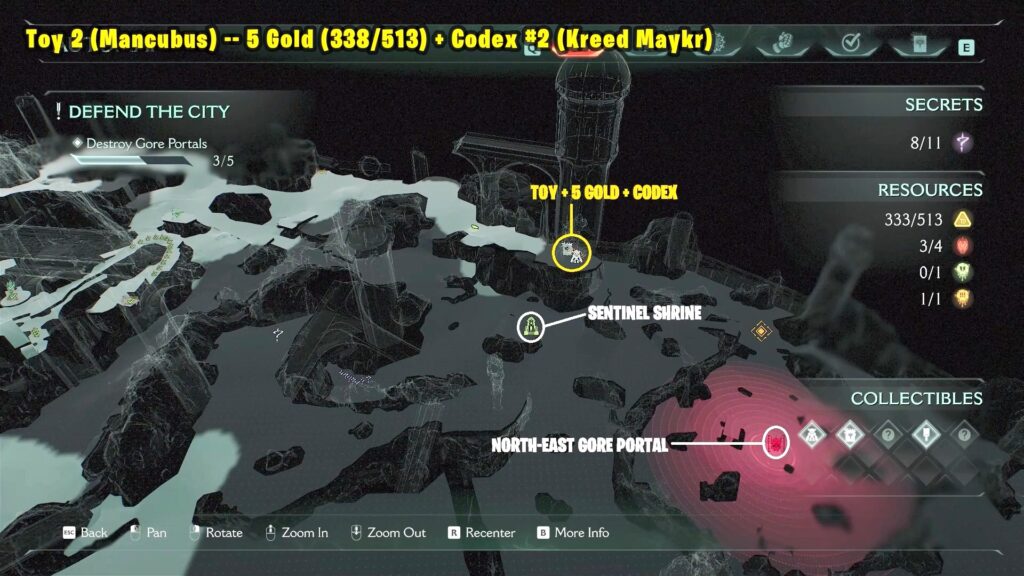
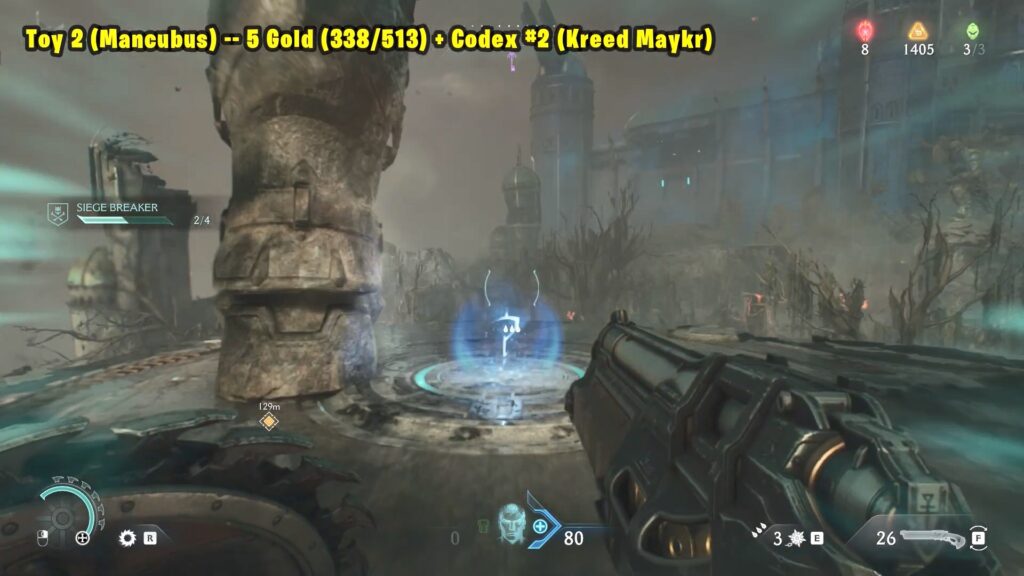
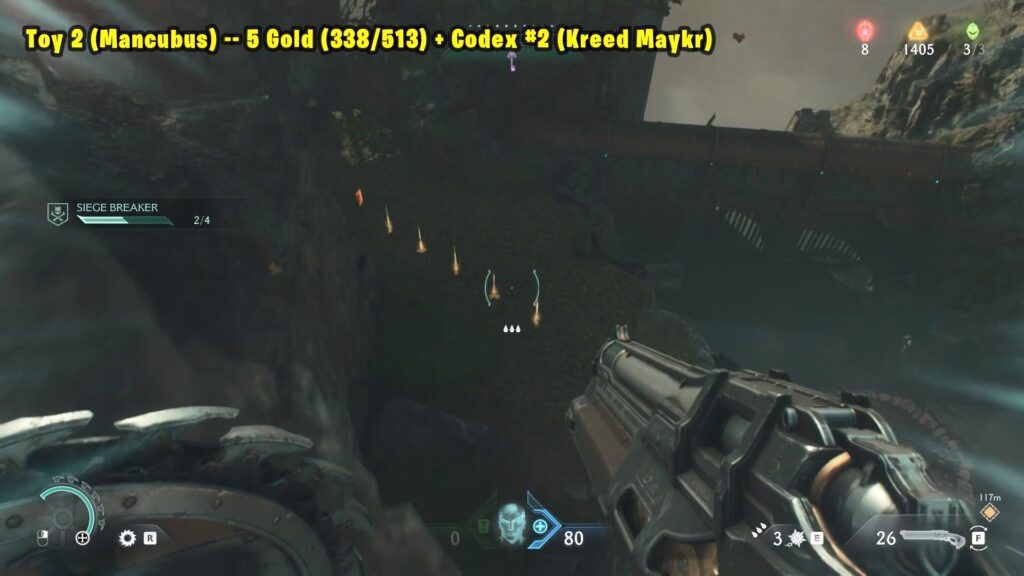
Now simply look down from the left side of the statue to find 10 gold and a Codex #2
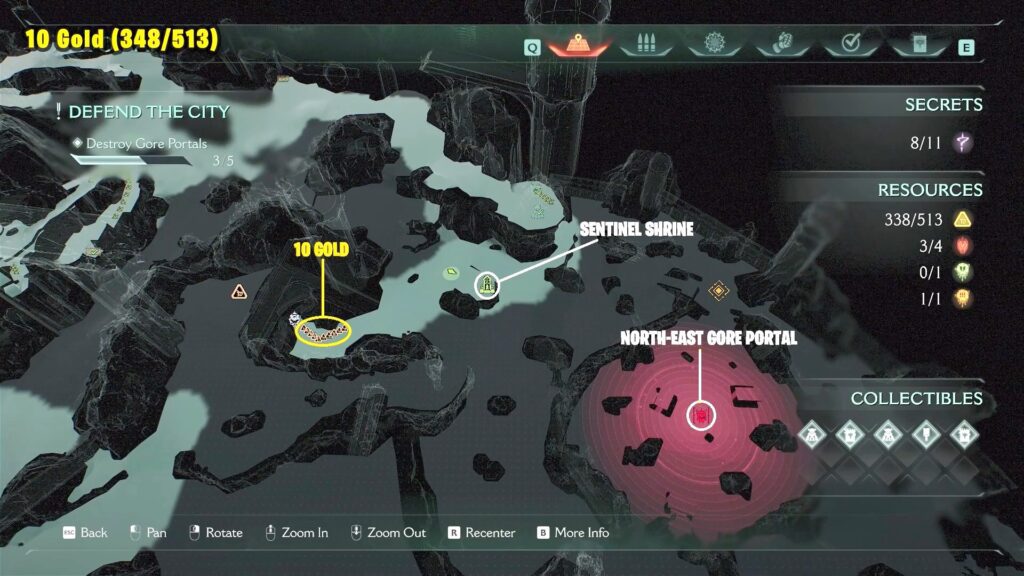
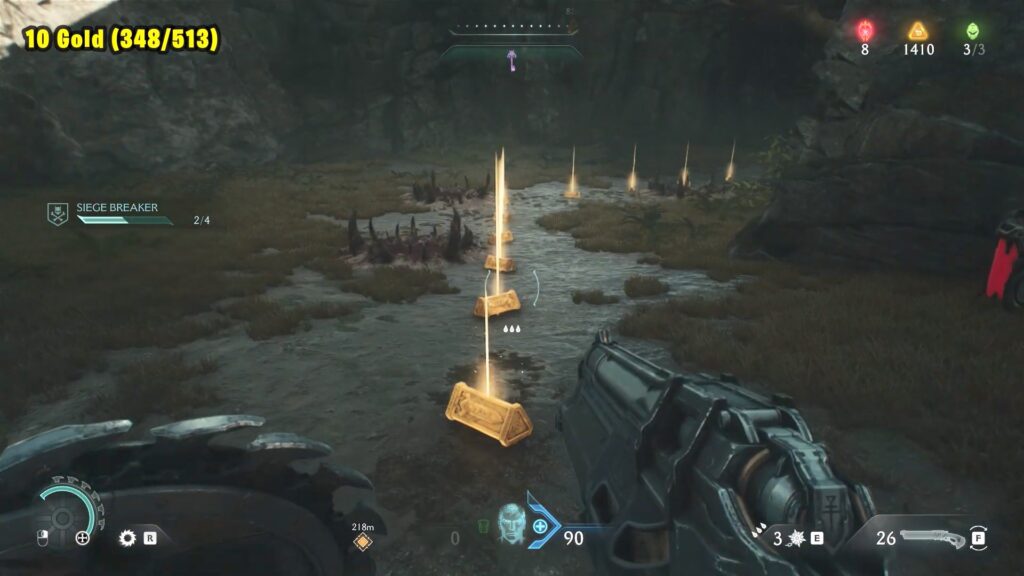
10 Gold (348/513)
10 Gold are available to pick from the ground just north-west of the sentinel shrine.
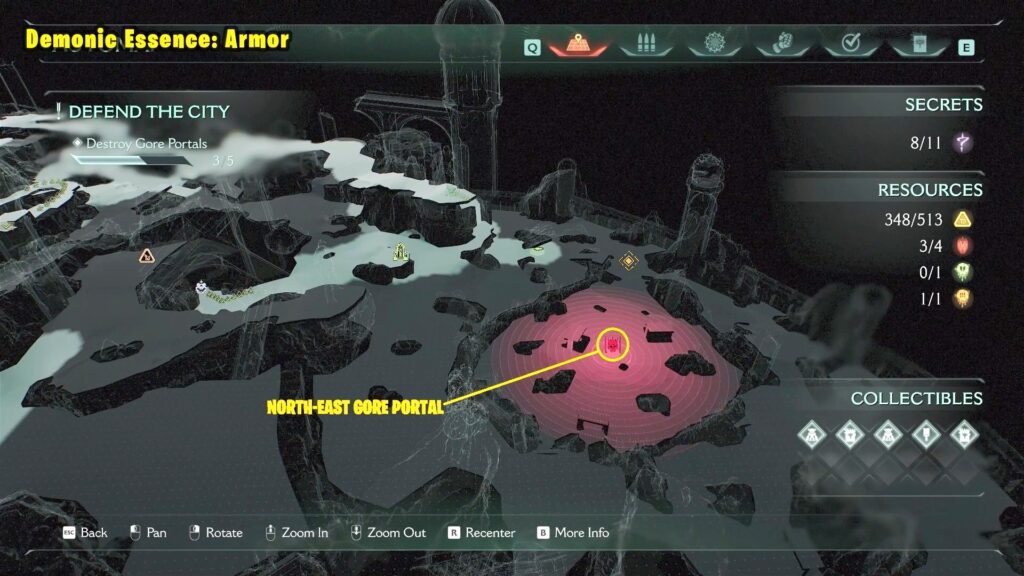
Demonic Essence: Armor
It is story-related and automatically obtained by defeating the Pinky Rider leader at the north-eastern gore portal.
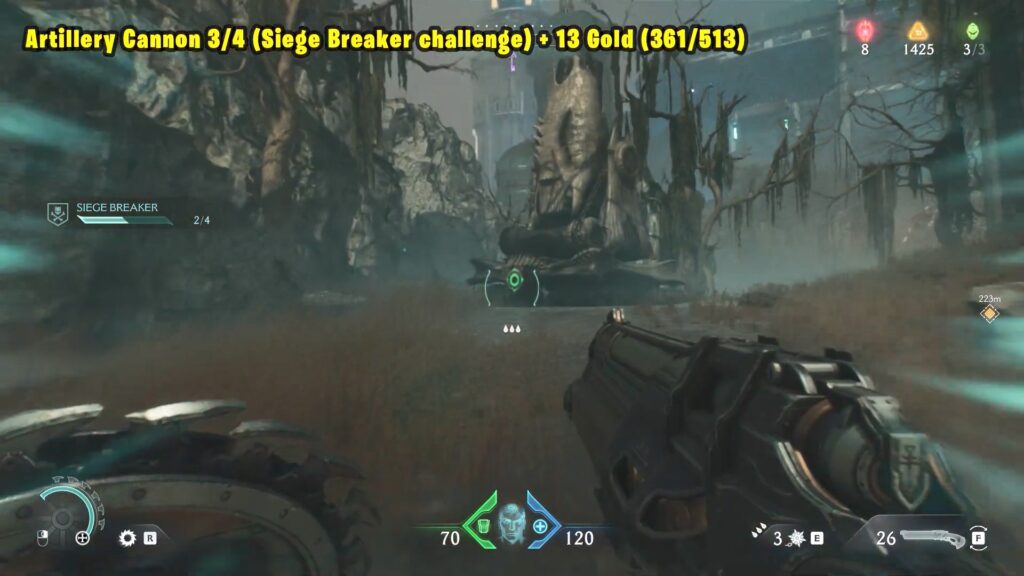
Artillery Cannon 3/4 + 13 Gold (361/513)
5 golds are hidden in a wagon. Refer to the location on the map.
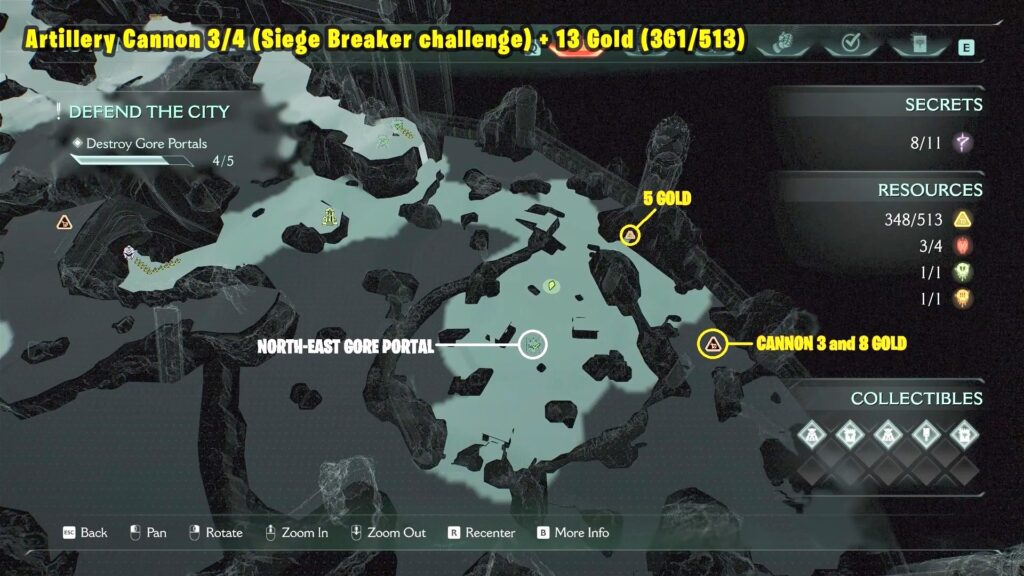
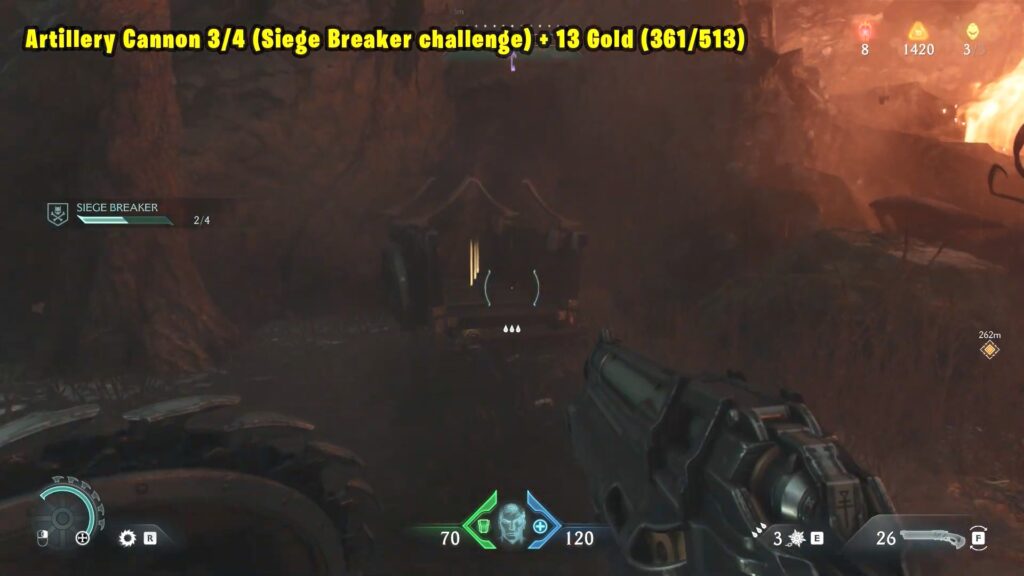
Go south of the previous location to find an Artillery Cannon. Destroy it to collect 8 gold.
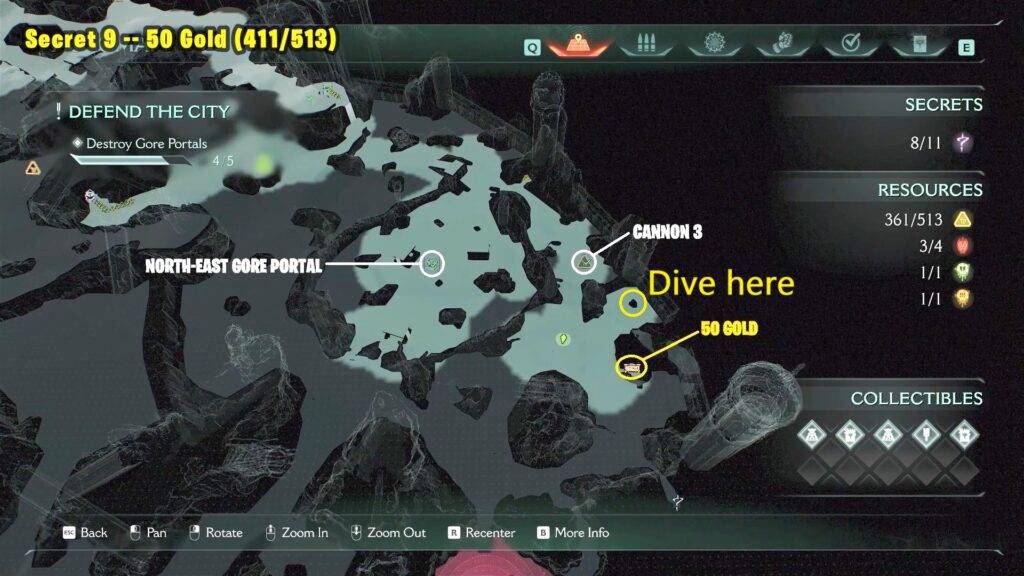
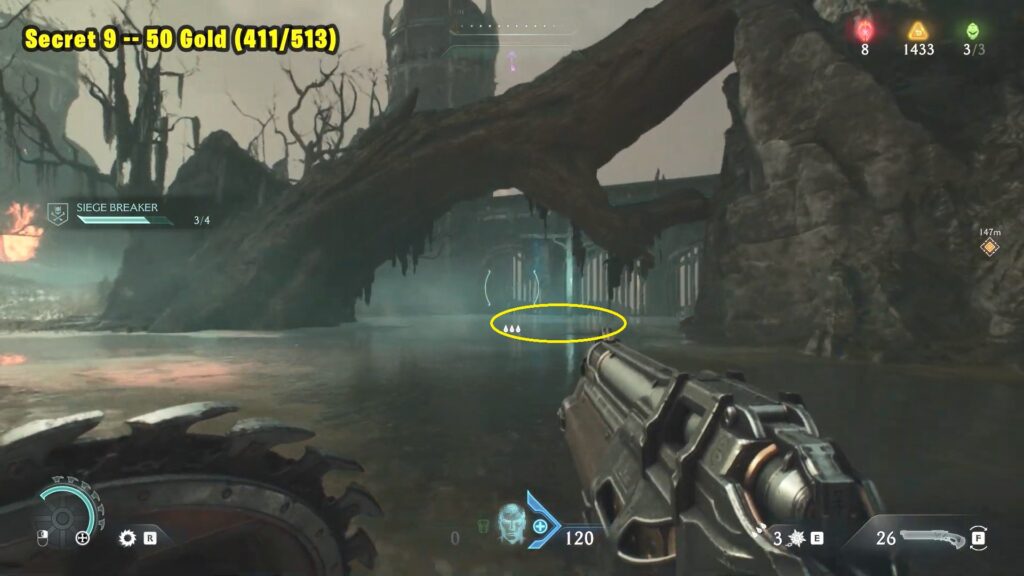
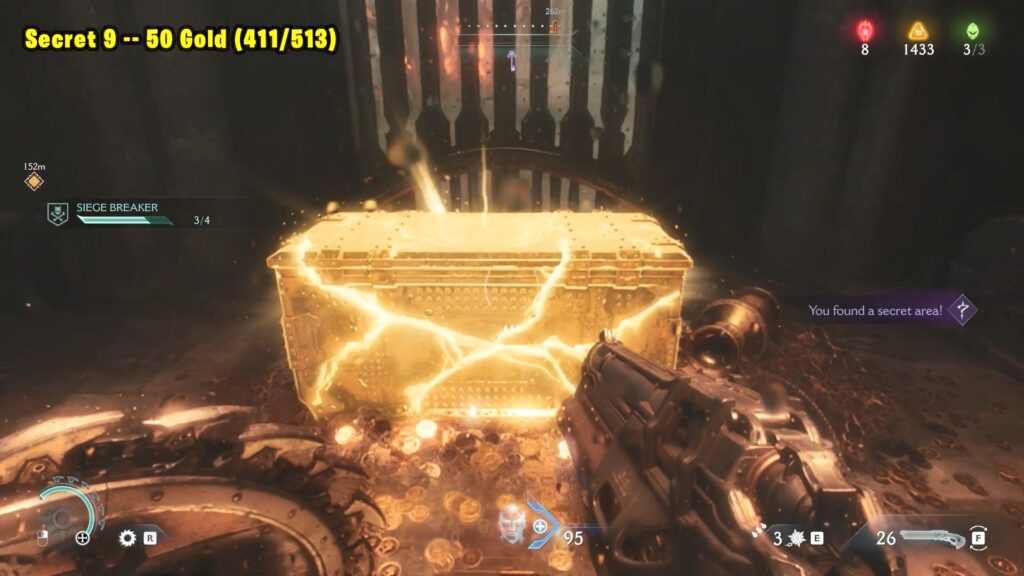
Secret 9 — 50 Gold (411/513)
Head south from the previous location, where you’ll find a chest inside a locked room. To reach it, go into the water to the left of the locked room and dive down. Swim through to the other side to discover a secret area with a gold chest.
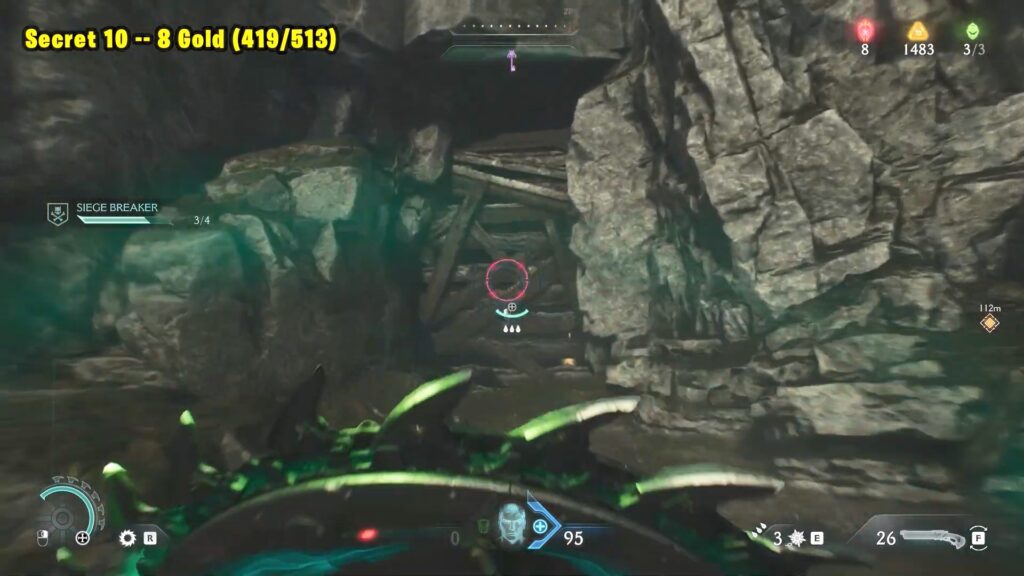
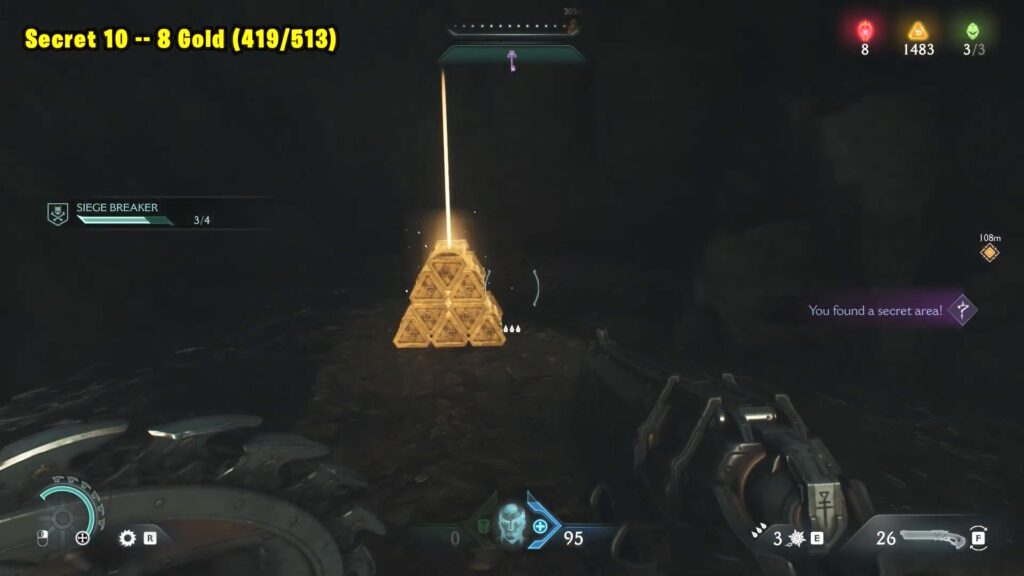
Secret 10 — 8 Gold (419/513)
Head south from the previous collectible until you find a breakable wall. Break through it to reveal a secret area with 8 gold.

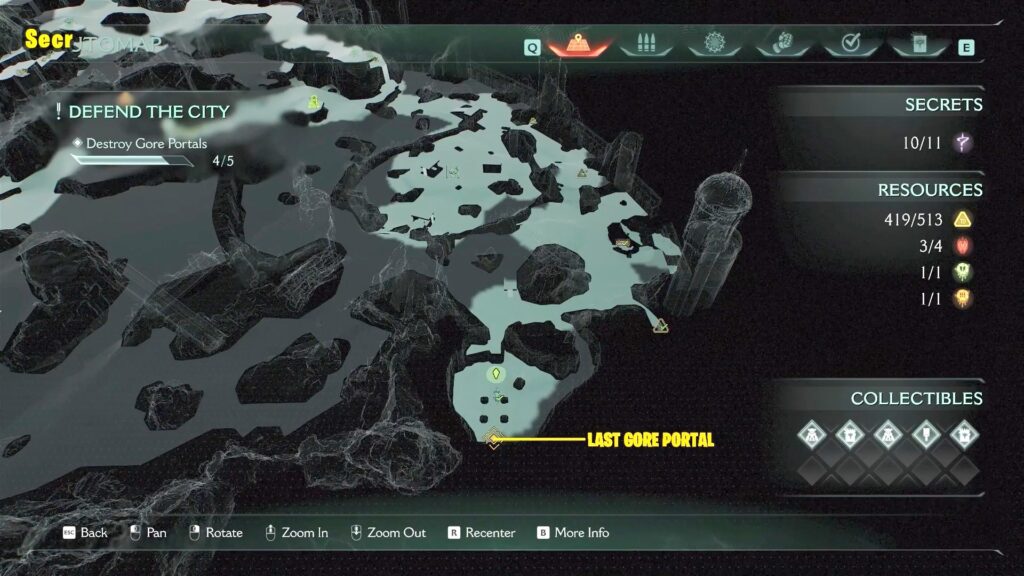
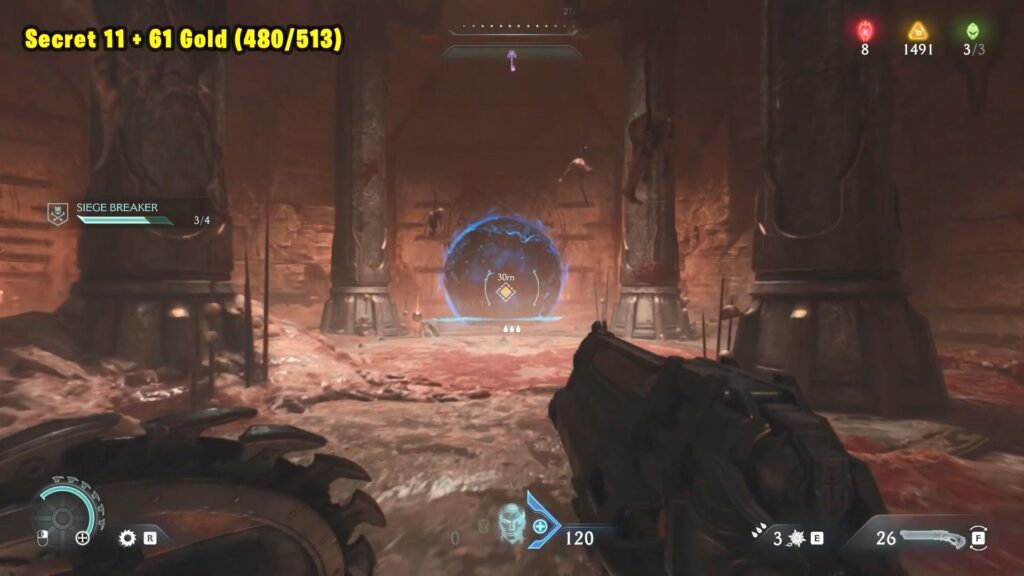
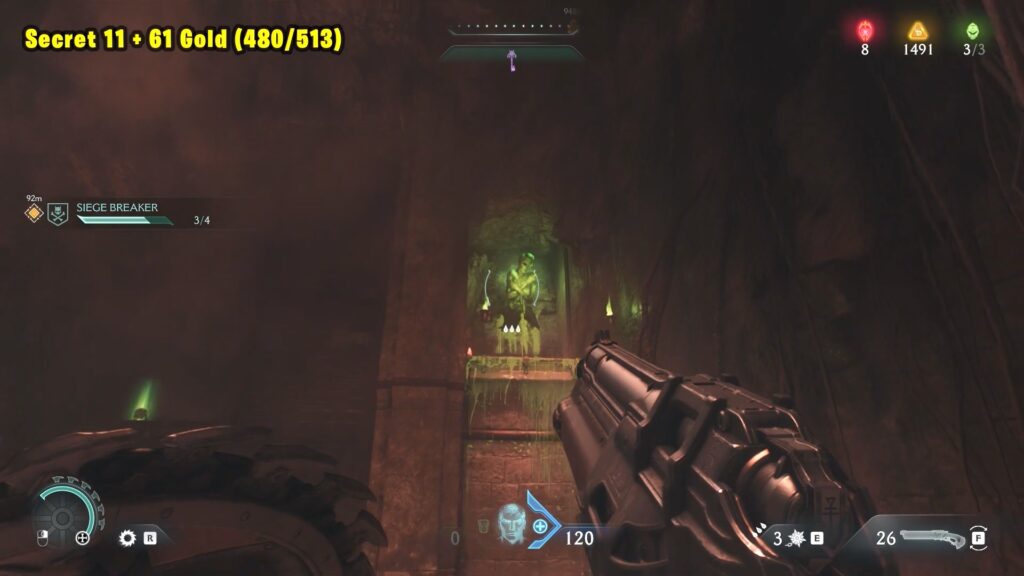
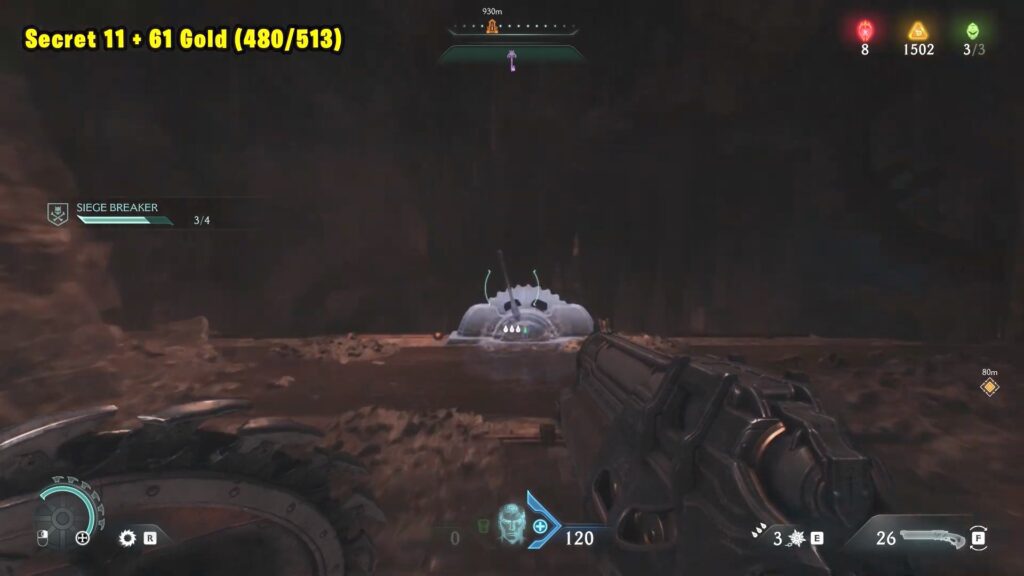
Secret 11 + 61 Gold (480/513)
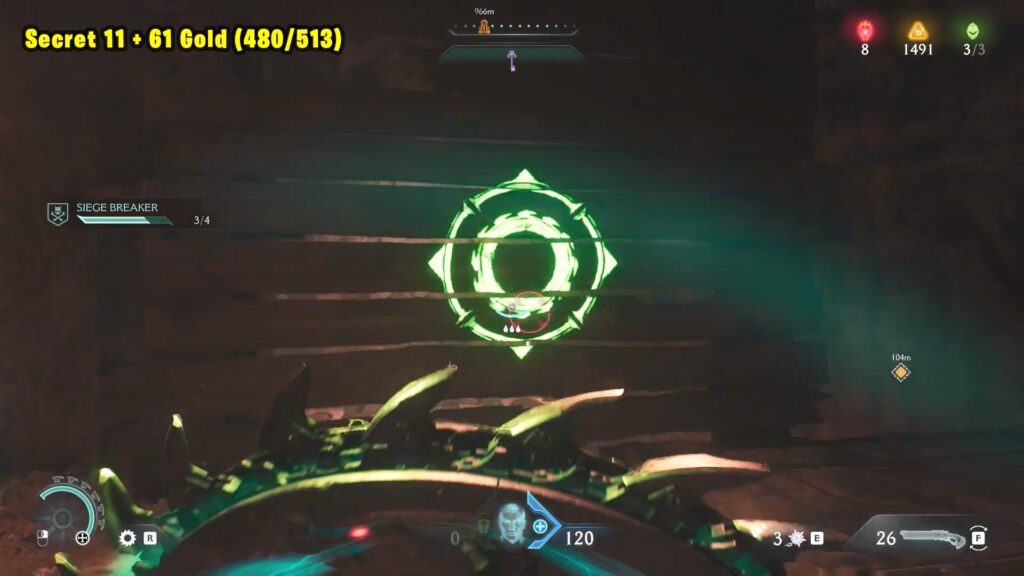
Go to the last Gore Portal, shown on the map below, and enter the blue portal inside.
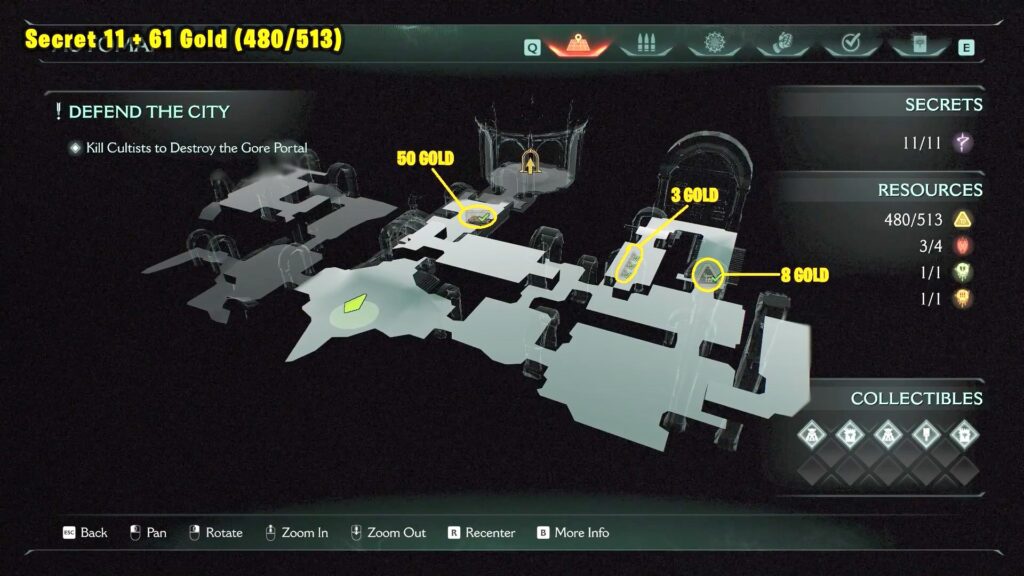
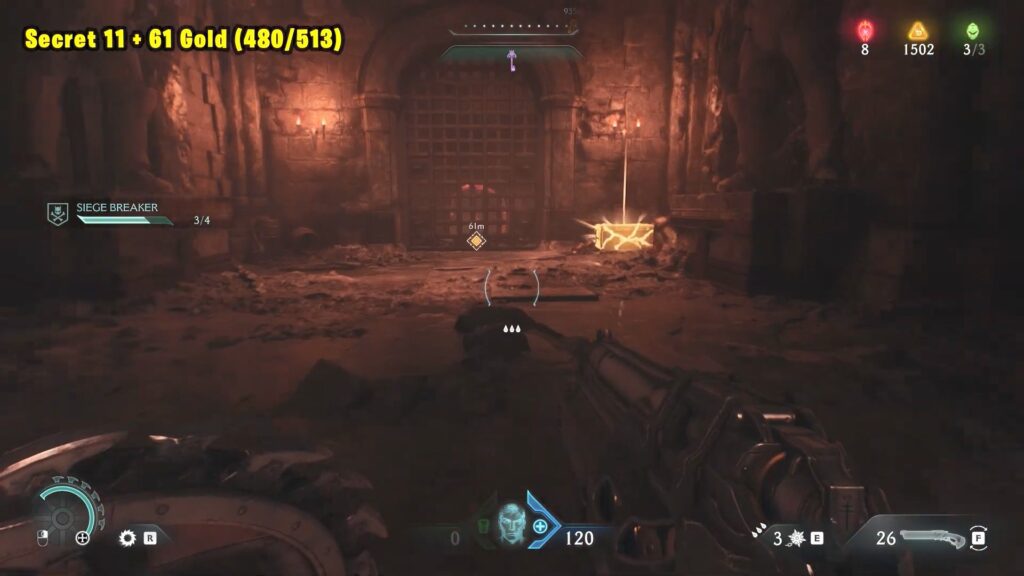
Refer to the below image for the location of gold in map below inside the portal.
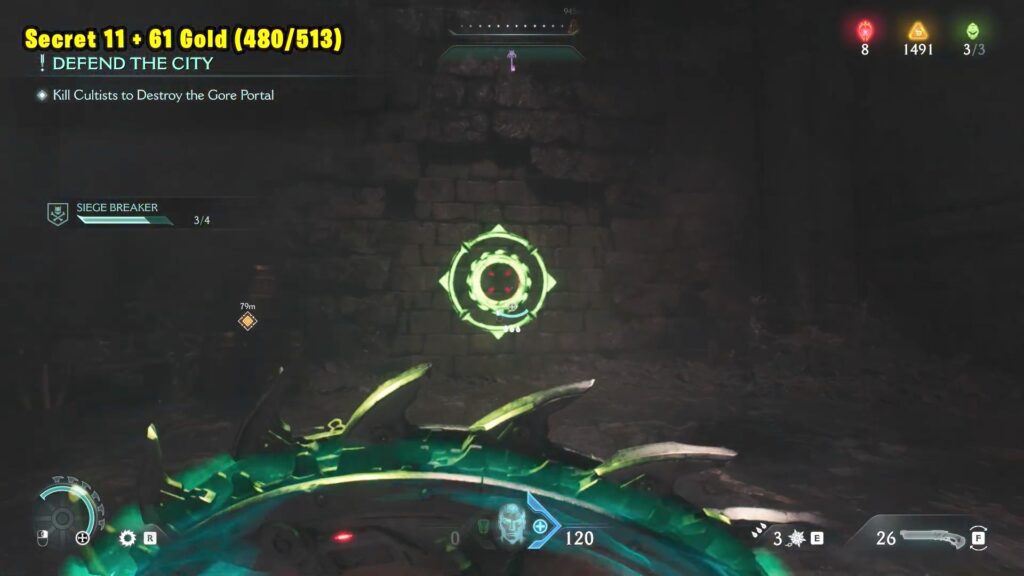
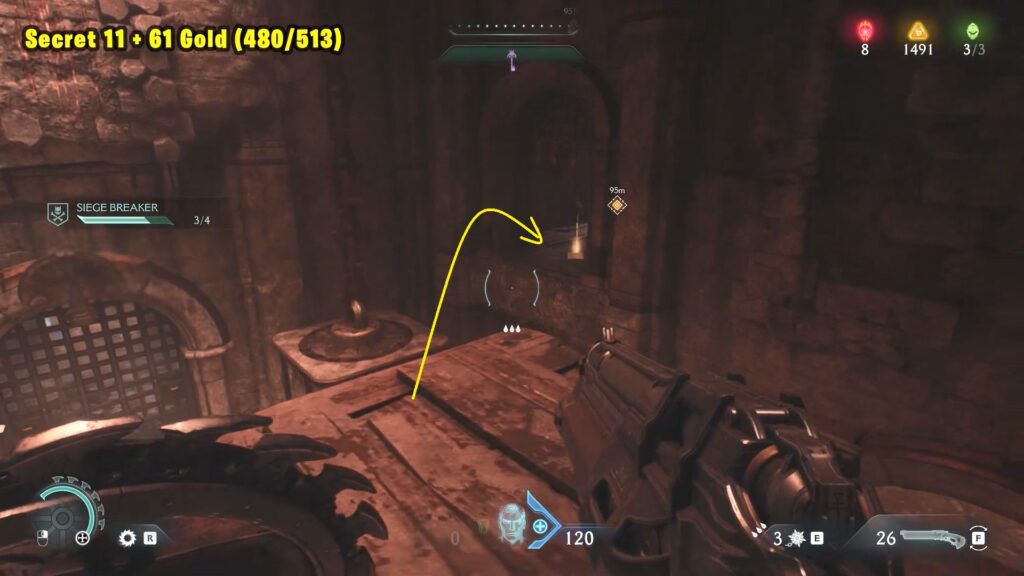
Once you’re through, turn right and smash the cracked wall. Follow the path around the corner. When you see two blocks, throw your shield at the chain to lower them.
Climb up the box on the left side, then turn around and throw your shield again to create a way to jump across.
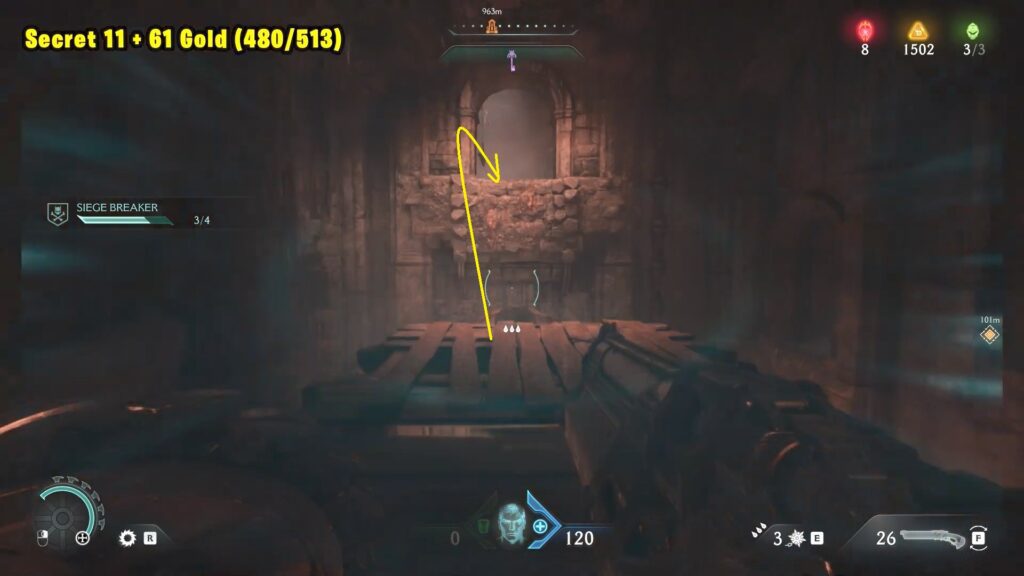
After jumping, turn left and knock down the wooden bridge. Walk to the end of the bridge and look to your right—you’ll see a small opening with 3 gold coins. Jump over to it and collect them. Then, head down the stairs just ahead to find a secret area with 8 more gold coins.
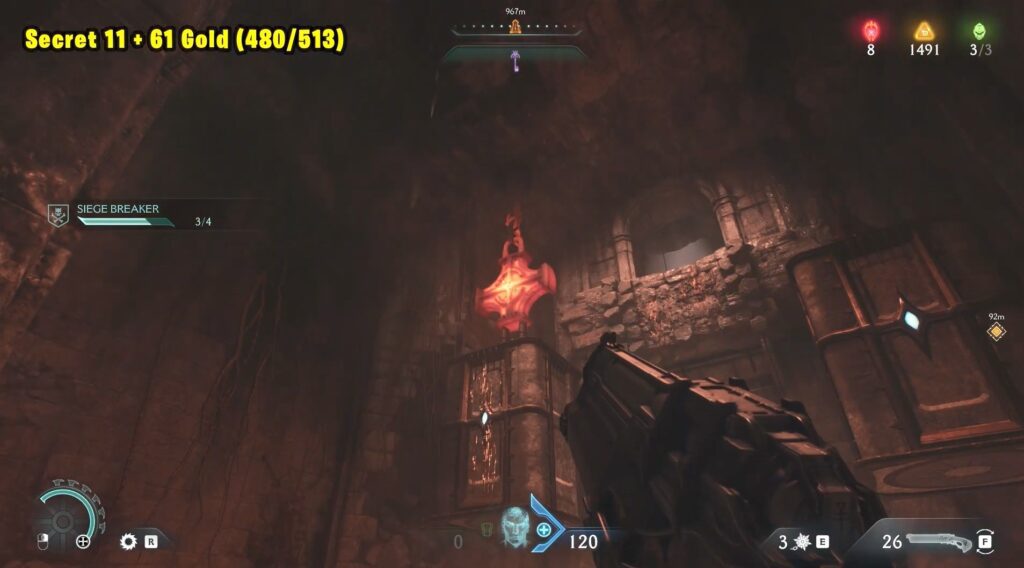
Now, go back to the wooden bridge and run and jump across the gap in front of you. Pull the lever you find there.
After that, drop down and go right through the gate that just opened. You’ll see a gold chest waiting for you
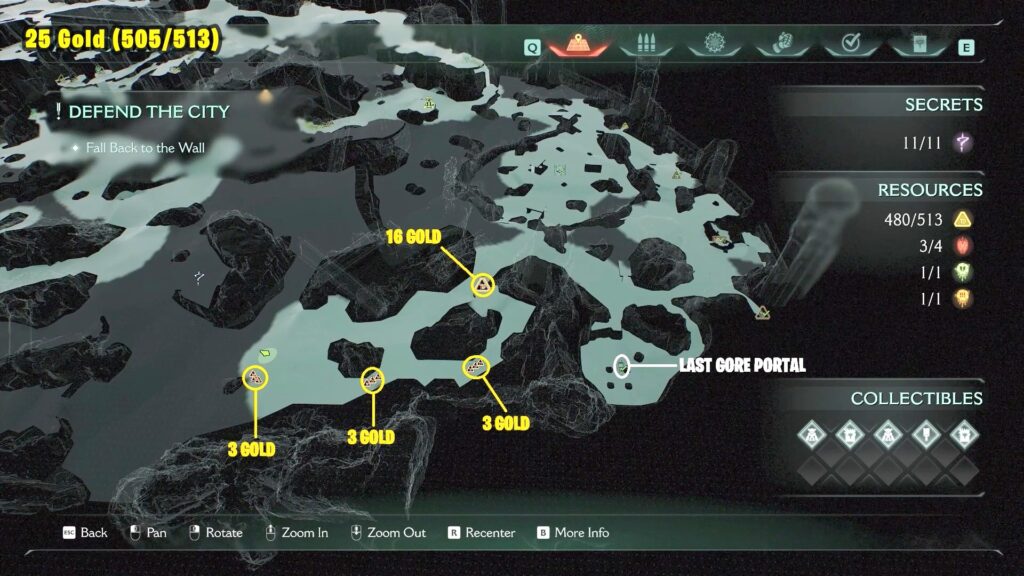
25 Gold (505/513)
There are a few spots left of the last Gore portal where you can find gold. These gold are just lying on ground and easy to spot by following the map.
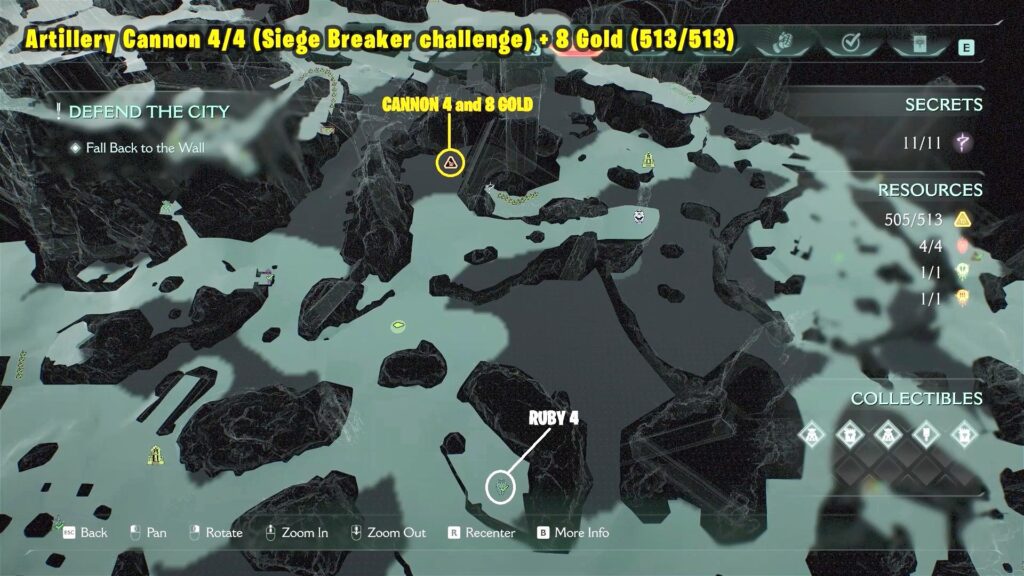
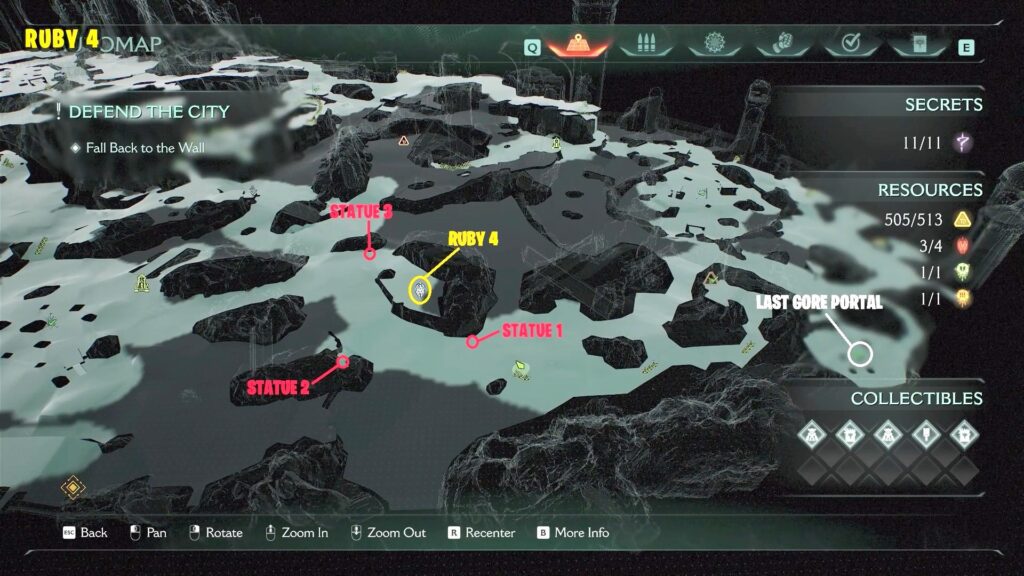
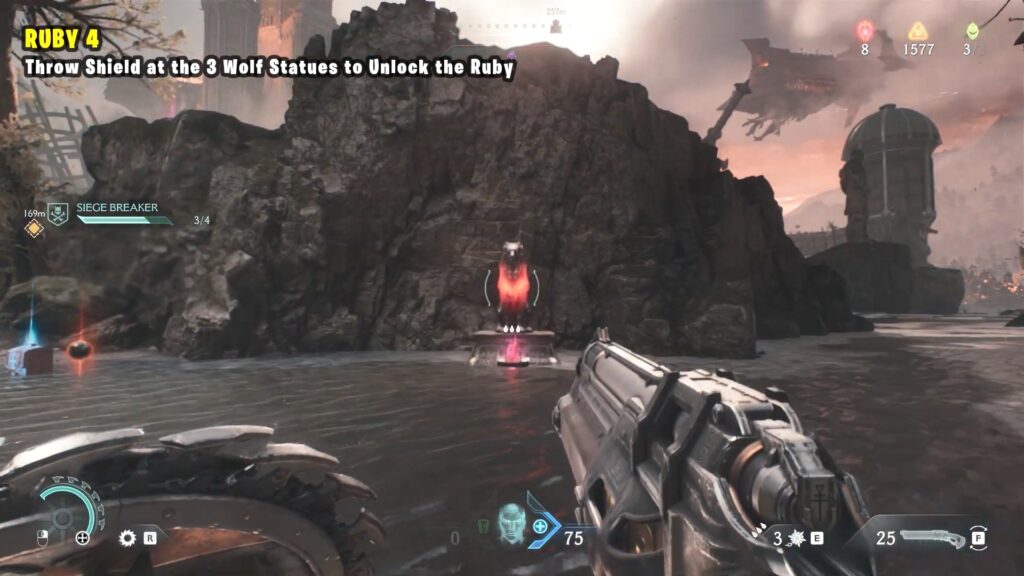
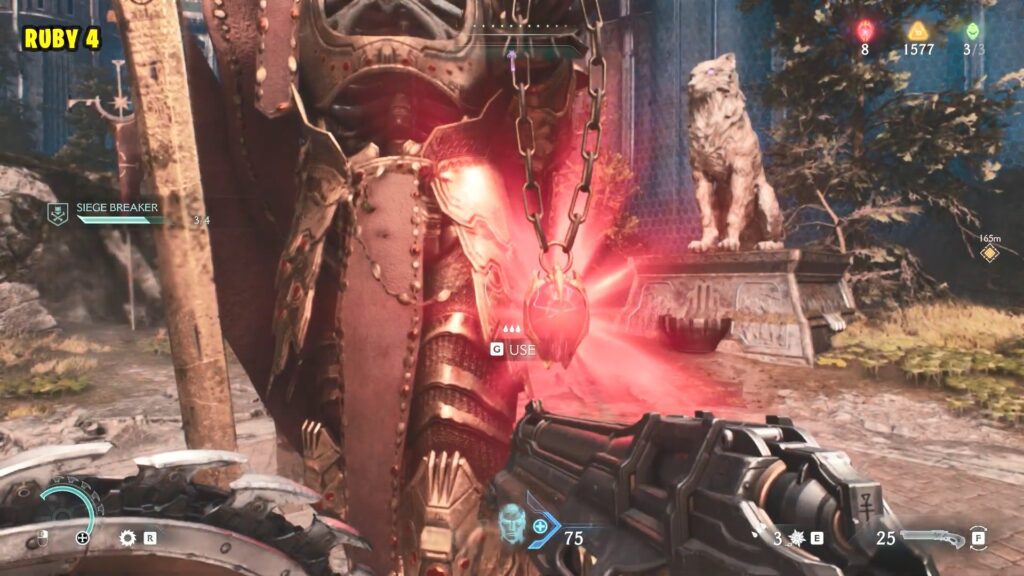
Ruby 4
To unlock the ruby, you must locate and throw your shield at three wolf statues to destroy them. Check the map to find the tree wolf statue.
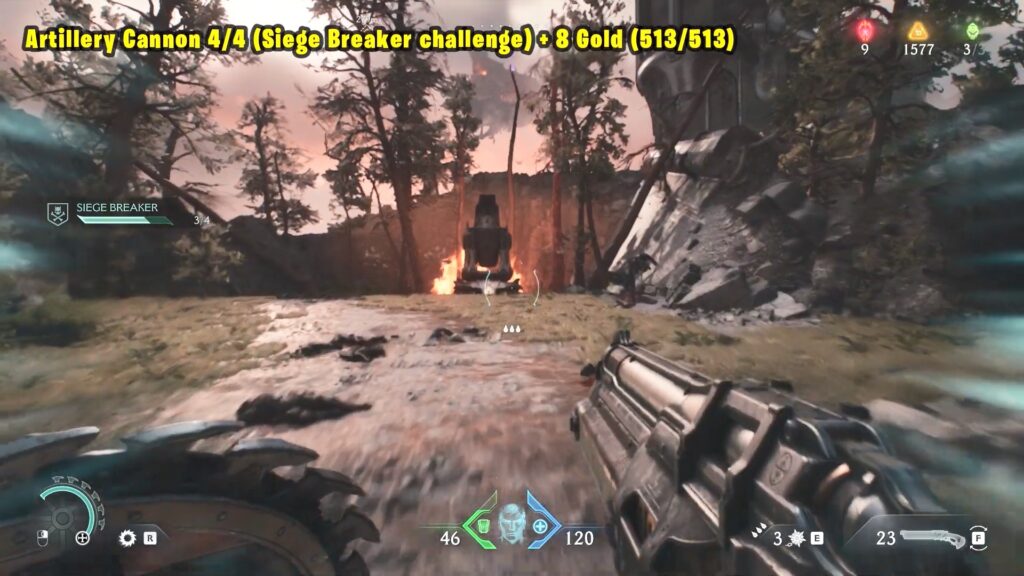
Artillery Cannon 4/4 + 8 Gold (513/513)
The last artillery cannon is located north of the previous ruby. Destroy it to collect the 8 gold.