Spire of the Stars is the 57th main mission in Crimson Desert. The journey involves navigating the structure, reaching the top, and eventually moving toward the mysterious Abyss. This walkthrough will guide you through each objective step by step, helping you reach the top of the Spire of the Stars and progress the story.
Go to the Spire of the Stars
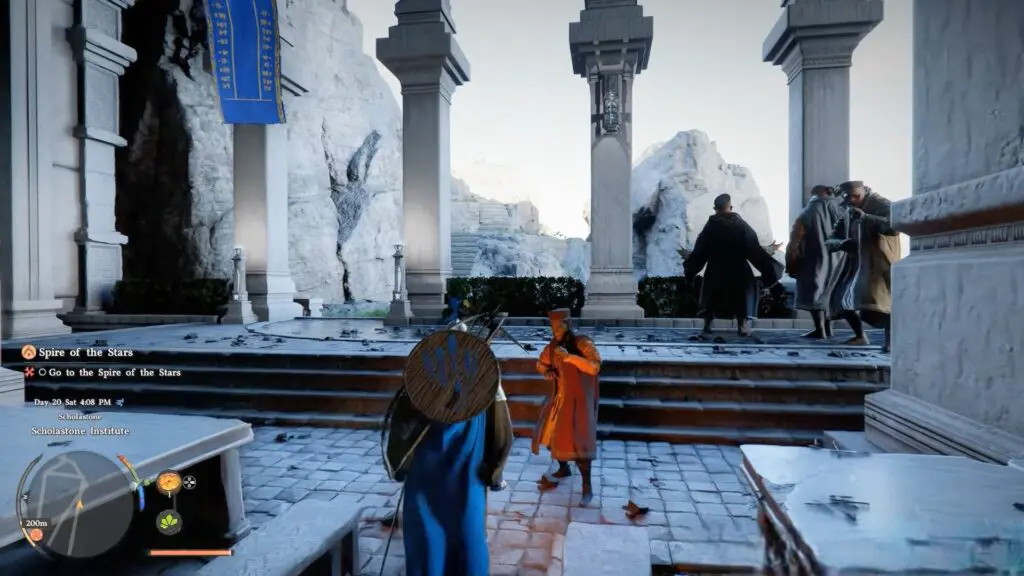
As the quest begins, your task is to reach the Spire of the Stars. From the starting point, go to the north-east side of the Scholastone Institute. Follow the road until you see a staircase going up.

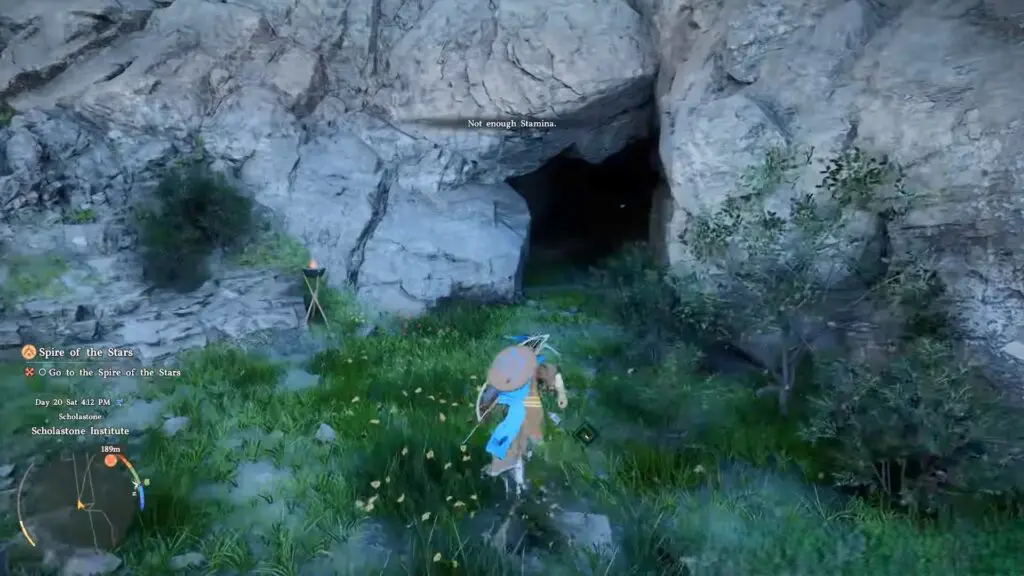
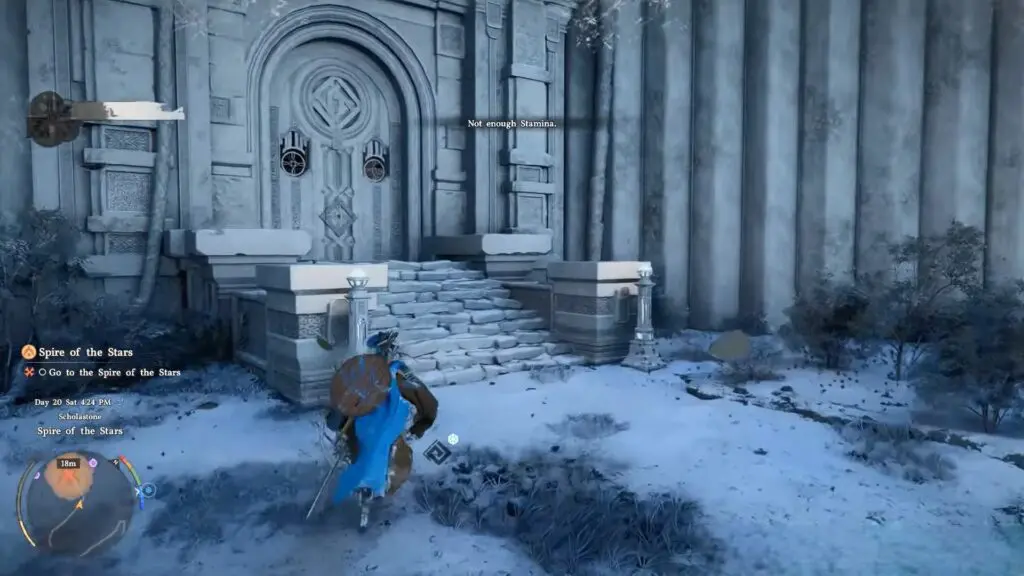
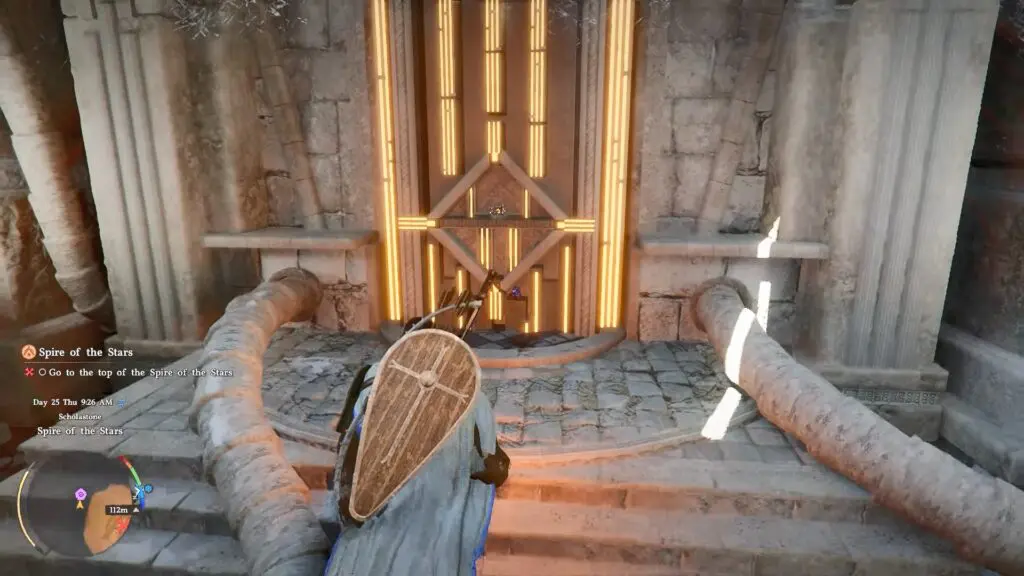
Climb the stairs, and you will enter a cave. Walk straight through the cave, and then keep following the stairs as they go higher and higher. At the top, you will find a big stone door. Interact with it to enter the Spire of the Stars.
Go to the top of the Spire of the Stars
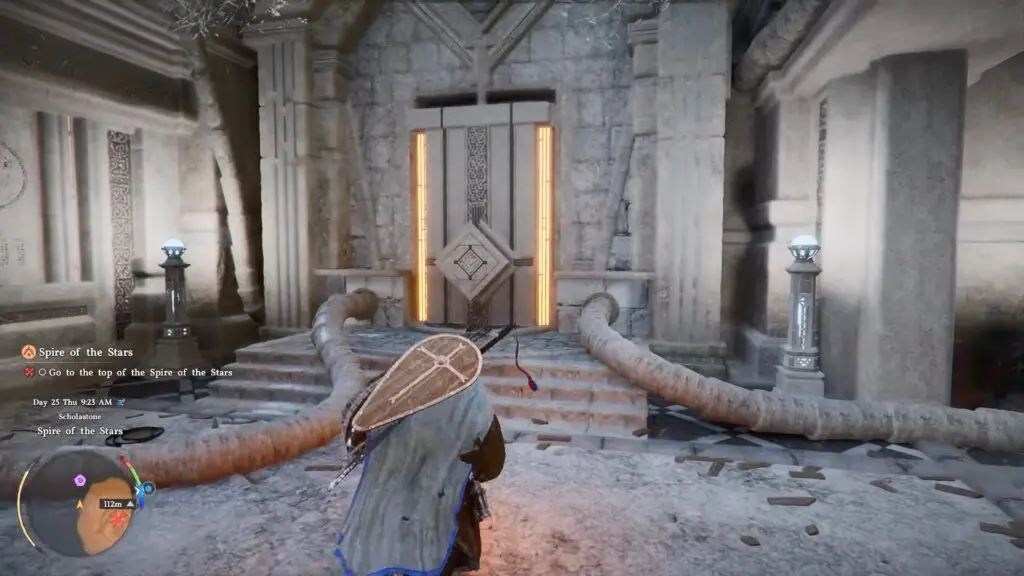
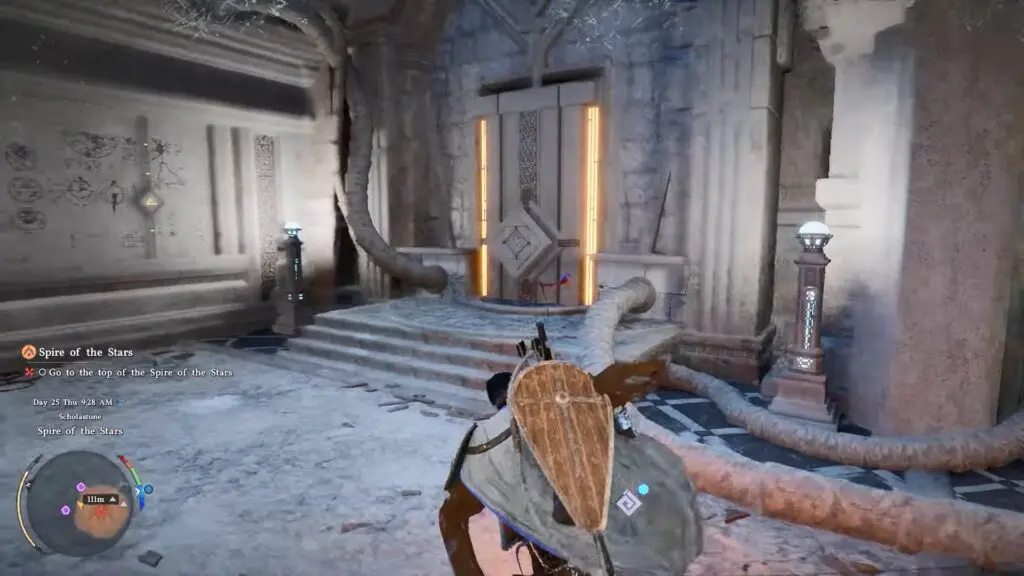
When you enter the building, you will immediately notice the inactive lift in the center that requires engraved stones to power the mechanism.
Step 1: Activate the Engraved Stone Nodes
These engraved stones can be obtained by activating the nodes in the room. Head to the left side of the room and look for a closed node. Use your Force Palm ability on each inactive node to make them open. When you hit a node, it will rotate and reveal an engraved stone inside.
Next, head to the opposite side of the room and repeat the process by activating another node with Force Palm to obtain the second and third stone.

Step 2: Insert the Engraved Stones
Once you have all the stones, head to the central area of the room with the elevator.
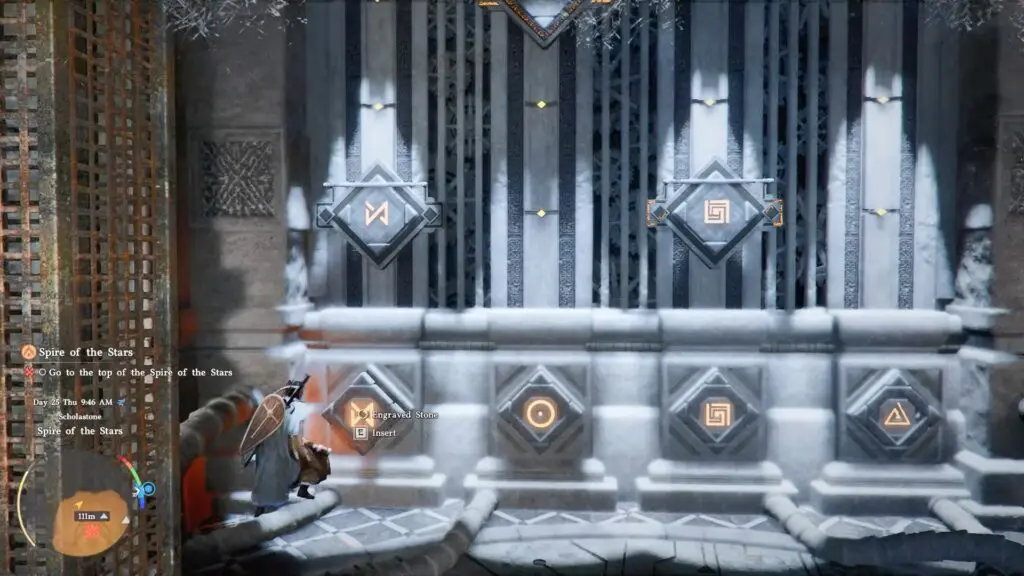
- There are 3 engraved stones and 4 slots, so one slot will remain empty. Insert the stones into the correct slots as per the image.
- Each time you place a stone, a vertical handle or platform will rise. After placing all three stones correctly, the platforms will move into position.
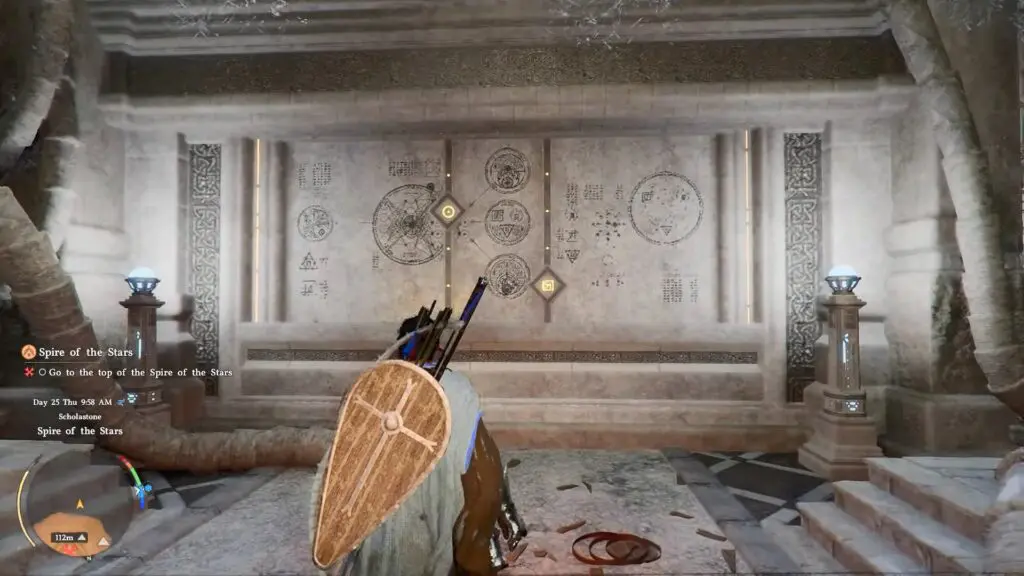
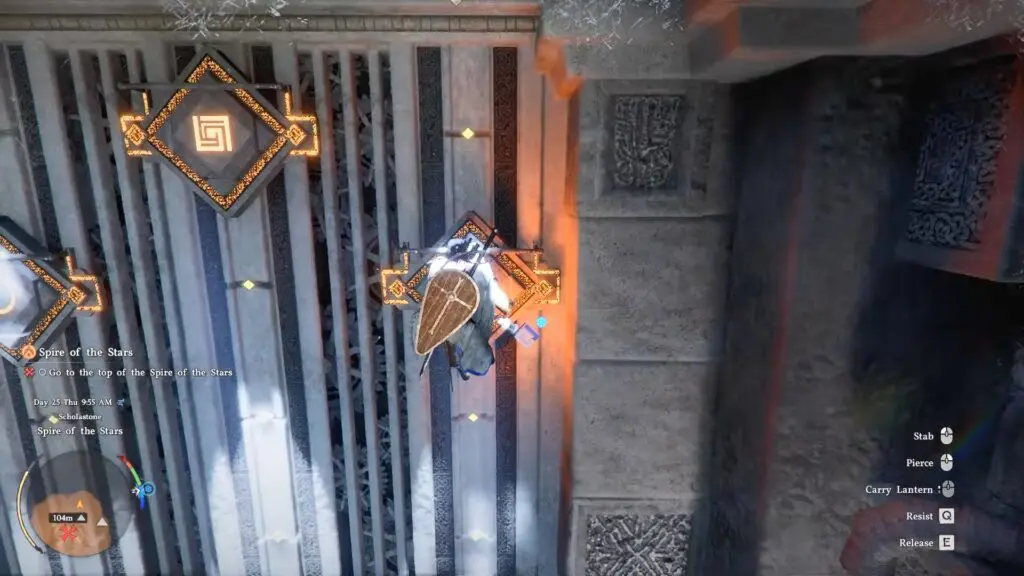
Step 3: Understand the Symbol Positions
Now you need to align the symbols correctly to power the lift. Each symbol must match the position shown on nearby walls.
Here’s the correct placement:
- Hourglass symbol → Top position
- Triangle symbol → Second from the bottom
- Circle symbol → Third from the bottom (already correct by default)
- Square symbol → Bottom position

Step 4: Adjust the Platforms
To move each symbol into place:
- Climb onto the moving handle/platform and hold on as it moves up or down. Then, release at the correct level to lock it in position.
Step 5: Activate the Lift
Once all symbols are correctly aligned, the system will activate automatically and power on the lift in the center. Step onto the middle platform, and it will carry you up to the top of the Spire.
Move to the Abyss
Step onto the elevator platform in the center, and it will activate and start moving upward. Stay on it as it carries you to the top. As soon as you reach the top, quickly step off the platform, because the elevator will go back down on its own after a short moment.

Once you are off the elevator, continue moving forward and follow the stairs going up. Keep climbing until you reach the highest floor. At the very top, you will find the entrance to the Abyss. Walk up to it and enter to end the quest.