Death’s Door: Latopolis Walkthrough
This guide shows how to complete the “Find a Way to the Inner Gene Locked Hatch” objective in the “Death’s Door” main quest in Horizon Forbidden West. Check the video below to see the complete walkthrough of the “Death’s Door” main quest.
Find a Way to the Inner Gene Locked Hatch
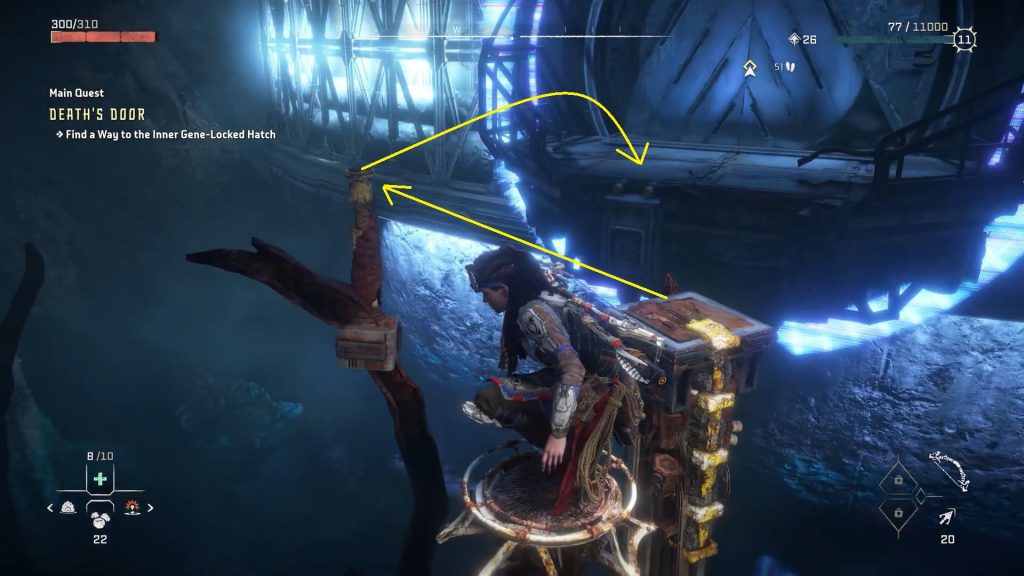
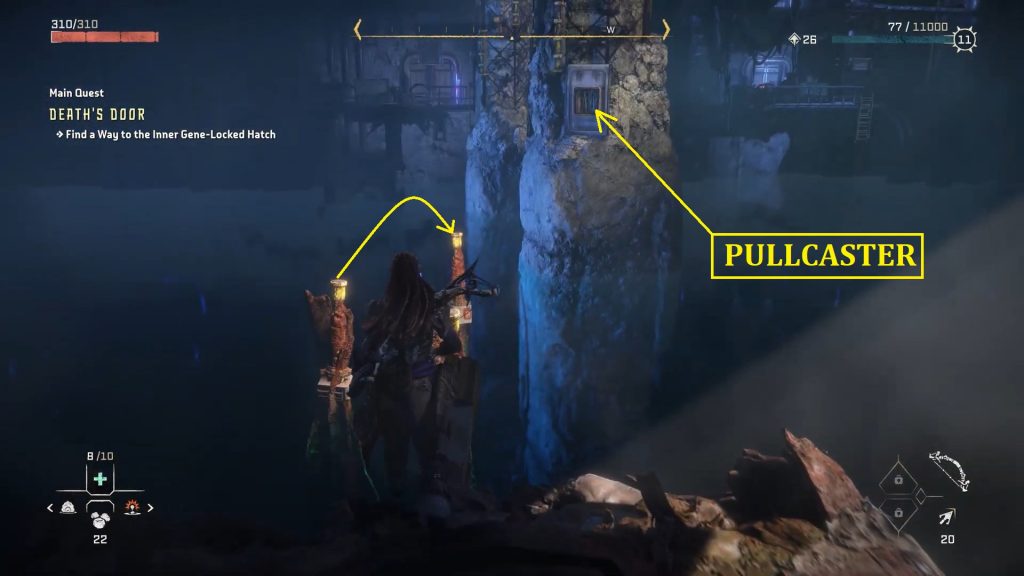
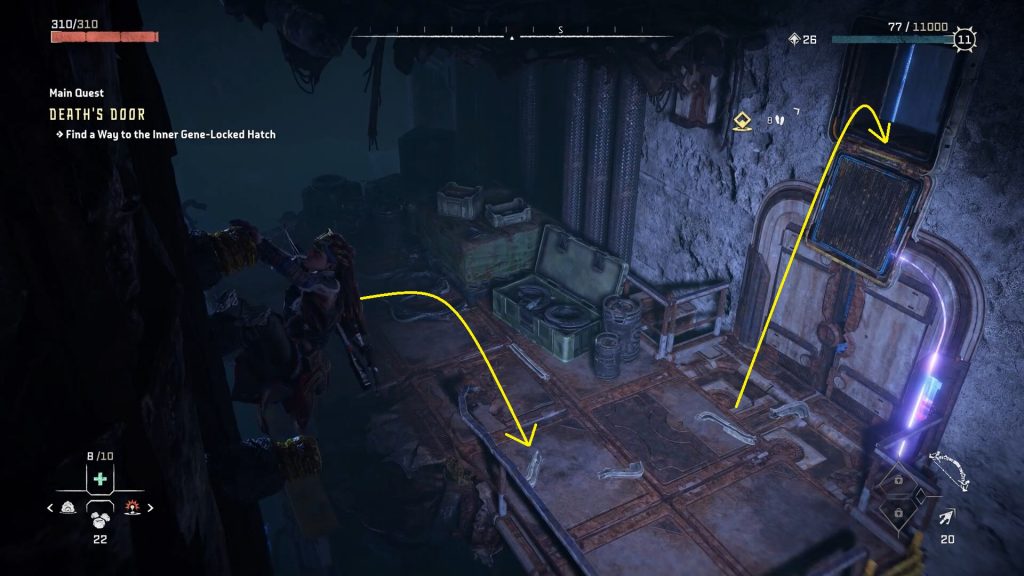
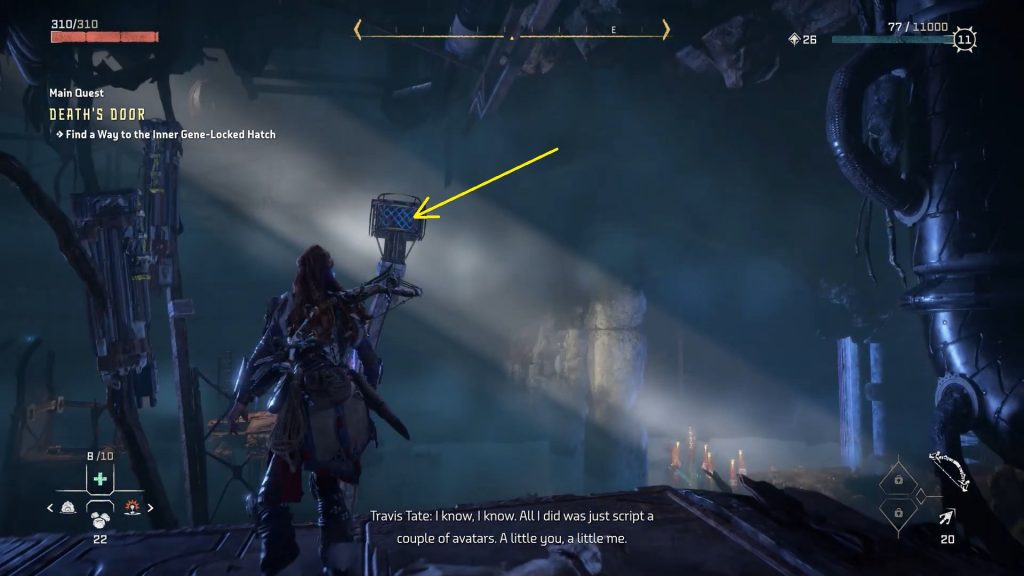
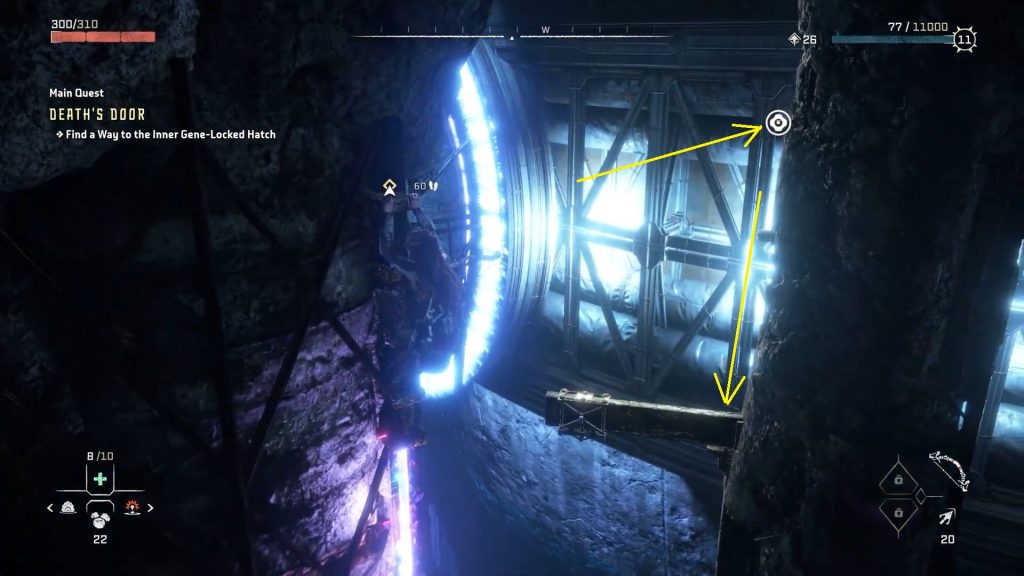
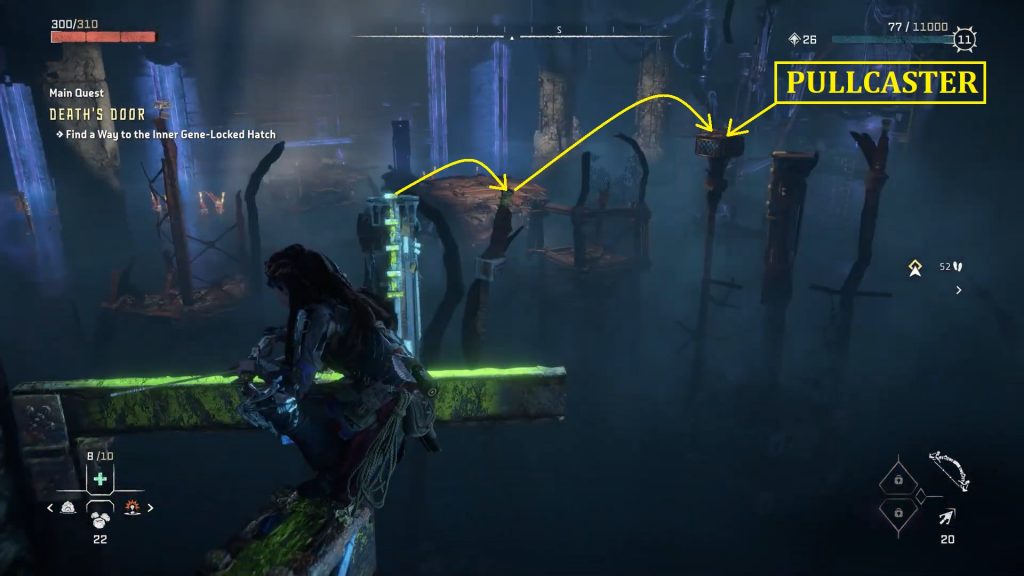
The objective starts as you enter the Latopolis facility. Pry open the door and you will reach an area with lots of platforms. Jump on the platform ahead of you. Then turn left and you will see a few small piers. Jump on the piers and then use pullcaster to pull the hatch as shown in the picture below. This will reveal a grappling point.
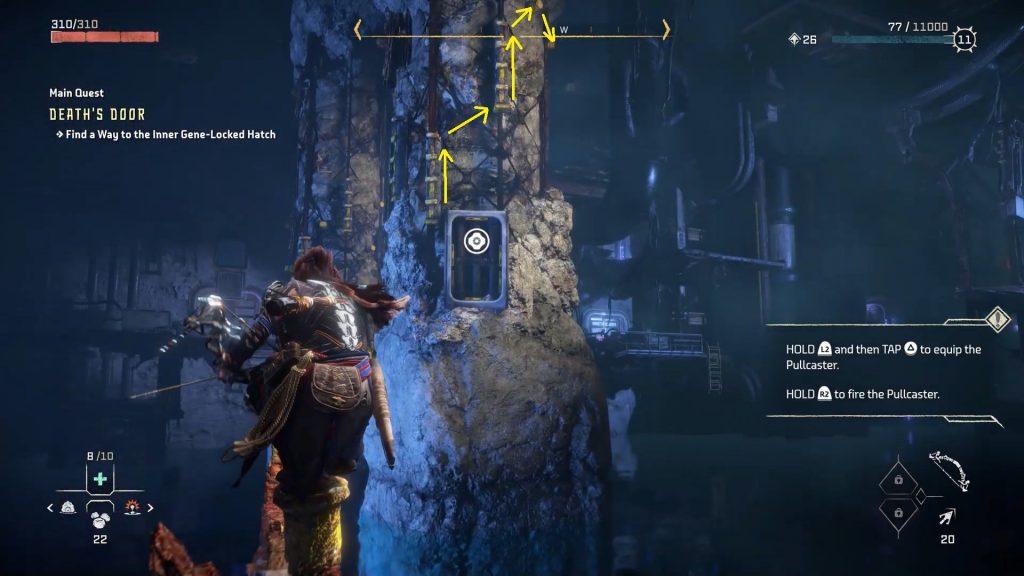
Use the grappling point to climb up the ledges on the pillar and then go to the right side of the pillar.
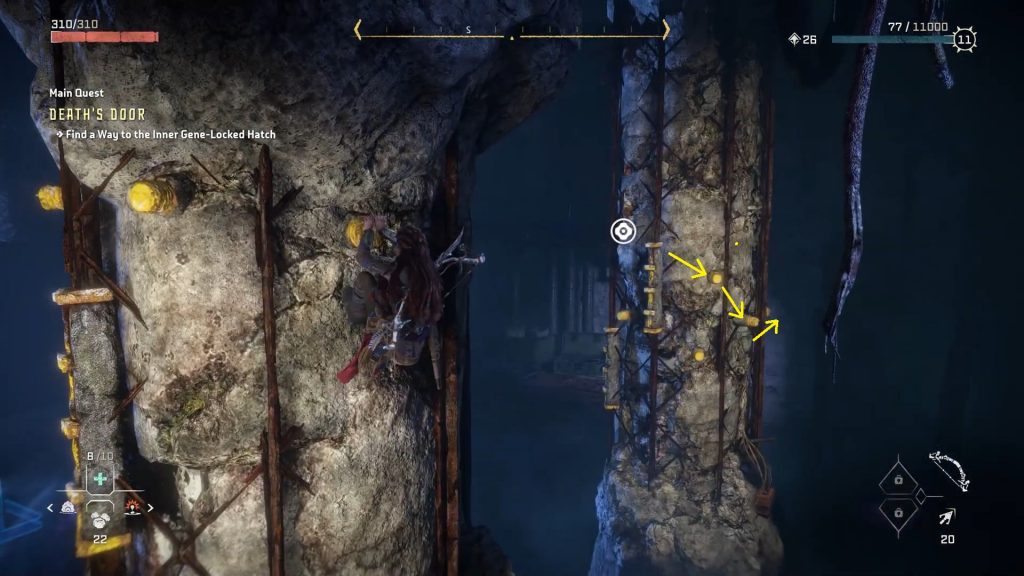
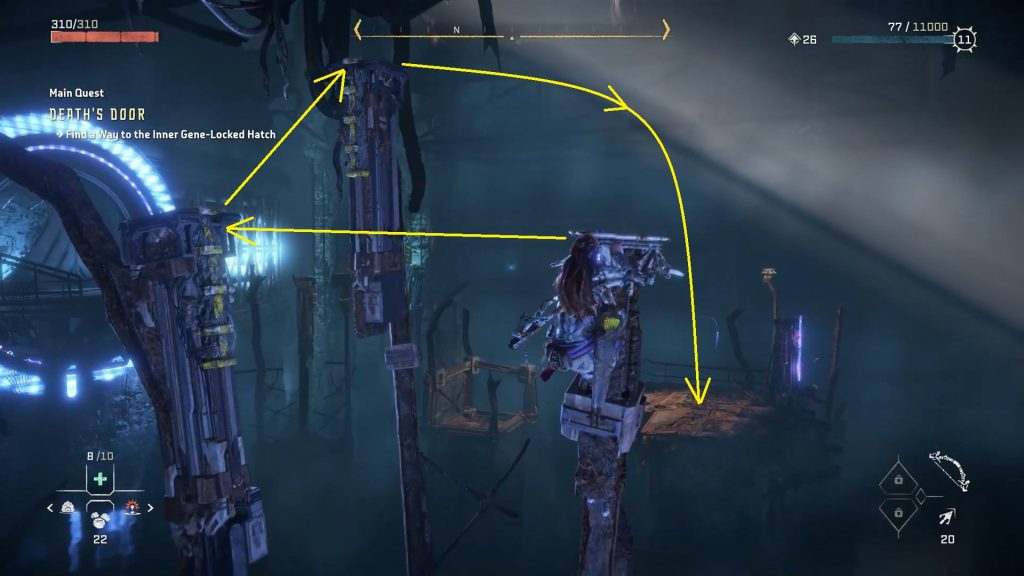
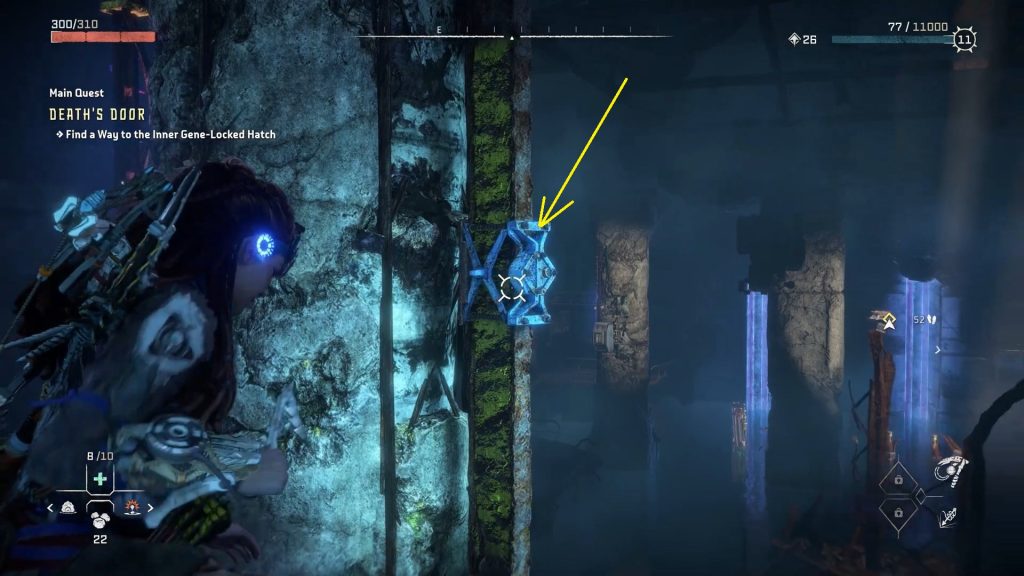
Now grapple to the next pillar as shown below and use ledges to move towards the right on this pillar.
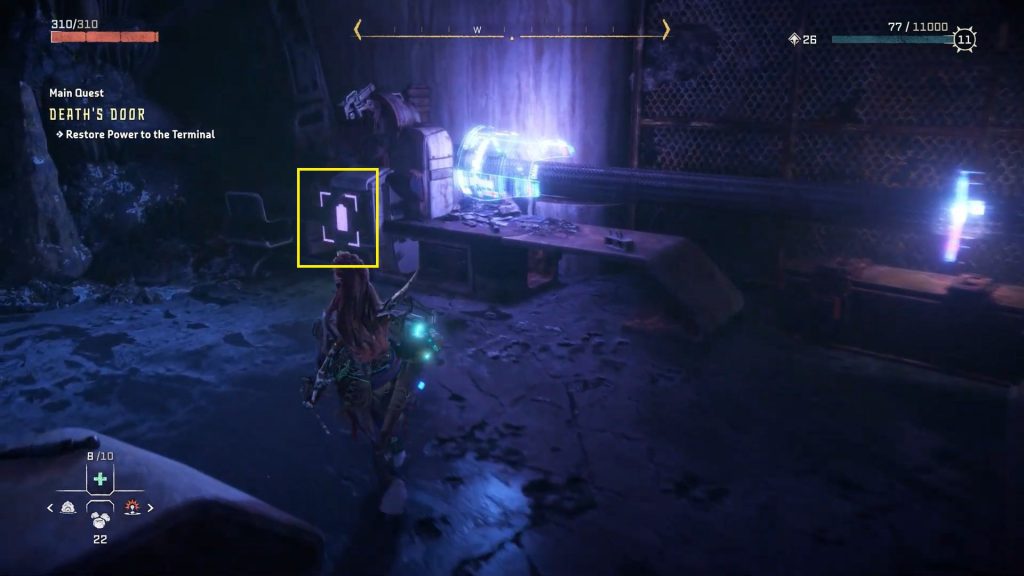
From there, turn around and jump down on the platform as shown below. Then jump on the vent and go to the next room. Pick up an energy cell from a shelf in this room and insert it in the socket near the door to open it.
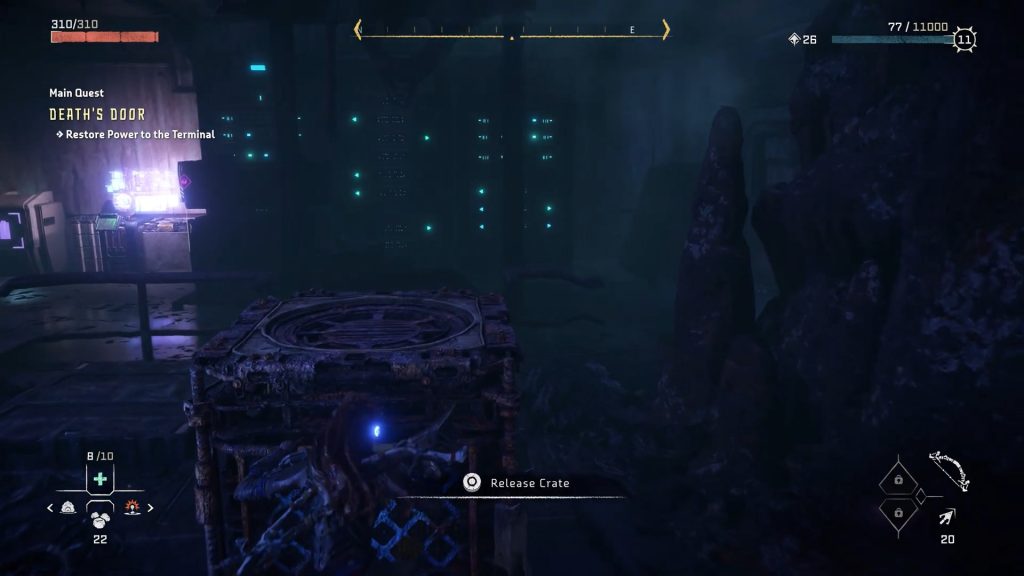
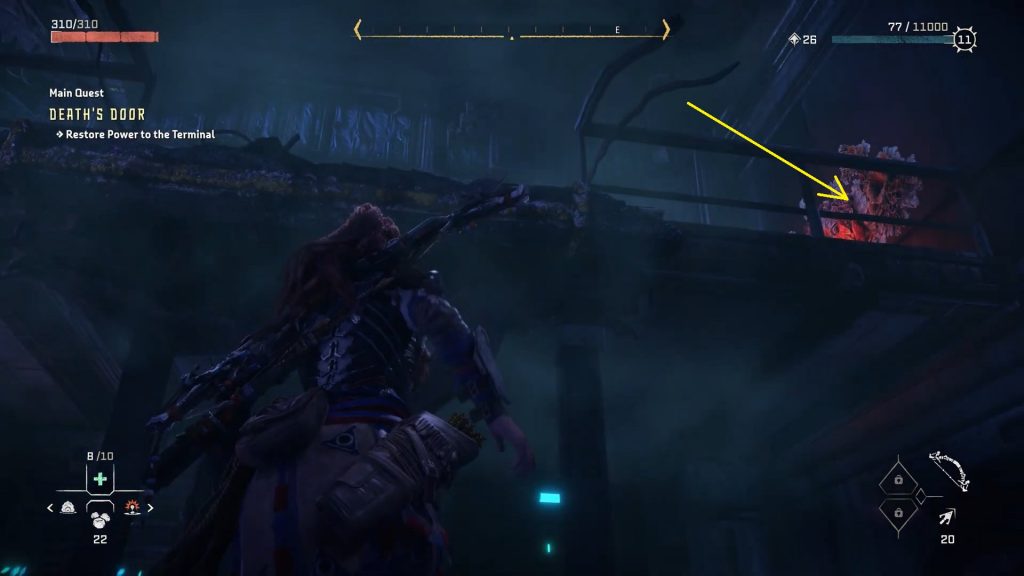
Proceed ahead to the next room. Climb up the ledge to reach the platform up ahead. Then turn right and you will see a crate blocking the door. Push the crate down and then jump down. In this room, you will need another energy cell. To get the energy cell, push the crate below a yellow ledge as shown below. Then use the crate to climb to the upper floor and ignite the firegleam to blow the wall as shown in the second picture below. Behind the wall, you will find an energy cell.
Pick up the energy cell and go back to the previous room. Insert the cell into the socket as shown in the picture below to open the door. Climb the crate to reach the upper floor again. Then open the door and proceed ahead.
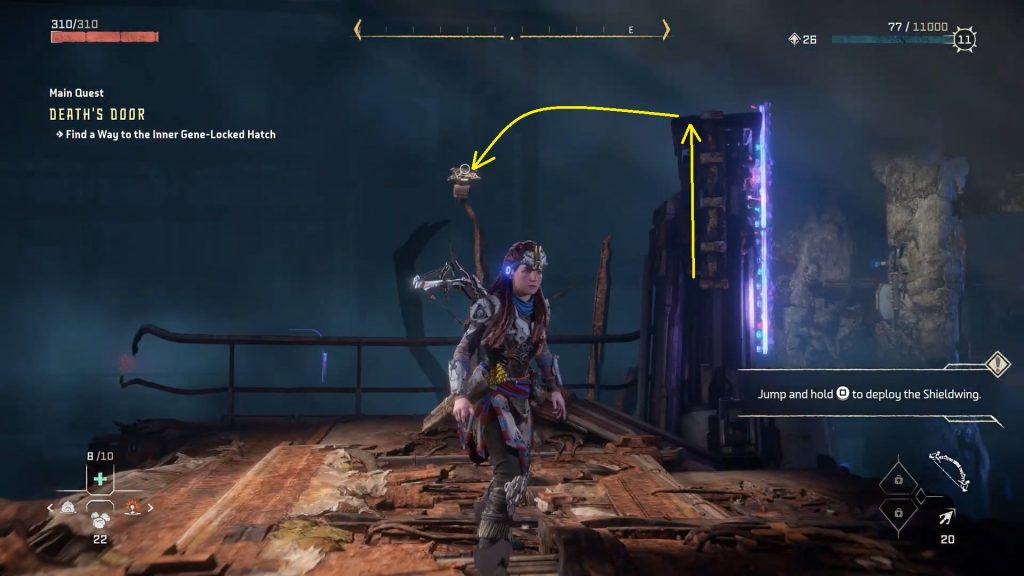
After crossing the door, you will need another platforming area. Climb up the ladder on the left side and use the pullcaster to remove the hatch from the top of the pole as shown in the picture below. removing the hatch will reveal a grappling point.
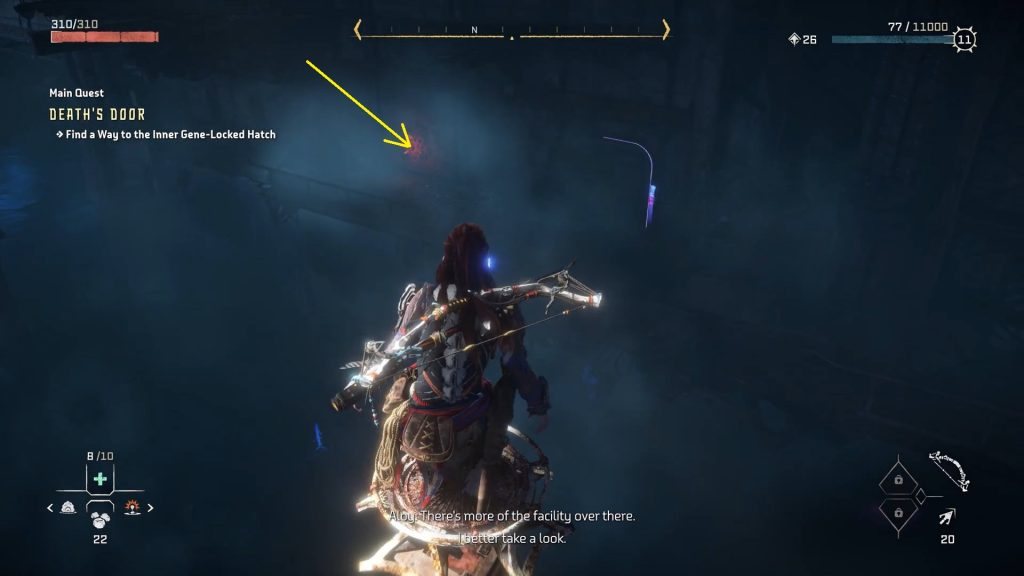
Grapple to the top of the pole. From there, jump to the highest pole and then glide down to the platform ahead as shown in the picture below.
Climb up the pier on this platform and then grapple to the pole as shown below.
Then glide down to the platform on the north side and ignite the firegleam to blow the wall as shown in the picture below.
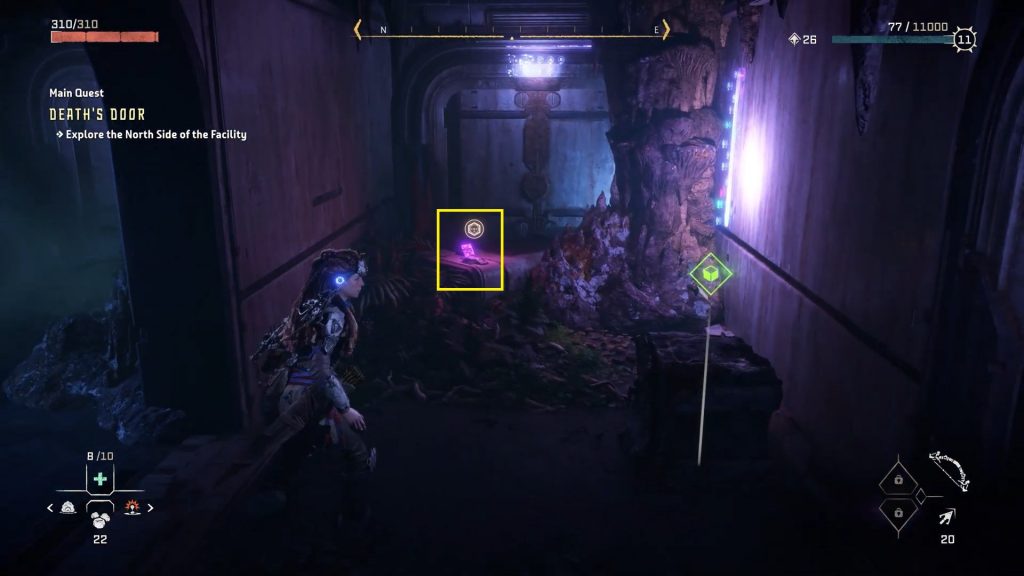
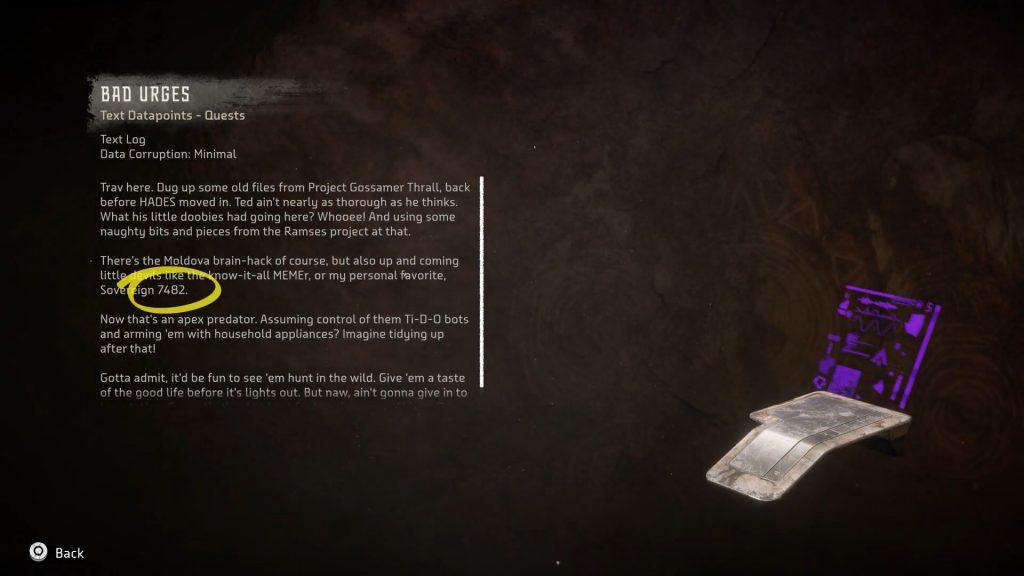
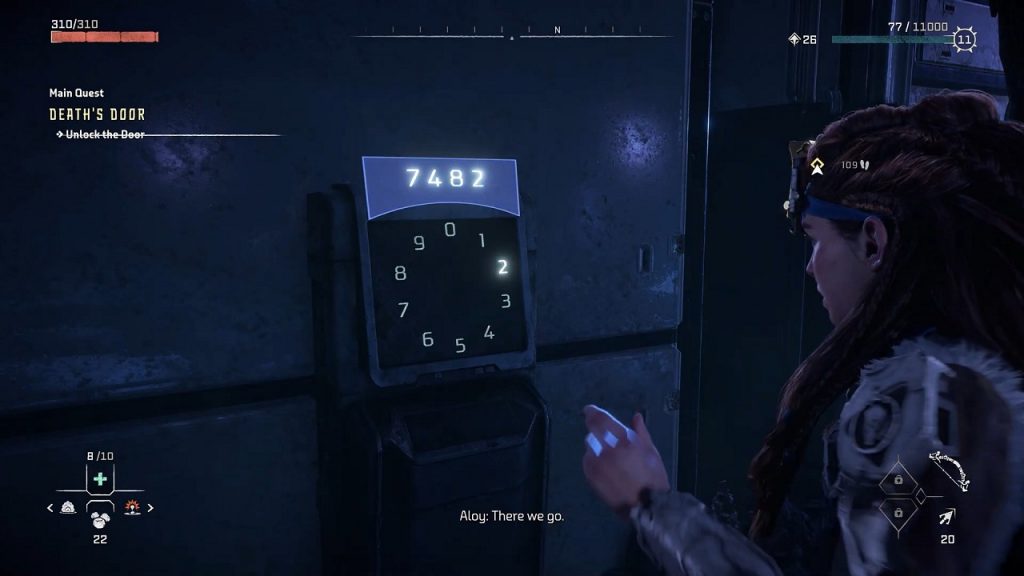
In the next room, you will see a locked door. Enter the room on the right side and you will find a Datapoint containing the door code. Enter the door code (7482) to open the door and proceed ahead.
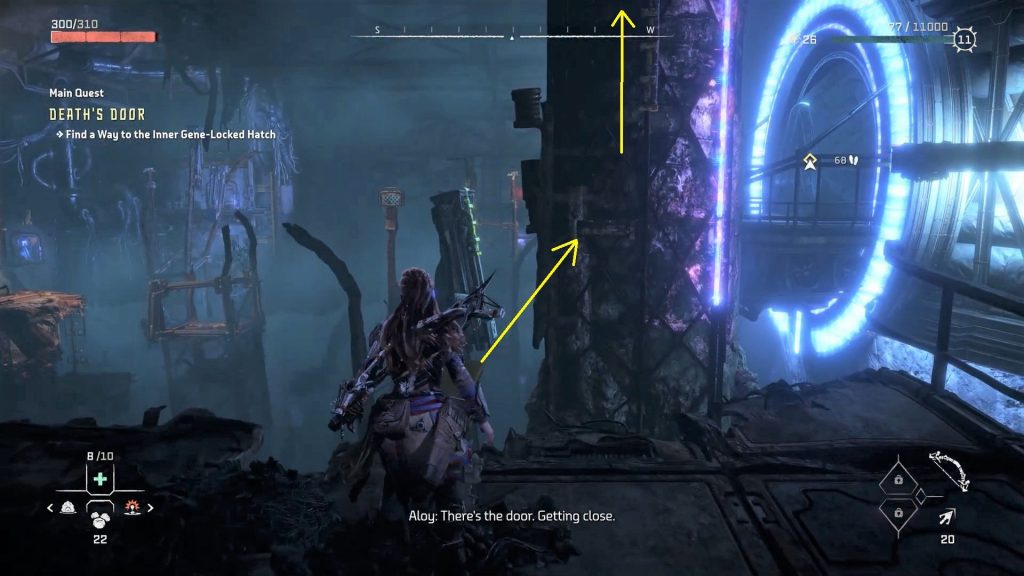
Proceed in the linear path and you will reach another platforming area. Walk on the perch and from there, jump on the ledge and climb up the pillar as shown below.
From the top ledge, turn around and grapple to the next ledge as shown in the picture below. Then drop down to the beam below it.
Use pullcaster to pull pull the beam head down.
Then jump across the piers to reach the pole as shown in the picture below.
Then jump across to reach the platform shown below. Open the door and go to the next room to complete the objective.