This article will guide players on how to complete the objective “Disable Defenses at Security Ops” from the main quest “A Cause Worth Killing For” in The Outer Worlds 2.
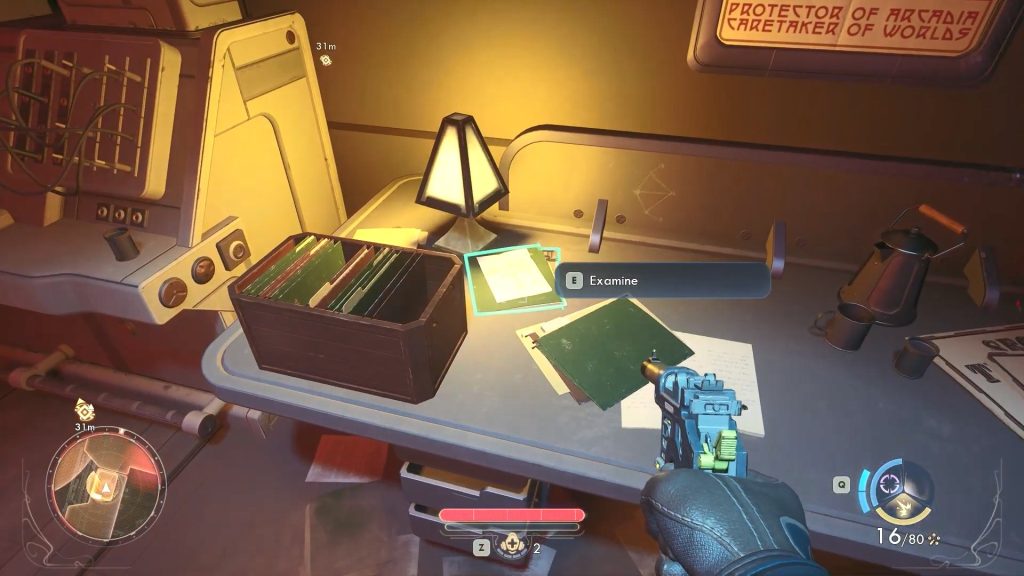
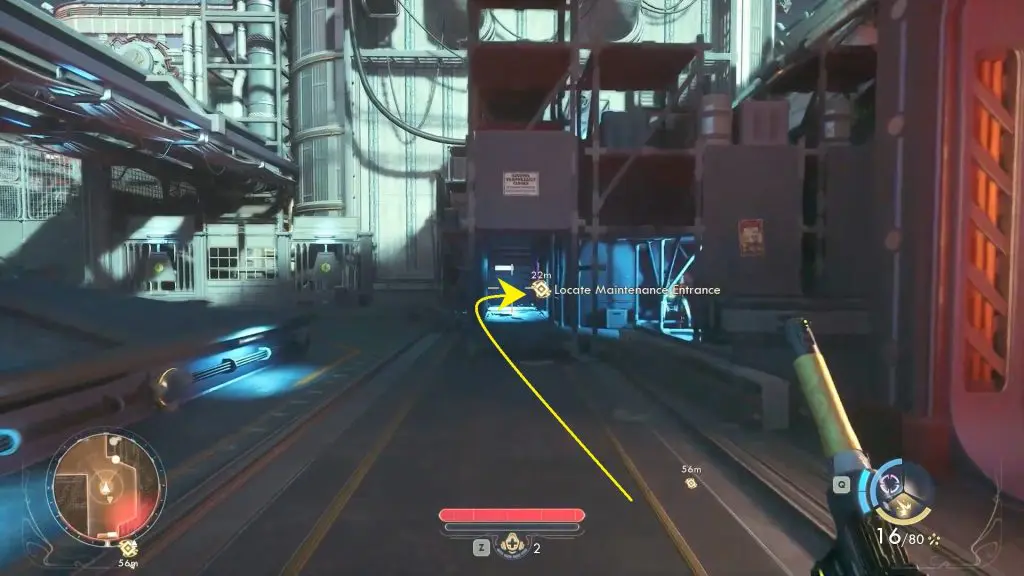
Head to the Security Ops and enter the maintenance shack room located at the far right corner. Inside, interact with the green folder on the desk. This will give you the Security Map and the Security Ops Maintenance Key.
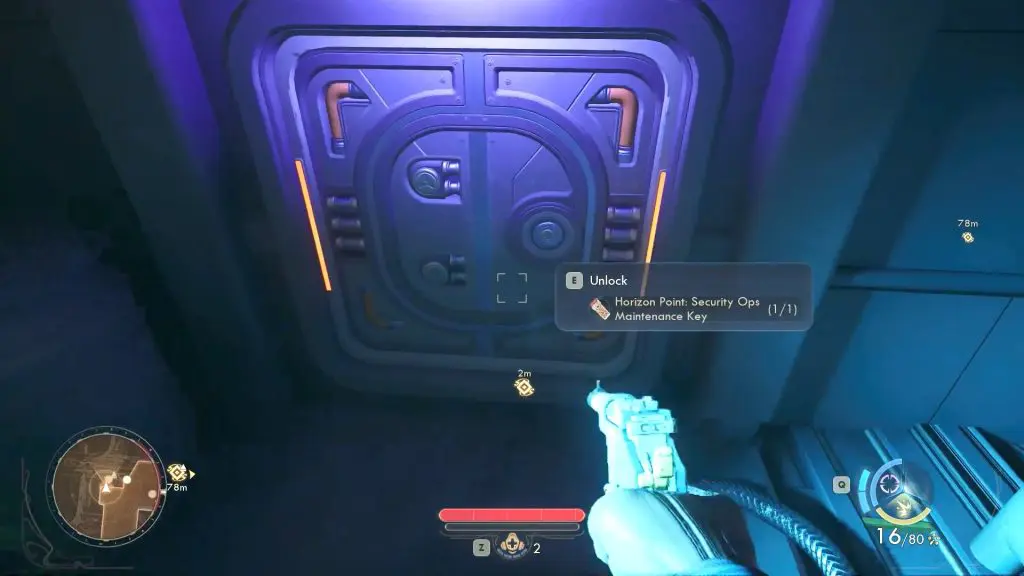
Exit the shack and head straight toward the scaffolding. Open the hatch under the scaffolding to access the maintenance route.
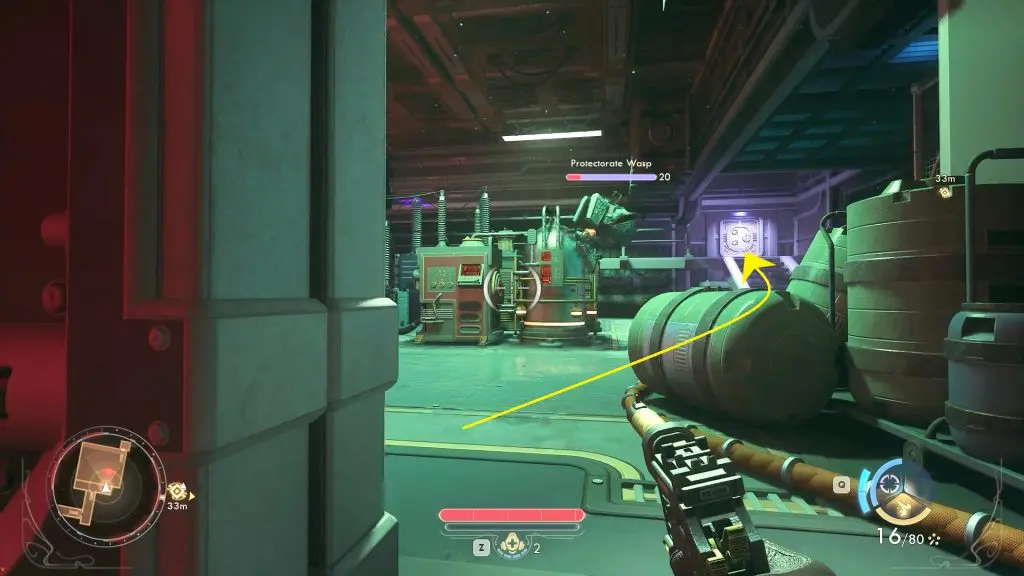
Follow the path until you reach a room with a Protectorate Wasp patrolling the area. Wait for it to move to the far left side of the room before proceeding forward safely.
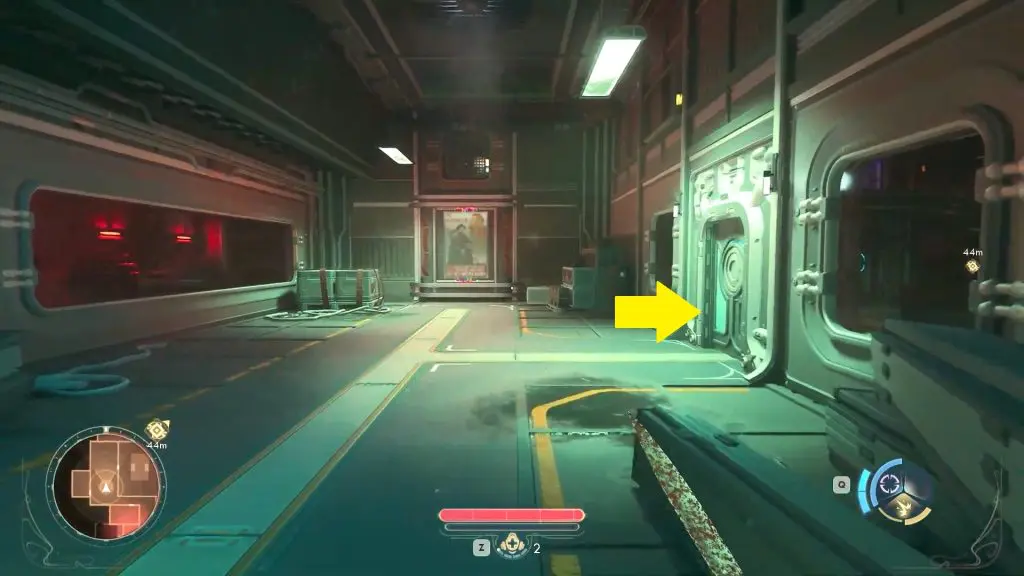
Continue following the path until you reach a hallway. Enter the room on the left side, where you’ll notice a hatch on the right side of the room.

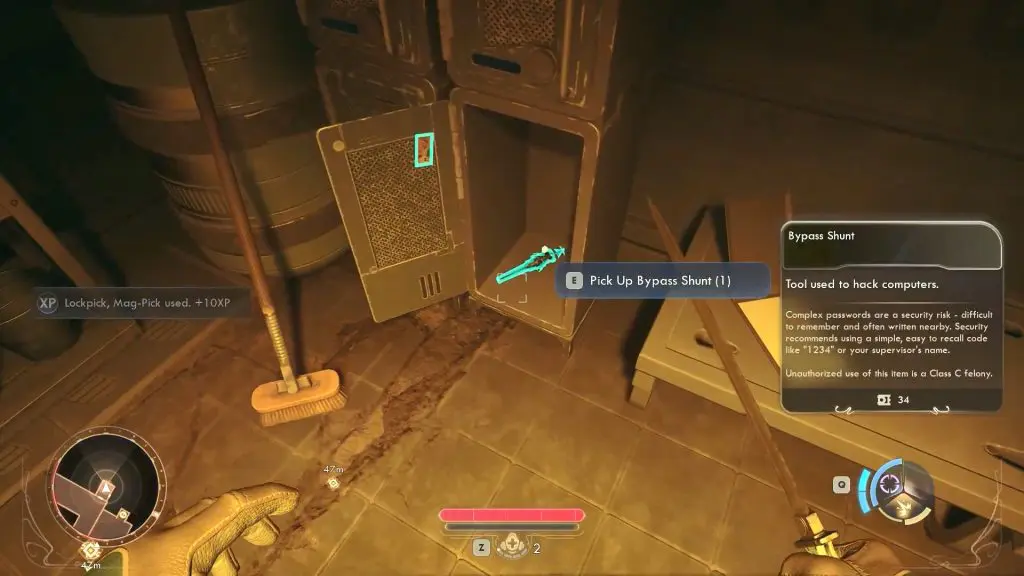
Open it to find a corpse inside and search it to collect the Sentry Blade. In the same room, check the locker and pick up a Bypass Shunt along with a few other helpful items.

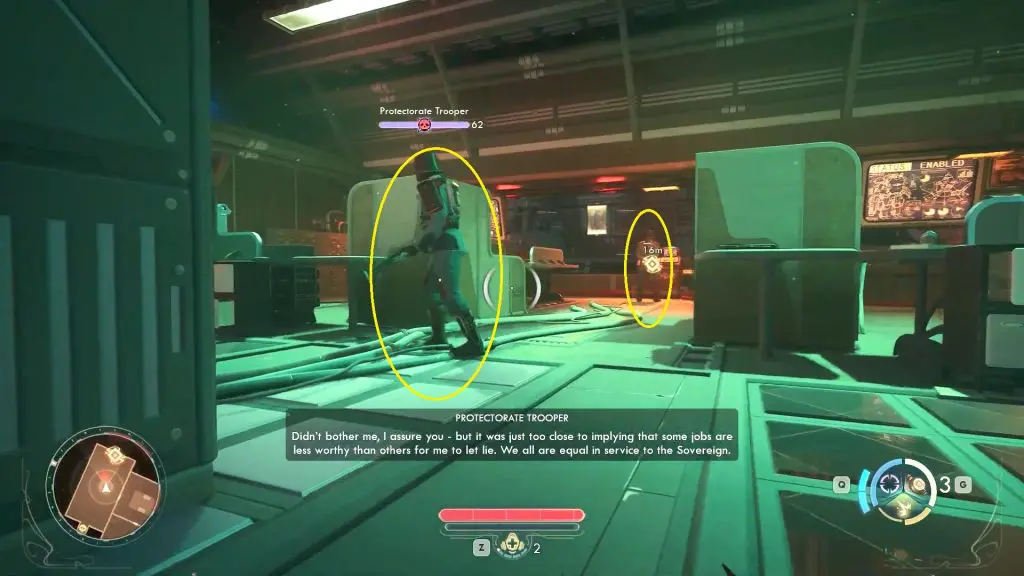
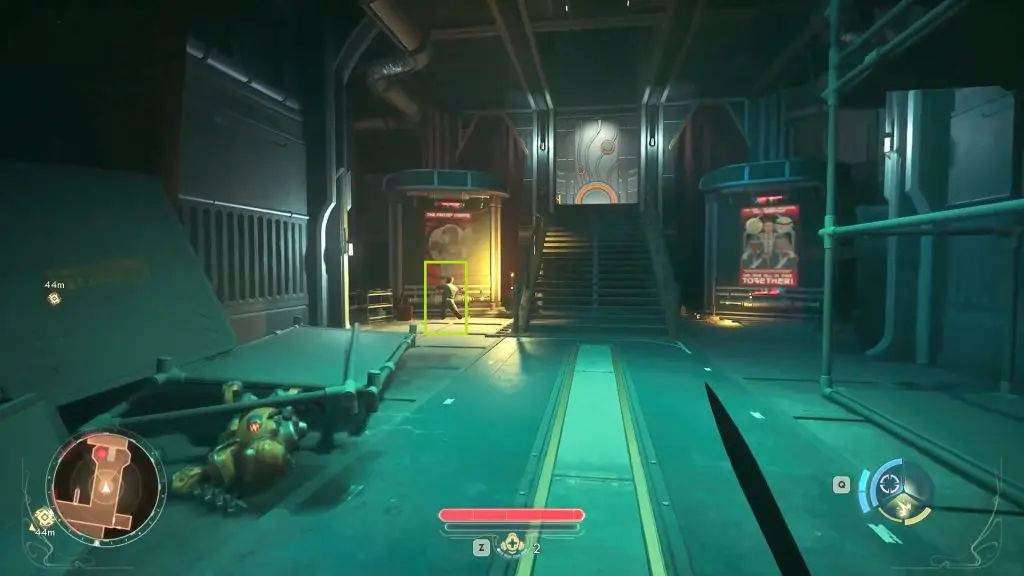
Equip your newly acquired Sentry Blade. Leave the room and head to the right side toward the stairs. Sneak up on the Protectorate Neophyte (guard) and take him down with a stealth attack.
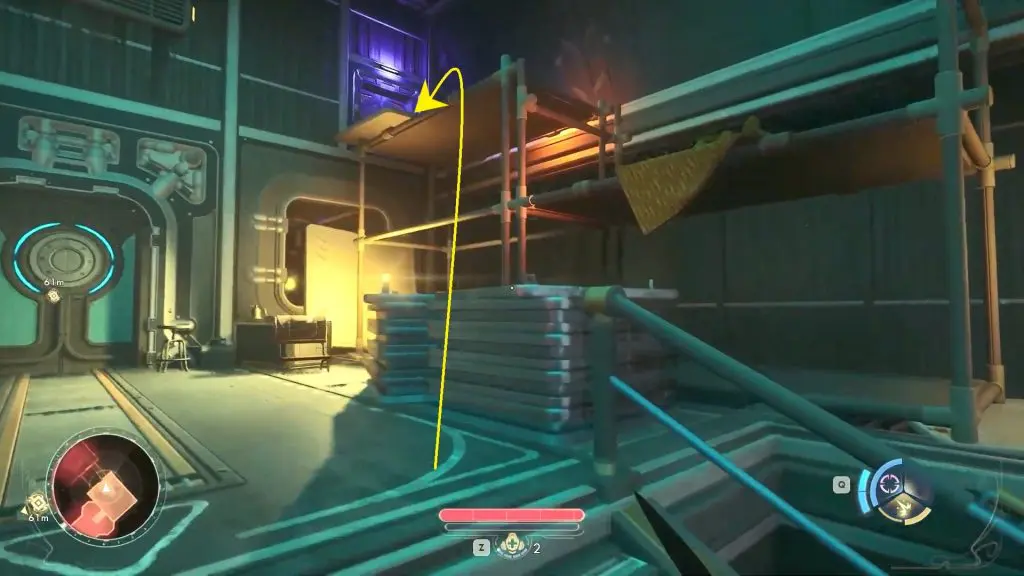
Now, head up the stairs and climb up the scaffolding on the right side, and then crawl through the air vent at the top.
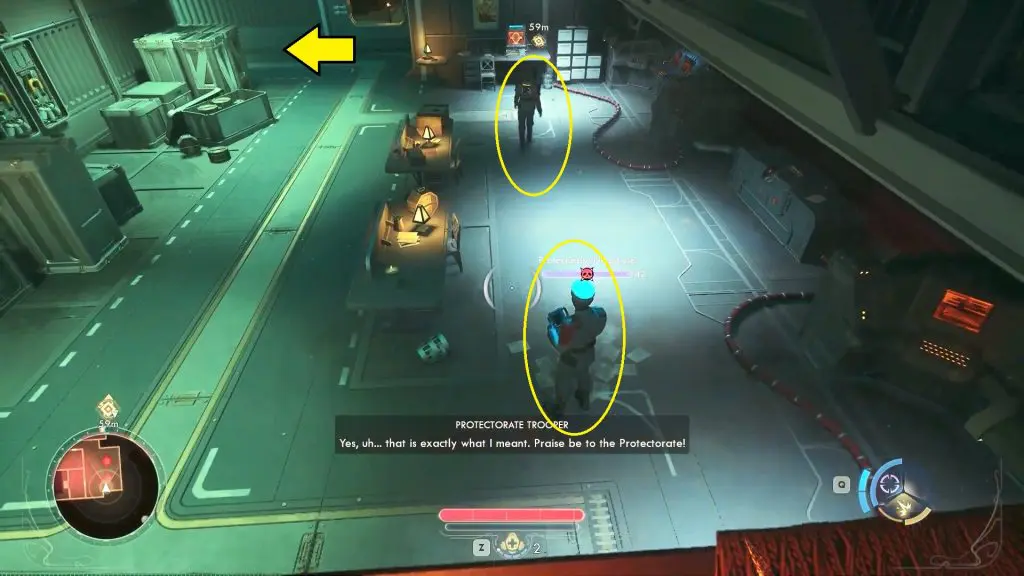
Inside, you’ll come across two enemies talking to each other. Wait until they finish their conversation and split up, then move in quietly and take them out one by one using sneak attacks.
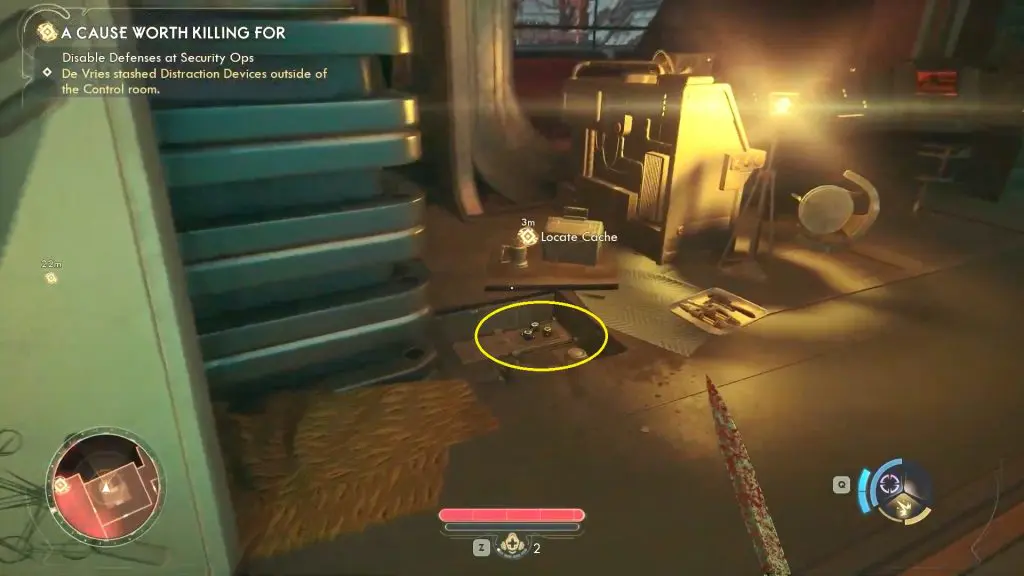
After taking down the guards, continue down the hallway and enter the room at the very end. Inside, walk toward the scaffolding and look around the floor area. You’ll find a Distraction Device to make it easier to sneak past or ambush the guards in the next room.
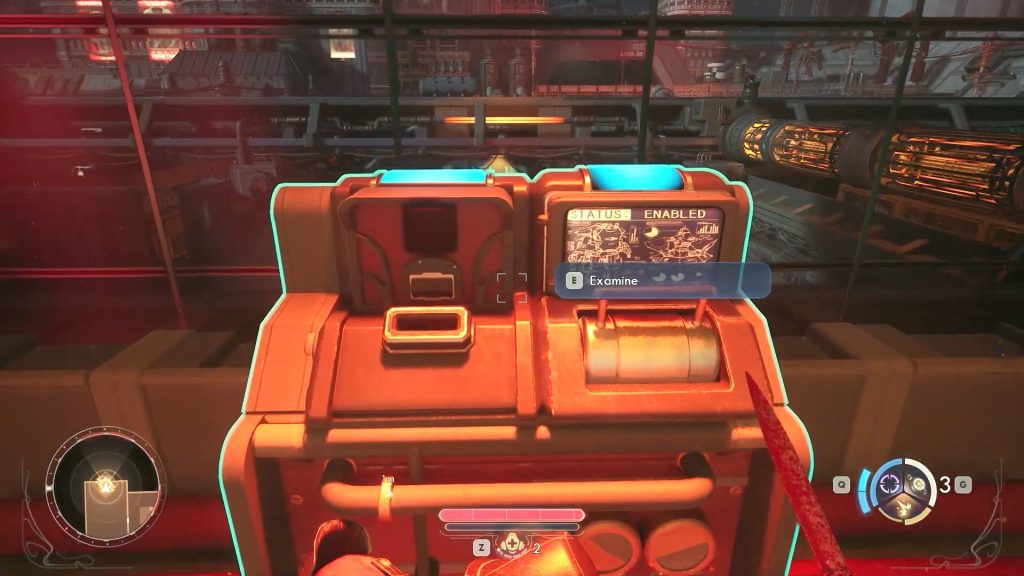
In the next room, sneak carefully and take down the two guards patrolling the area without making noise. After dealing with them, go to the Security Operations Monitoring Terminal and interact with it. From the menu, select the option to disable Automechanical Deployment.