In this guide, you’ll find the exact locations of all secrets, gold, toys, and codex entries hidden throughout Chapter 8 – Abyssal Forest in the game Doom: The Dark Ages.
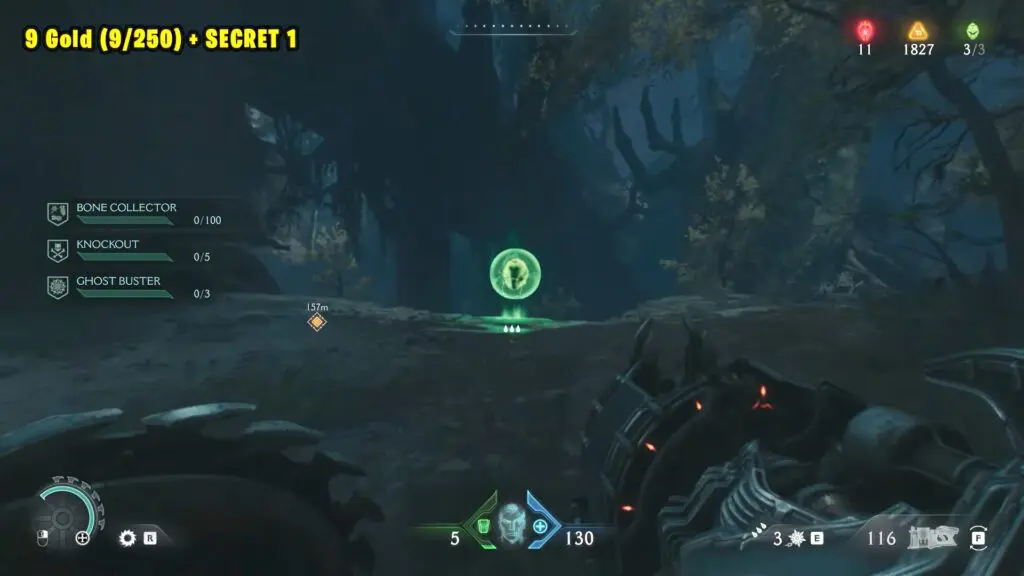
9 Gold (9/250) + SECRET 1
The first 5 gold can be found at the beginning of the chapter. After blasting through the vines blocking the path, go up the hill to the right to find them on the ground. Refer to the map below.
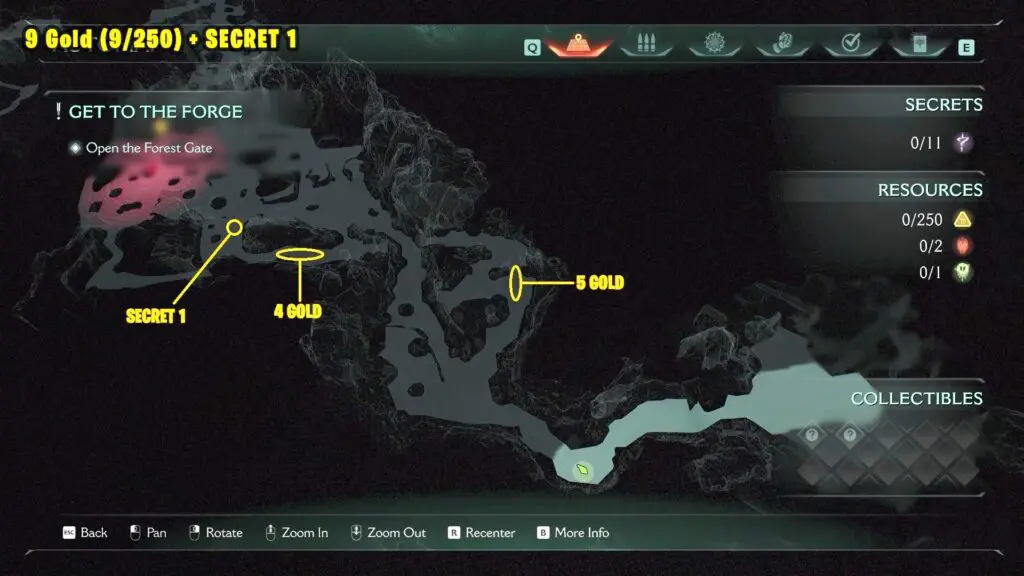
Continue to progress on the same path. Cross the broken bridge and take the left path to find 4 more gold.
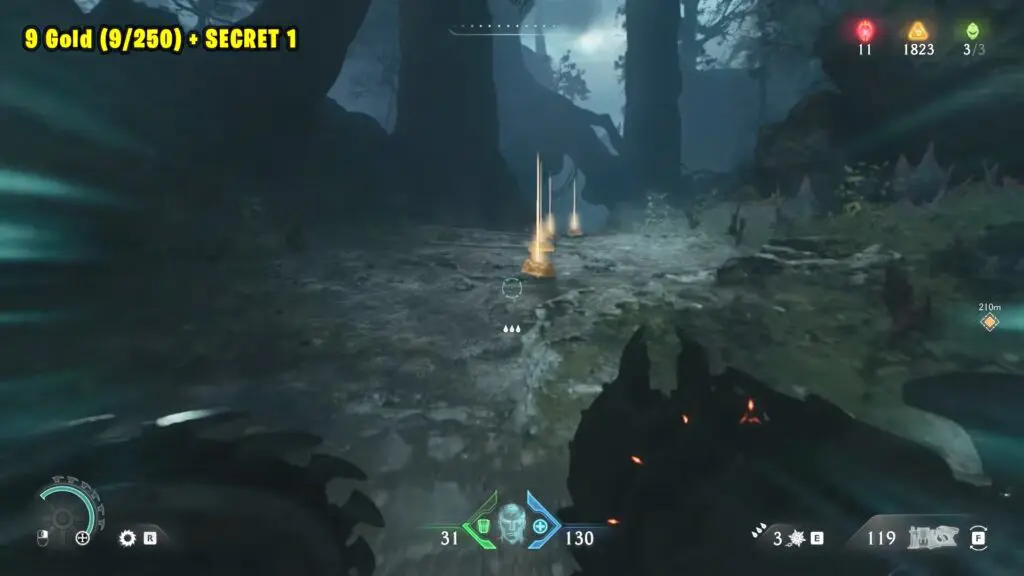
Continue on the same path to find a Secret with a Life Sigil at the end.
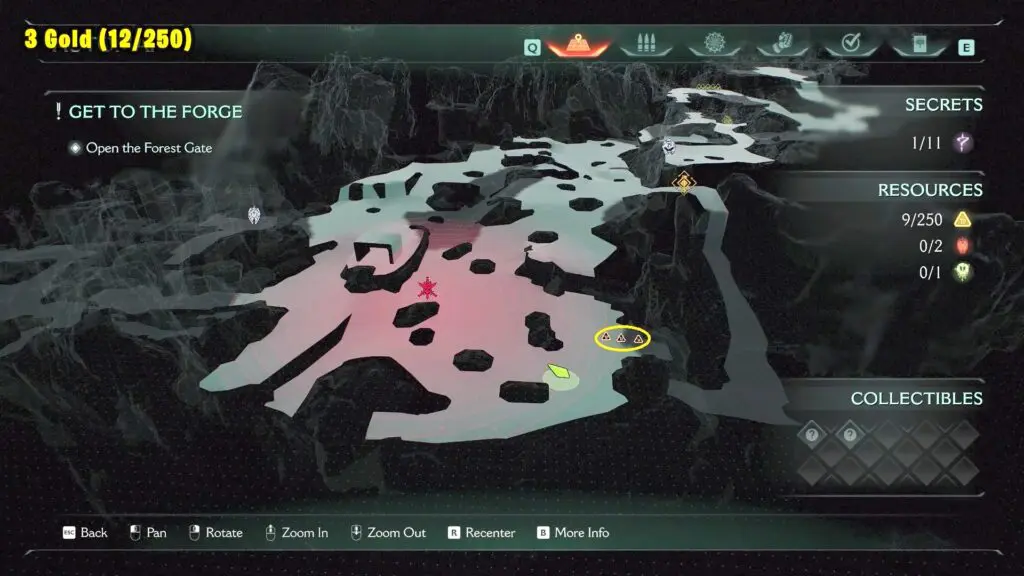
3 Gold (12/250)
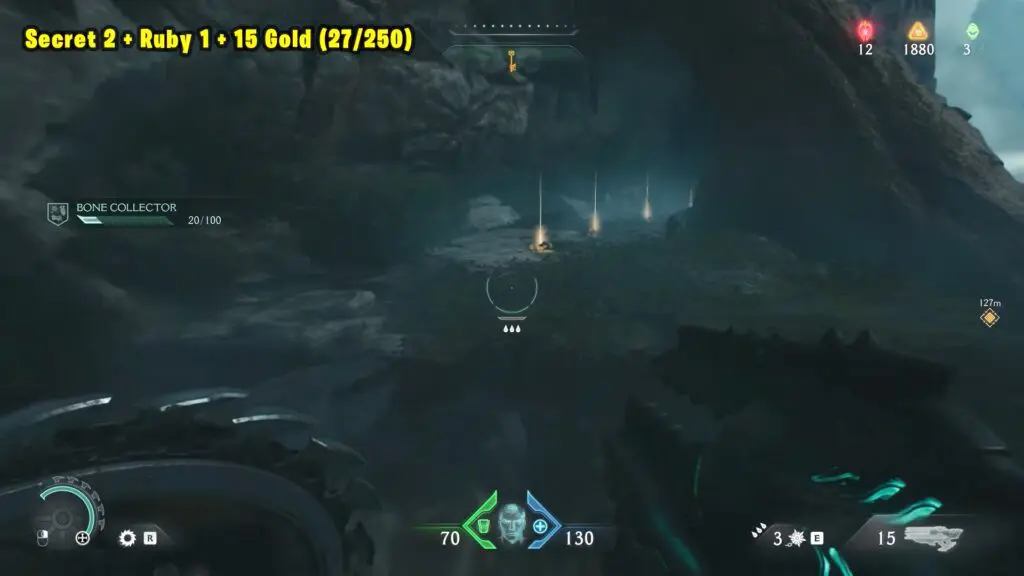
Continue through the chapter to find 3 more gold in the area just before the path leading to the Yellow Key. Refer to the map below.
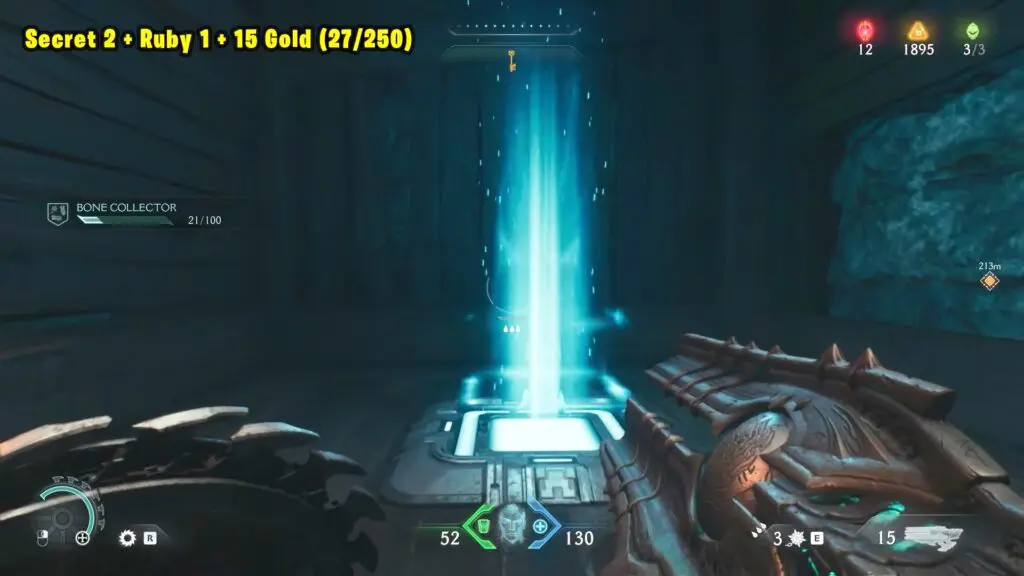
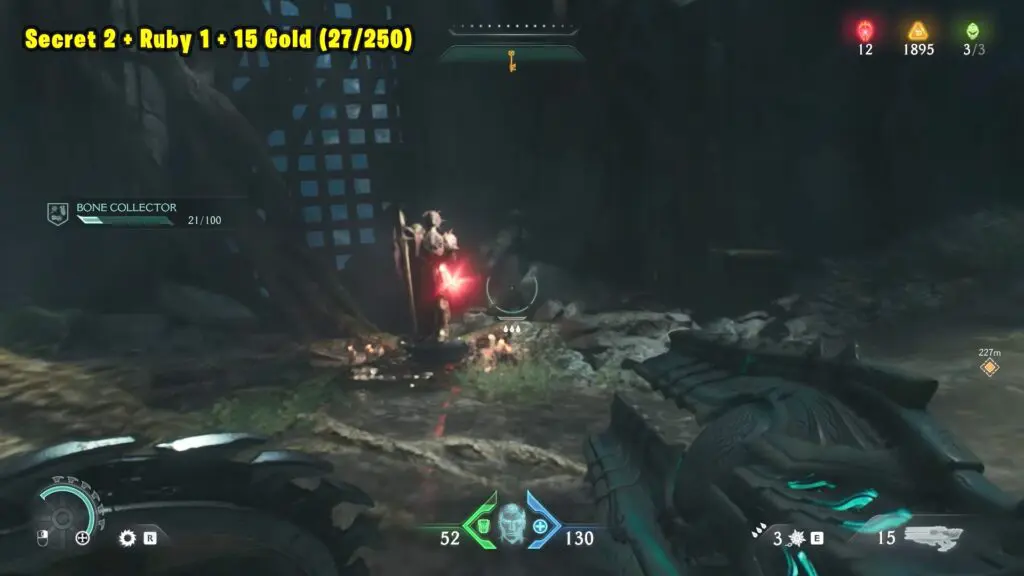
Secret 2 + Ruby 1 + 15 Gold (27/250)
Proceed to the location marked on the map, and you’ll be able to drop down onto a lower ledge. There will be 5 Gold on the path here.
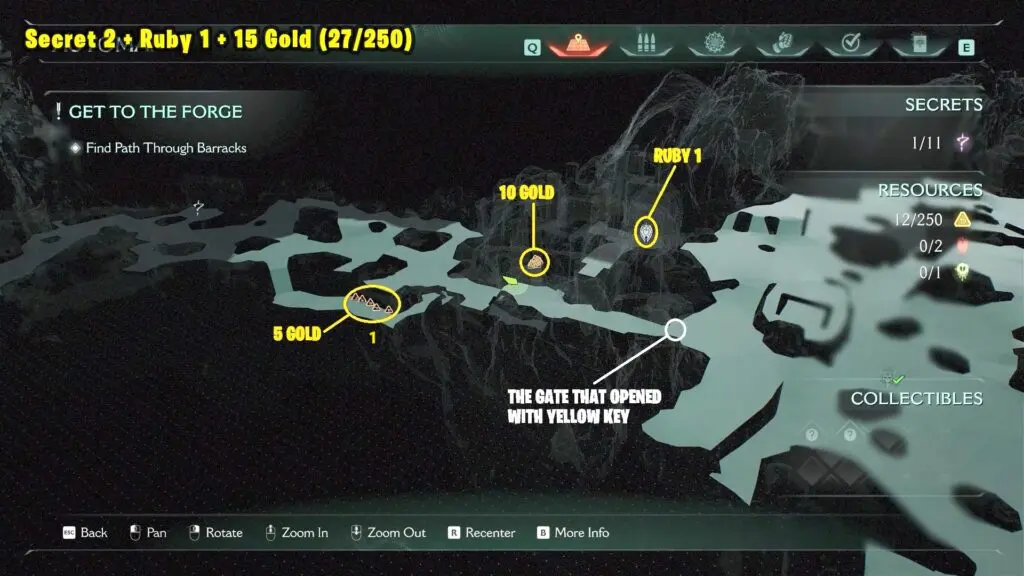
Continue to move along the same path to enter a secret cave and swim through the water toward the jump pad. Once you reach the jump pad, turn around and climb the wall to find 10 Gold.


Return to the jump pad and use it to launch yourself up to the next floor, where you’ll find the ruby.
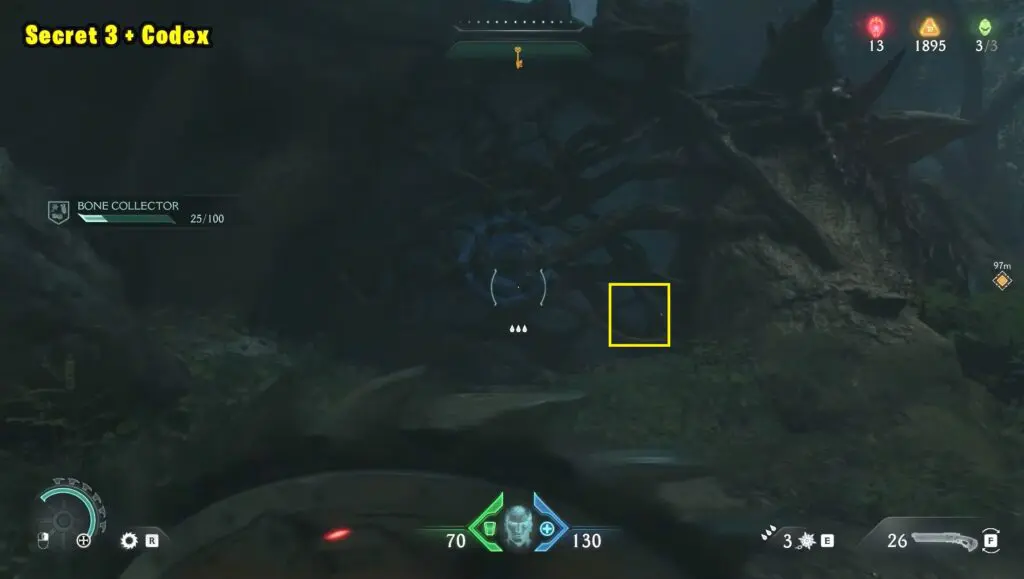
Secret 3 + Codex
Follow the main story path, and just before the broken bridge, look for a cave entrance covered in vines. Break through the vines to find the Codex. Refer to the location on map.

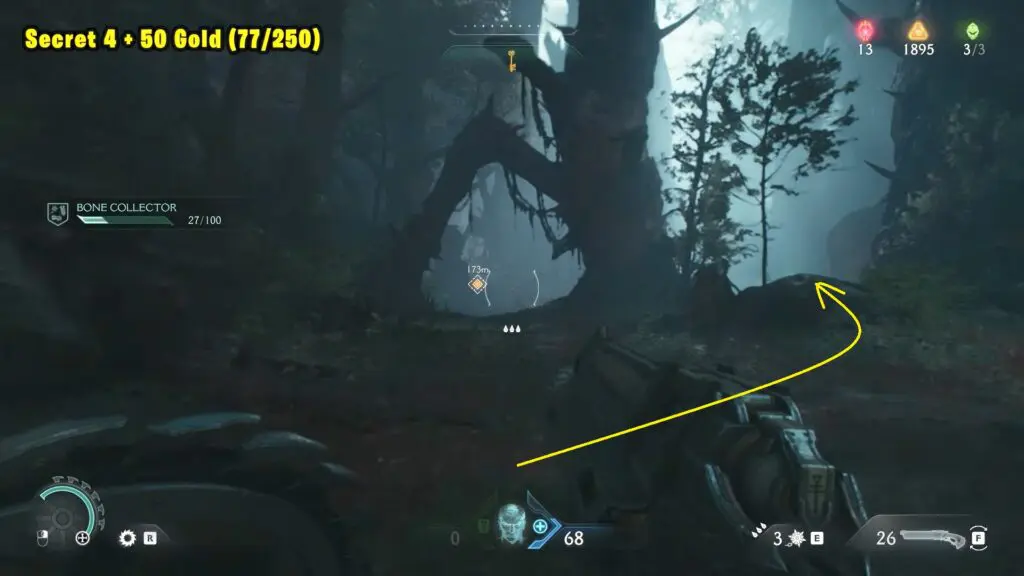
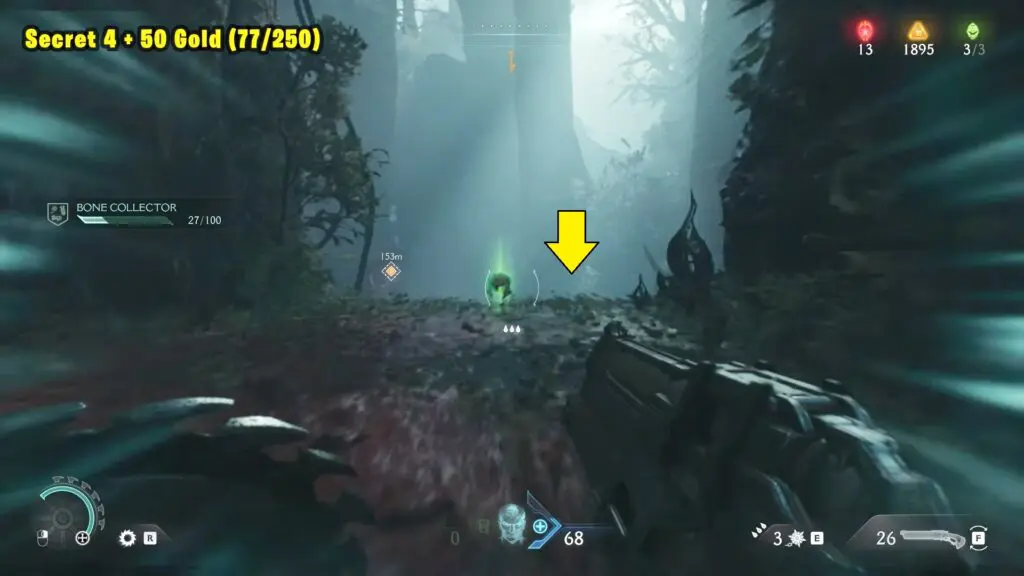
Secret 4 + 50 Gold (77/250)
Cross the broken bridge section as shown on the map below. Climb the wall and follow the ramp on the left to reach Secret 4.
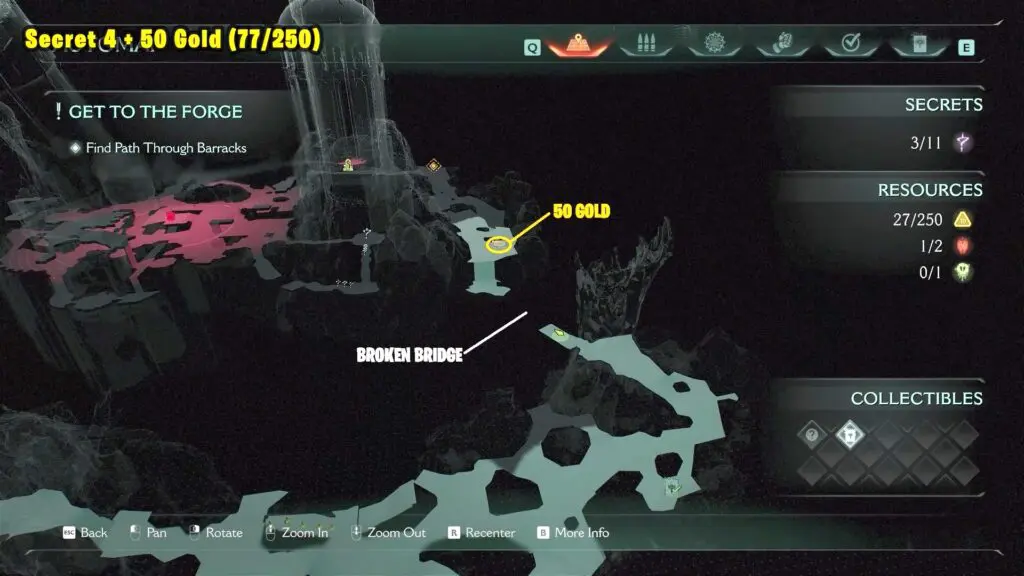
Then, drop down from the same spot and turn around to find a small cave covered in vines. Break through to collect the gold.
Demonic Essence – Armor
This collectible is tied to the main story and is acquired by defeating the Pinky Rider miniboss during the second encounter.
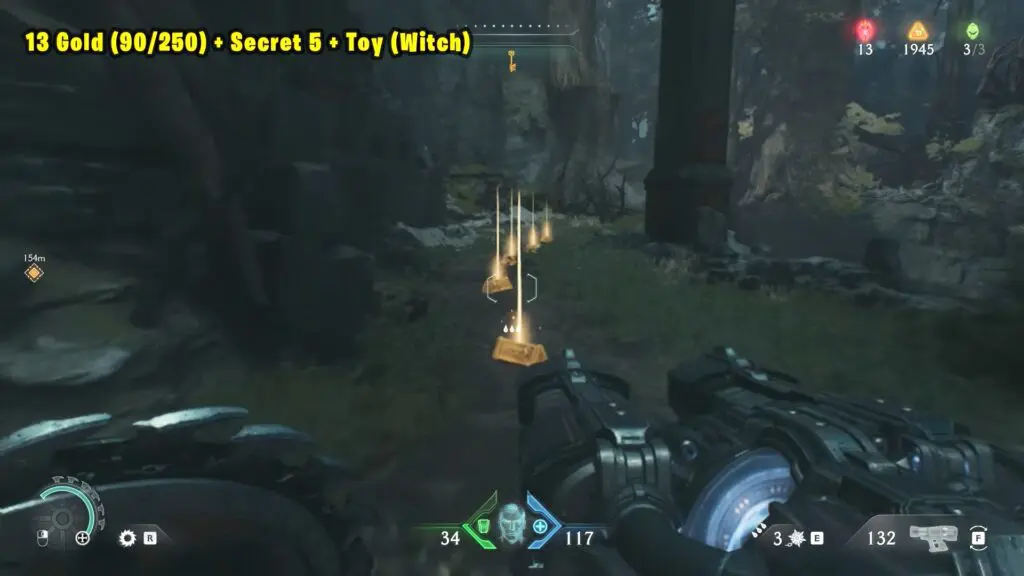
13 Gold (90/250) + Secret 5 + Toy (Witch)
Go to the spot shown on the map below. Drop down the side of the cliff and follow the path to find gold along the way.
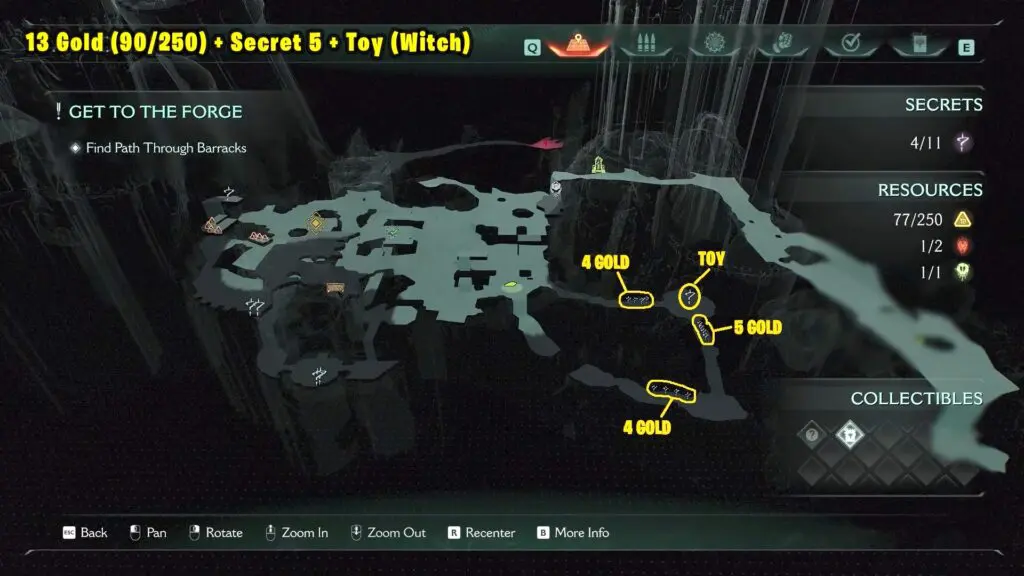
Keep going and go up the stairs to find a toy inside a cage. To open the cage, first look up and throw your shield at the orange chain through the gap in the wall.
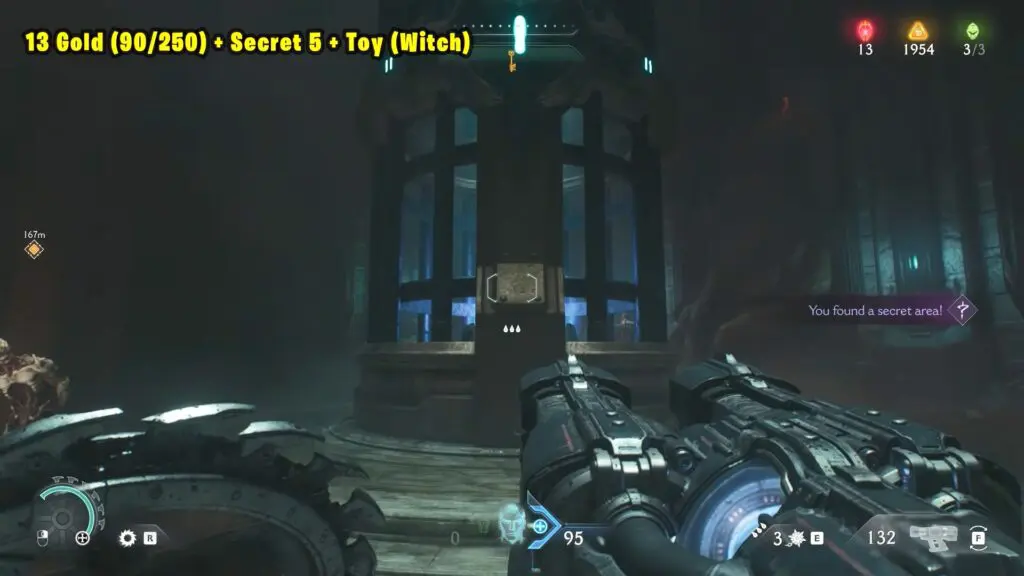
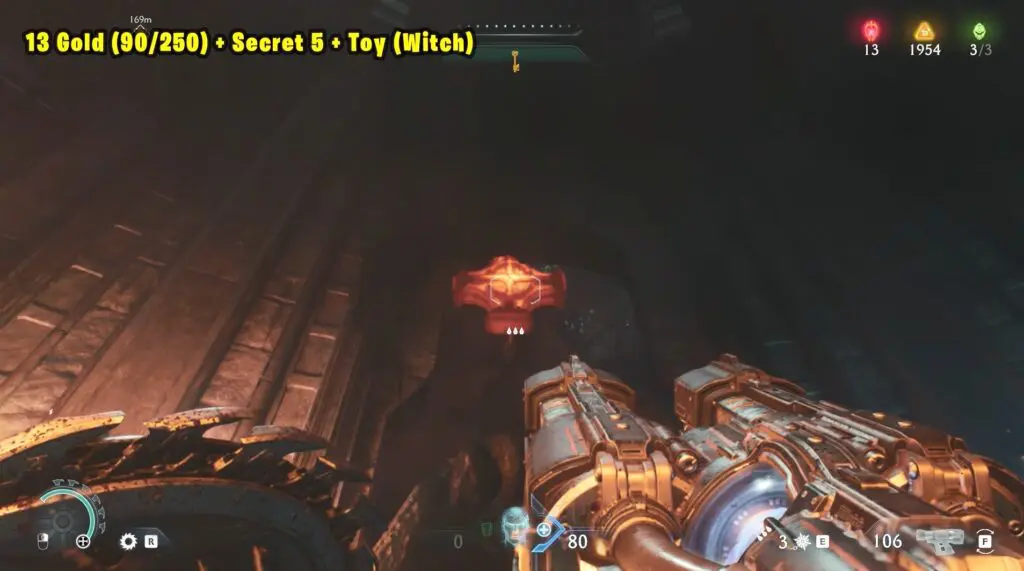
Then, throw your shield at the blue chain on the wall. Finally, grab the Toy (Witch).
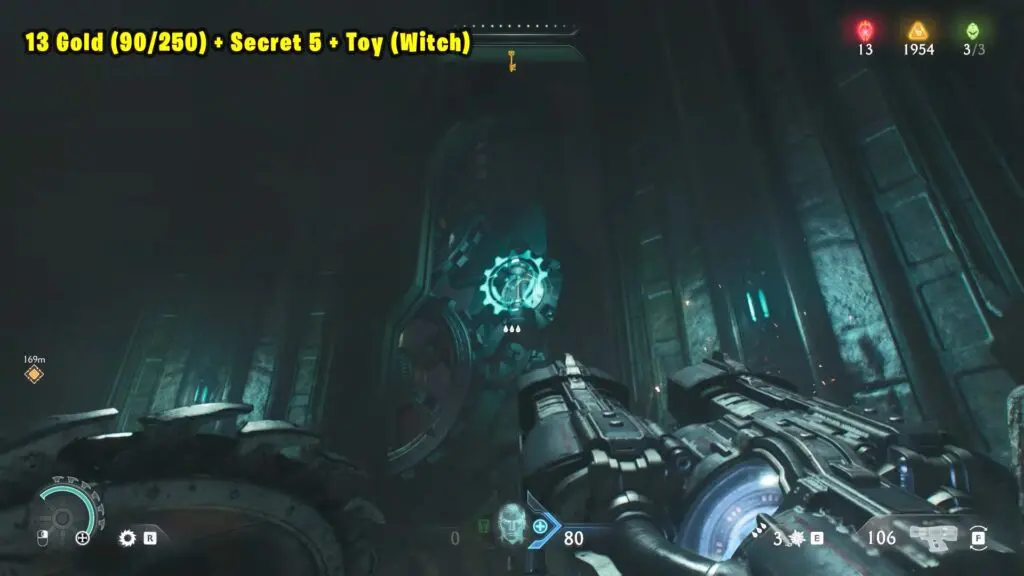
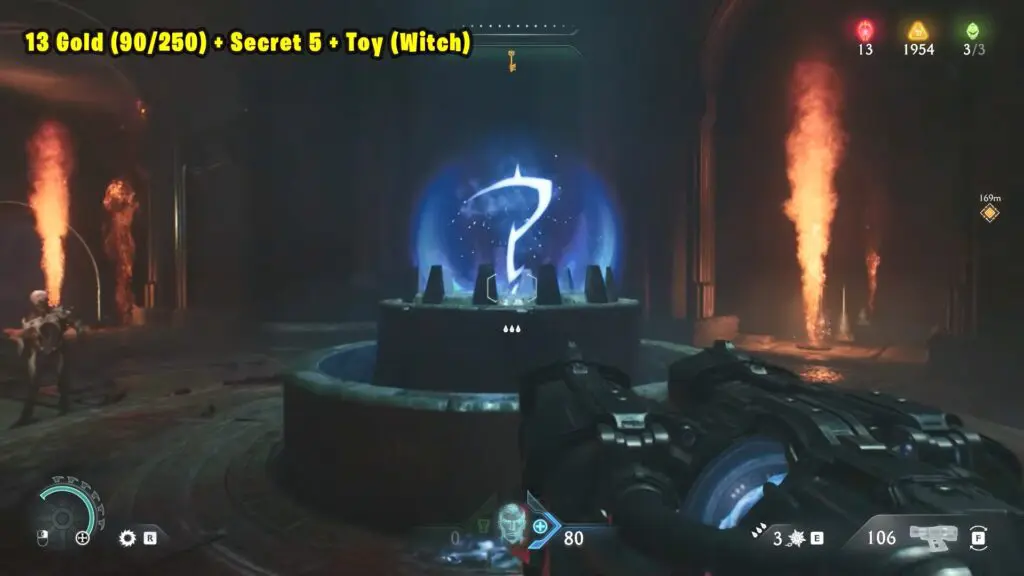
Collect the remaining gold on the other side of the Toy.

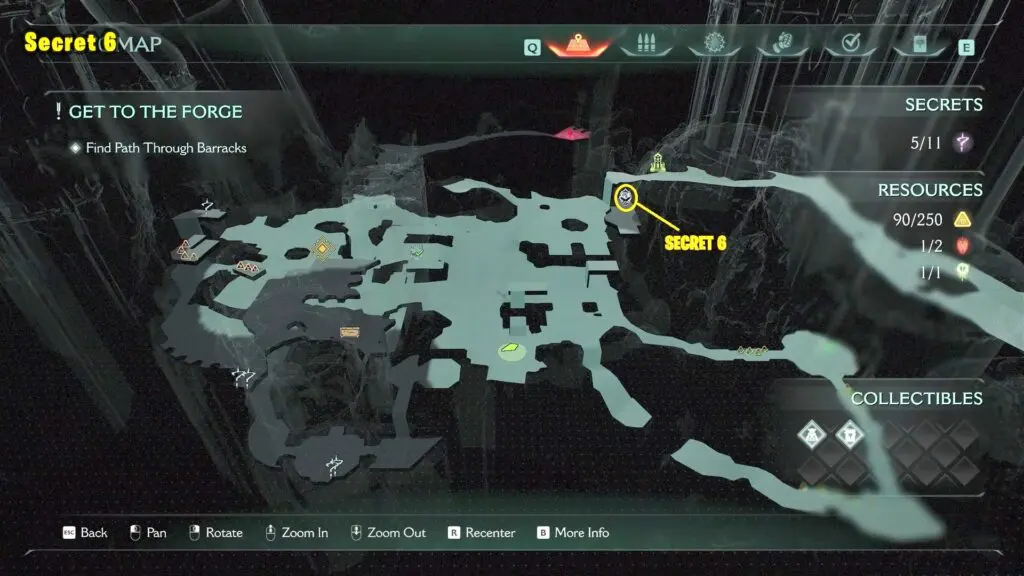
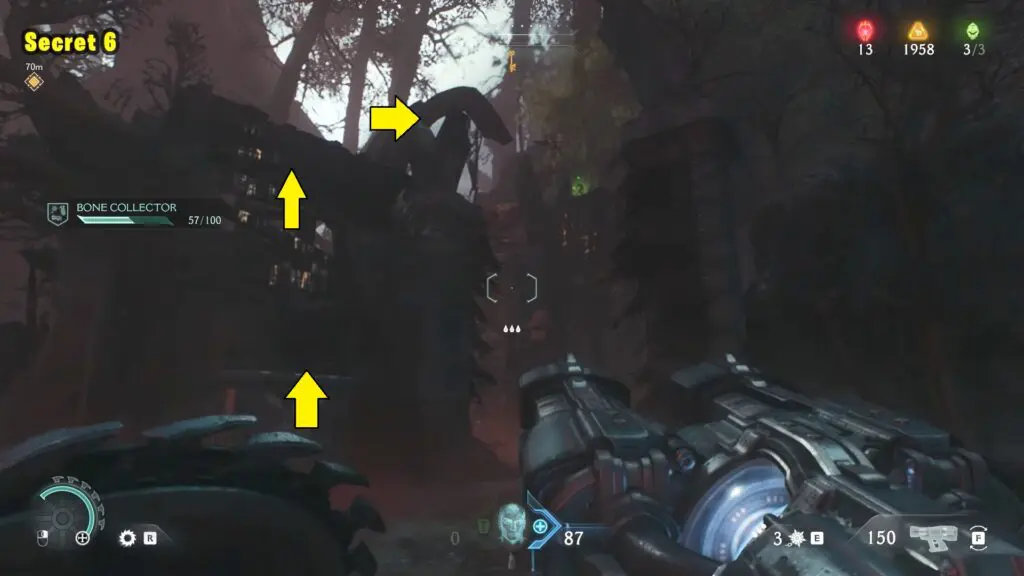
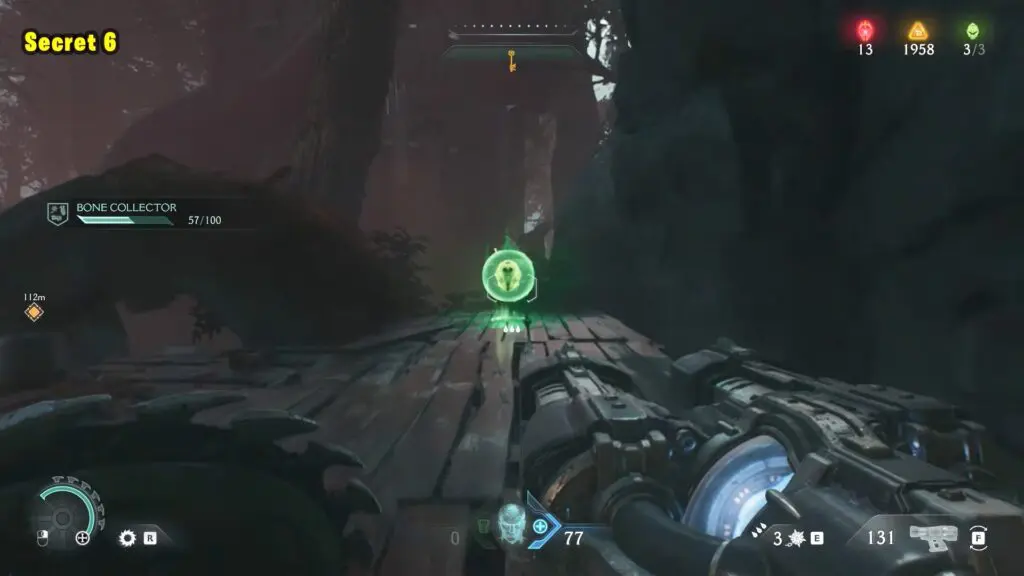
Secret 6
Go to the place marked on the map. Climb up the crate, then get onto the wooden platform. Keep going forward and use your shield throw to reach the secret area with a Life Sigil.
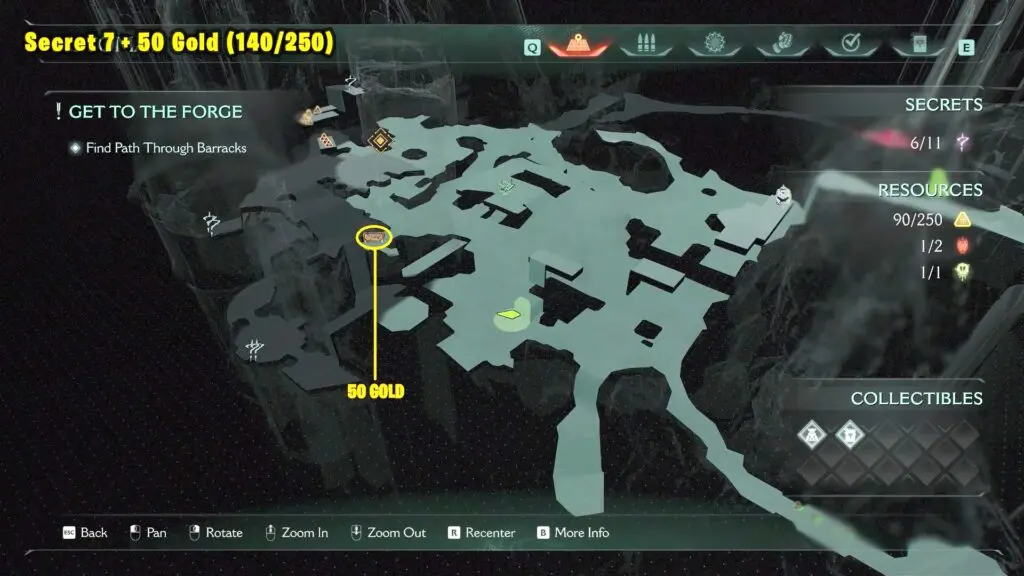
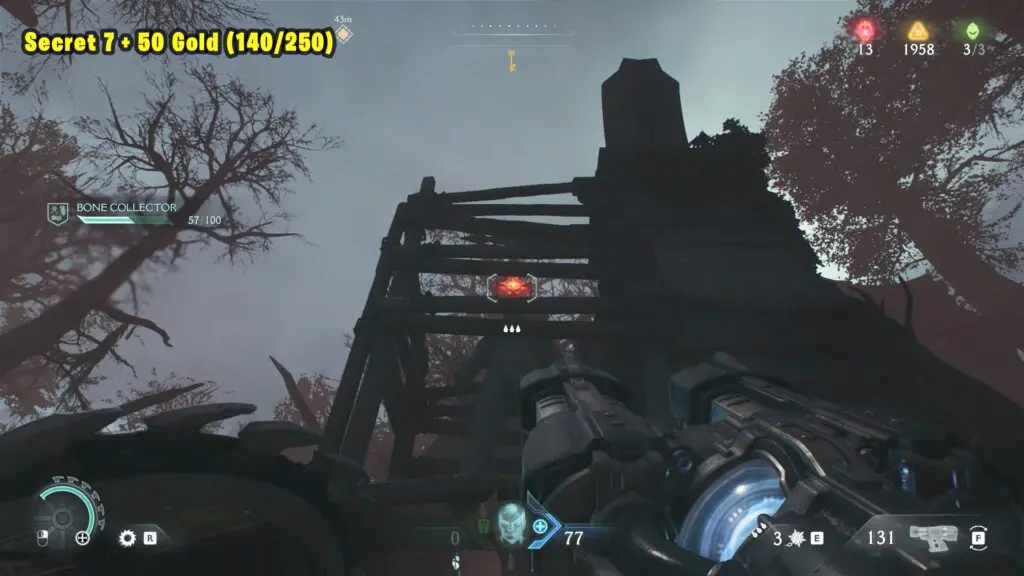
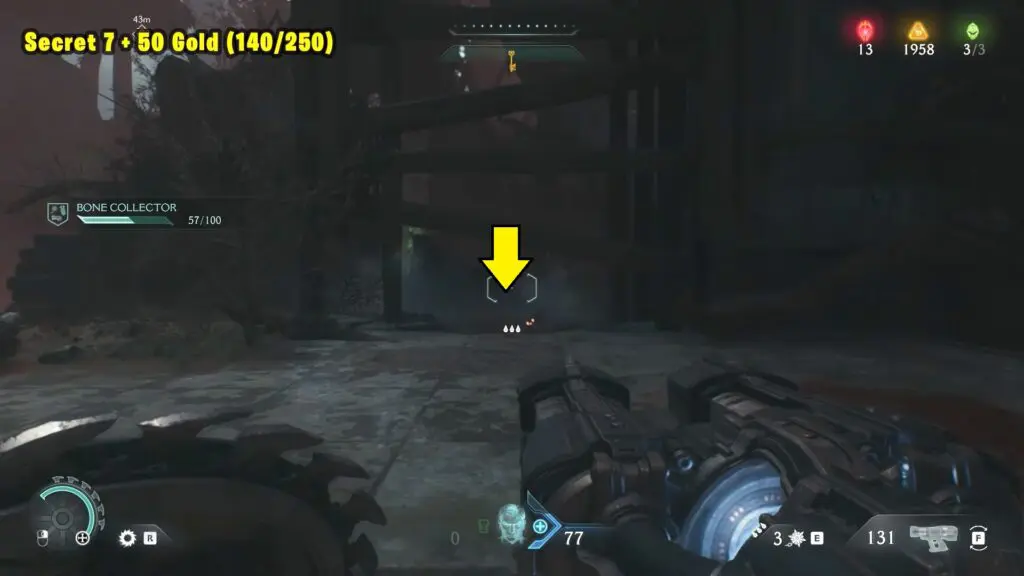
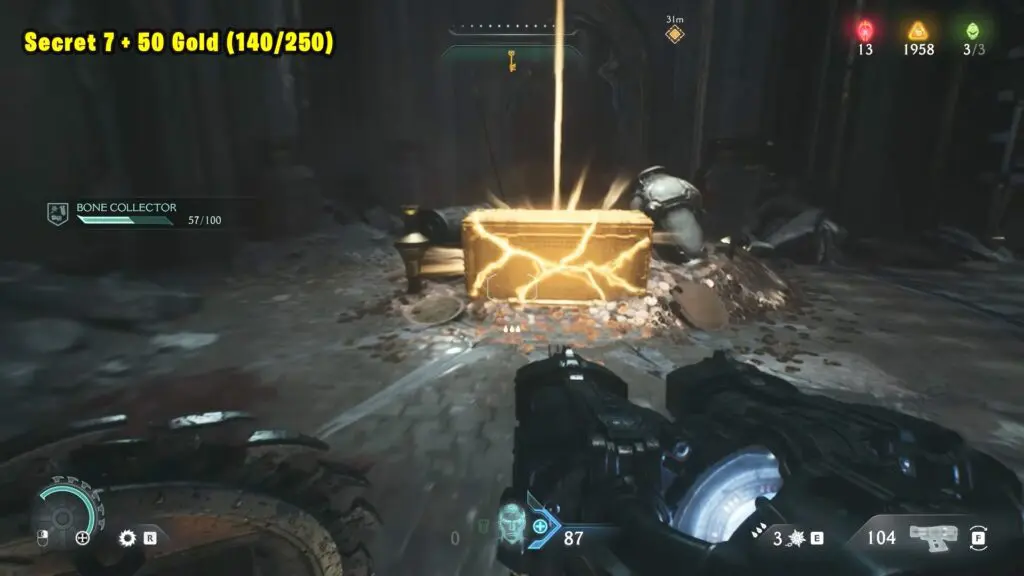
Secret 7 + 50 Gold (140/250)
Go to the spot marked on the map and look for a red chain holding up a statue behind a wooden structure. Throw your shield to break the chain. The statue will fall and break the ground, making a hole. Go inside and follow the path to find a crate with 50 gold.
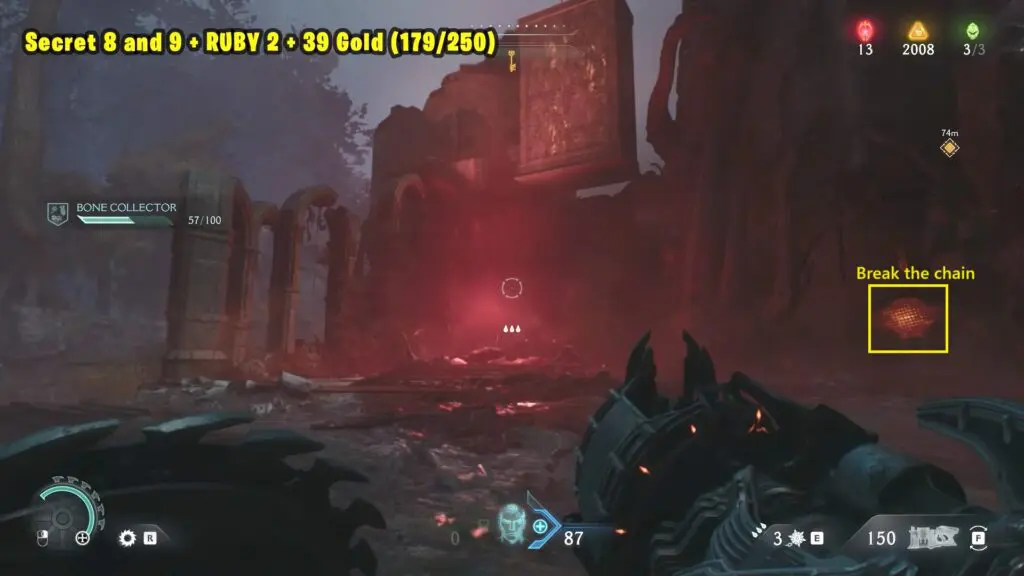
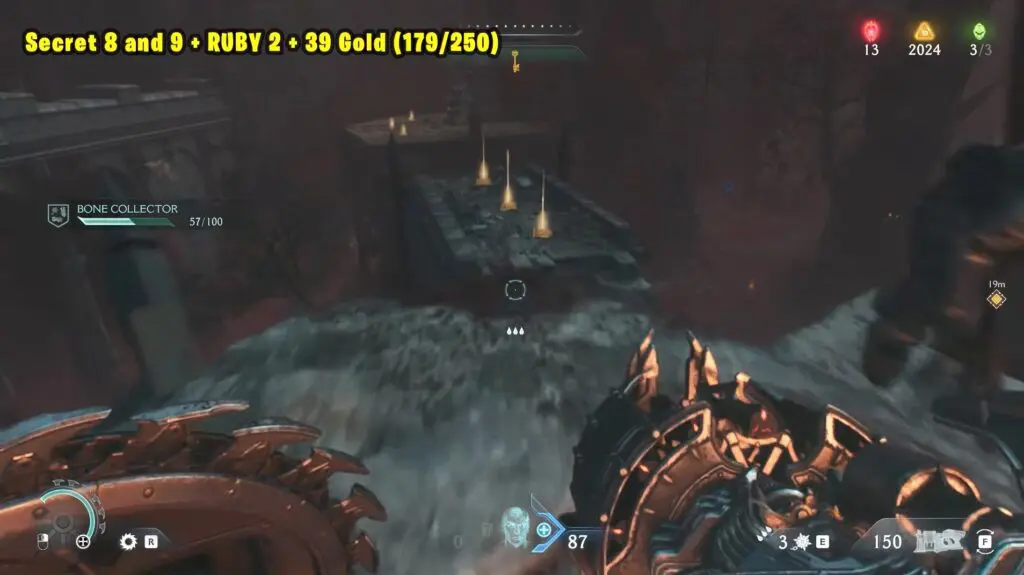
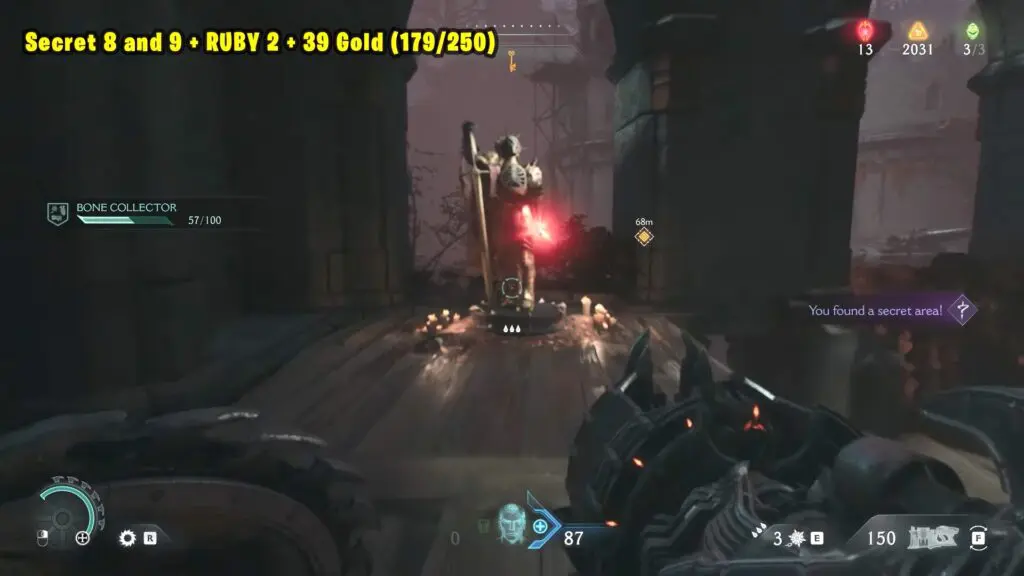
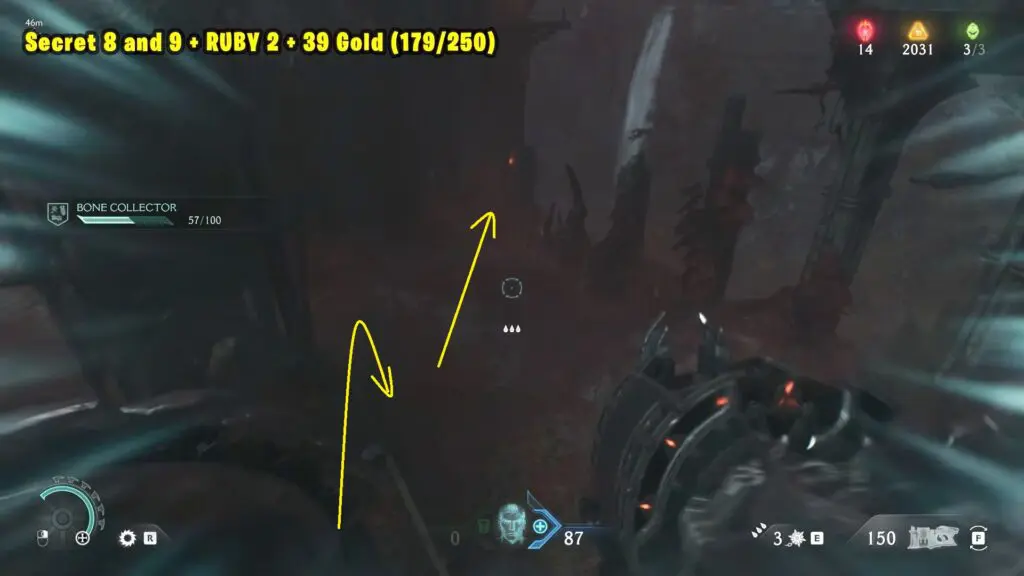
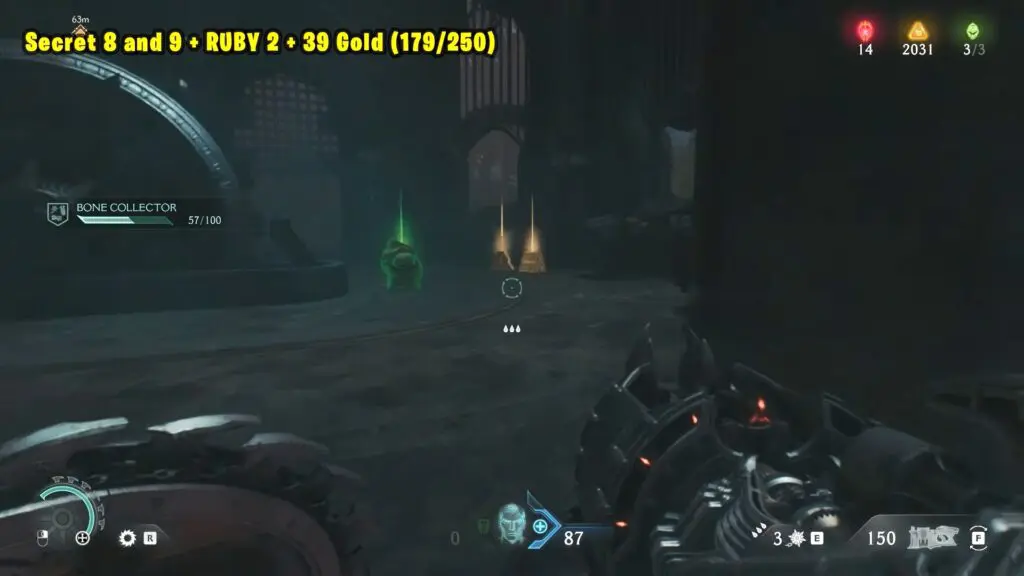
Secret 8 and 9 + RUBY 2 + 39 Gold (179/250)
Go to the place marked on the map. Throw your shield through a spinning wheel to hit a red chain. This will drop a stone wall.
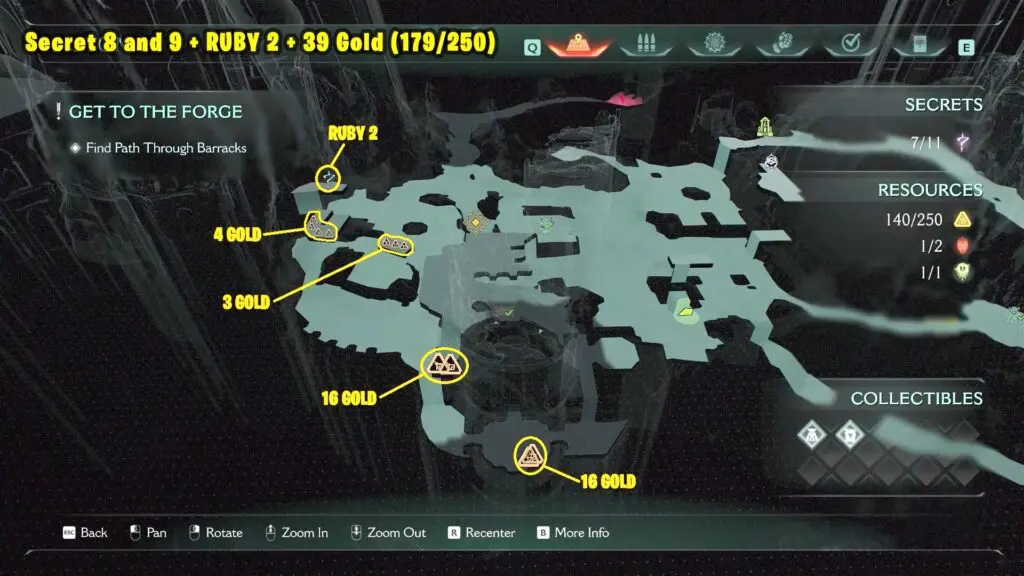
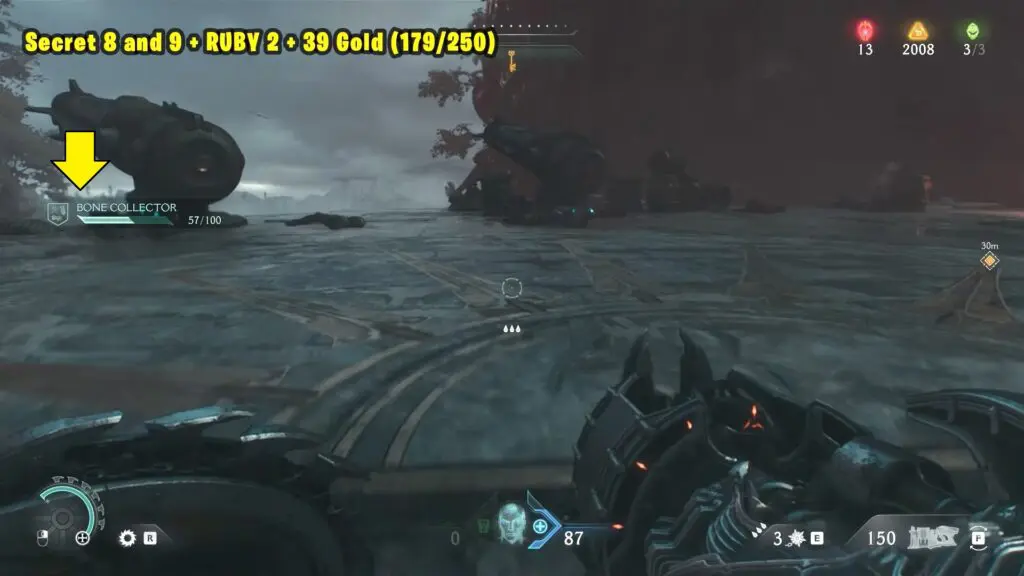
Climb up the wall to reach the structure above it. Then, drop down to the left side of the cannons to find two piles of gold.
Go back to where you dropped down, but this time head right and follow the main story path. Jump over the broken part to land on a wooden structure. Keep going forward to find 7 gold and a ruby at the end.

Now go back to the broken part of the bridge and drop down to the left side. Walk along the wall of the structure to find a chain. Throw your shield to break the chain and open the iron gate. Inside, you’ll find Gold Secret #9.

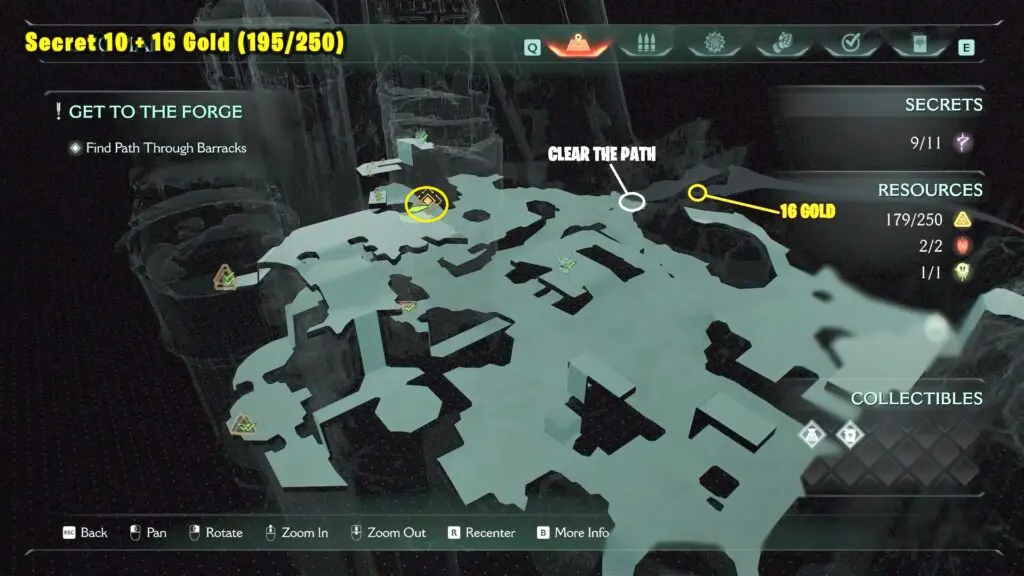
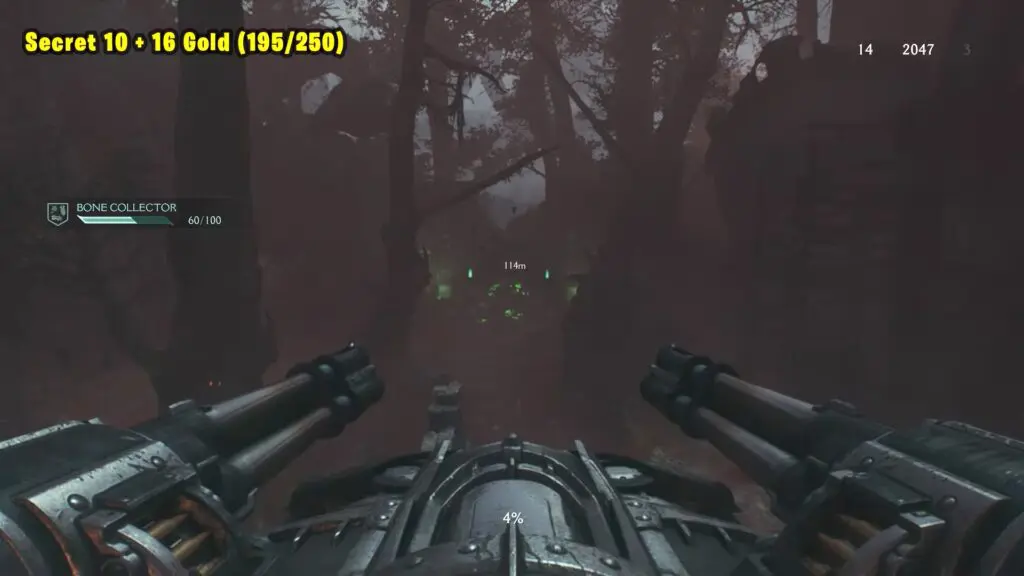
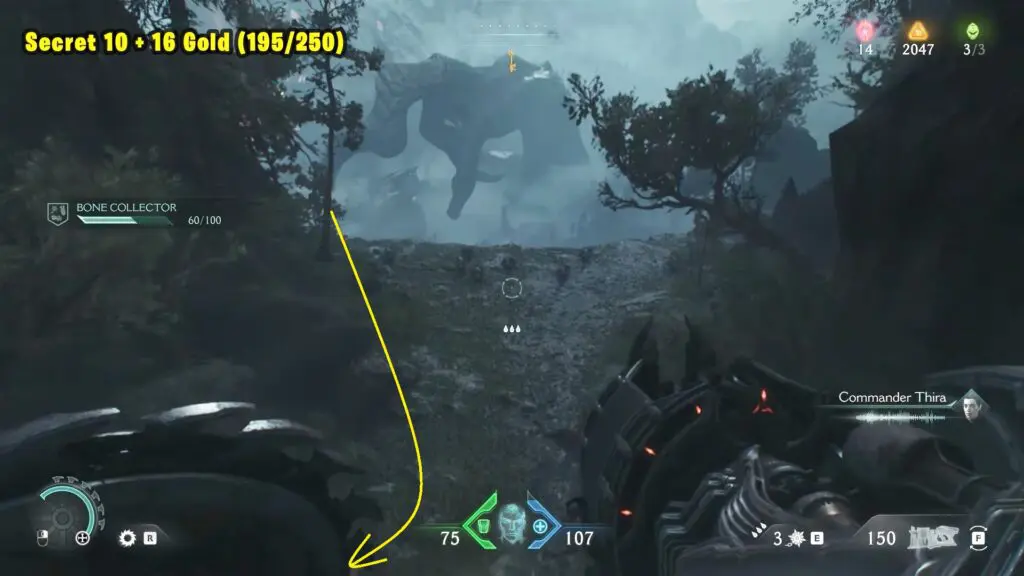
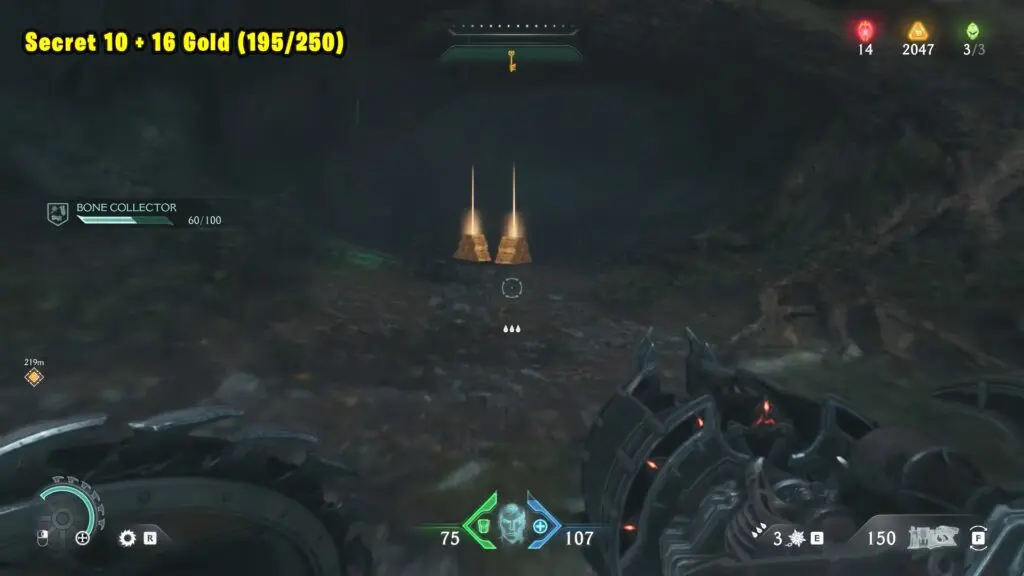
Secret 10 + 16 Gold (195/250)
Keep playing through the chapter until you destroy the wall. Go through the broken wall and drop down. Then turn around to find 16 gold behind you.
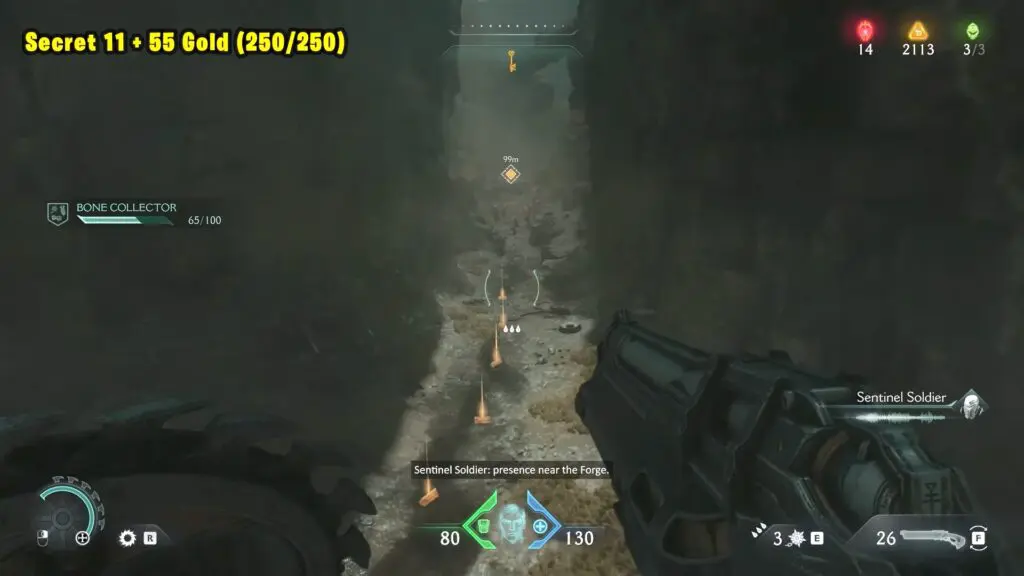
Secret 11 + 55 Gold (250/250)
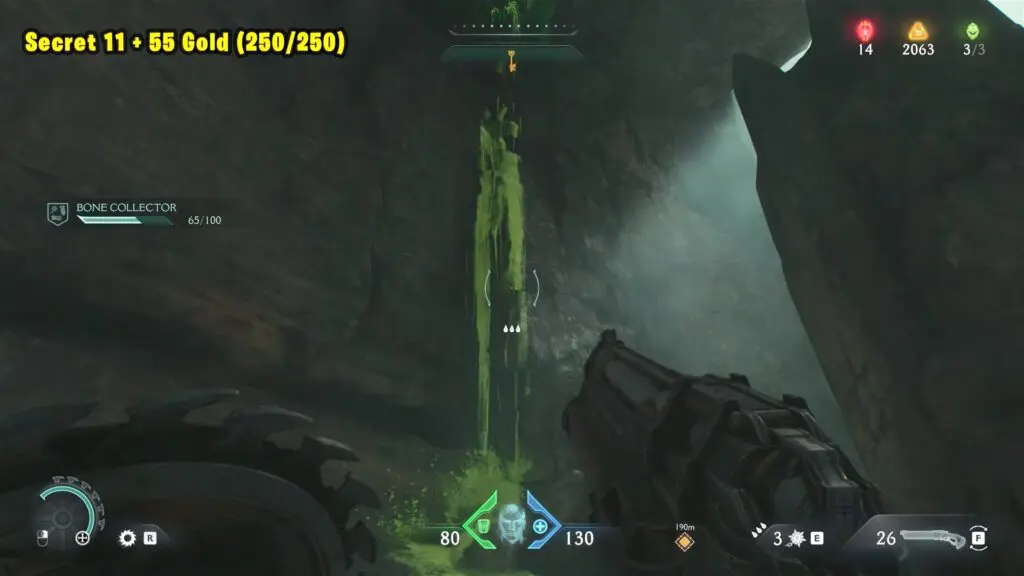
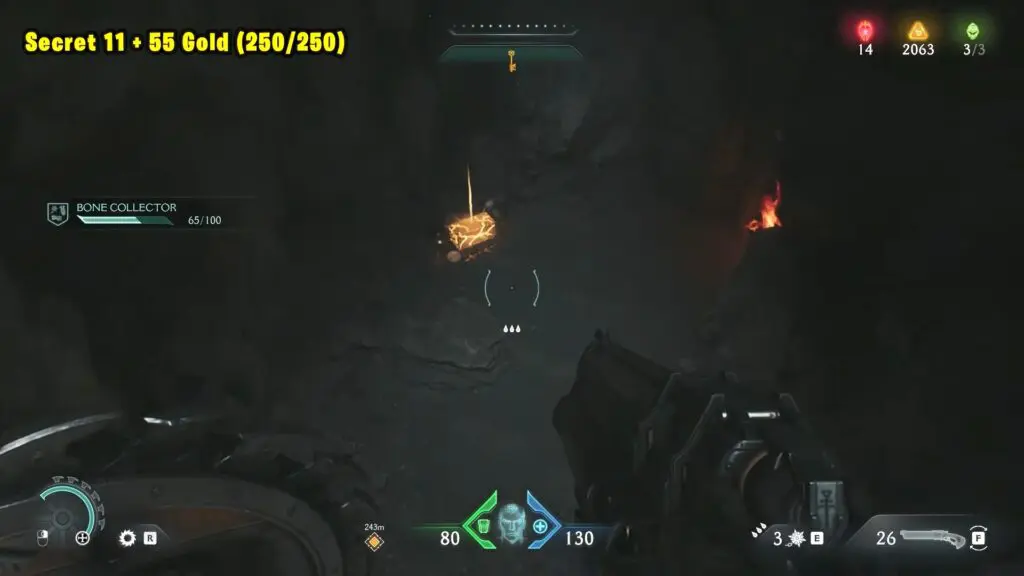
Keep going through the chapter until you reach the spot marked on the map. From there, go down the path and look for a green corpse hanging above. Throw your shield to jump to that spot. Then follow the path and drop down to find a chest with 50 gold.
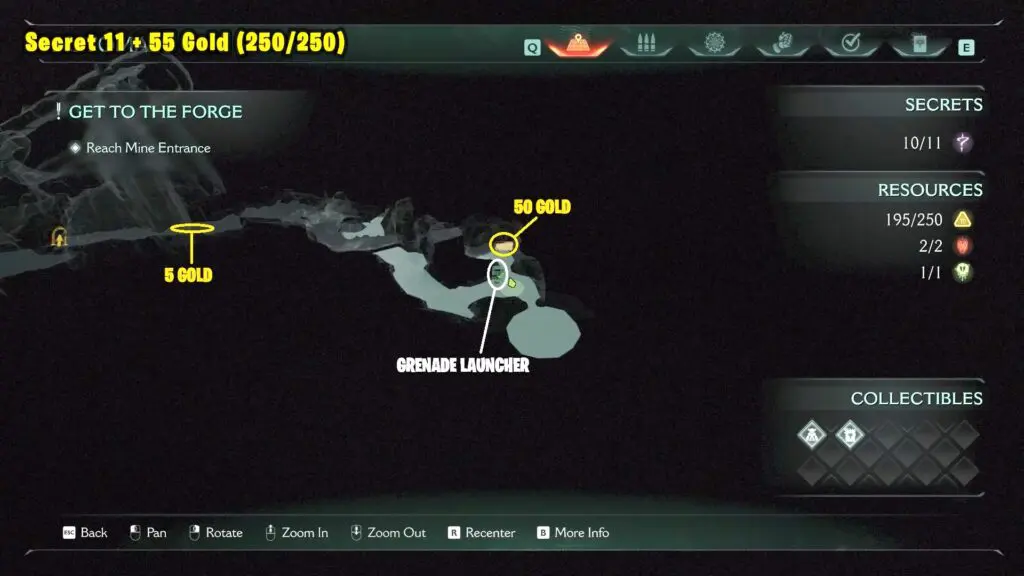
Now, follow the main story path to find the rest of the gold lying out in the open.