In Echoes of the End Chapter 4, there are several hidden collectibles to find for Ryn in the world of Aema. This guide will show you every collectible location step by step from Chapter 4 in Echoes of the End.
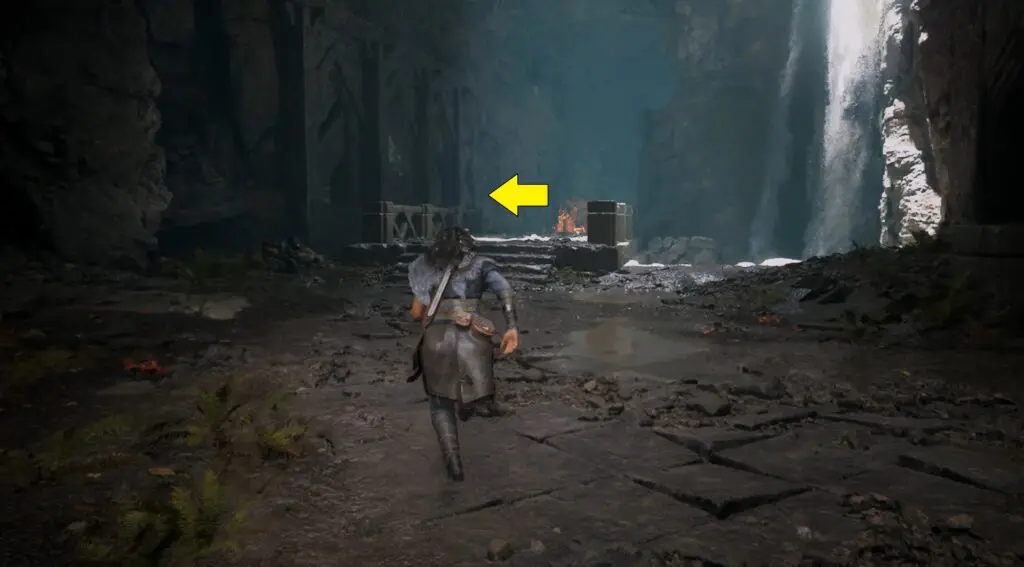
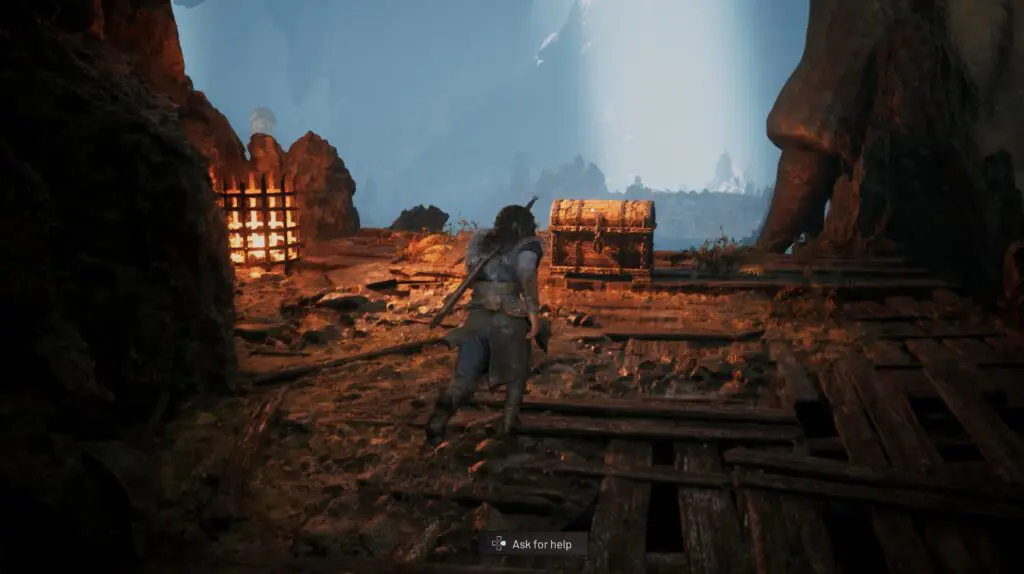
Secret #1 (Journal – Old Ledger)
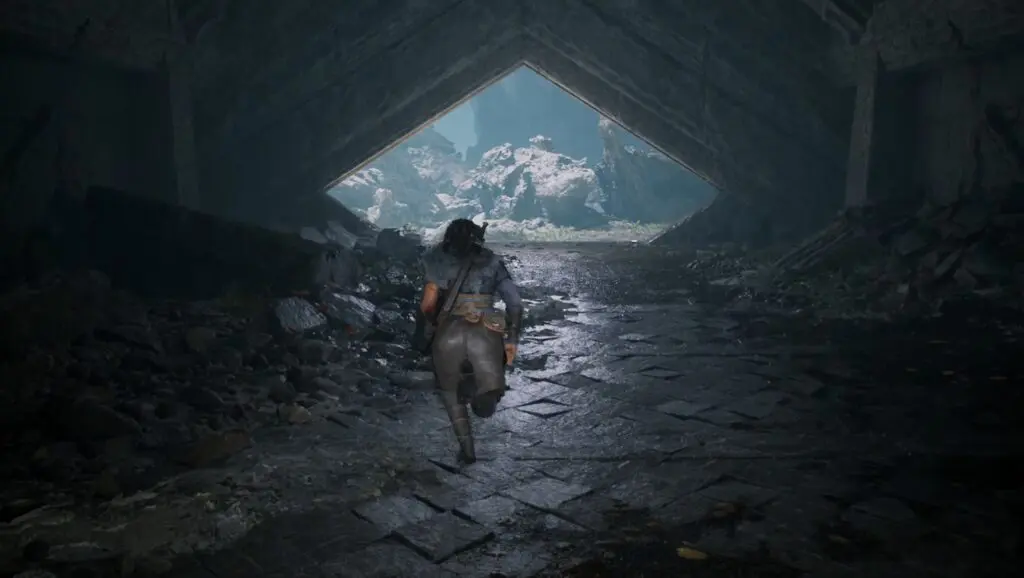
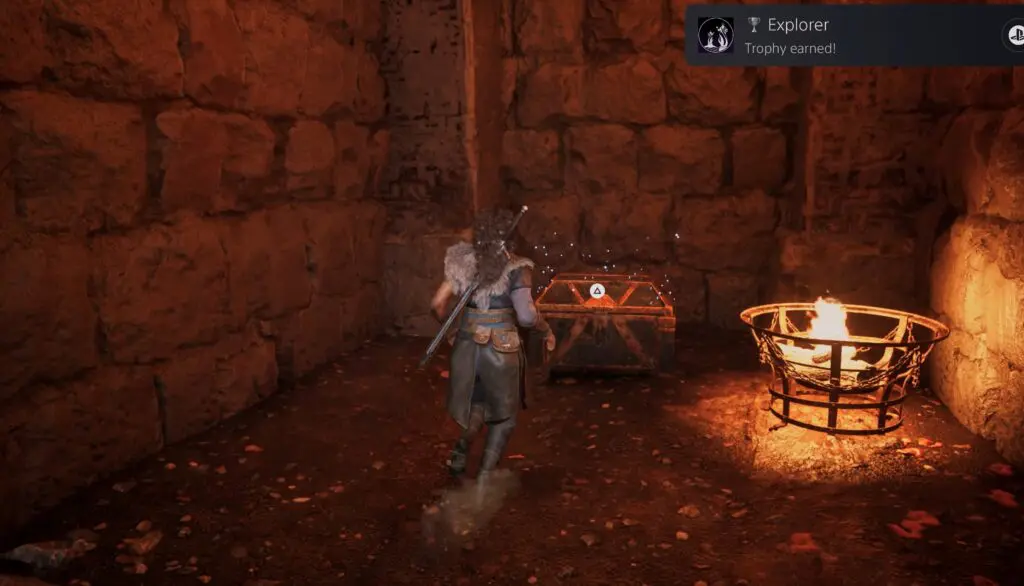
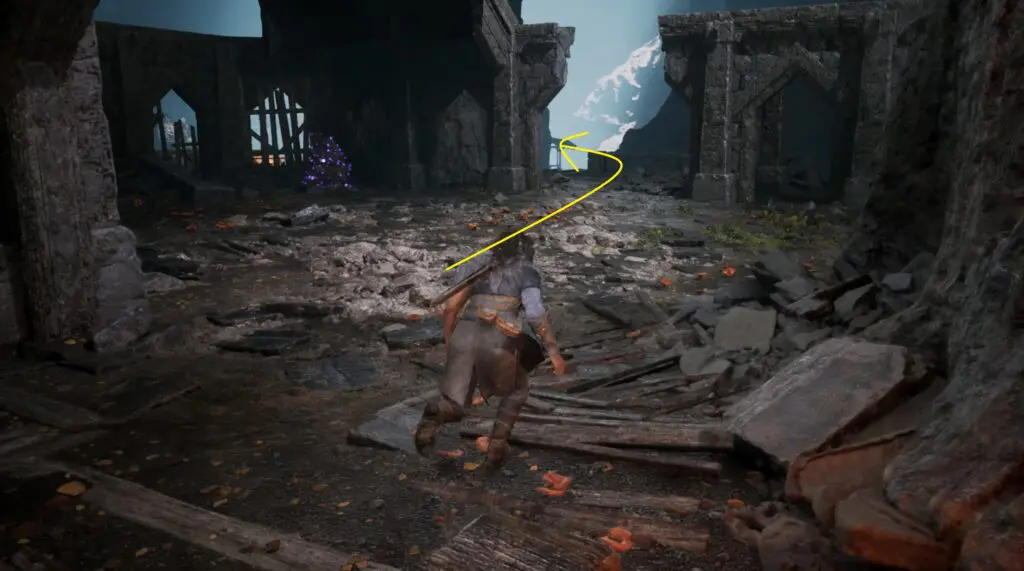
At the beginning of the chapter, cross the small stone bridge by the waterfall. On the left, you’ll spot a chest hidden behind a barricade. Break through the barricade to claim Secret #1.
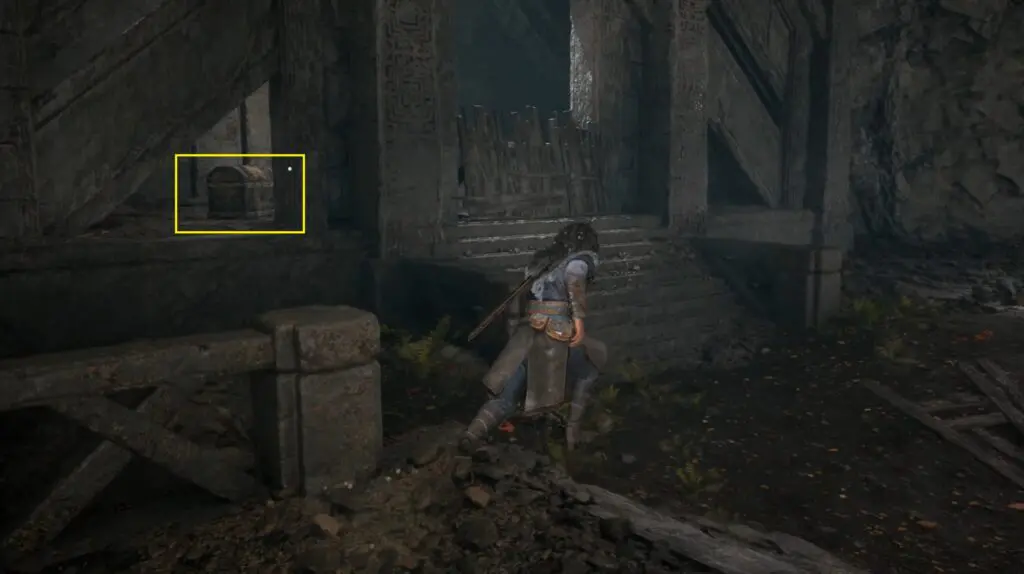
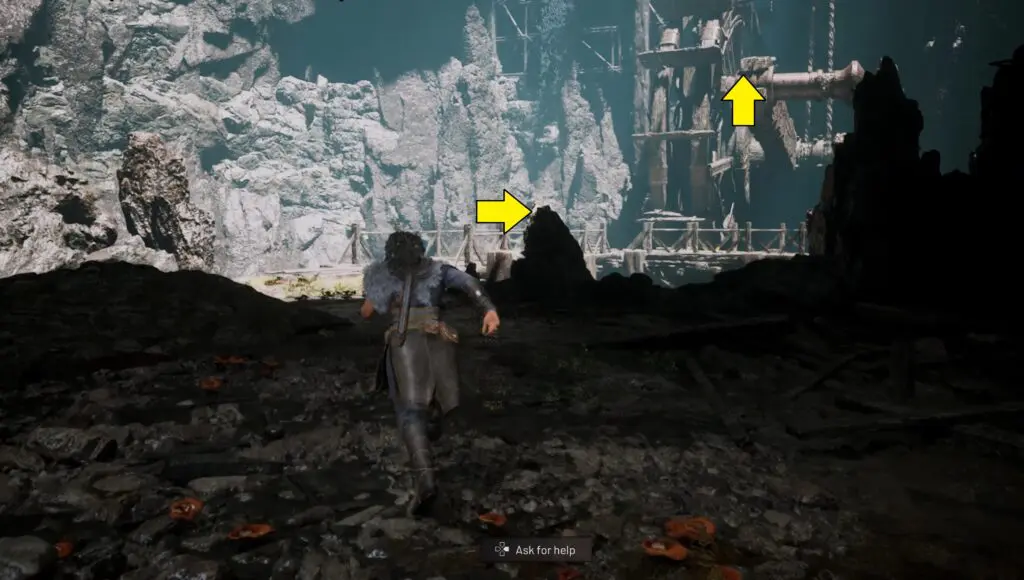
Secret #2 (Journal – Cracked Mirror)
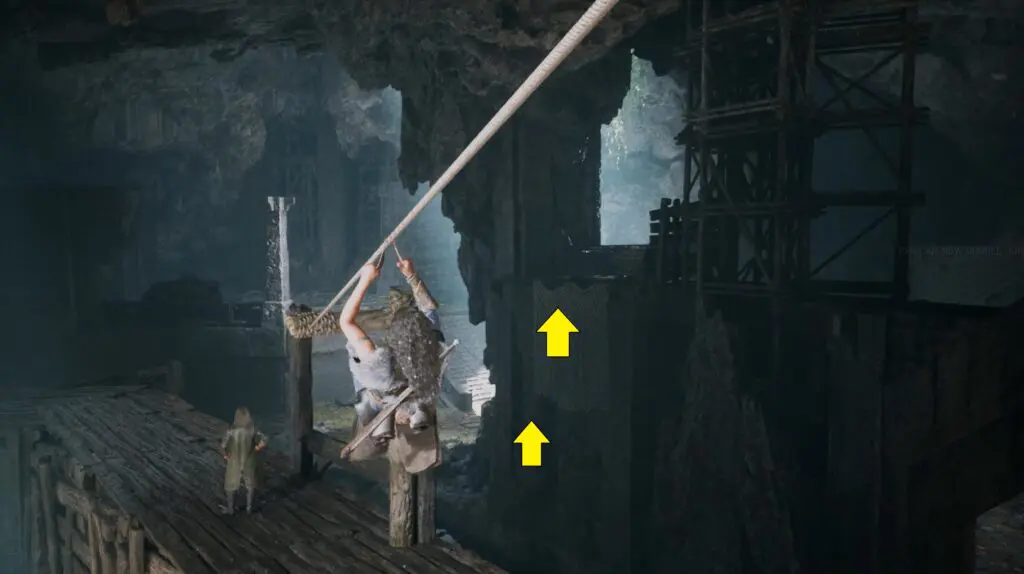
After unlocking the double jump for the first time, use the zipline to reach where Abram is standing. Once you reach the bottom, look to your left to spot a chest on a ledge.
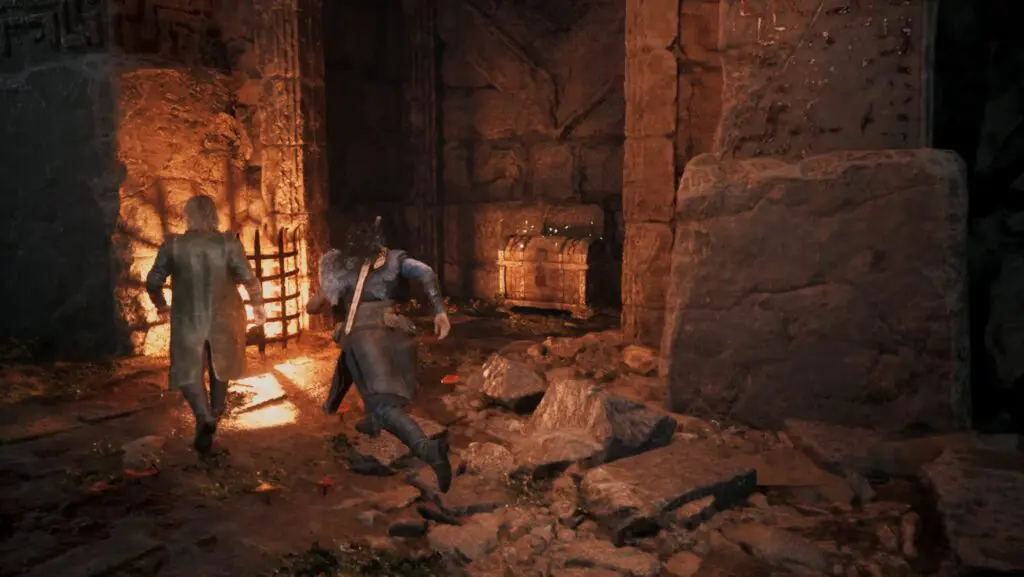
Secret #3 (Journal – Inscribed Gold Ring) And Optional Conversation #1
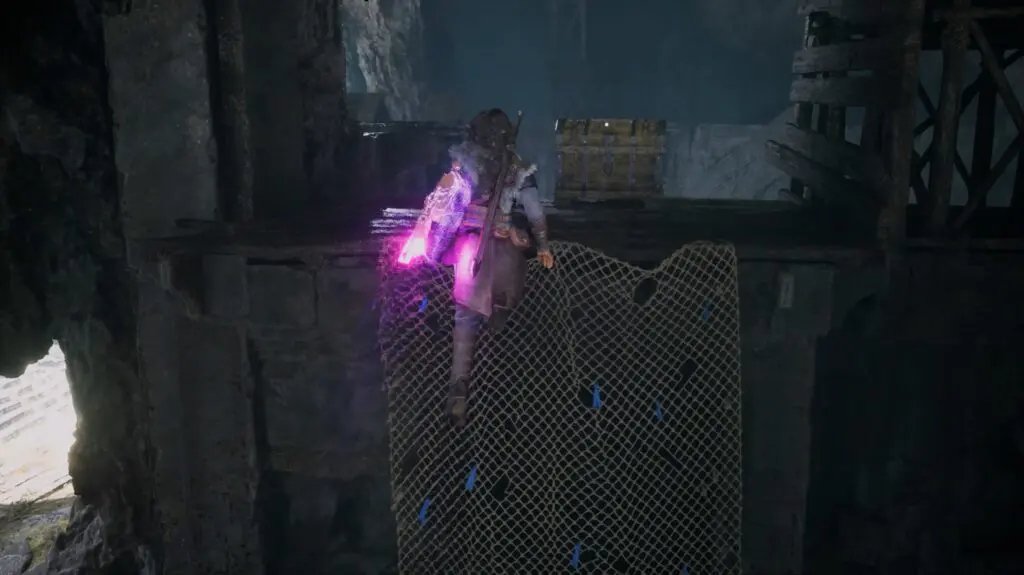
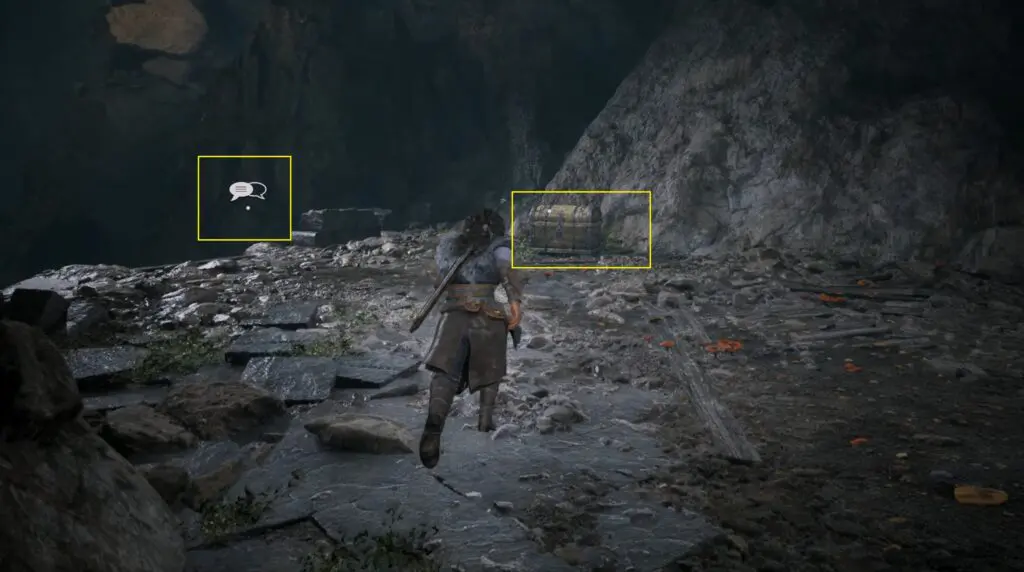
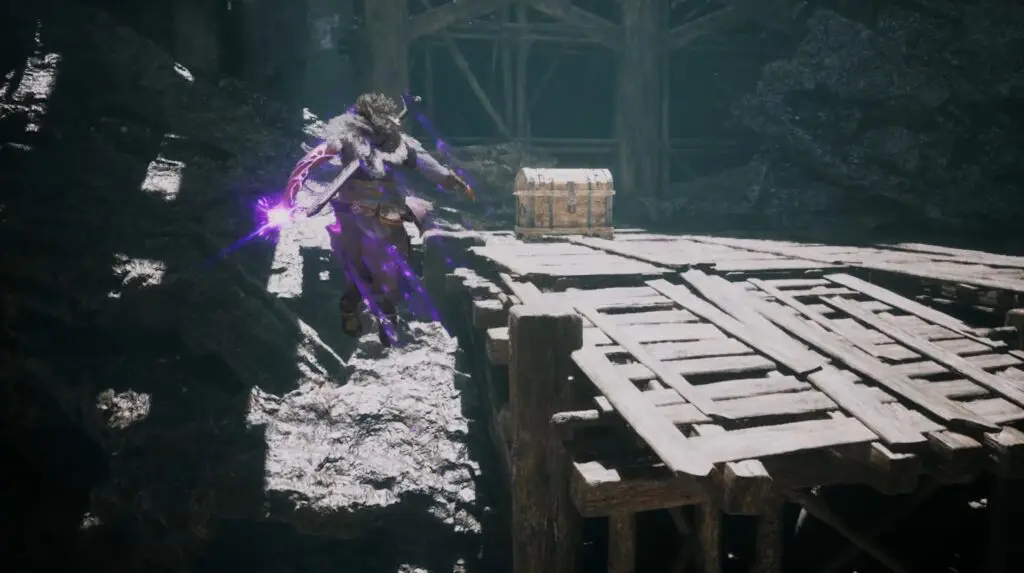
In the area with the third barrier, use your double jump to reach Abram, then head left. Follow the path across the wooden bridge to find the Secret #3 chest and Optional Conversation #1 at the end of the path.
Secret #4 (Journal – Adventurer’s Notes)
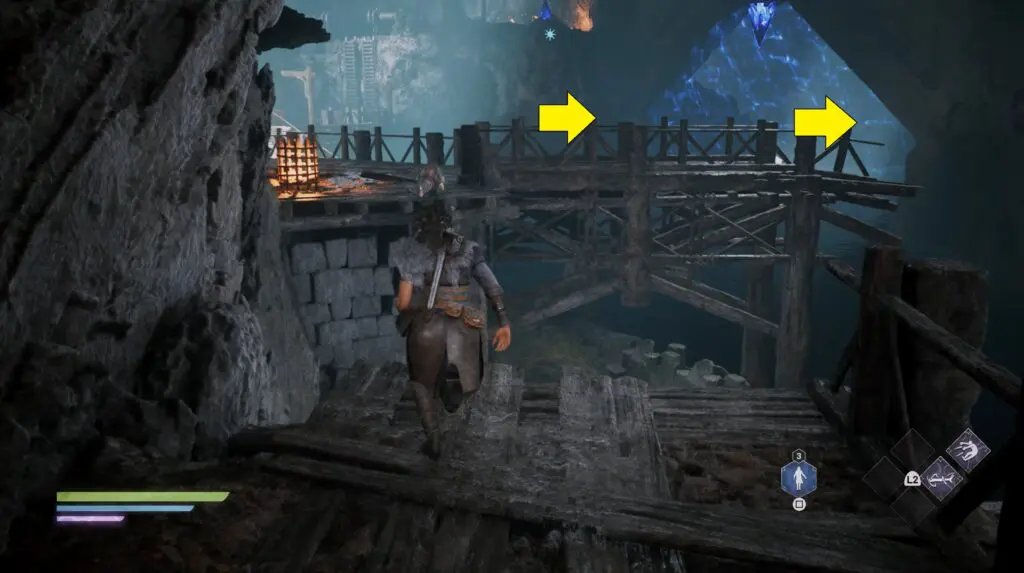
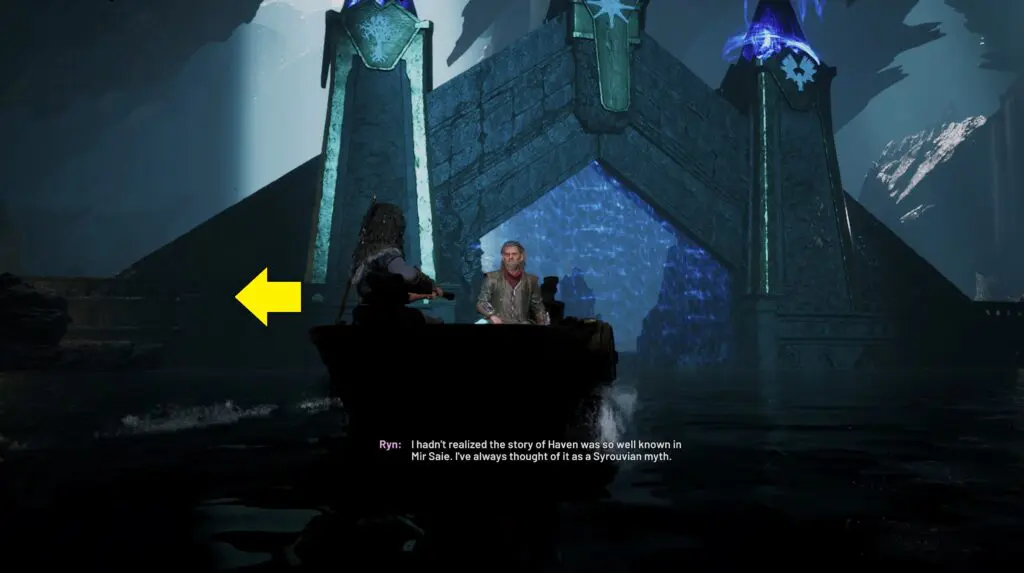
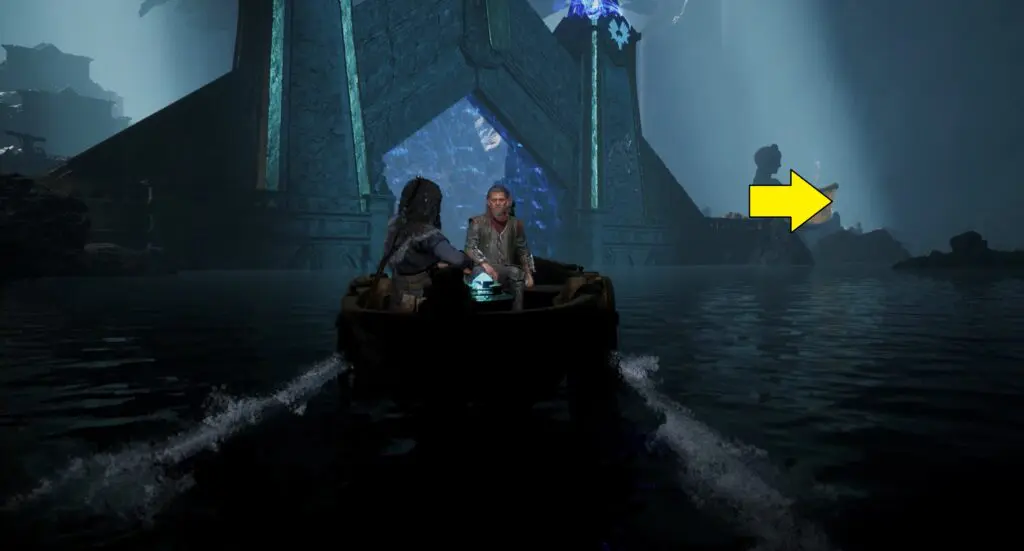
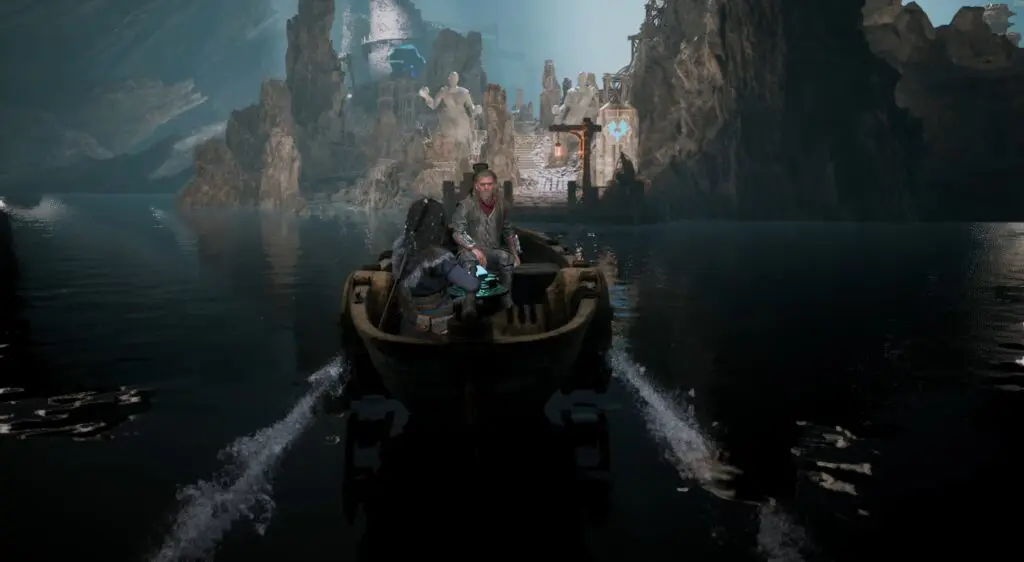
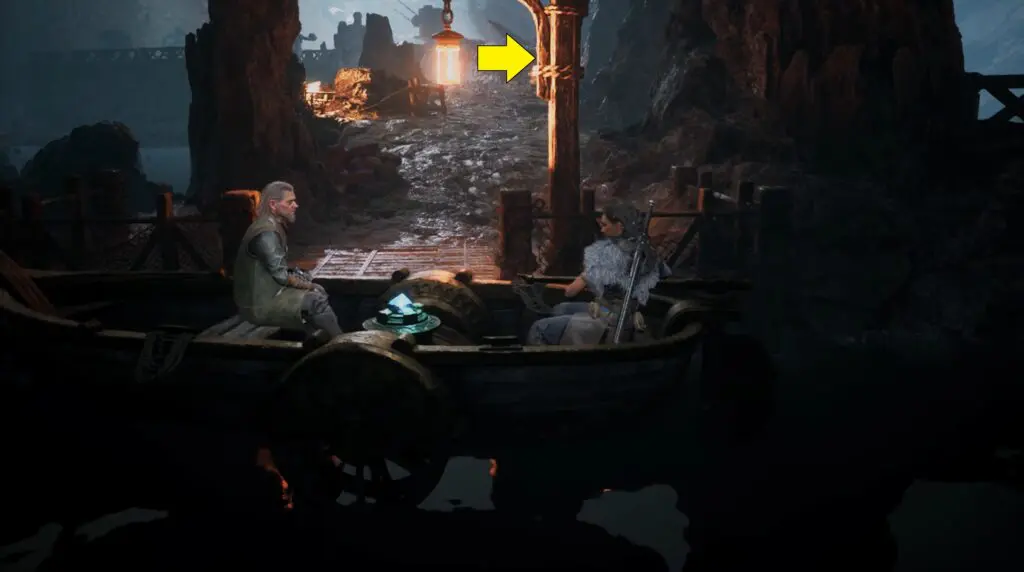
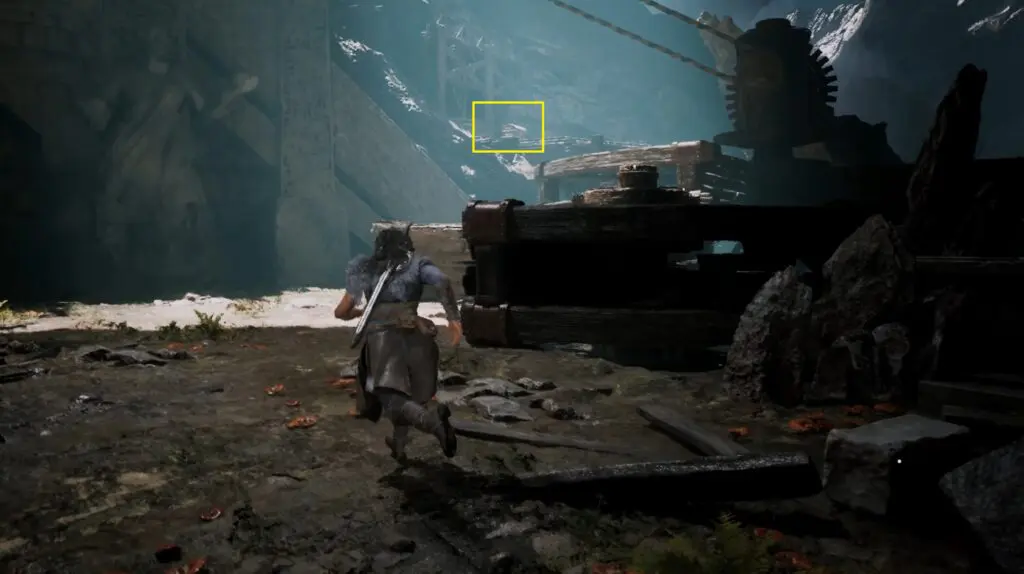
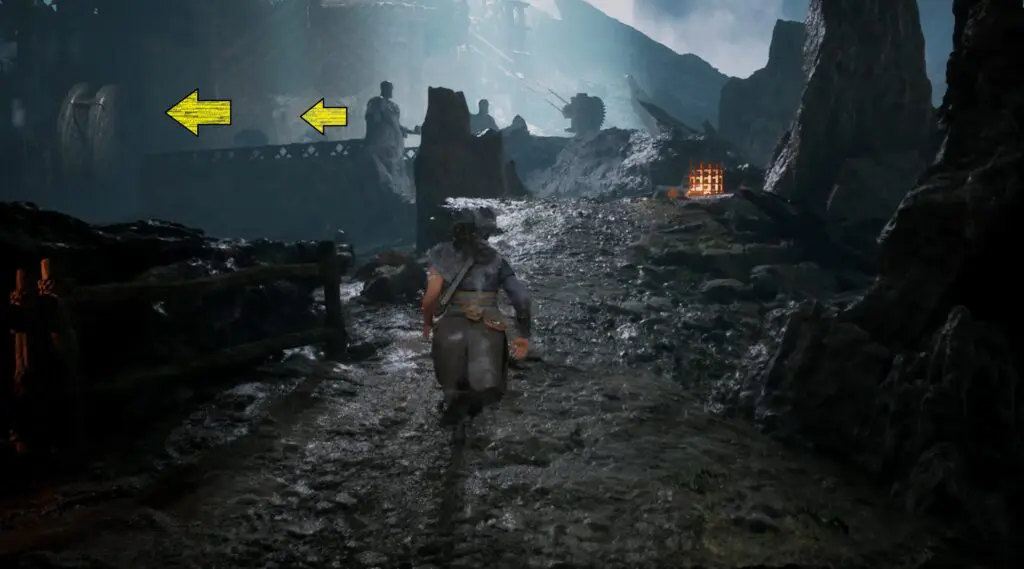
After passing the area with the triple sea barrier, Ryn and Abram will be sailing a boat. Go left and disembark at the dock, then follow the path and head up the stairs. Continue along the left path to reach a puzzle area where you must use the waterwheels to climb to the top of the mountain. At the top, you’ll find a chest.
Secret #5 (Mana Upgrade)
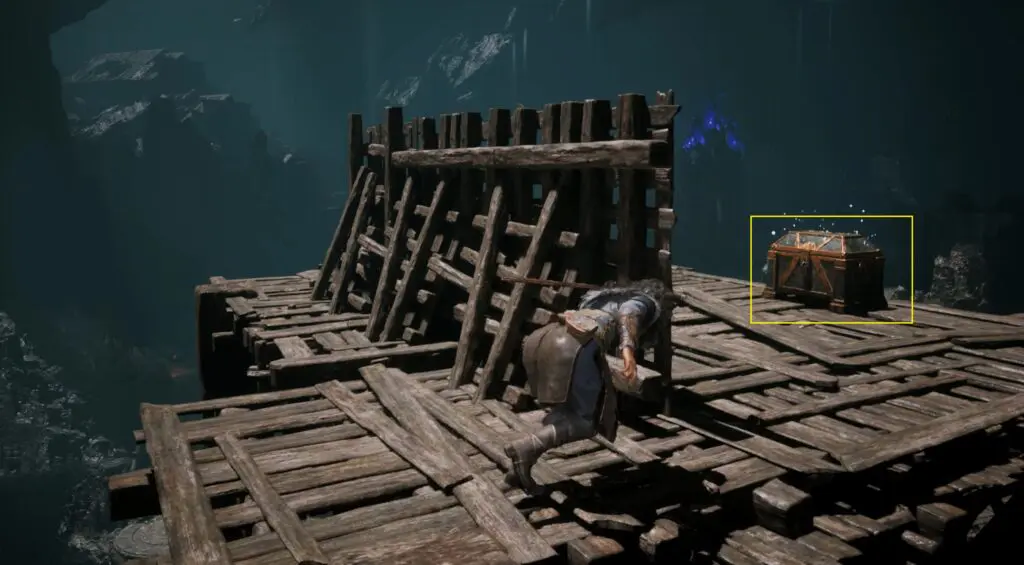
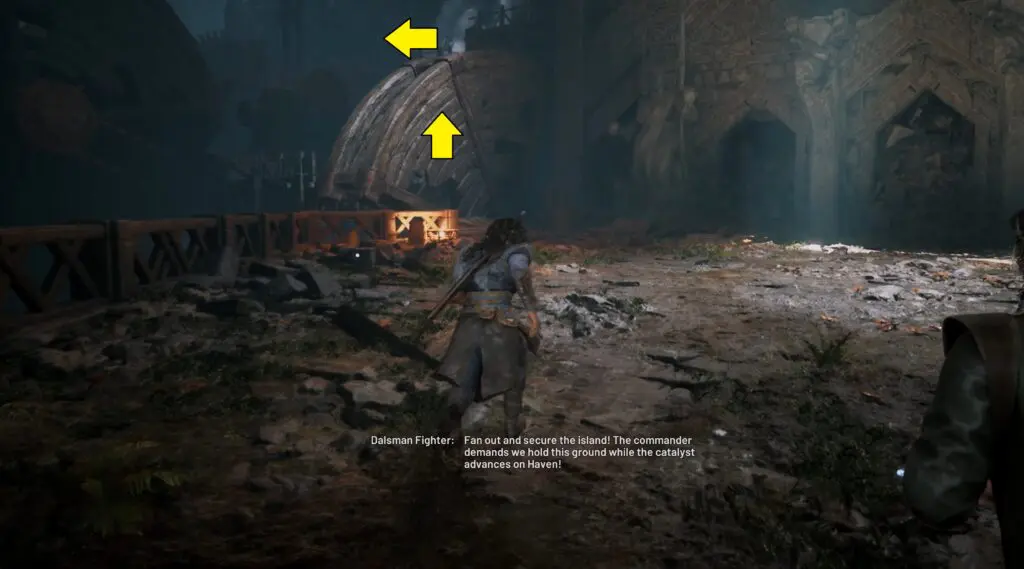
In the same area where you need to move the two giant bridges. Once the bridges are in place, head onto them to find a chest hidden behind a barricade.
Secret #6 (Health Upgrade)
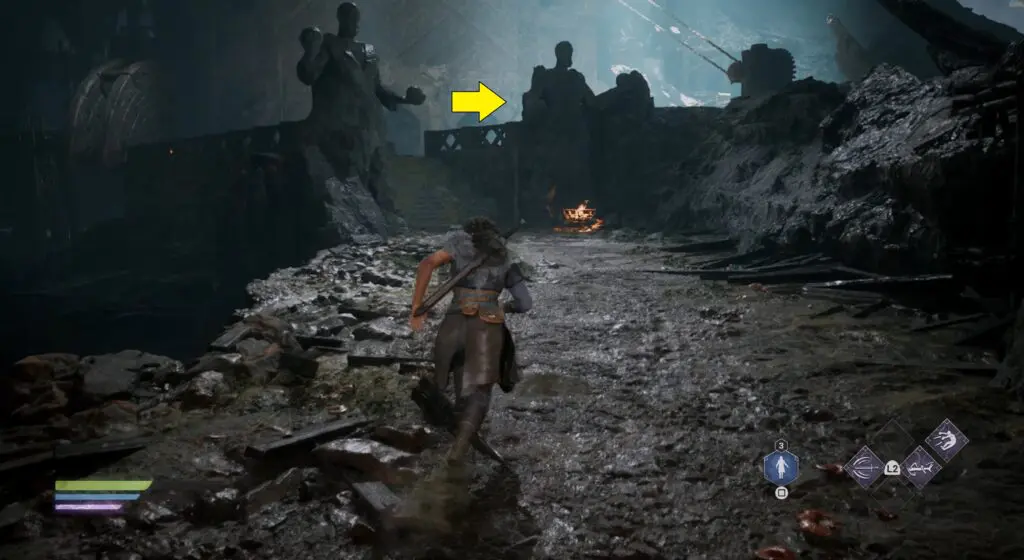
After passing the area with the triple sea barrier, sail to the right side and complete the statue puzzle to obtain a chest.

Secret #7 (Journal – Adventurer’s Notes)
Head to the second seal in the area with three seals. Activate the pedestal to start the waterwheel and shift the climbable wall. Climb up the wall to reach the top of the structure, where you’ll find a chest.
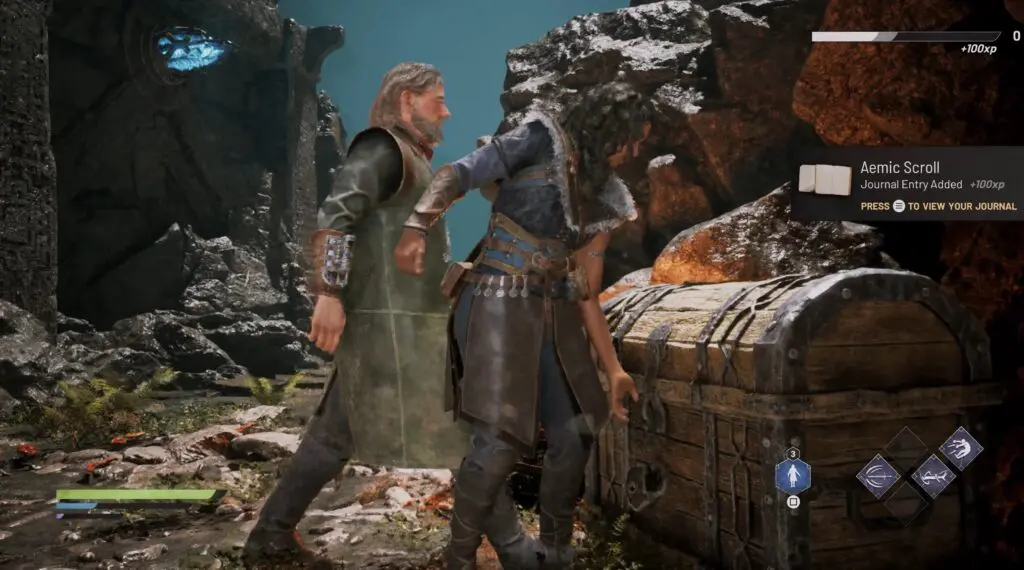
Secret #8 (Journal – Aemic Scroll)
Head to the second seal in the area with three seals. Activate the pedestal to start the waterwheel and shift the climbable wall. Climb up the wall to proceed to the left side of the waterwheel. You will find a chest at the end of the path.
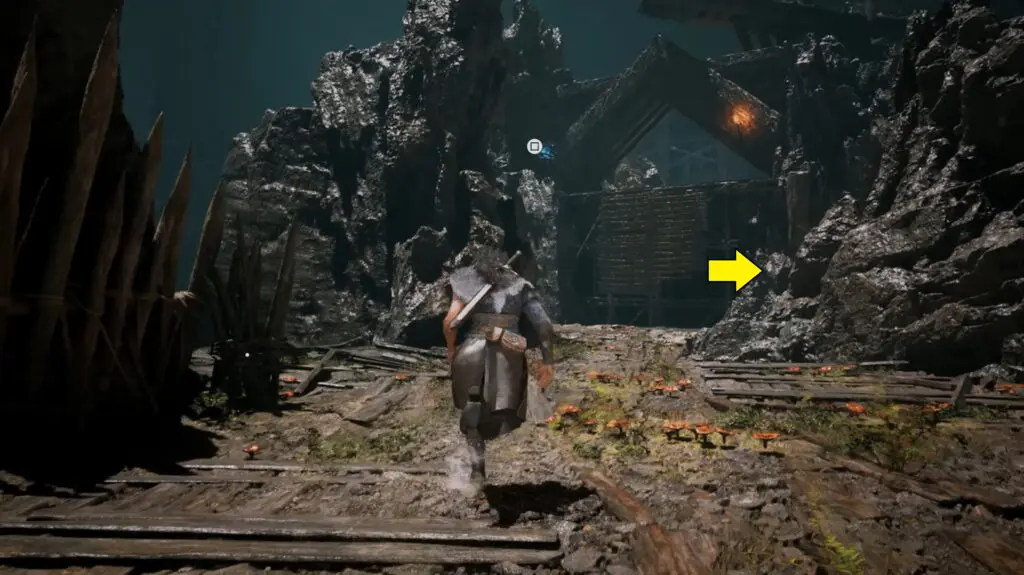
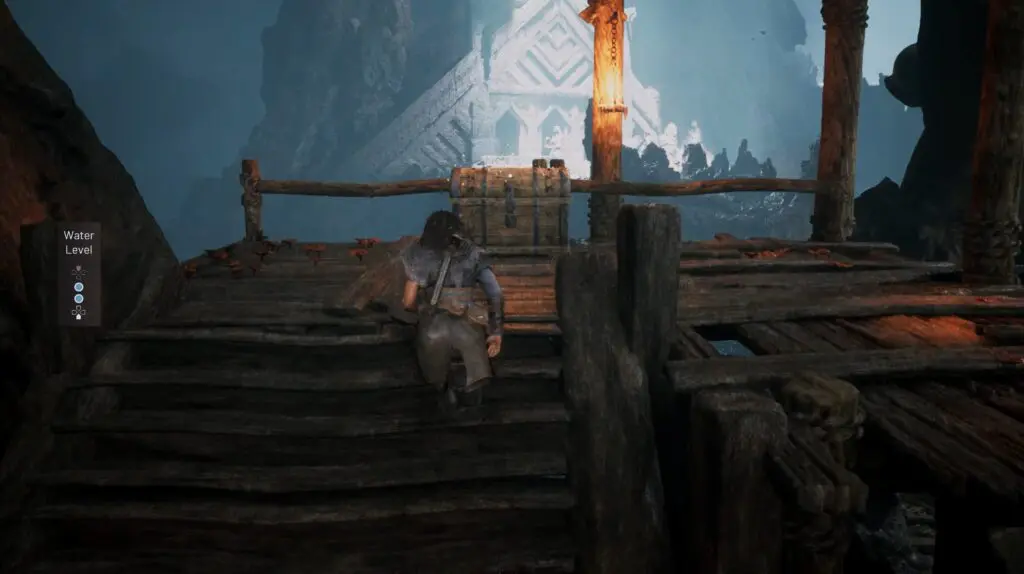
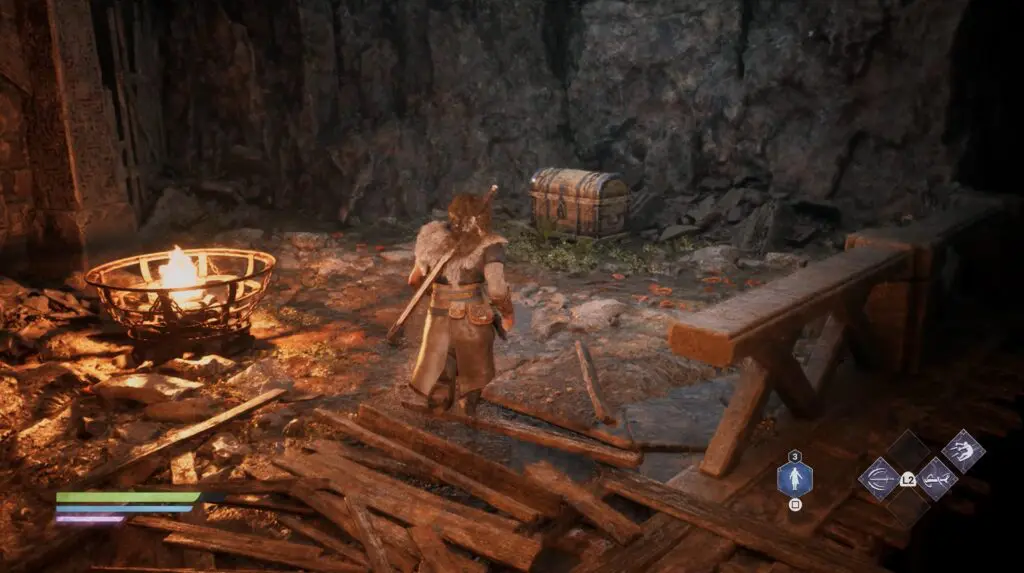
Secret #9 (Journal – Encrusted Scroll)
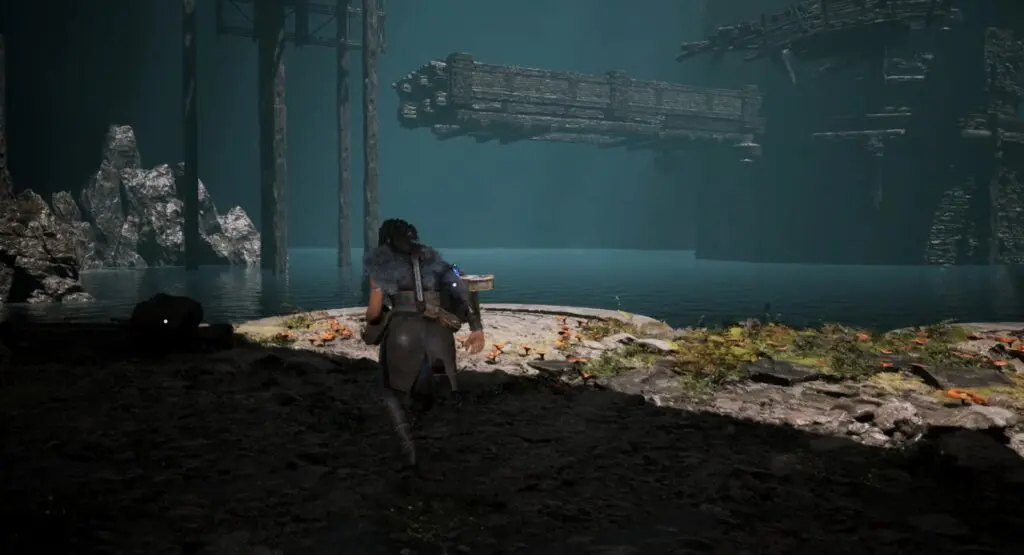
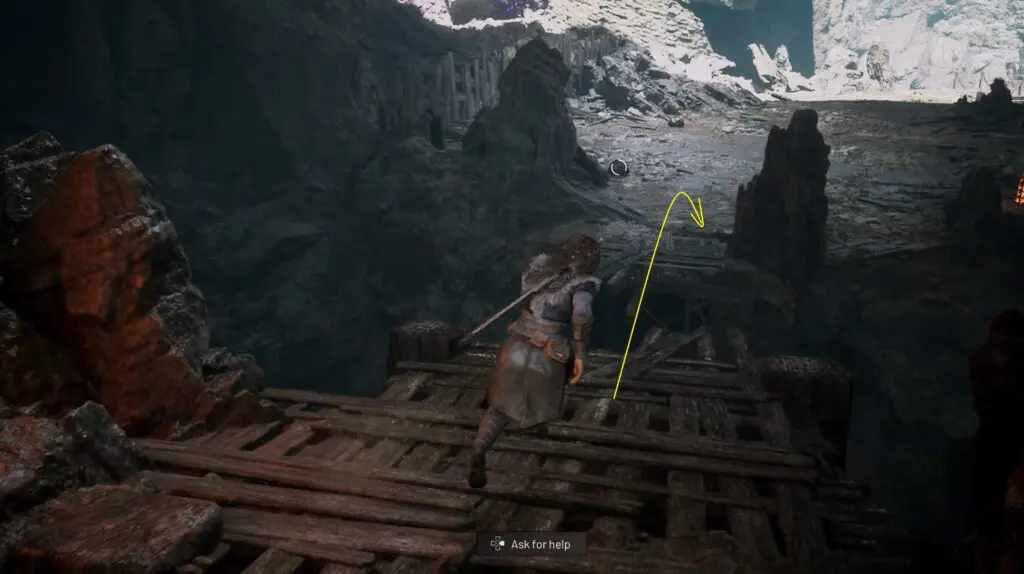
Head to the third seal in the area with three seals and follow the path until you reach a section with a wooden structure floating on the water.
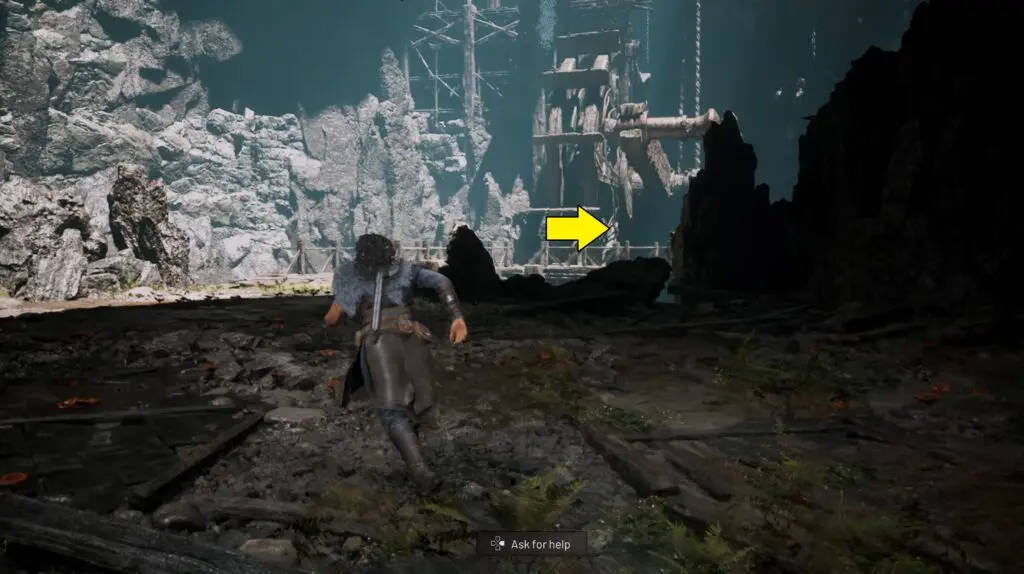
Stand on it, and as the water drains, the structure will lower to the bottom. From there, follow the path and check the right wall. Look carefully in the shadows to spot a hidden barricade. Break through it to claim the chest.
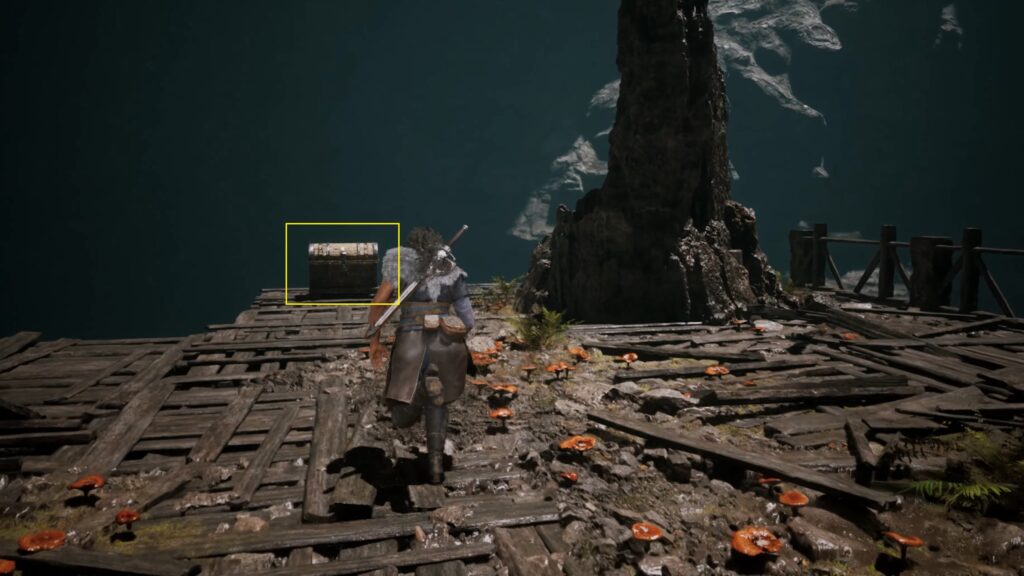
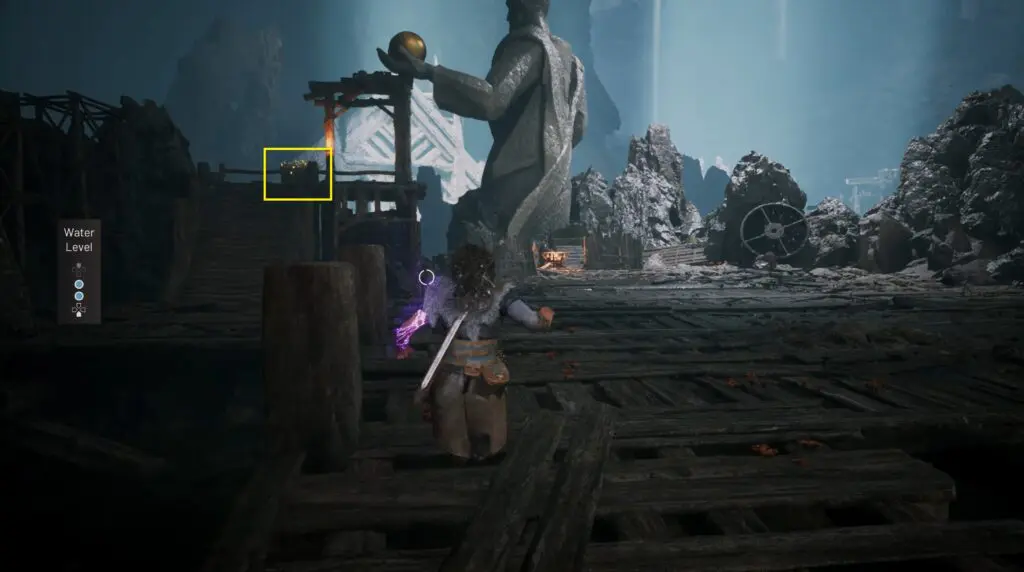
Secret #10 (Journal – Adventurer’s Notes)
In the same area, you’ll find the chest on a raised platform near the giant statue holding a ball in its palm.
Secret #11 (Journal – Statuette)
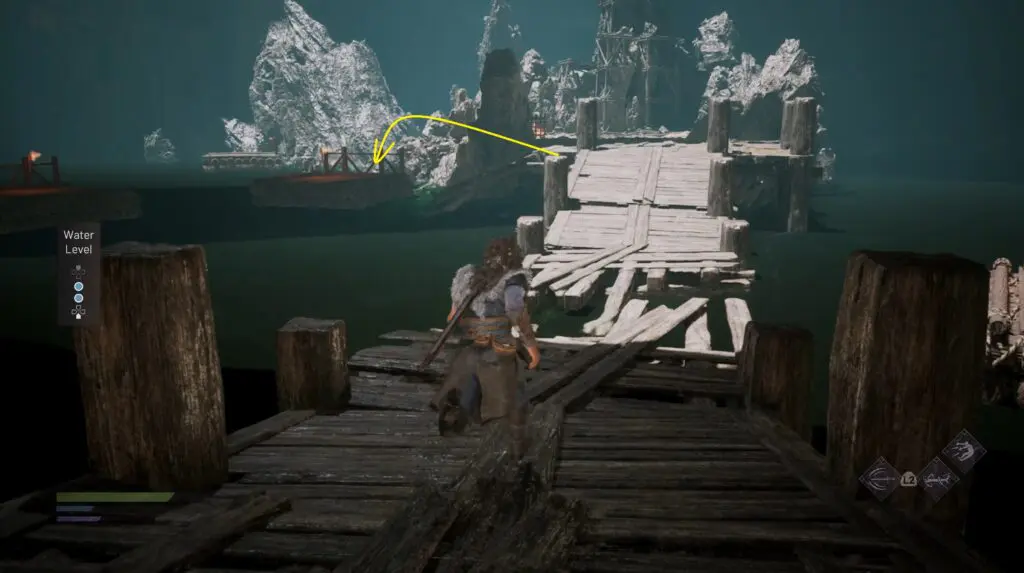
Go to the area behind the triple seal barrier. After disembarking from the boat, take the first right turn to find the chest.

Secret #12 (Journal – Aemic Poem)
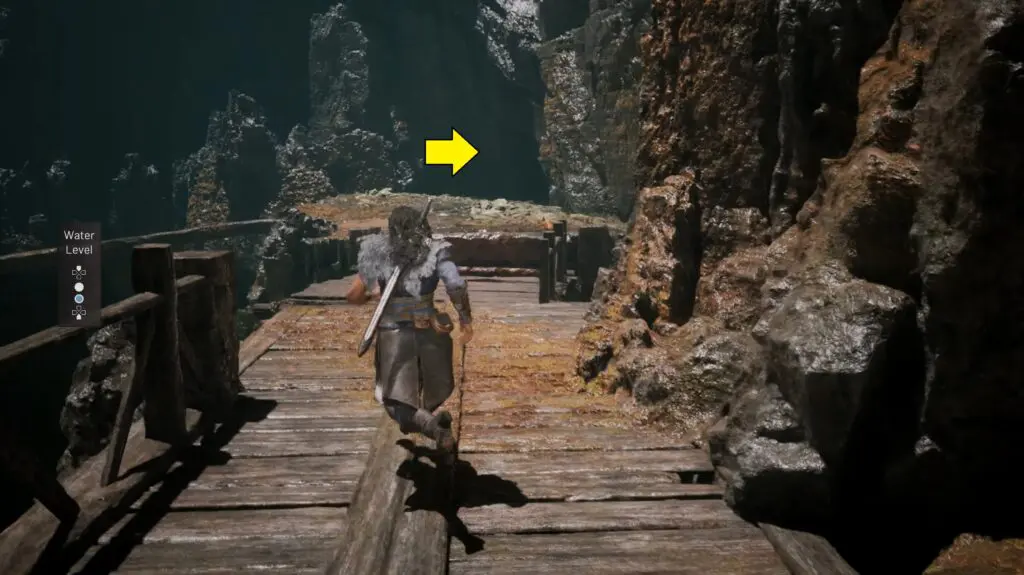
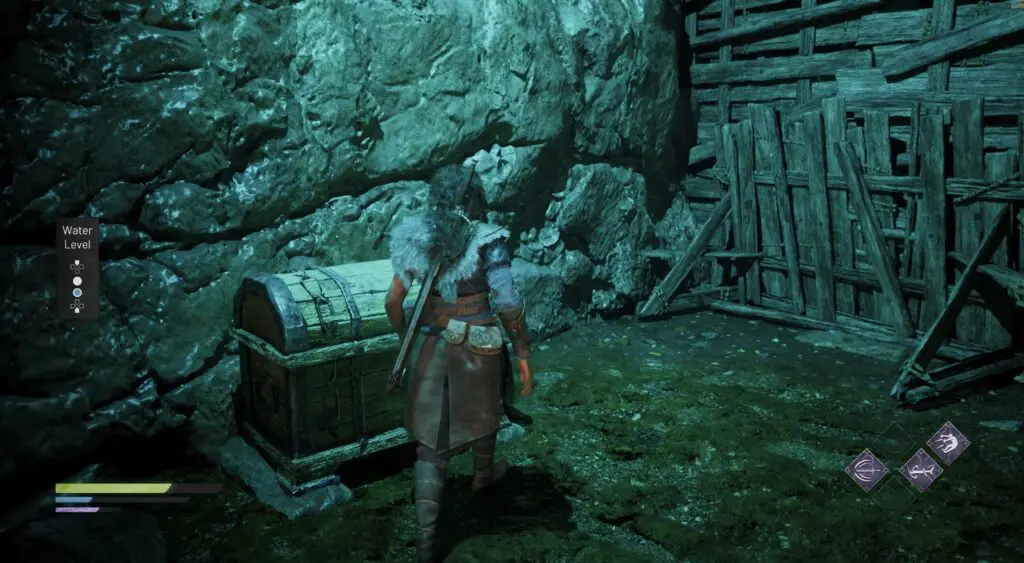
In the same area, follow the straight path from the dock, then head up the stairs and turn right. On the ledge behind the moving wheels, you’ll find a chest.
Secret #13 (Journal – Metal Cube)
In the same area, follow the straight path from the dock and go up the stairs, then head to the left side. Climb the structure using the giant waterwheels, and once you reach the top, follow the path behind the wall to find a chest.
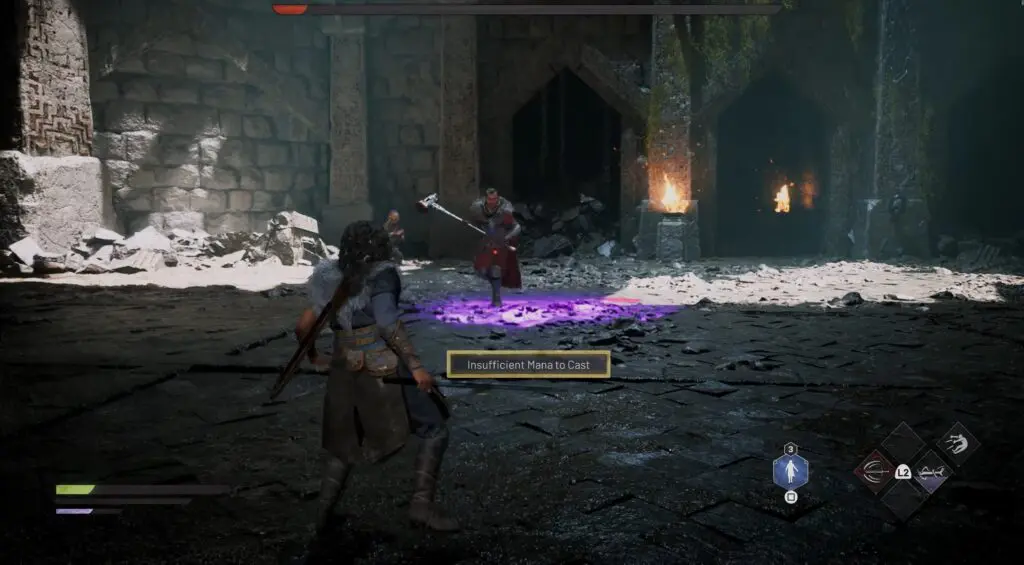
Optional Conversation #2
In the room with Aurick Boss fight.
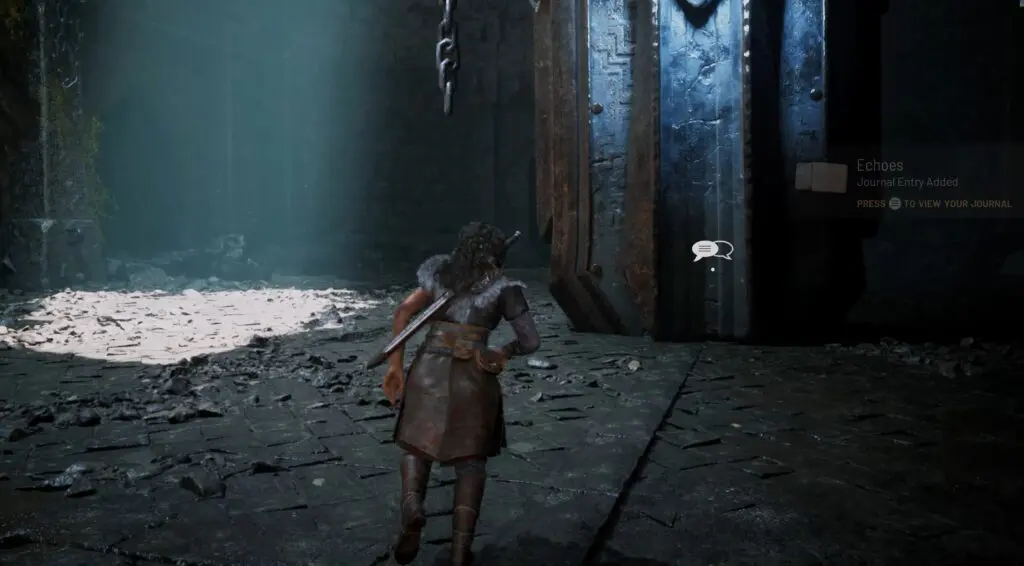
Secret #14 (Journal – Set Of Dice)
Follow the path after the Aurick Boss fight to reach the chest.