Sealed Sector is a Warring Expedition side quest in Honkai Star Rail that includes finding graffiti locations. Sealed Sector is added during version 1.1 as part of the ‘Starhunt Game’ event. In this side quest Leonard wants the Trailblazer’s assistance with some research inspired by Silver Wolf. This article will guide you through all the Difficulty levels.
Difficulty 1
Within Difficulty 1, you will encounter three ‘Hacking Callcard’ graffiti locations. Additionally, there are two other graffiti pictures that you must discover in order to successfully complete Difficulty 1.
1) Graffiti Location
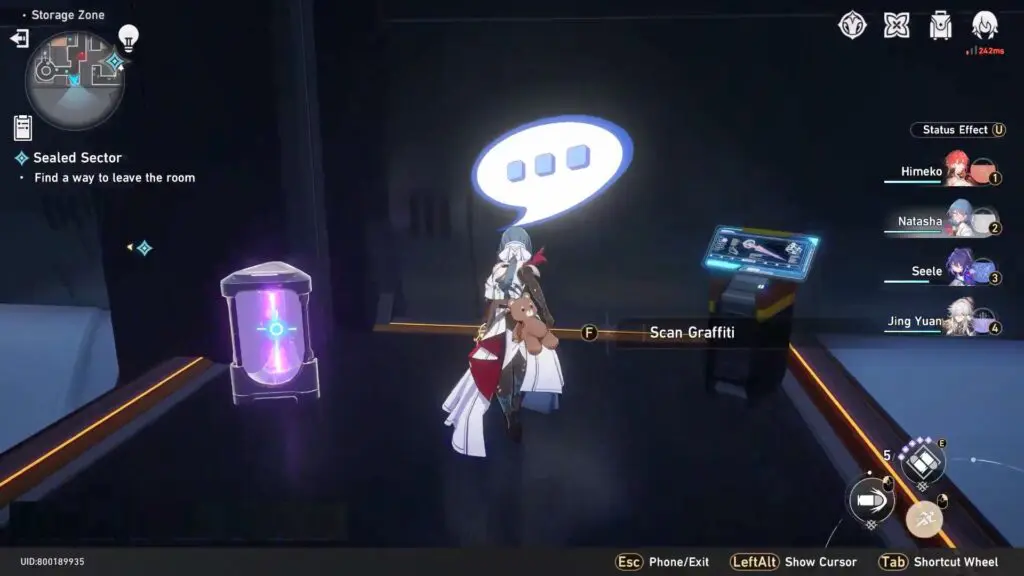
In Sealed Sector Difficulty 1, the initial graffiti can be found in the small room across from the locked door. To advance in the mission, you must scan it in order to unlock the door.
2) Graffiti Location (optional)
Hacking Callcard graffiti is on the wall across from the first graffiti, near the door.
3) Graffiti Location
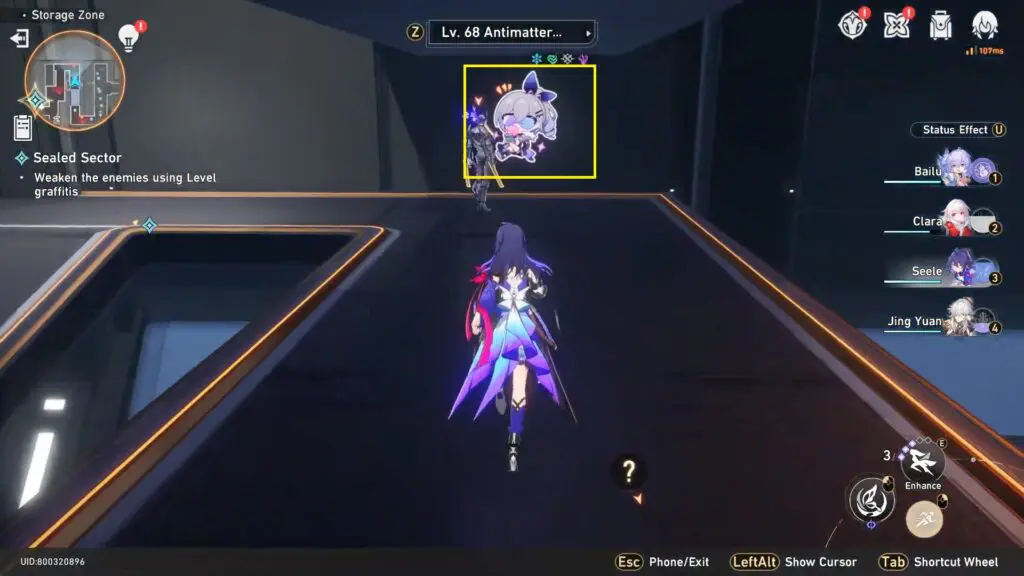
After leaving the initial room, proceed to the circular bridge and turn left. Eliminate the enemy and then look towards the center of the bridge to locate this graffiti.
4) Graffiti Location
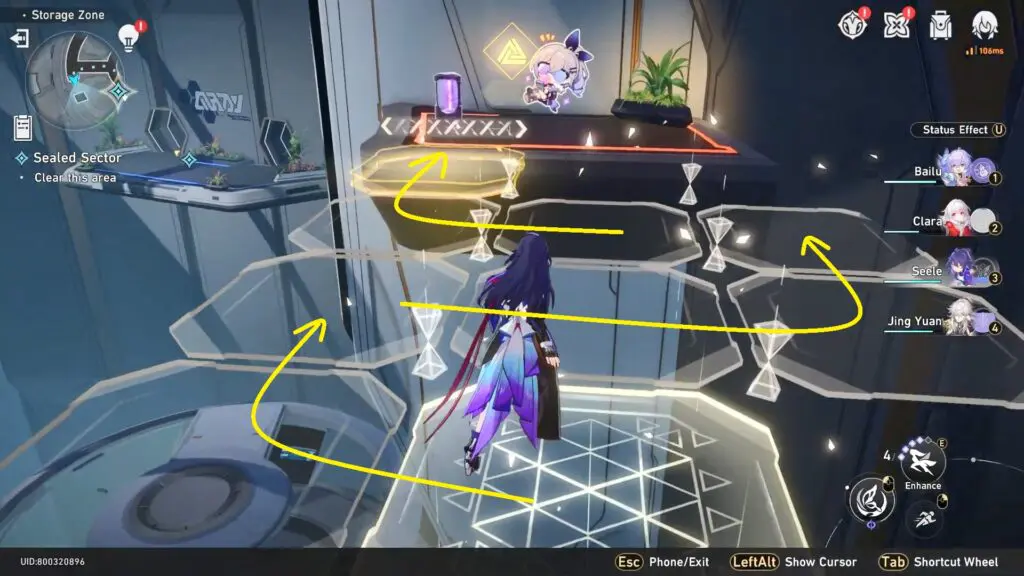
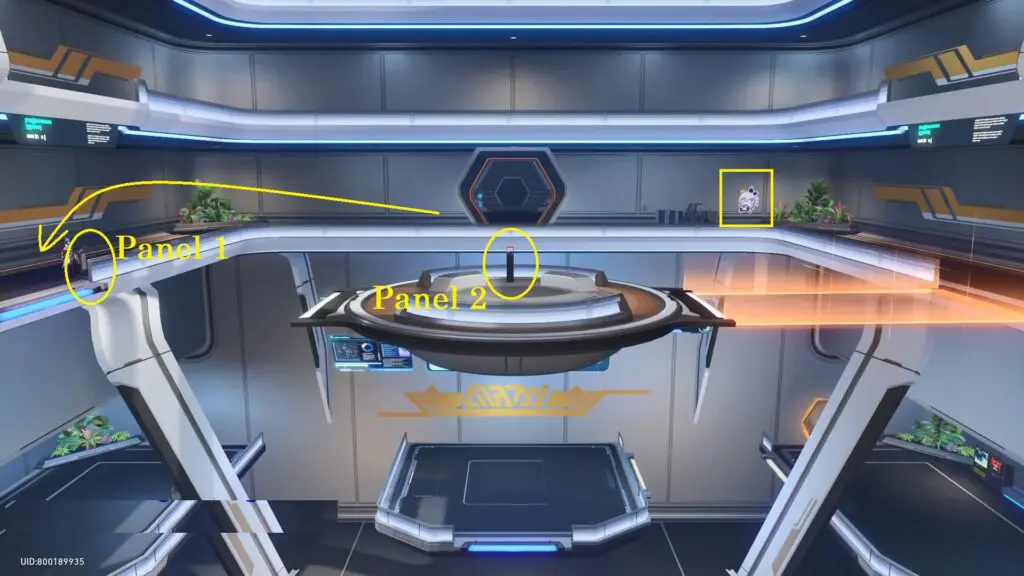
Towards the end of the circular bridge, you’ll come across an Unearthly Marvel puzzle on the left and a graffiti location on the opposite side of the puzzle. To solve the puzzle, follow the image below and step on the panels accordingly.
5) Graffiti Location
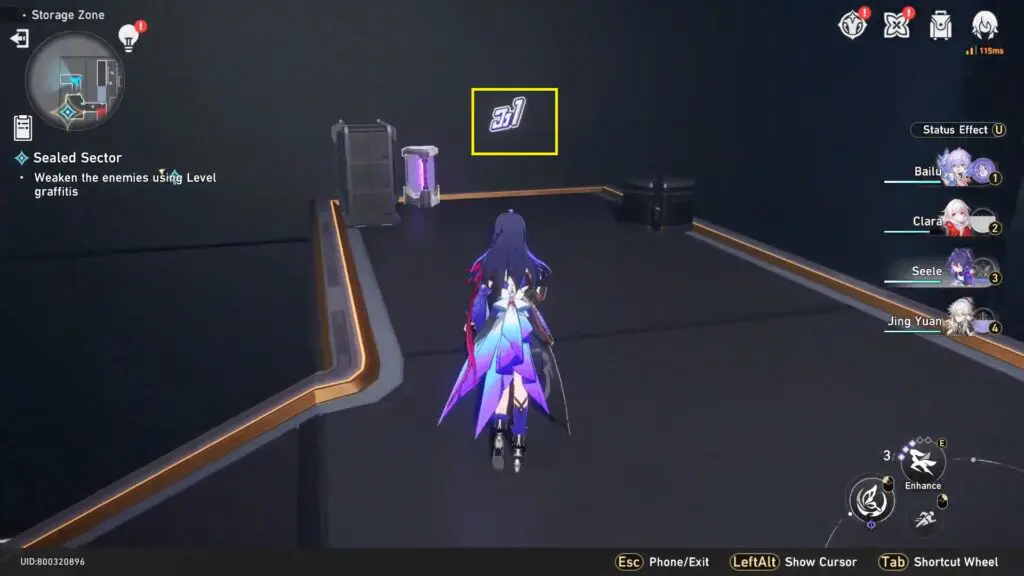
From the previous location, turn around and fight the two enemies to gain access to the last graffiti location on the wall behind them.
Difficulty 2
1) Graffiti Location
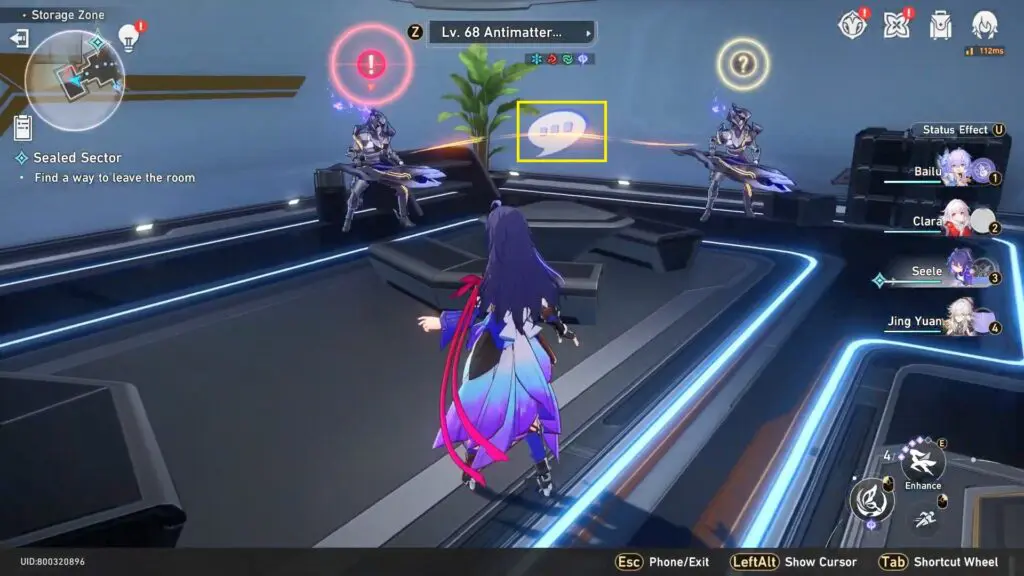
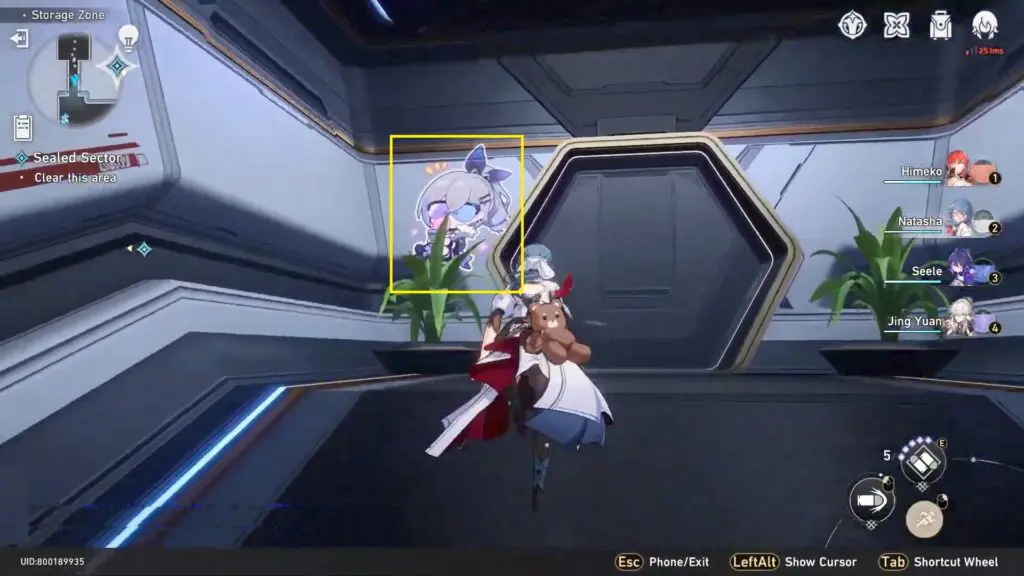
Upon starting Difficulty Level 2, exit the first door and take a right to discover the first graffiti location, situated next to a plant and a window.

2) Graffiti Location
Go to the small room directly opposite the first graffiti to find the second graffiti behind two enemies. Defeat enemies and scan to open the door to progress further.
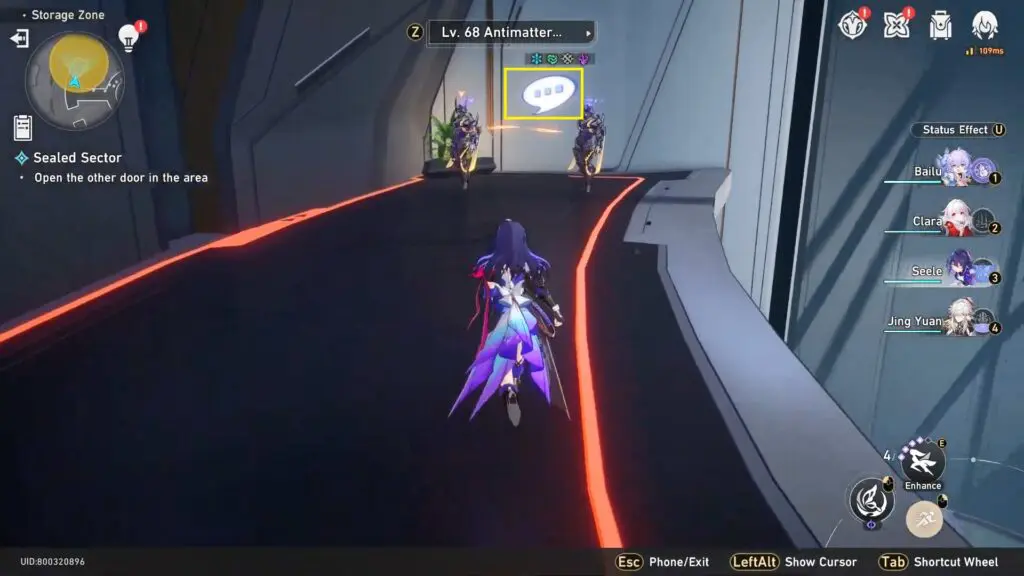
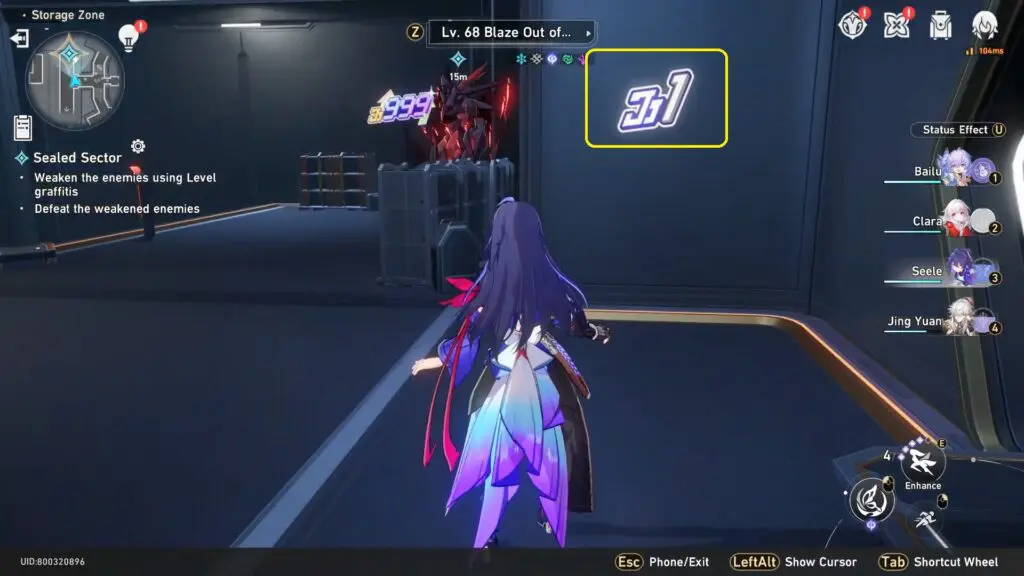
3) Graffiti Location
Continue following the quest marker to engage in a conversation with Leonard, who will unveil the location of this graffiti. By scanning these ‘Level’ symbols, you can transform a high-leveled enemy into lower-leveled ones.
4) Graffiti Location
Go to the other side of the first orange bridge to find a graffiti
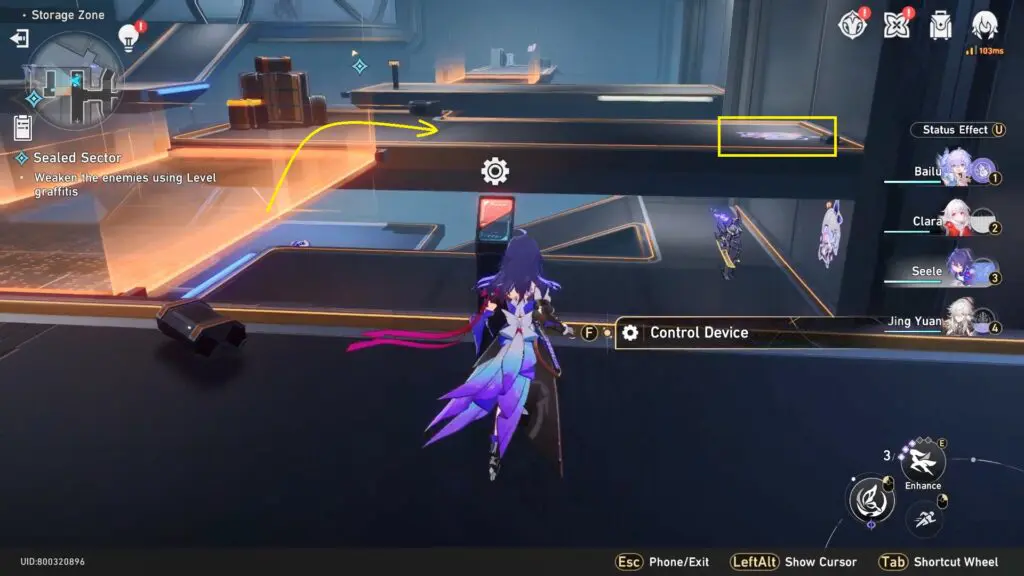
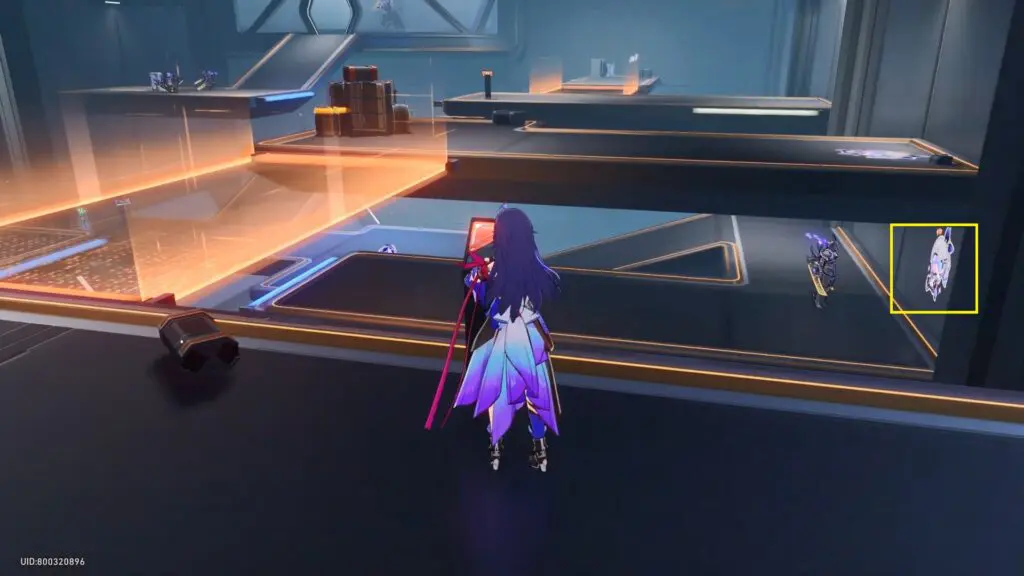
5) Graffiti Location
Utilize the control panels to construct a blue pathway on the lower level, granting access to this graffiti symbol. Defeat the enemy positioned in front of the graffiti to trigger the scanning prompt.
6) Graffiti Location
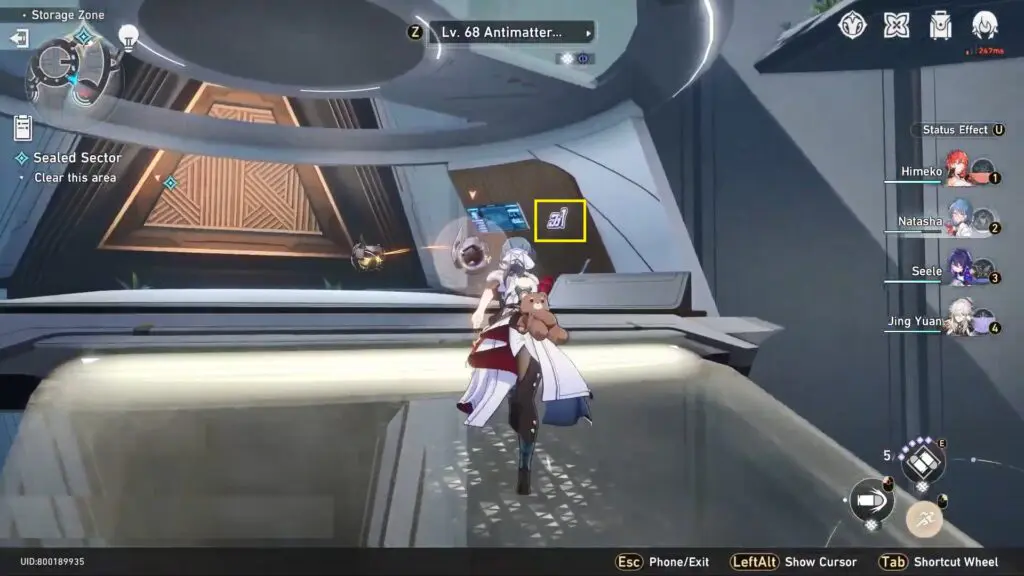
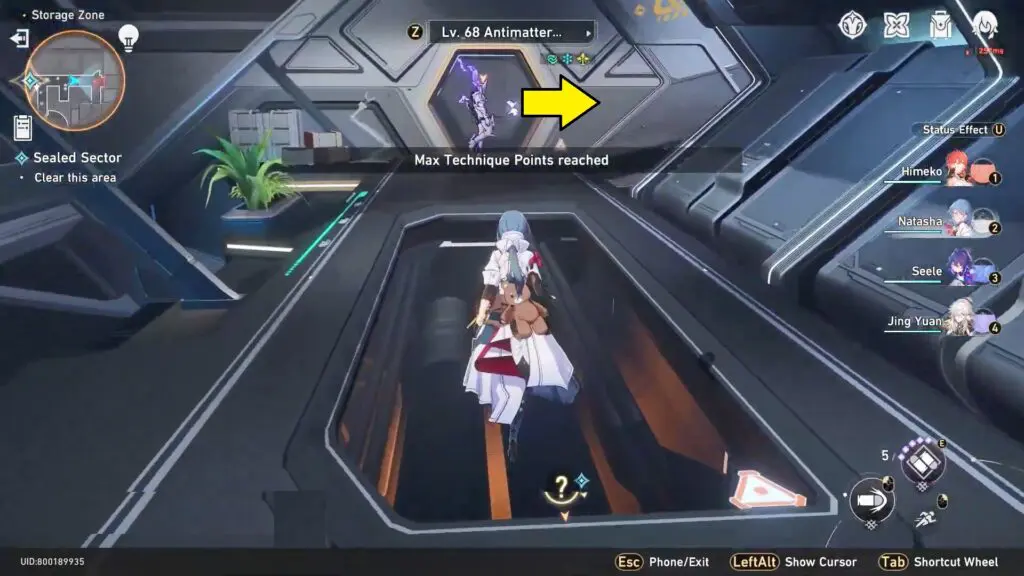
Continue advancing forward, ascending all the ramps until you discover this Level graffiti next to a destructible purple technique point.
Difficulty 3
1) Graffiti Location
Proceed along the path until you reach the first control panel. Use it to generate an orange bridge, then descend the ramp to locate the first graffiti.
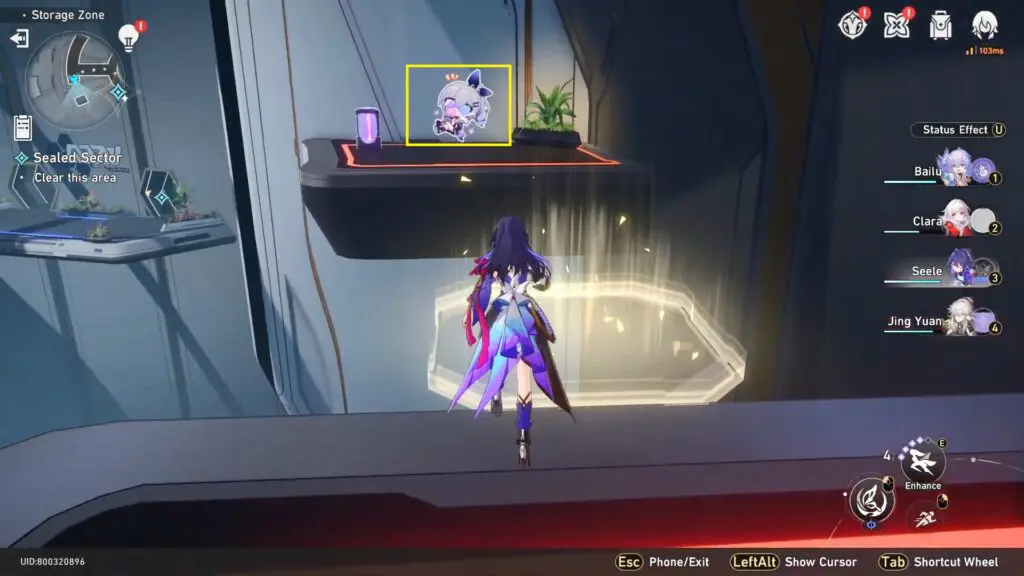
2) Graffiti Location
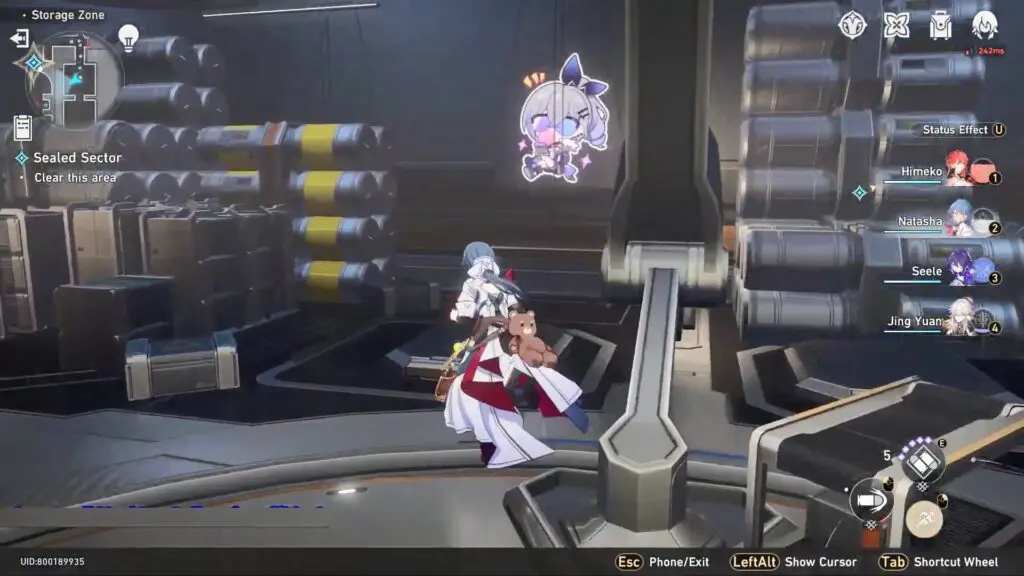
Use the nearby control panel to construct a blue bridge. Continue along the path to discover the next graffiti next to a destructible purple technique point. Scan this to open the door and progress in the mission.
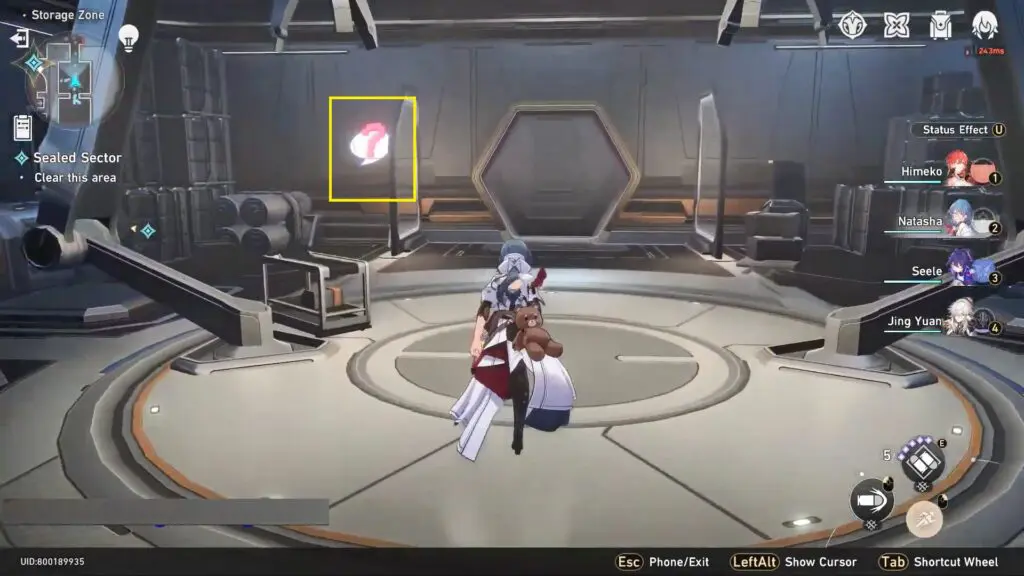
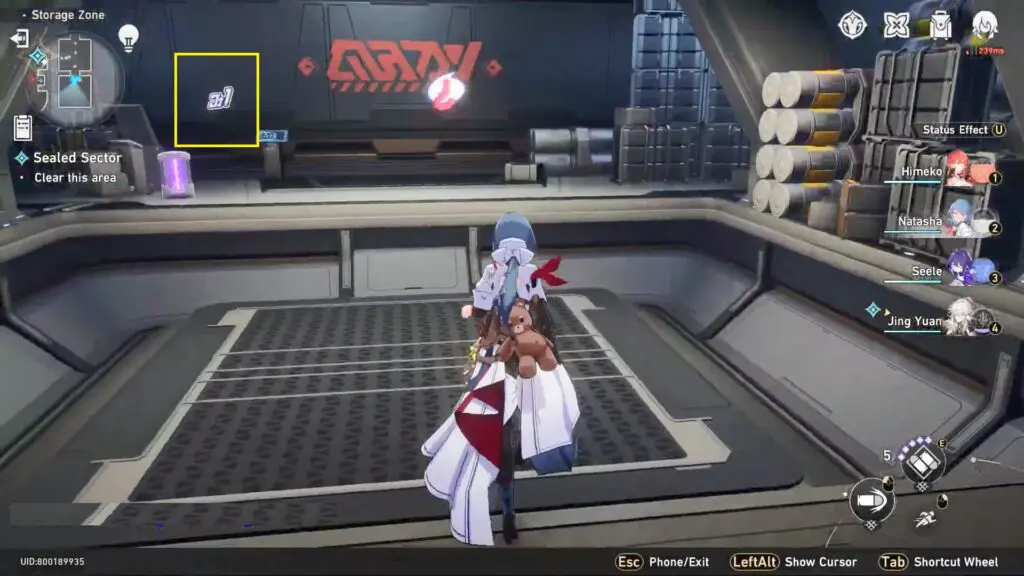
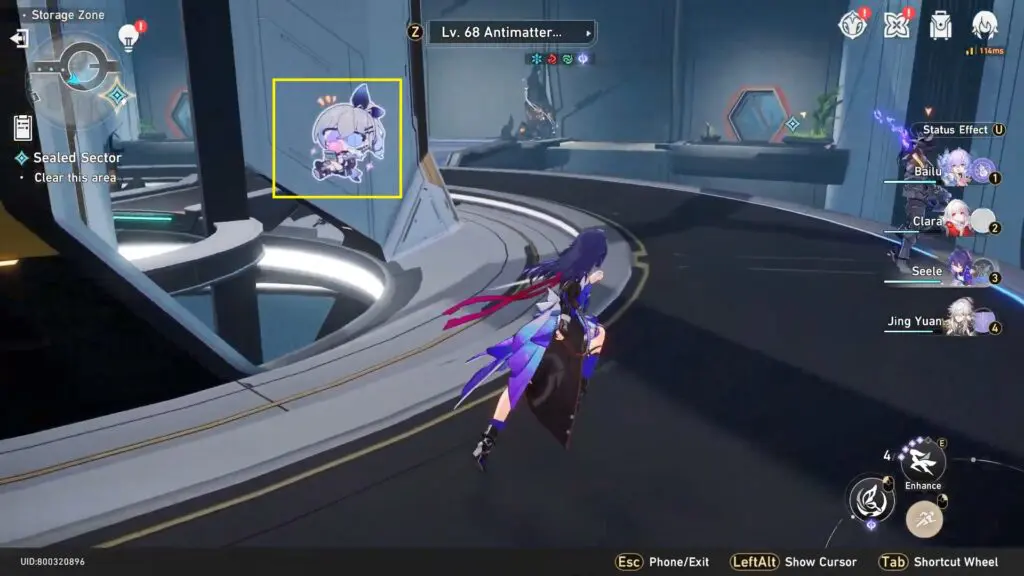
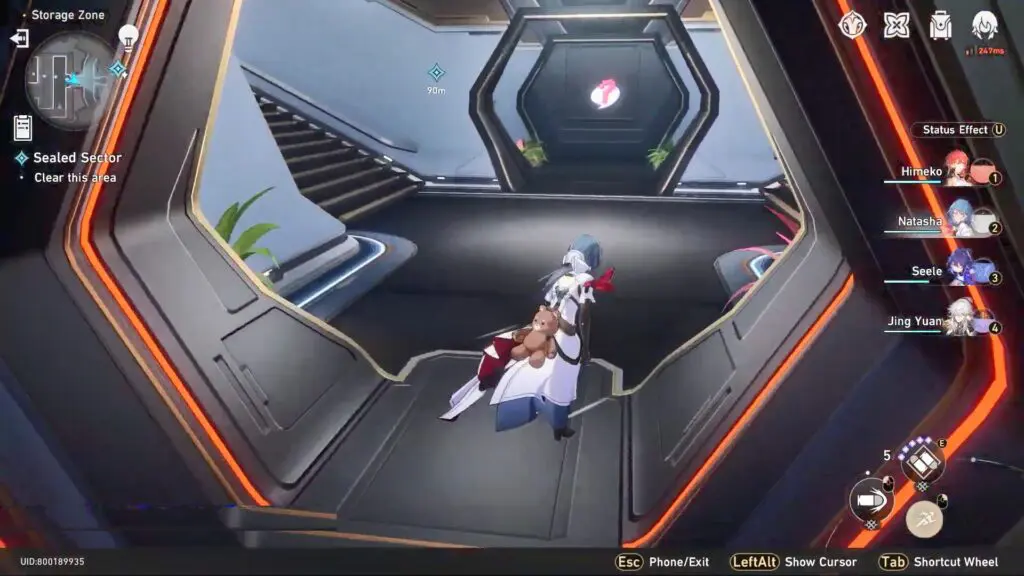
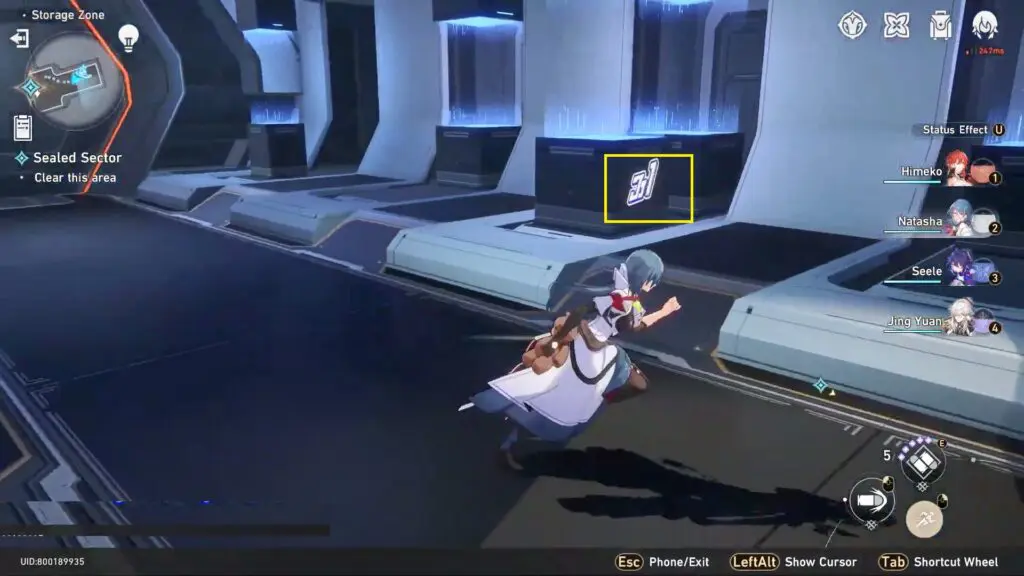
3) Graffiti Location
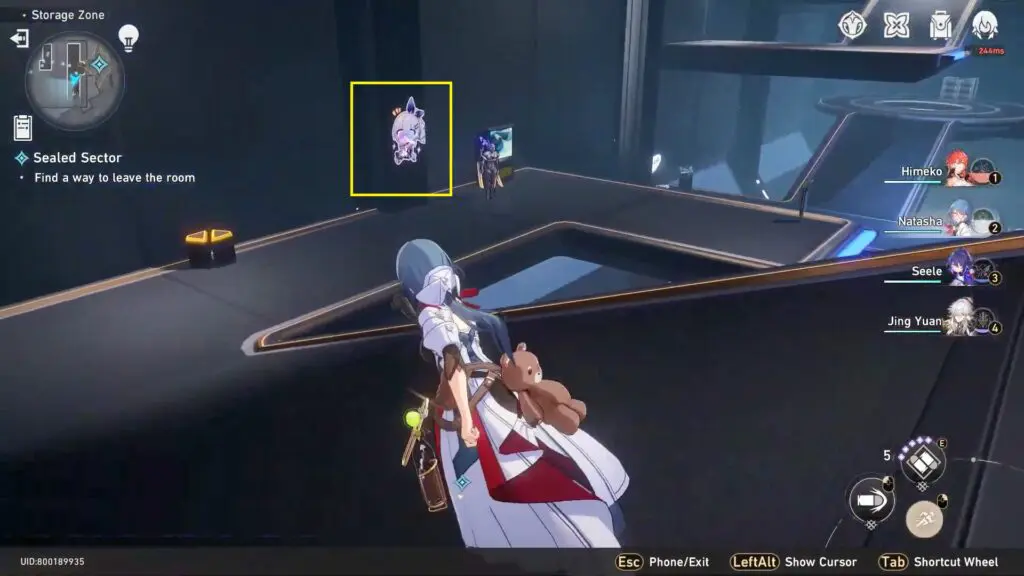
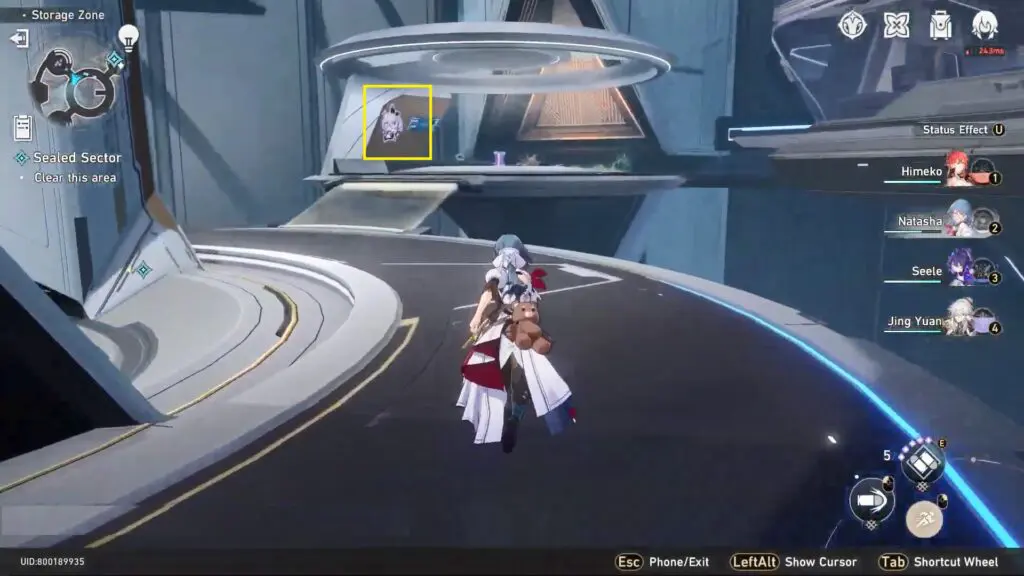
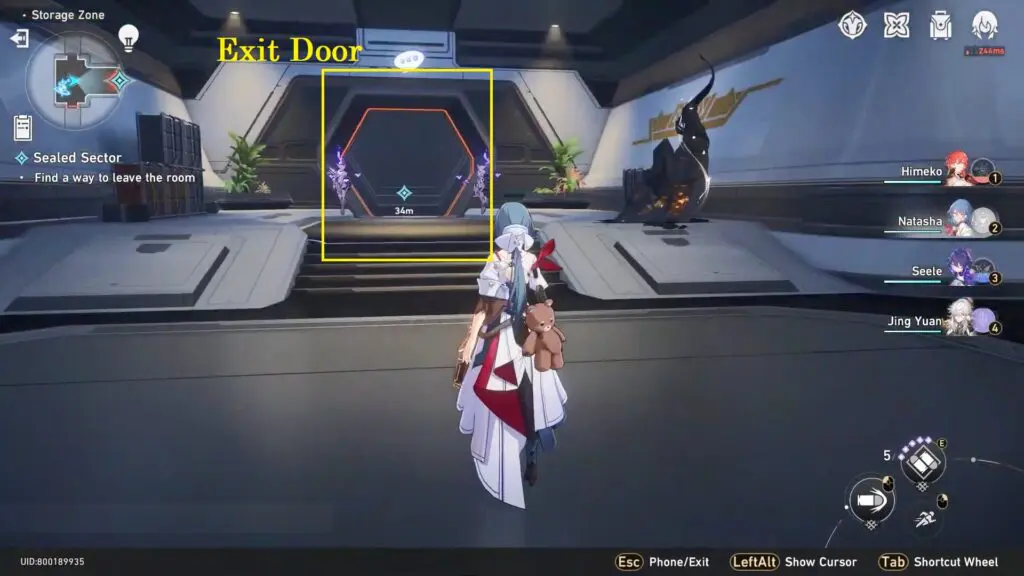
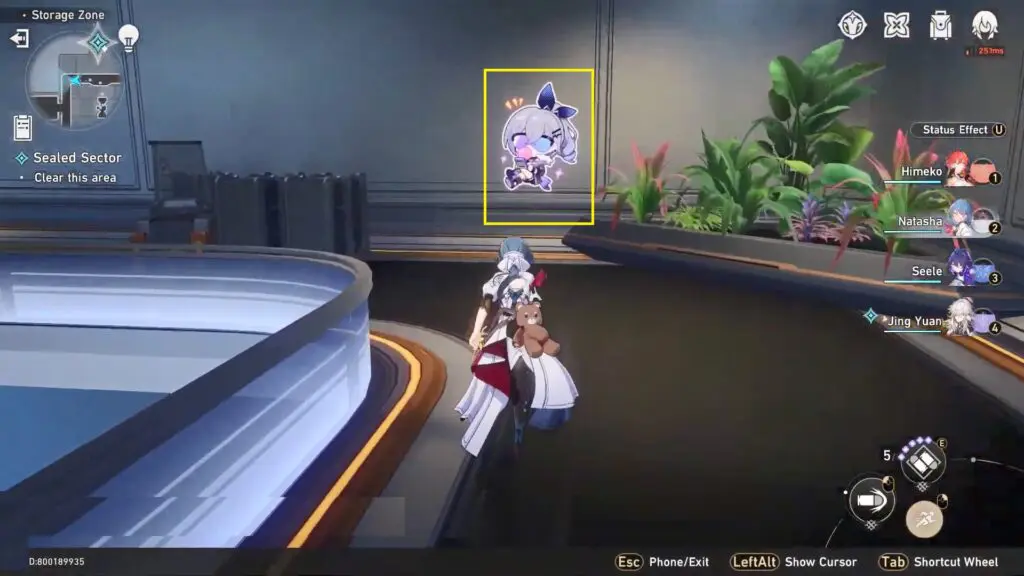
Track the quest marker to exit the room and interact with the question mark symbol. This will transport you to the subsequent area, where you will find a Level Graffiti situated on the side of a display case near the question mark.
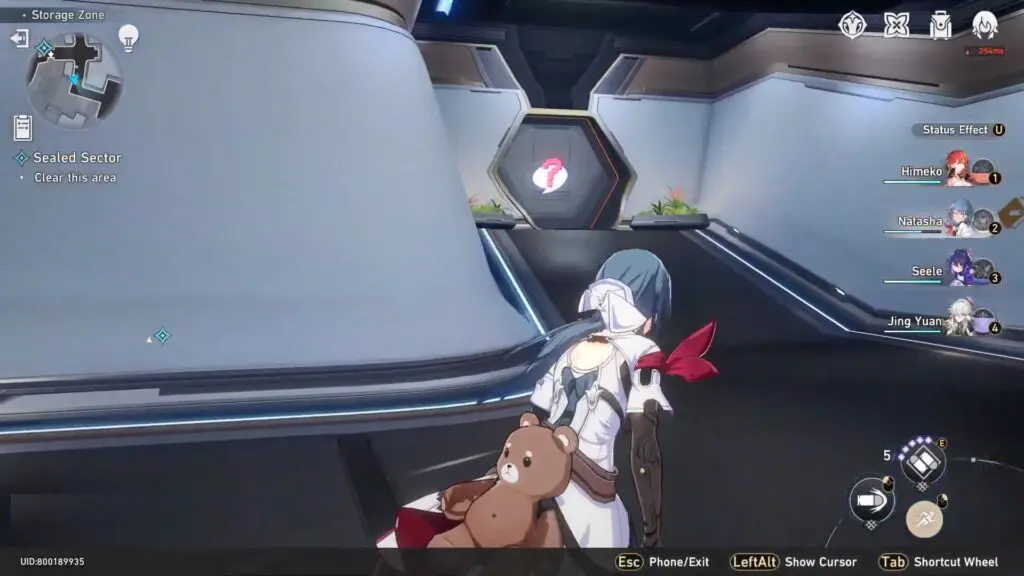
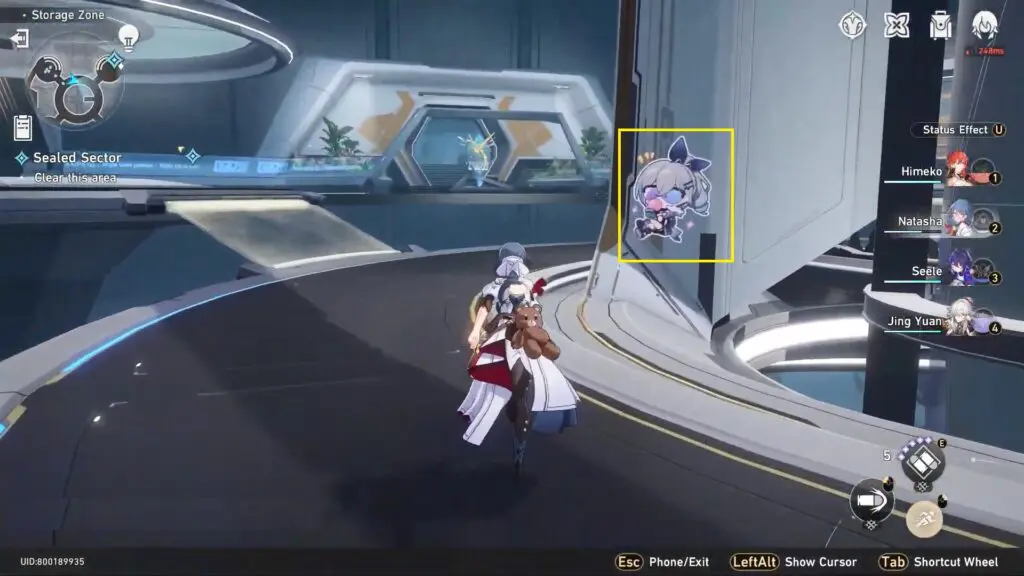
4) Graffiti Location
Defeat the enemy blocking the door and follow the path to the next area. Go to the end of the corridor to investigate the question mark that will transport you to the next area with a circular bridge. The next graffiti is located in the middle of the circular bridge.
5) Graffiti Location
Head right and up the next small ramp to find the “Hacking Callcard” graffiti.
6) Graffiti Location
Proceed to the right from the previous location and eliminate the enemies to acquire access to the Level graffiti. After successfully scanning it, you can follow the quest marker and confront the boss.
Difficulty 4
1) Graffiti Location
Proceed through the solely accessible door, then turn around to discover the first Sealed Sector graffiti location positioned beside the door.
2) Graffiti Location
Continuing from the previous graffiti location, follow the path until you reach the far end of the area, where you will find the next graffiti location on the side of the last data bank. Scanning this symbol is necessary to progress with the mission.

This will open the door for the next area.
3) Graffiti Location
Return to the starting point, eliminate the enemies near the door, and exit the room. Follow the path until you reach the first control panel. Activate the panel to create a blue bridge, then cross the bridge. Proceed to activate the next panel, which will generate an orange bridge leading to the other side.
After crossing the orange bridge, take a left to discover the next graffiti location situated near a forklift at the end.
4) Graffiti Location
Follow the marker down the ramp then take a right, defeat the enemy, and follow the path to the right. Go through the door at the end and look right to find this last Hacking Callcard graffiti.
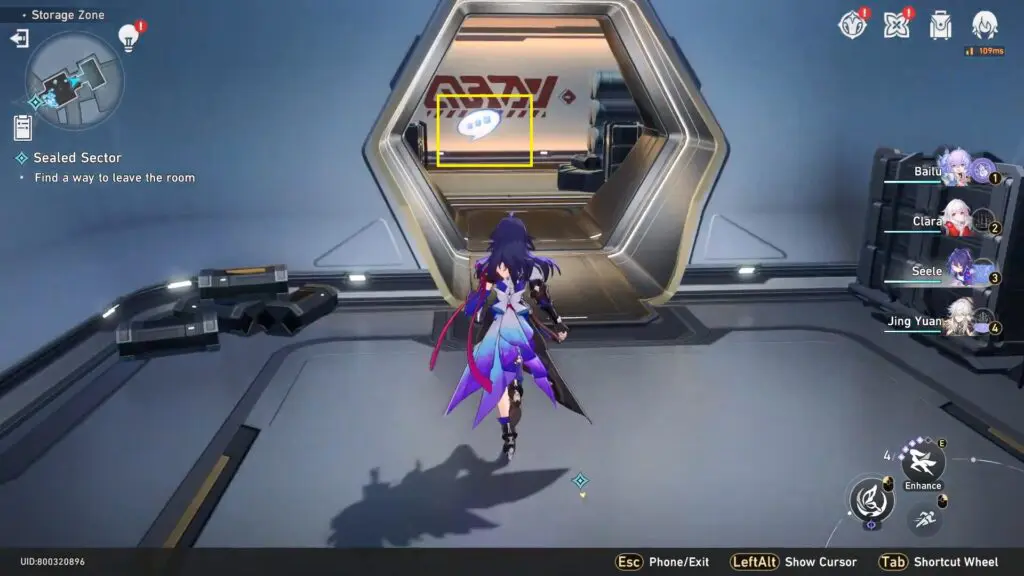
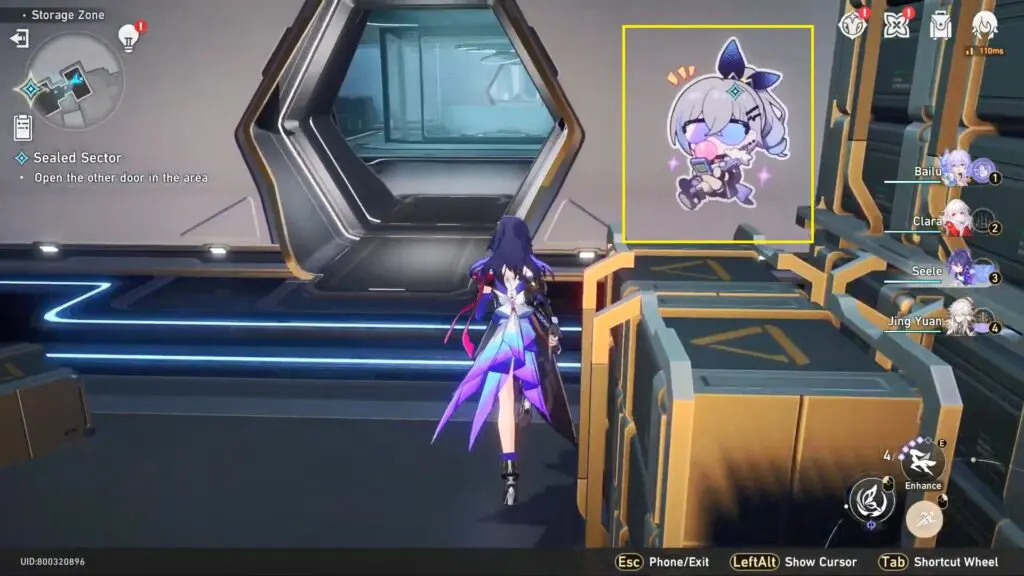
5) Graffiti Location
Within the same room, locate another question mark symbol positioned next to the entrance door. Investigate it to be transported to the opposite side of the impassable gap and scan the final graffiti location for the Sealed Sector missions.