This article will guide you step-by-step installation of Starfield Mods on the Steam version.
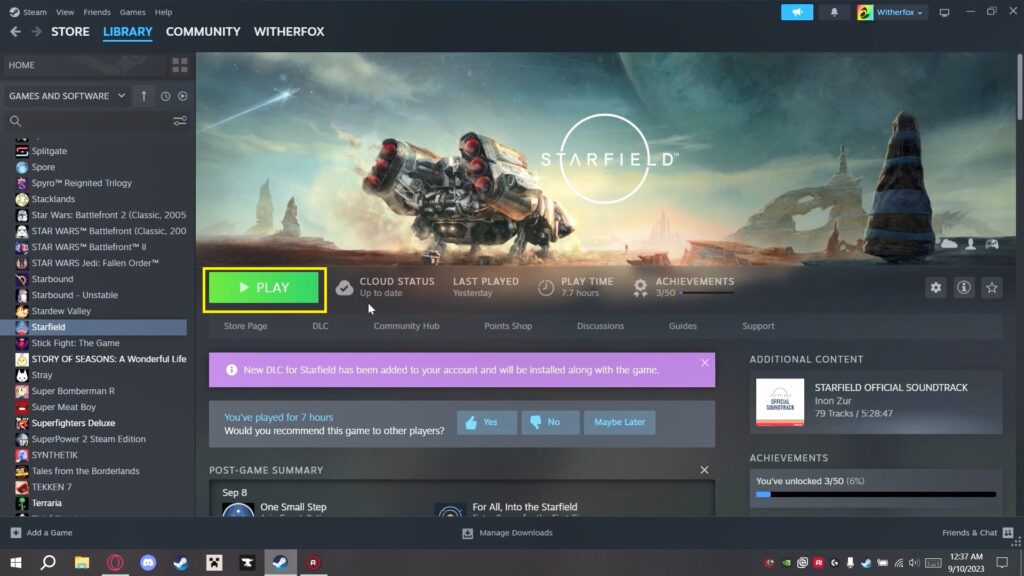
Step 1: Download and launch the game
Ensure you have a copy of Starfield downloaded and launched at least once.
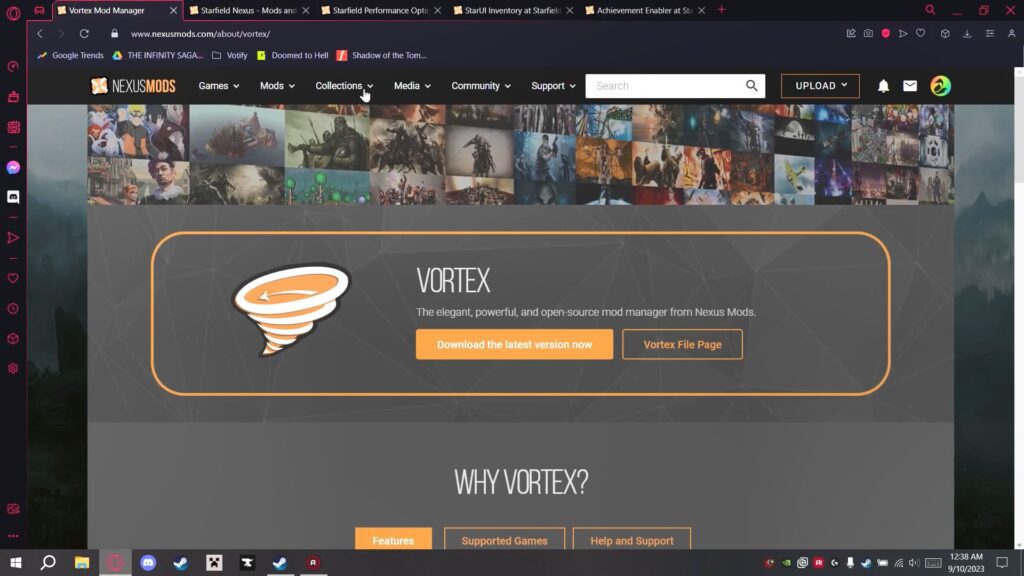
Step 2: Install Vortex
- Open your web browser and go to the Vortex download page.
- Download and install the latest version of Vortex.
- Launch Vortex and log in.
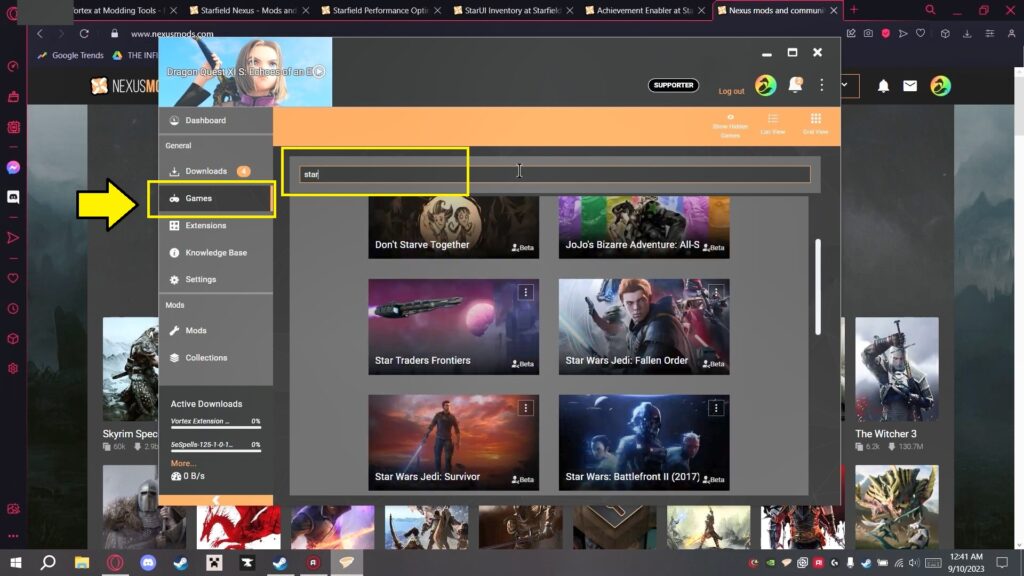
Step 3: Configure Vortex for Starfield
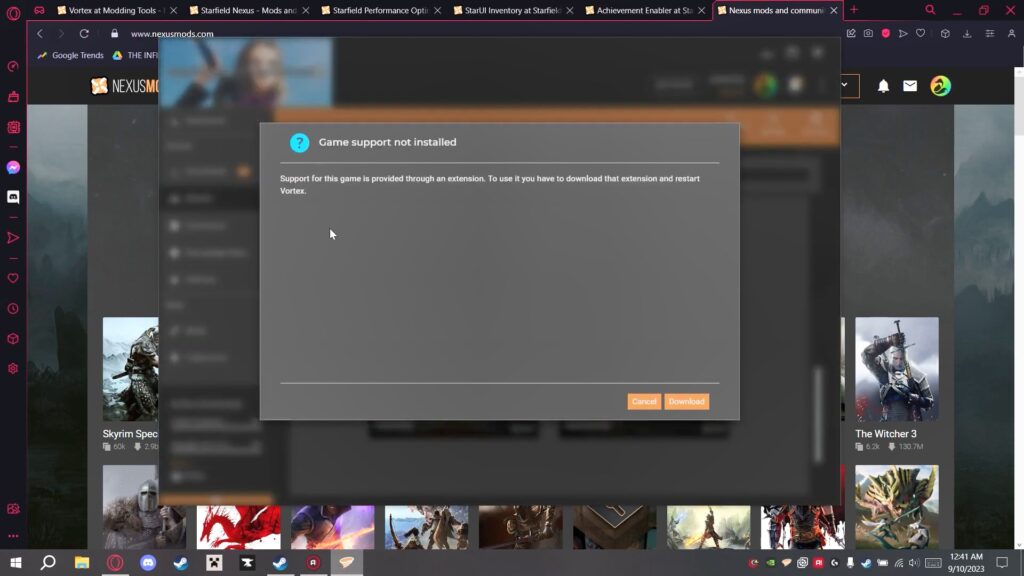
- In Vortex, go to the ‘Games’ section and find Starfield.
- Click ‘Manage’ for Starfield. If Vortex prompts you to install an extension, do so and restart Vortex.
- If Vortex cannot find your Starfield installation automatically, locate it manually:
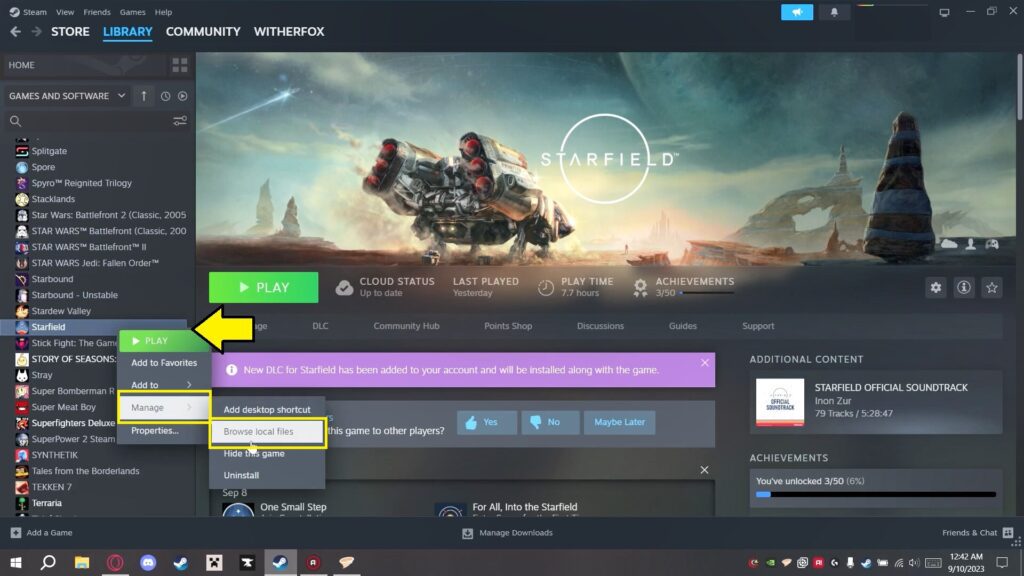
- For Steam: Right-click on Starfield in your Steam library, select ‘Manage’, then ‘Browse Local Files’. Note the folder location.
- In Vortex, point to this folder to set the Starfield directory.

Step 4: Download and Install Starfield Mods:
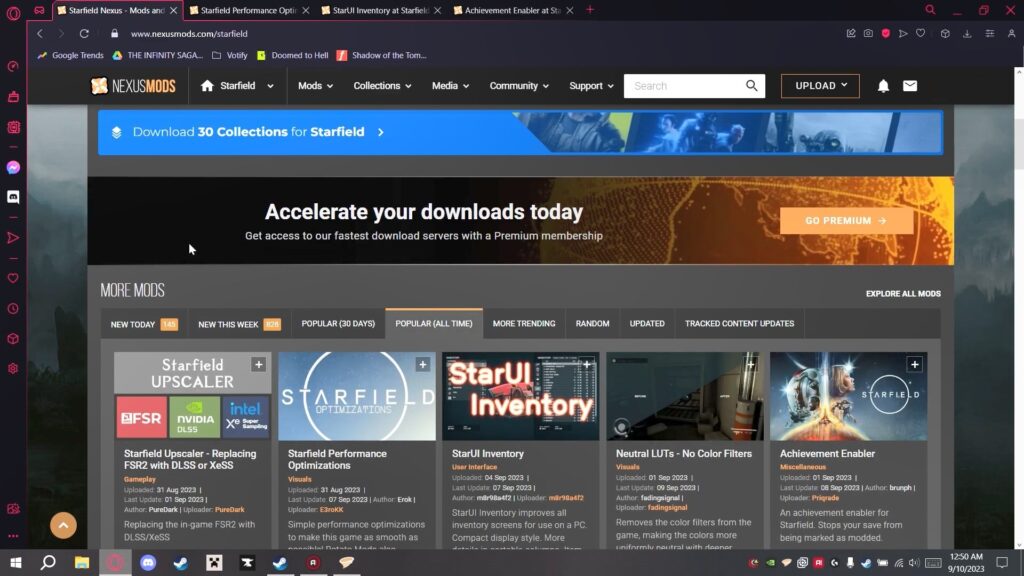
- Go to the Nexus Mods website and search for Starfield
- Explore and download mods.
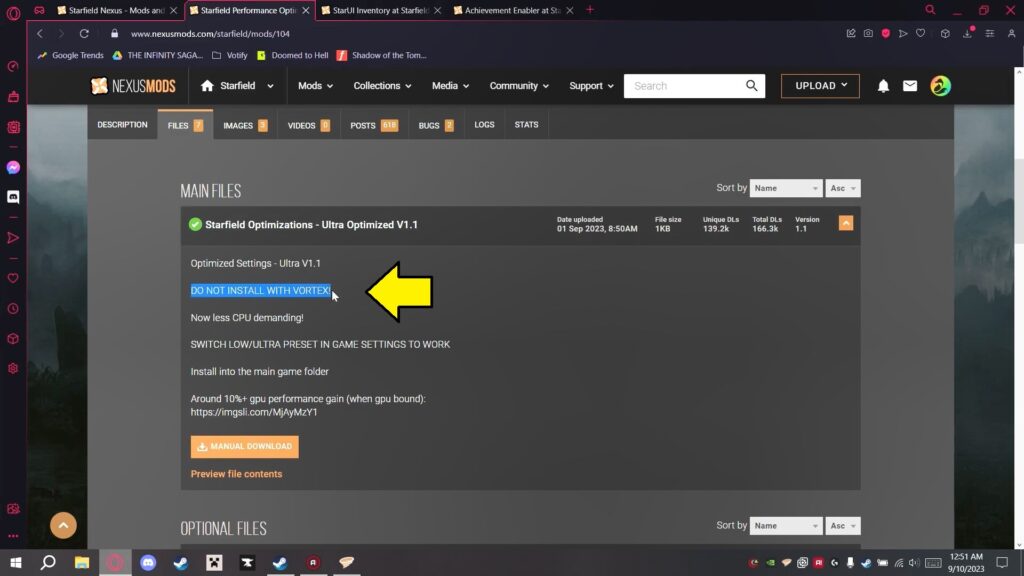
Example 1: Start with “Starfield Performance Optimization” Mod
- Download the mod file.
- Look for installation and requirements.
- If the mod’s installation instructions advise against using Vortex, manually drag and drop the downloaded file into the Starfield game directory.
- Replace any existing files if prompted.
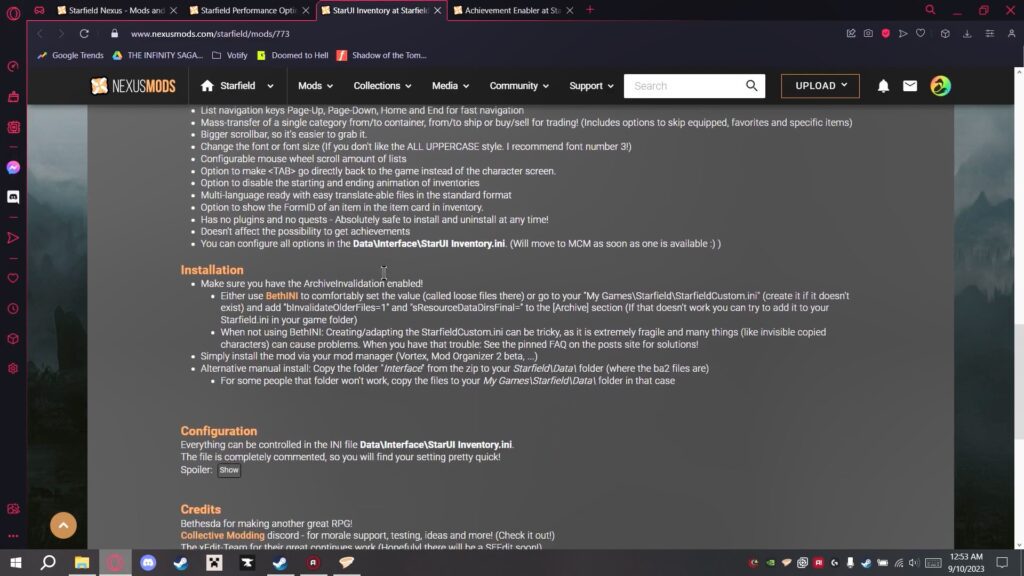
Example 2: Another mod name “Star UI Inventory Mod”
- Download the Star UI Inventory mod.
- Look for installation and requirements.
- Follow the installation instructions:
- Ensure archive invalidation is enabled in the Starfield custom.ini file.
- Navigate to your documents folder, then to ‘My Games’ -> ‘Starfield’.
- Create a ‘StarfieldCustom.ini’ file if it doesn’t exist.
- Add the required lines to this file and save it.
- Install the mod via Vortex or manually as instructed.