The Iinoya area contains 53 Collectibles. In this guide, we show you step by step all the collectible locations in the Iinoya in Nioh 3.
Valuable #1 (Samurai’s Locks)
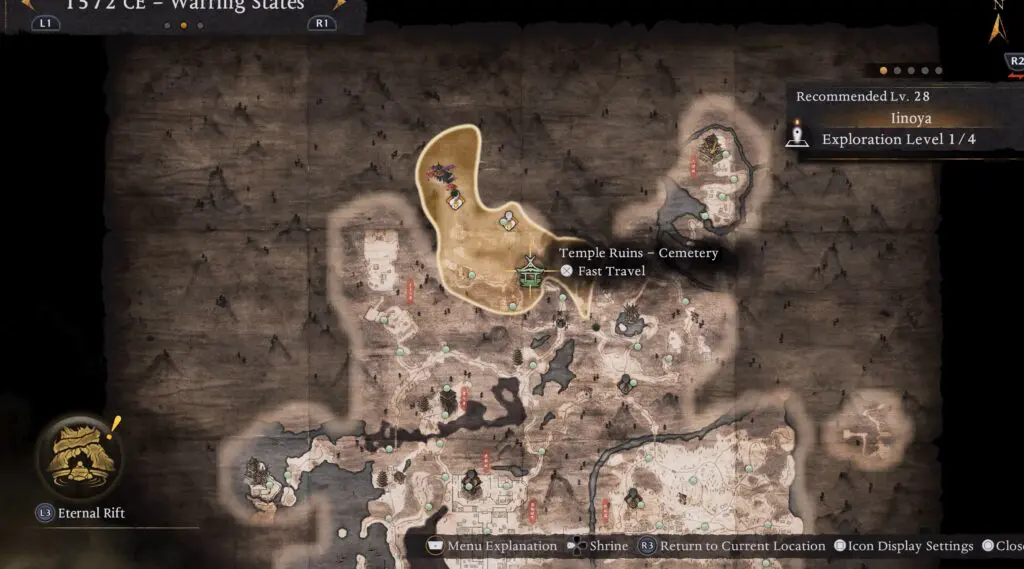
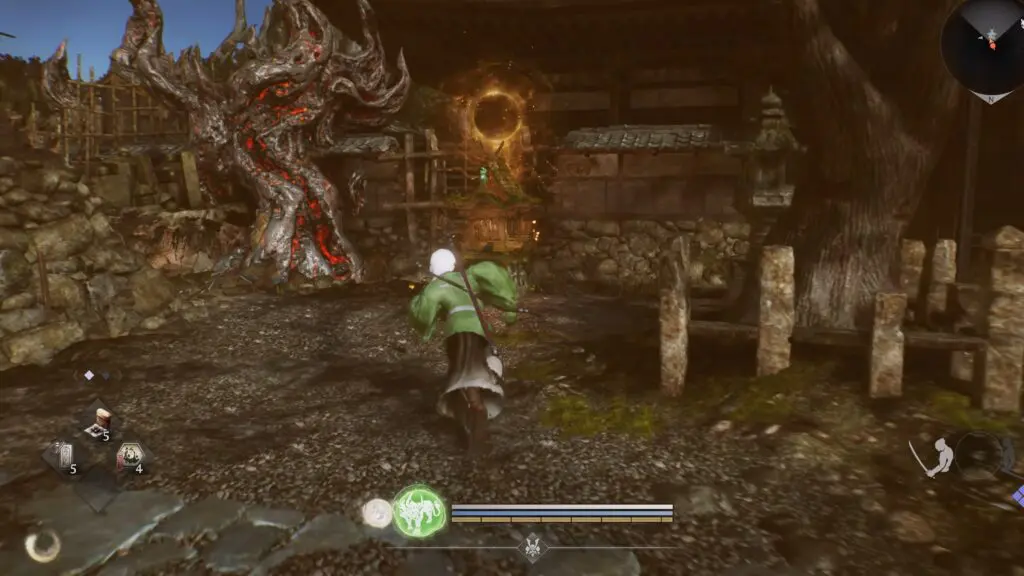
Enter the small hut southeast of the Temple Ruins Cemetery Shrine, then open the chest to collect Samurai’s Locks.
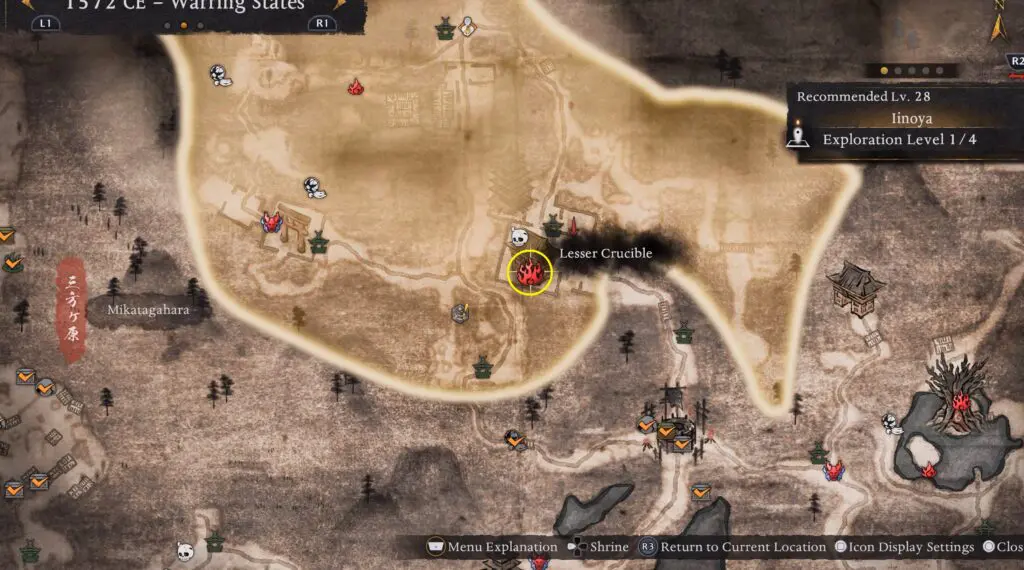
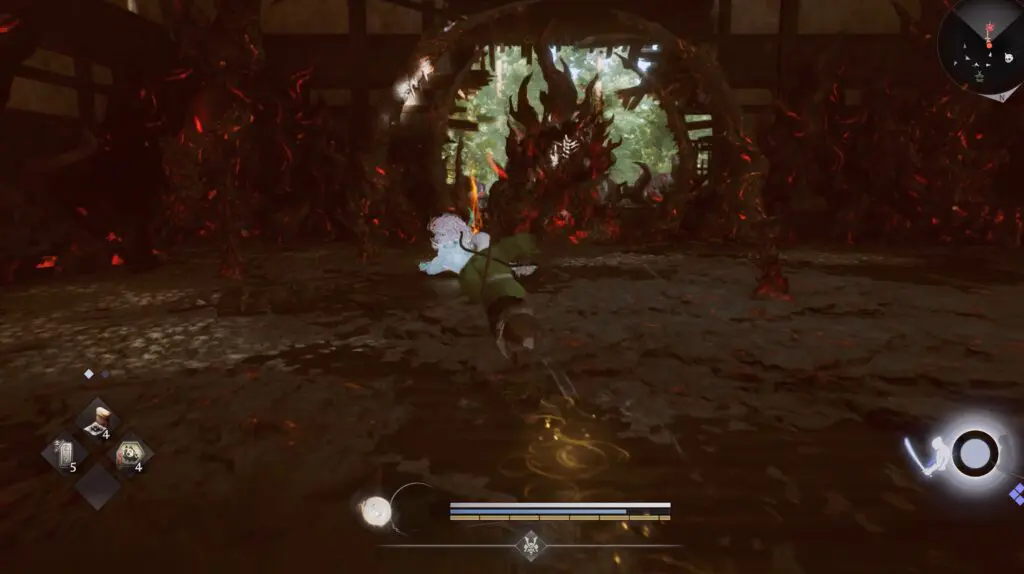
Lesser Crucible #1
It is found inside a building located south of the Temple Ruins Cemetery Shrine.
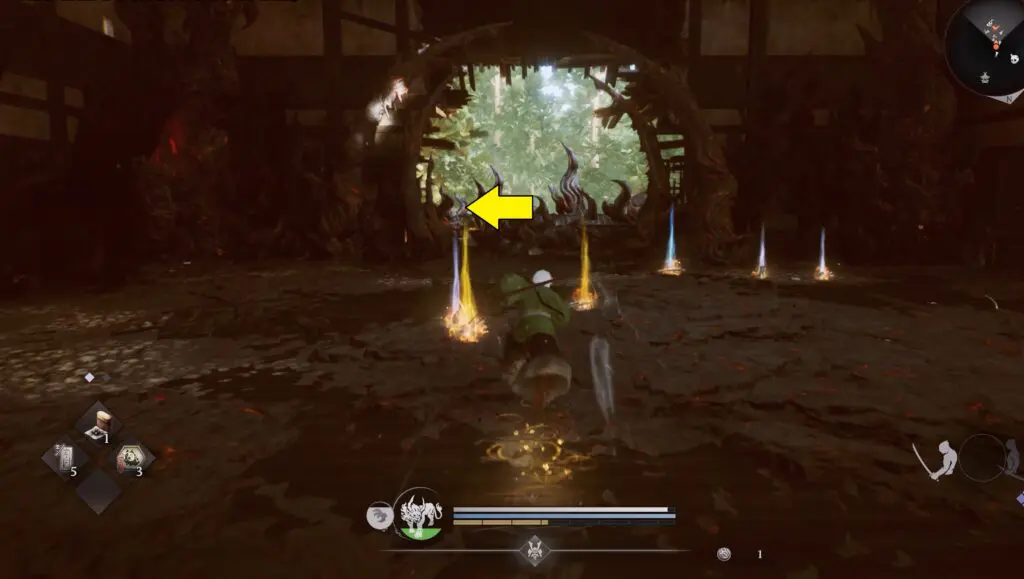
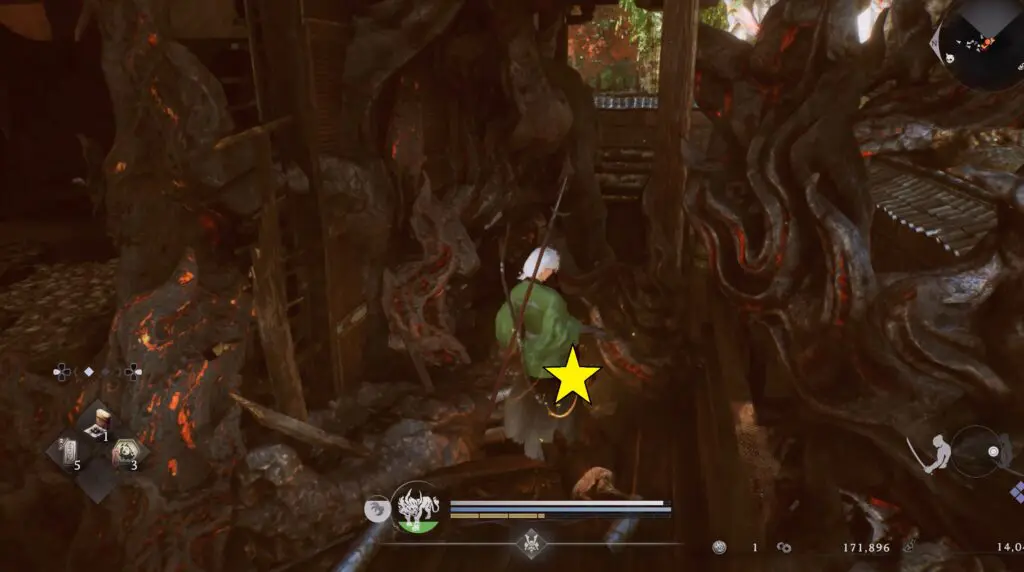
Valuable #2 (Samurai’s Locks)
After clearing the room of the Lesser Crucible, go behind it and check the left corner to find Samurai’s Locks.
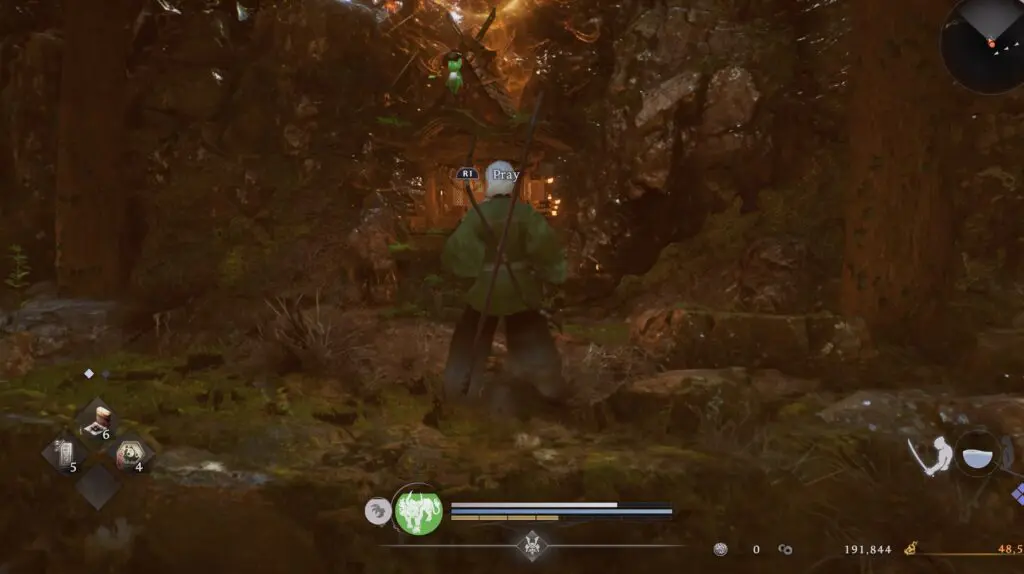
Shrine #1
It is located east of the Temple Ruins Cemetery Shrine.
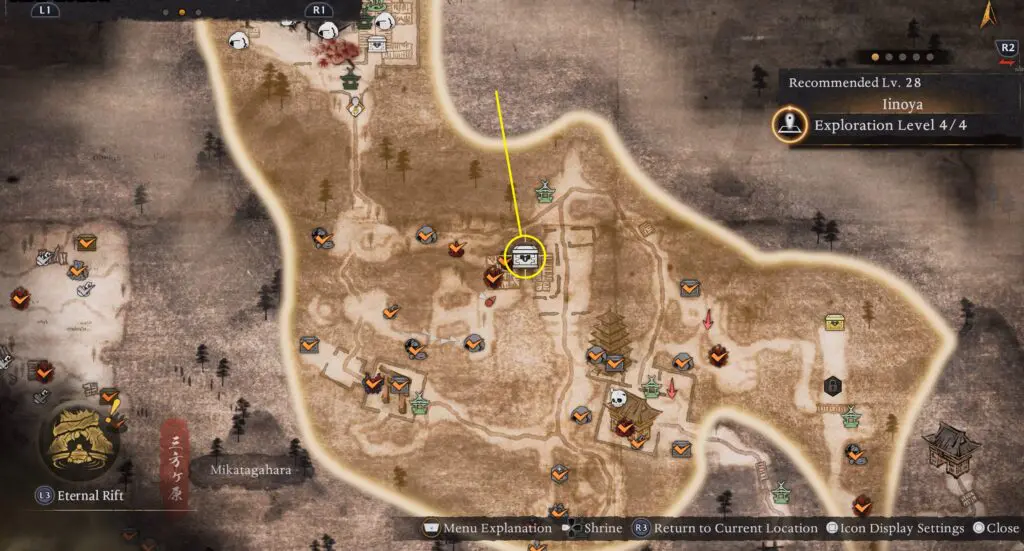
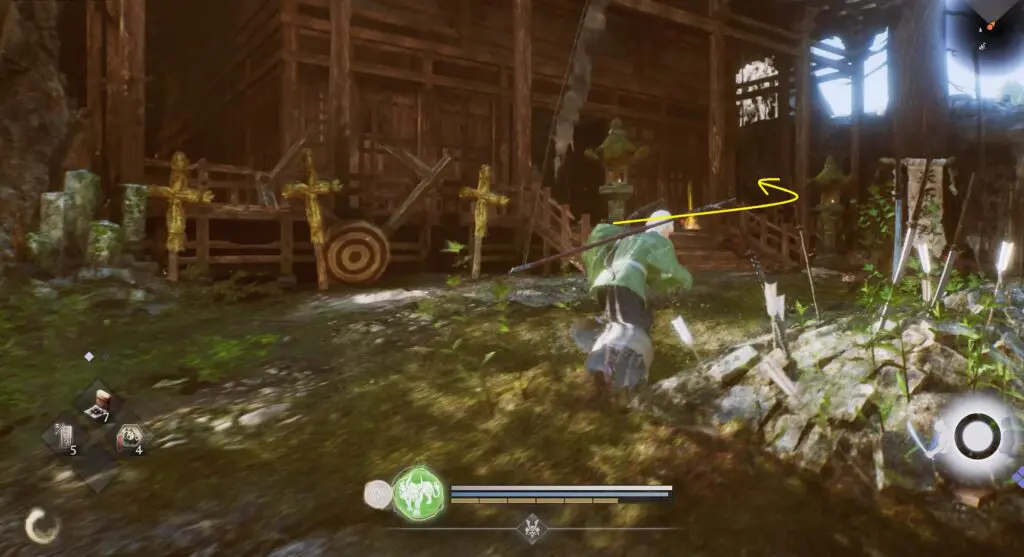
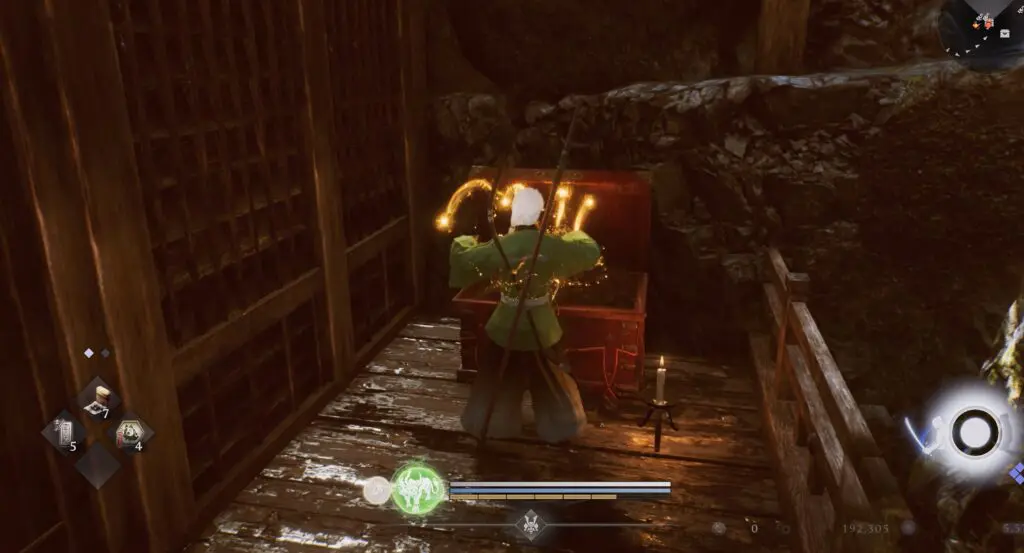
Valuable #3 (Aerial Mastery)
Head west of the Temple Ruins Cemetery Shrine and enter the building.
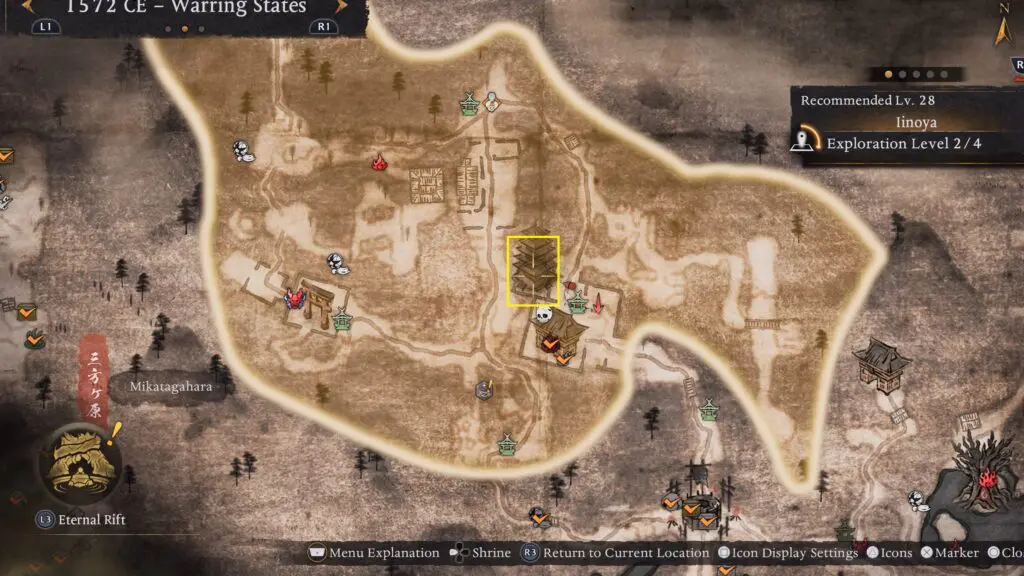
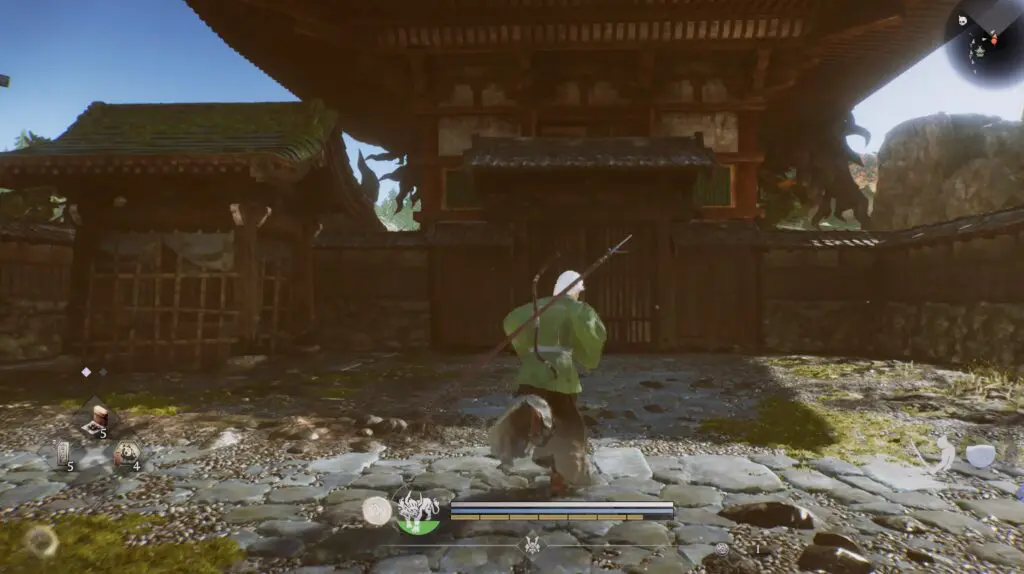
Climb to the top floor and open the chest to collect Aerial Mastery.
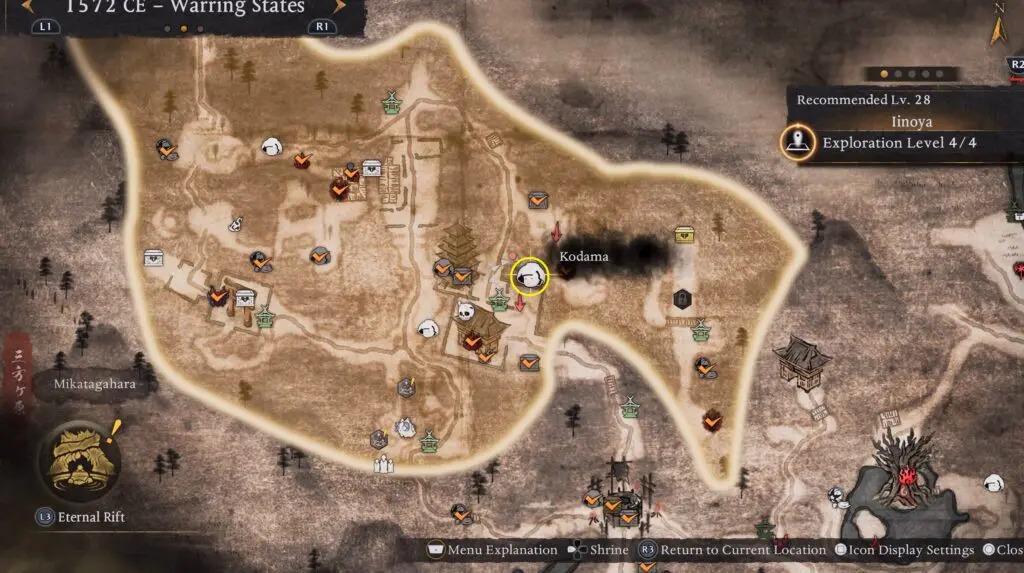
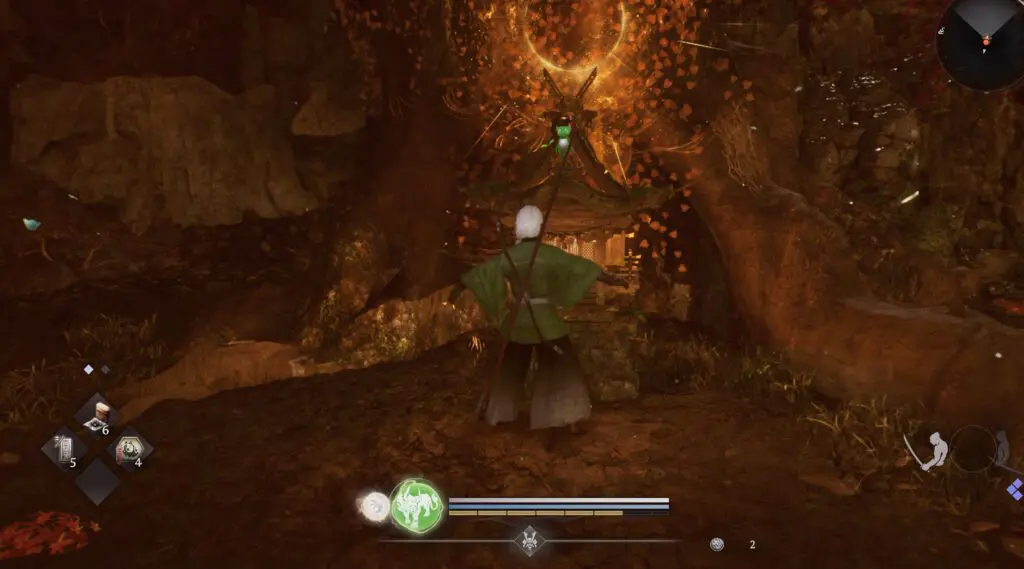
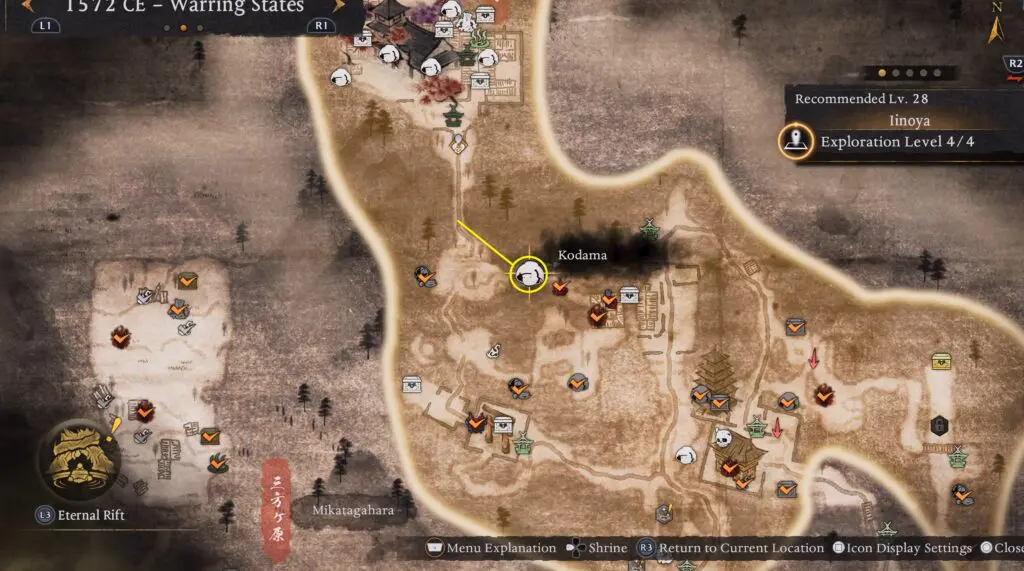
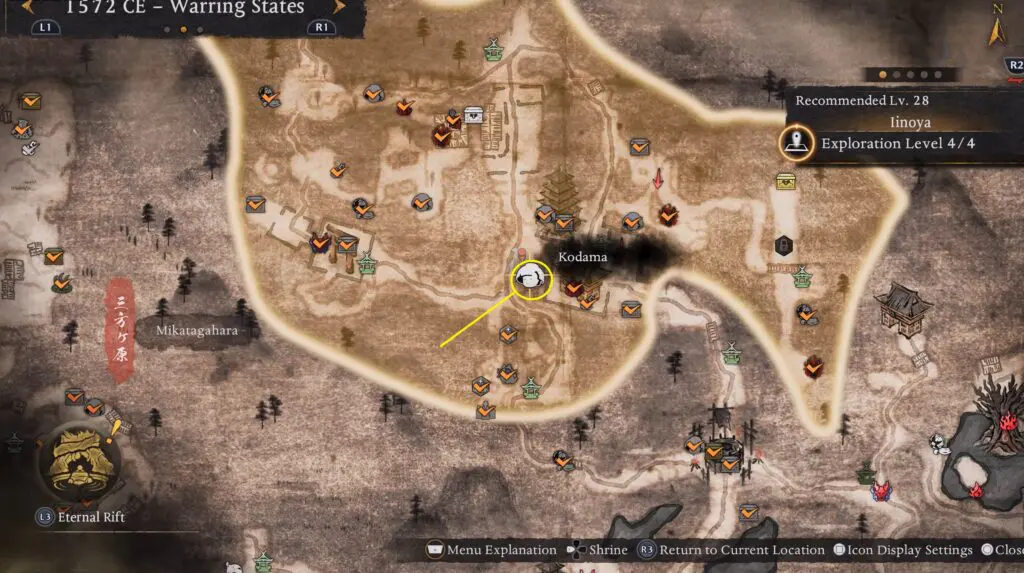
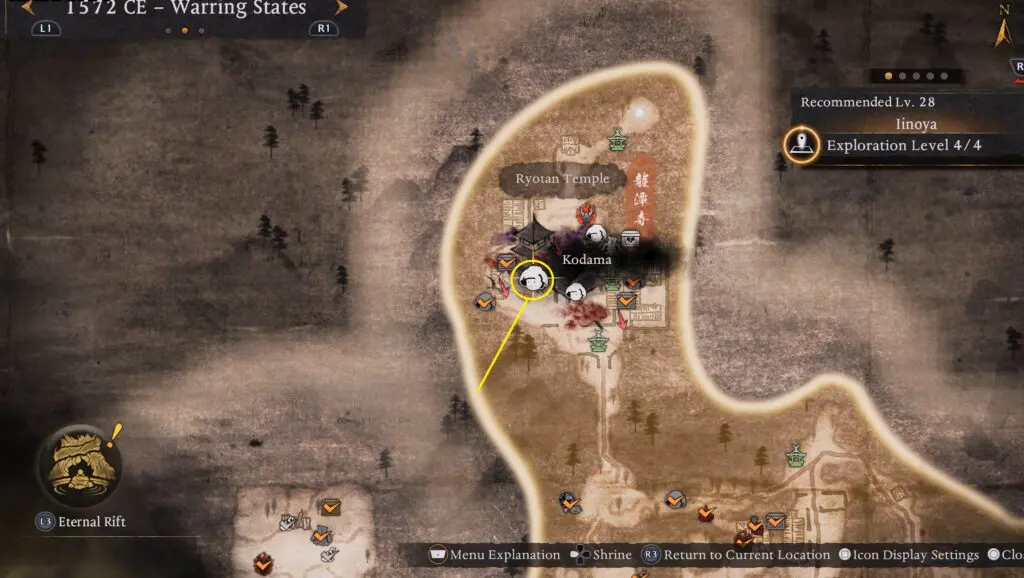
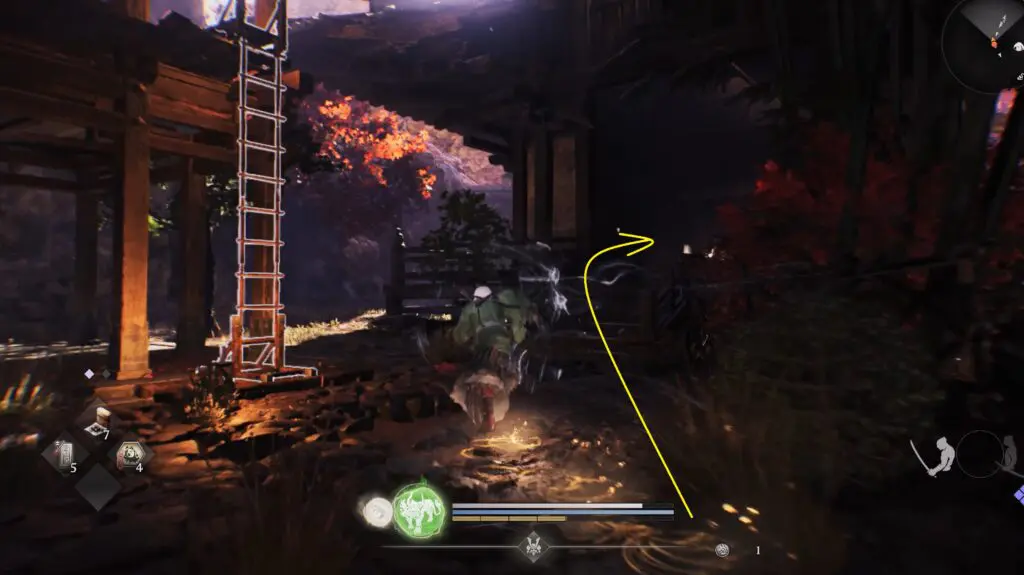
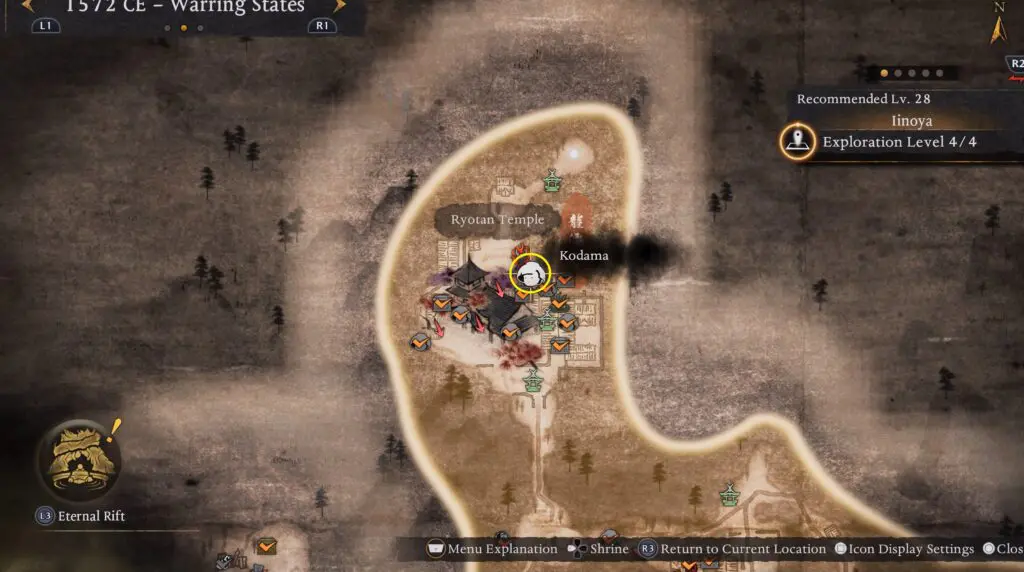
Kodama #1
Go behind the temple and climb up the tree trunk to reach the roof, where you will find the Kodama.


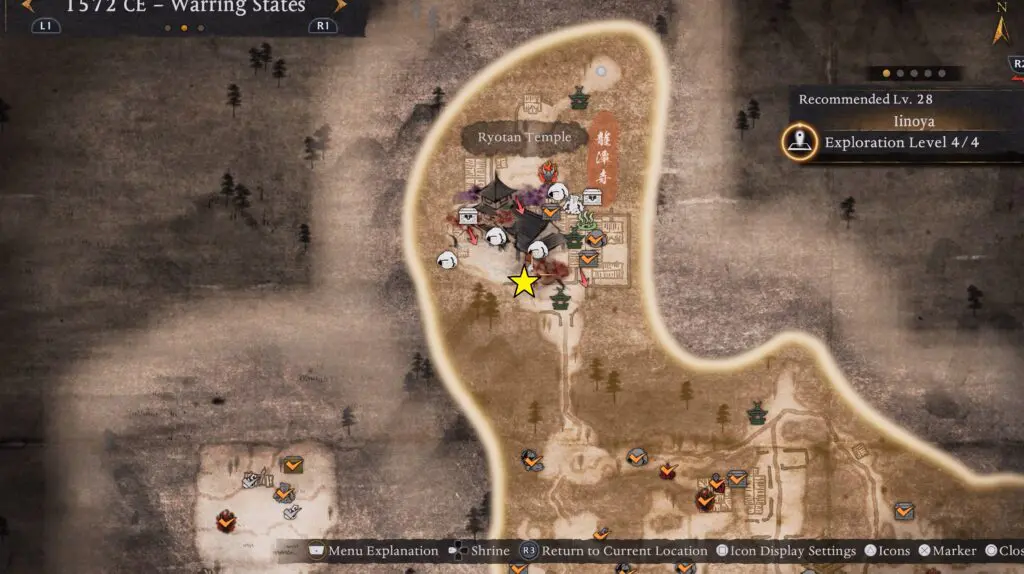
Kodama #2
Head northeast of the Temple Ruins Cemetery Shrine to find the Kodama beside the stairs, hidden under some bamboo plants. Refer to the location on the map below.
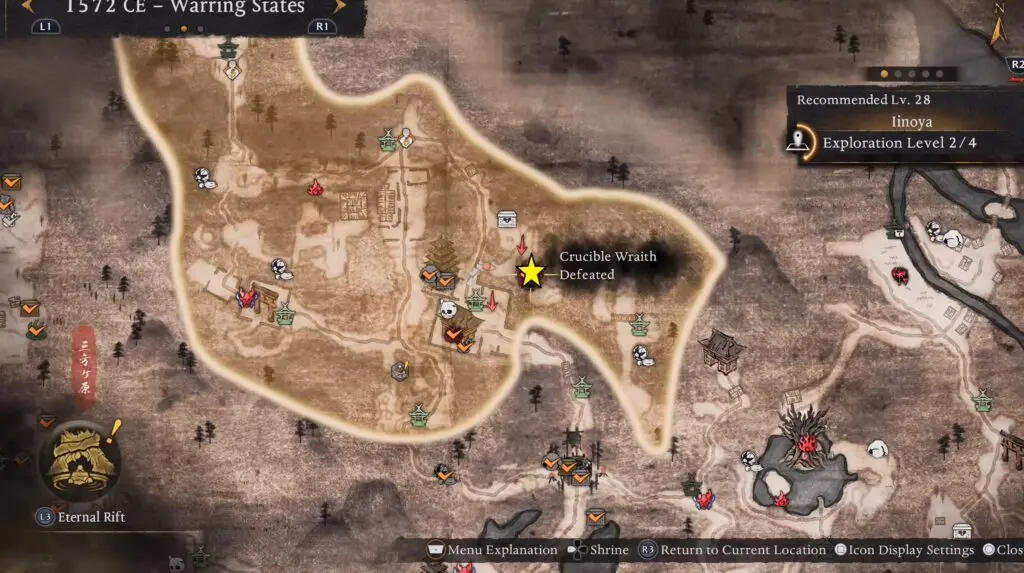
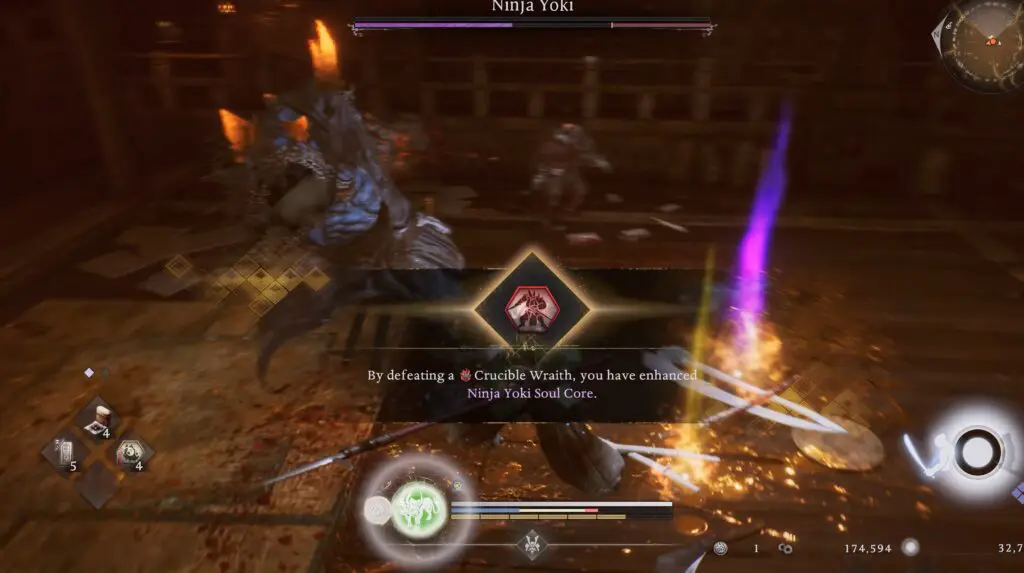
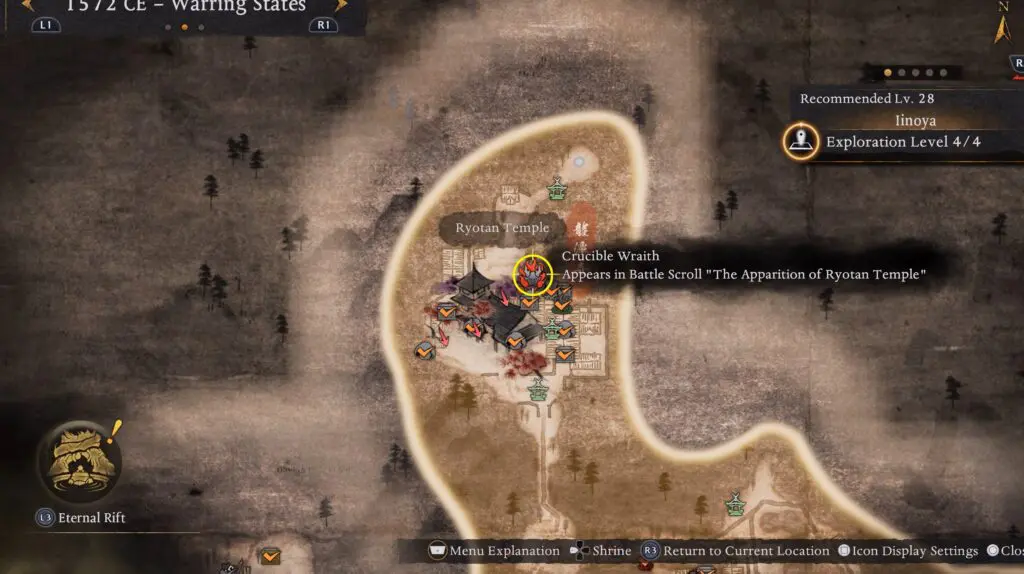
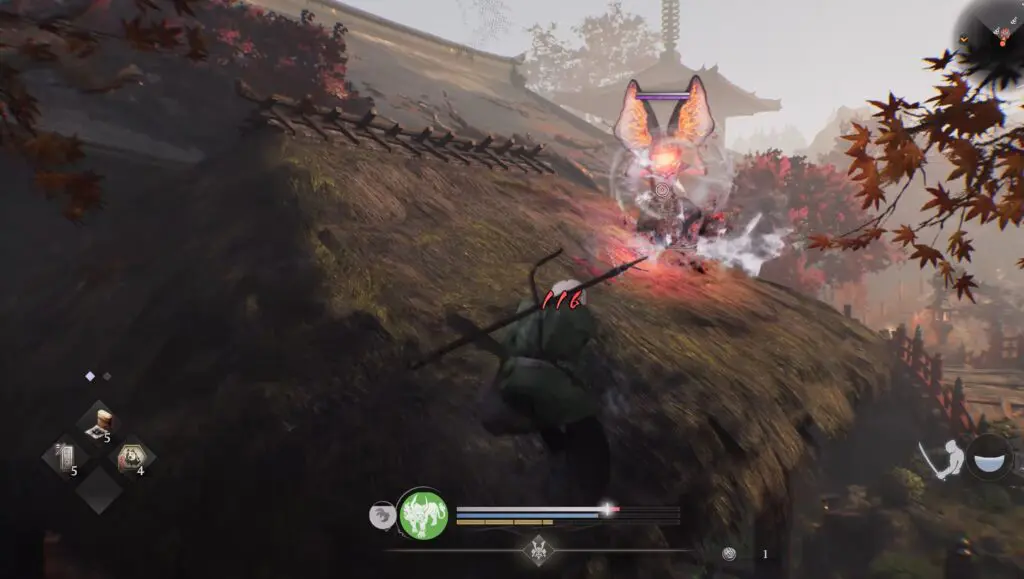
Crucible Wraith #1
Look for an NPC enemy northeast of the Temple Ruins Cemetery Shrine. Defeat the enemy to obtain Crucible Wraith #1.
Valuable #4 (Ninja’s Locks)
Ninja’s Locks can be found inside a hut north of the Temple Ruins Cemetery Shrine. Defeat the enemy inside the hut before you can open the chest.
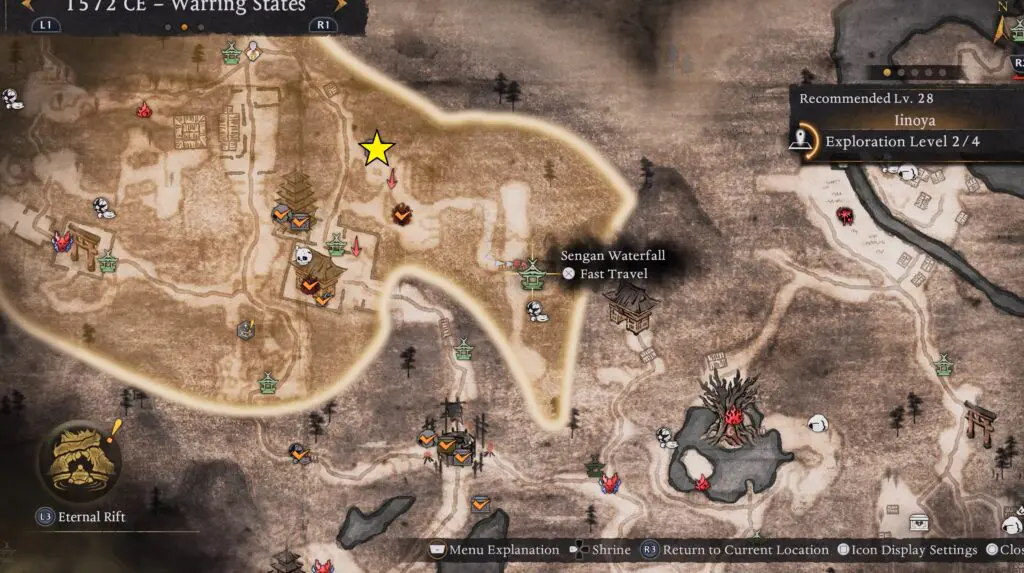
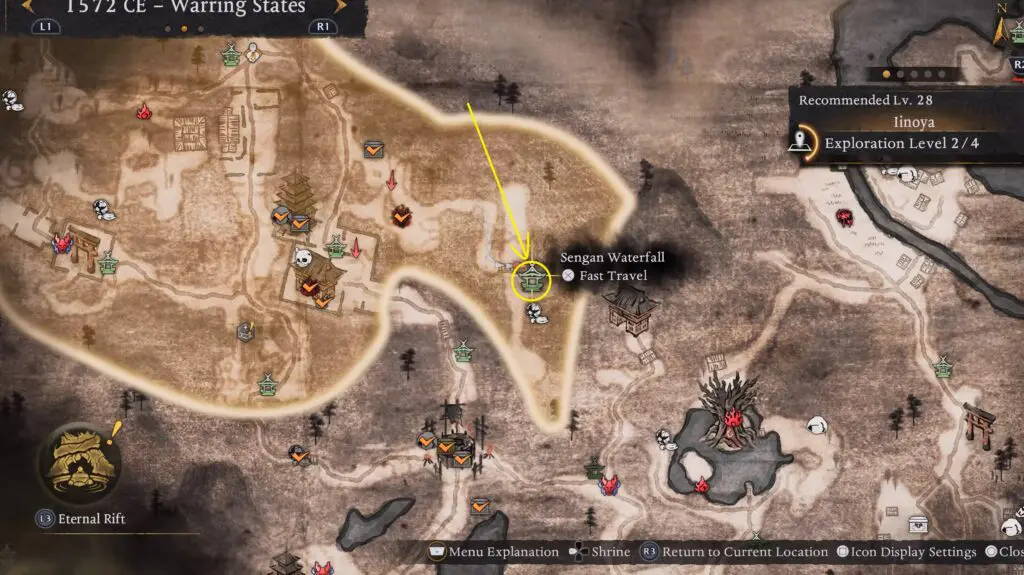
Shrine #2
Sengan Waterfall Shrine is located on the eastern side of Iinoya.
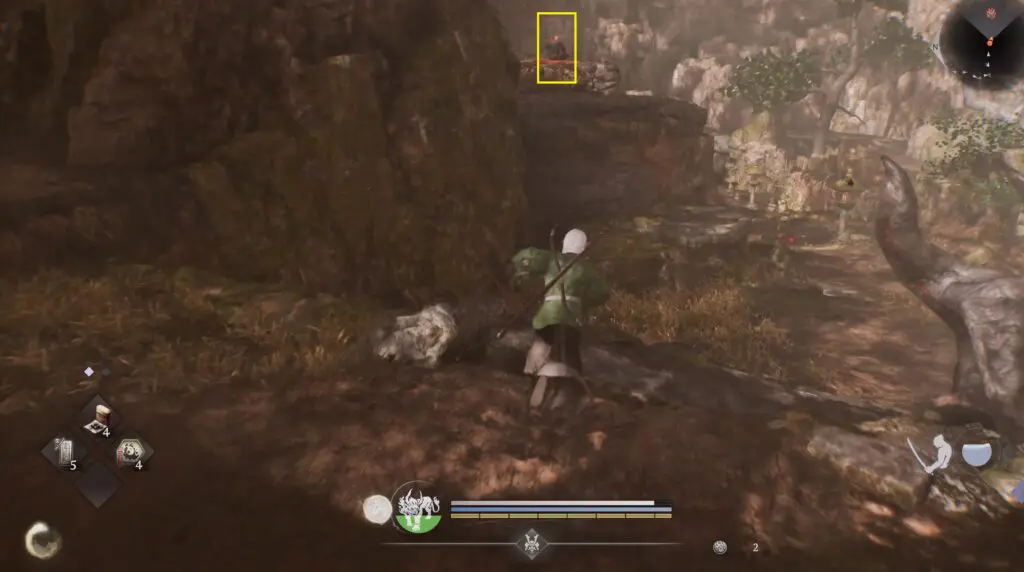
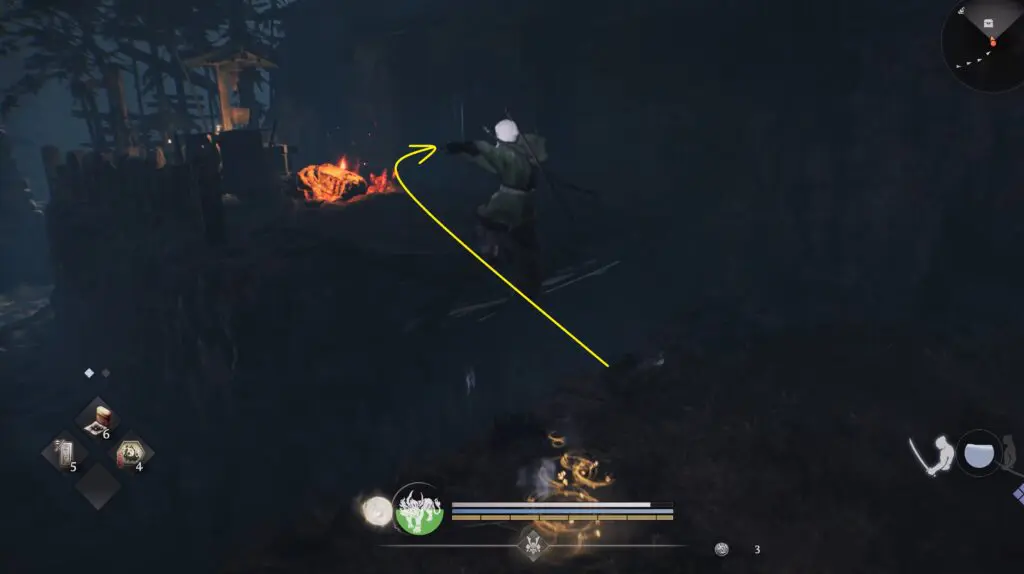
Crucible Wraith #2
Proceed south from the Sengan Waterfall Shrine to find Crucible Wraith #2

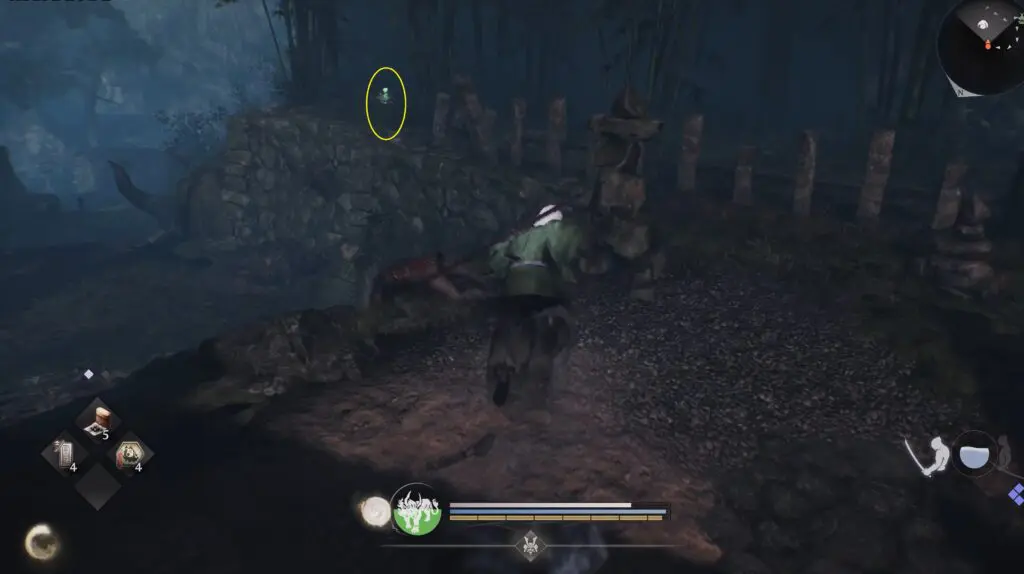
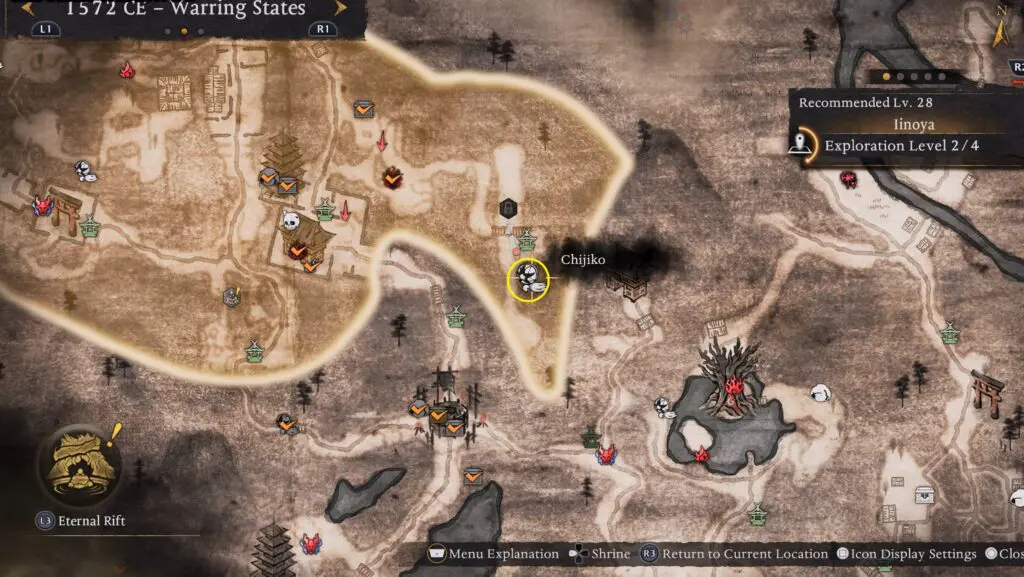
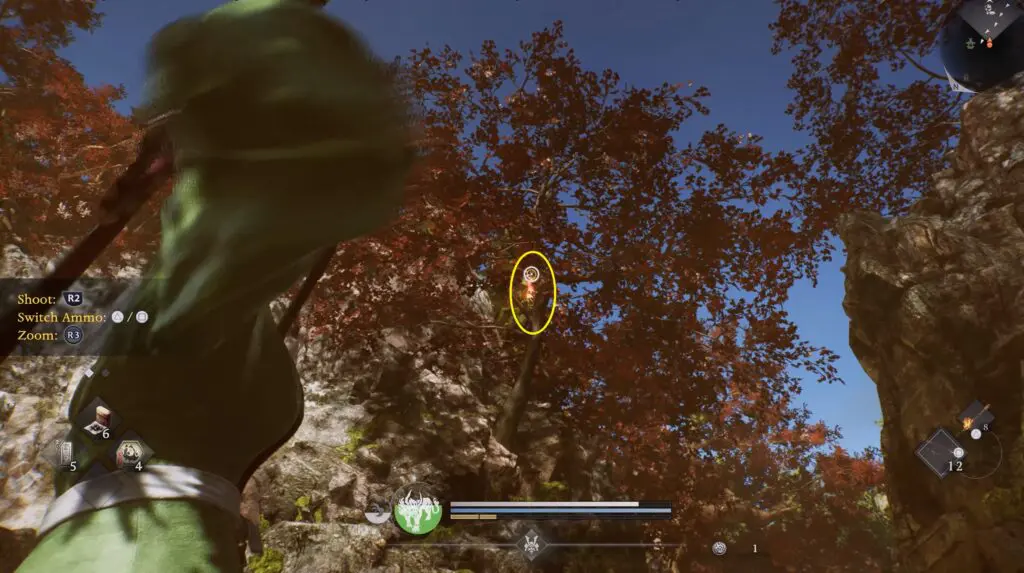
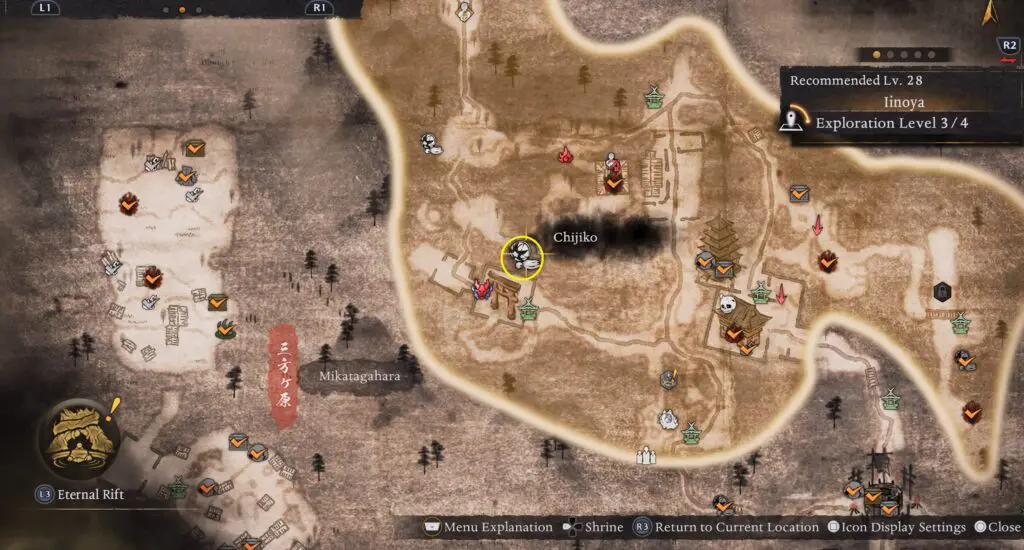
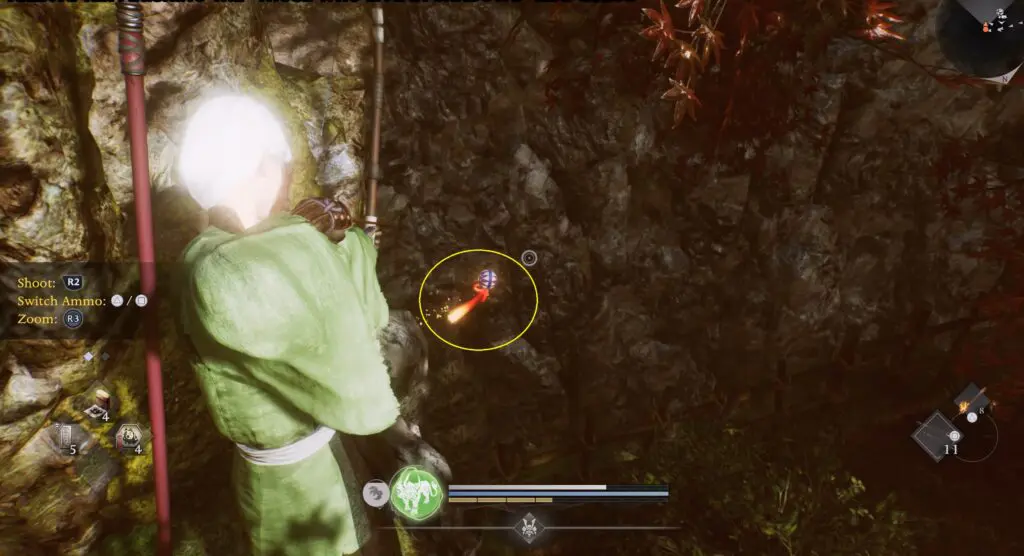
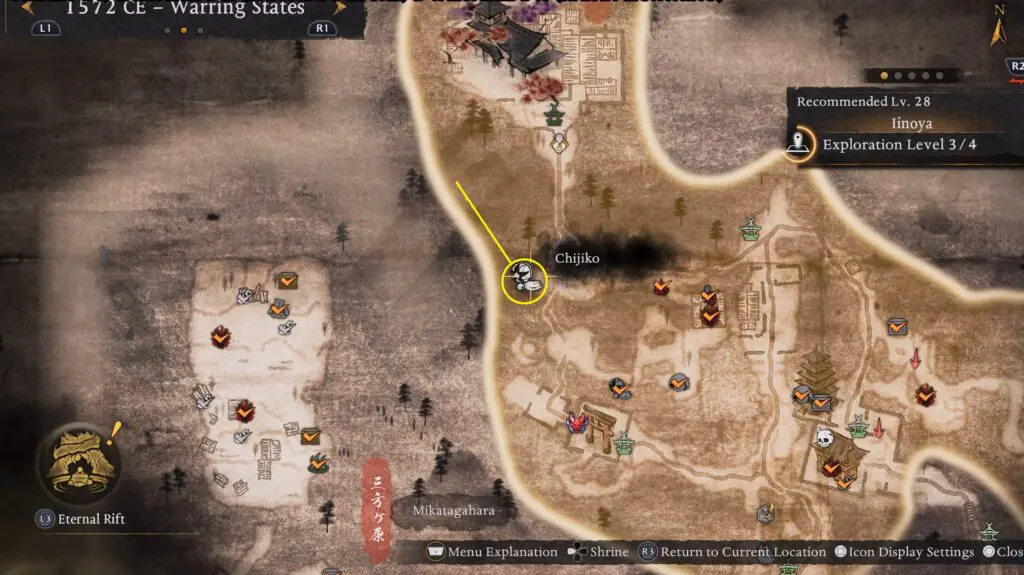
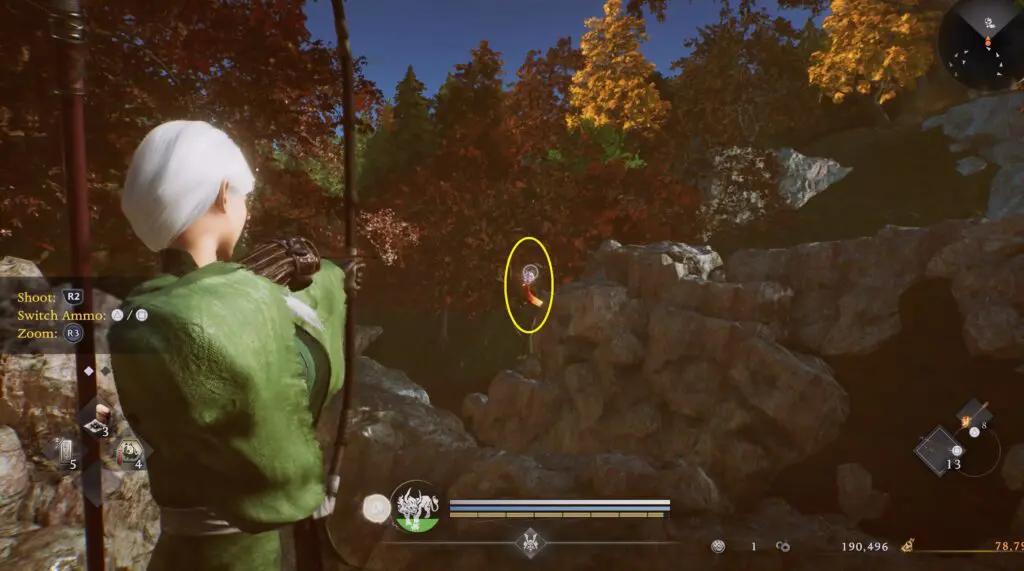
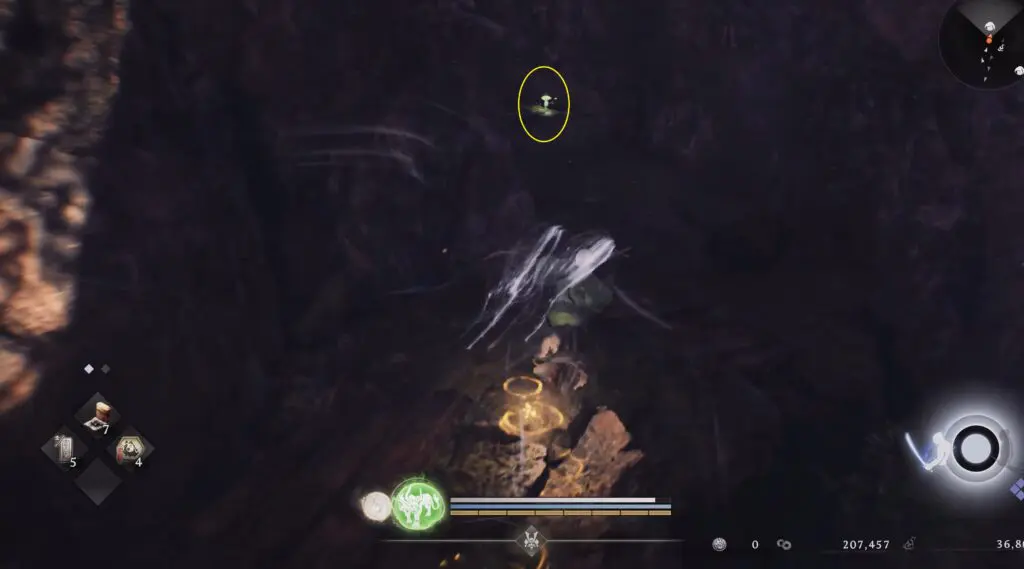
Chijiko #1, Valuable #5 (Ninja’s Locks) & Valuable #6 (Whirlwind Wind)
Proceed south from the Sengan Waterfall Shrine to find Chijiko #1 on top of a tree. Shoot it to capture.
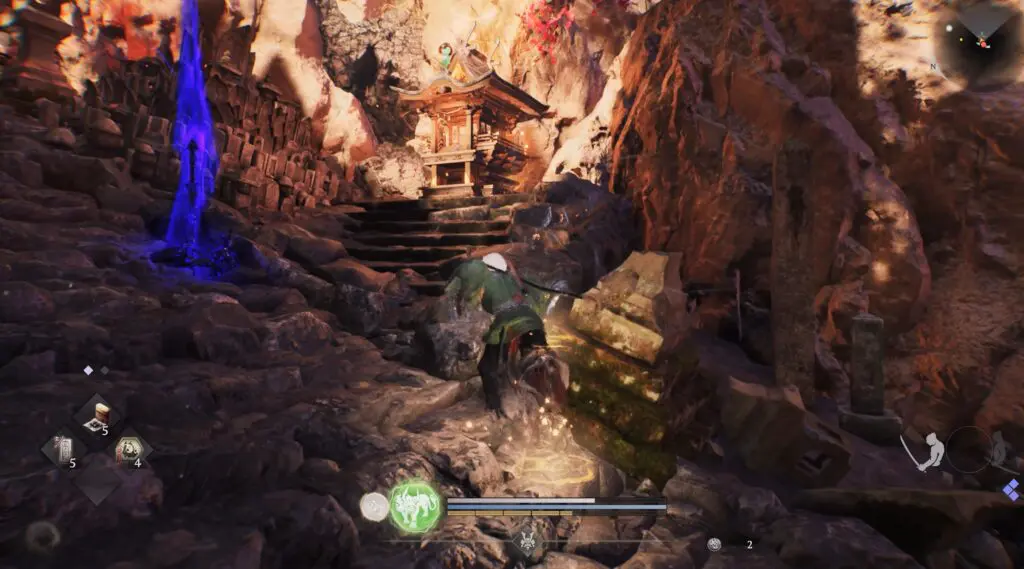
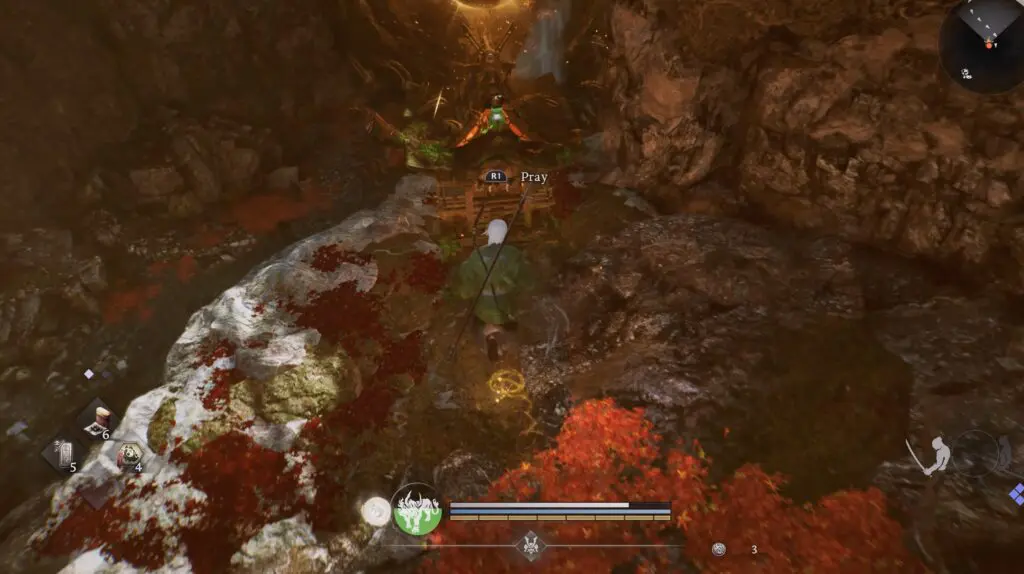
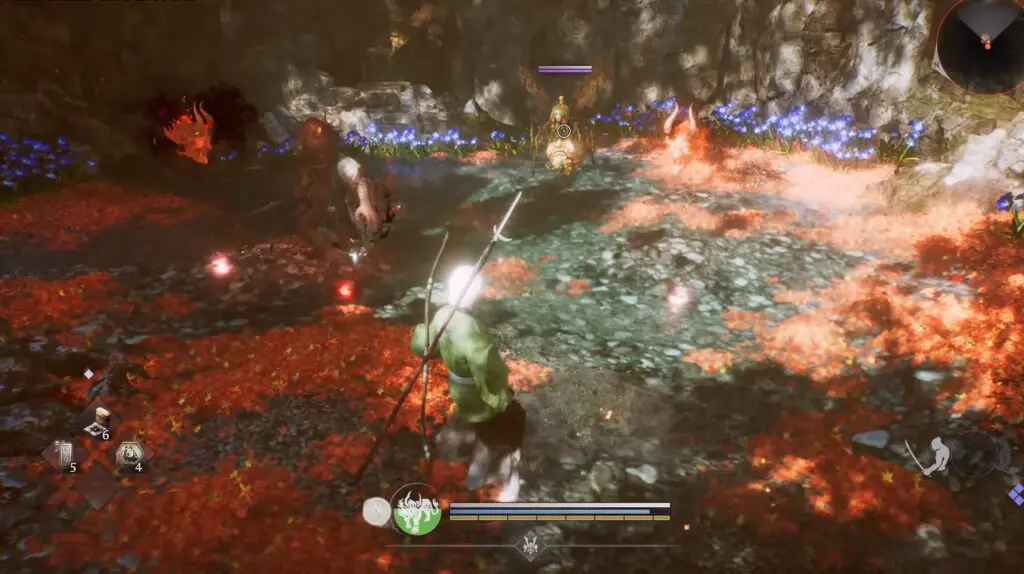
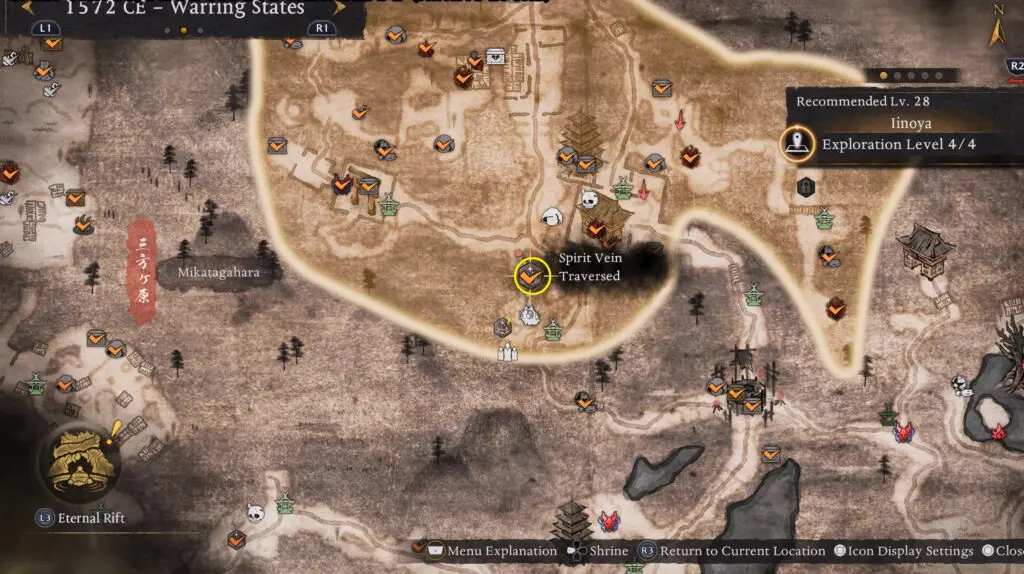
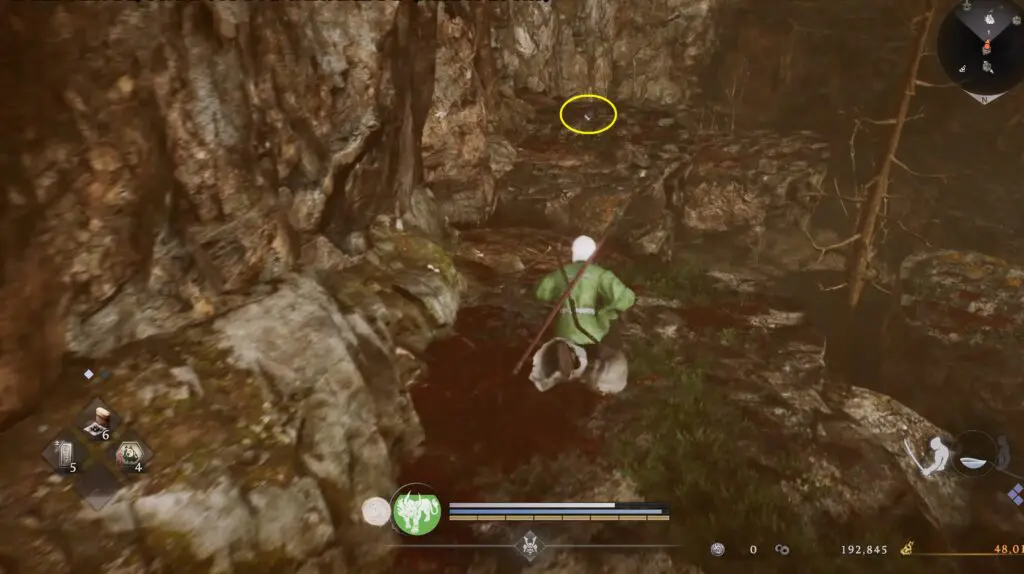
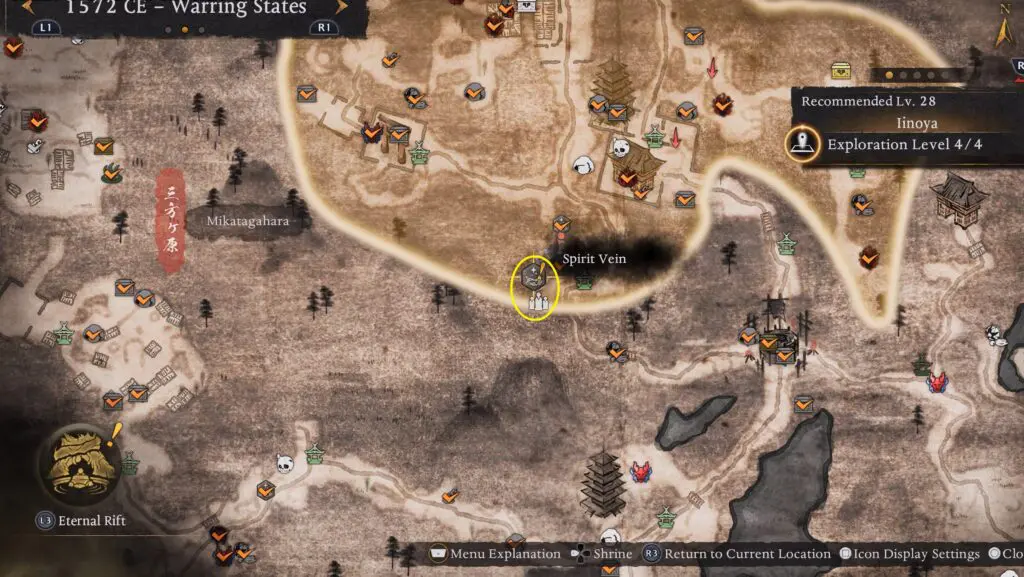
Spirit Vein #1 & Valuable #7 (Death From Above Water)
Head north of the Sengan Waterfall Shrine to find Sengan Waterfall Shrine. Defeat the Demon of Pride to obtain the collectible.

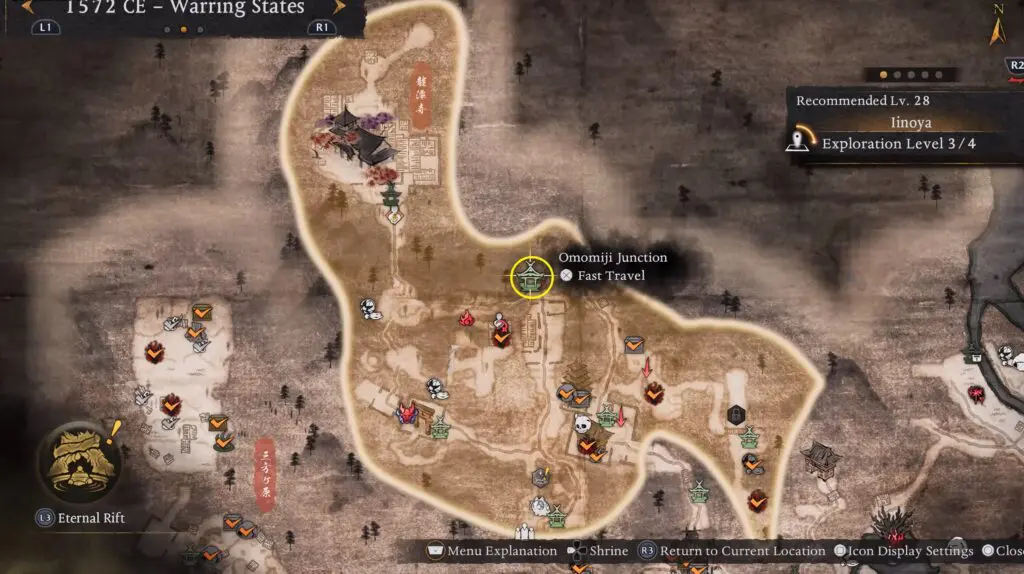
Shrine #3
Below is the location of Omomiji Junction Shrine.
Crucible Wraith #3
The Crucible Wraith is found inside a shrine on the left side of the Omomiji Junction Shrine.
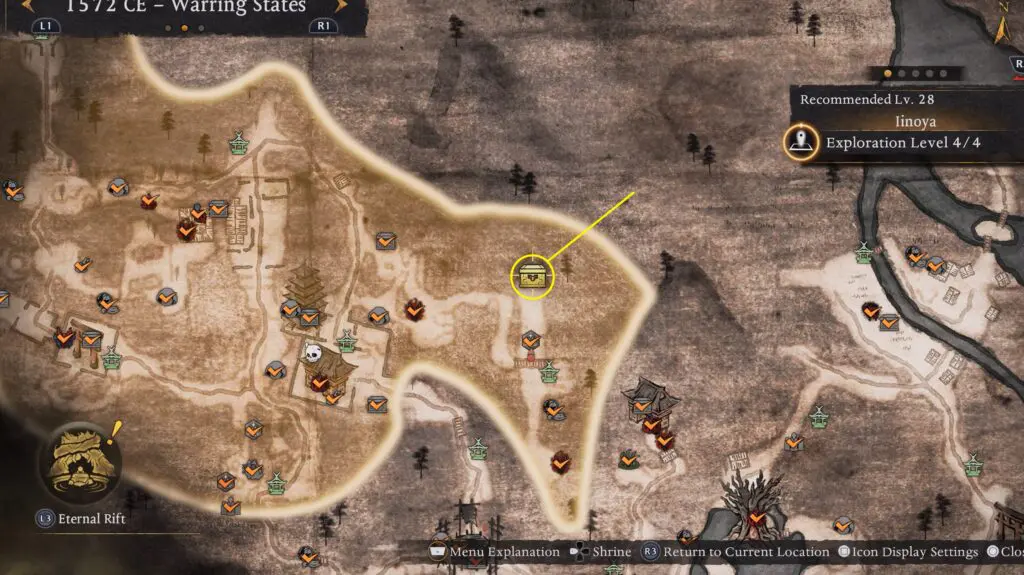
Chijiko #2, Valuable #8 (Ninja’s Locks) & Valuable #9 (Greased Lightning Lightning)
It is located north of the Great Gingko Approach Shrine and can only be accessed after completing the side quest “Those Who Live in the Shadow.”
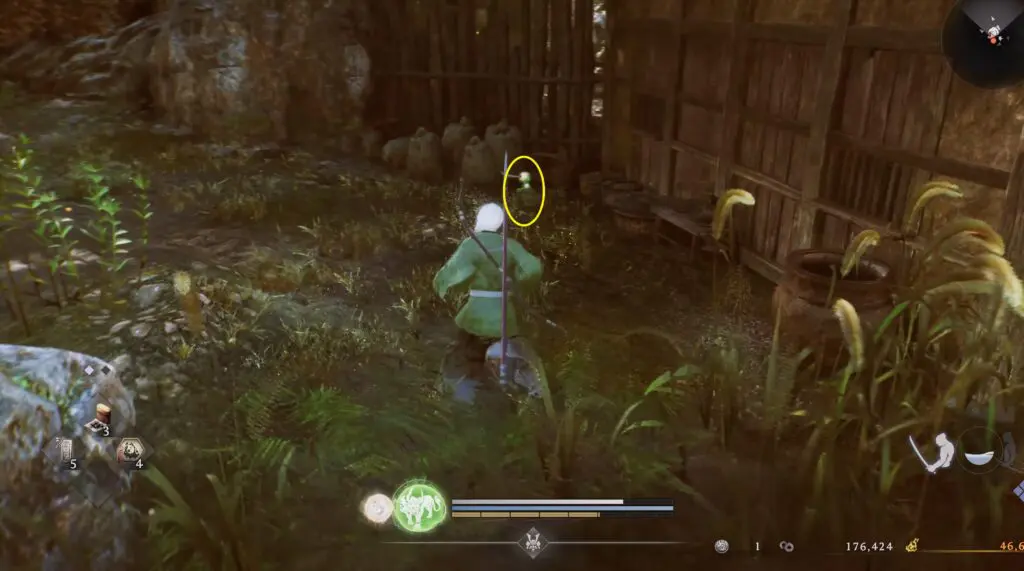
Kodama #3
It is located behind a hut near the Great Gingko Approach Shrine.
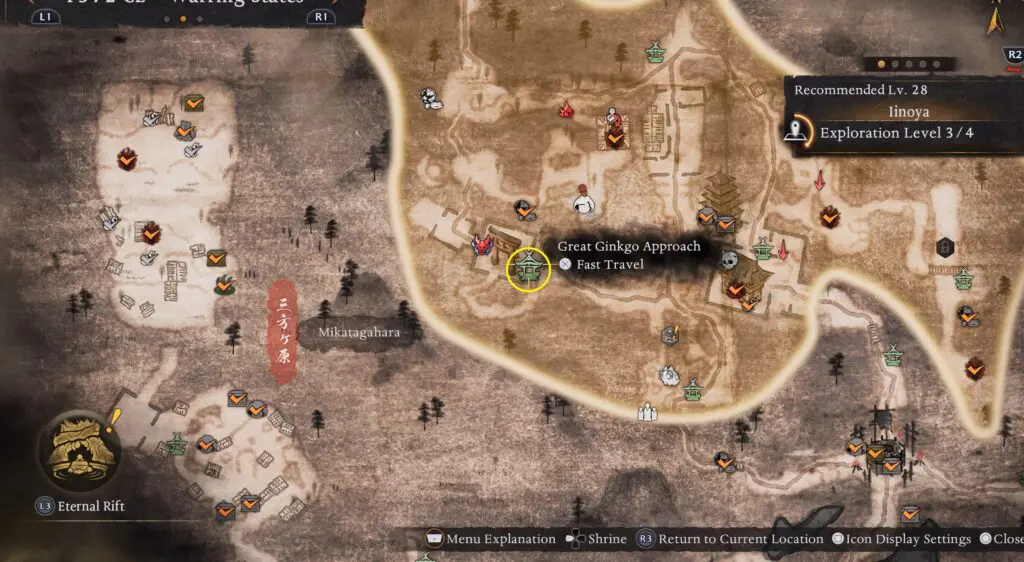
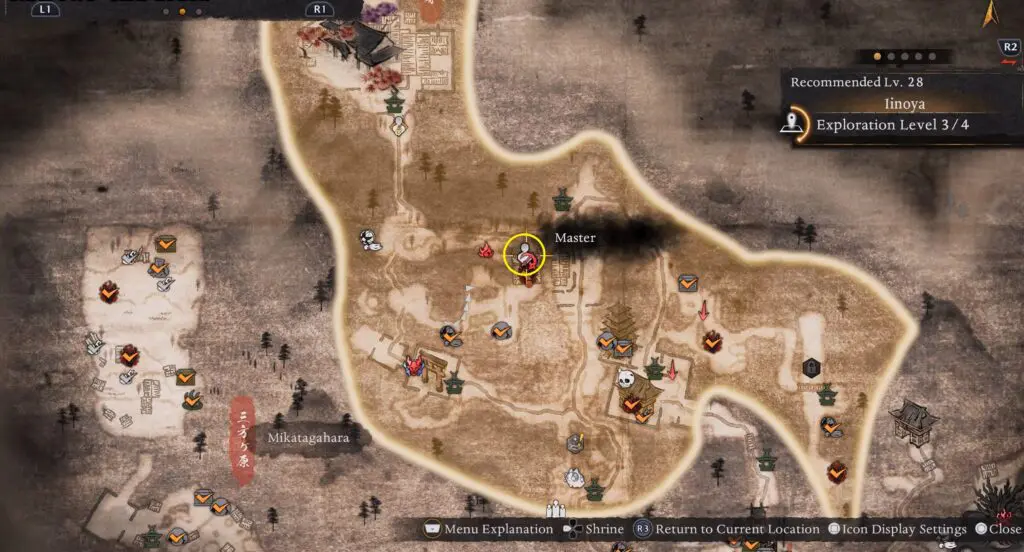
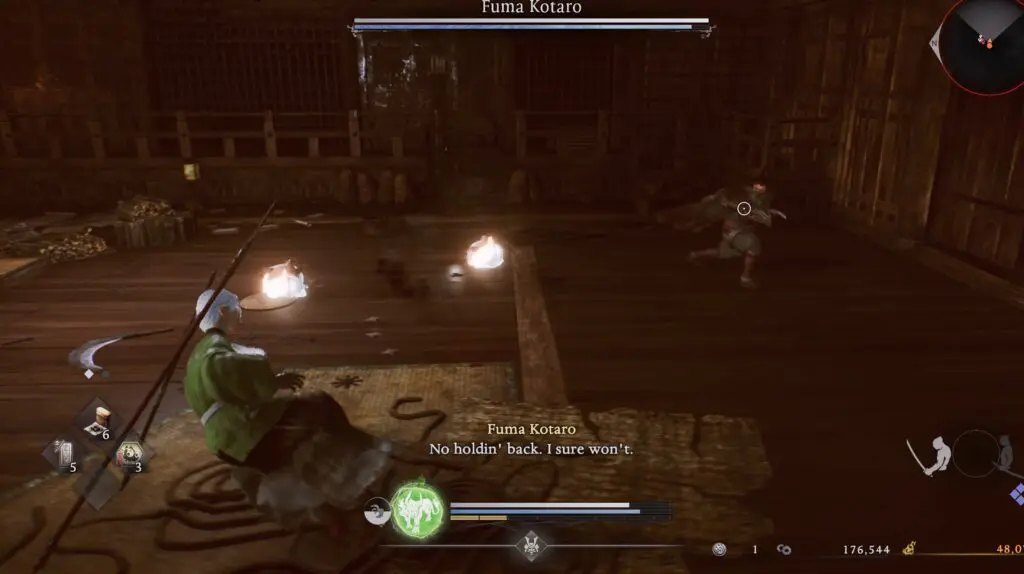
Master #1 & Valuable #10 (Flying Buck)
Defeat the NPC Fuma Kotaro, who can be found northeast of the Great Gingko Approach Shrine. Refer to the location shown below. Available after “Those Who Live in the Shadow” side quest.
Valuable #11 (Defense Mastery II)
Defense Mastery II can be collected from the chest located on the side of the building.
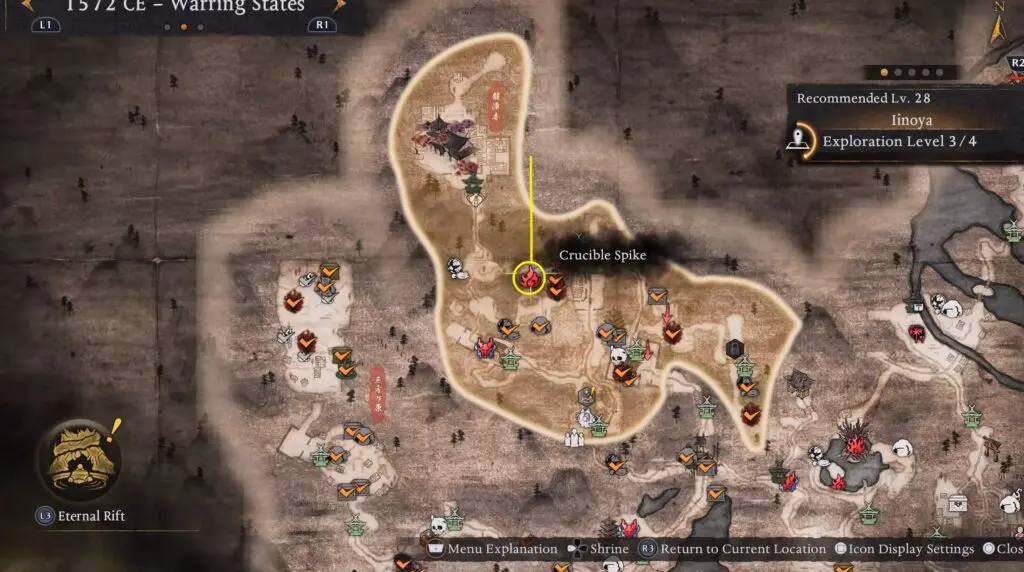
Crucible Spike #1
Crucible Spike #1 is shown at the location marked below.
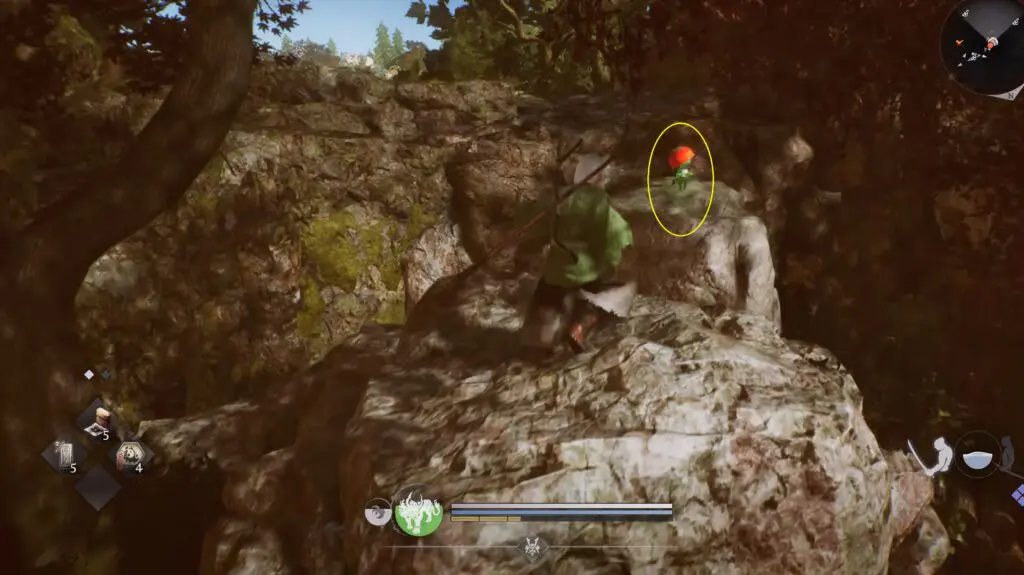
Kodama #4
Kodama #4 can be found at the edge of the cliff, above a ravine near a tree.
Chijiko #3, Valuable #12 (Samurai’s Locks) & Valuable #13 (Raijin Lightning)
Chijiko #3 can be found flying on the west side of the map.
Valuable #14 (Ninja’s Text)
Ninja’s Text can be collected from the fallen corpse behind the hut. It is west of the Omomiji Junction Shrine. The location is shown below.
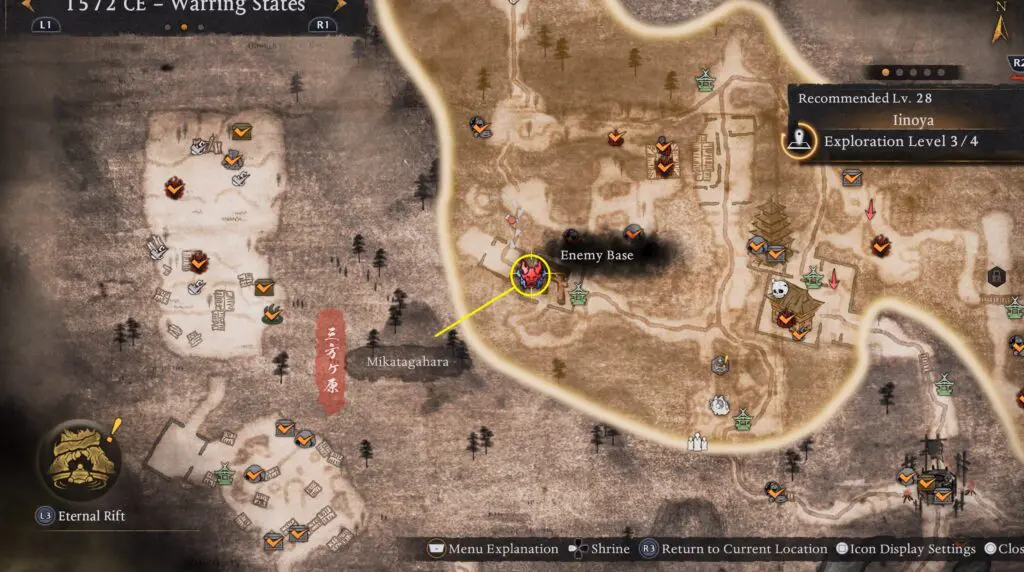
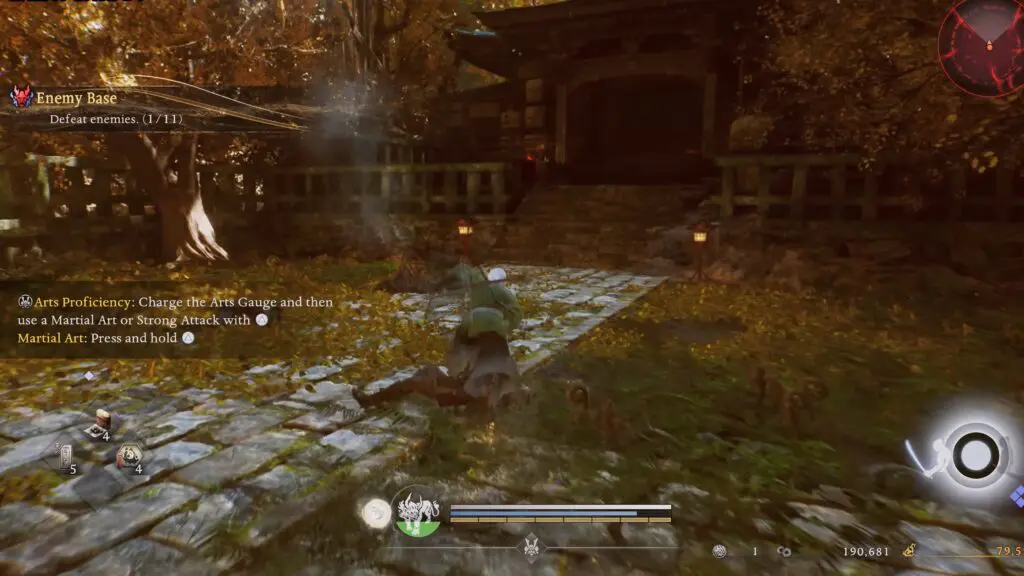
Enemy Base #1
This enemy base is located in the southwestern corner of the map, near the Great Ginkgo Approach Shrine.
Valuable #15 (Oppressive Strength)
After clearing the enemy base, go inside the building and open the chest.
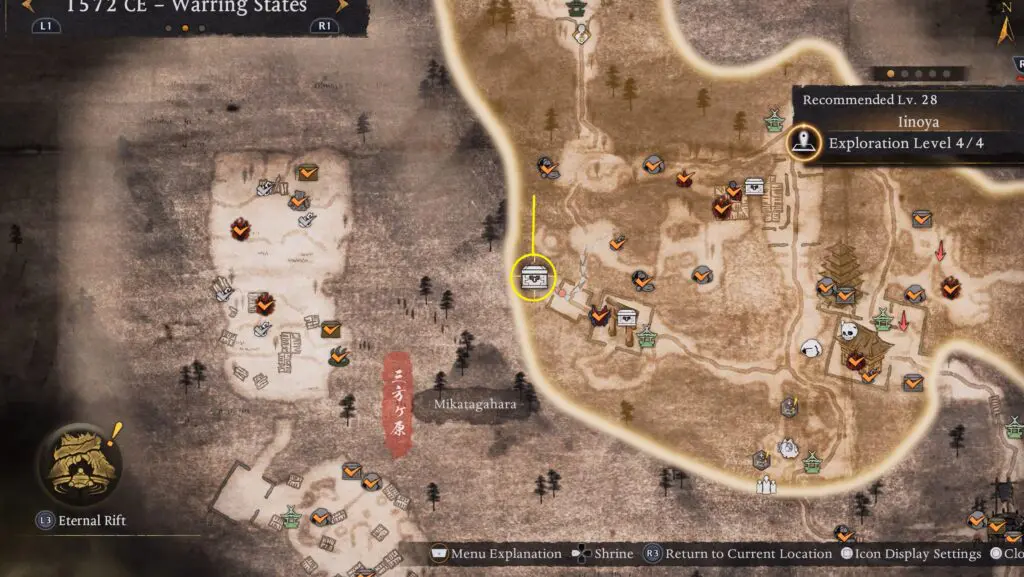
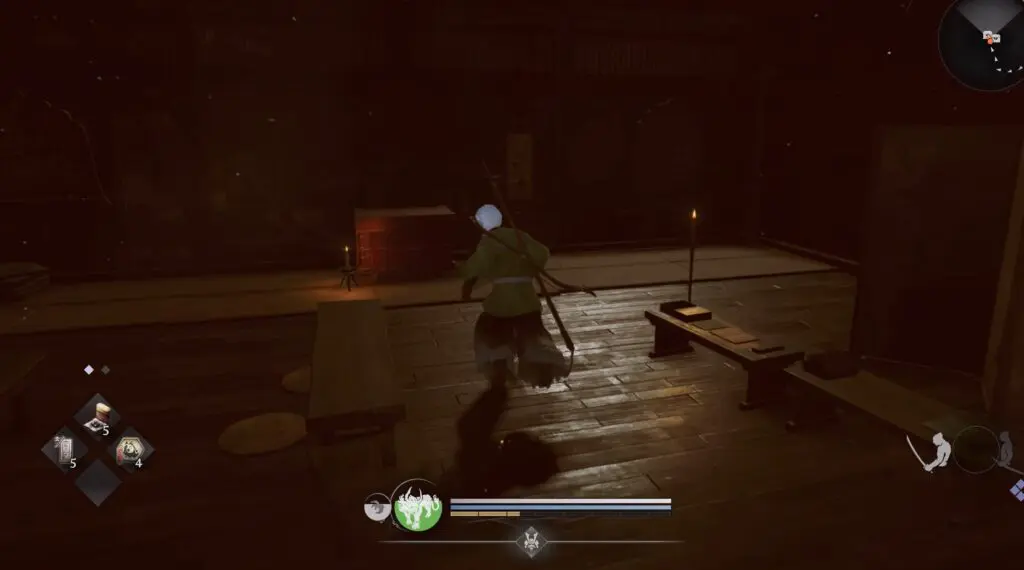
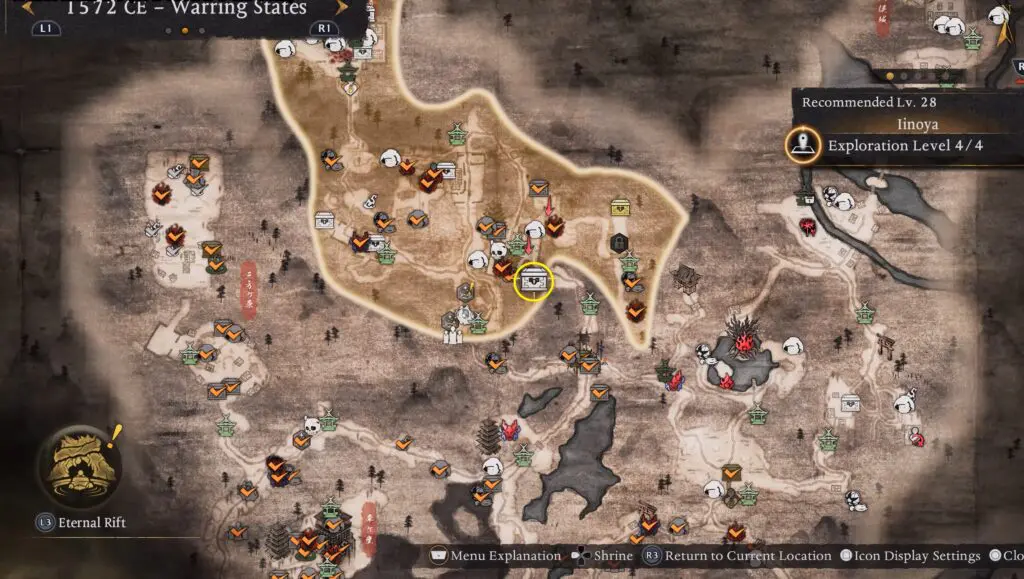
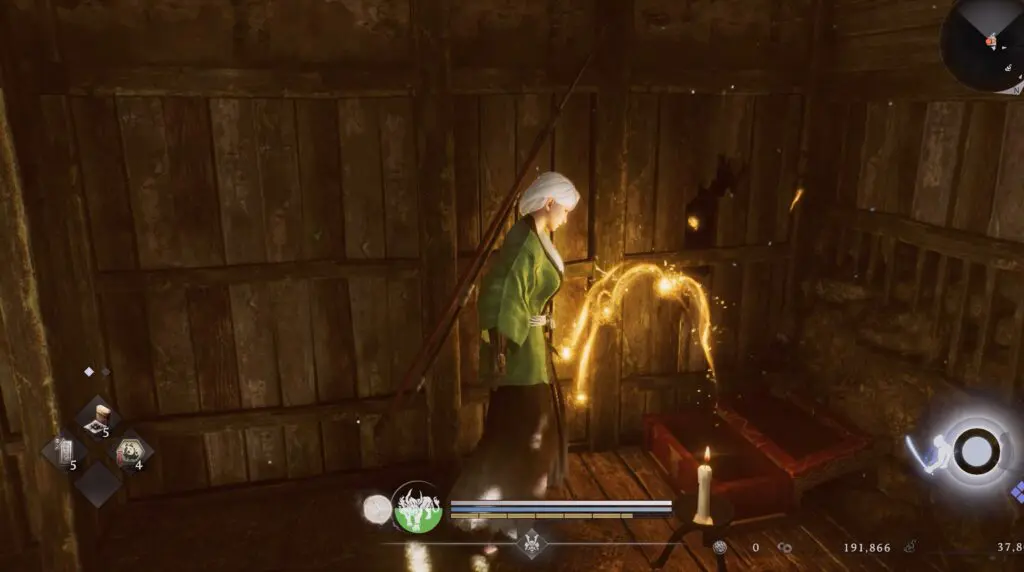
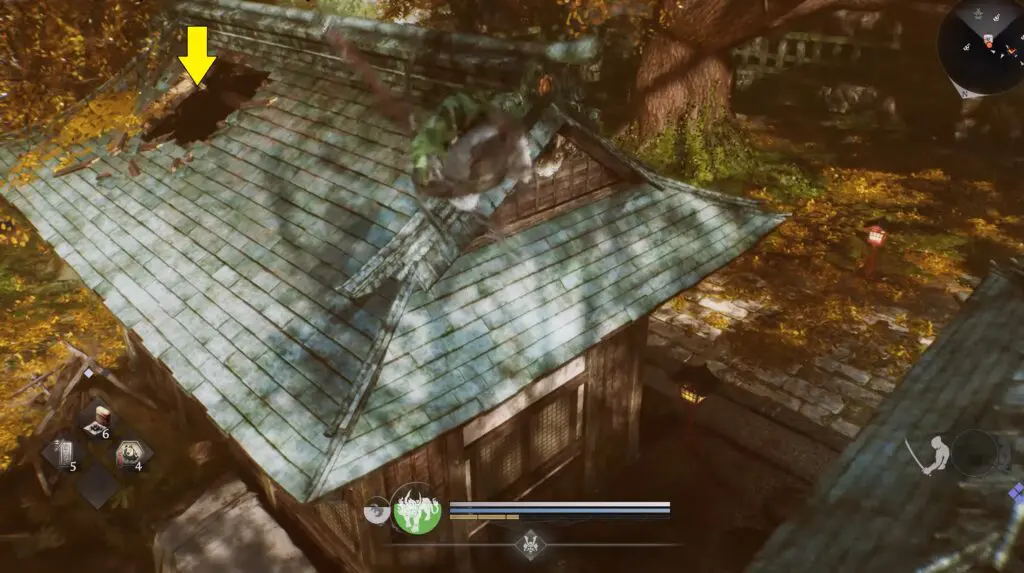
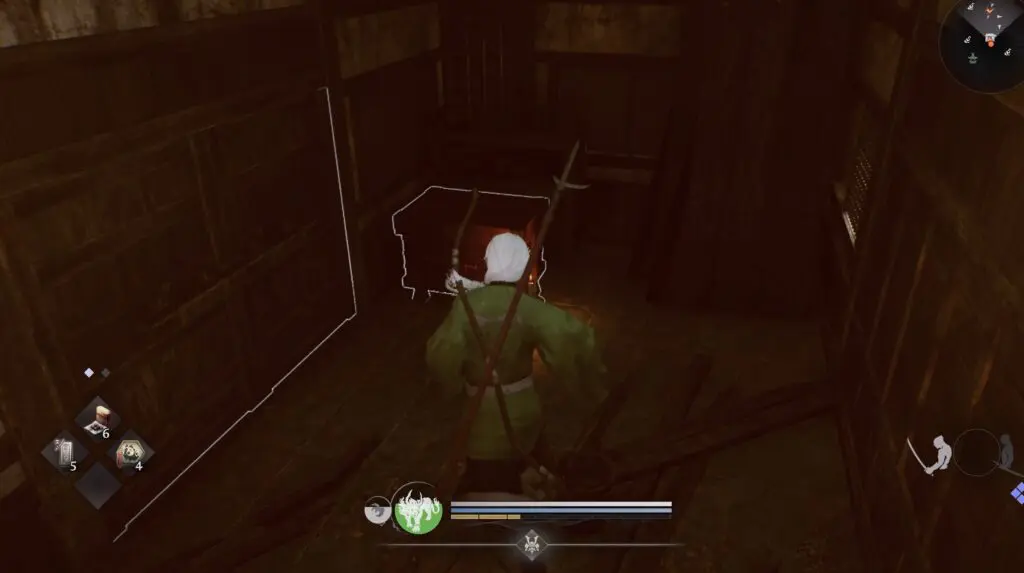
Valuable #16 (Attack Mastery II)
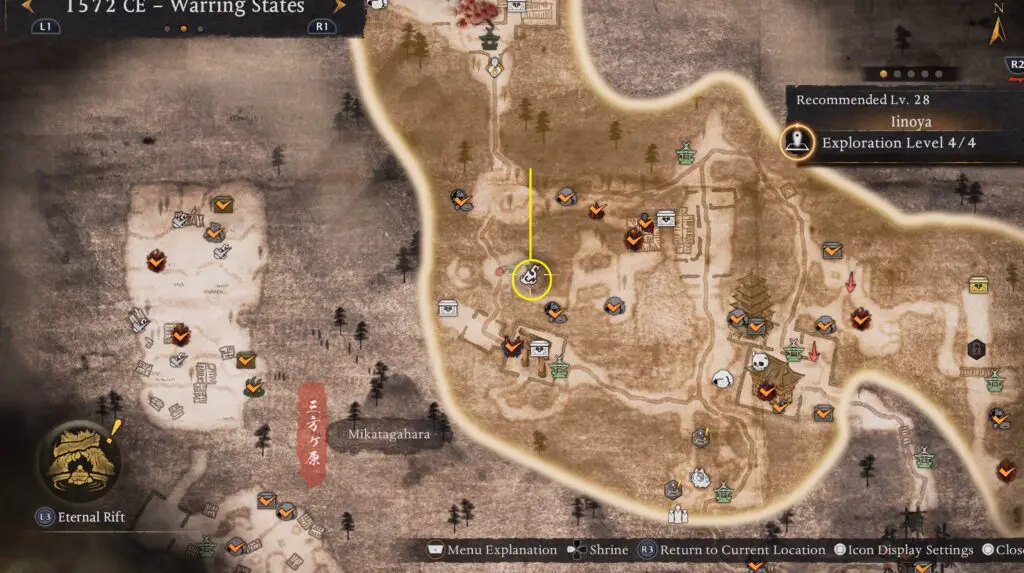
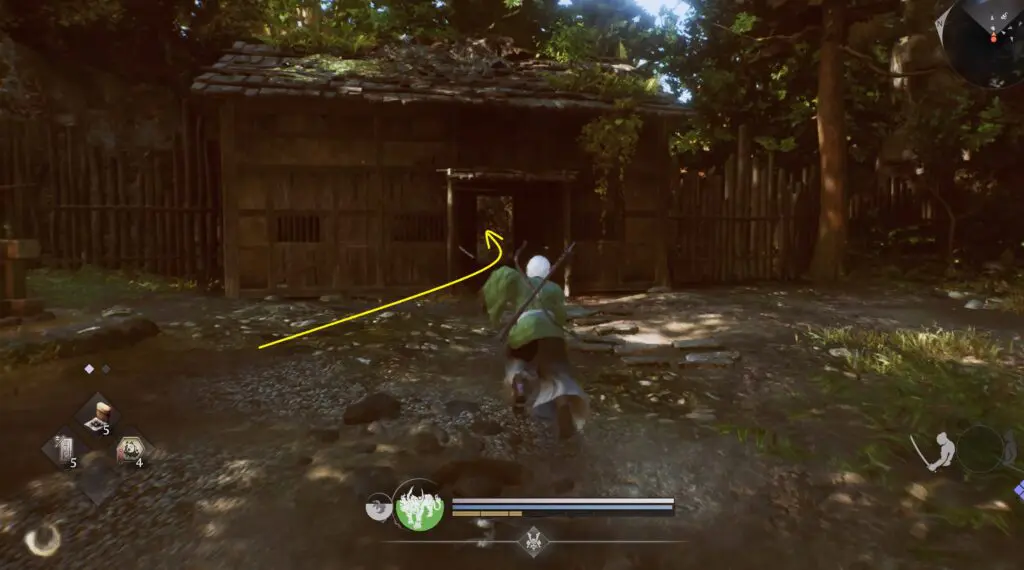
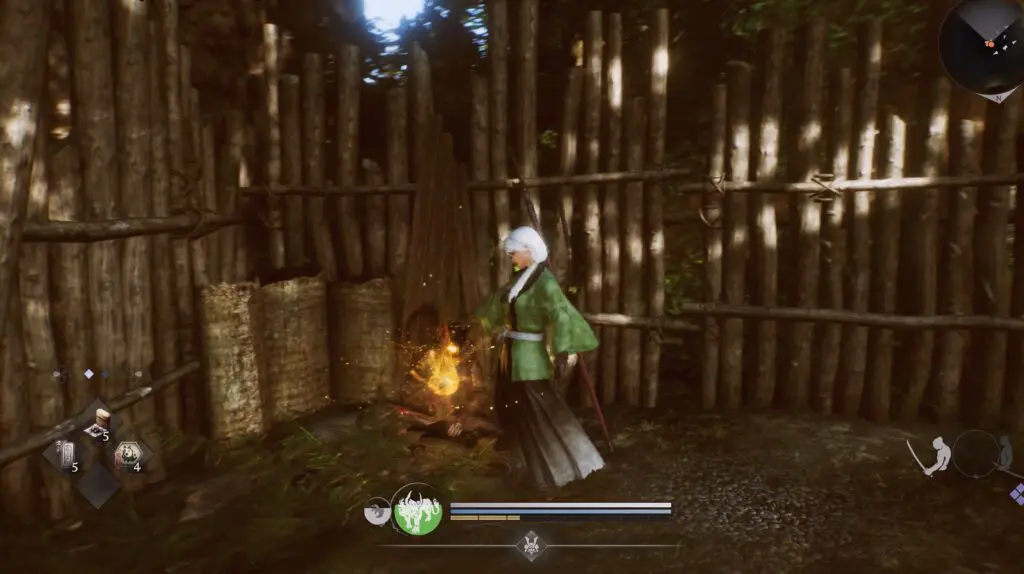
Just before the enemy camp, you will see two huts. Enter the hut with the broken roof and open the chest.
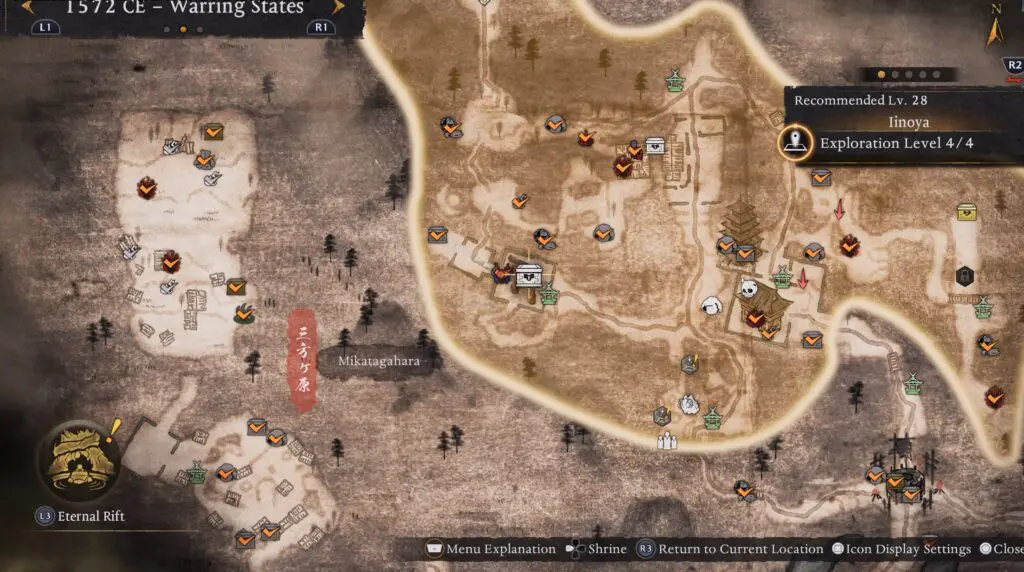
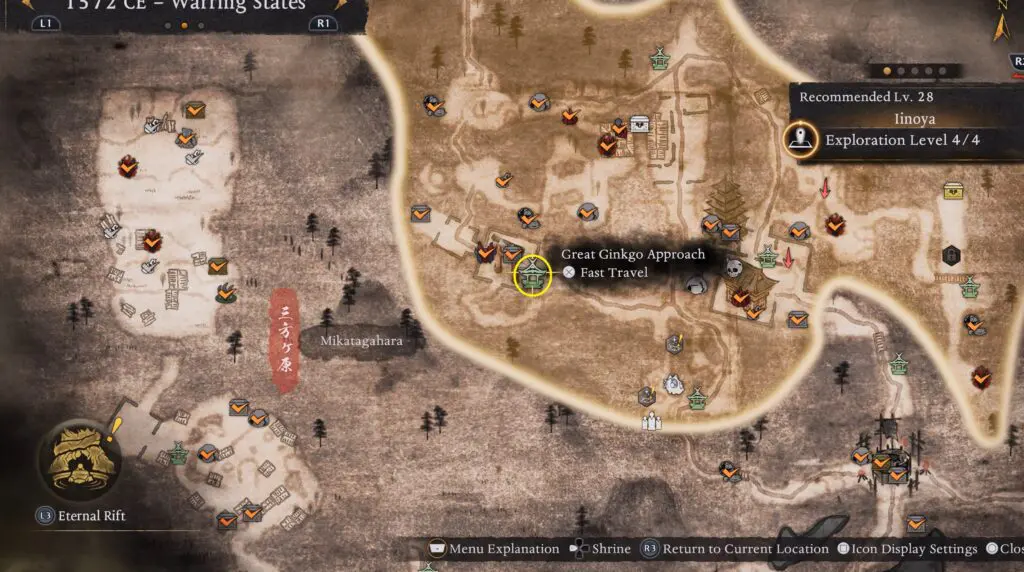
Shrine #4
The location of the Great Ginkgo Approach Shrine is shown below.

Spirit Vein #2, Scampuss #1 & Valuable #17 (Ninja’s Locks)
Spirit Vein #2 is located north of the Iinoya Pass. You can also find Scampuss #1 on a ledge by the side of the cliff. Chase the Scampuss #1 to obtain Ninja’s Locks.
Spirit Vein #3 & Six Jizo #1
Spirit Vein & Six Jizo statues can be found in the southern part of the Iinoya area.
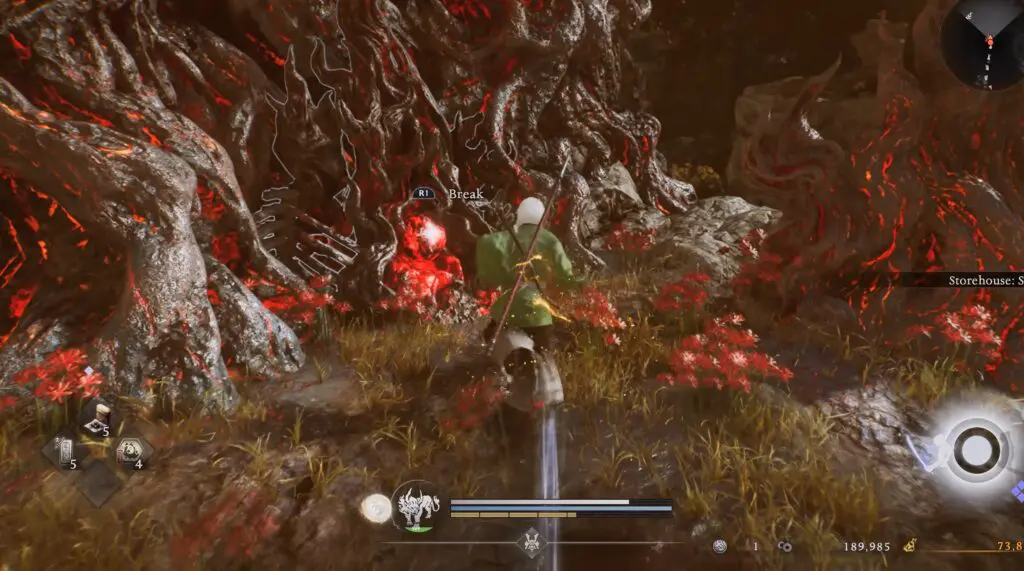
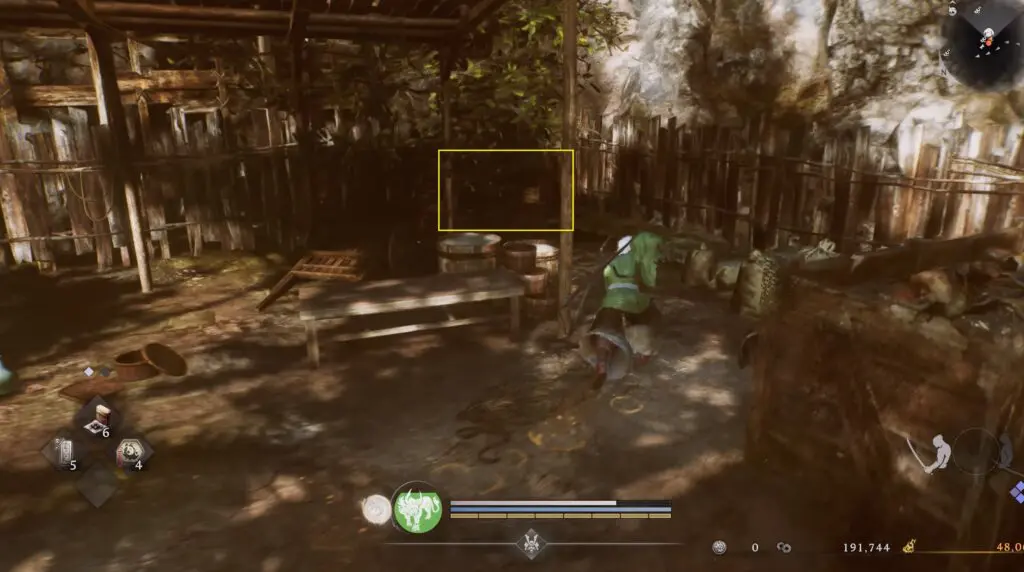
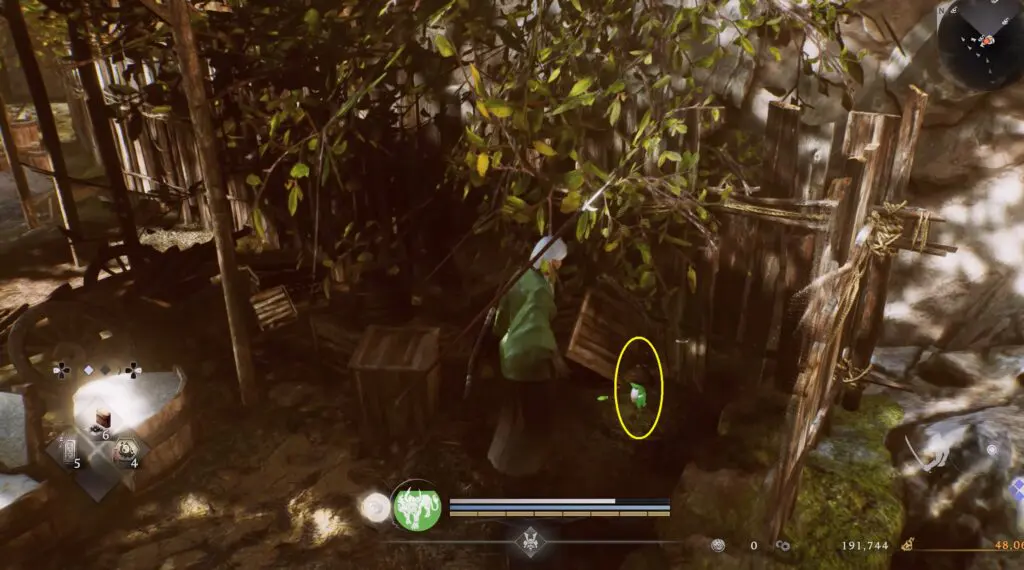
Kodama #5
Follow the path north of the Iinoya Pass Shrine to reach a hut. Look for a few boxes in the corner of the fenced area. Break the boxes to find Kodama #5
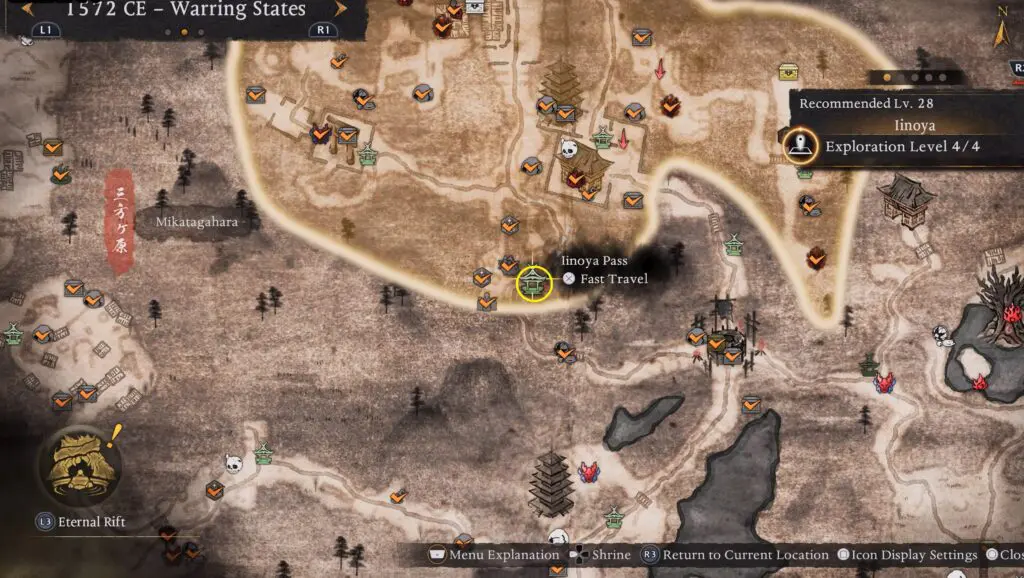
Shrine #5
The location of the Iinoya Pass Shrine is shown on the map below.
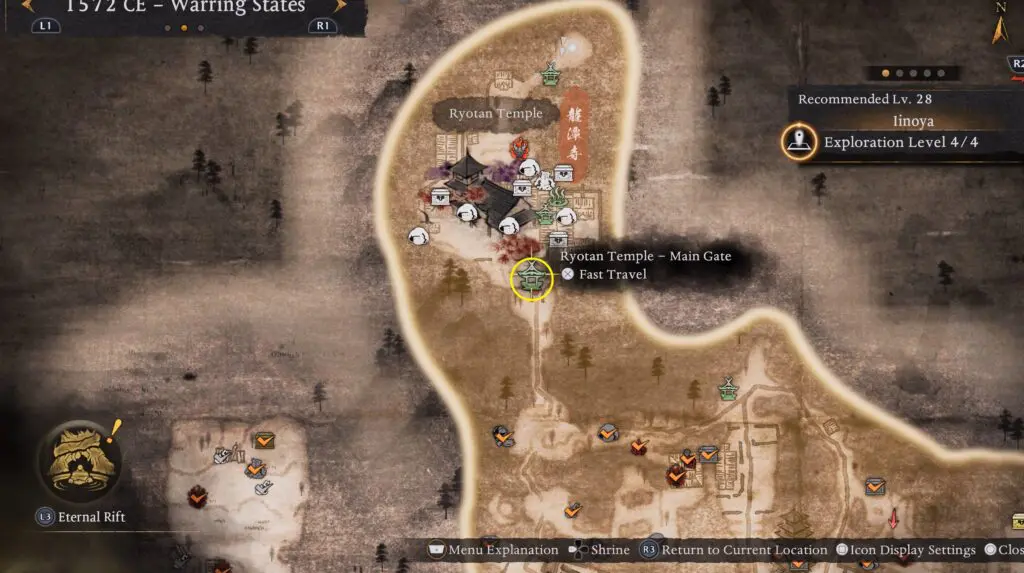
Shrine #6
Follow the path south from the Iinoya Pass Shrine to reach the Ryotan Temple Main Gate Shrine.
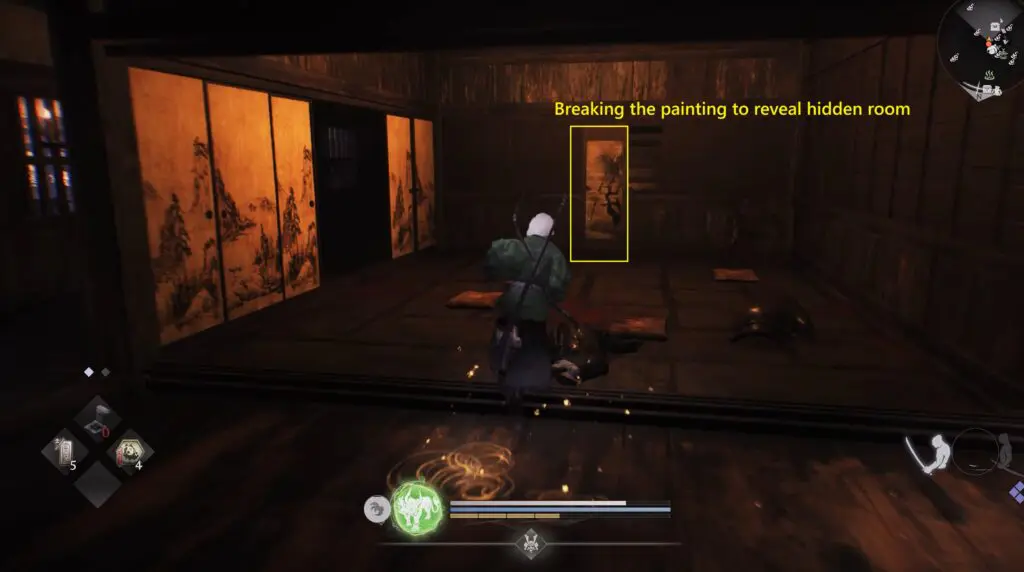
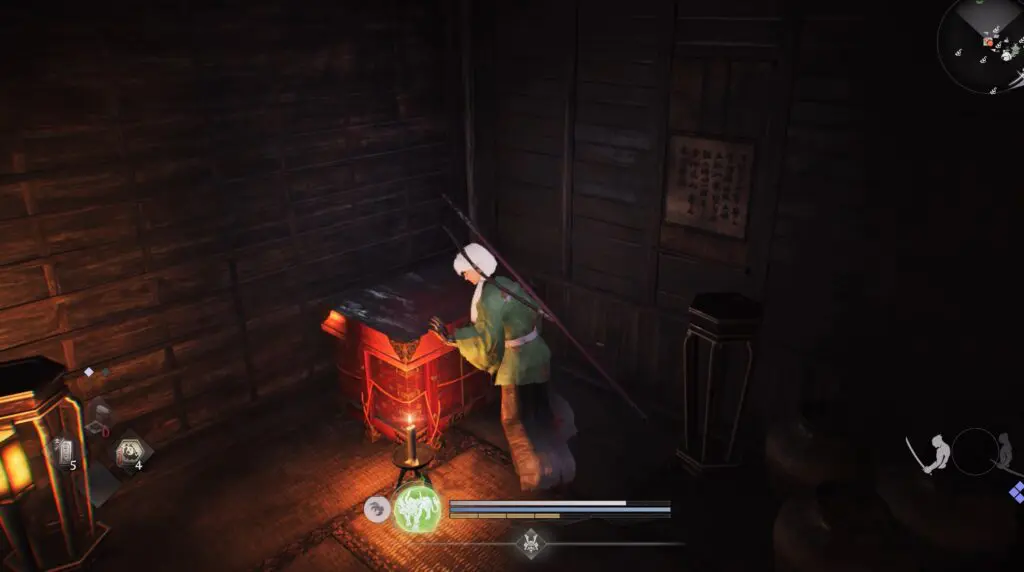
Valuable #18 (Unarmored Death)
Enter the building southeast of the Iinoya Pass Shrine. Defeat the enemies inside and find a room with a painting. Break the painting to reveal a hidden room. Go inside and open the chest.
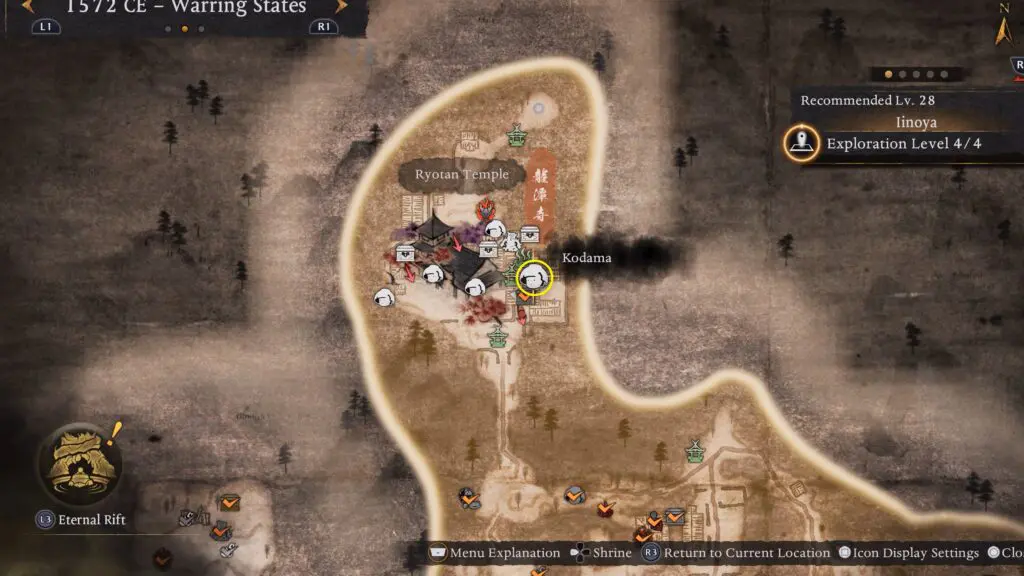
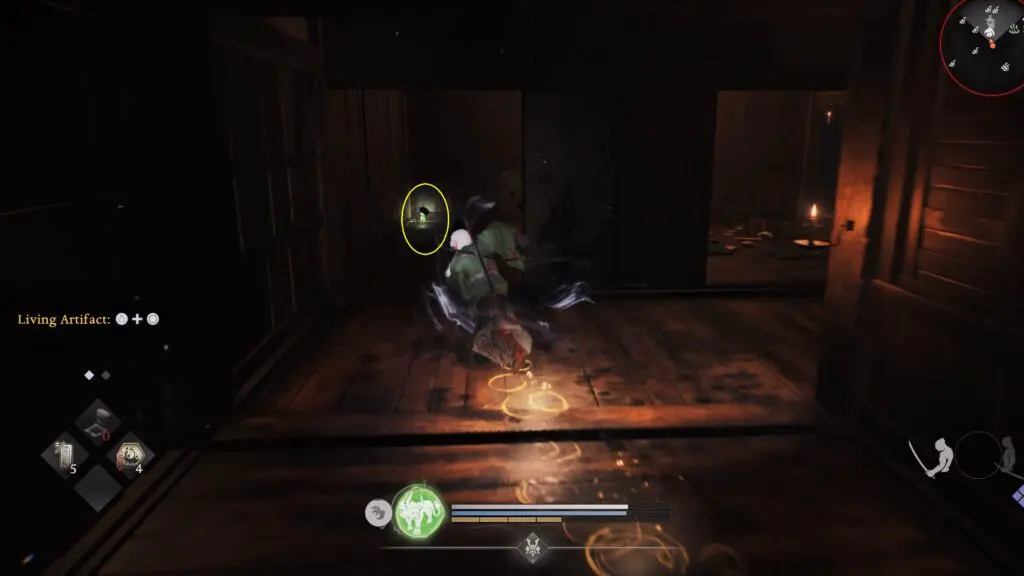
Kodama #6
Enter the same building where you found the previous collectible, exit from the other side, then enter the next building to find Kodama #6.
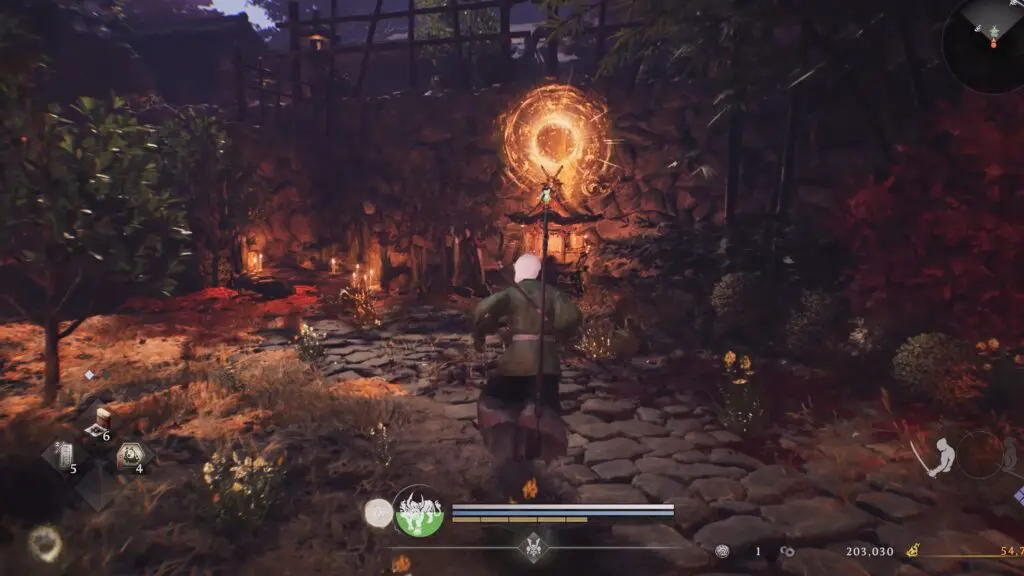
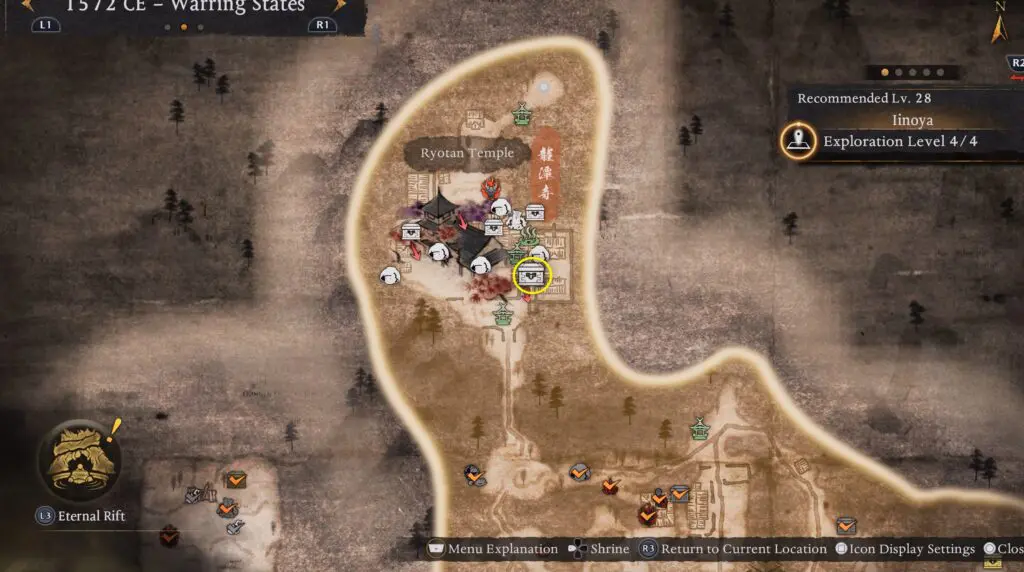
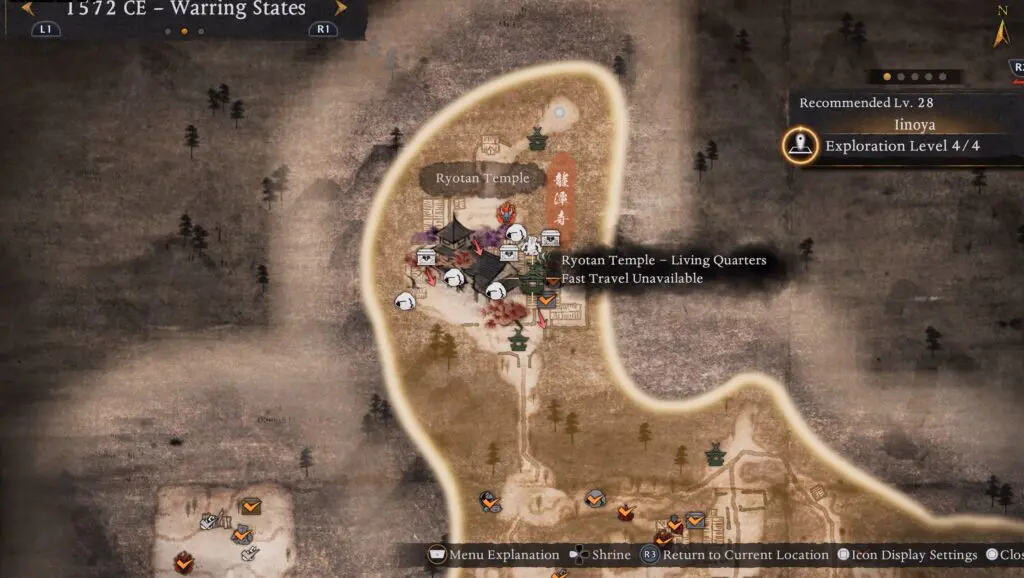
Shrine #7
Ryotan Temple – Living Quarter Shrine is located inside the building, as shown in the map below.
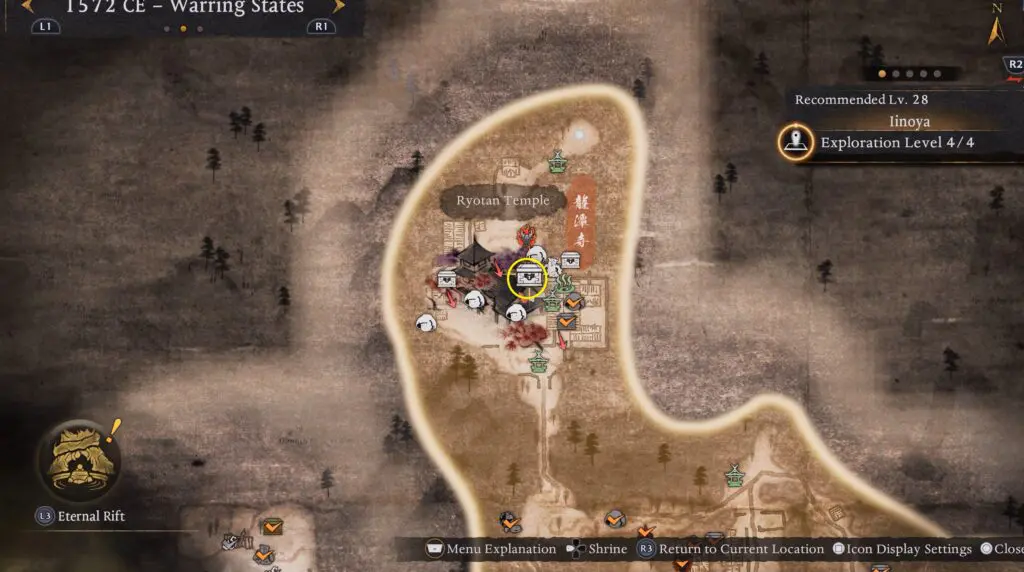
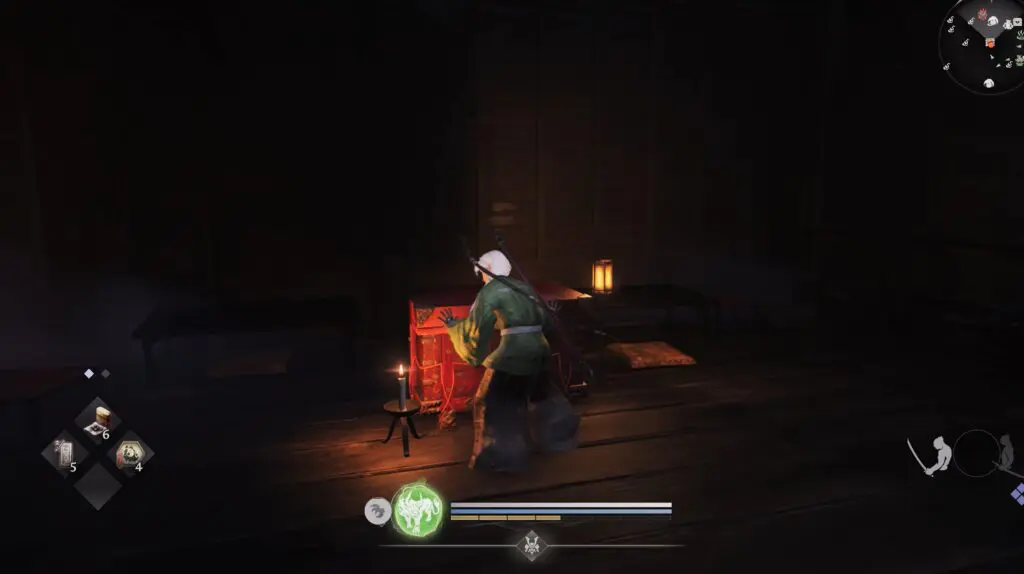
Valuable #19 (Ninja’s Locks)
Head to the building northwest of the Ryotan Temple Living Quarter Shrine and open the chest to obtain Ninja’s Locks.
Kodama #7
Head to the location marked on the map. Then go to the left of the hut and follow the ledges along the cliff to find Kodama #7

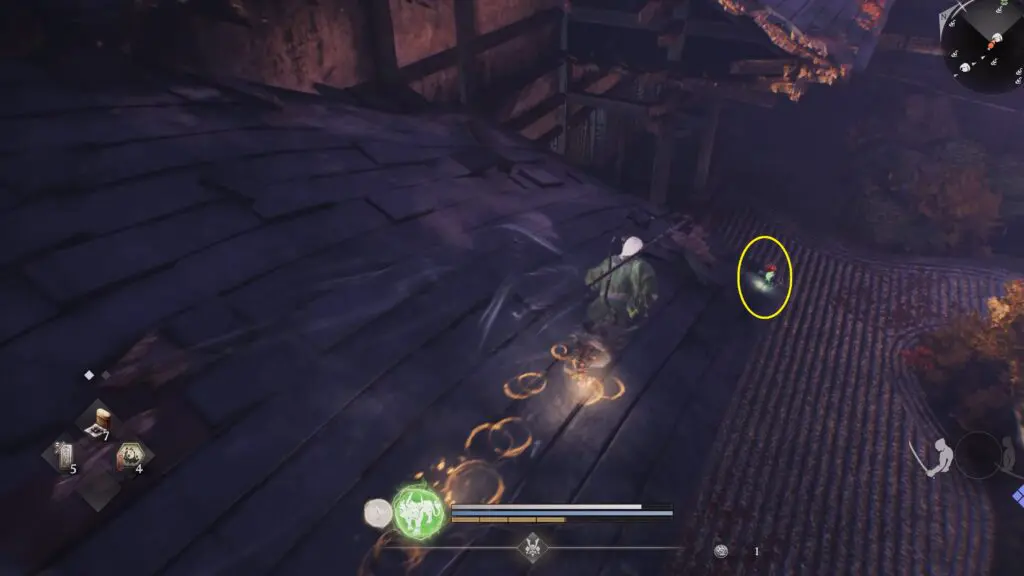
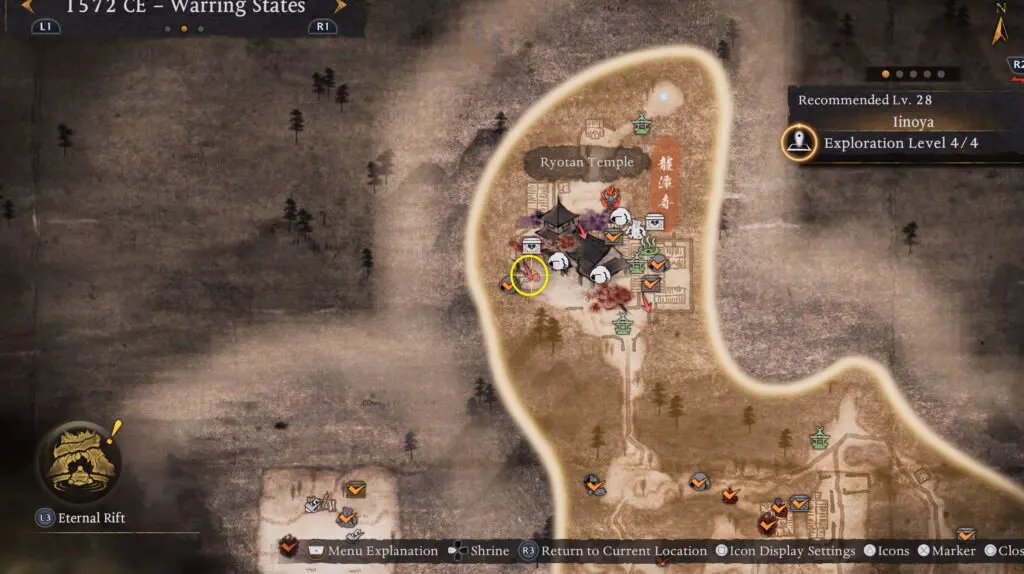
Kodama #8
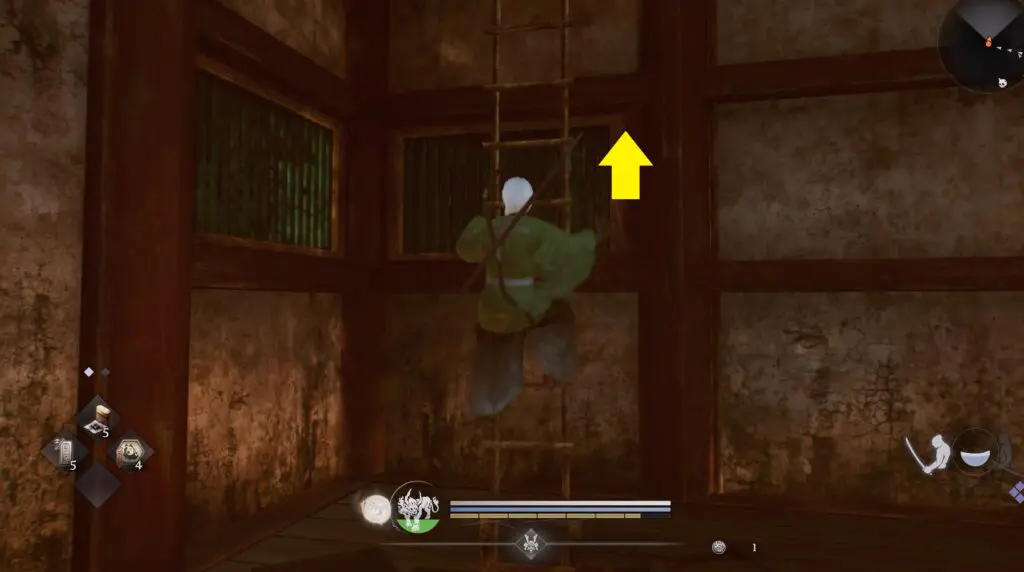
It is located in the western part of the Ryotan Temple area. Refer to the location shown below. Enter the building and climb the ladder to reach the second floor. Exit through the broken wall, walk along the roof of the nearby building, then head right to find Kodama #8
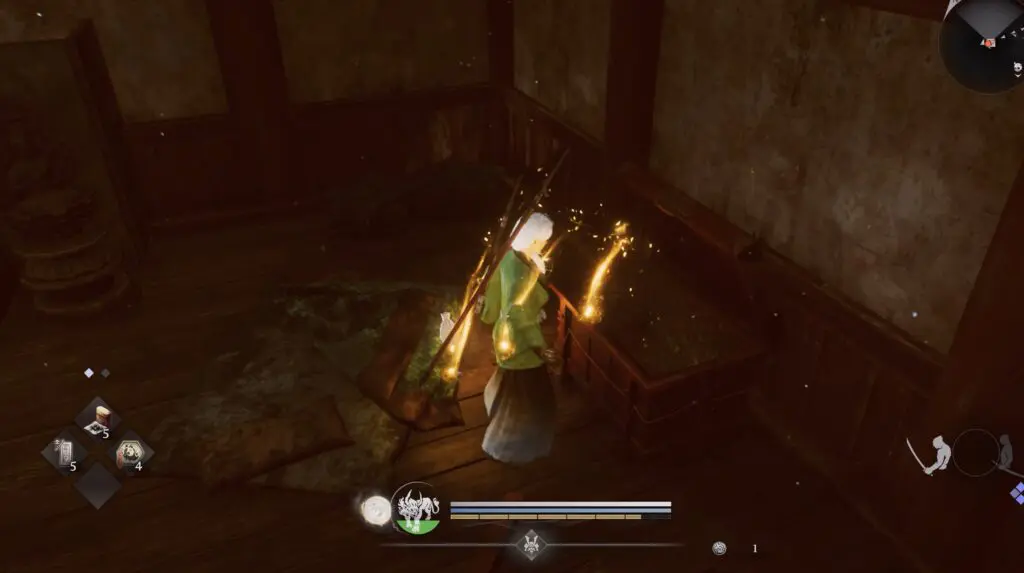
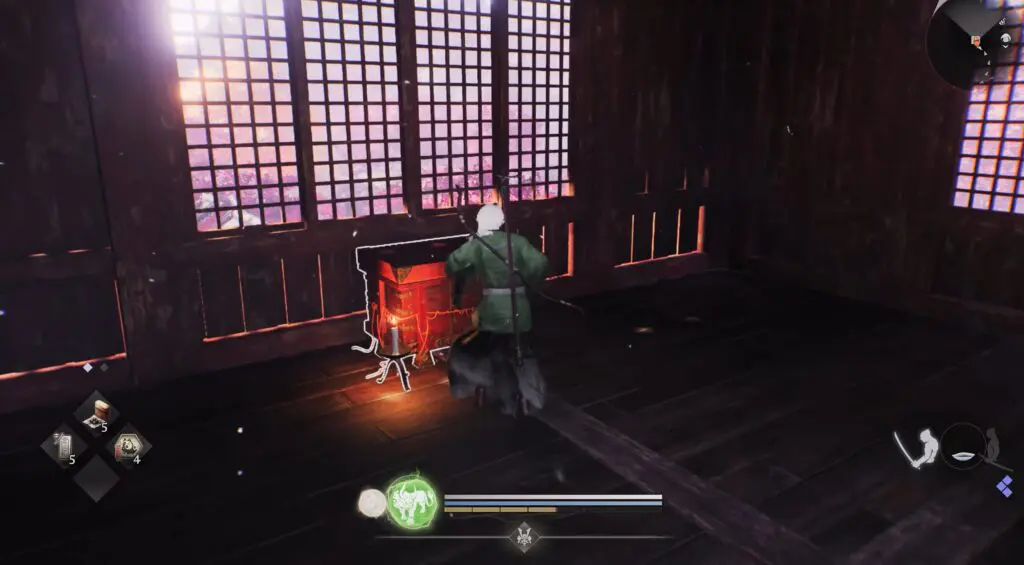
Valuable #20 (Samurai’s Cloak)
It is located in the western part of the Ryotan Temple area. Refer to the location shown below. Enter the building and climb the ladder to reach the third floor. Open the chest to obtain the Samurai’s Cloak. An NPC will appear near the chest. Interact with them to obtain additional skills.

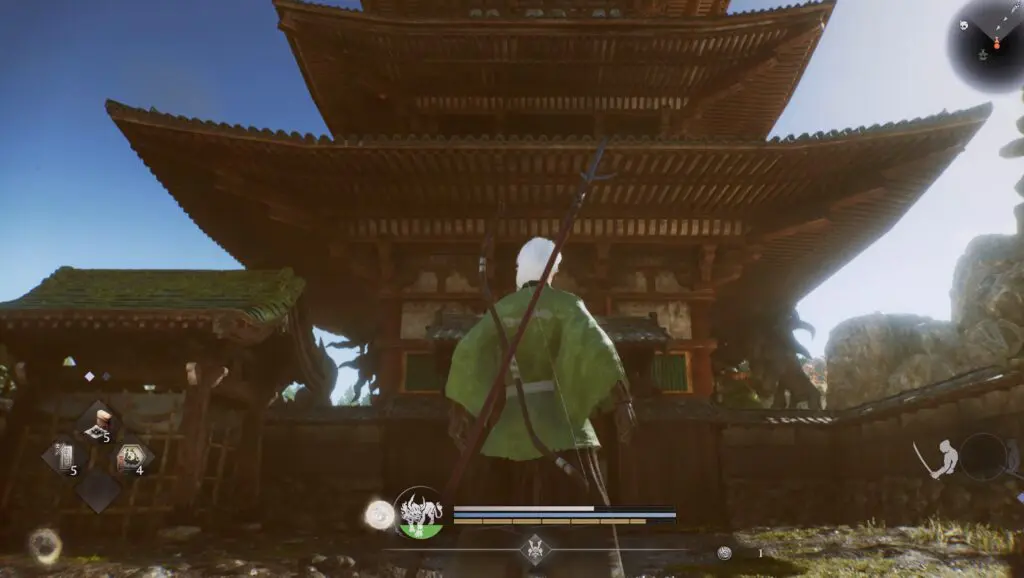
Kodama #9
It is located in the western part of the Ryotan Temple area. Refer to the location shown below. Go behind the building and follow the path.

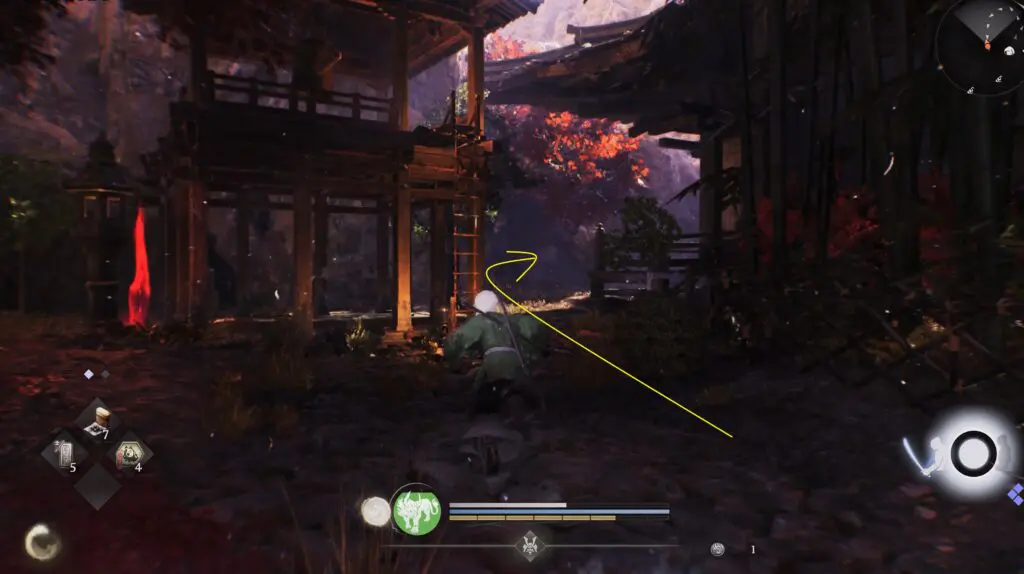
At the end, you will find a small opening that leads under the building. Inside, you will find Kodama #9
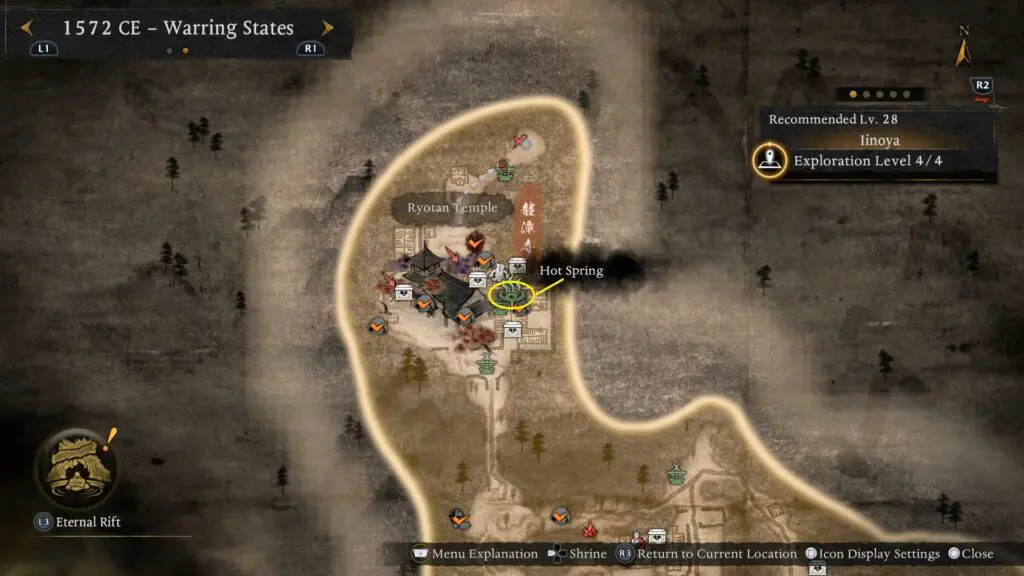
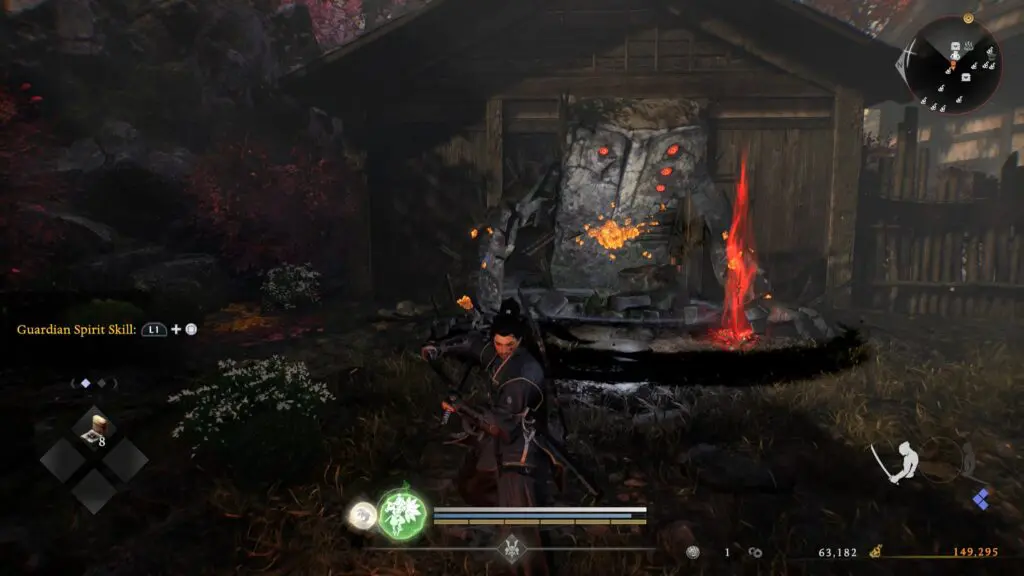
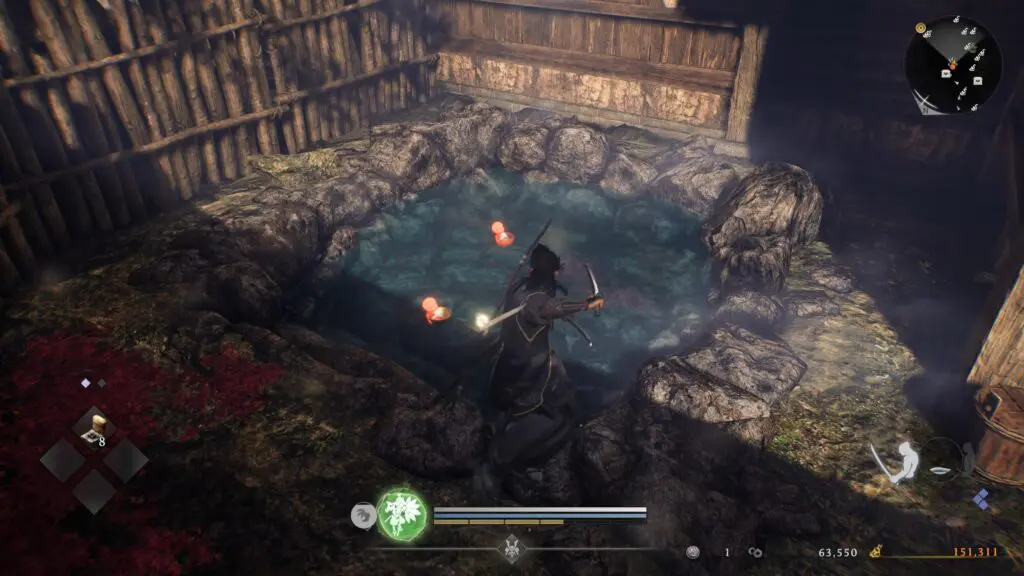
Nurikabe #1, Valuable #21 (Warrior’s Text) & Hot Spring #1
Follow the path heading south from the Ryotan Temple fast travel point. The hot spring location is shown on the map below.
When you reach the area, attack the wall of the hut to spawn the monster.
Defeat it, then go inside the hut to find the hot spring.
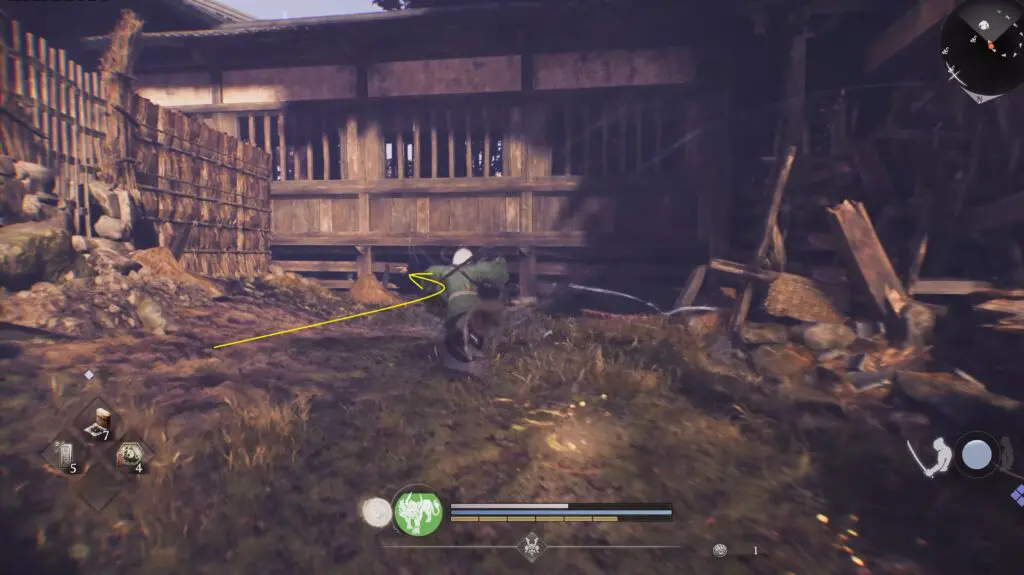
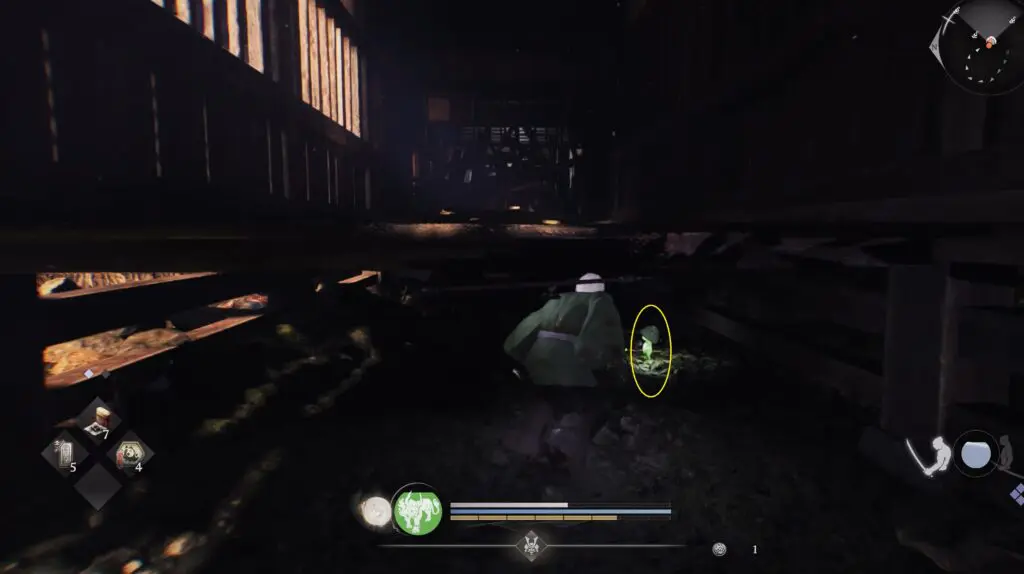
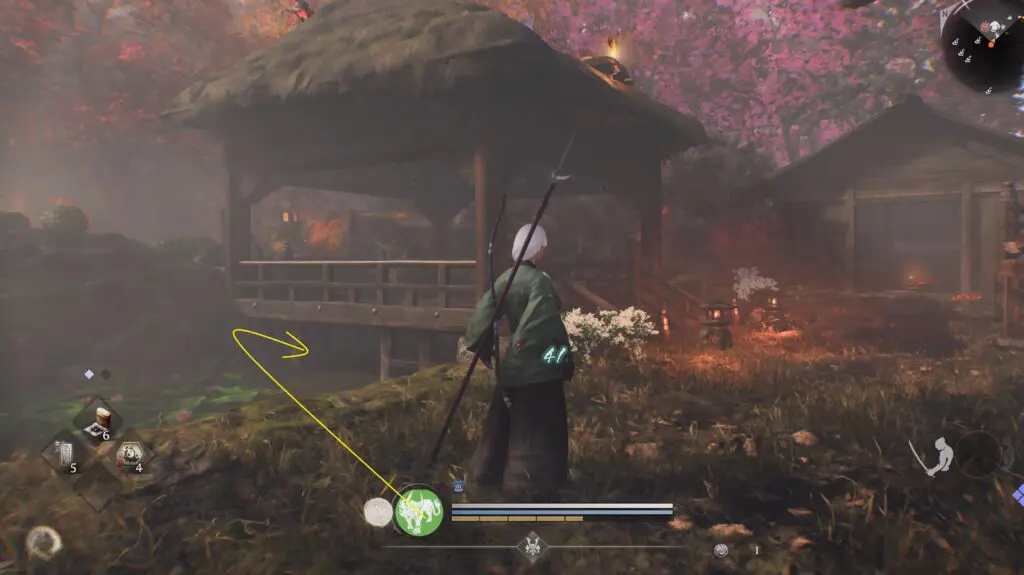
Kodama #10
Just to the left of the hut where the wall turns into a monster you must defeat to reach the hot spring, look for a nearby building. Go under the hut to find Kodama #10 hiding there.

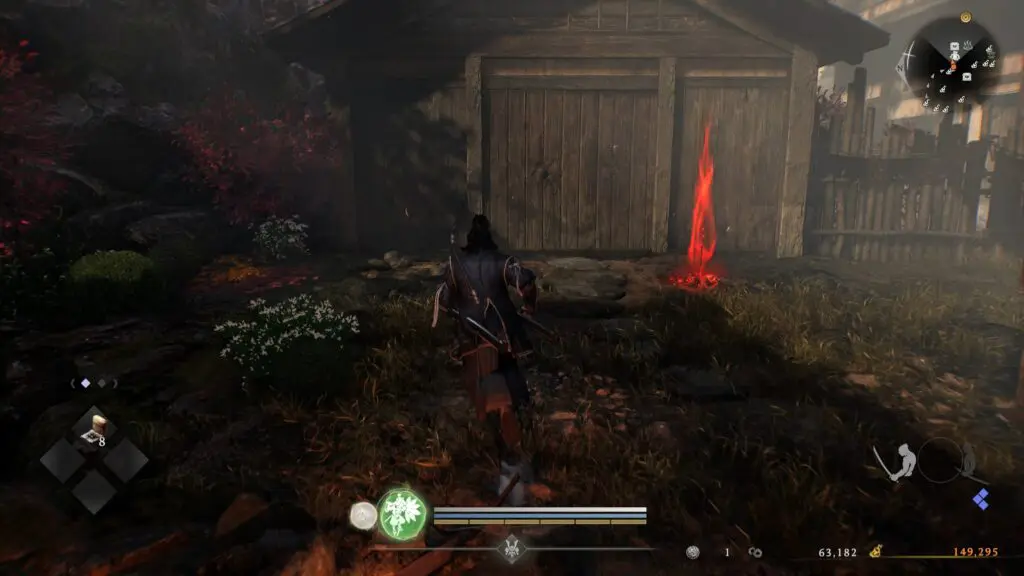
Crucible Wraith #4
Crucible Wraith #4 is on the roof of the hut where you previously found Kodama #10
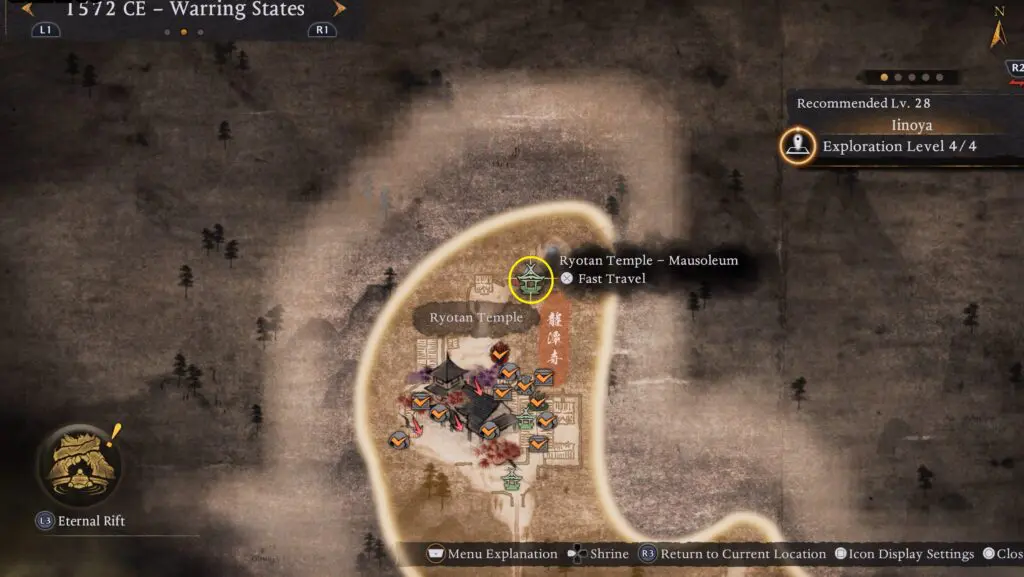
Shrine #8
The location of Ryotan Temple Mausoleum is shown on the map below.