This guide will show players how to solve the Mural Puzzle and complete the objective “Heed Revelations and Find the Crests” in Silent Hill f, helping you progress through the game without getting stuck.
Treasure Hall Start
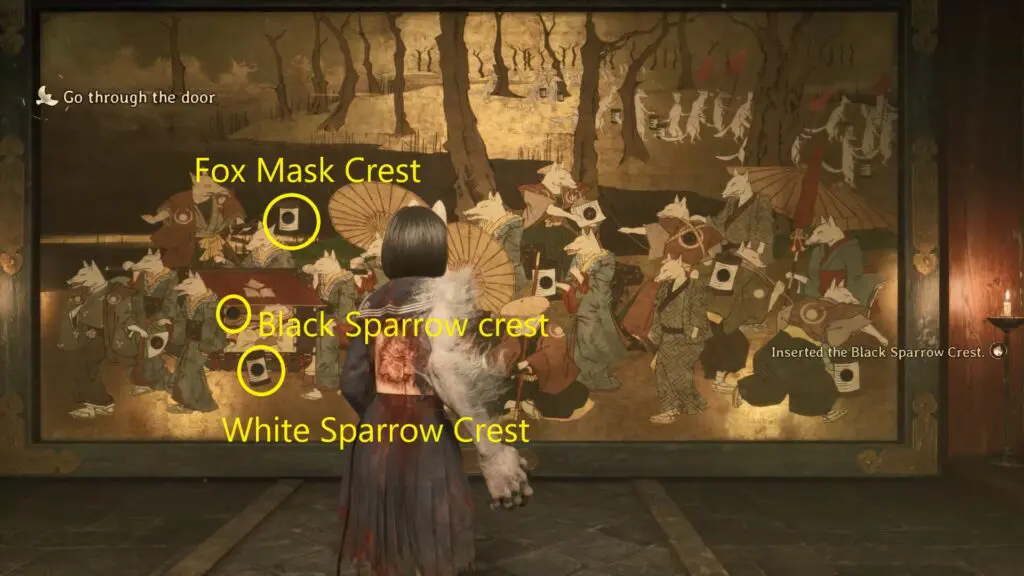
Start the Mural Puzzle by reading the notes found on the tables at both sides of the mural painting.
Heed Revelations and Find the Crests (1/3)
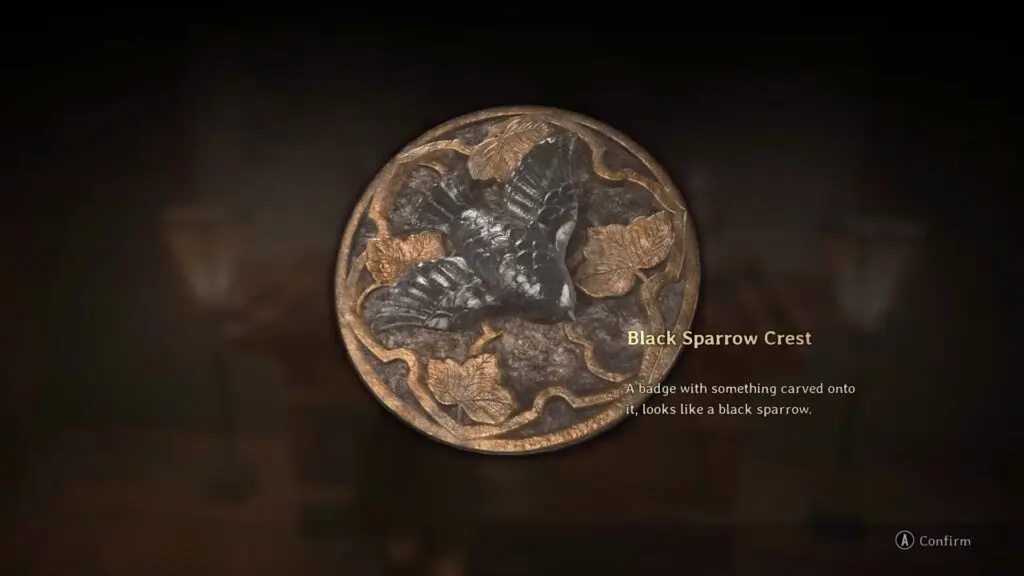
Black Sparrow Crest
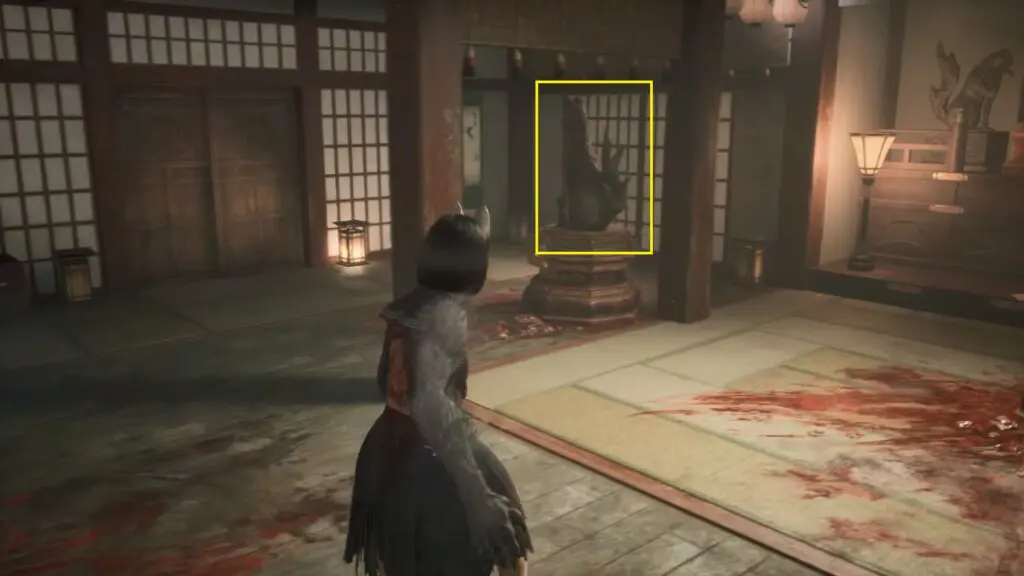
After starting the puzzle, go through the door on the left. Inside, you’ll find several fox statues. Interact with the large fox statue on the left to pull out its pin, causing the statue to rotate and point in a specific direction.
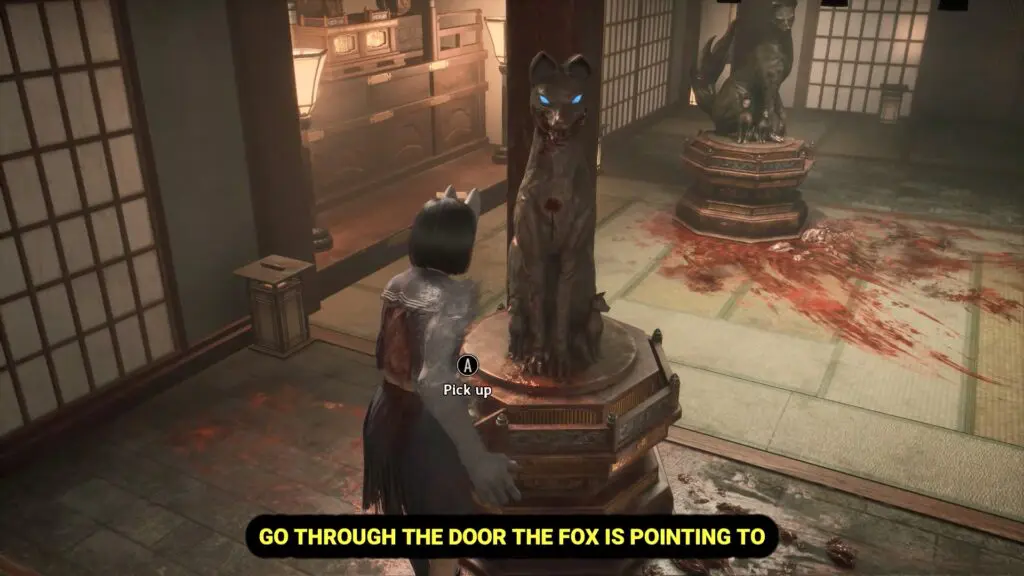
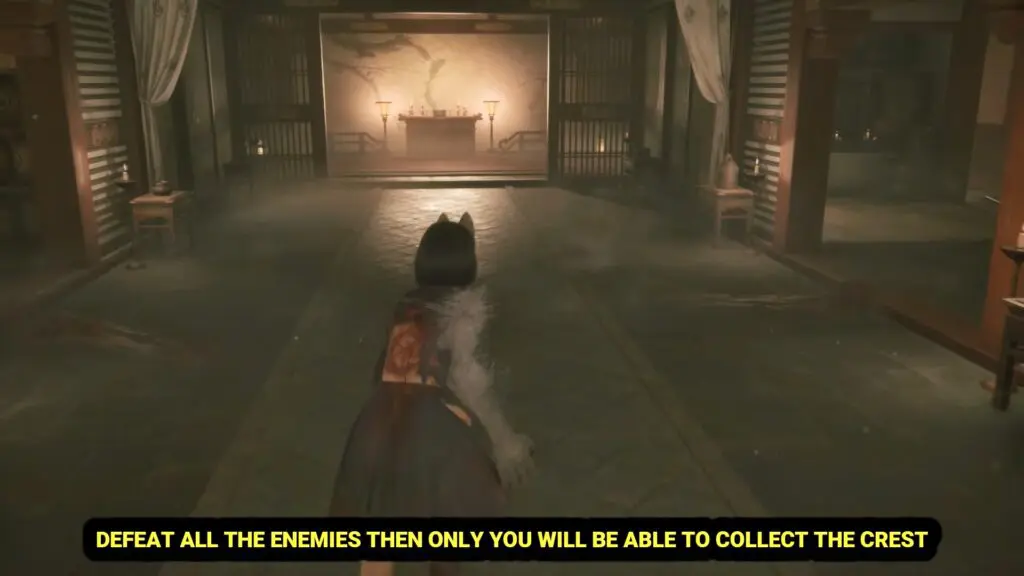
Follow the direction indicated by the fox and head through the door it points to. Once inside, defeat all the enemies in the room, then open the small chest on the table to collect the Black Sparrow Crest.

Heed Revelations and Find the Crests (2/3)
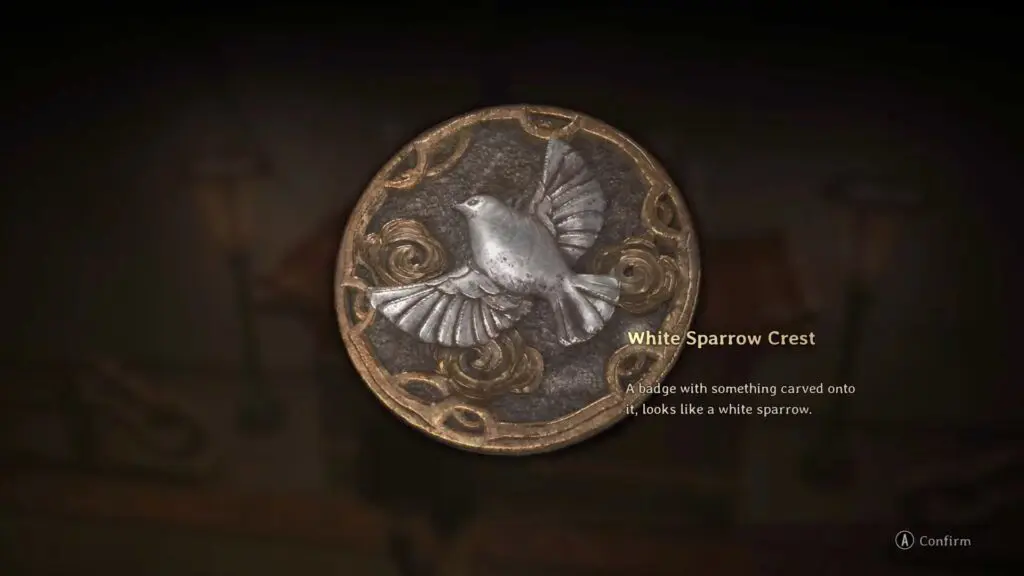
White Sparrow Crest
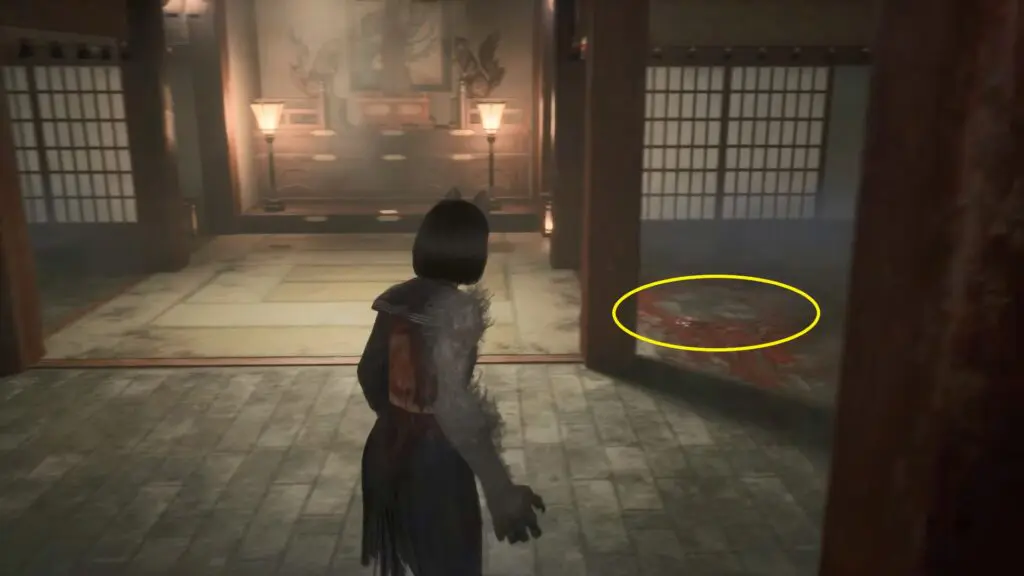
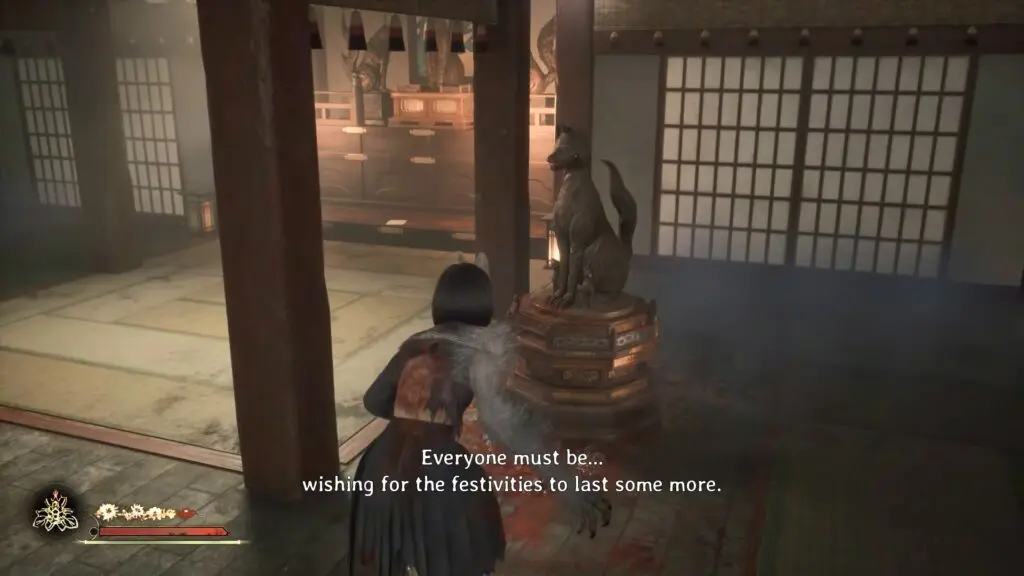
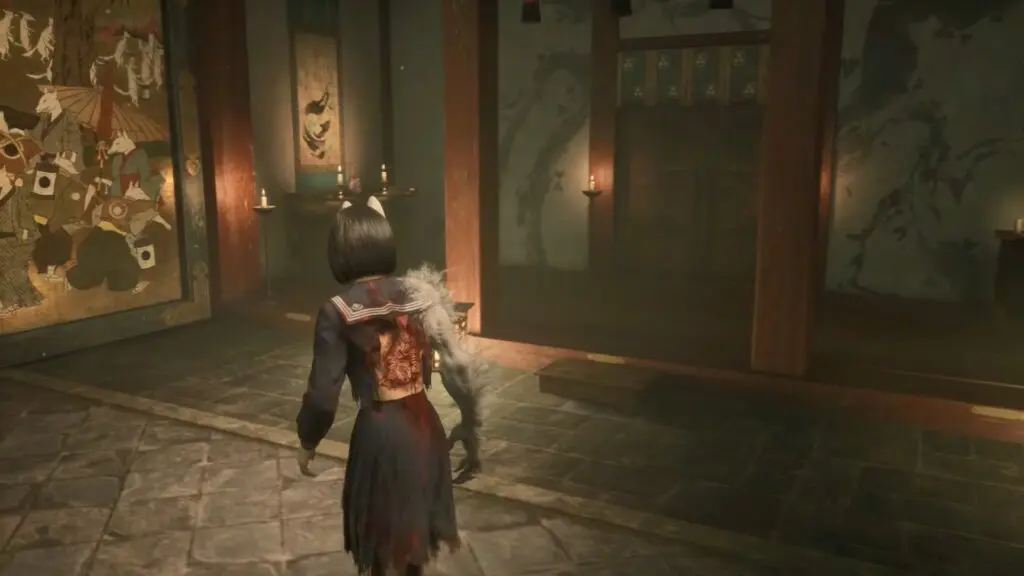
From the mural painting, turn around and head through the door behind you. Inside, you’ll find an empty room. Interact with the large bloodstain on the right side of the room to spawn a fox statue. Pull out its pin to make it rotate and point toward a door. Go through the door indicated by the fox.
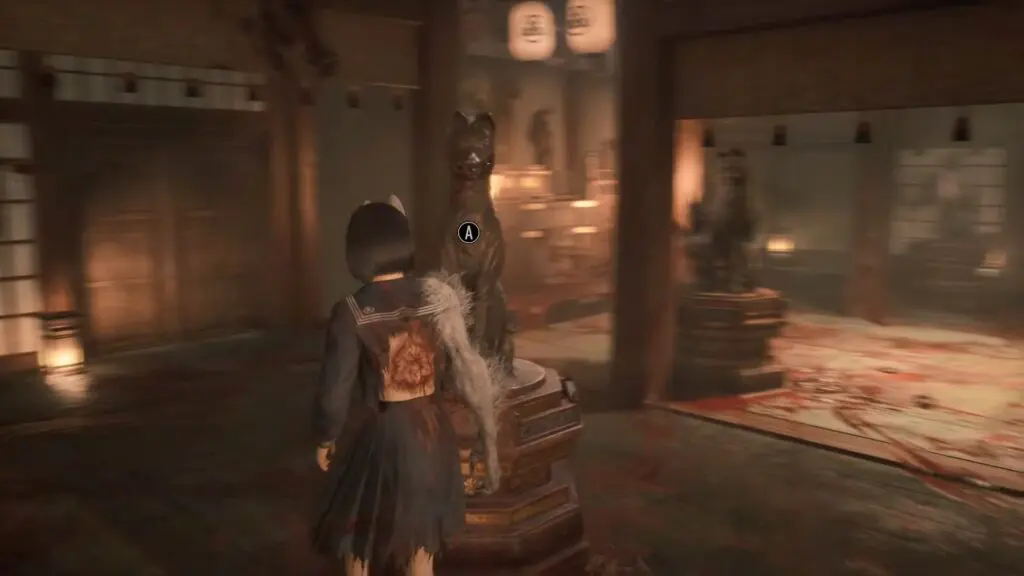
In the next room, you’ll see multiple statues already in place. Examine the bloodstain on the left to reveal another fox statue. Remove its pin, then proceed through the door it points to.
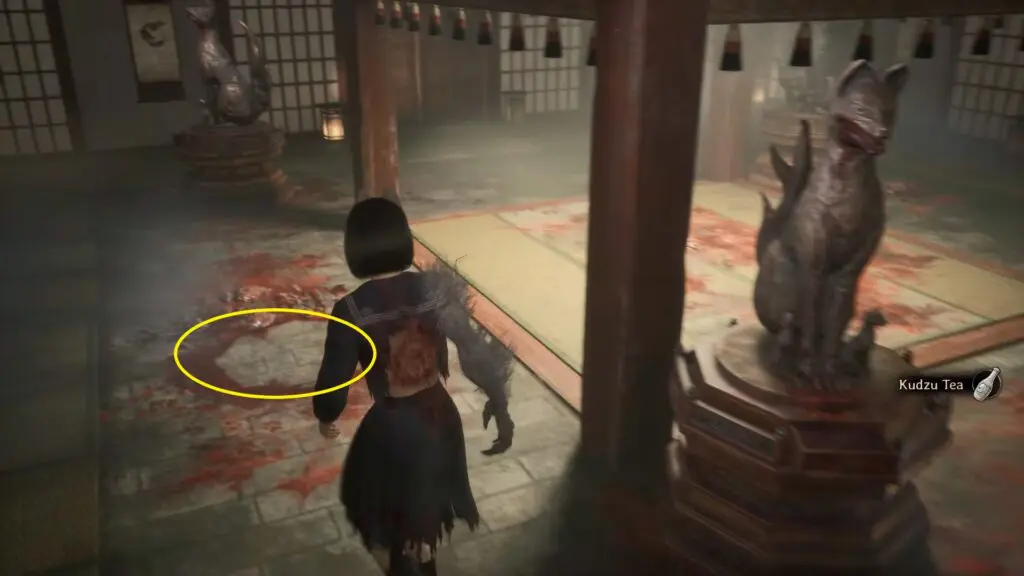
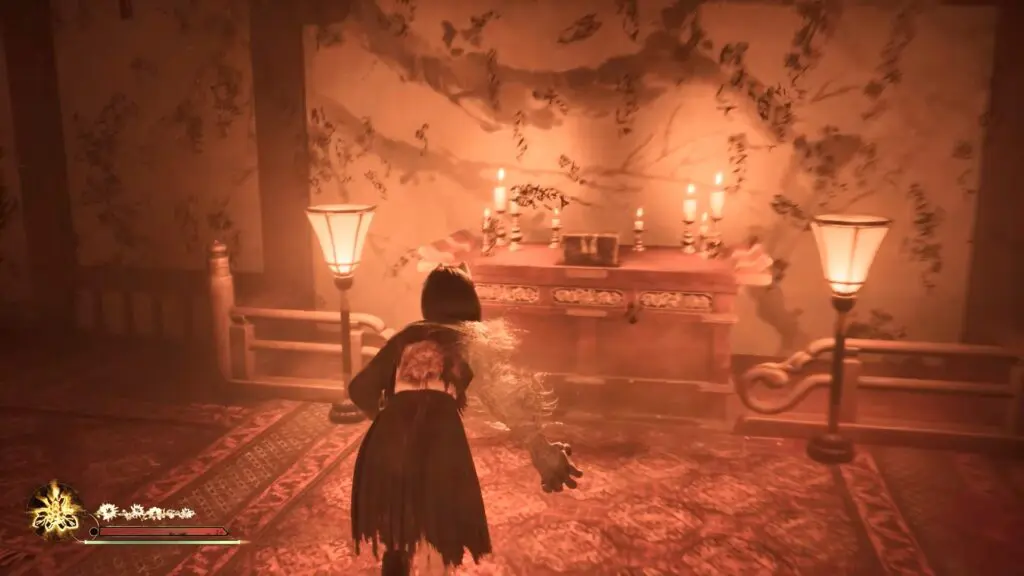
Inside, defeat the enemies and open the chest to obtain the next Crest.
Heed Revelations and Find the Crests (3/3)
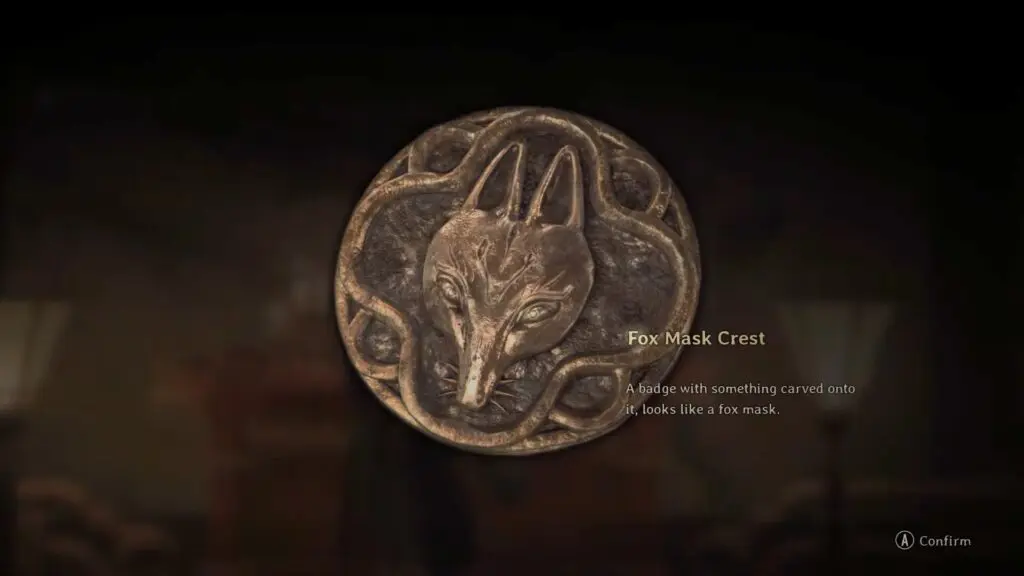
Fox Mask Crest
From the mural painting, go through the door on your right. Inside, you’ll find a room with several fox statues. Go to the statue on the far left side and pull out its pin to make it rotate and point toward a door. Go through the door indicated by the fox.
Inside, defeat the enemies and open the chest to obtain the next Crest.
Solve the Mural Puzzle
The puzzle’s solution changes depending on the ending you pursue, but the Crest locations remain fixed across all difficulties.
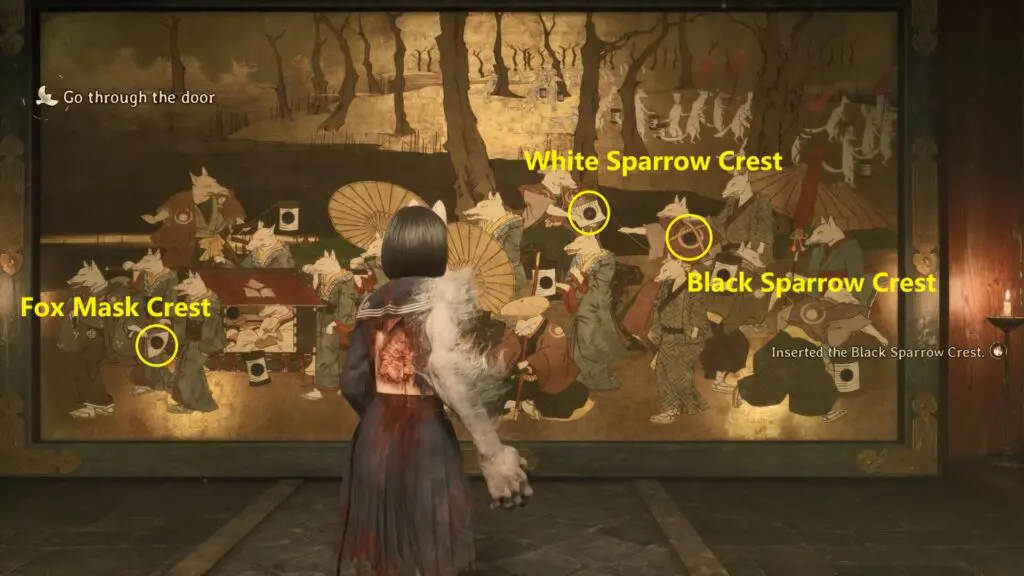
Ending 1
- Fox Mask Crest: Place it in the far-left slot. (Depicts a fox with a fan)
- White Sparrow Crest: Place it in the top-middle slot. (Depicts a fox carrying a lantern)
- Black Sparrow Crest: Place it in the slot to the right of the White Sparrow Crest. (Depicts a fox pulling a rope)
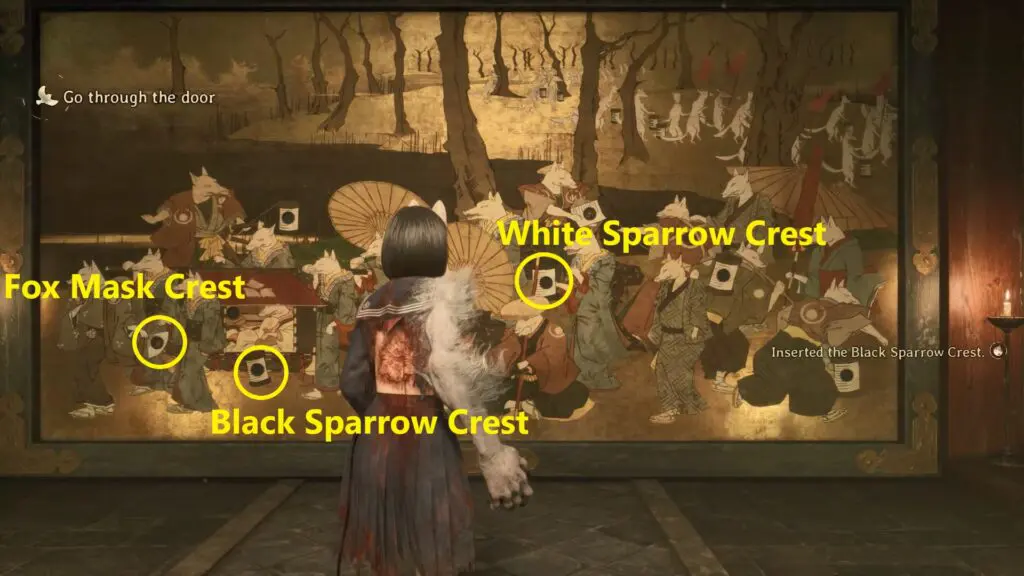
Ending 2
- Fox Mask Crest: Place it in the far-left slot. (Depicts a fox with a fan)
- Black Sparrow Crest: Place it in the slot directly next to the Fox Mask Crest. (Depicts a lantern dangling from a red-roofed cage)
- White Sparrow Crest: Place it in the bottom-middle slot. (Depicts a resting fox)
Ending 3
- Fox Mask Crest: Place it in the top-left slot. (Depicts a fox holding up a lantern)
- White Sparrow Crest: Place it in the bottom-right slot. (Depicts a running fox)
- Black Sparrow Crest: Place it in the slot directly next to the White Sparrow Crest.
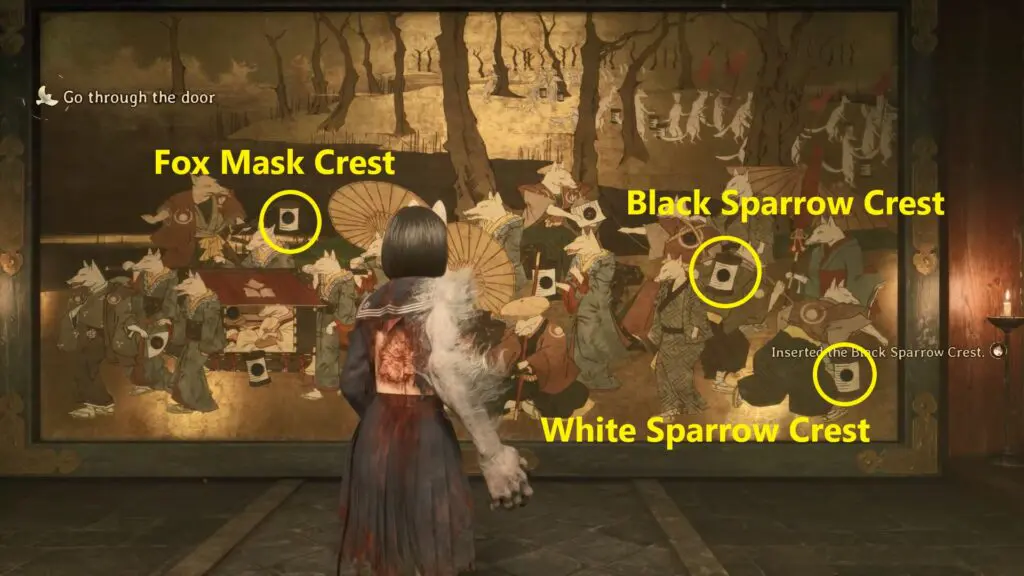
Ending 4
- Fox Mask Crest: Place it in the top-left slot. (Depicts a fox holding up a lantern)
- Black Sparrow Crest: Place it in the slot directly below the Fox Mask Crest. (Depicts a fox in a red cage)
- White Sparrow Crest: Place it in the slot directly below the Black Sparrow Crest. (Depicts a lantern dangling from a red-roofed cage)