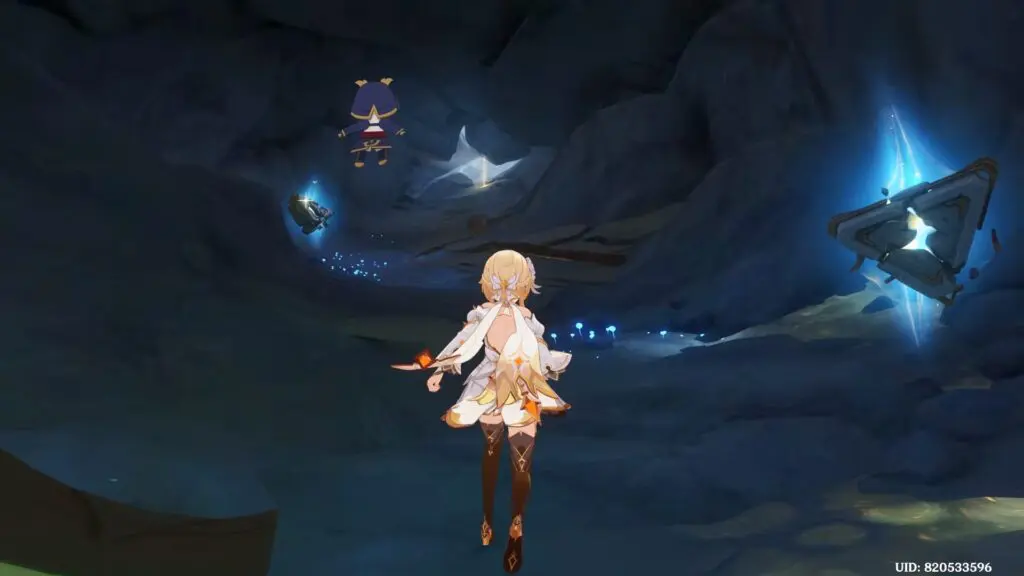
Pioneers is the first and only quest in the World Quest Series Moon Gazing: Act I – Pioneers. This article will guide the player on how to complete all the objectives of the quest Pioneers in Genshin Impact 6.7
Follow Columbina
As the quest begins, head northwest toward a deserted island where Columbina is standing.
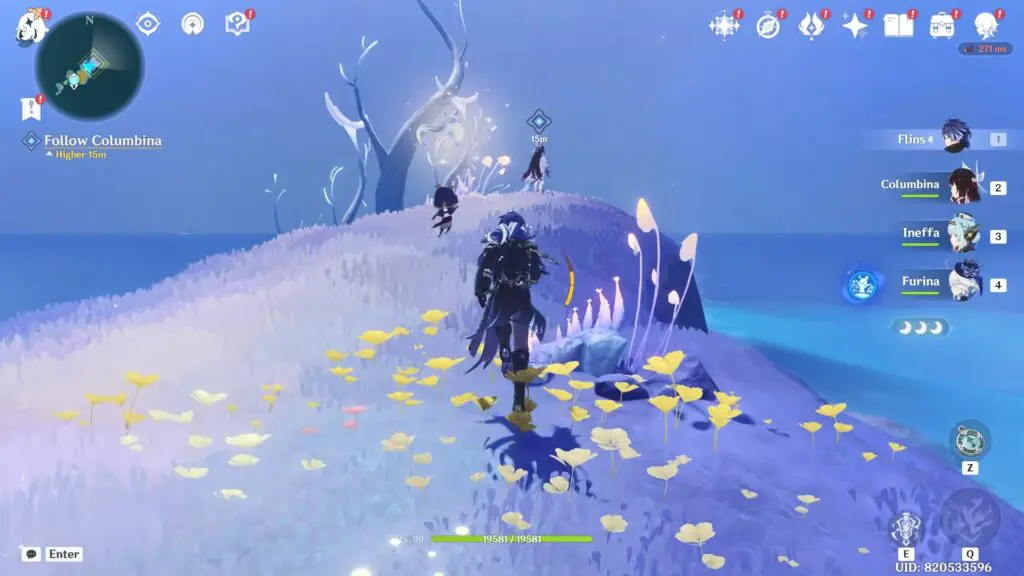
Look for traces of Columbina
As you approach Columbina, she will suddenly teleport to another location. Continue following her to the new area by using the Highway of Light created by the nearby Kuuhenki. Each time she teleports, head toward her new location until you catch up.
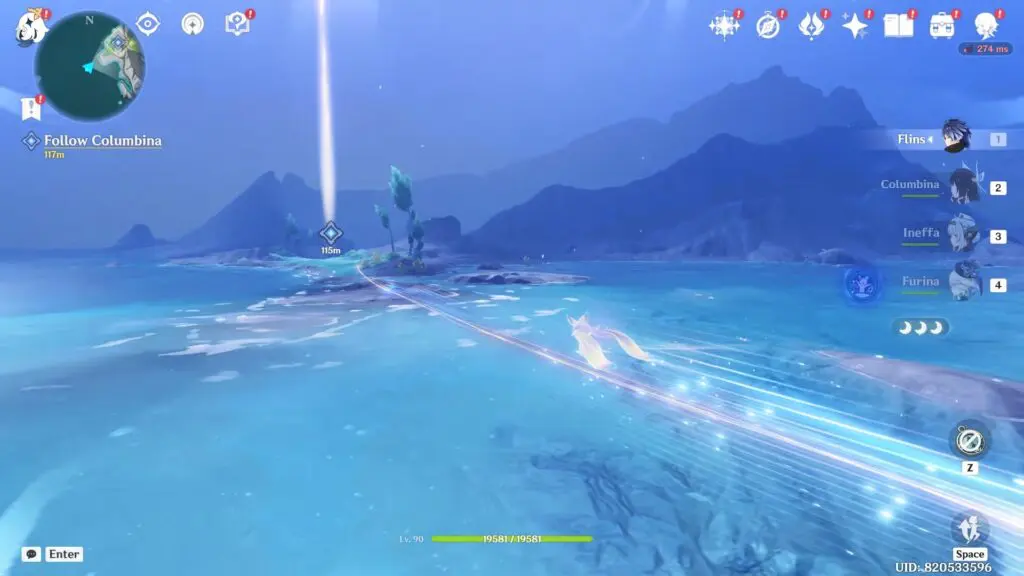
Pass through the entrance
Once you arrive at Dunanna Forward Station, continue along the path until you reach a large lake. As you approach it, a cutscene will automatically begin.
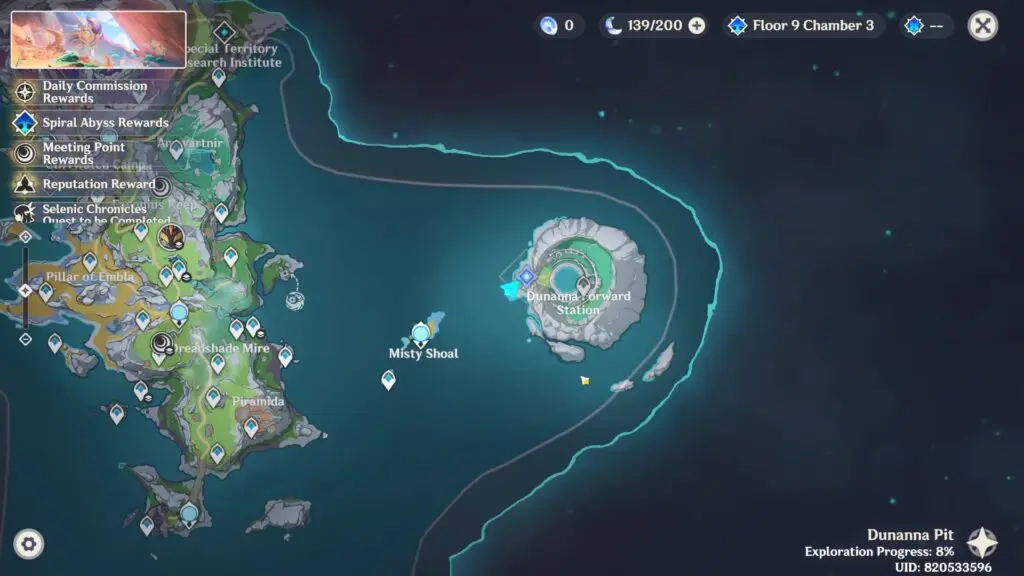
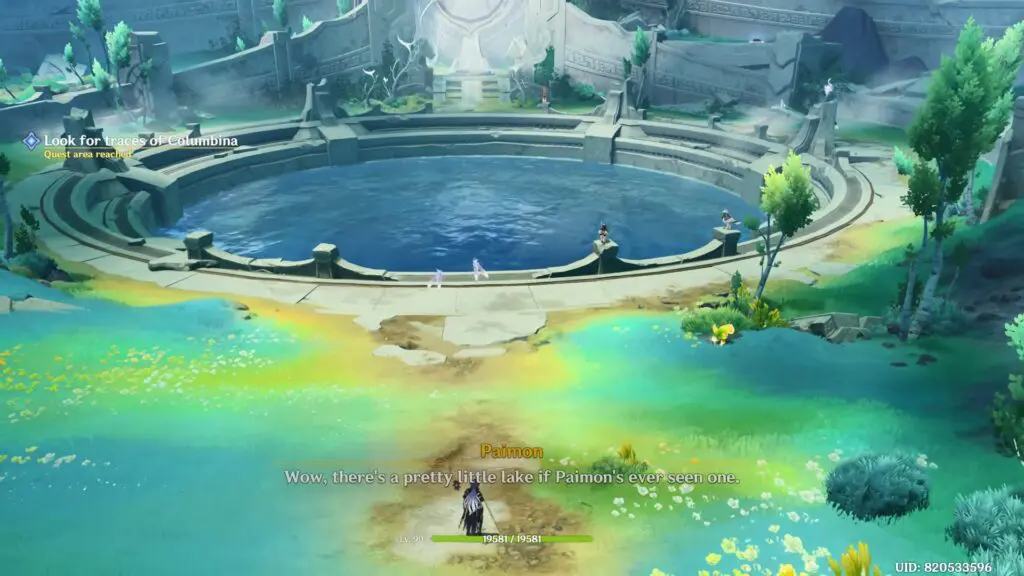
After the cutscene ends, head to the right side of the lake. Keep following the Kuuhenk until it leads you to an entrance that descends underground. Drop down through the opening to enter the underground ruins.
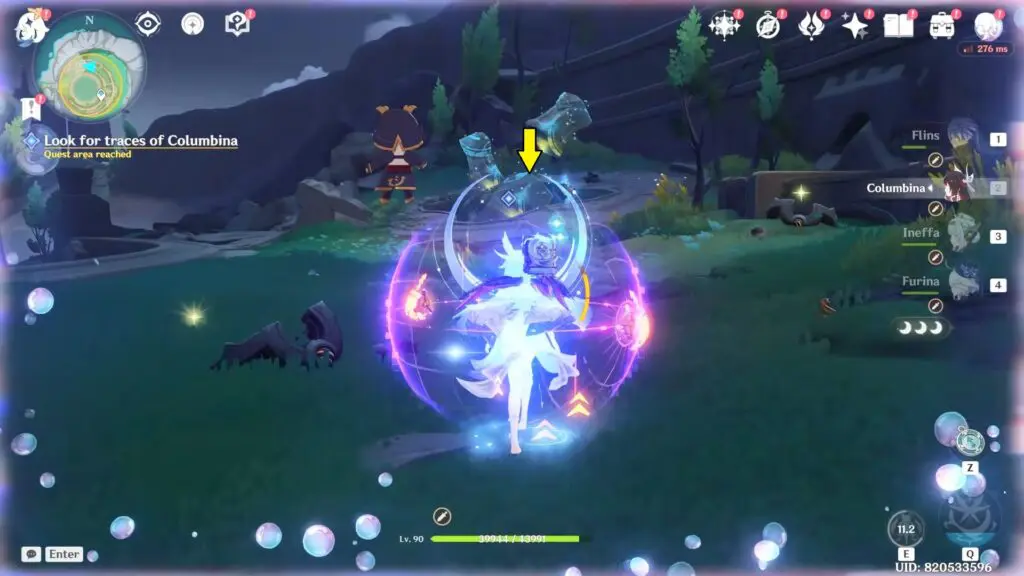
Explore the underground ruins
Follow the path through the underground ruins, clearing any obstacles along the way. When you encounter floating rocks blocking your route, simply push them with your character to move them aside and create a clear path forward.
Continue deeper into the ruins until you reach a large open chamber with several giant rings embedded in the ground. As soon as you enter the area, a cutscene will automatically begin, advancing the quest to the next objective.
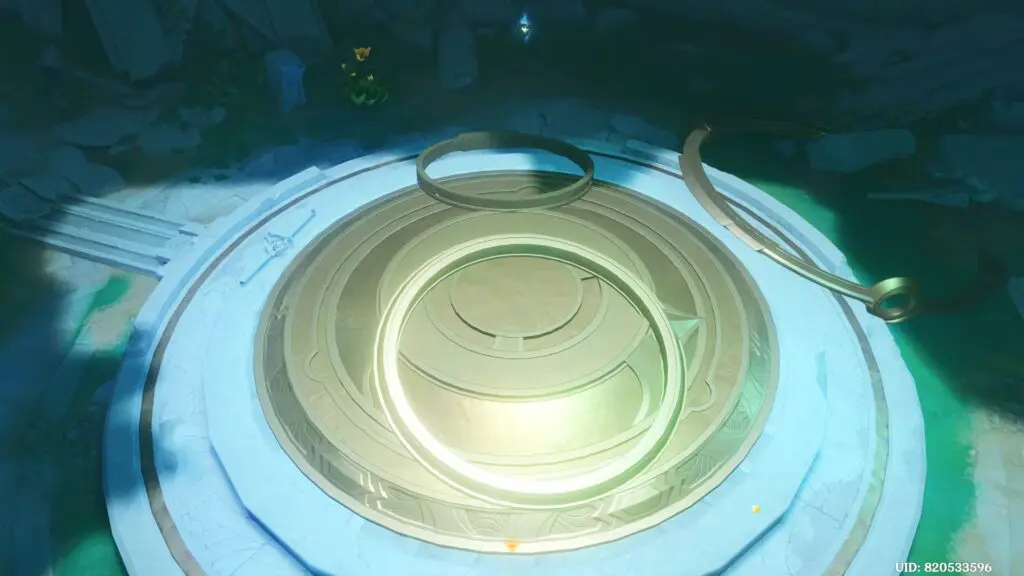
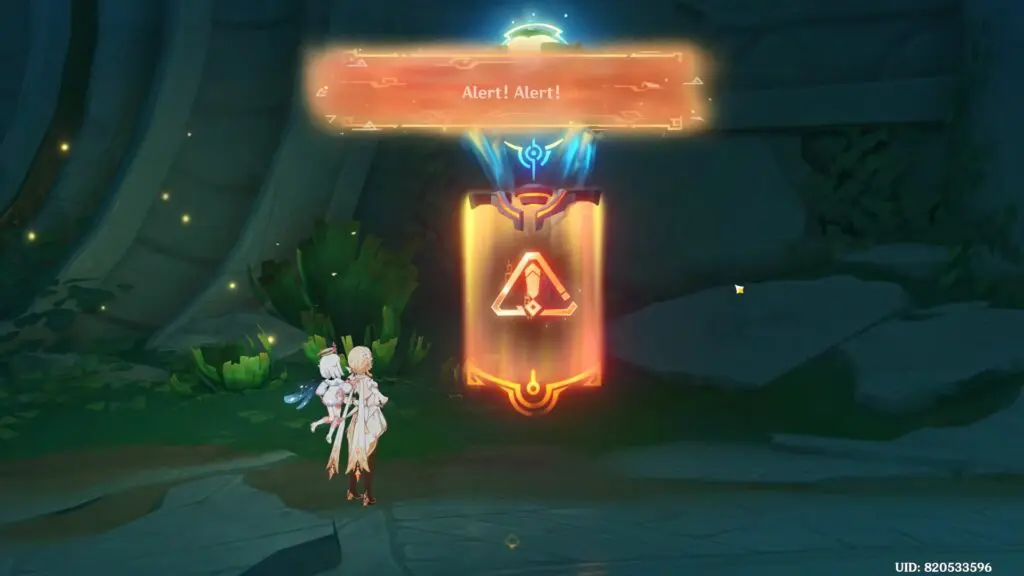
During the cutscene, Paimon approaches the glowing mechanism and attempts to interact with it. However, the mechanism fails to activate, and an alarm will appear indicating that no power is available.
Head to the generator room
Once the cutscene ends, turn left and follow the passage until you reach the generator room.
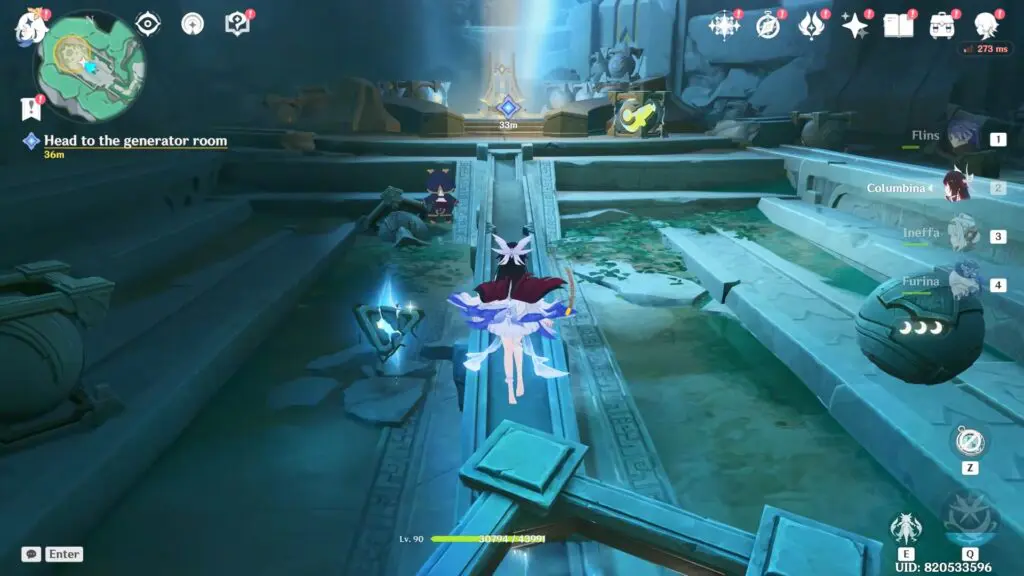
As you enter, another short cutscene will play. During it, Columbina grants you the ability to use Archaeolune Energy, a special power required to solve puzzles throughout the underground ruins. This is where you’ll restore power to the ancient mechanism.
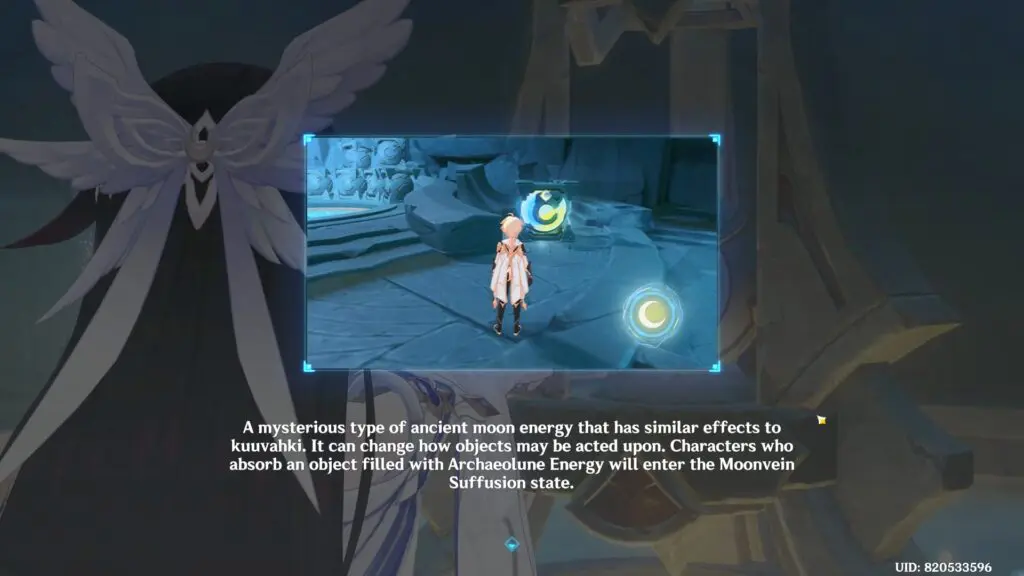
With Archaeolune Energy, you can borrow the power of glowing energy spheres found nearby. Once you have this power, you can shoot a special energy orb. When the orb lands and explodes, it creates a zero-gravity field. This makes nearby objects float into the air for a short time.
Find a way to activate the energy mechanisms
First, collect Archaeolune Energy from the glowing spheres nearby.
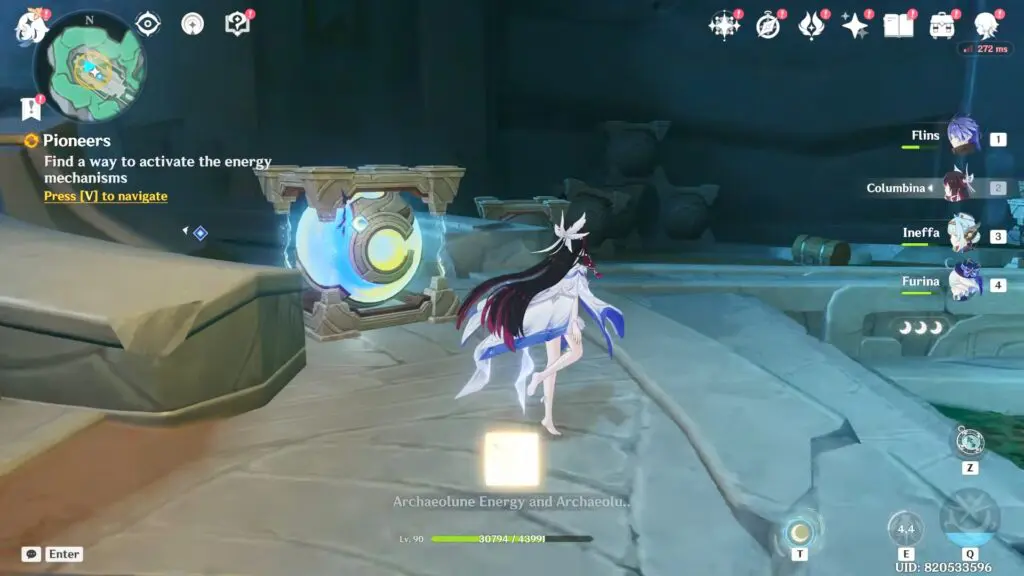
Once you’ve got the power, head to the tall tower in the middle of the generator room, aim at the tower and the objects around it, then release to fire an energy orb.
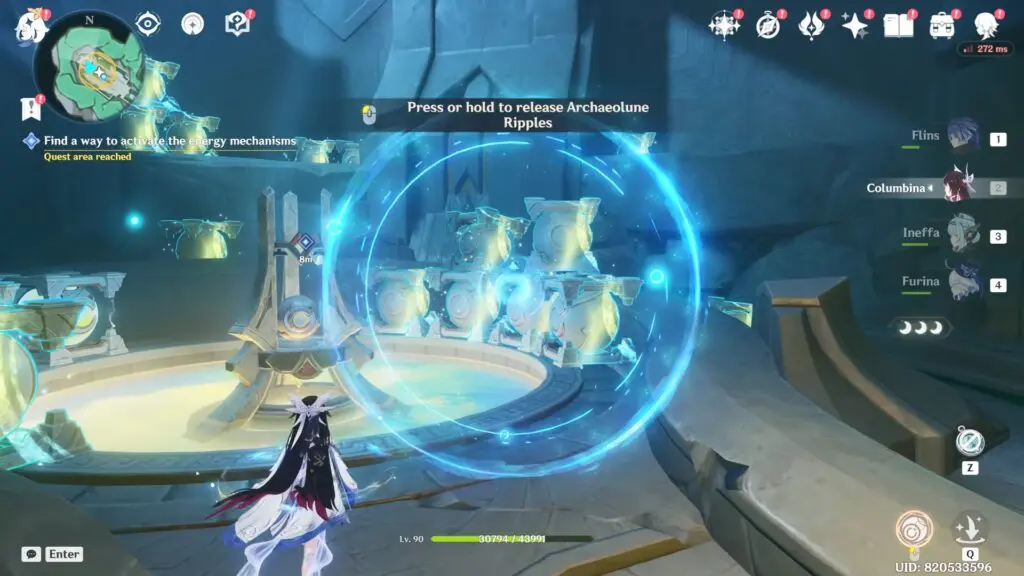
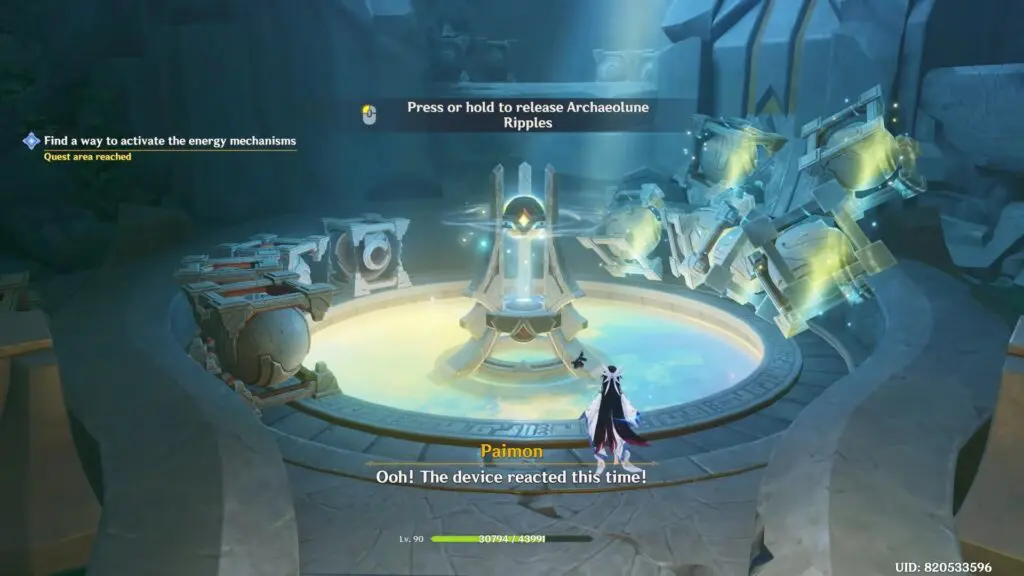
After shooting, press the Aim button again to trigger the orb’s effect. This creates a zero-gravity field nearby and lifts the objects. This will let the energy flow toward the connected pipe.
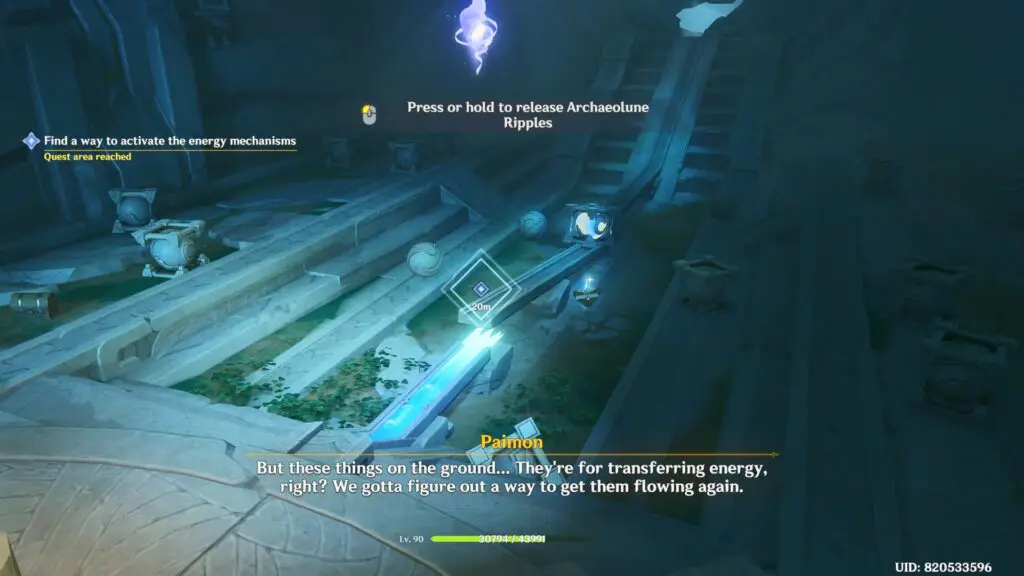
Next, find the large ball blocking the pipe. Fire another energy orb at it and trigger the effect to lift the ball away using zero gravity. Once the blockage is cleared, stand on the raised end of the pipe to balance it so the energy can flow properly.
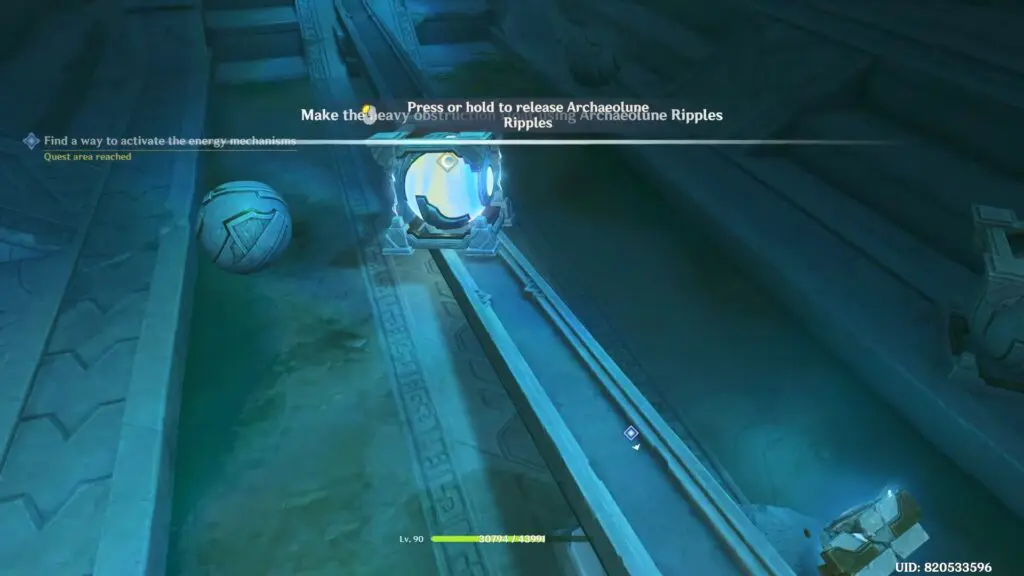
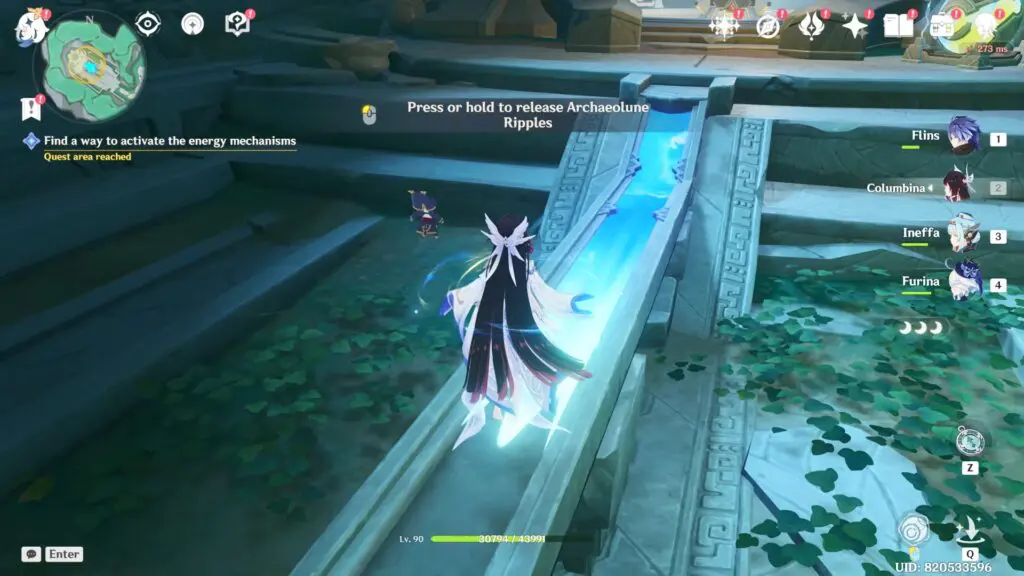
Once power is restored, go back to the room with the large circular platform in the main hall. Interact with the mechanism and choose the Frost Moon option to continue the quest and unlock the next objective.
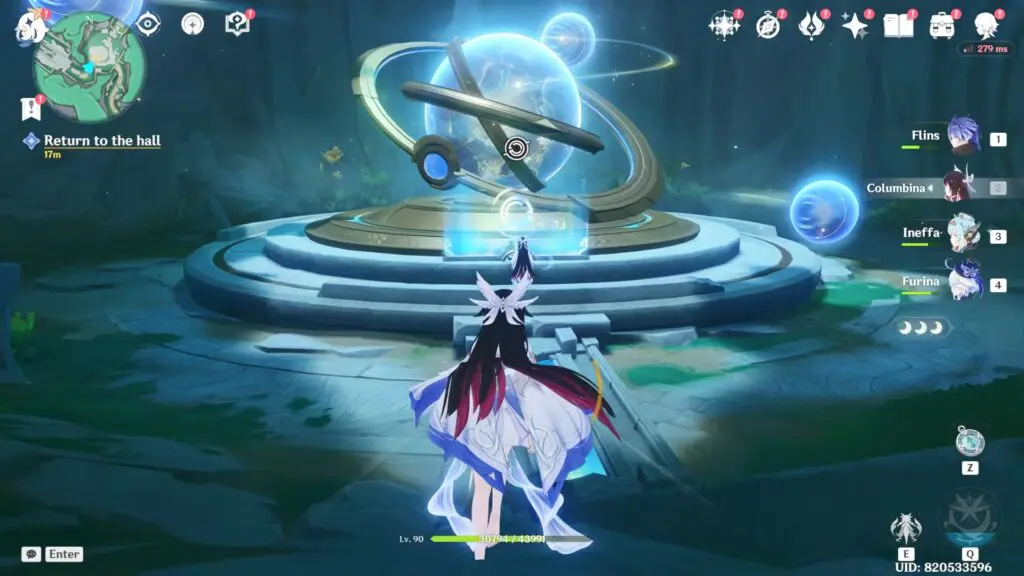
Talk to Columbina
After activating the energy mechanisms, a short cutscene will play. During the scene, it is revealed that Columbina was actually a black Kuuhenki in disguise.
Follow the black kuuhenki
Your next objective is to follow the Black Kuuhenki through the underground ruins. Keep following it until you reach the first locked door. Here, you’ll find a circular door that is powered by an energy mechanism, with a red laser blocking the way.
To unlock the door, collect Archaeolune Energy from the glowing energy spheres nearby. Then, aim at the tall energy mechanism beside the circular door and shoot the energy to activate it. Once the mechanism is fully charged, the door will open. Go through the door and keep moving forward, but be careful of the moving red laser.
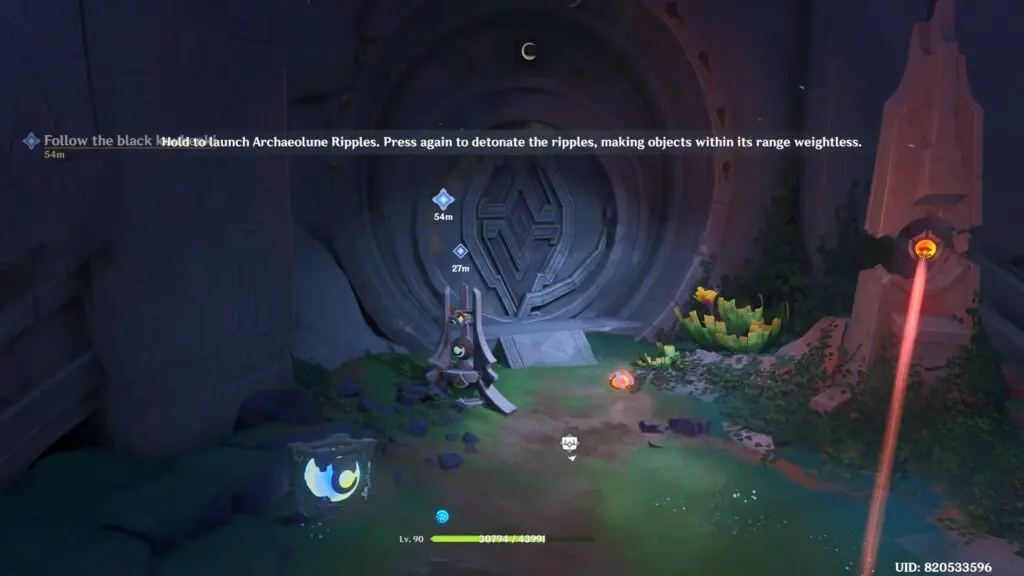
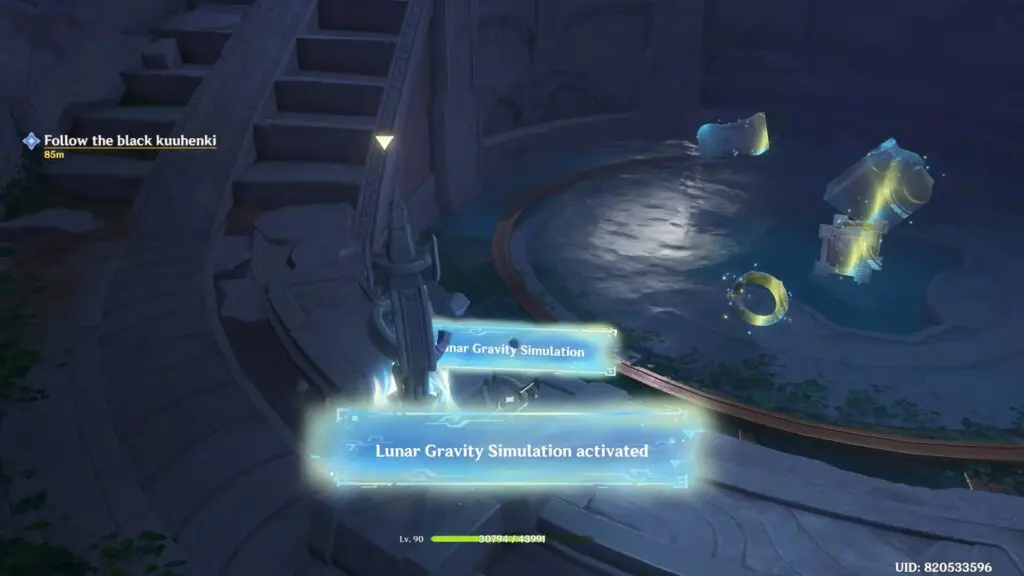
In the second room, interact with the mechanism near the water to activate the Gravity Simulation. This creates a zero-gravity effect. Use the higher jumps to climb to the top platform. Once you get there, interact with the mechanism again to deactivate the Gravity Simulation. This will unlock the door, allowing you to continue through the ruins.
Defeat the guards
Keep following the Black Kuuhenki until you reach the end of the underground section. Once you arrive in the large room, a Dilimbabbar Attack Array elite enemy will appear in the center. Defeat this enemy to continue the quest.
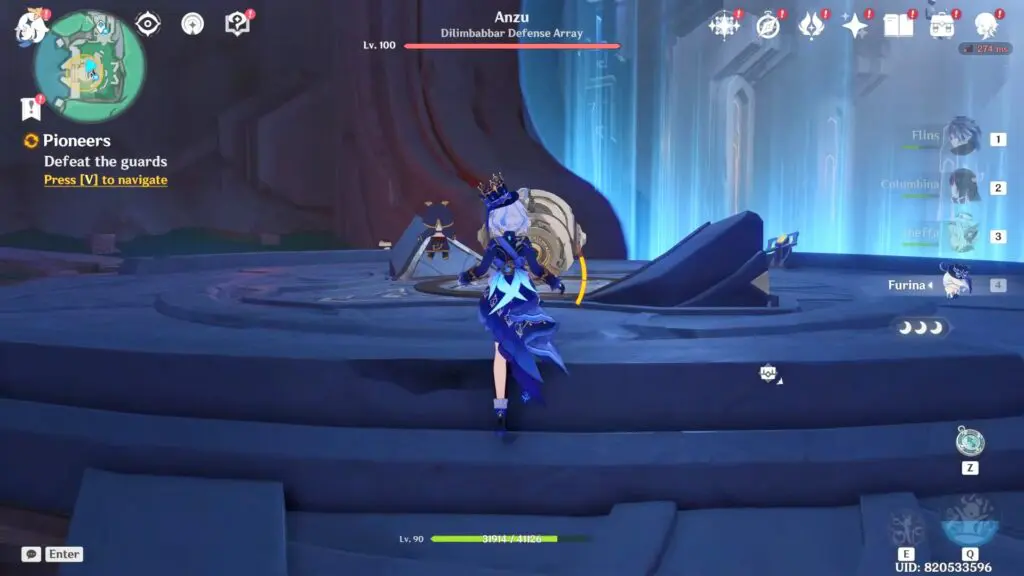
Speak with the Black Kuuhenki, you’ll need to choose the correct dialogue options to continue. Choose the dialogue options in this order:
- Select the second dialogue option.
- Next, choose the third dialogue option.
- Finally, select the first dialogue option.
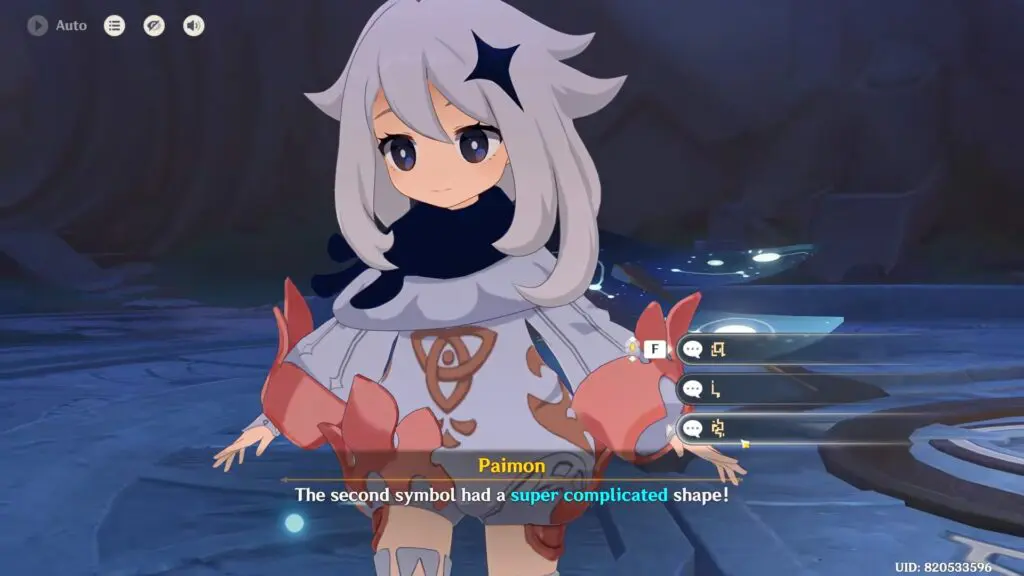
Go to the lunar shuttle
Once the conversation with the Black Kuuhenki ends, ride the elevator down to the spaceship and enter it.
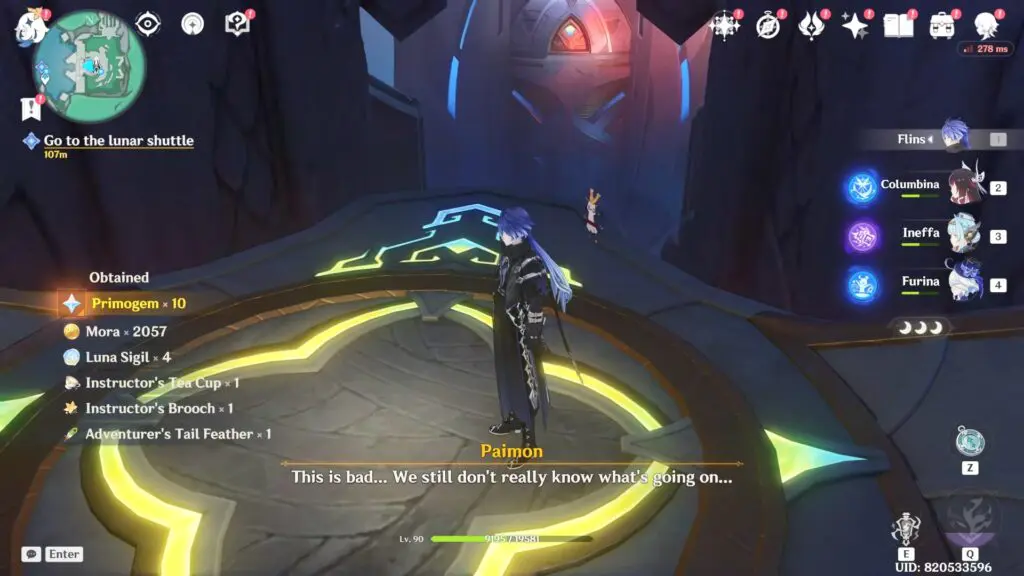
After you are inside, interact with the first glowing circle on the right side of the room. This will let you pick up the communication device for the Black Kuuhenki.
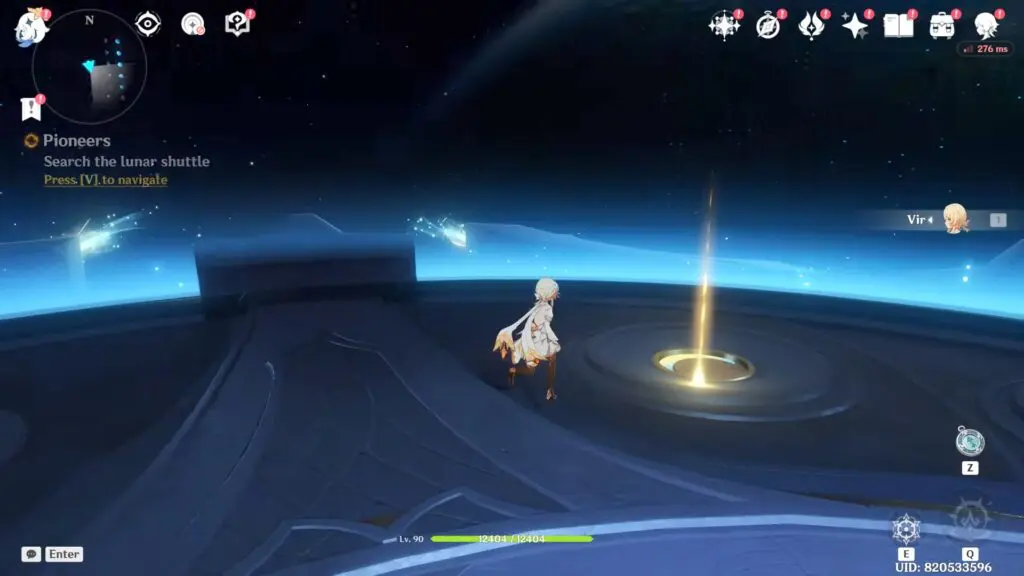
Confront the black kuuhenki and Search the lunar shuttle
Speak with the Black Kuuhenki. After the conversation, it will display a globe showing the different destinations on the Frost Moon. Rotate the globe until you find Ungien’s Circle, then select it to continue.
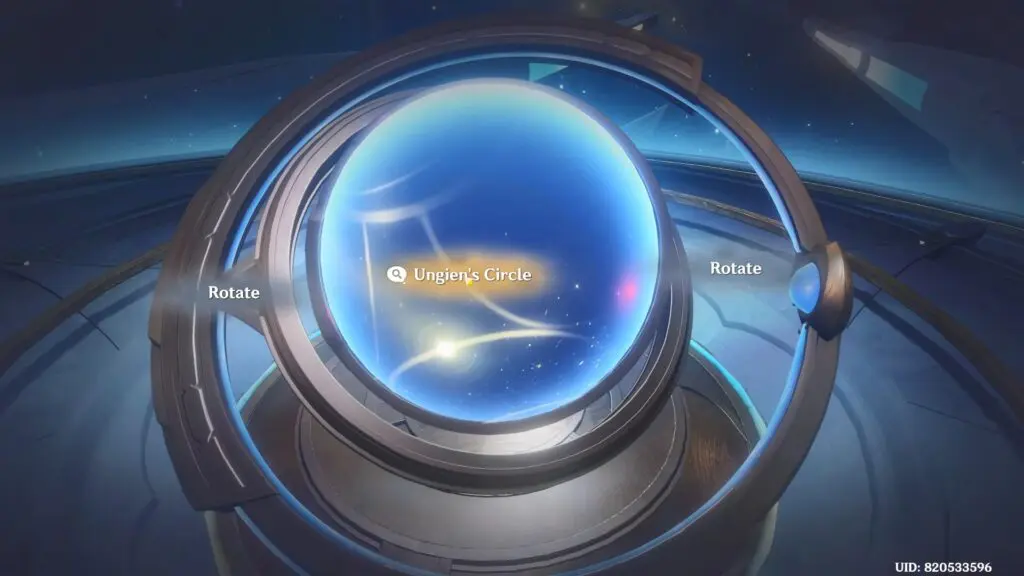
Talk to the black kuuhenki
After the cutscene, interact with the glowing marker beside the rock. Then, turn around and collect Archaeolune Energy from the glowing spheres behind you. Once you have the energy, aim at the rock and fire it to make the rock float away, clearing the path forward.