This article will guide you through all objectives of the quest “Riju of Gerudo Town” in The Legend of Zelda: Tears of the Kingdom. Riju of Gerudo Town is a Main Quest in The Legend of Zelda: Tears of the Kingdom.
Starting Location
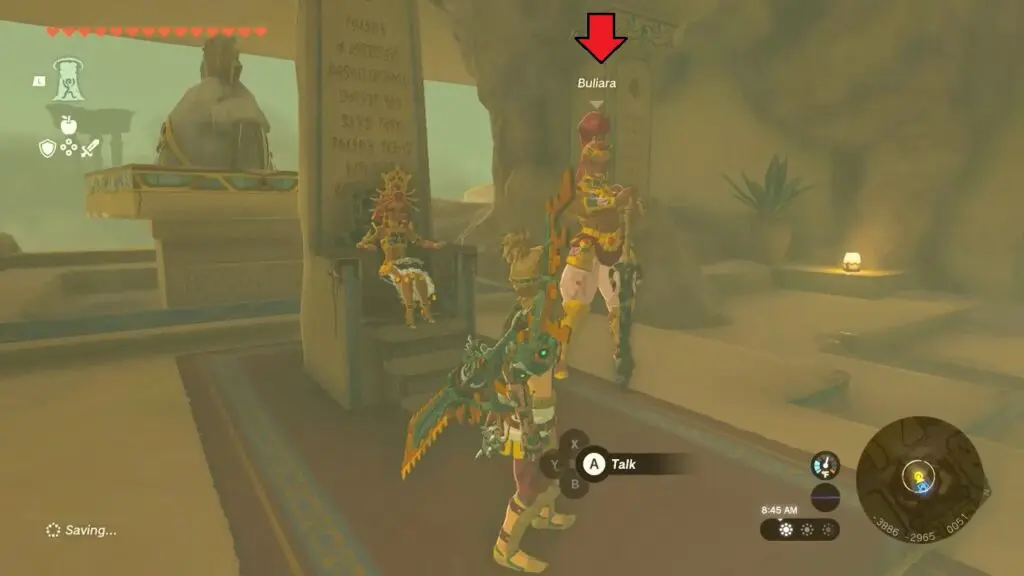
This quest begins automatically during Main Quest: Regional Phenomena. Talk to Buliara (NPC) in the underground section and she will send you to talk to Riju.
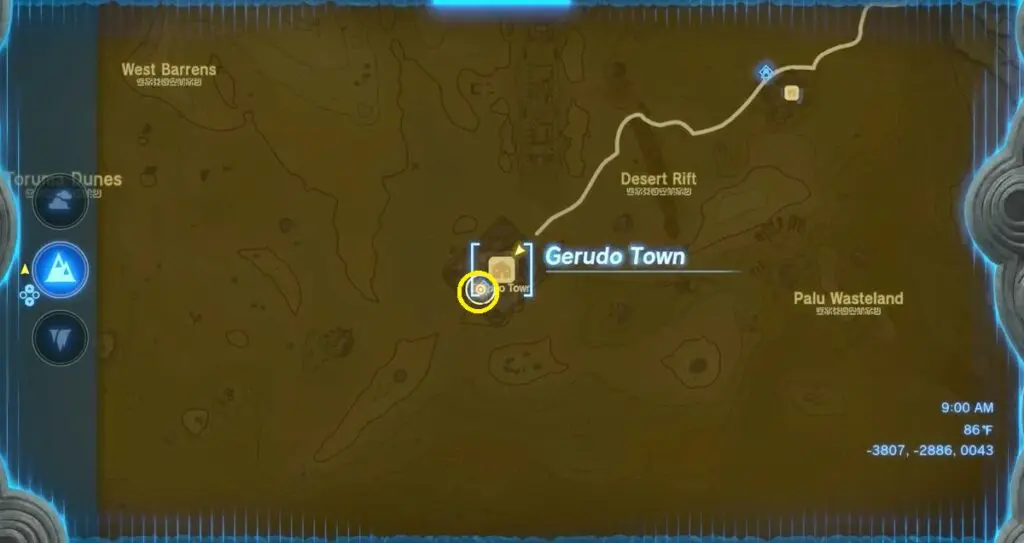
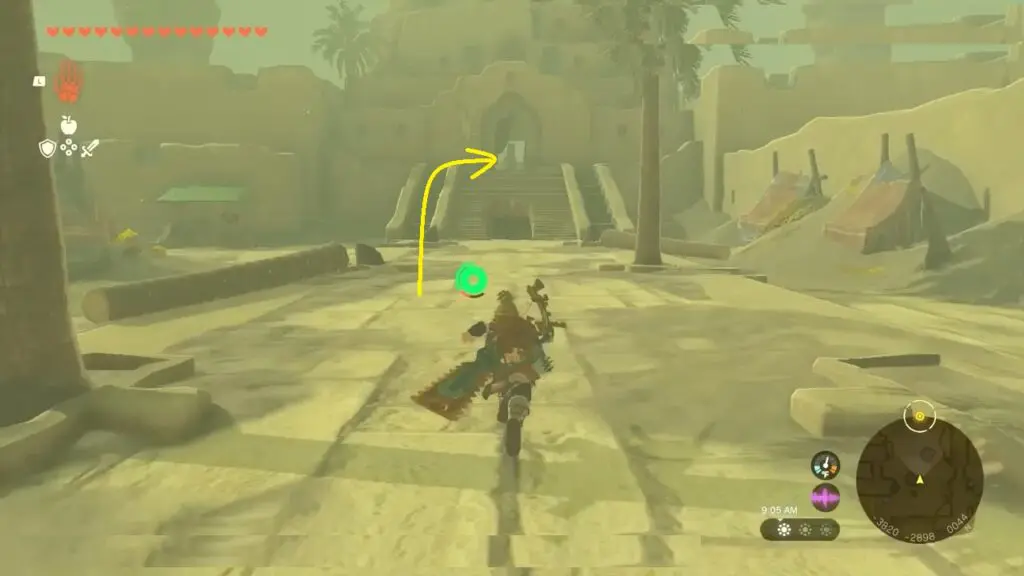
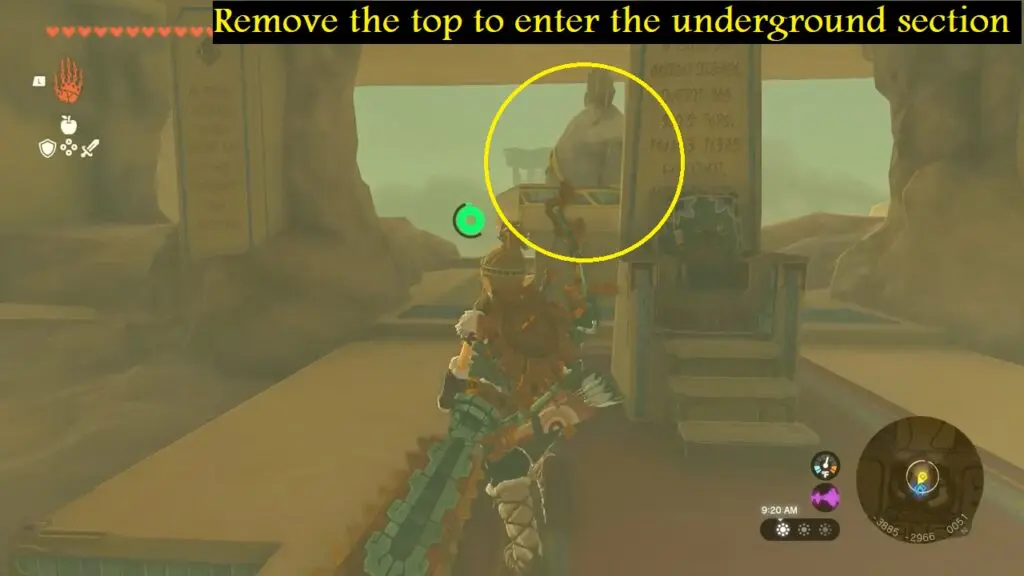
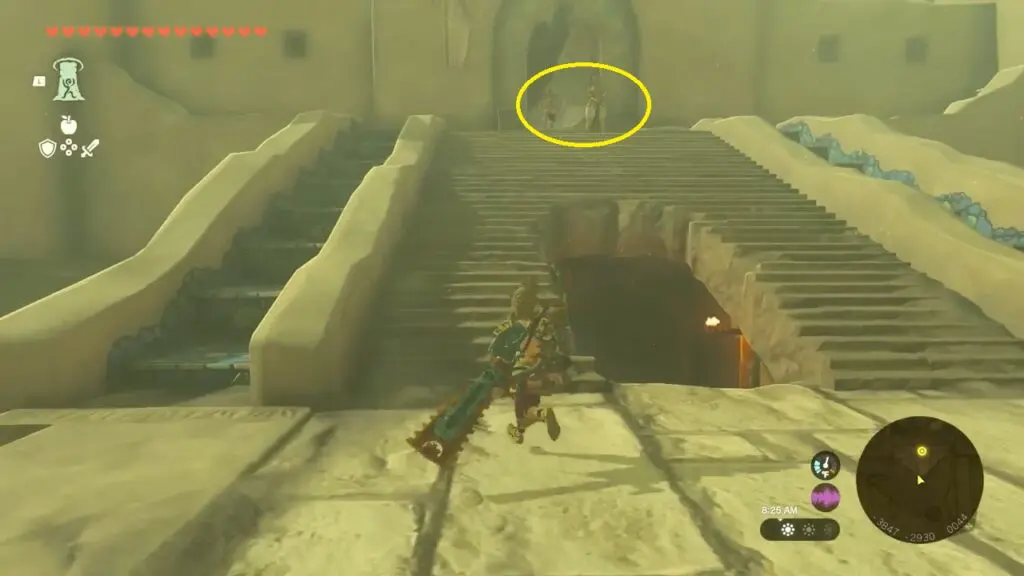
Go to the southwestern side of Gerudo Town. Go to the throne room and remove the lid as marked on the map to enter the underground section.

Meet Riju in the North Gerudo Ruins
Also Read: Heat Resistant Full Armor Set Location | Desert Voe Set
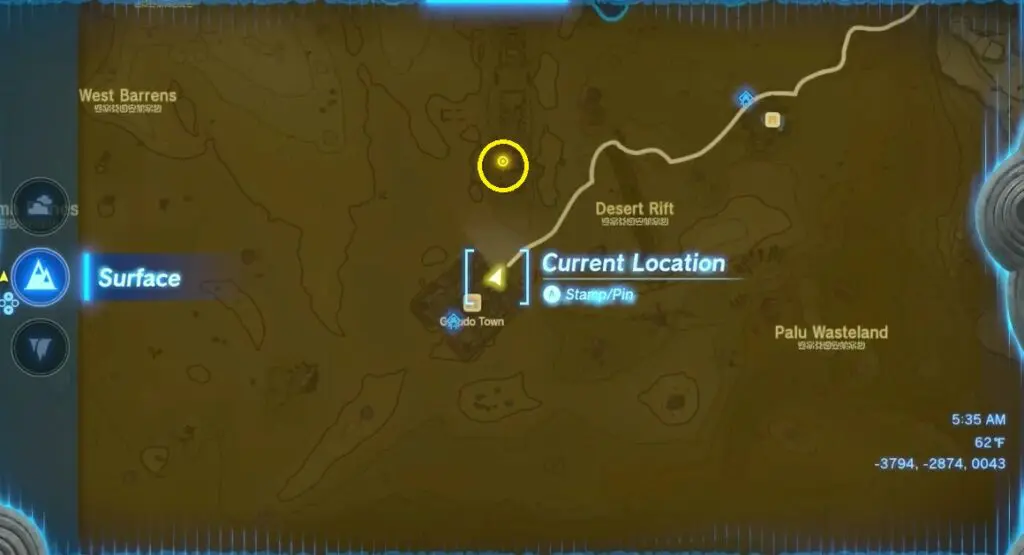
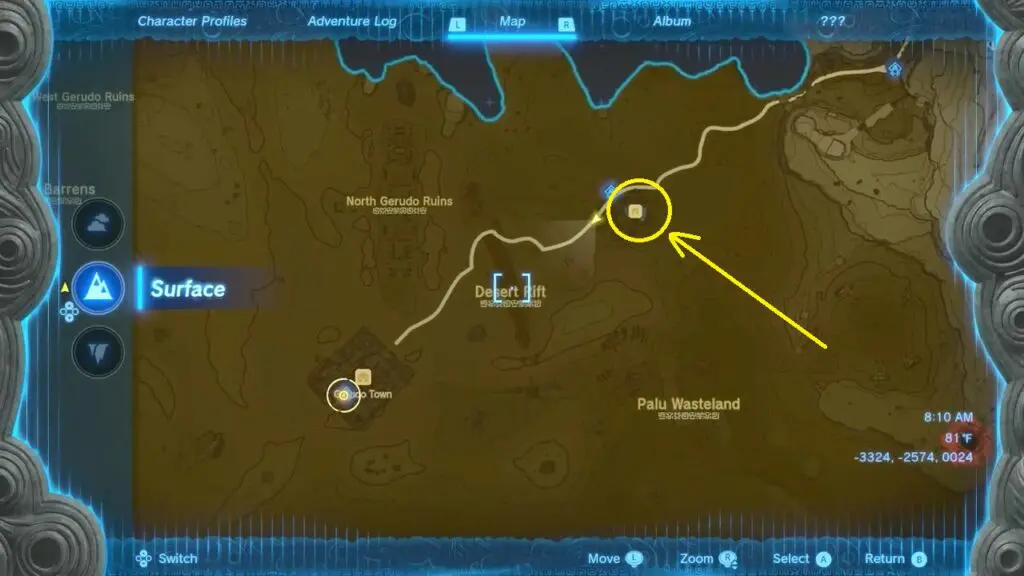
After speaking with Buliara, leave Gerudo Town and make your way to the North Gerudo Ruins. Utilize the desert’s wind current to glide to the area. Once you reach the Ruins, talk to Riju.
Help Riju with her Training
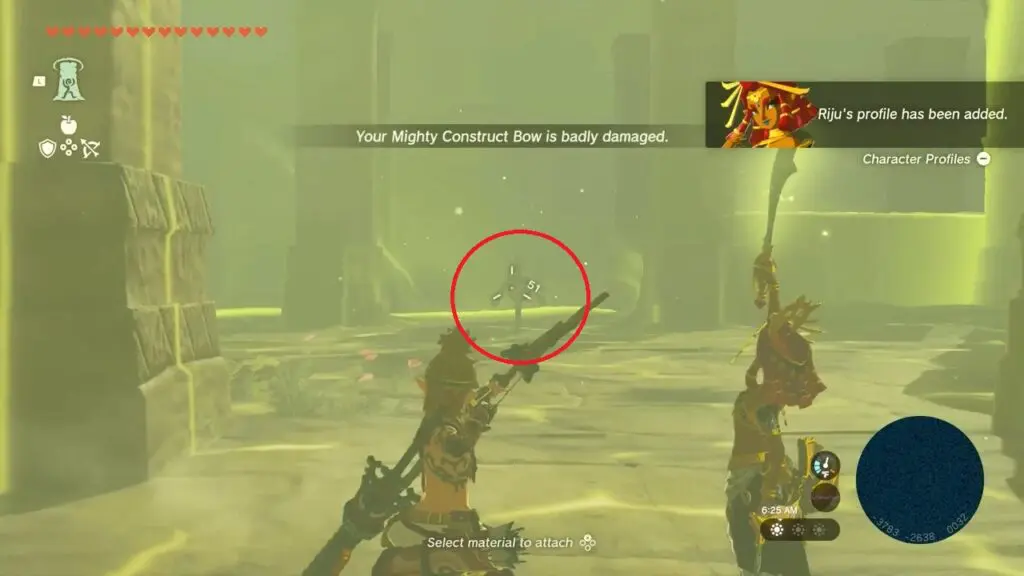
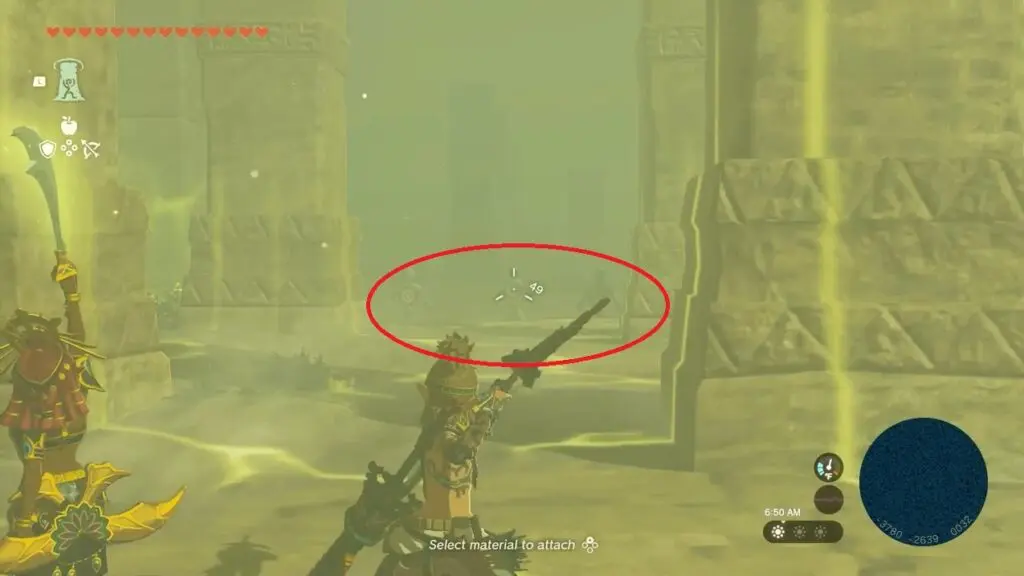
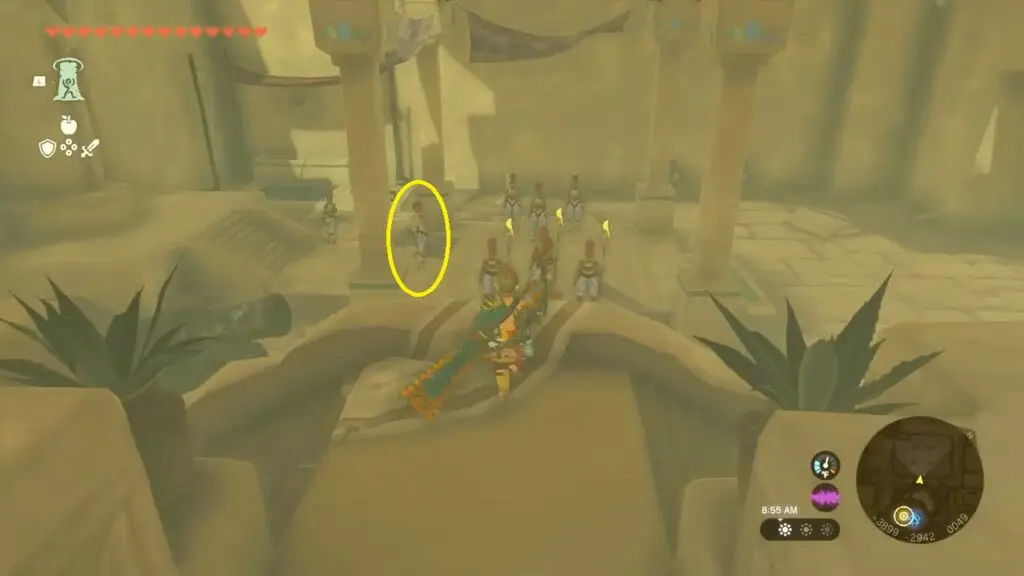
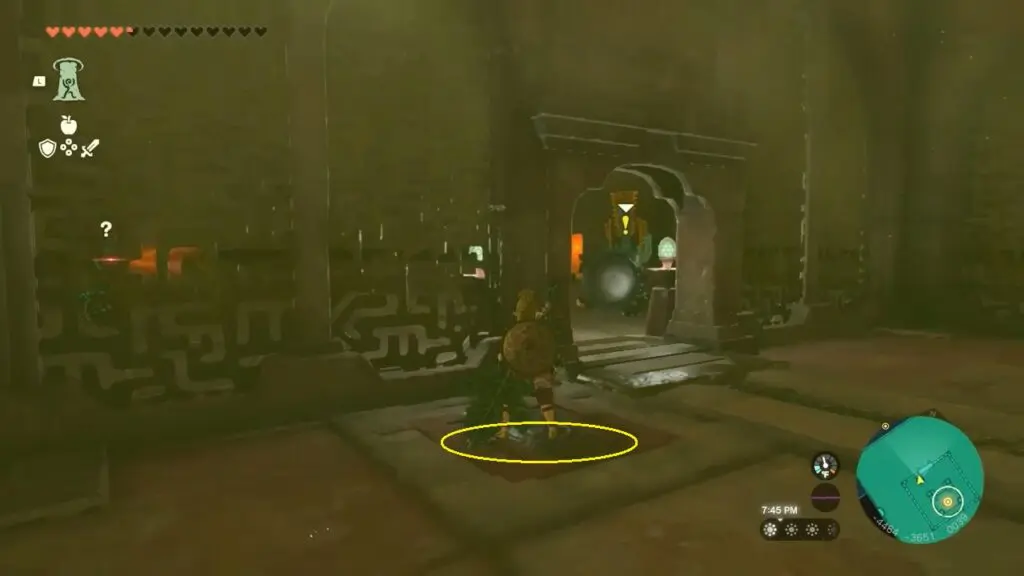
Riju will teach you her ability: shoot arrows at targets for her electric attack. Hit the test dummy with an arrow. Next, to hit three targets simultaneously, wait for the yellow ring to extend from Riju towards the targets. Then, shoot an arrow at the stone between three statues to hit all targets at once.
Defend Kara Kara Bazar
Use Mayatat Shrine earlier as fast travel point or Gerudo Canyon Skyview Tower to reach Kara Kara Bazar. If neither option is available, you will need to walk back through the storm.
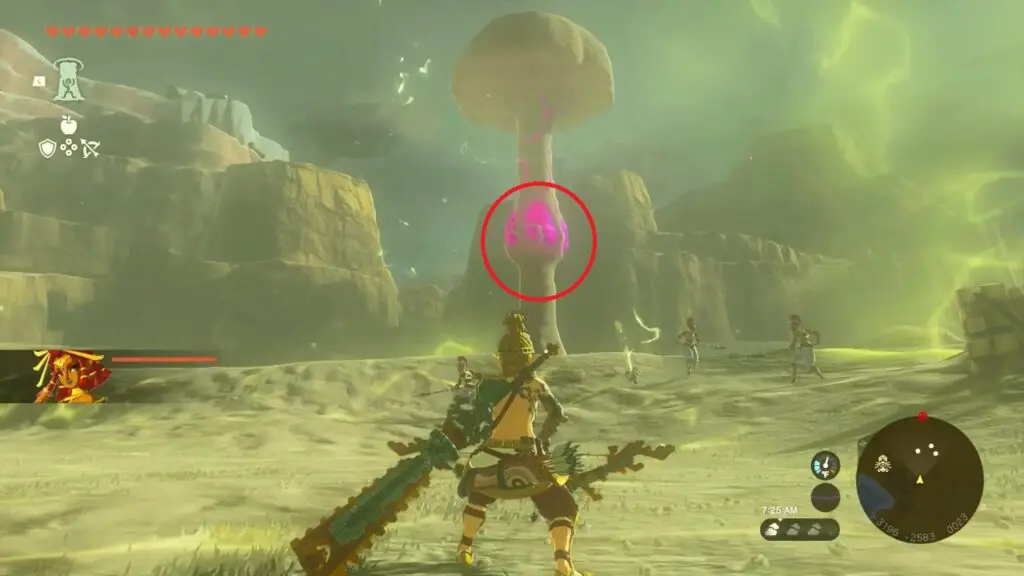
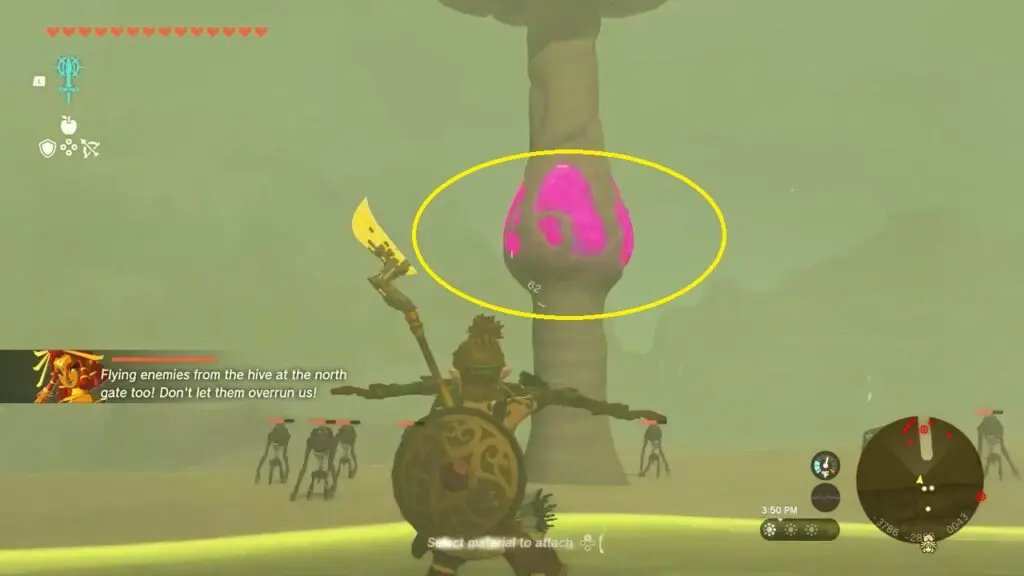
In Kara Kara Bazaar, you need to eliminate the enemies. Shoot arrows when the yellow ring extends from Riju towards the targets. Shoot an arrow at the purple hive located in the center of the mushroom to destroy it.
Meet Riju in Gerudo Town
Head back to Gerudo Town. Speak with Riju on the outside stairs. Then, proceed inside and speak with both Riju and Buliara in the throne room. They will tell you to speak with Captain Teake Padda.
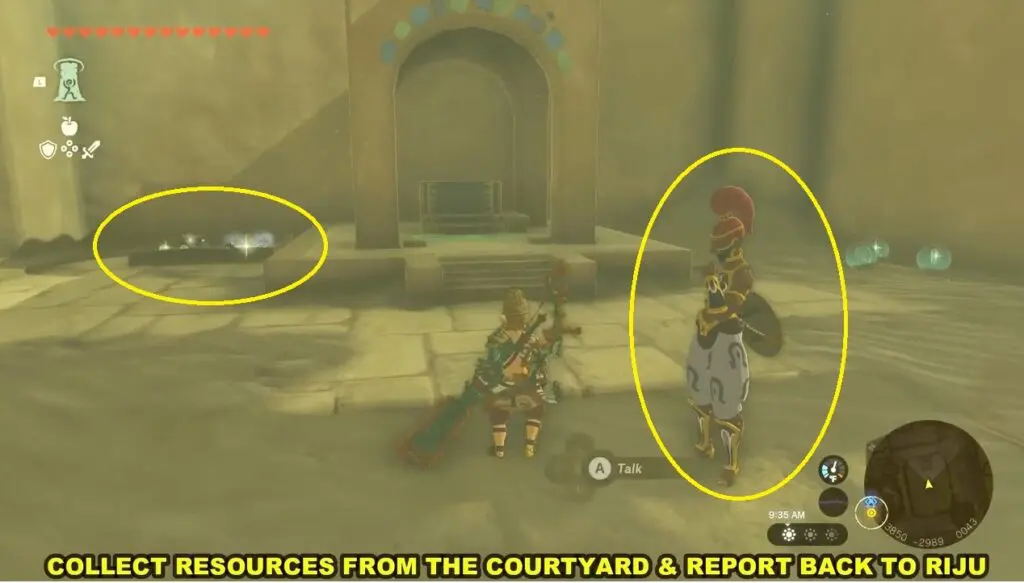
Prepare for the Battle
Talk to Captain Teake in the right courtyard and Padda in the left courtyard as instructed. You can choose any option, it doesn’t matter. Decide soldier placements with Captain Teake.
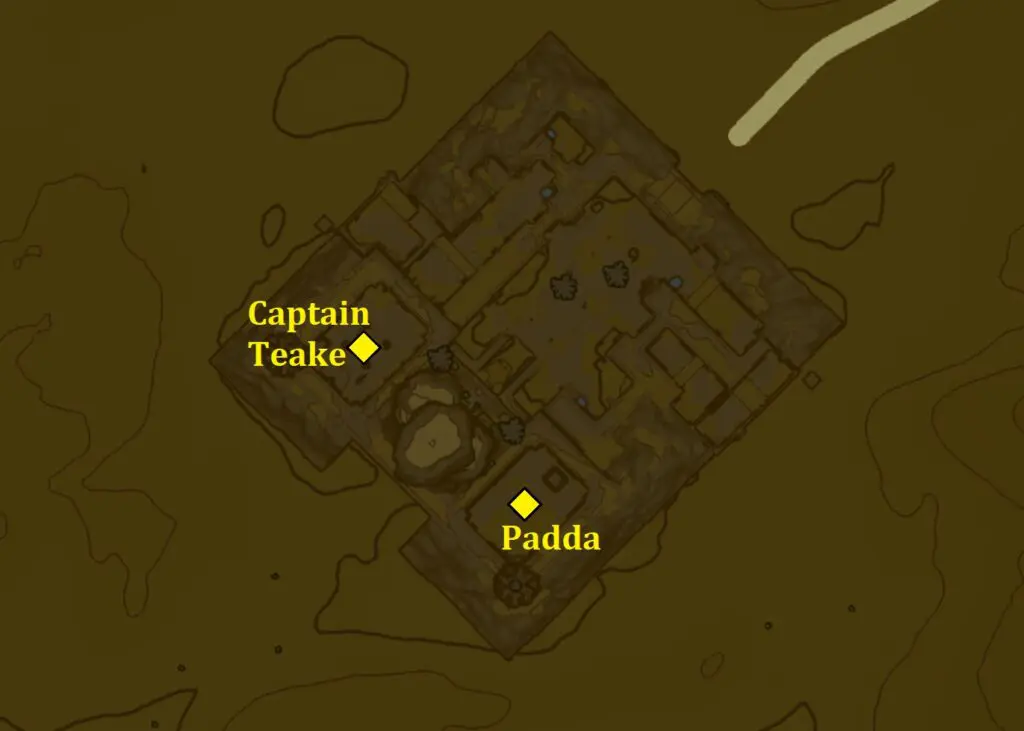
Discuss barricades with Padda and choose a location. It doesn’t seem to matter too much where you place the barriers.
Finally, talk to Riju again in the throne room to start the fight.
Defend Gerudo Town with Riju
You need to destroy three hives: North, East, and West. Each hive will be immune until it turns purple. Shoot them with an arrow when they glow purple. To navigate the town efficiently, climb up and run along the roofs, since arrows will be your primary weapon. Shoot the purple hive with an arrow to guide Riju’s lightning and eliminate it. Ensure that the targets you’re shooting are within the range of her lightning, which is indicated by a yellow glow.
Once you destroy all three hives, go back to Riju at the town square and defeat the remaining enemies there.
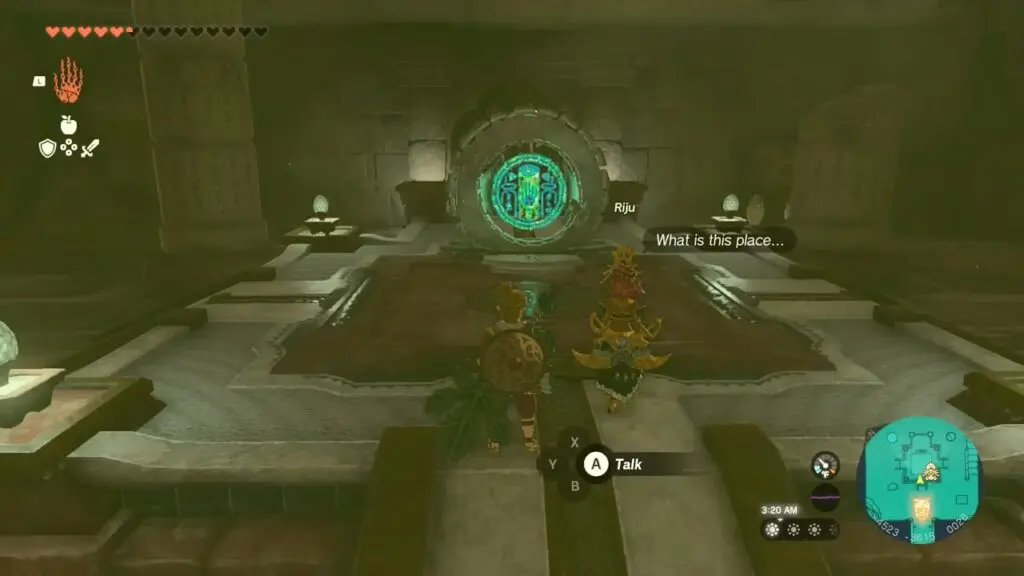
Meet Riju at the Mural
After successfully defending against the Gibdo assault, speak with Riju and then accompany her to the underground shelter. Examine the mural located there.
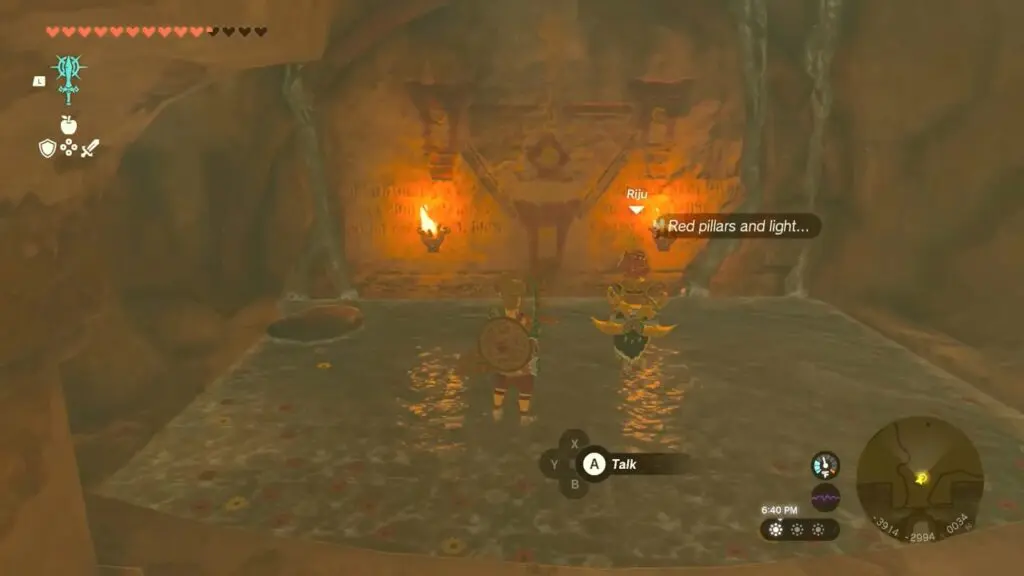
Solve Mural’s Riddle
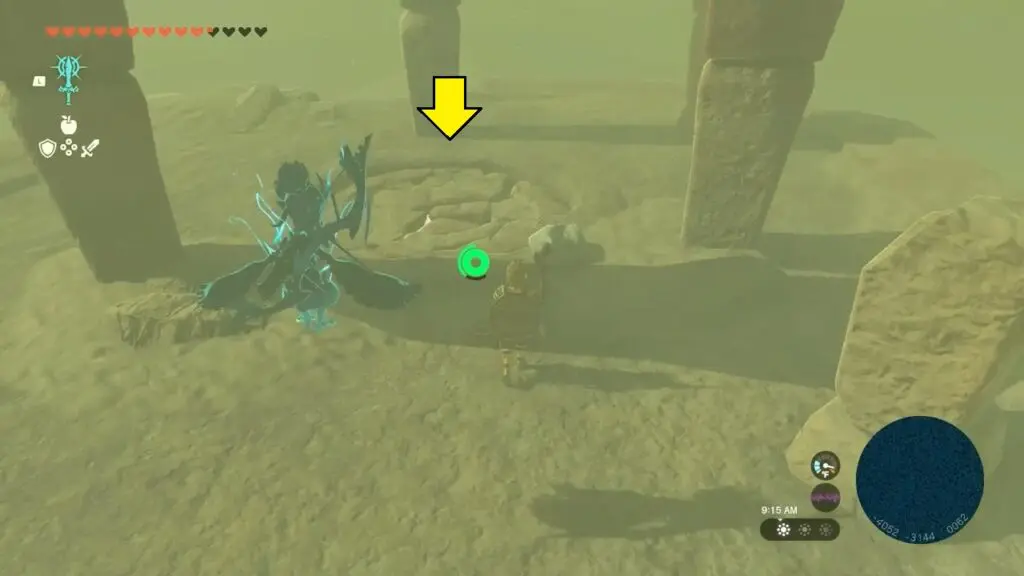
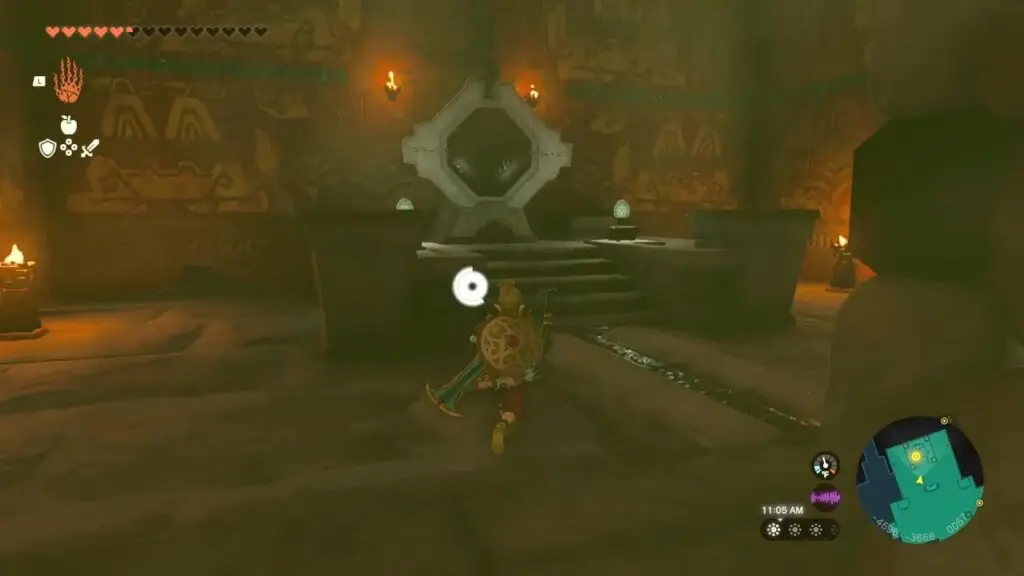
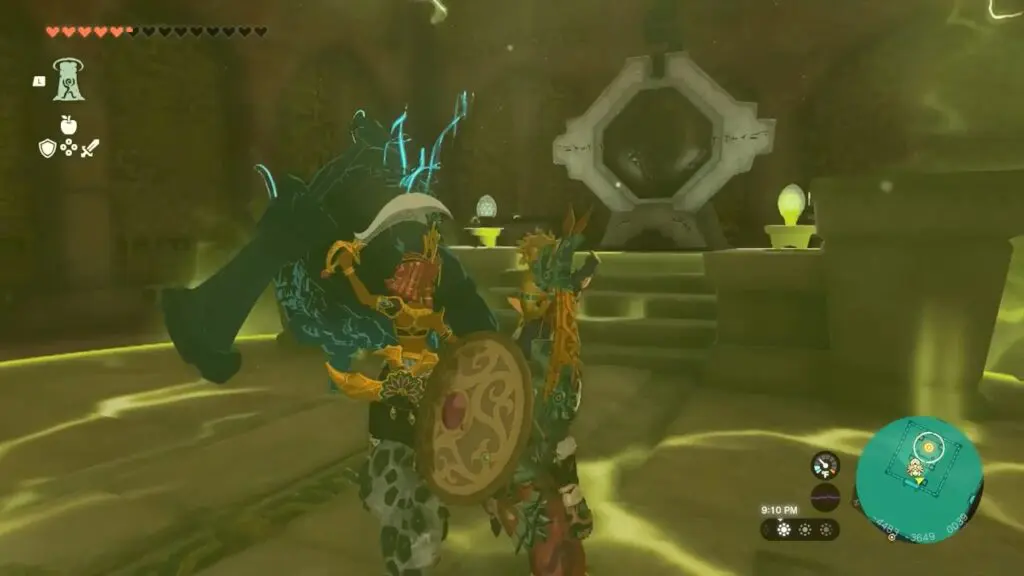
Proceed to the Soryotanog Shrine situated at the top of the Throne room. Directly behind the shrine, you will find three tall stone pillars/towers in the distance.
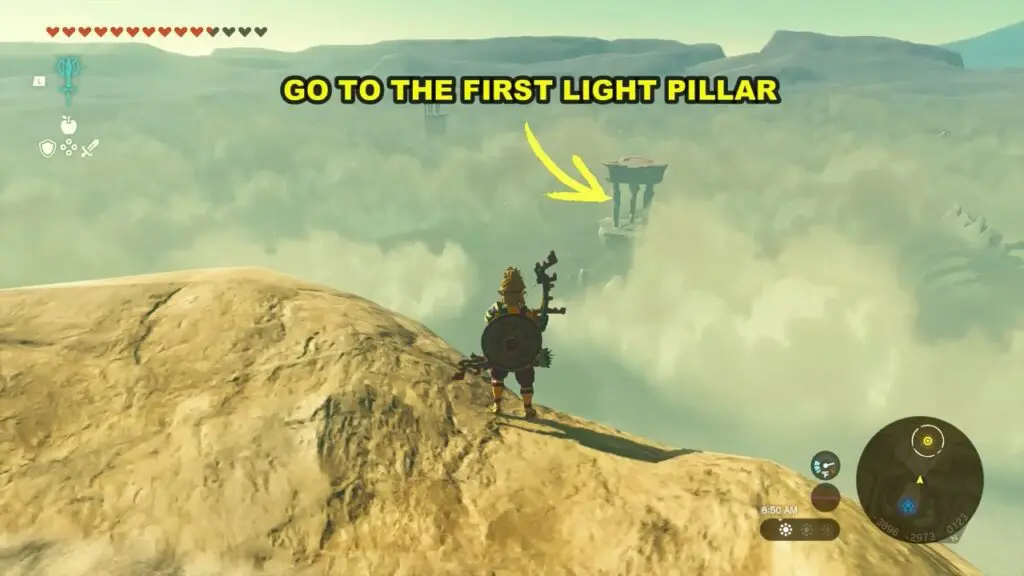
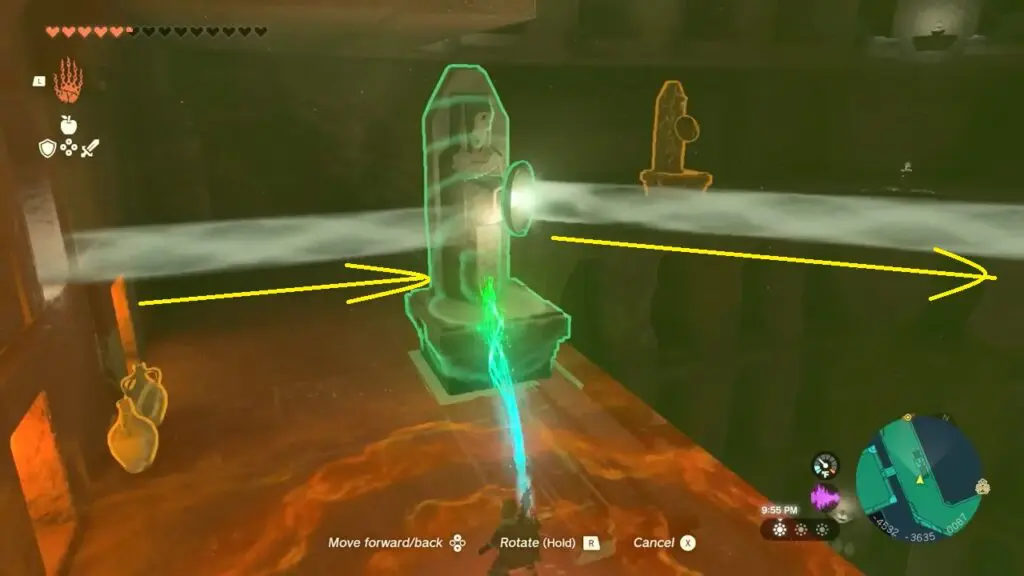
Glide to the first tower. Combine a weapon with a rock to create a hammer, then use it to break the breakable floor. This will uncover a mirror that emits a beam of light. Trace the path of the light beam deeper into the desert to discover the next tower.
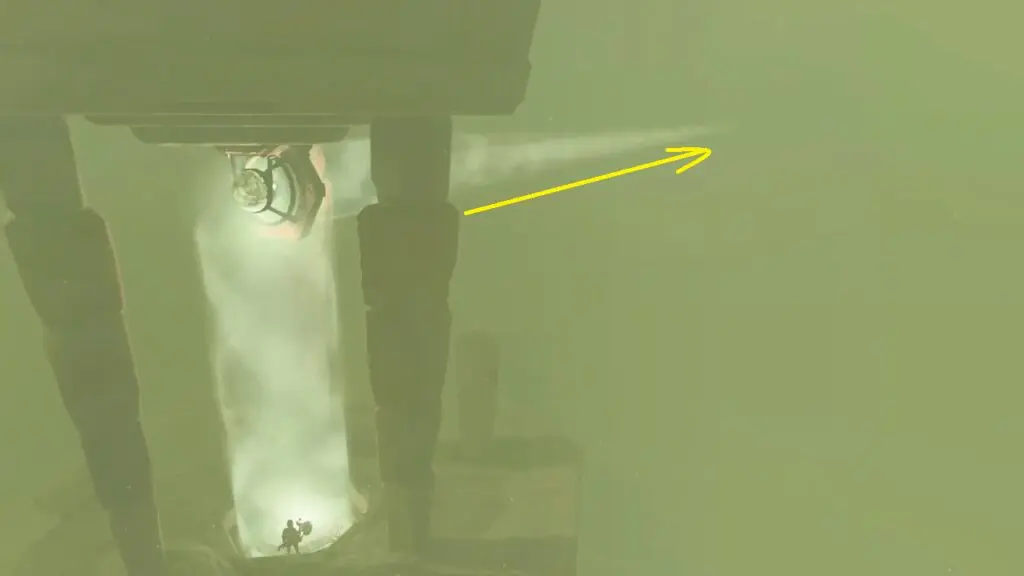
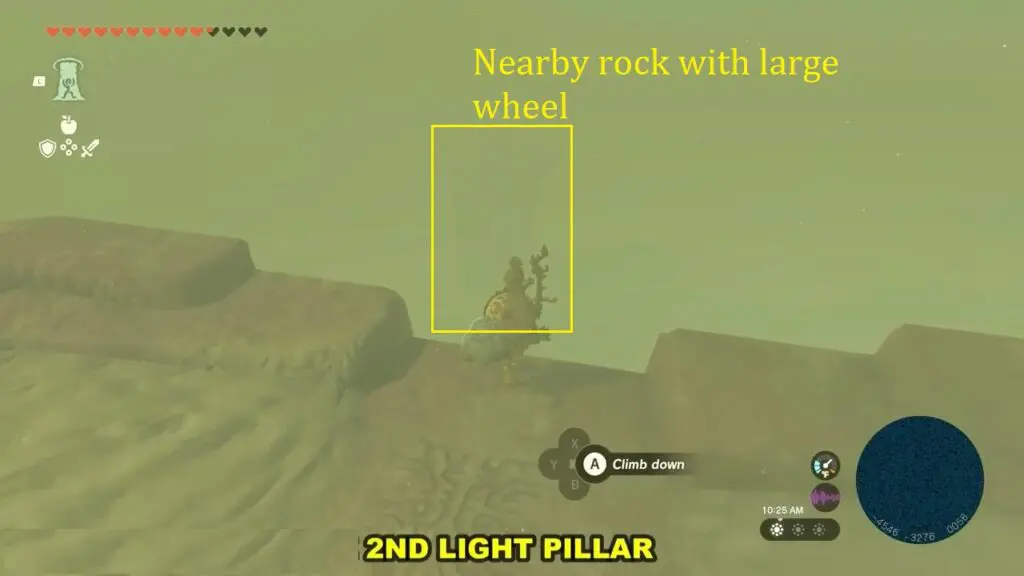
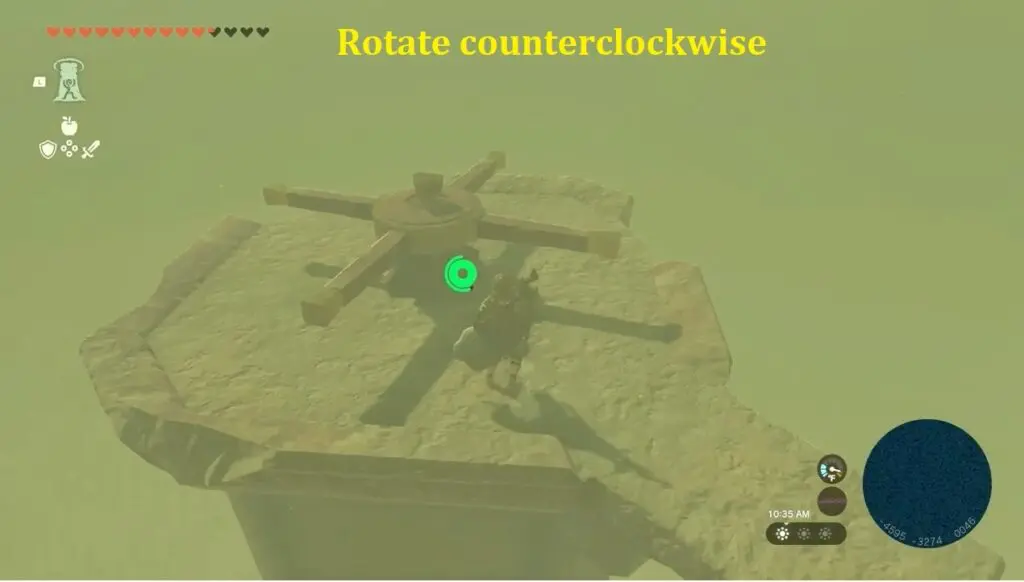
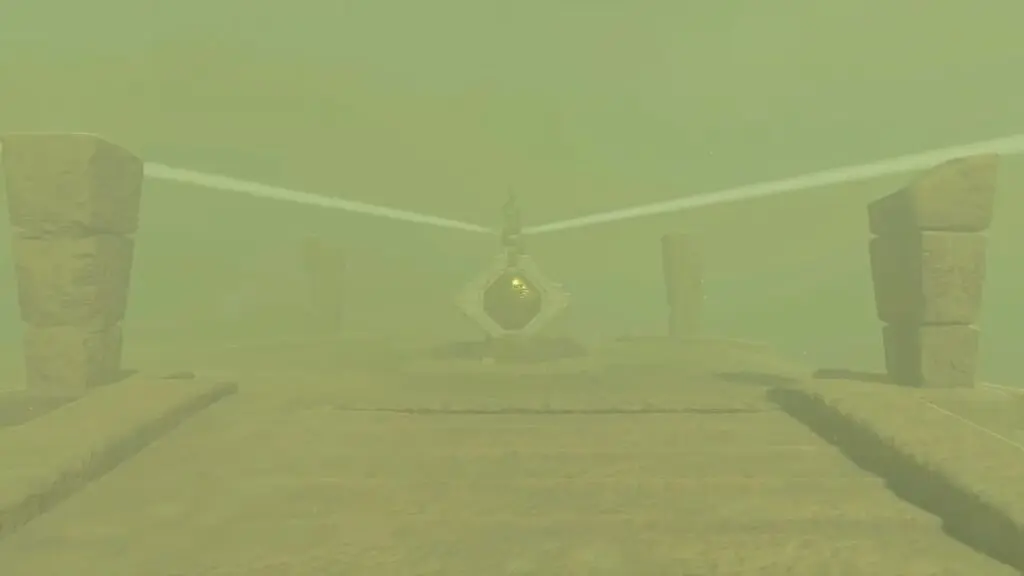
As you follow the beam of light, you will arrive at the second platform with three pillars. Climb onto a nearby rock and utilize the Ultrahand to rotate the large wheel at the top counterclockwise until the tower reflects the beam of light.
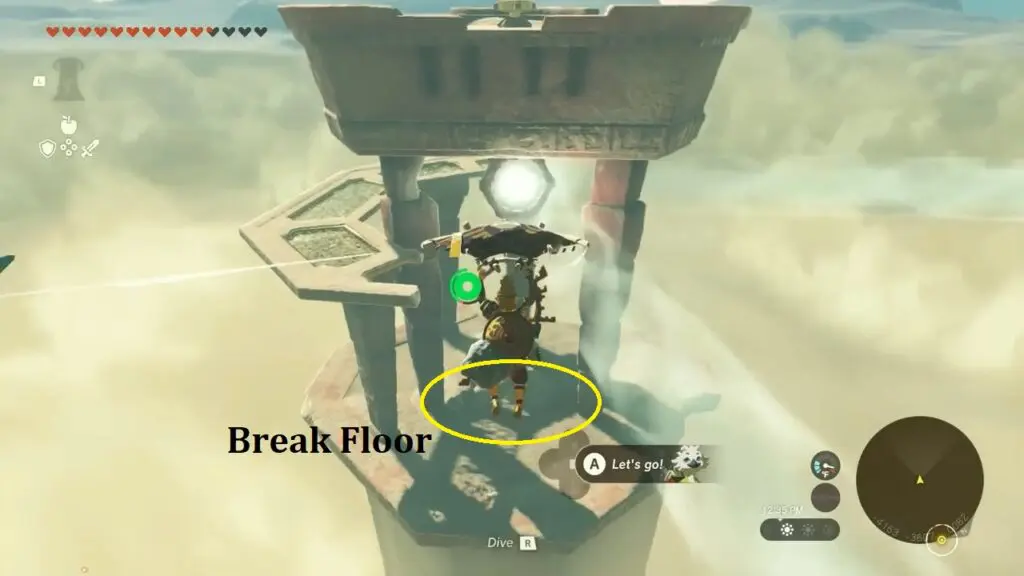
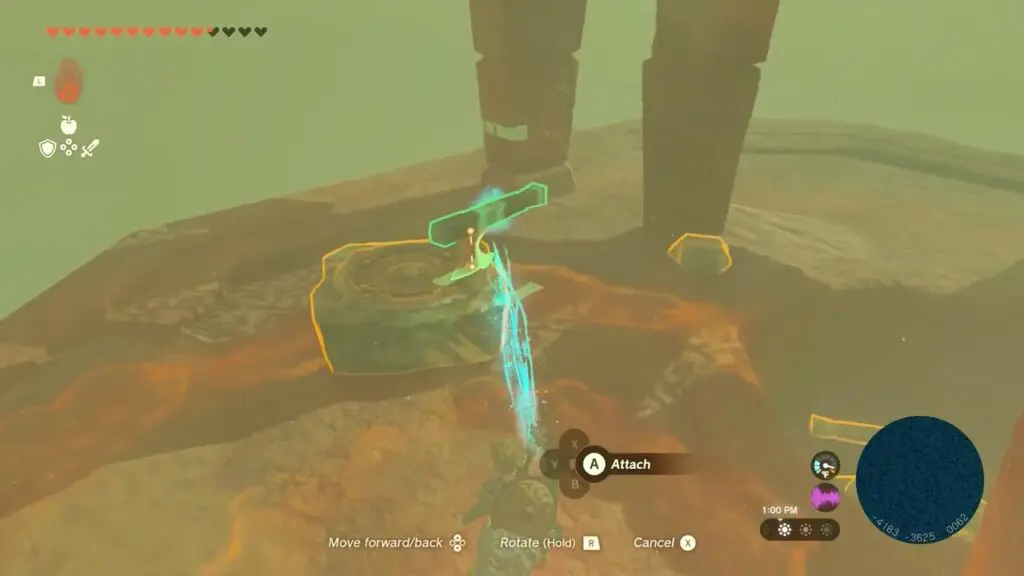
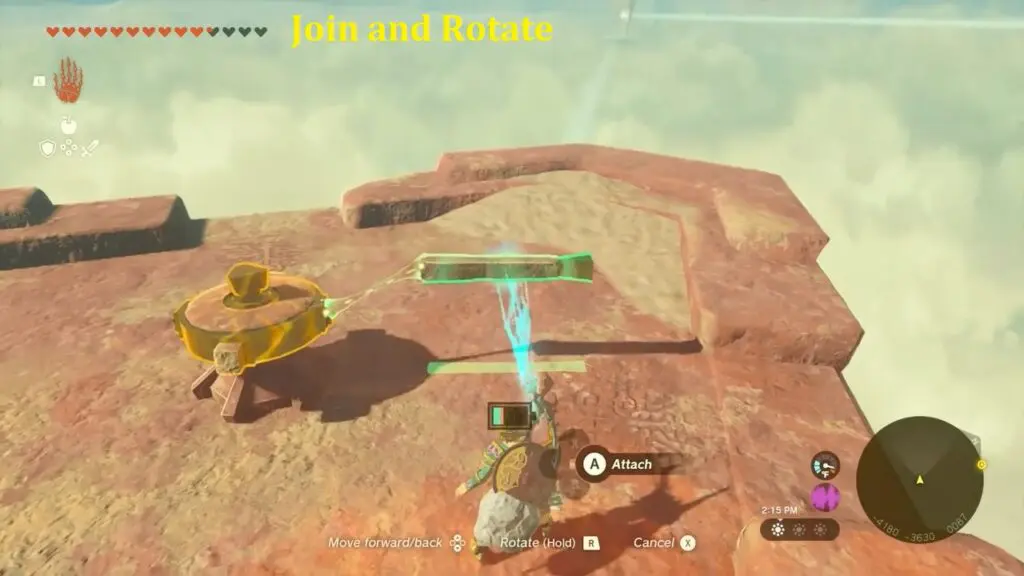
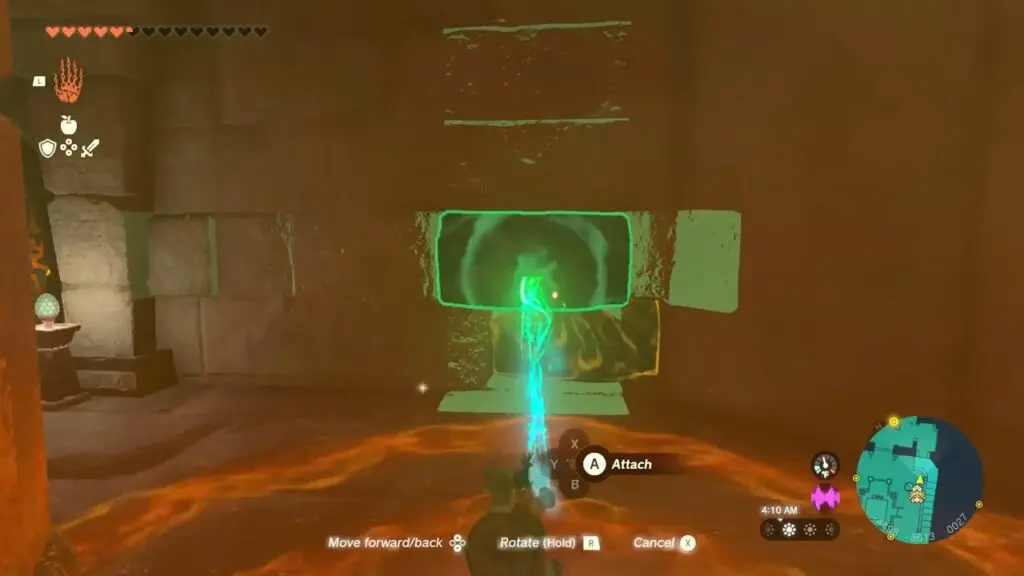
Continue to follow the new beam of light leading to the third tower. Utilize a nearby gust of wind to reach the tower’s summit and subsequently break its floor. This will reveal two green stones (platform) and four wooden sticks. Utilize the Ultrahand to connect at least one of the wooden sticks to a platform.
Hit the stones to activate the battery and elevate the platform to a higher position. This will keep the platform suspended in the air regardless of its placement.
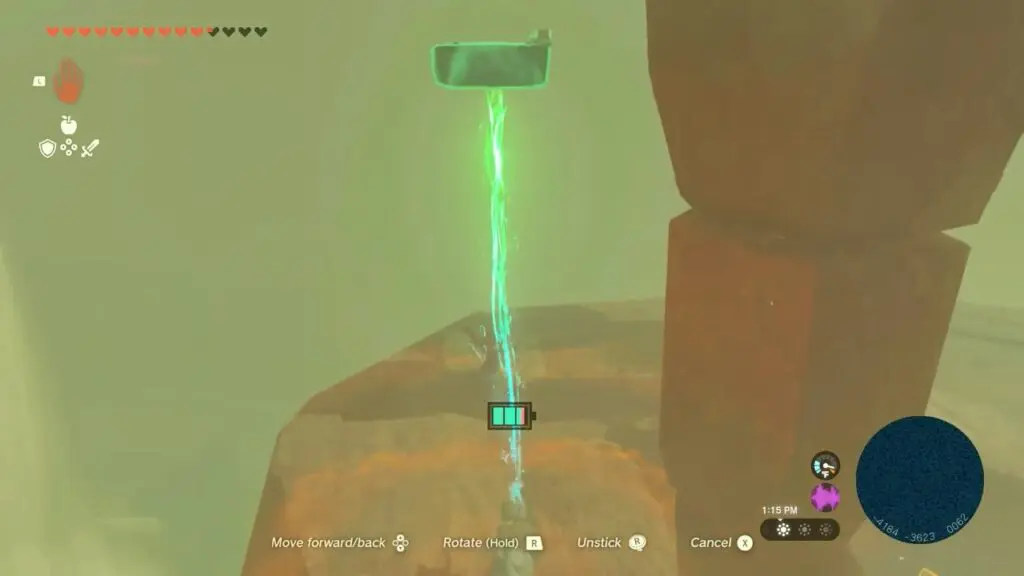
Climb the pillar to reach the balcony, then use the Ultrahand to retrieve the stones. Allow the battery to recharge fully. Once they are fully recharged, lift them again to transfer them to the top of the tower.
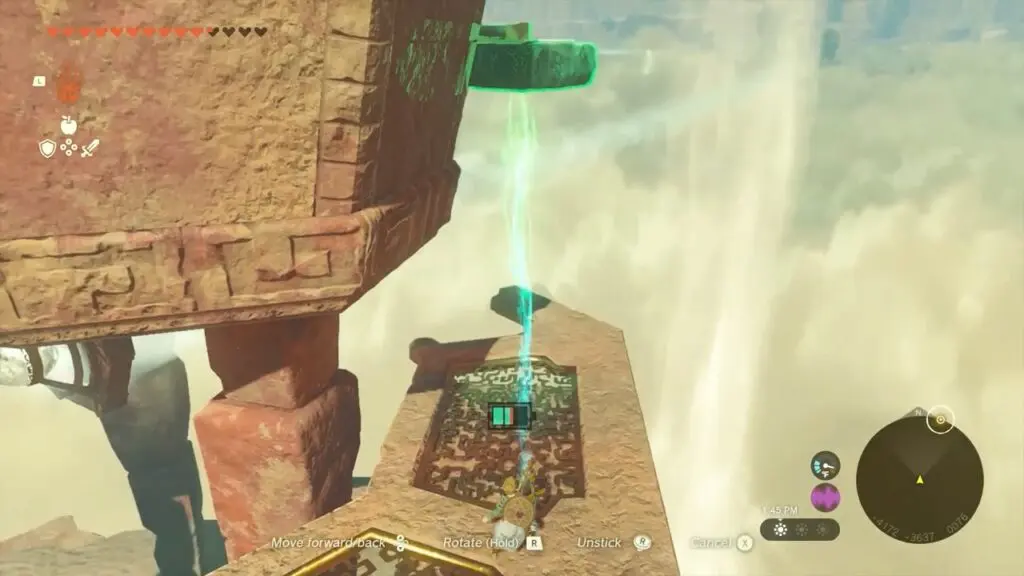
Join a wooden stick to the wheel located atop the tower and rotate it until a cutscene.
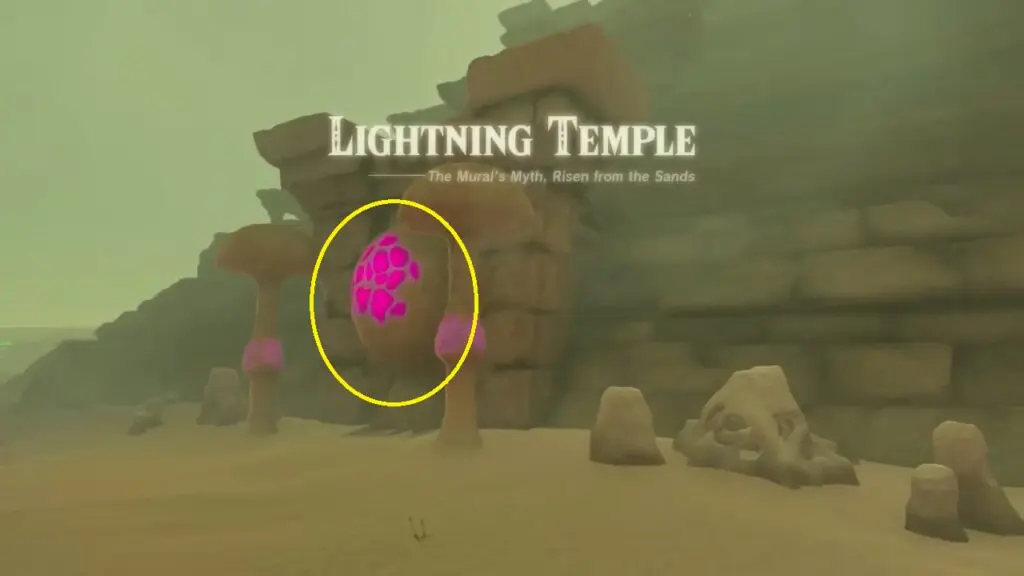
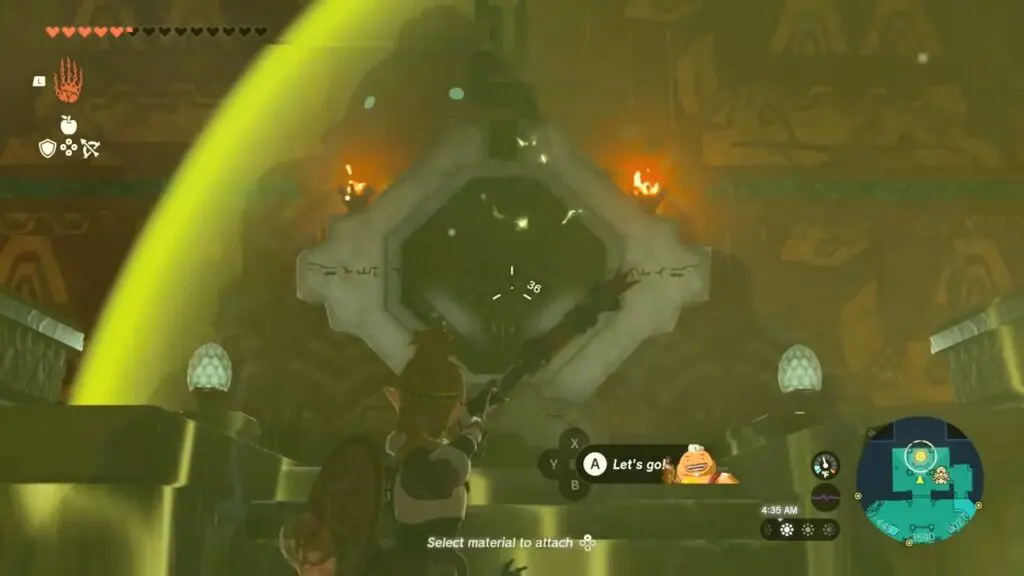
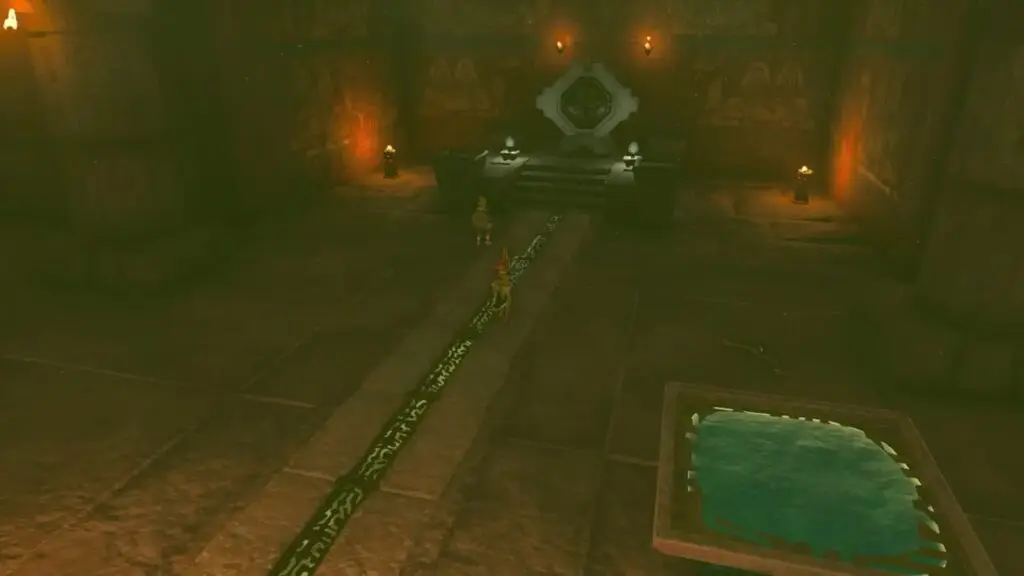
At this point, all three towers are mutually illuminating in a triangular formation and a new altar appears. Interact with the altar to raise the Lightning Temple from the sand.
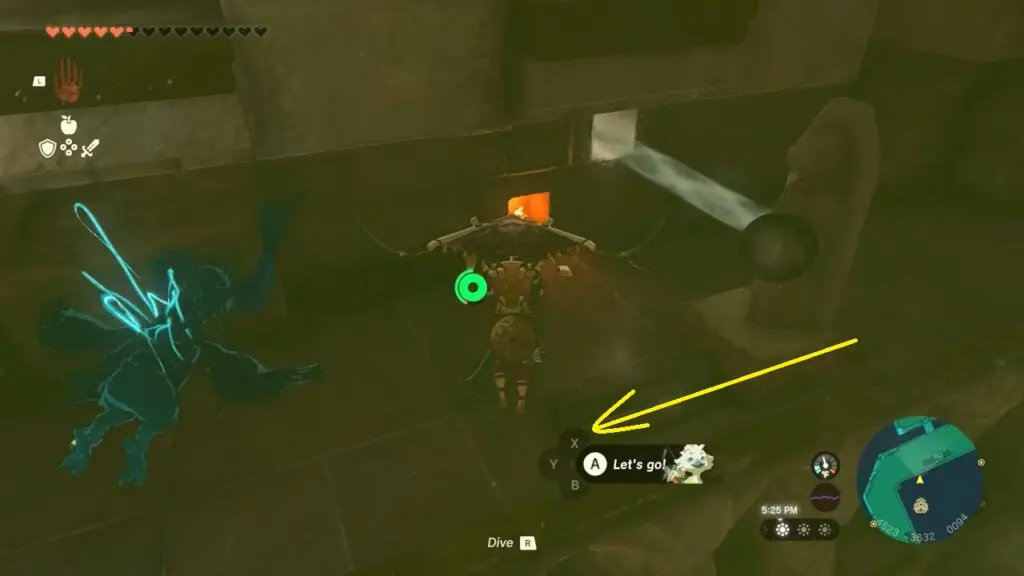
Click on Riju to activate her lightning ability, then aim and shoot at the purple hive placed at the front of the temple. This will initiate the boss fight against Queen Gibdo!
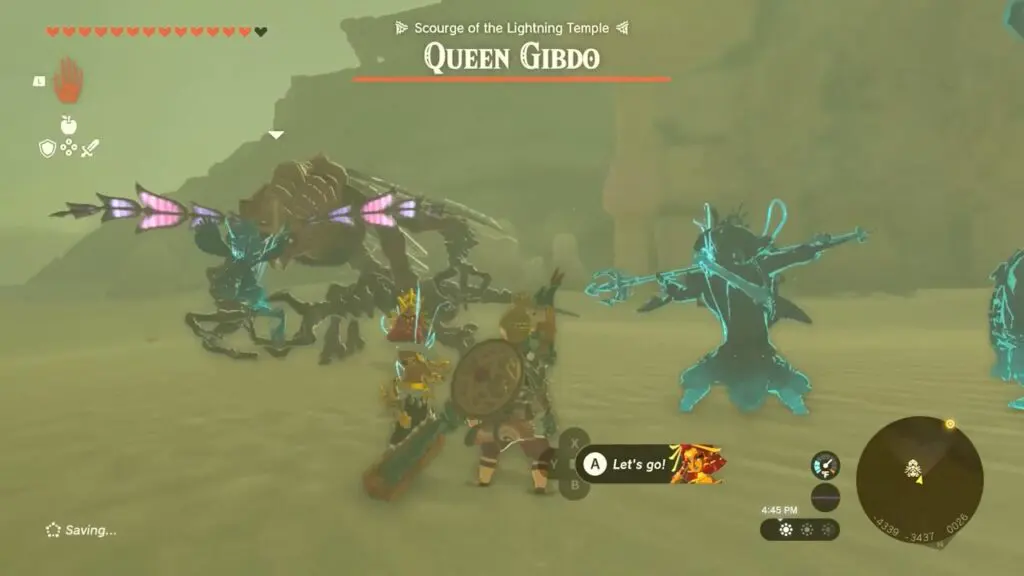
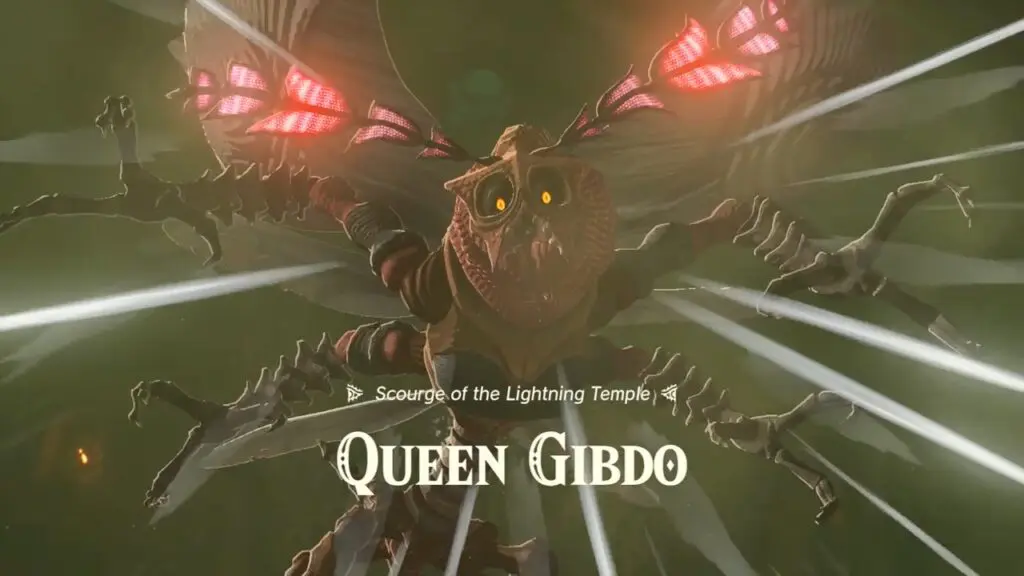
Queen Gibdo Boss Fight
Queen Gibdo is a huge beetle. Interact with Riju and take aim with an arrow when the boss is within range. Utilize powerful melee attacks to inflict significant damage. The boss primarily utilizes a charging tackle and whirlwind attacks. You can activate your companions to assist you. Once the boss sustains 33% damage, the fight will end.
Enter the Lightning Temple
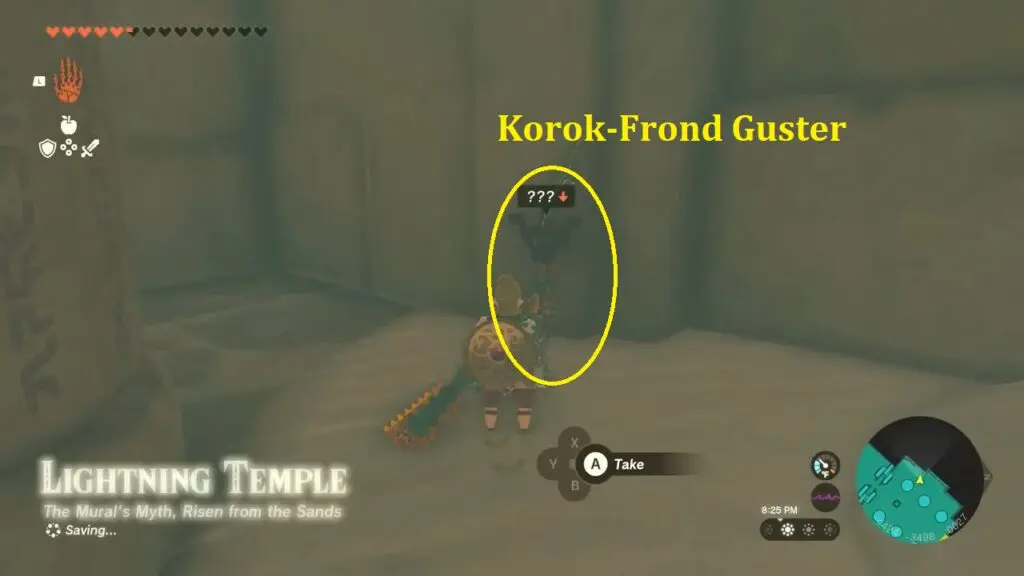
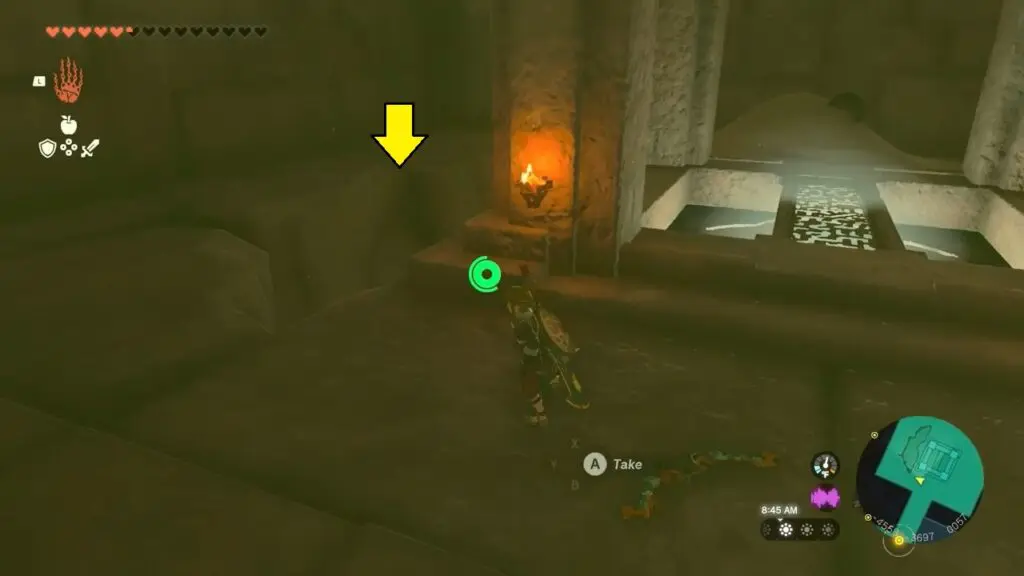
Following the boss fights, utilize Riju’s lightning strike to target and shoot the purple hives, which will unlock the temple. Head inside the temple to discover a weapon named “Korok-Frond Guster” Equip this weapon to effectively clear sand.
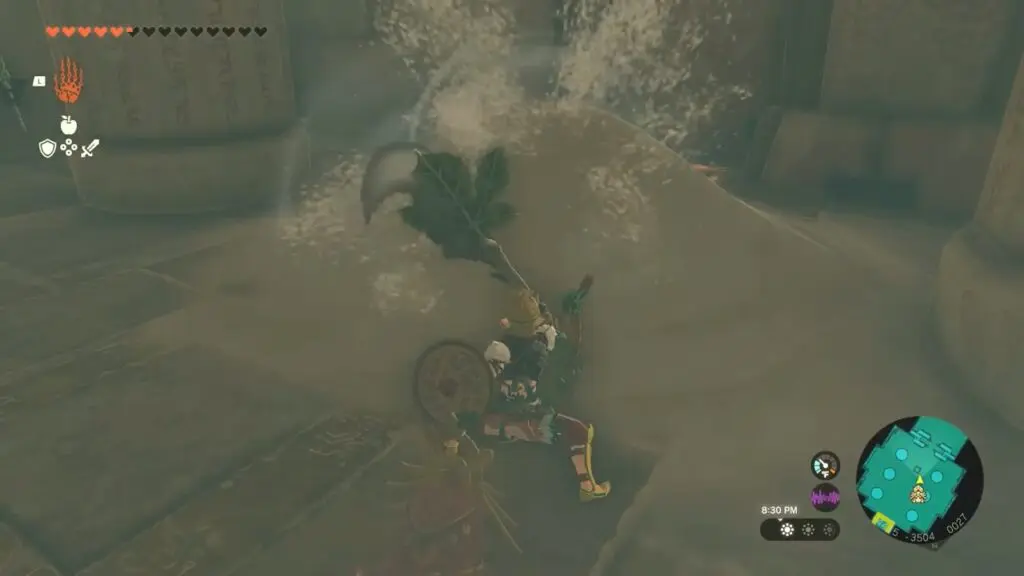
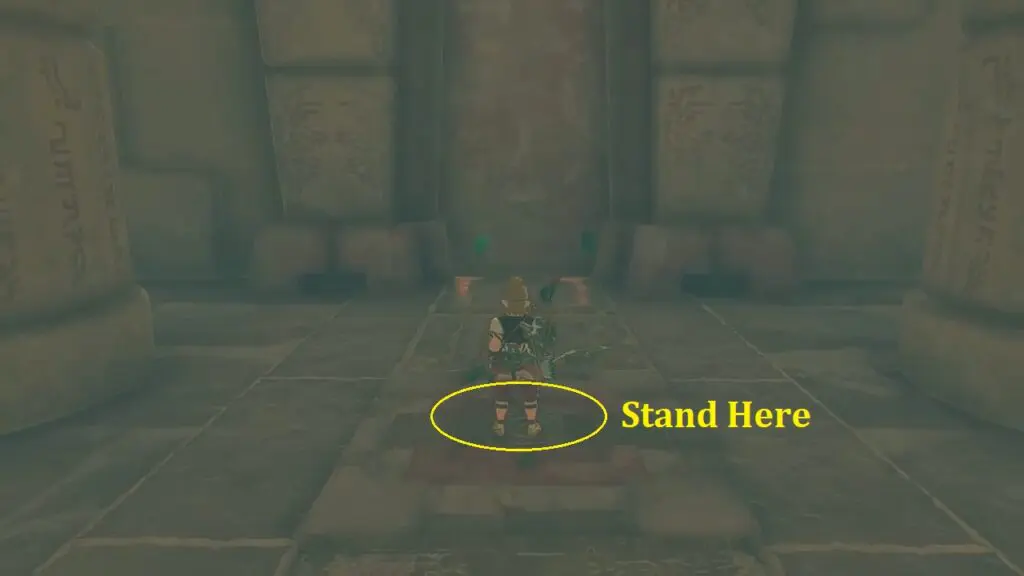
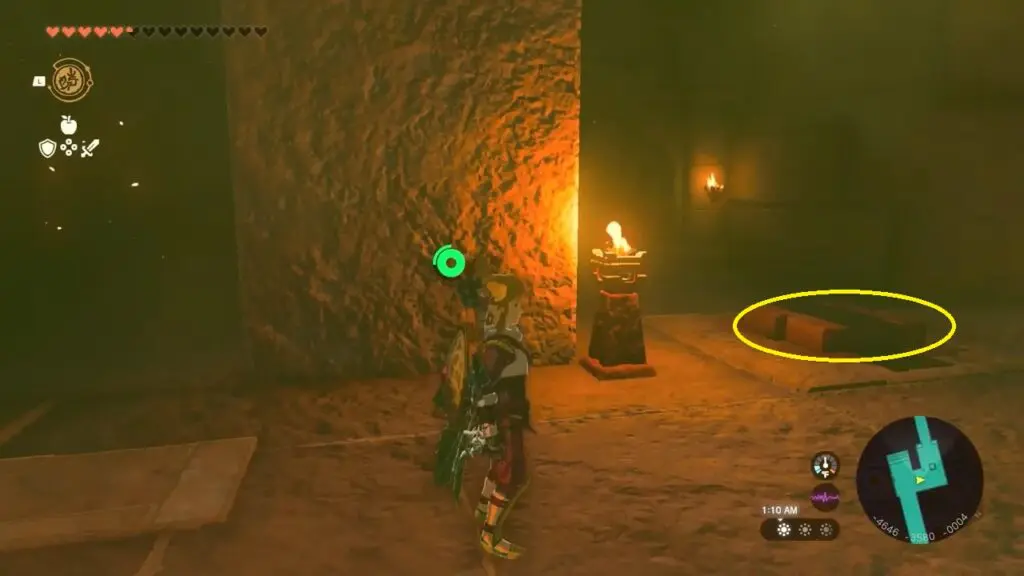
Wipe away the sand pile in front of the gate to reveal a pressure plate on the floor. Stand on it to open the temple door.
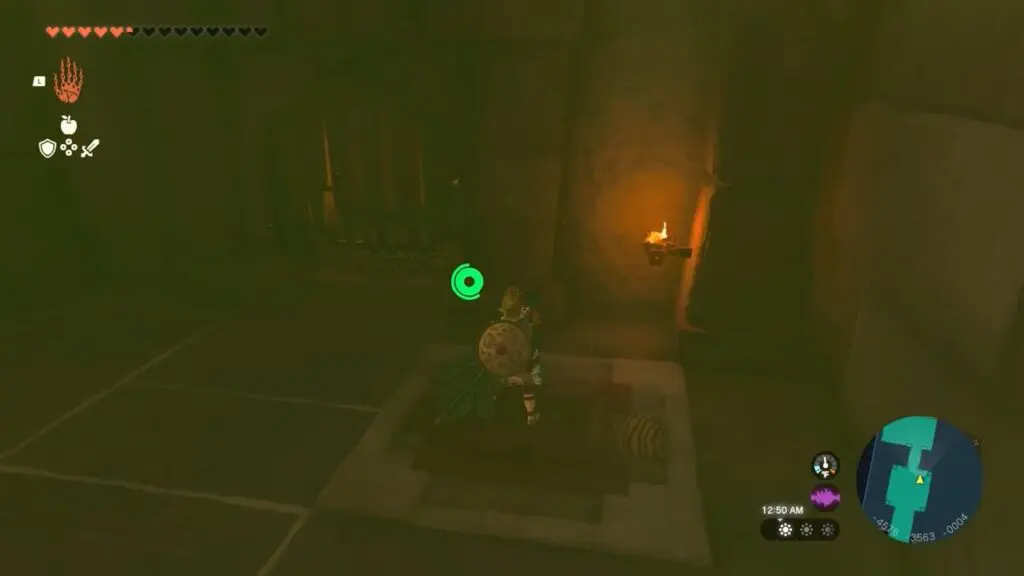
Go straight and take the first turn on the right to find a wall of fire. Observe the rhythm of the flames as they toggle on and off. Swiftly pass through when they are extinguished. Stand on the pressure plate positioned behind the flames to deactivate them, allowing Riju to safely cross.

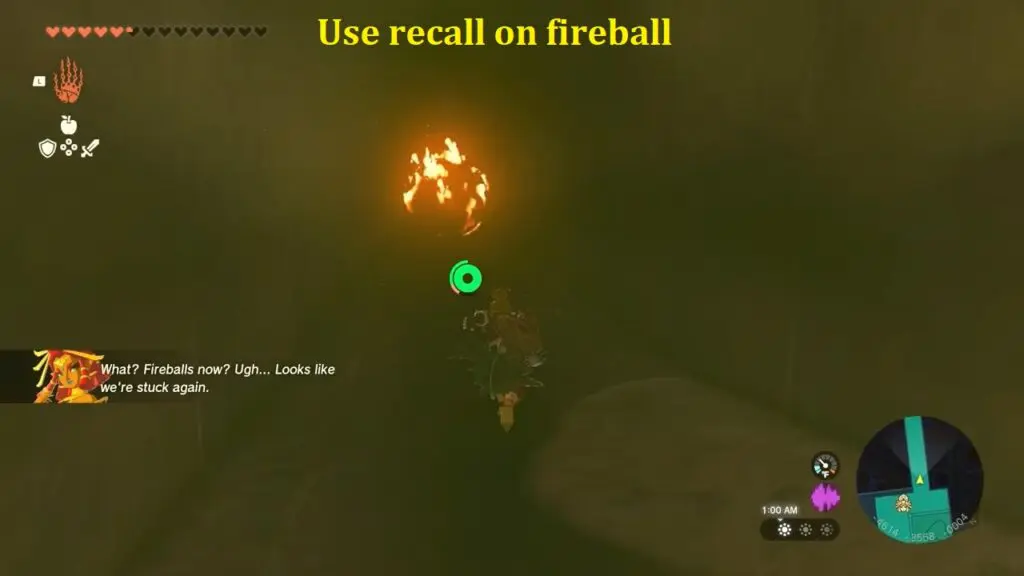
Use the Recall ability on the fireball to roll it back. Then quickly run through the corridor and stand on the floor plate. This will allow Riju to safely cross.
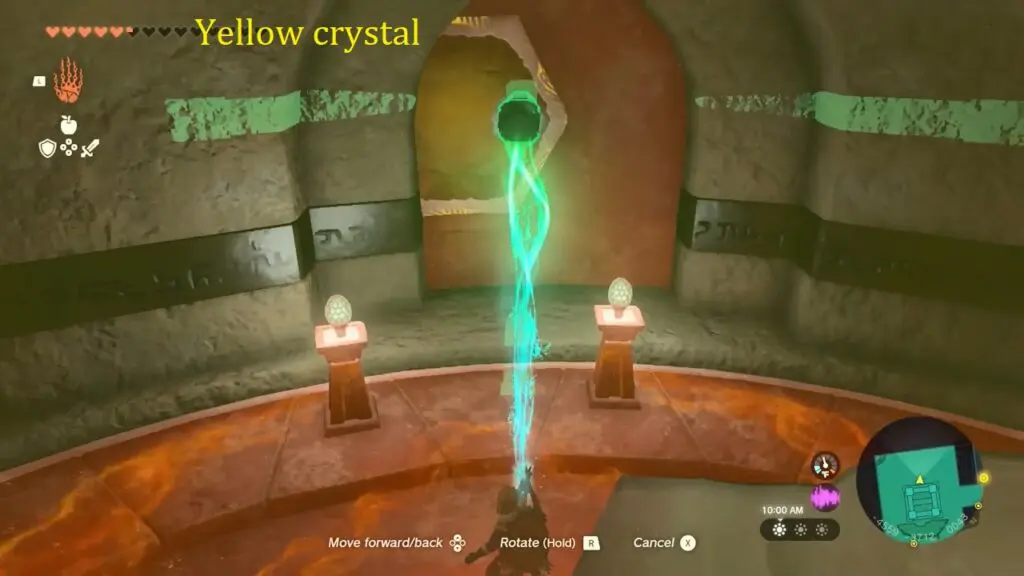
Continue along the path until you arrive at a room with a beam of light and a Zonai enemy. Use the Korok-Fond Guster weapon on the sand to reveal a mirror. Place the mirror within the beam of light, causing it to illuminate the yellow crystal positioned above the locked door. This will unlock the door.
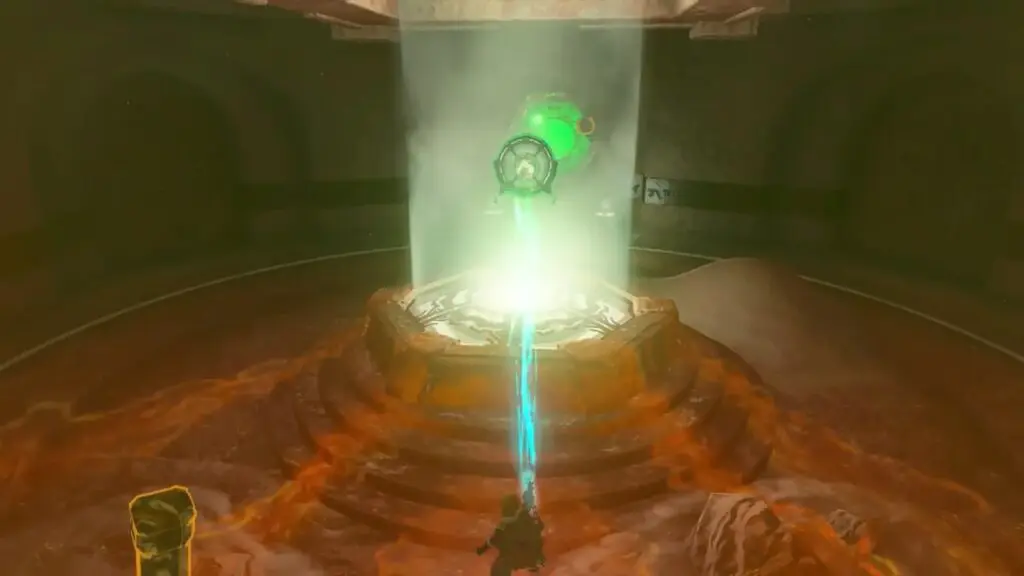
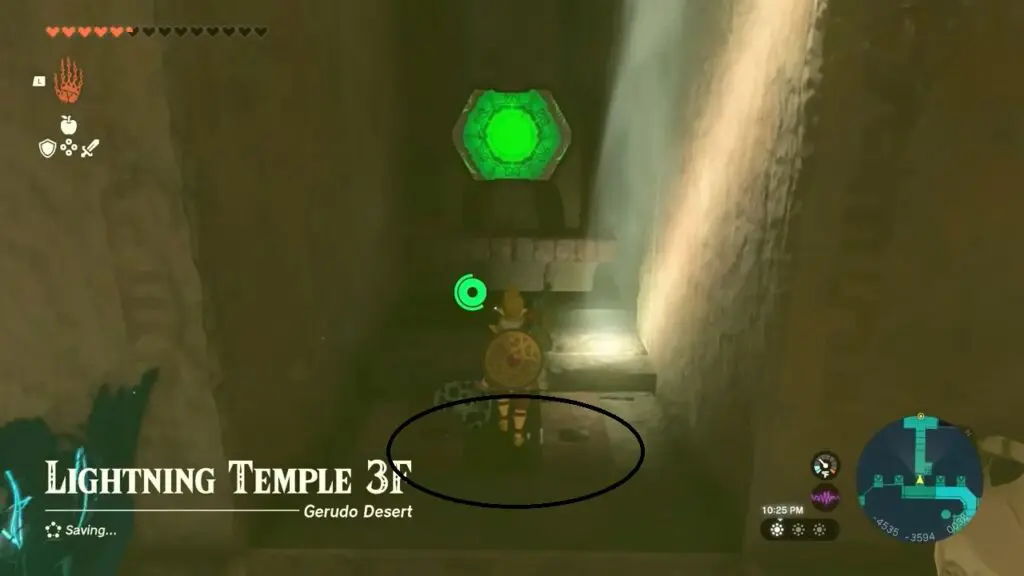
Go upstairs to access the Room of Ascension. interact with the green altar located there.
Lightning Temple Puzzle
Your next objective is to charge four batteries within the temple.
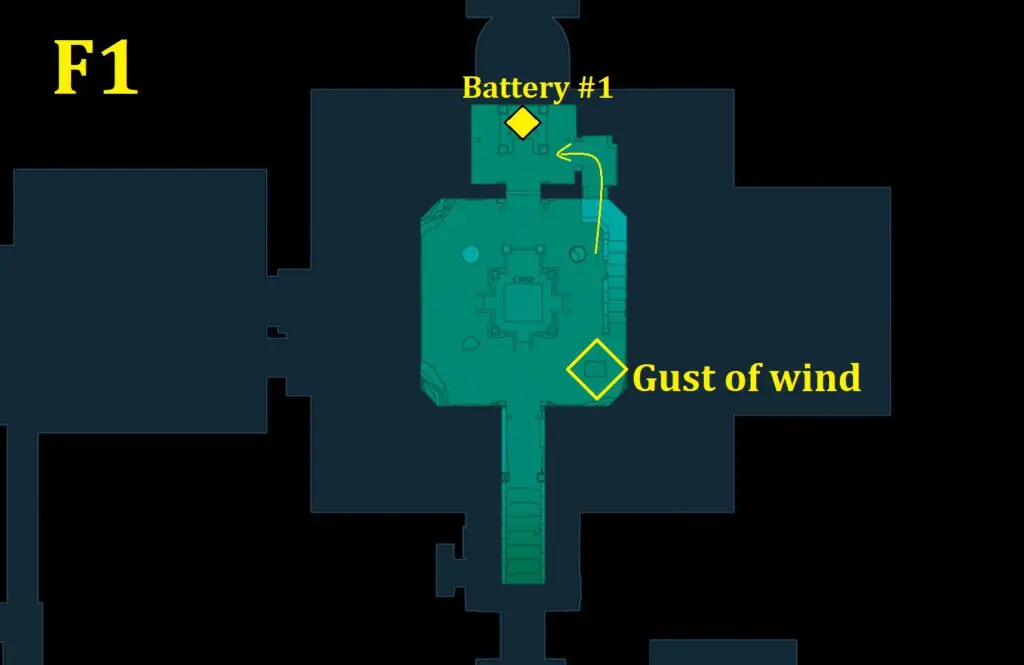
Lightning Temple Battery #1
The first battery is straight ahead on Level 1F. In the eastern corner of the room (right corner), utilize the Ultrahand to dislodge loose stones from the wall.
Proceed to the adjacent room to locate the battery. Activate Riju’s lightning ability and then shoot an arrow at the battery to infuse it with electricity and charge it.
Lightning Temple Battery #2
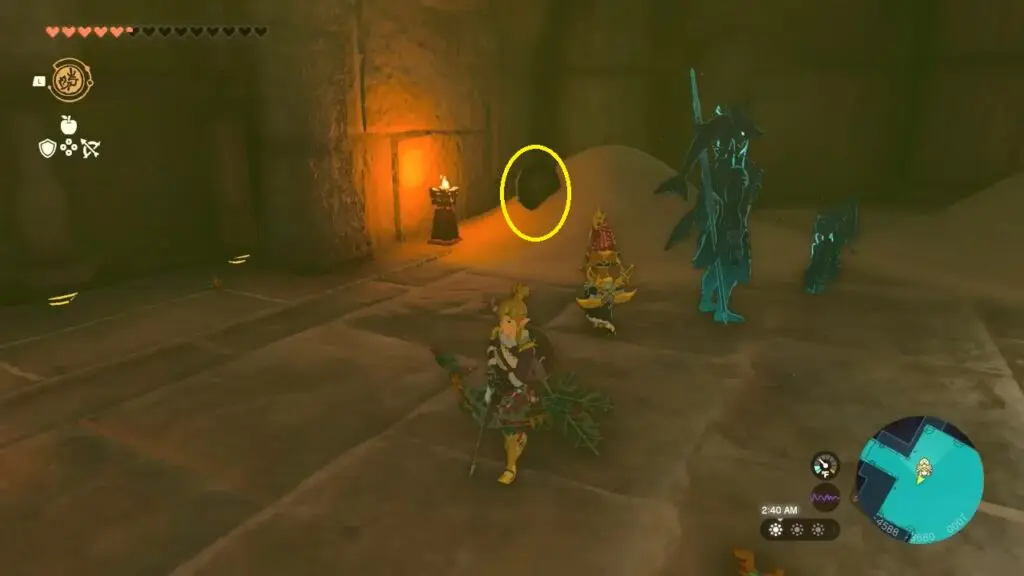
Proceed to the southeastern corner of 1F, and remove the large stone blocking a gust of wind.
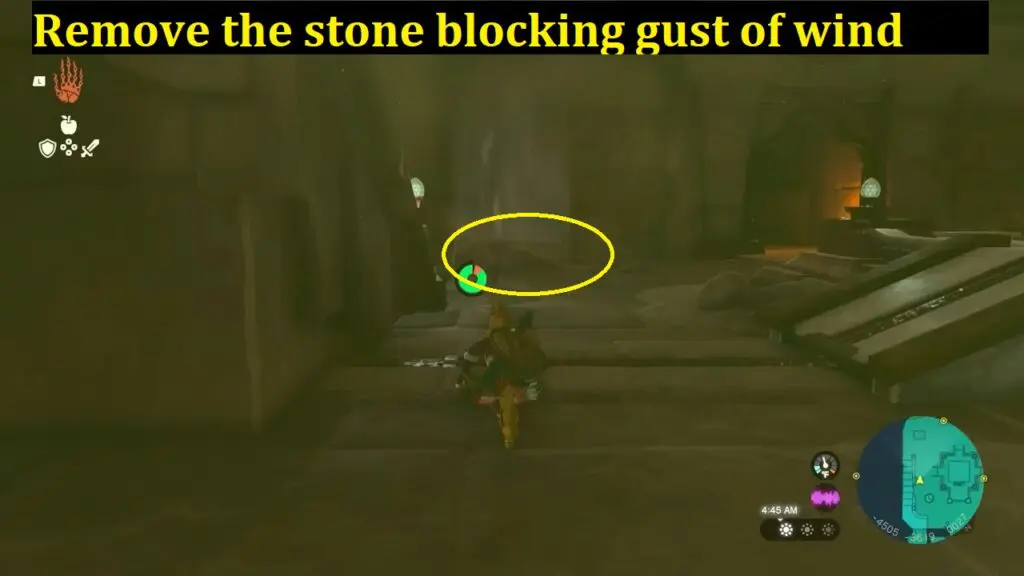
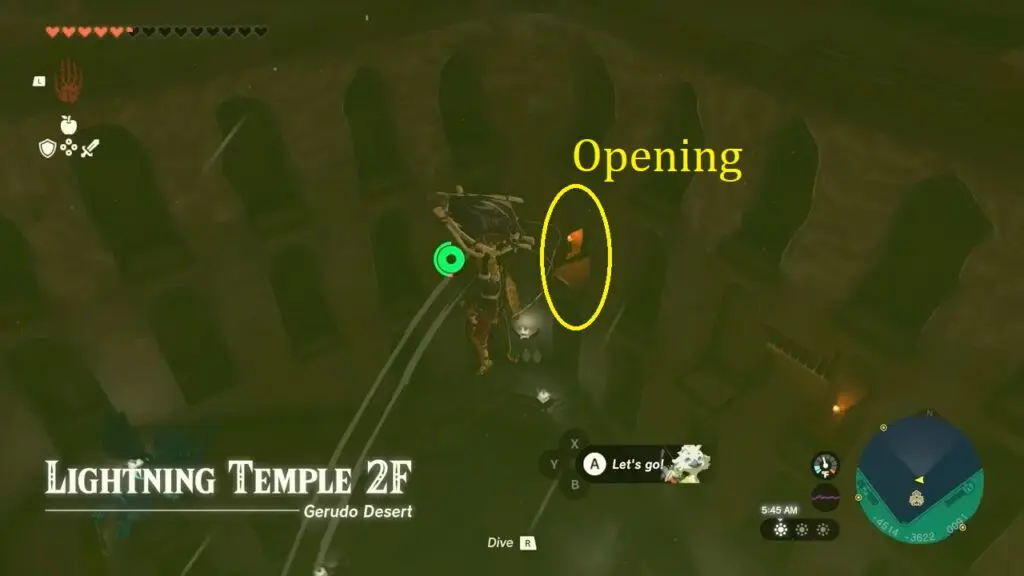
Use the wind to glide up and look in the north direction to find an opening in the wall next to a torch.
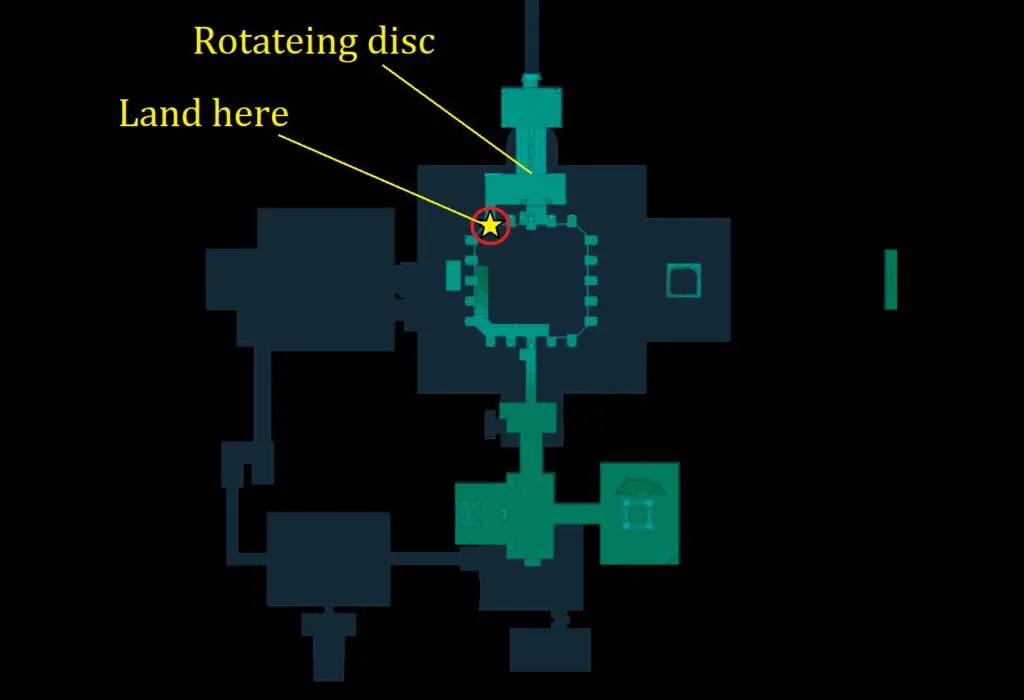
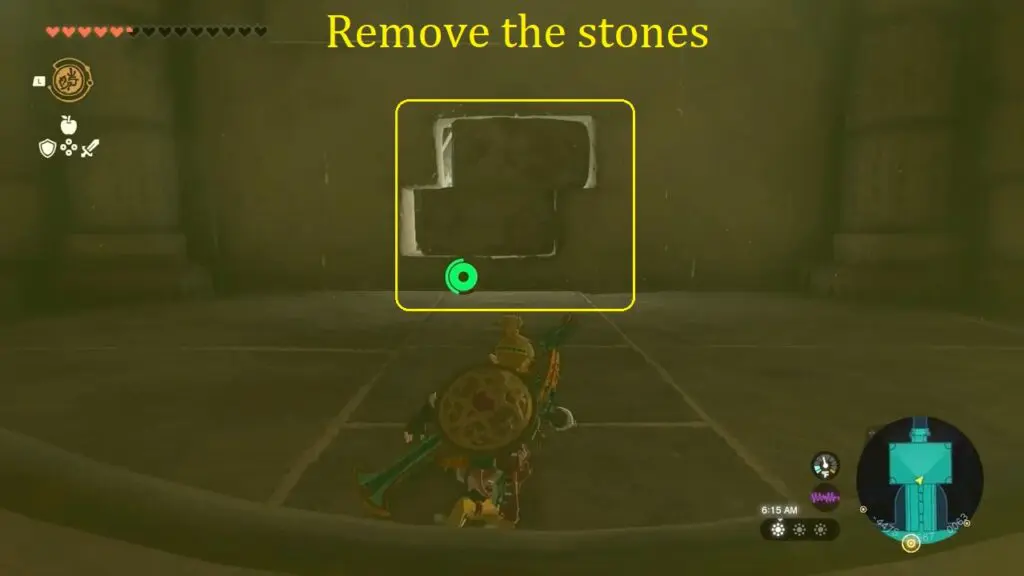
There are two rotating stones. Use the Recall ability on the first rotating stone to line up the openings in the two stones. Stop Recall and head inside to remove two loose stones blocking the light.
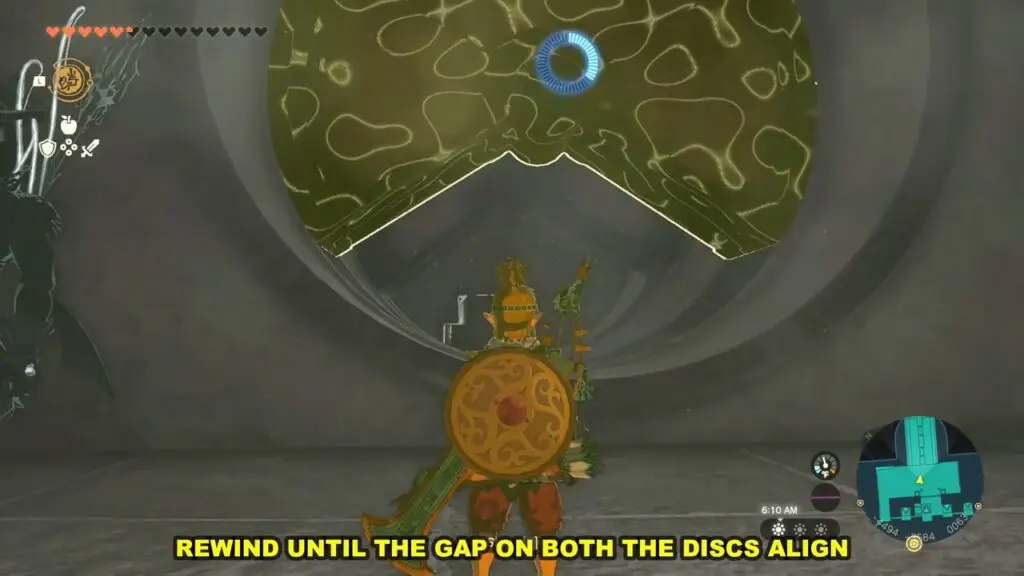
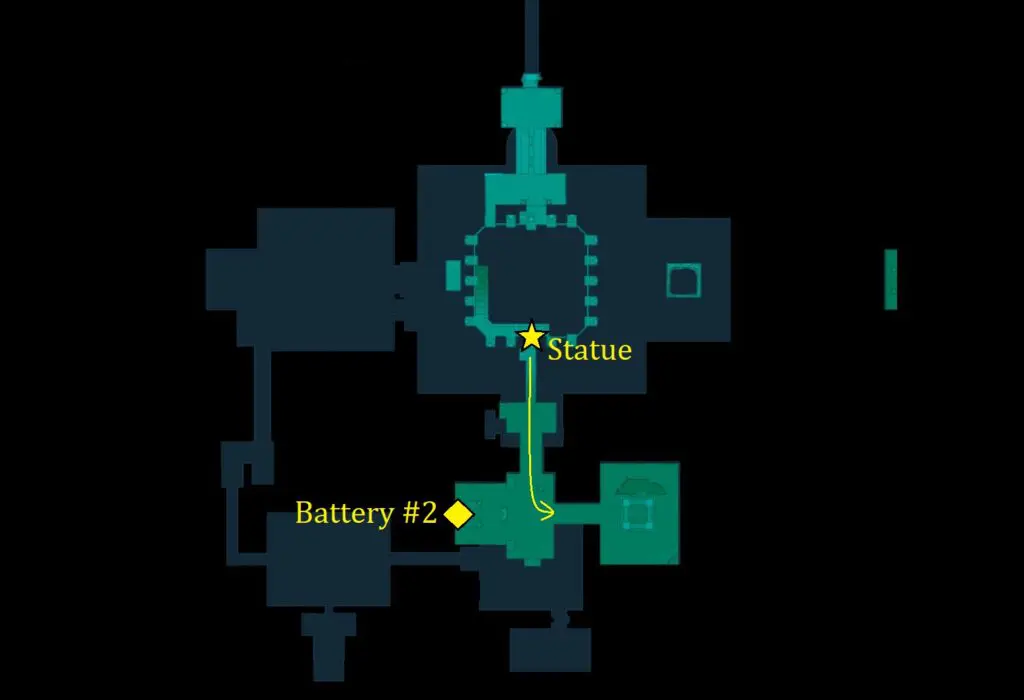
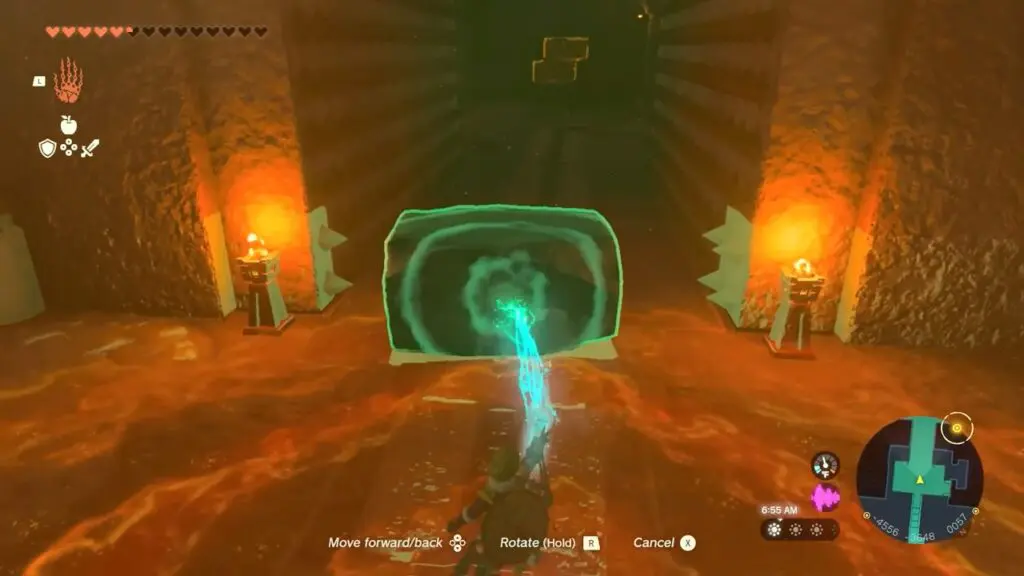
Exit the room and glide to the opposite side of the same floor with a statue.
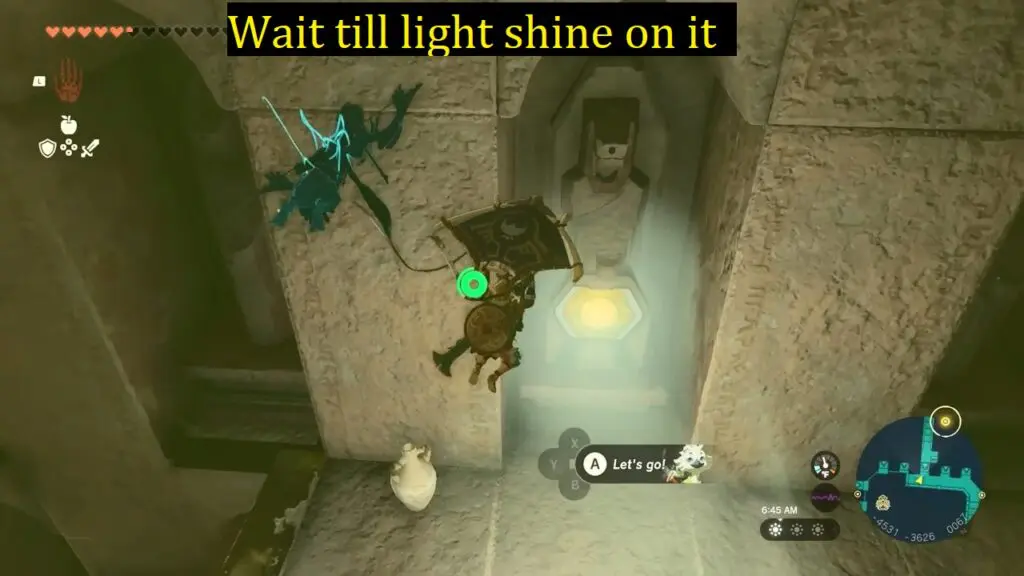
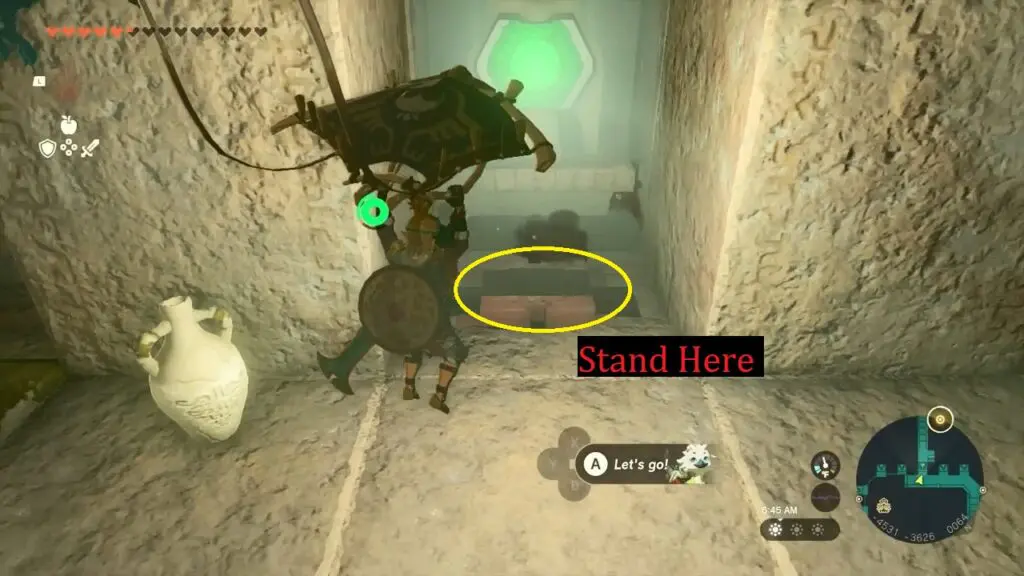
Wait for the large stones to do a full rotation, then the light will shine to the other end of the statue. This opens a statue there. Glide towards it and stand on the floor plate, which will reveal the pathway behind the statue.
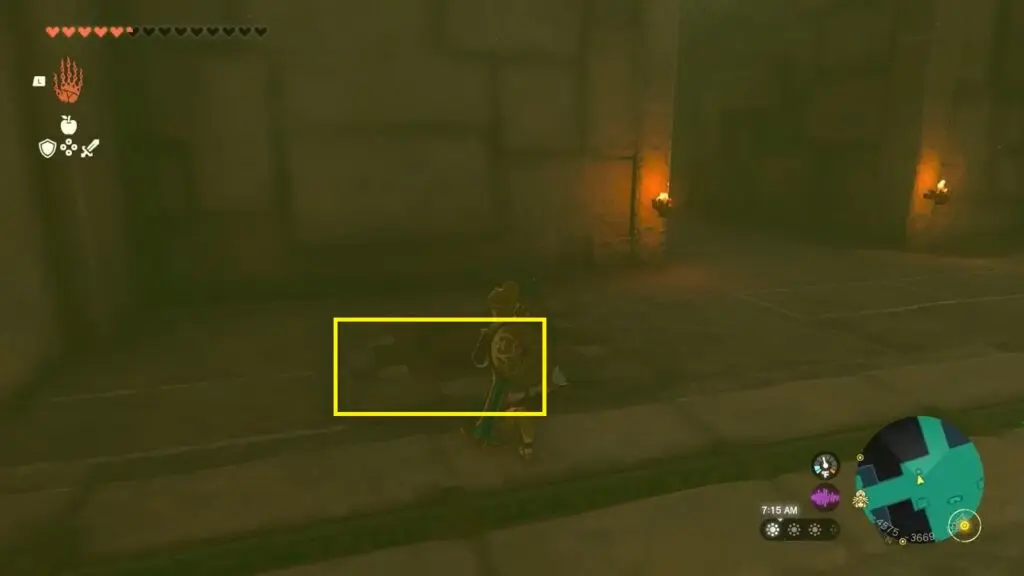
You will reach two spiked walls. Grab a stone and place it between the spikes to pass safely.
In the next room, stand on the floor plate to allow Riju to safely cross. Grab another stone and place it underneath the spikes coming from above.
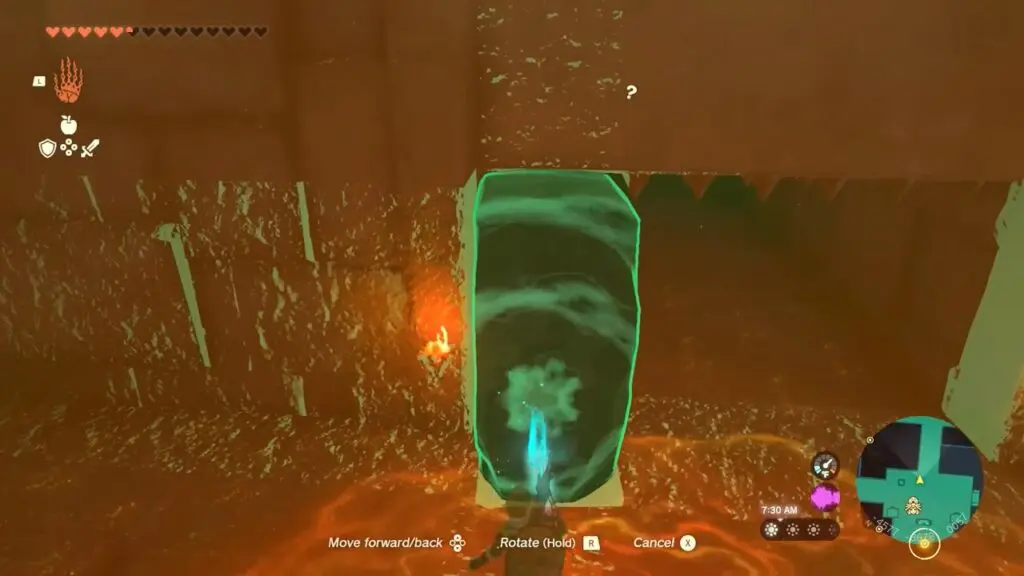
In the next room, drop the left side to find a rotating wall and a target (yellow crystal).
Place a pin near the target (yellow crystal) to halt the wall’s movement.
Use a Korok-Frond Guster on the sand to reveal a small mirror. Use Ultrahand to hold the mirror in the light and shine it at the yellow crystal to turn it green, This opens the roof above the light.
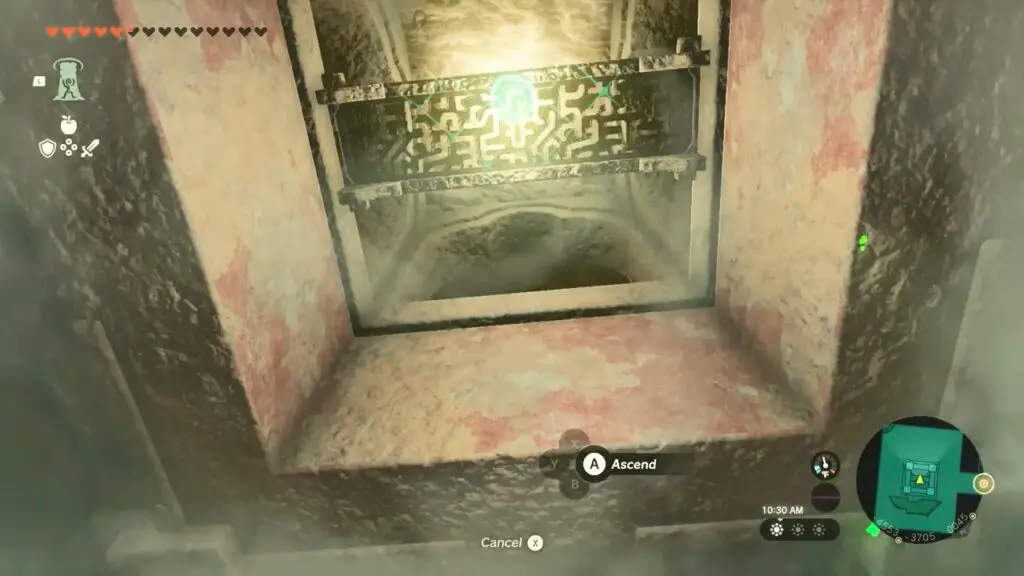
Get back up by using Ascend on the metal grate above the light.
Use Ultrahand to hold the mirror in the light and shine it through the corridor.

This will open the gate leading to the second battery.
Lightning Temple Battery #3
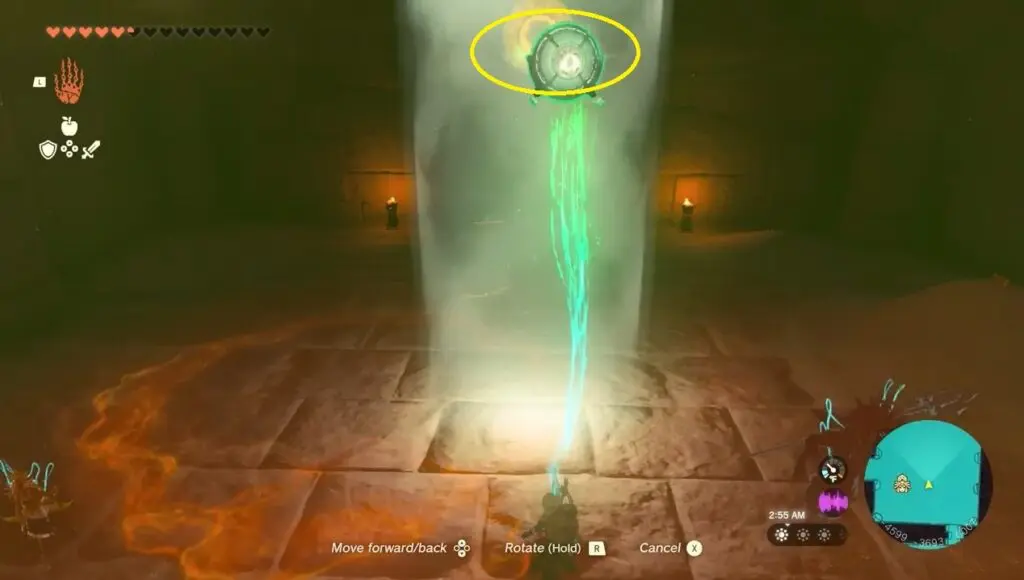
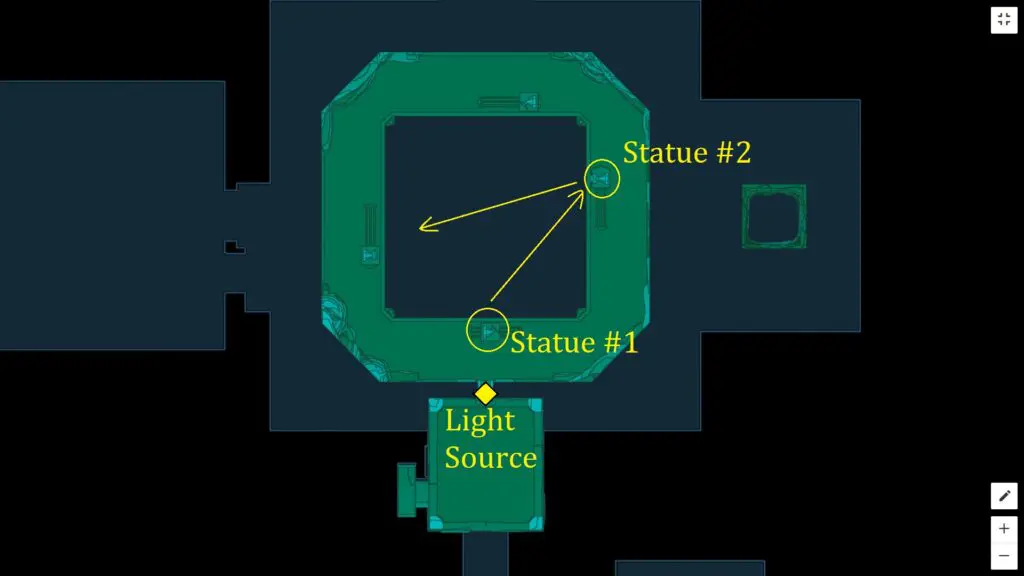
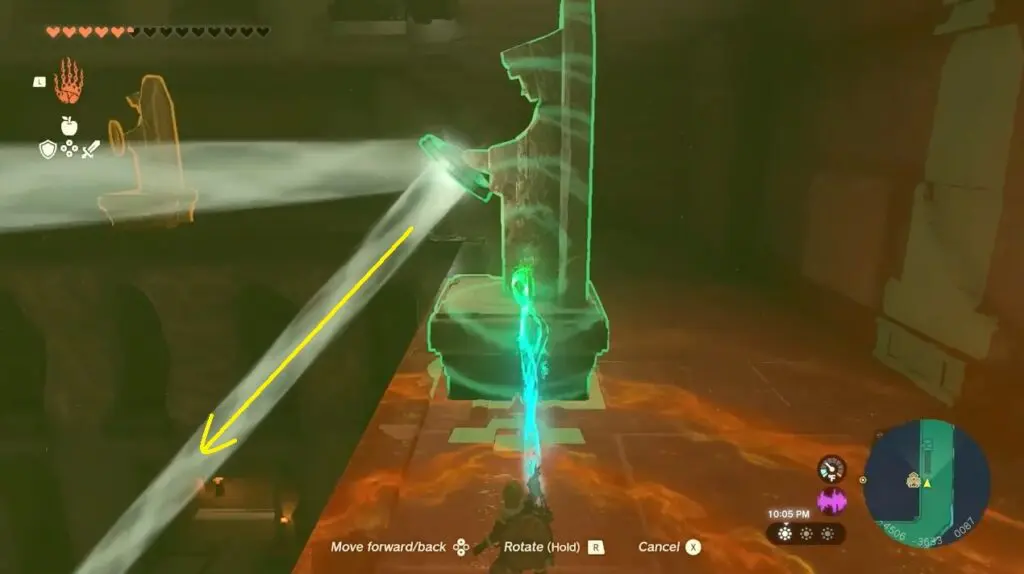
Go to Floor 1F and glide in the gust of wind to Floor 5F. Here you will find four statues with mirrors to reflect light and a light source. The light is blocked by a statue in front of it. Use Ultrahand, to move statue #1 to the right so that light to the goes toward statue #2.
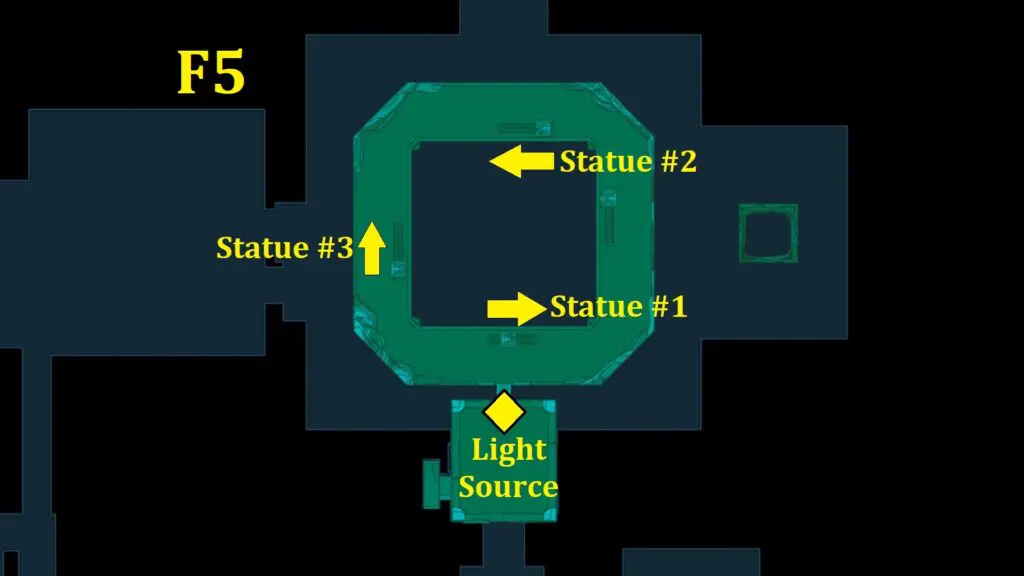
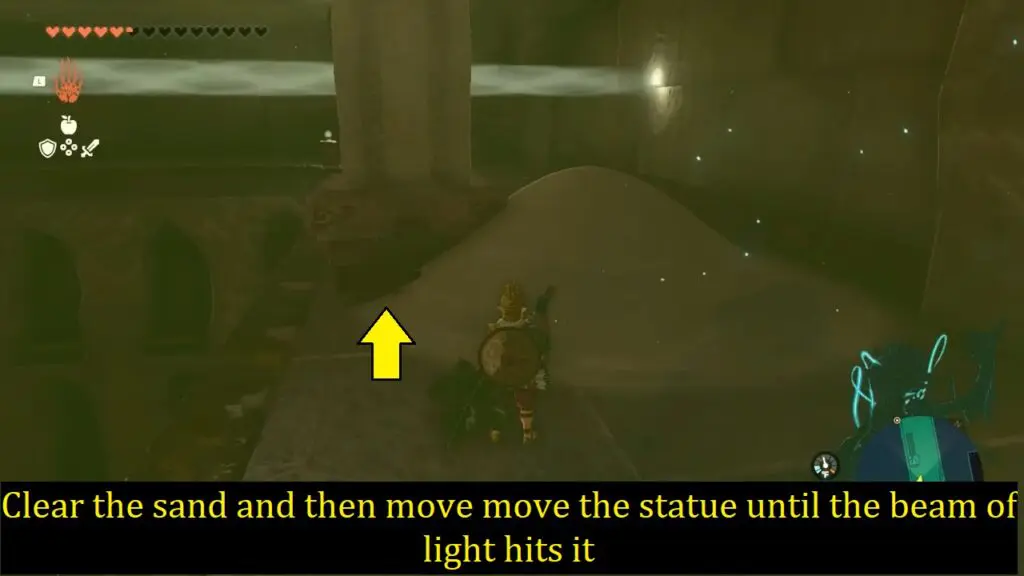
Go to statue #2, remove the sand, and move it too until the beam of light hits it.
Go to statue #3, move it too until the beam of light hits it, and get to reflect another statue on floor F6.
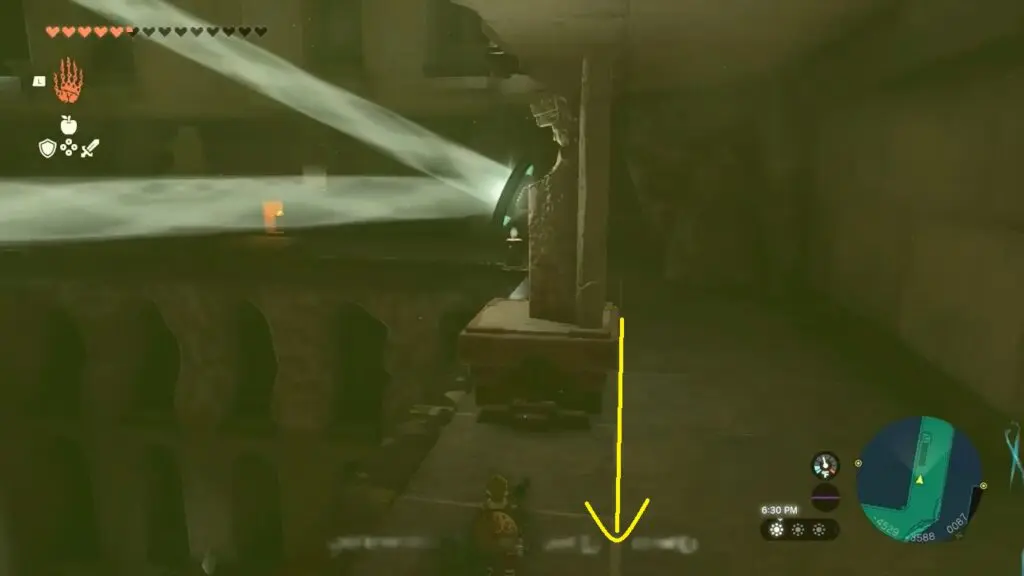
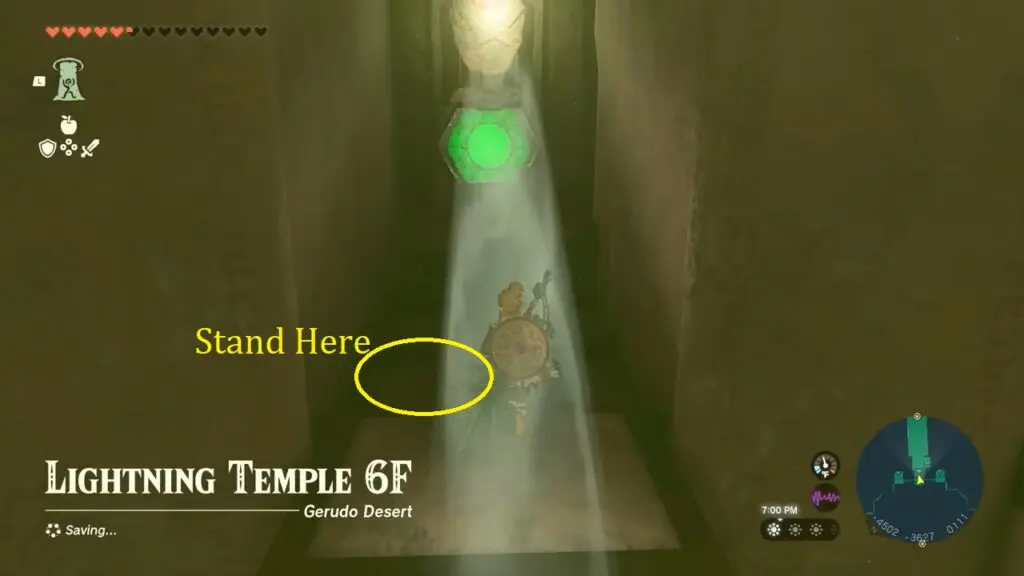
Go to floor F6, and stand on a plate in front of the statue to reveal the path behind the statue.
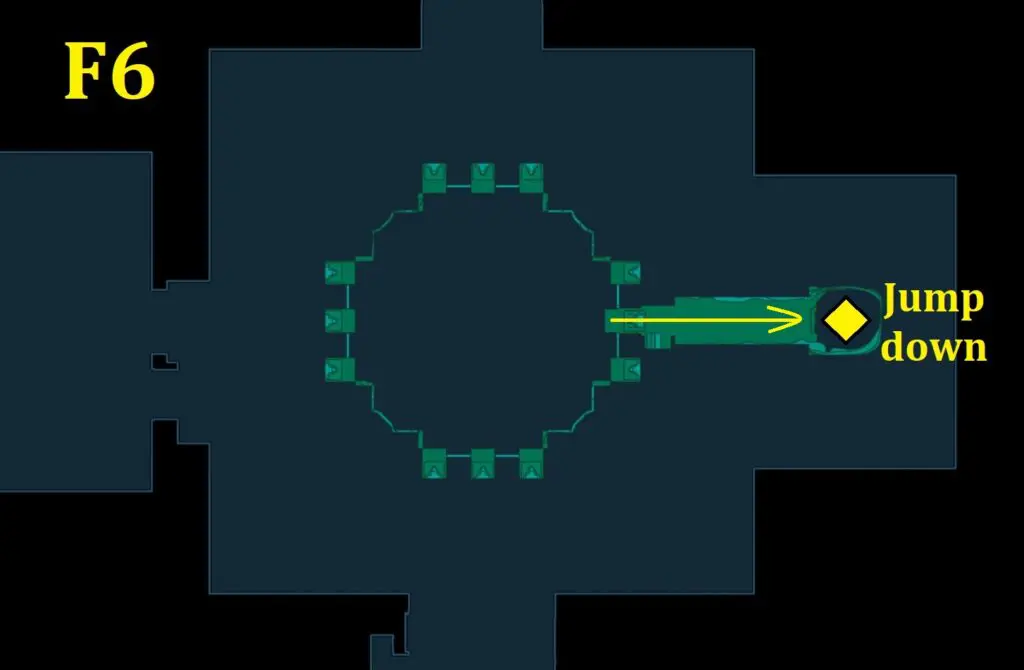
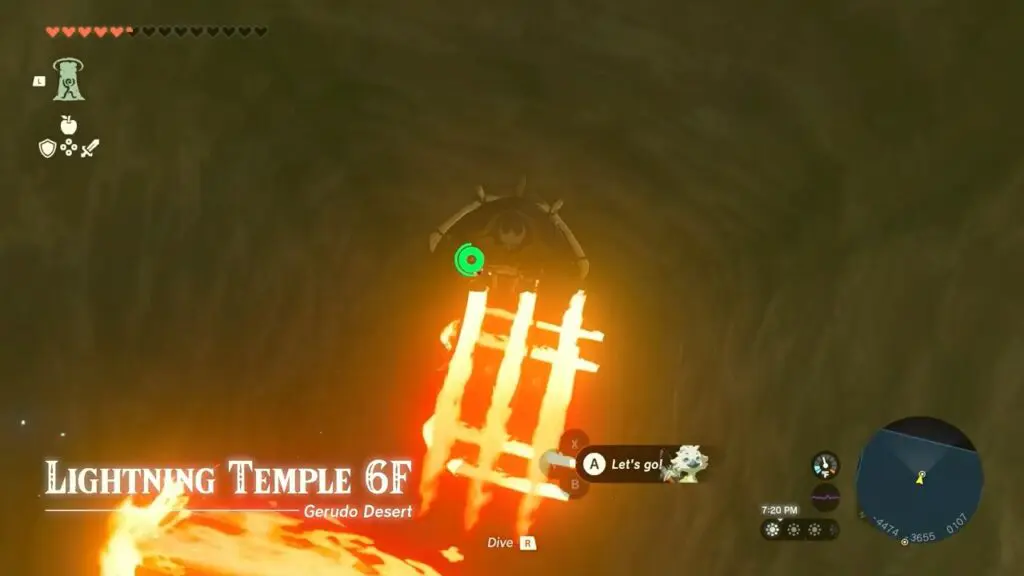
Go to the end of the path and jump down and safely glide through the fire to land in a room at F3 having battery #B2
Stand on the plate in front near the gate to let Rijo enter inside and then activate it with Riju’s lightning.
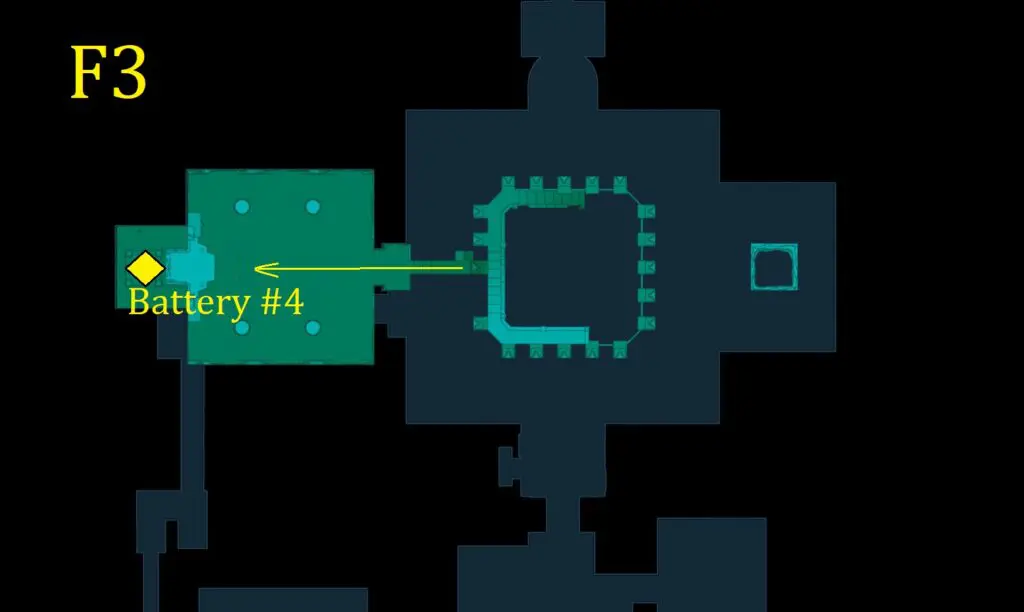
Lightning Temple Battery #4
Go to Floor 1F and glide in the gust of wind to Floor 5F. Here you will find four statues with mirrors to reflect light and a light source.
Use Ultrahand, to move statue #1 to the right so that light goes toward statue #2 on the right side.
Go to statue #3, move it too until the beam of light hits it, and get to reflect downward to another statue on floor F3.

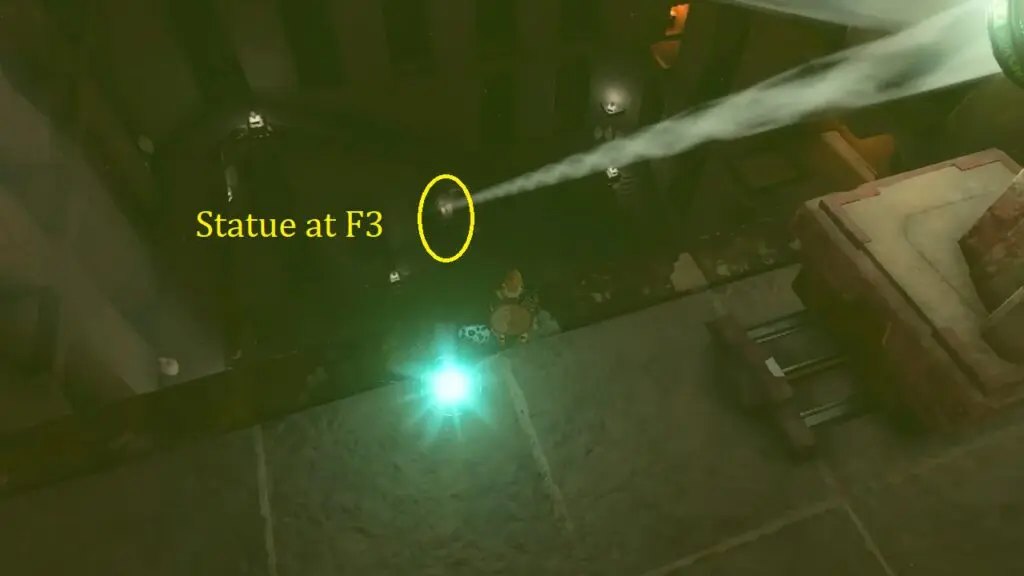
Go to floor F3, and stand on a plate in front of the statue to reveal the path behind the statue.
Defeat all the enemies present within the room. Proceed to attach a balloon on a metal grate and a small mirror on the side. Place this structure over the beam of light in the middle with the mirror facing west (forward)
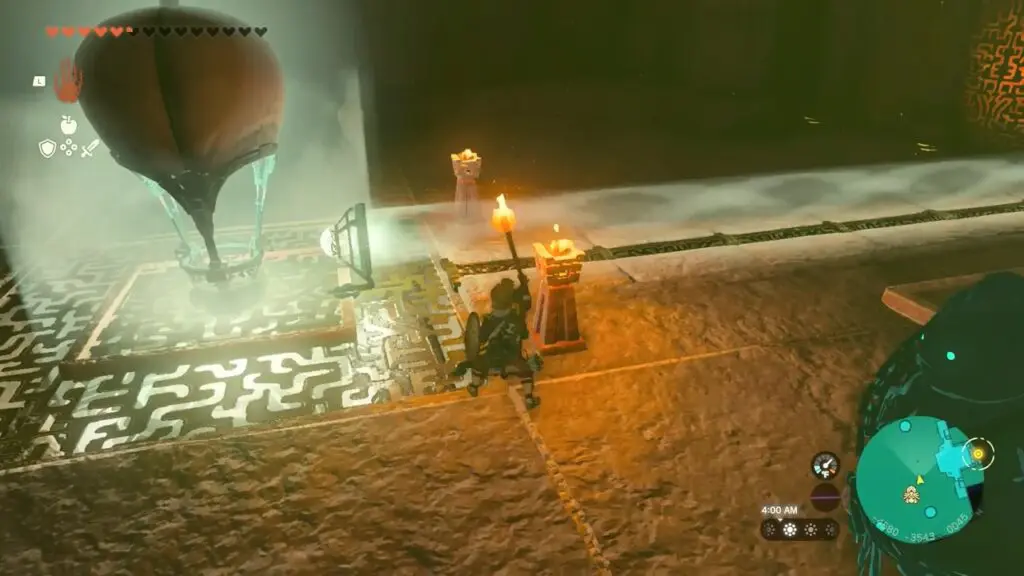
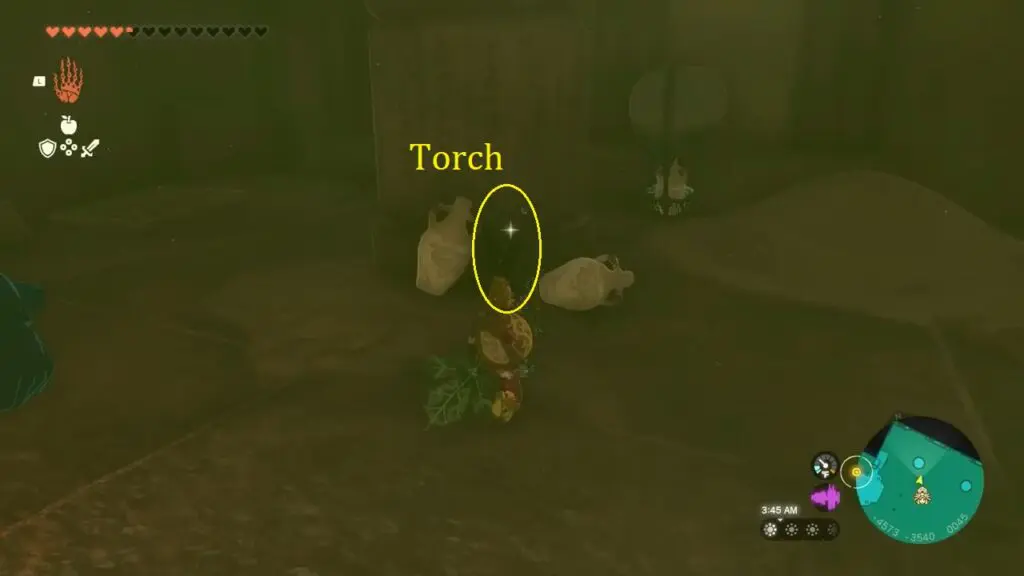
Grab the torch from the left side of the room and ignite it using the small fires nearby the beam of light.
Stand upon the balloon platform, allowing the torch to fill the balloon with hot air, causing it to ascend. The mirror on the structure will then direct the light forward. Remain on the platform until it reaches and reflects the light on the yellow crystal.
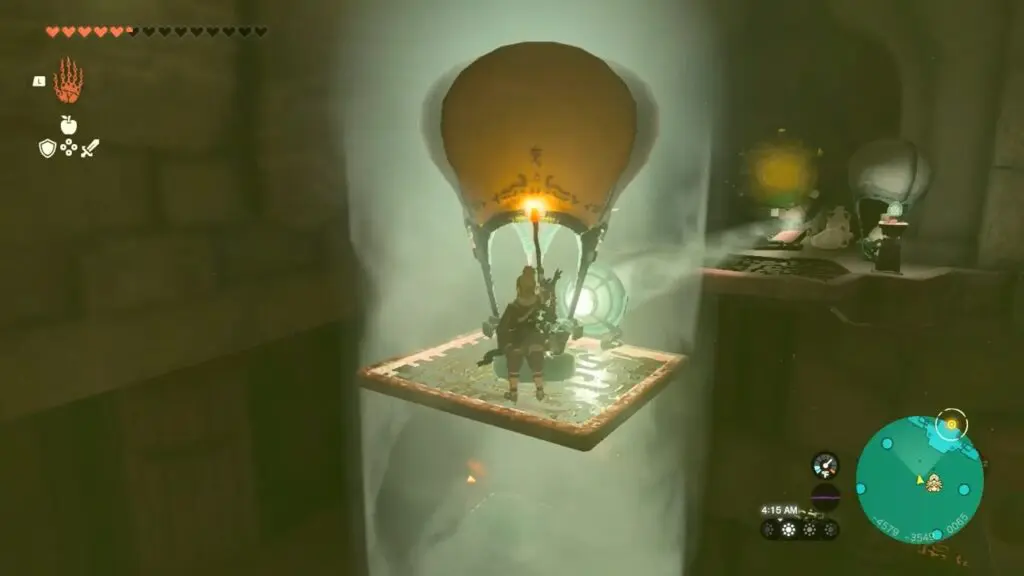
This action will unlock the gate leading to the fourth battery. Activate it using Riju’s lightning ability.
Queen Gibdo Boss Fight (Again)
With all four batteries successfully charged, you can now make your way back to 1F. Interacting with the green altar will initiate a boss fight. Following the elevator ride, employ Riju’s lightning ability to strike the large purple hive. This will summon the boss, which happens to be the same Queen Gibdo boss you previously encountered.
Interact with Riju and take aim with an arrow when the boss is within range. Utilize powerful melee attacks to inflict significant damage. The boss primarily utilizes a charging tackle and whirlwind attacks. If you have unlocked the Vows of other Sages you can summon them to help you also.
Return to Gerudo Town
After defeating the boss, pick up the Heart Container and talk to Riju. Subsequently, you will be automatically transported back to Gerudo Town.