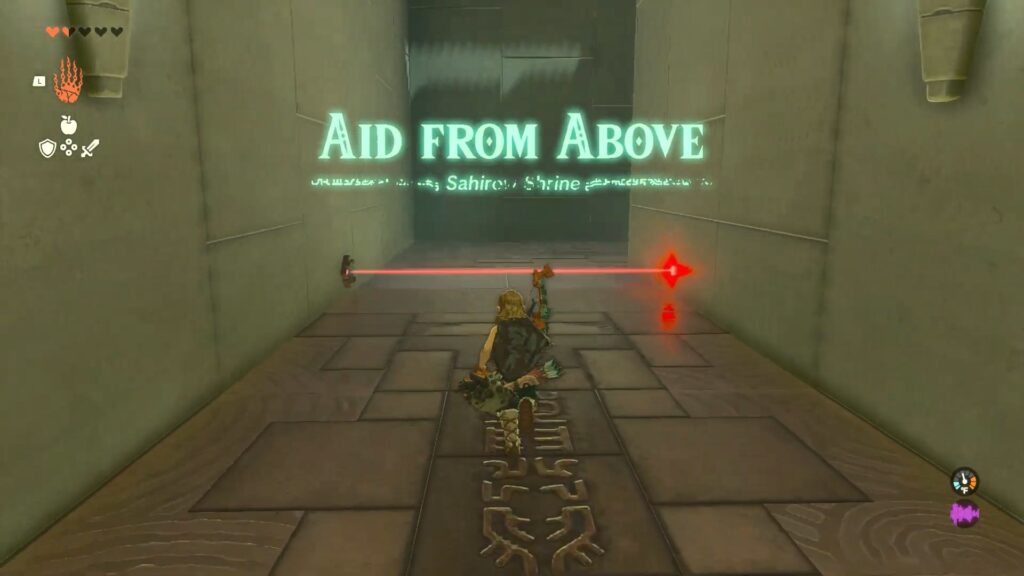
This article will guide you on how to solve all the puzzles inside Sahirow Shrine in The Legend of Zelda: Tears of the Kingdom. Sahirow shrine is near the top of Corvash Peak in the Hebra region, east, and a little bit north of Rospro Pass Skyview Tower.

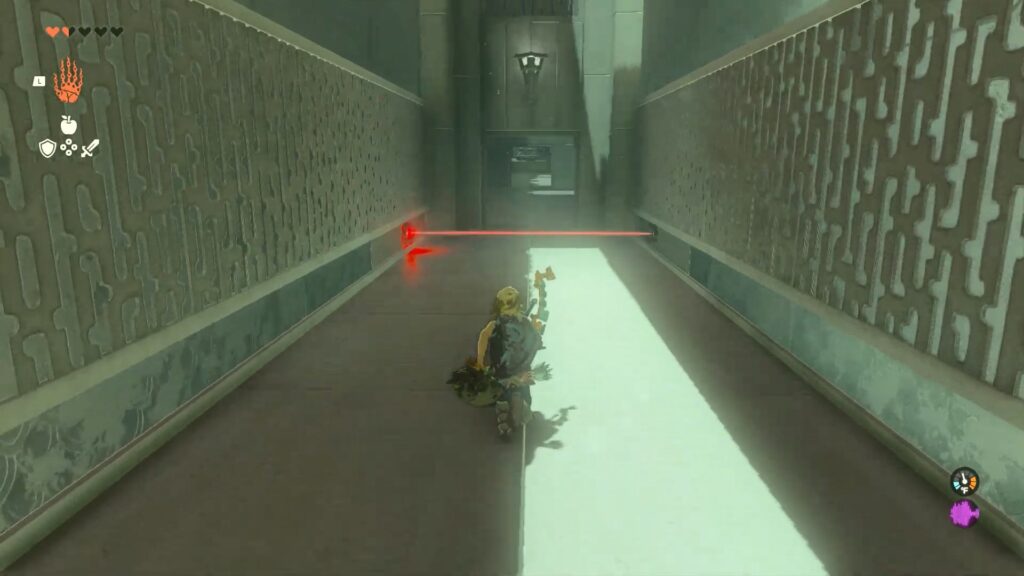
Enter the shrine to come across the initial laser. With a simple jump, you can easily clear the first laser.
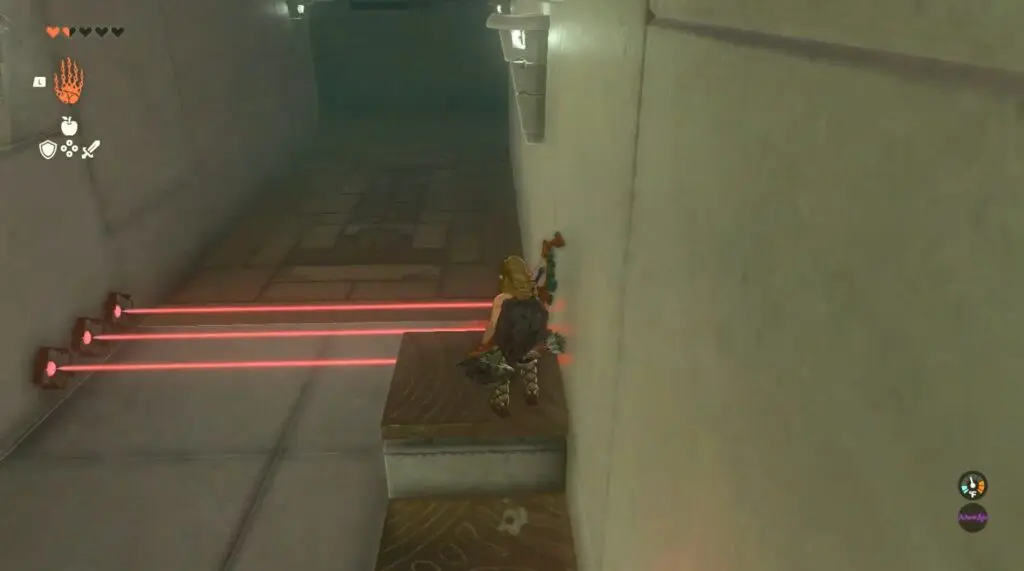
In the next section, leap over the first laser, then the duck laser. By crouching and moving slowly through the next few lasers.
Climb the mini stairs, then glide over the final lasers.
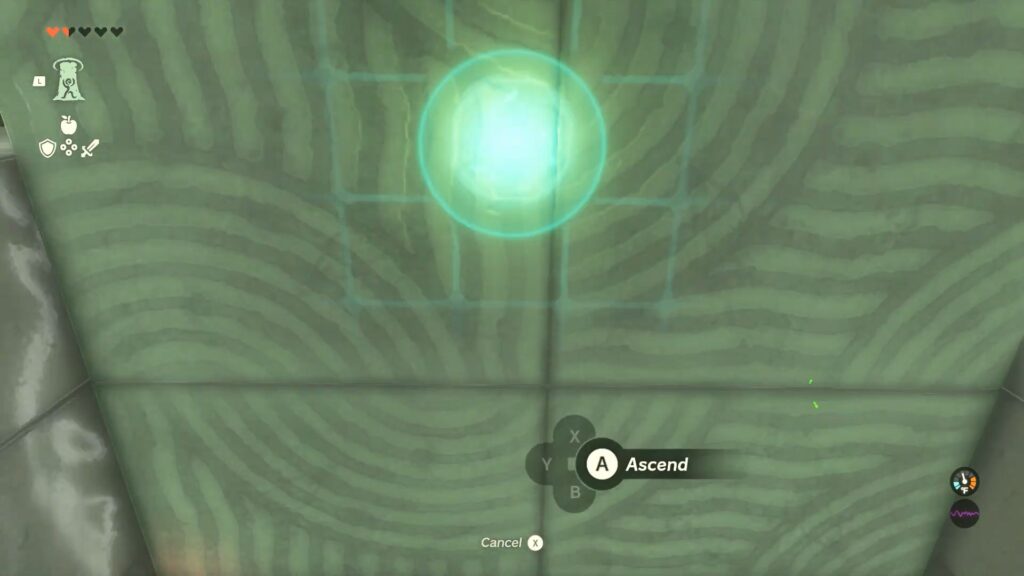
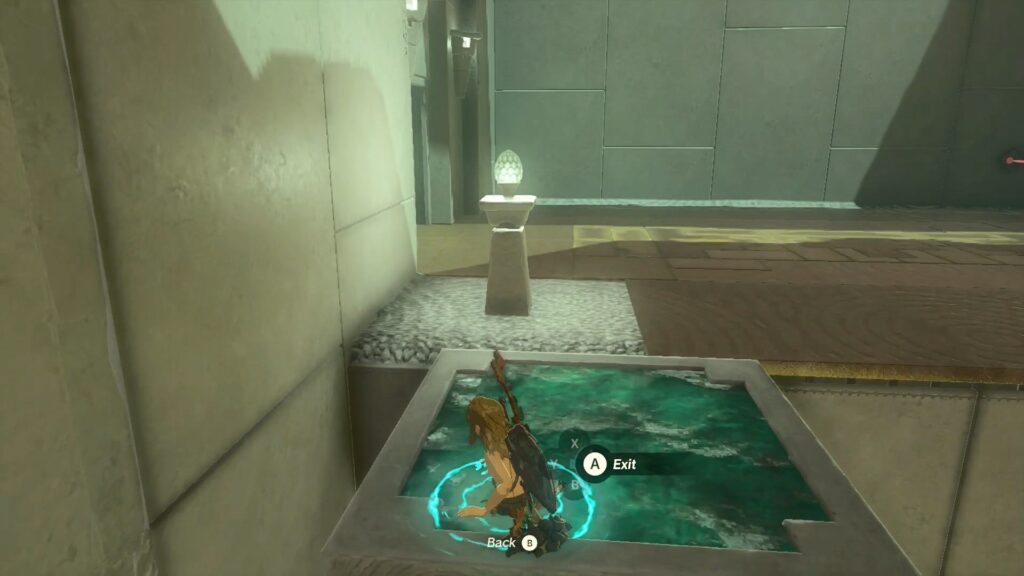
In the next puzzle, you will need to reach the top of a ledge. there’s a moving platform. Stand below it and use Ascend to get up to the platform.
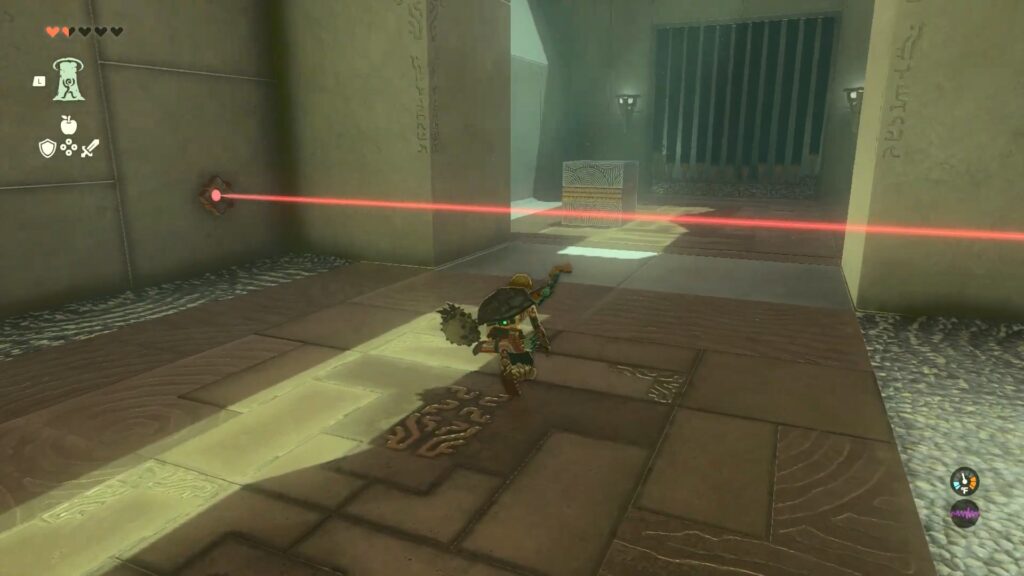
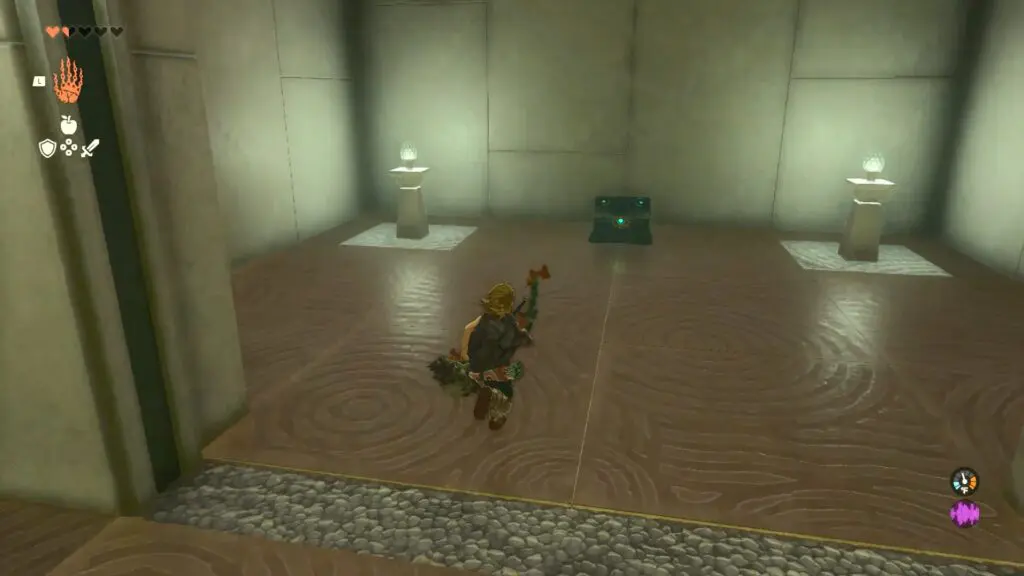
Turn right and you will see a locked gate. There is a treasure chest behind it. Crouch and walk to cross the laser.
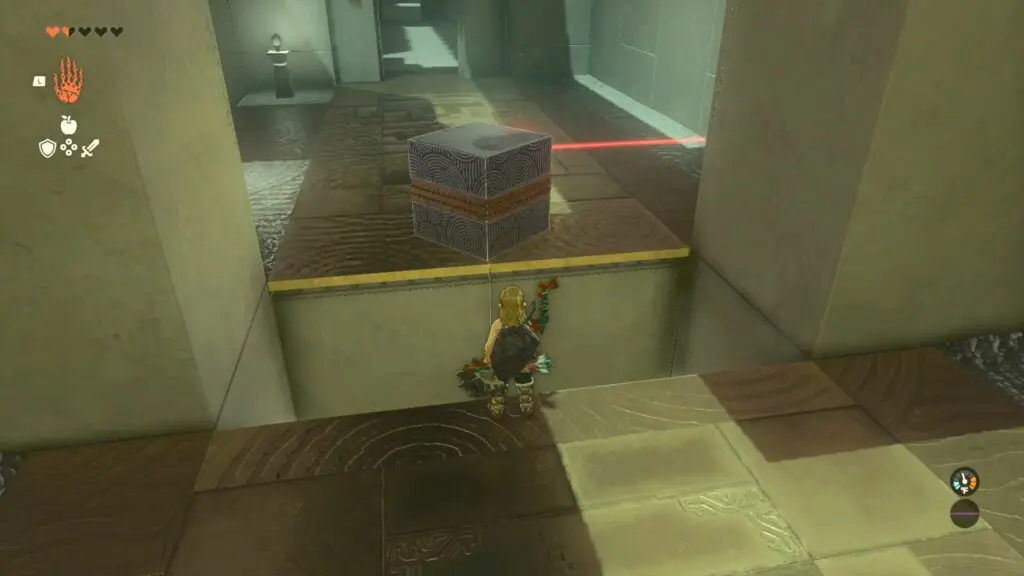
Use Ultrahand to move the cube into the laser’s path. This opens the door to the chest room.
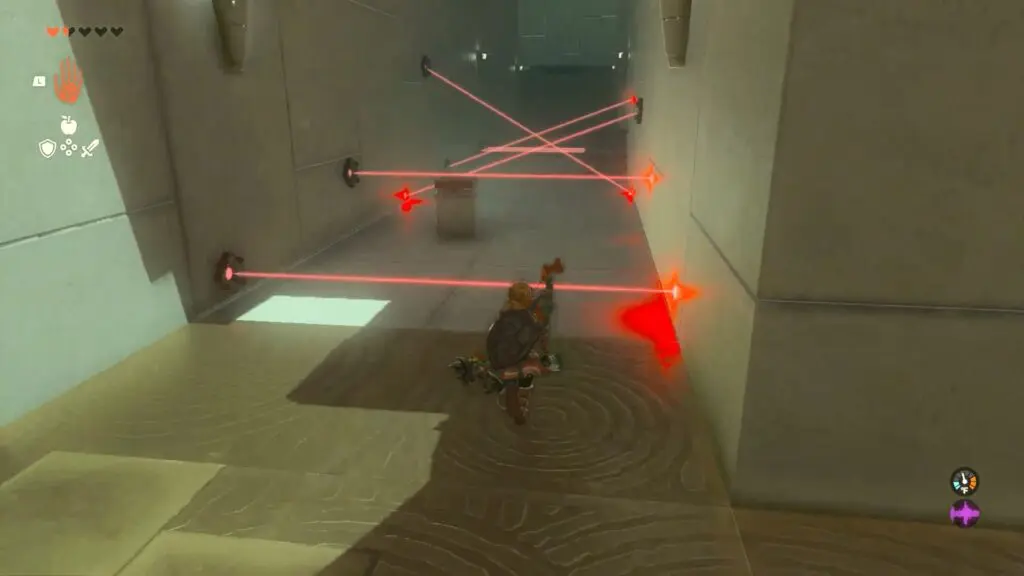
Advance towards the main shrine in the next sections you will find the lasers are in motion. Leap over the first laser and crouch under the second laser.
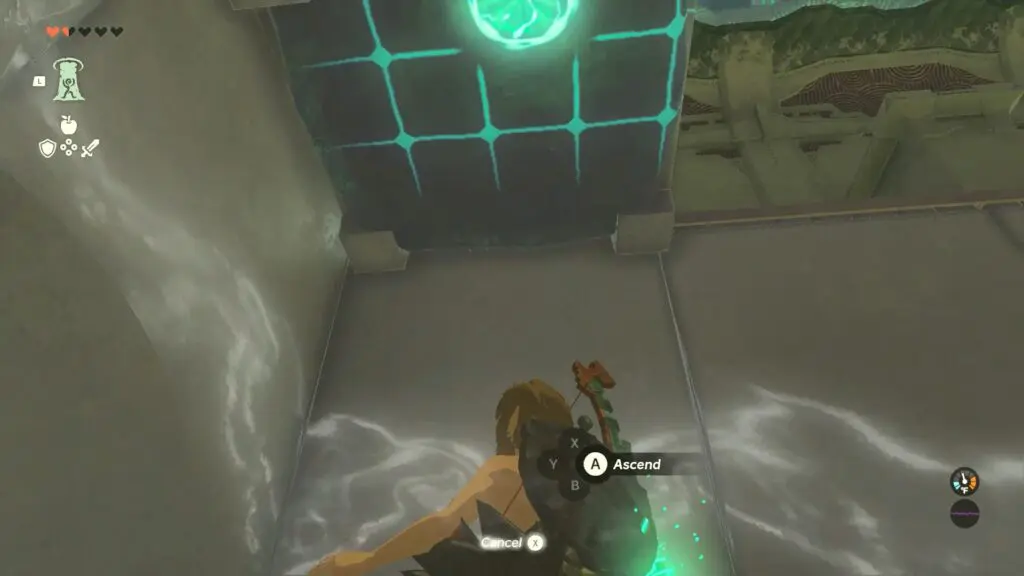
In the last section, there exists a grid of lasers that cannot be evaded. Follow the grid closely, and just as it reaches the far side, it will reverse direction.
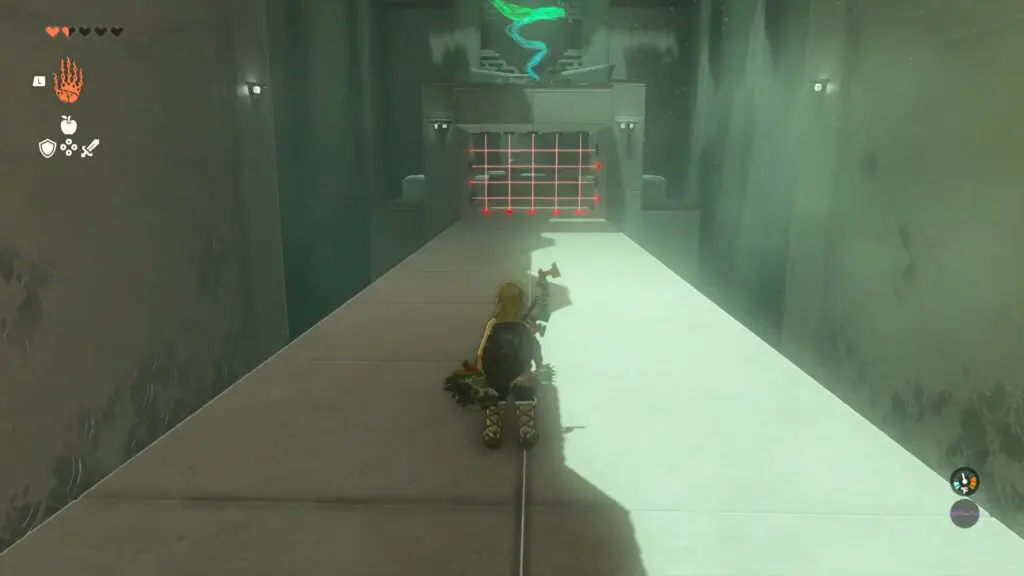
Seize this opportunity to utilize the ascend ability and reach the top of the laser structure. From there, make a leap to the opposite side.