This article will guide players on where to find all goals and collectibles in the San Francisco level of Tony Hawk’s Pro Skater 3 + 4, released on July 11, 2025.
Collect SKATE
Letter S
From the starting point, go left and look for the “Boardwalk View Hotel.” Go up the spiral ramp in front of the hotel. Once you reach the top, head right and follow the pathway. At the end, you will find the letter “S” hovering above the quarter pipe.
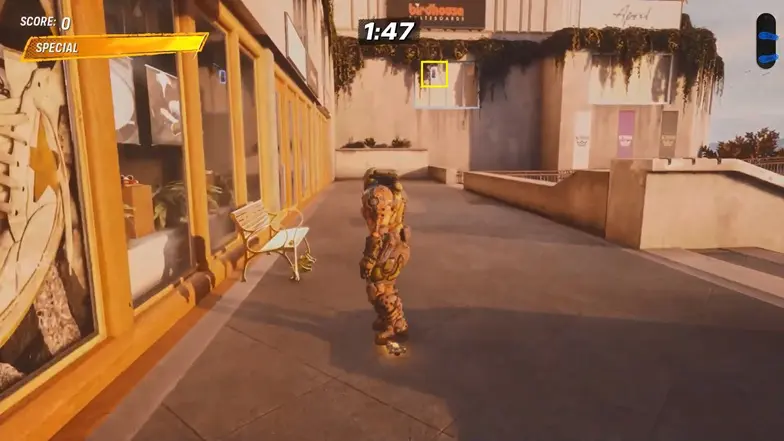
Letter K
Proceed straight from the “Boardwalk View Hotel” to find the letter “K” on a wooden rail.
Letter A
Head right from the starting point to find a building labeled “Ishmael’s Wharf.” Use the quarter pipes nearby to launch yourself onto the roof, where you’ll find the letter “A.”
Letter T
From the previous location, skate over to the next rooftop on the right, then grind the wire leading off that roof to collect the letter “T.”
Letter E
From the previous location, continue skating to the next rooftop to find the letter “E.”
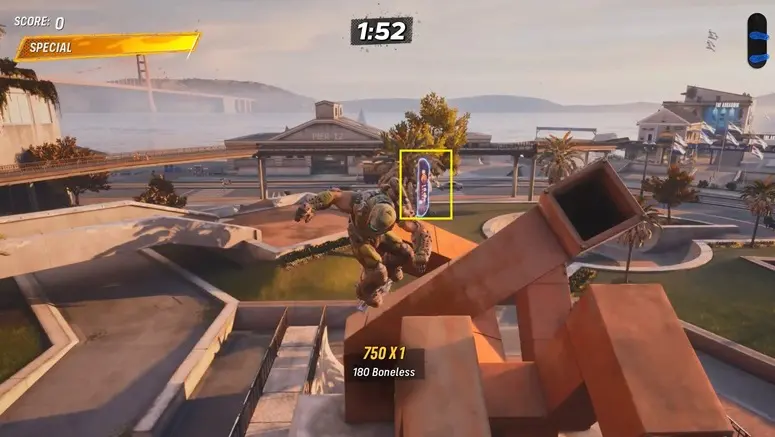
BS Boneless a Pier Sign
Start at the beginning of the level and go to the right. Follow the main road until you see a building called the Aquarium on your right side.
Go around to the back of the Aquarium. There, you’ll see a quarter pipe with blue signs above it. To complete the goal, skate toward the quarter pipe and do a BS Boneless Trick on one of the blue signs.

What is a BS Boneless?
“Boneless” is a classic skateboarding trick where a skater plants one foot on the ground, grabs the board with one hand, and the back needs to face the ramp. Finally, jumps off the planted foot and gets back on the board in mid-air.
Collect the 5 Missing Packages
Missing Packages #1
From the starting point, go left and look for the “Boardwalk View Hotel.” Go up the spiral ramp in front of the hotel. Once you reach the top, head left and follow the pathway. At the end, you will find Missing Packages.
Missing Packages #2
From the starting location, head to the left to find the missing package located beneath a bridge-like structure.
Missing Packages #3
From the starting location, head left until you reach the main road. The missing package is located in front of the building labeled “Pier 12.”
Missing Packages #4
Continue following the main road on the right side from the previous location to find another missing package in front of a different building along the way.
Missing Packages #5
From the starting location, head to the right and look for the building labeled “Ishmael’s Wharf.” Go behind the building to find a missing package hovering above a bus.
Manual the Overhead Walkway
From the starting point, go left and look for the “Boardwalk View Hotel.” Go up the spiral ramp in front of the hotel. Once you reach the top, head right till the end.
At the end, turn right and begin following the walkway. As you skate along it, you’ll come across a traffic cone marking the starting point. Begin performing a Manual trick at the first cone, and try to maintain it until you reach the next traffic cone. Stay balanced throughout the manual to complete the challenge successfully.
To complete the manual trick, you need to balance your skateboard on either the front or back wheels and maintain that balance while riding along the entire length.
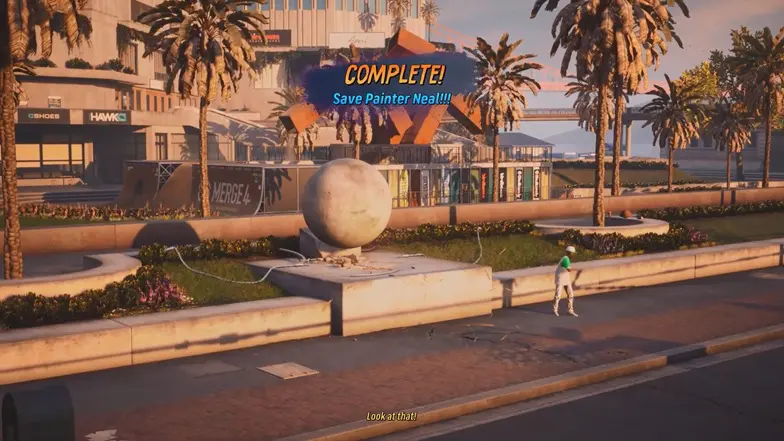
Save Painter Neal
From the starting point, head right and follow the main road. Keep an eye to your left to spot a giant stone sphere tied to a rope by the side of the road.
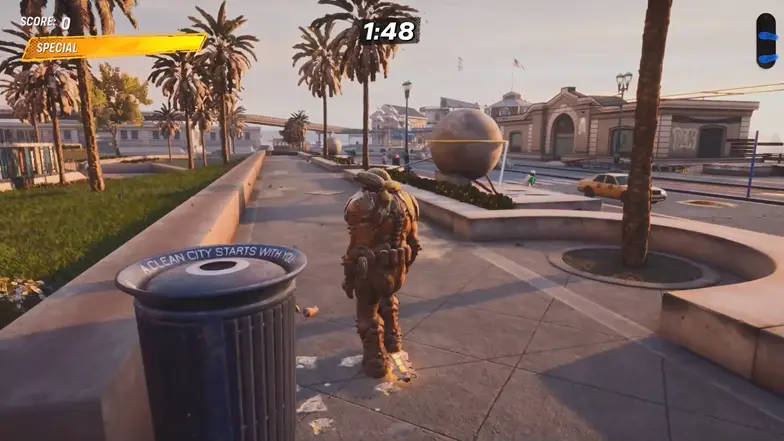
Grind along the rope wrapped around the sphere, making a full circle. Once you’ve gone all the way around, push the ball toward the road to knock it off its base.
The ball will roll down toward the pier where the painter is hanging from a billboard, and as it reaches the pier, it will knock off the shark that’s trying to attack the painter.
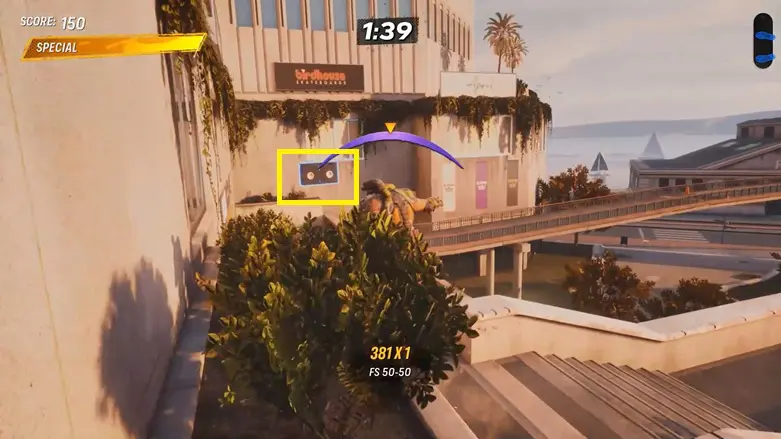
Secret Tape
From the starting point, go left and look for the “Boardwalk View Hotel.” Go up the spiral ramp in front of the hotel. Once you reach the top, head left and follow the pathway.
At the end of the path, use the quarter pipe to launch yourself into the air and aim for the glass window above. Break through the glass to access the upper level. Try to time your jump carefully so you land on the ledge.
Once you’re on the upper level, begin following the series of ledges. Grind along them, moving forward to the right. Continue navigating across the ledges until you reach the far side, where you’ll find the Secret Tape waiting for you.
Stat Point 1
From the starting point, head to the right and follow the main road. You’ll find the first Stat Point above a tram station, directly across from the building labeled “Pier 16.”
Stat Point 2
From the starting point, head to the right and use the quarter pipe to get onto the roof of the “Ishmael’s Wharf” building. Once you’re on the roof, go left and jump across to another rooftop at the back. There, you’ll find a Stat Point hovering near a quarter pipe.
Stat Point 3
From the starting point, head to the right and follow the main road to reach the Pier area. You will find the Stat Point located on the bridge.
San Francisco: Cash #1
From the starting point, head to the right and use the quarter pipe to get onto the roof of the “Ishmael’s Wharf” building. This cash is located in the middle building situated on the roof.
San Francisco: Cash #2
Proceed behind the Ishmael’s Wharf building and go between the two buses. Look to your left, and you’ll see a rail extending over the water between two buildings. Grind along this rail to collect the cash.
San Francisco: Cash #3
From the starting point, head to the right and follow the main road. You’ll find the first cash over a wire near a tram station, directly across from the building labeled “Pier 14.”
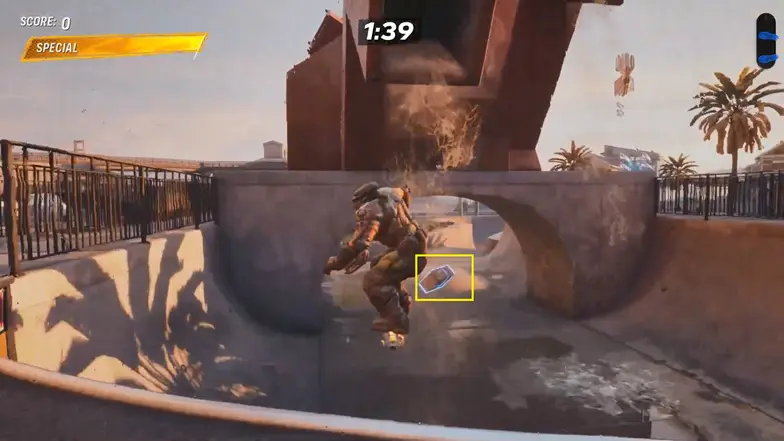
San Francisco: Cash #4
Next, head to the pier and make your way toward the Aquarium building. You’ll find the cash hovering above the walkway in front of it. Keep an eye out for ramps or quarter pipes nearby to help you reach it.
San Francisco: Cash #5
From the starting point, head to the left. You’ll find a cash pickup hovering near the water feature. Look for a way to reach it using nearby ramps or ledges.
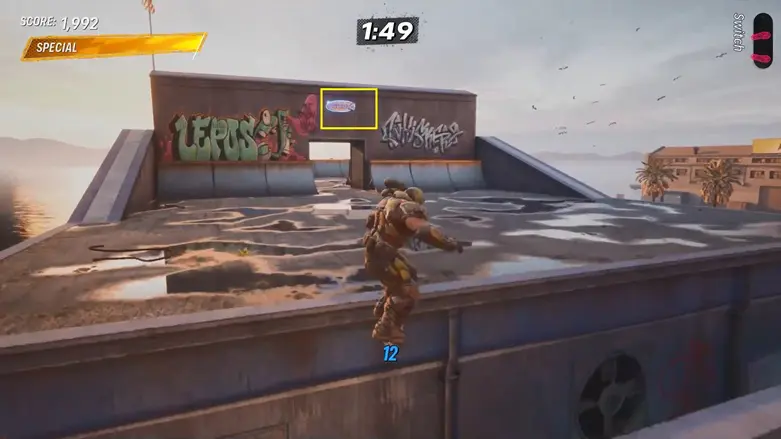
Logo
From the starting point, head toward the skate park, then turn around and face back toward the starting area. You’ll spot a long staircase leading up into a building on your right.
Grind the rail along the stairs to reach the top, where you’ll see the logo positioned behind a glass wall. Break through the glass to collect the logo.
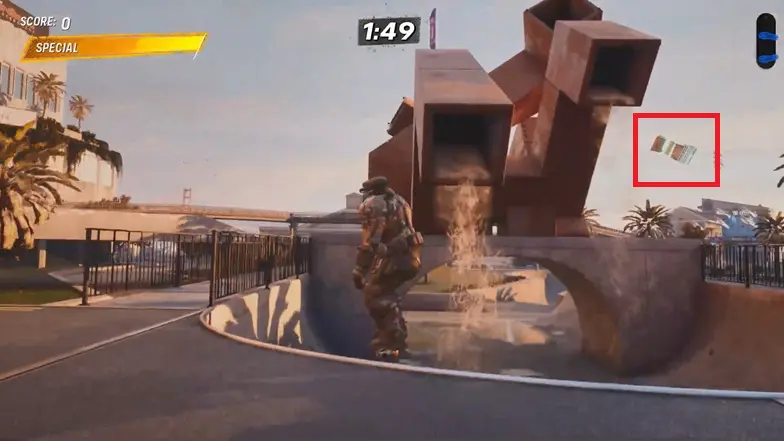
Hidden Deck
From the starting point, head to the left toward the decorative water structure. You’ll see the Hidden Deck hovering above it. Use the nearby ramp to launch yourself up and grab the Hidden Deck.