This step-by-step collectibles guide will show you the locations of all Lorestangir & Face in Chapter 3 of Senua’s Saga Hellblade II (2024).
Also Read: Senua’s Saga Hellblade 2: All Chapter and Collectables Guide
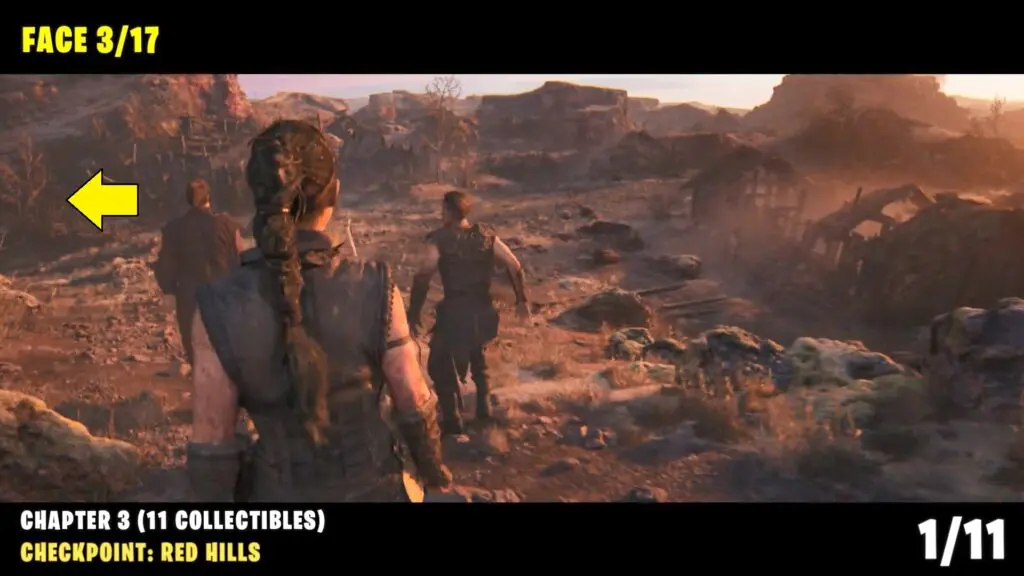
#1 Face
Checkpoint: Red Hills
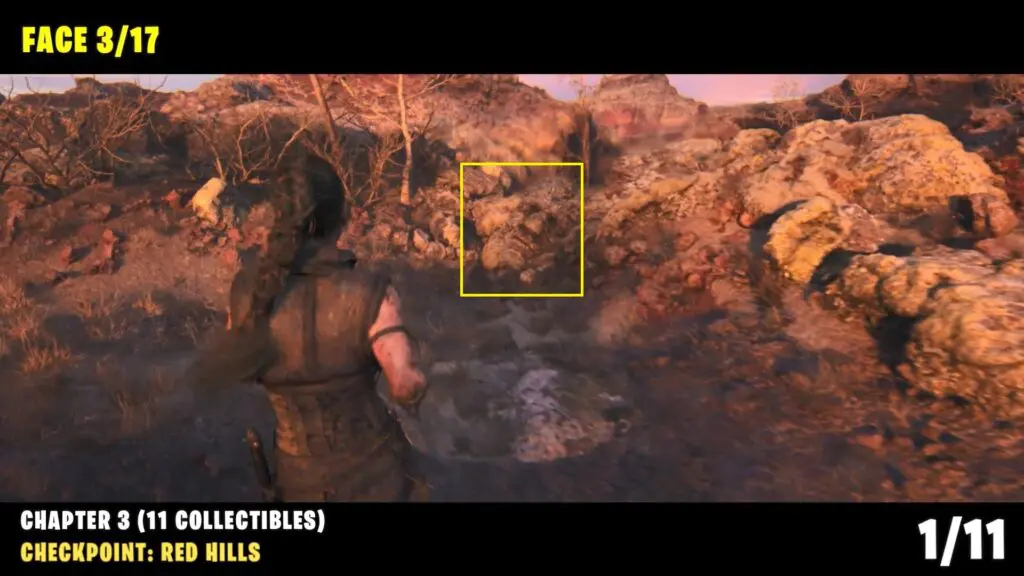
At the very start of chapter 3, the player will reach a destroyed village. After going down the hill, go in the left direction and then go behind the broken house area to locate the stone face at the end.
Scan it to reveal the hidden path. Follow the new path and then zoom in on the tree.
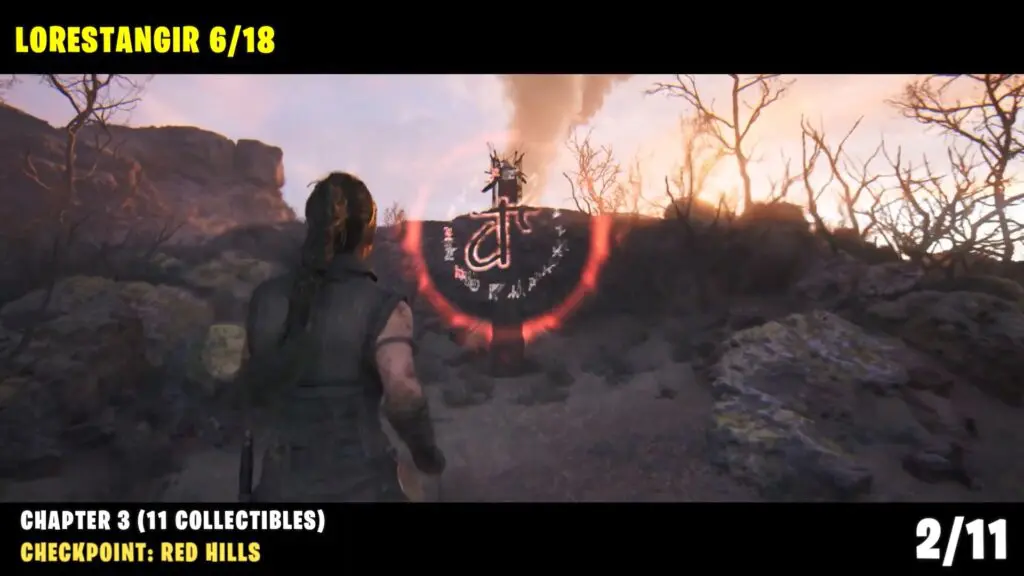
#1 Lorestangir
Checkpoint: Red Hills
Lorestangir Totem is behind the broken house that the player encountered earlier.
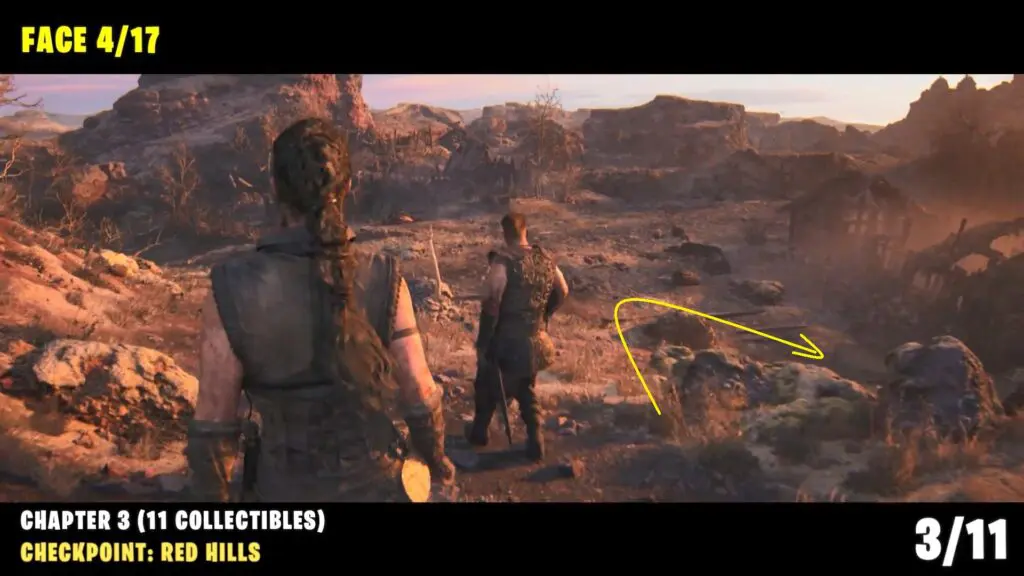
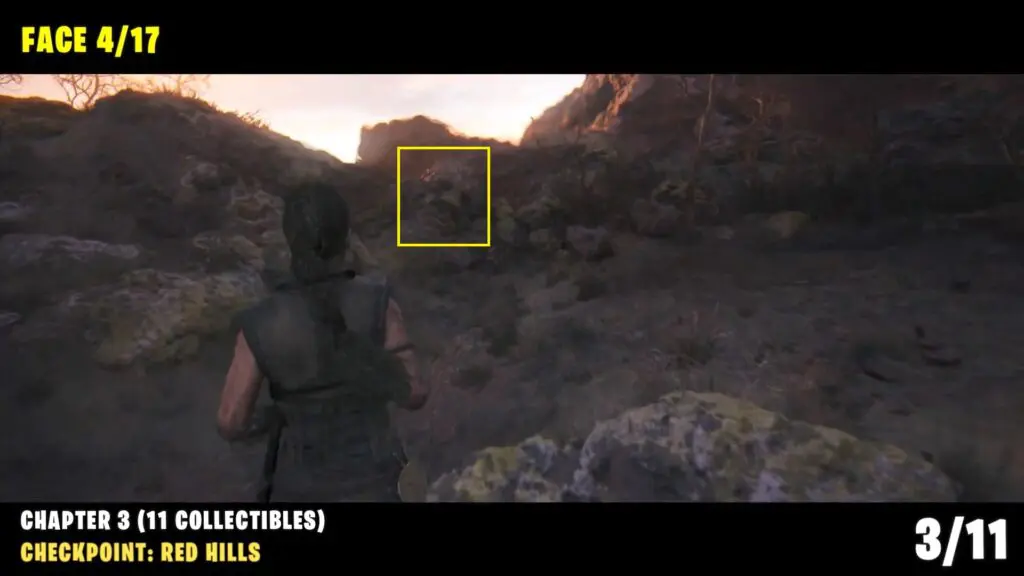
#2 Face
Checkpoint: Red Hills
Backtrack to the location where you came down the hill at the start of the chapter. Go to the right side of the village to find the stone face on the left side. Again scan the stone face to reveal the hidden path to reach the tree.
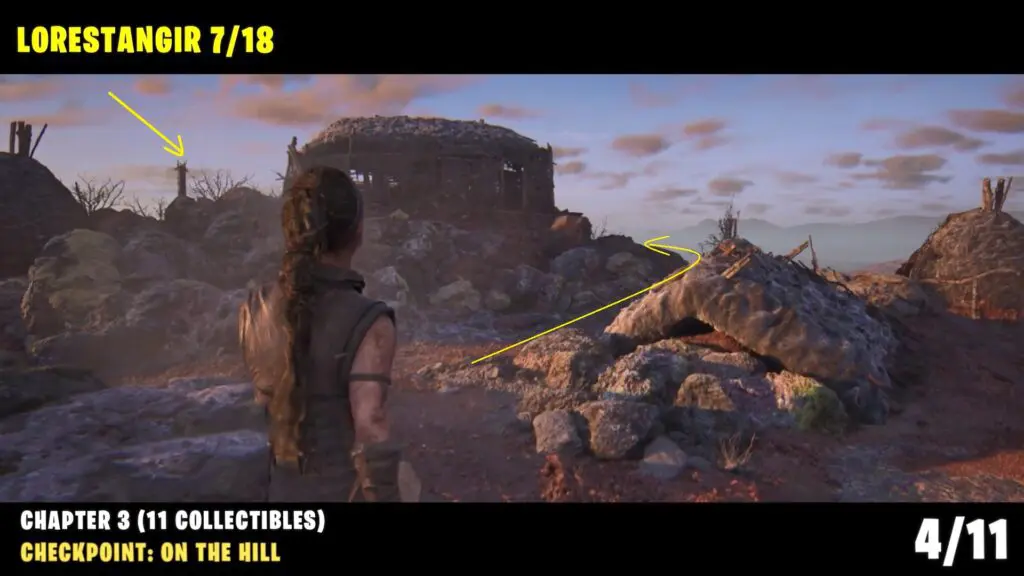
#2 Lorestangir
Checkpoint: On the Hill
As the chapter progresses, players should reach a hill during the day. Circle around the hilltop and climb to the highest point to find the Lorestangir totem near some huts.
#3 Face
Checkpoint: On the Hill
From the previous location, turn around go down the hill, and take the left path.
Drop down the ledge, make a turn right, and go down all the way to the bottom using the scaffolding.
Proceed downhill till you get to a water pond.
Follow the path on the left of the water pond to find a stone face at the end.
Scan the stone face to reveal the hidden path to reach the tree.
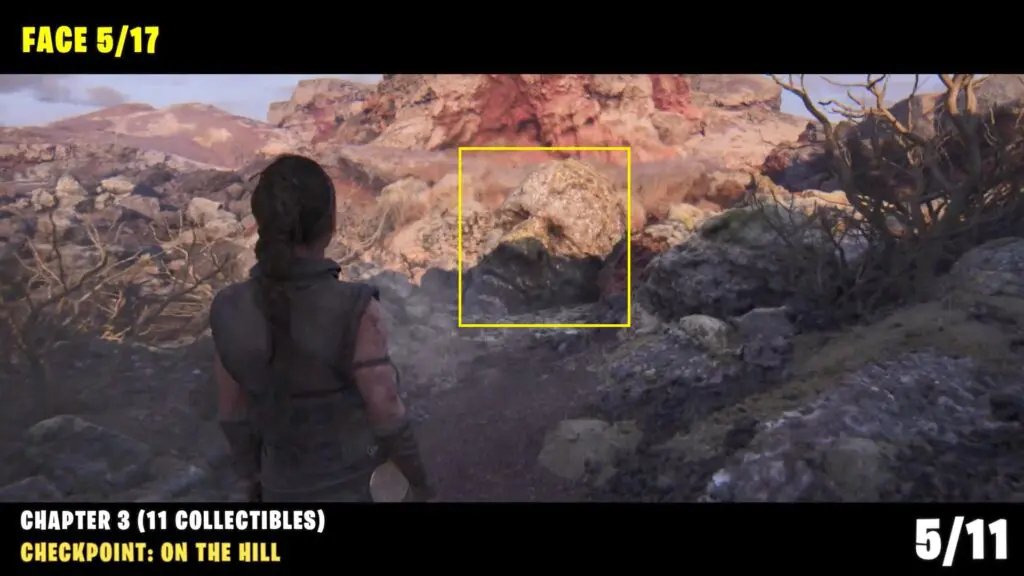
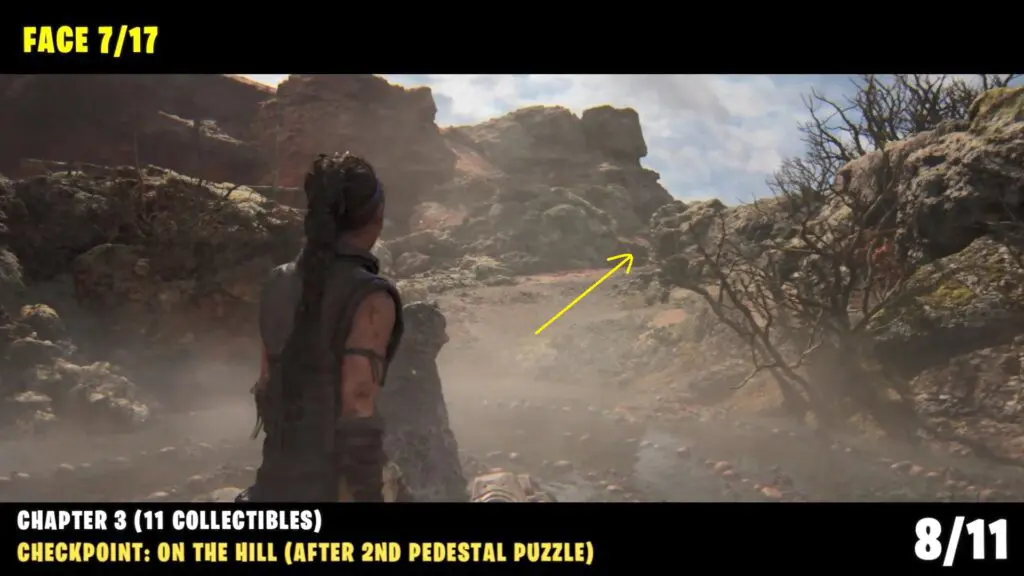
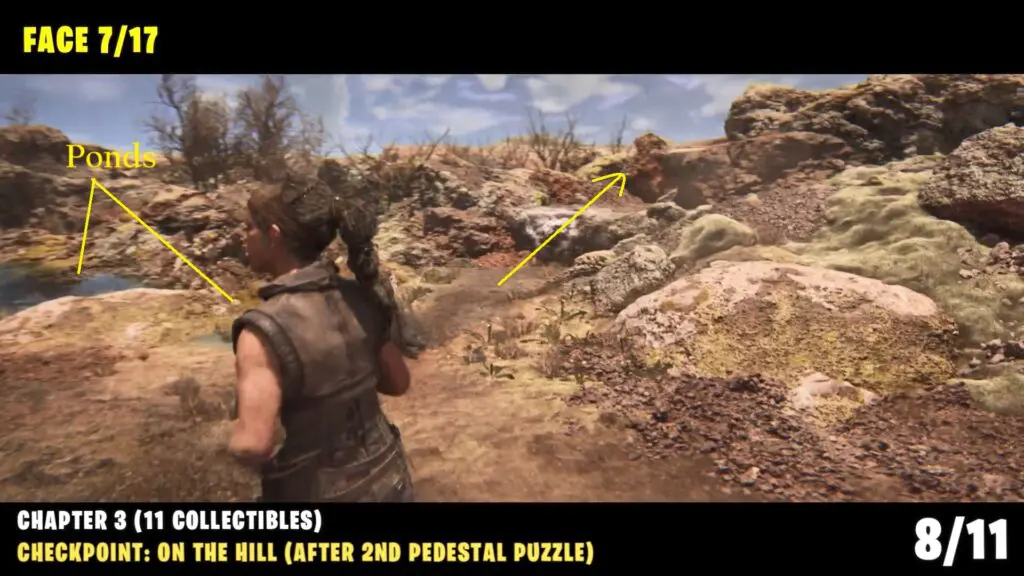
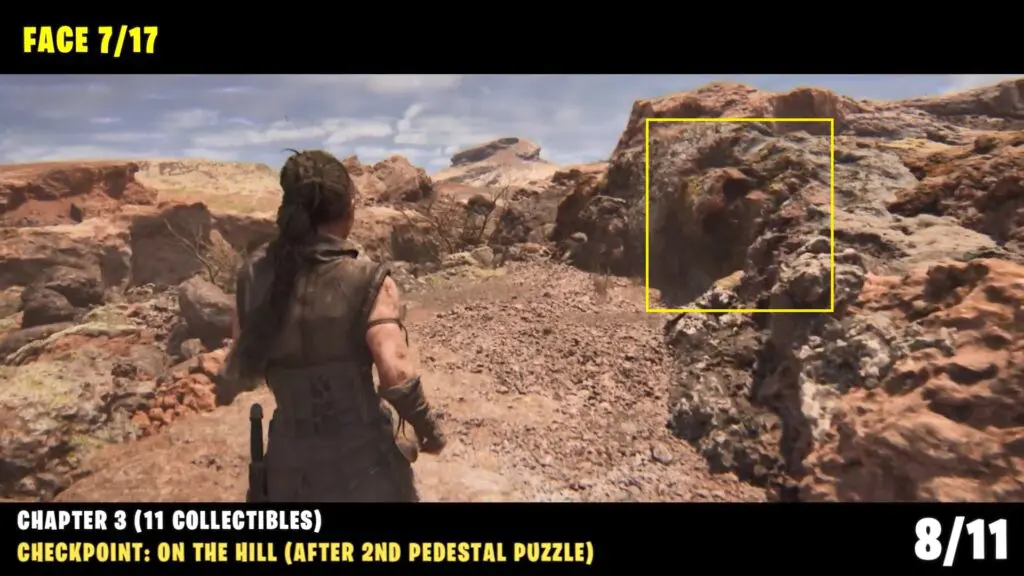
#4 Face
Checkpoint: On the Hill
After solving the first pedestal puzzle, follow the newly unblocked path. Follow the path and look for a stone face on the right side.

Scan the stone face to reveal the hidden path to reach the tree.
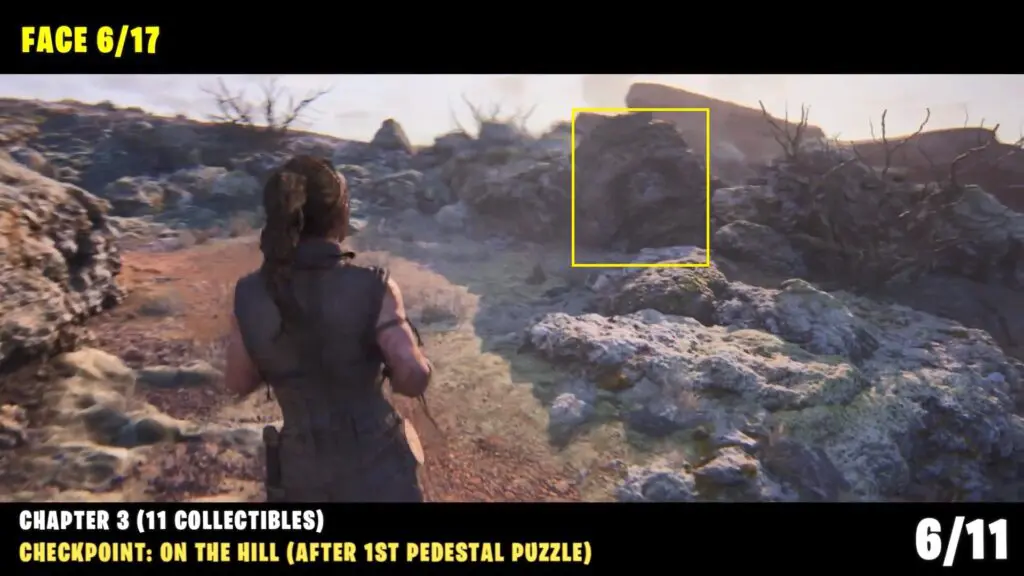
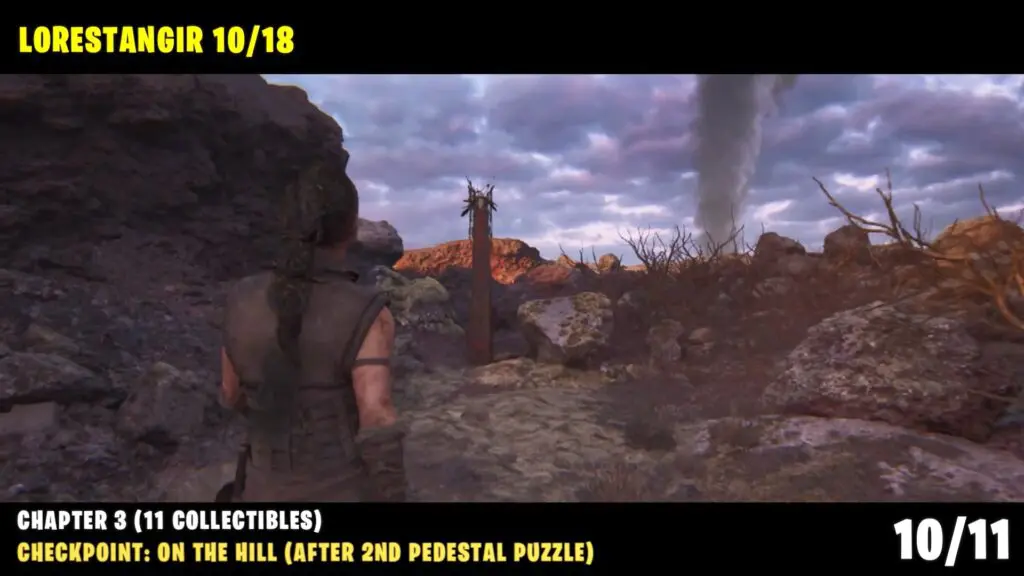
#3 Lorestangir
Checkpoint: On the Hill
Follow the main path and look to your left to see the Lorestang totem on a hill in the distance.
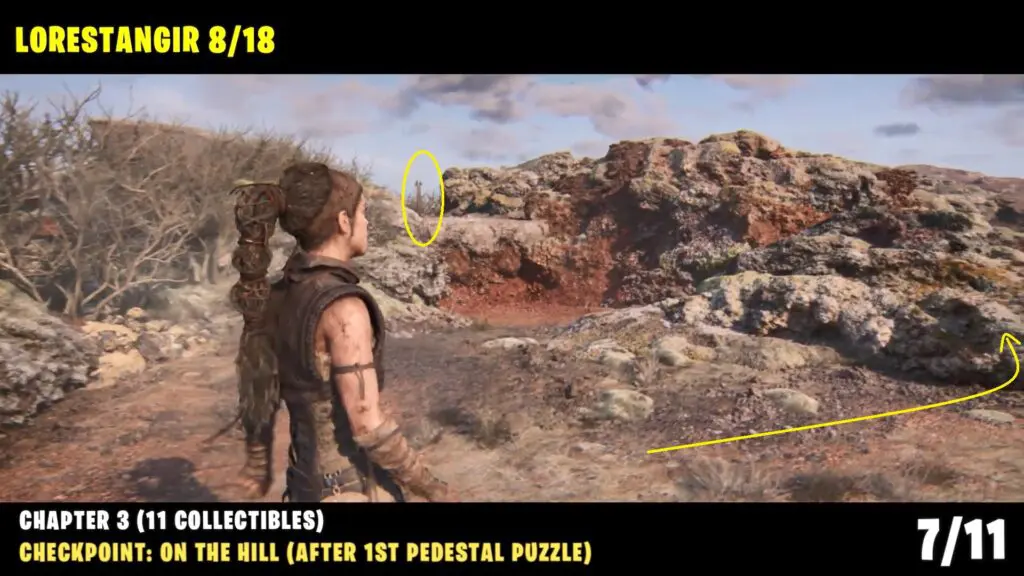
Continue along the main path, then climb up the ledge on the left.
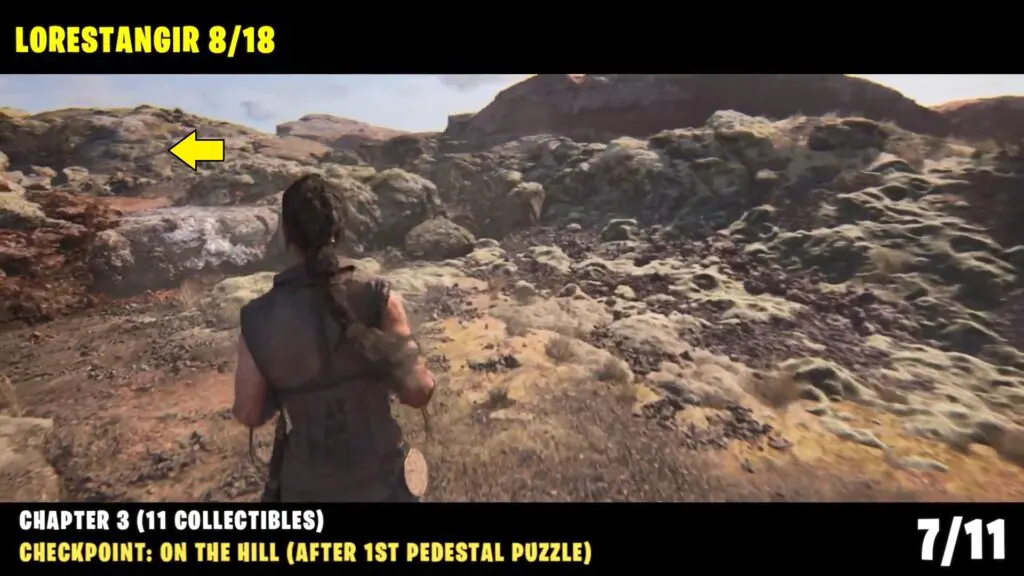
Squeeze between the rocks to reach the Lorestang totem.
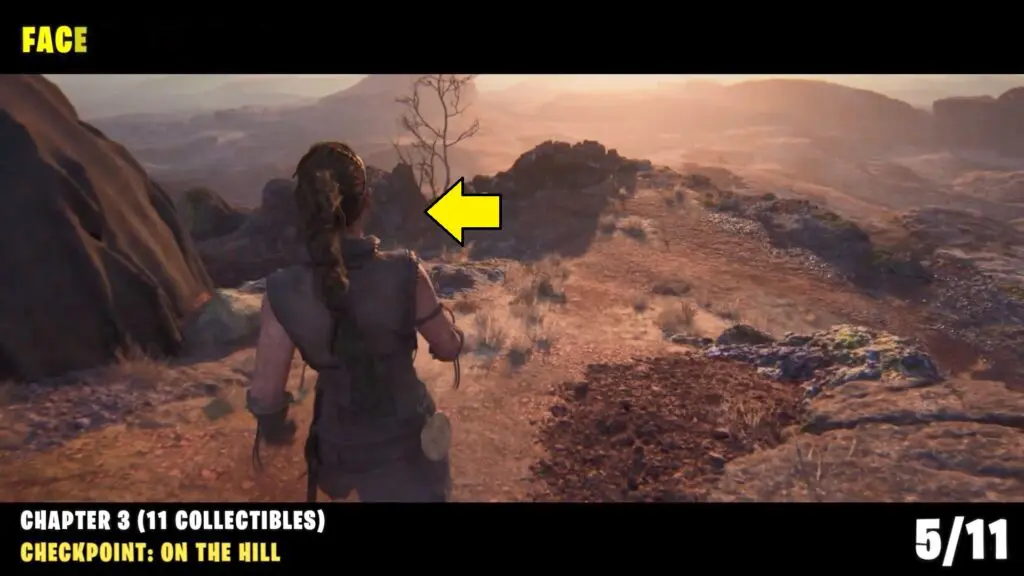
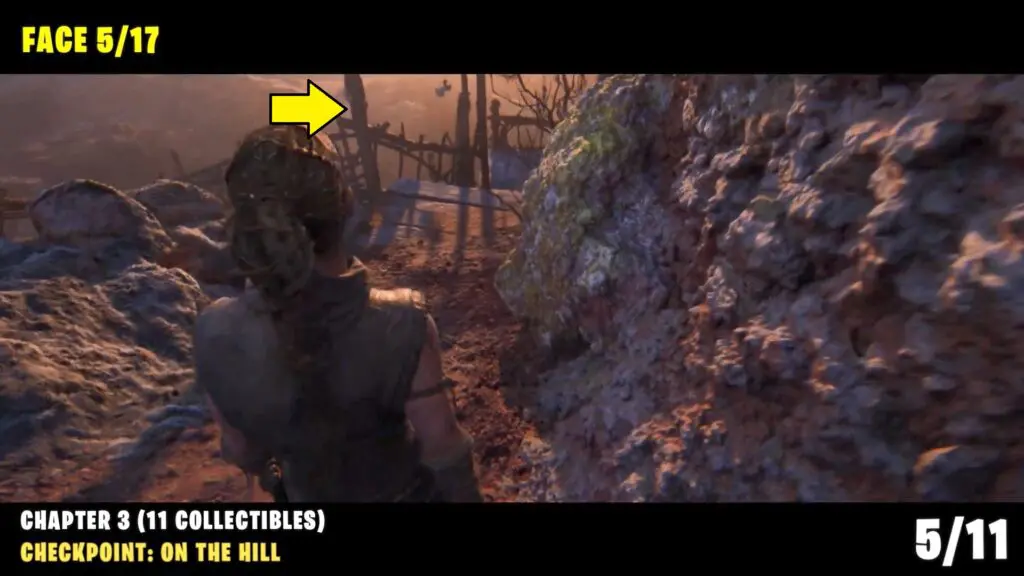
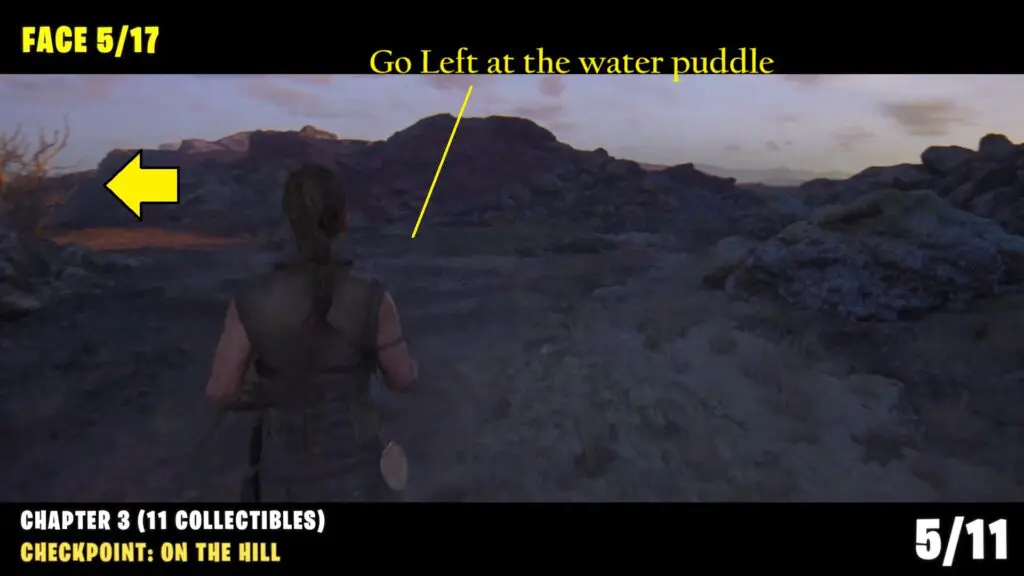
#5 Face
Checkpoint: On the Hill
After solving the second pedestal puzzle, follow the main path and go down the hill.
Climb up the ledge near a puddle of water to find the stone face. Scan the stone face to reveal the hidden path to reach the tree.
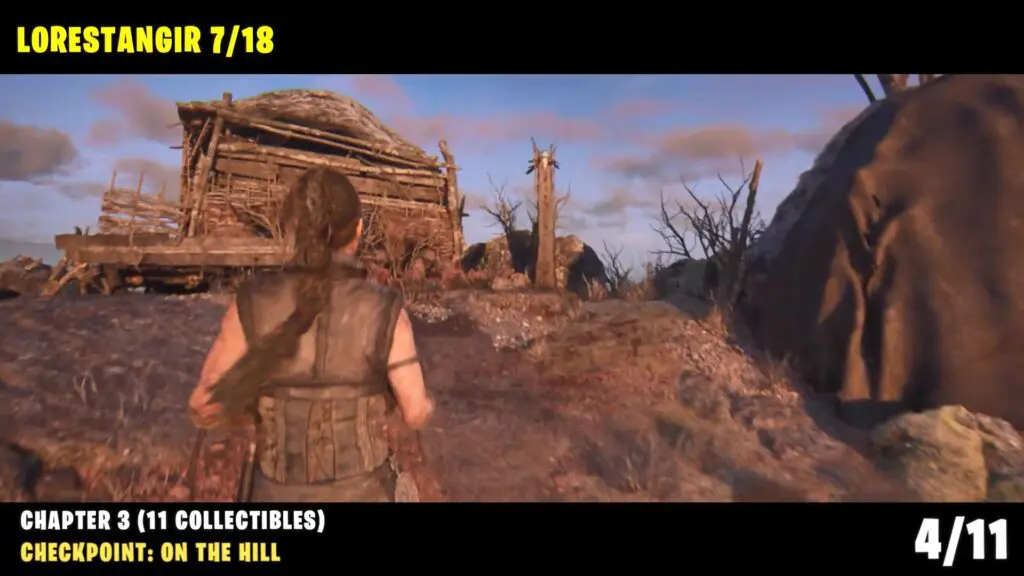
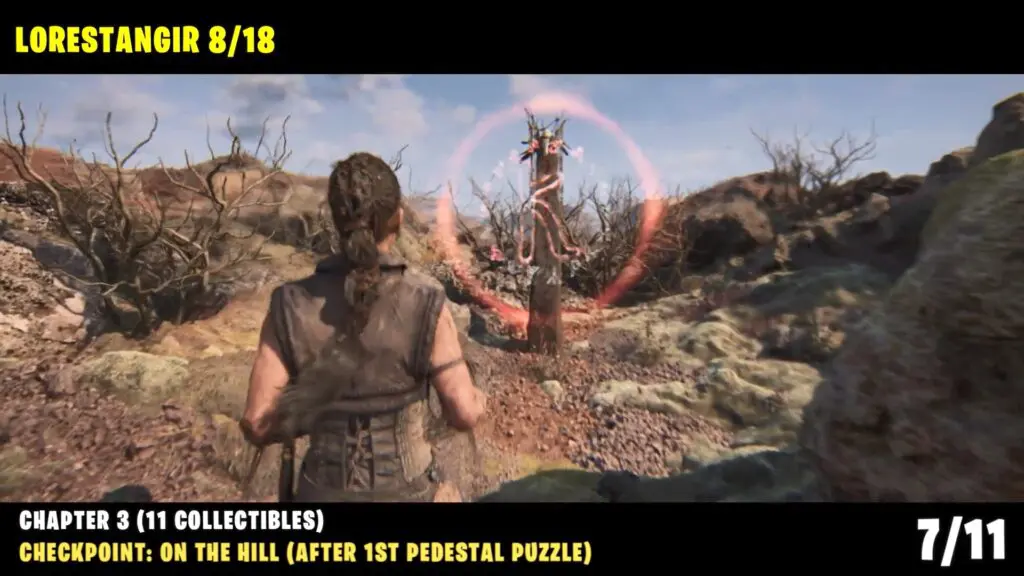
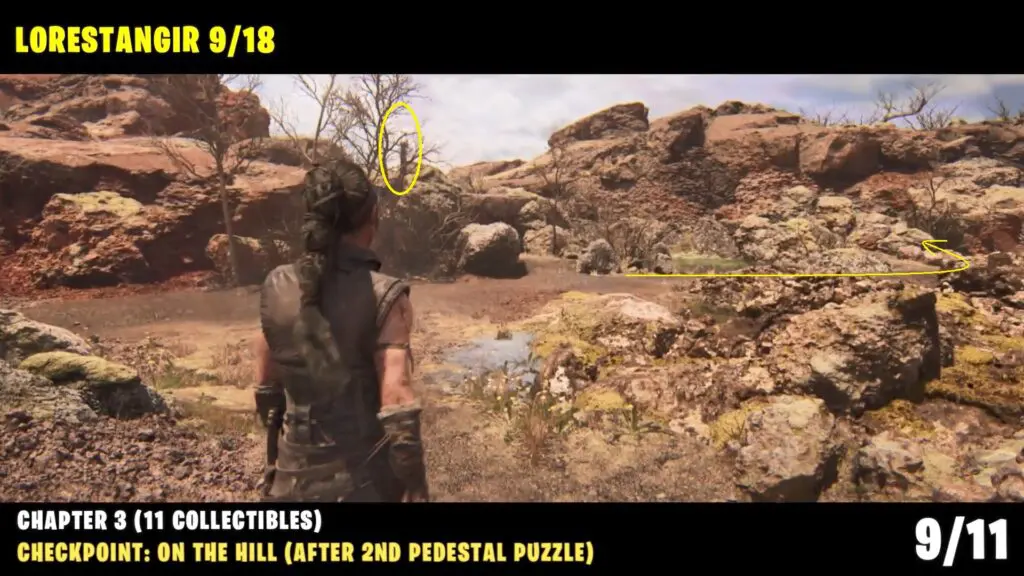
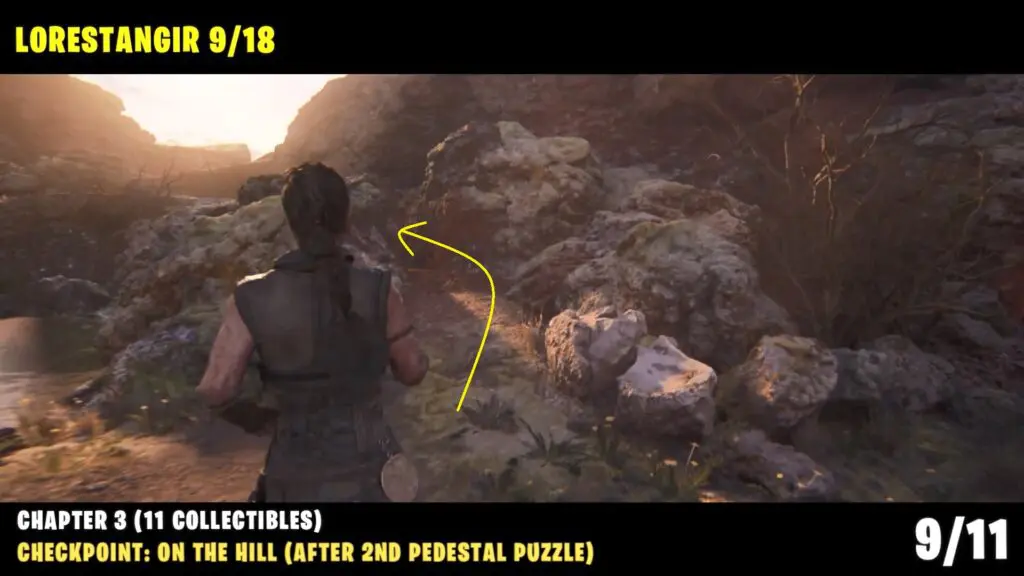
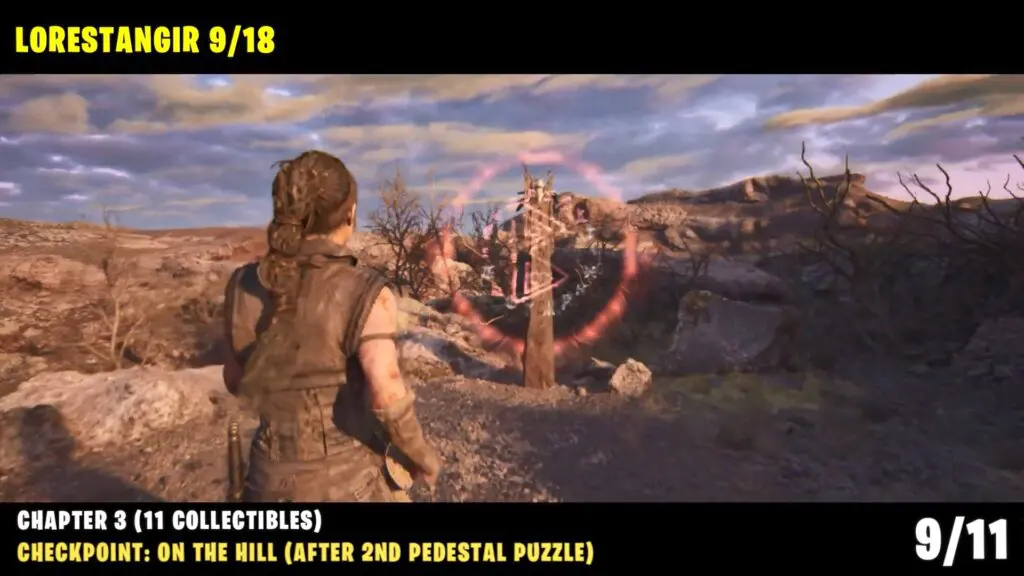
#4 Lorestangir
Checkpoint: On the Hill
Return to the main path, go past two puddles of water, then turn left and squeeze through a gap. You’ll find the Lorestangir totem at the end of the path.
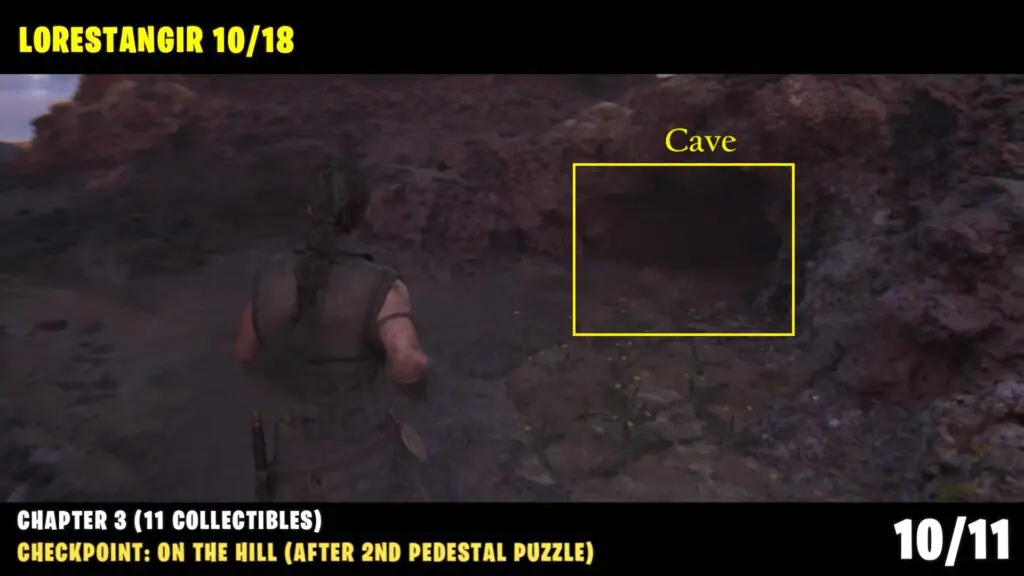
#6 Lorestangir
Checkpoint: On the Hill
From the previous location, drop down the ledge on the left and return to the main path.
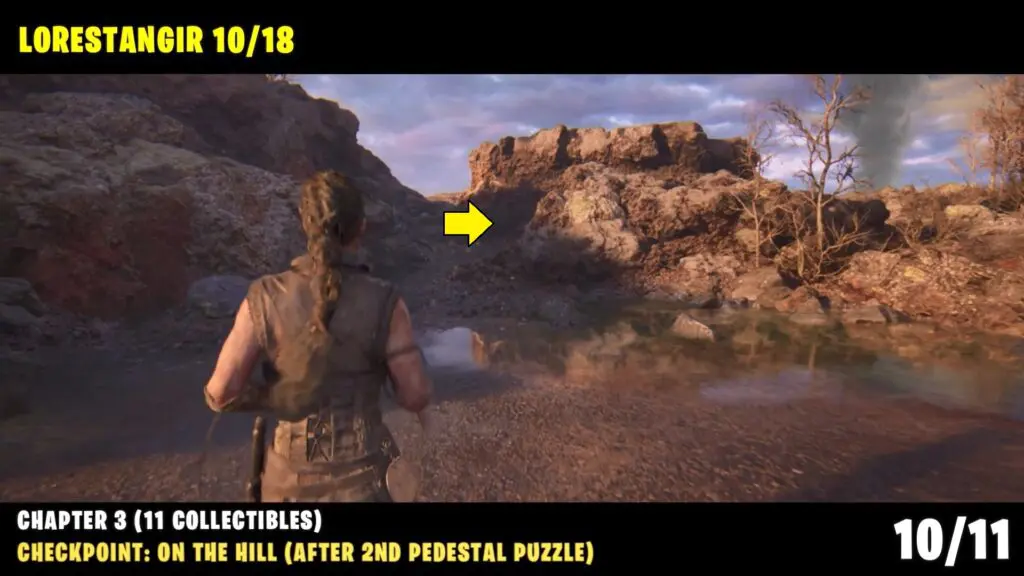
Look for a small cave on the right side. Enter the cave and follow the path to the end to find the Lorestangir totem.
#5 Lorestangir
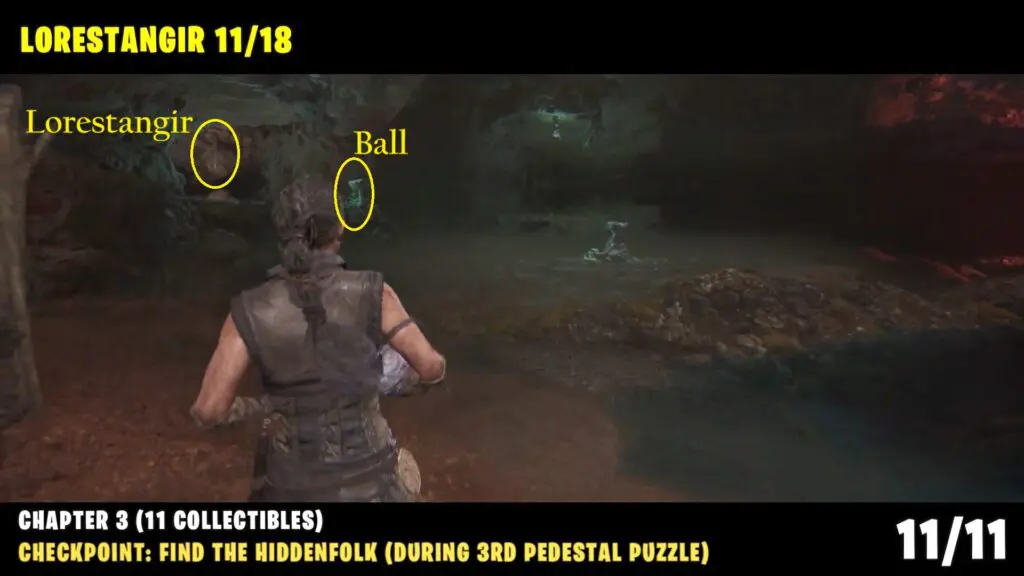
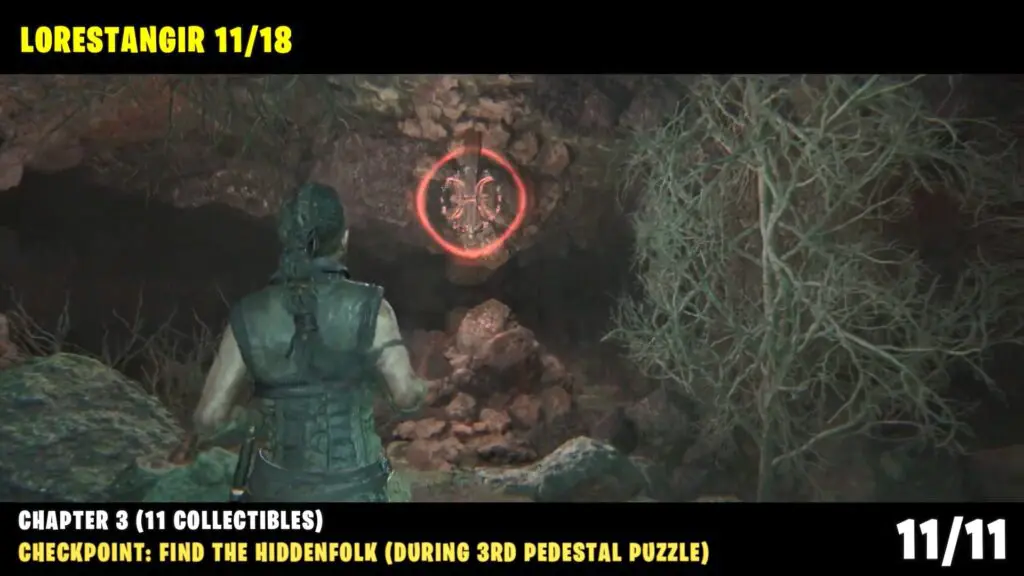
Checkpoint: Find the Hiddenfolk
Available during the third pedestal puzzle, the Lorestangir totem is located opposite the third ball. Turn around to find it hanging from the ceiling.