Sidon Of The Zora: Full Quest Walkthrough
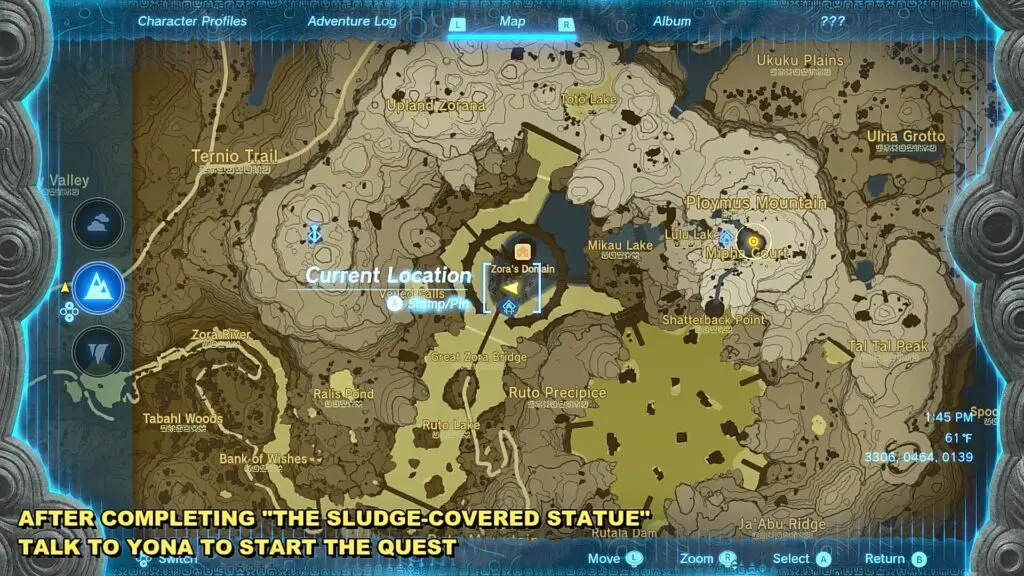
This guide shows the complete walkthrough of the Sidon Of The Zora quest in the Legend of Zelda: Tears of the Kingdom game, released on 12th May 2023. The quest will be available after you have completed The Sludge Covered Statue main quest.
Step 1: Get Zora’s Armor to swim up the waterfall (Restoring the Zora Armor Quest)
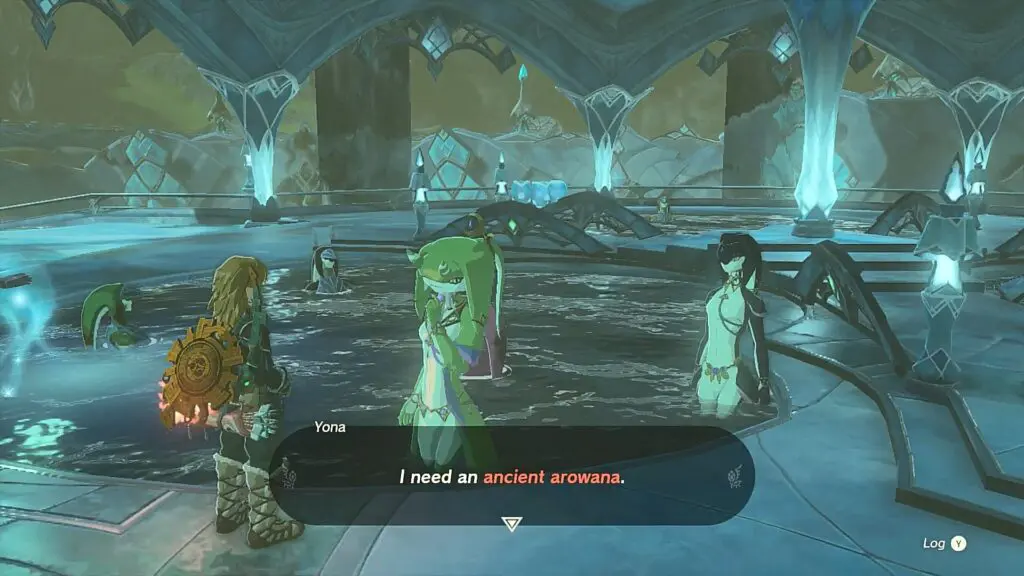
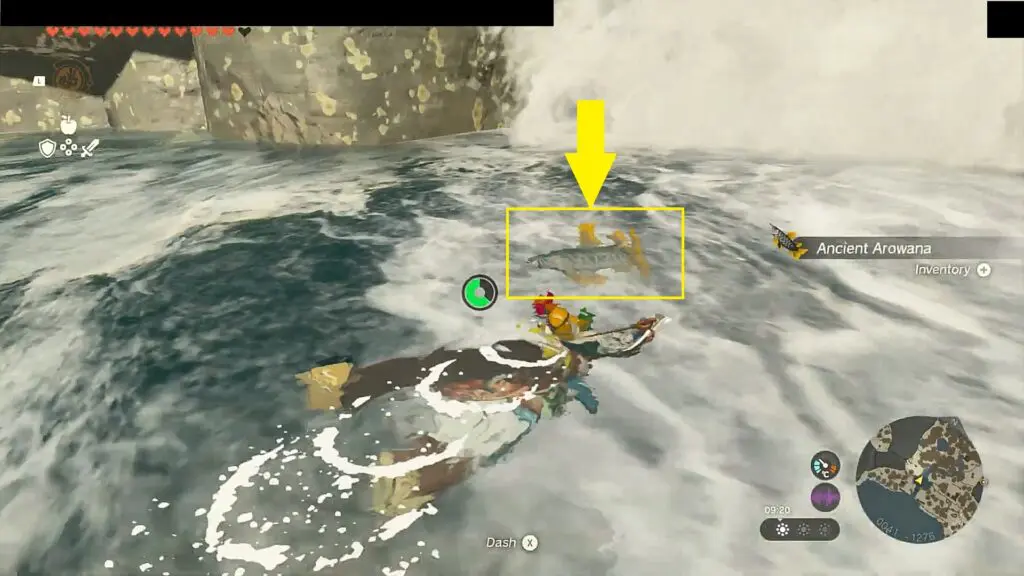
After completing The Sludge Covered Statue quest, talk to Yona as shown in the pictures below to start Restoring the Zora Armor quest. On talking to Yona, she will ask you to bring an Ancient Arowana fish.
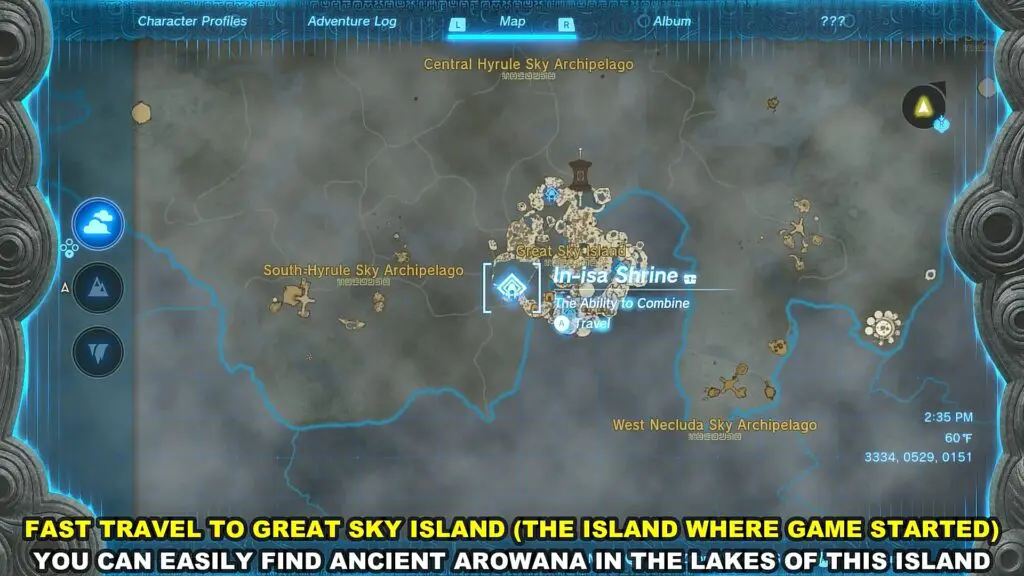
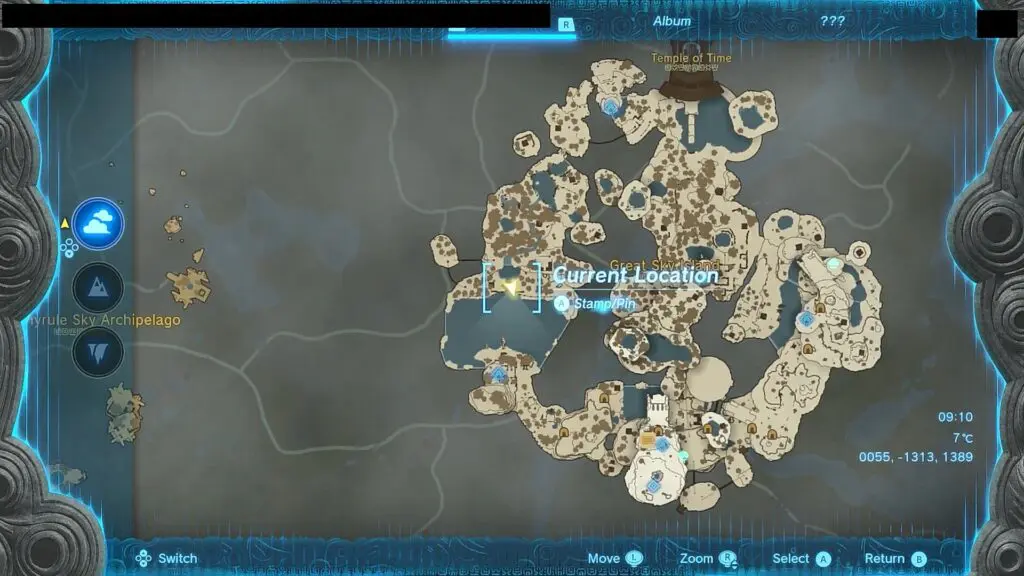
You can easily find Ancient Arowana fish in the lakes on the Great Sky island, the island where the game started. You will find the finish in any of the lakes there. I found it under the waterfall on the north side of In-Isa Shrine as shown in the pictures below. Simply jump into the lake and catch an Ancient Arowana.
Now simply go back to Yona and give the Ancient Arowana fish to her. She will give you the Zora Armor, which will help you swim up the waterfalls.
Step 2: Meet Sidon in Mipha Court
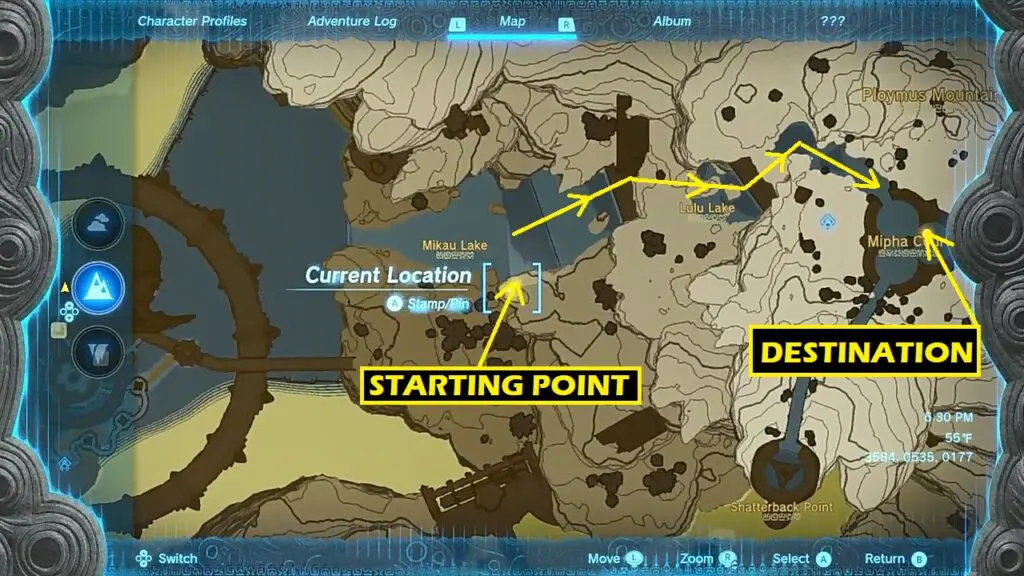
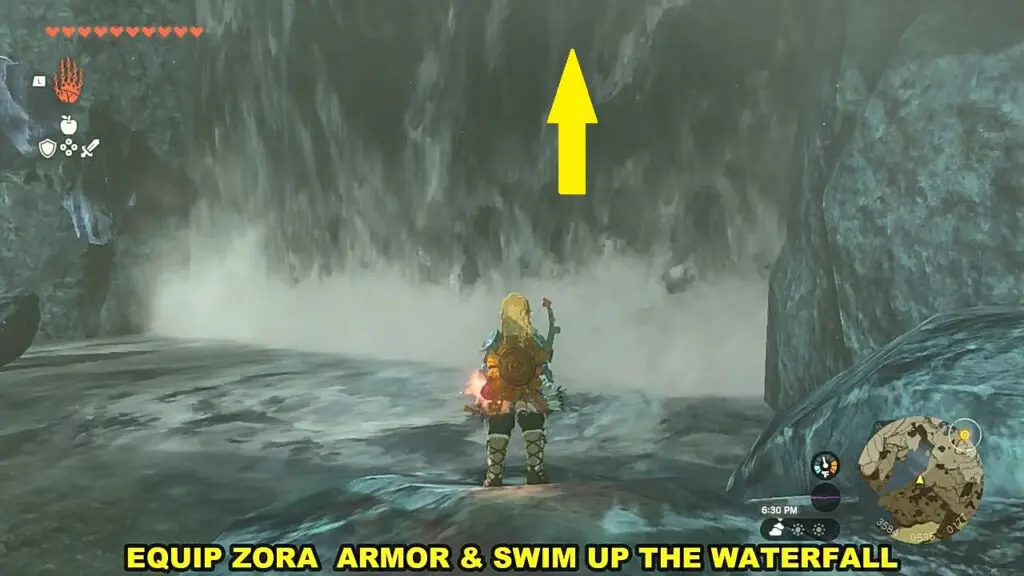
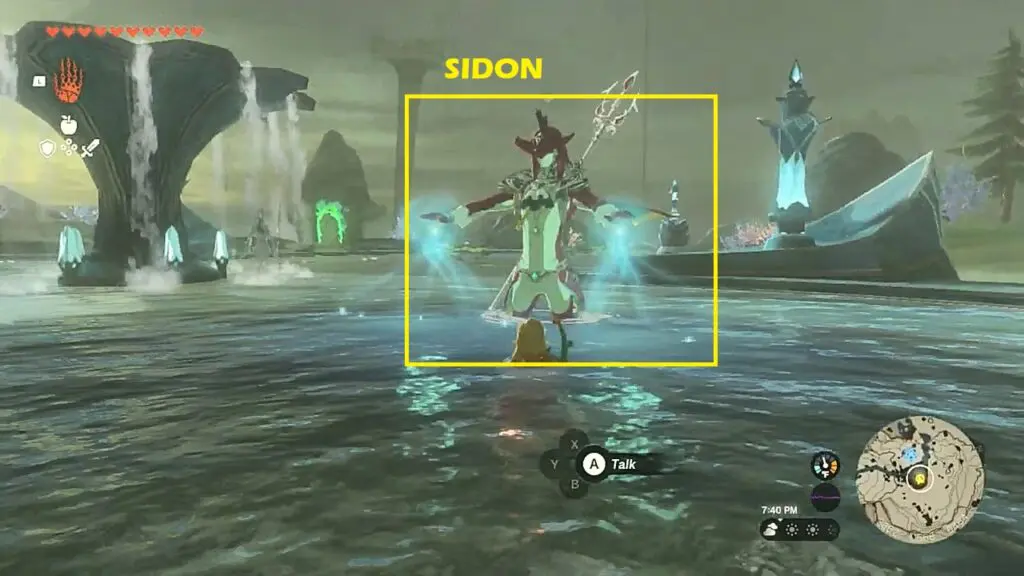
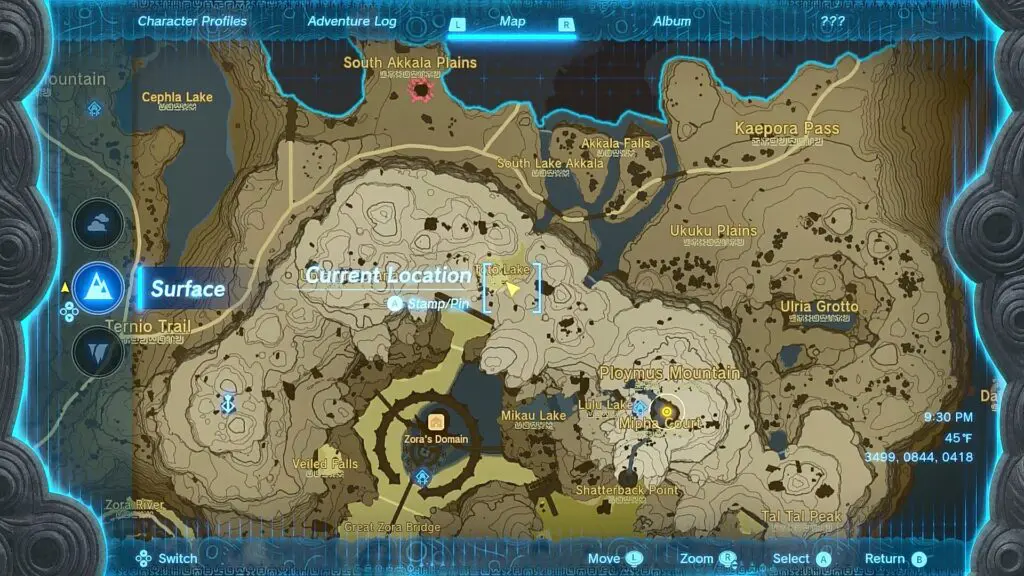
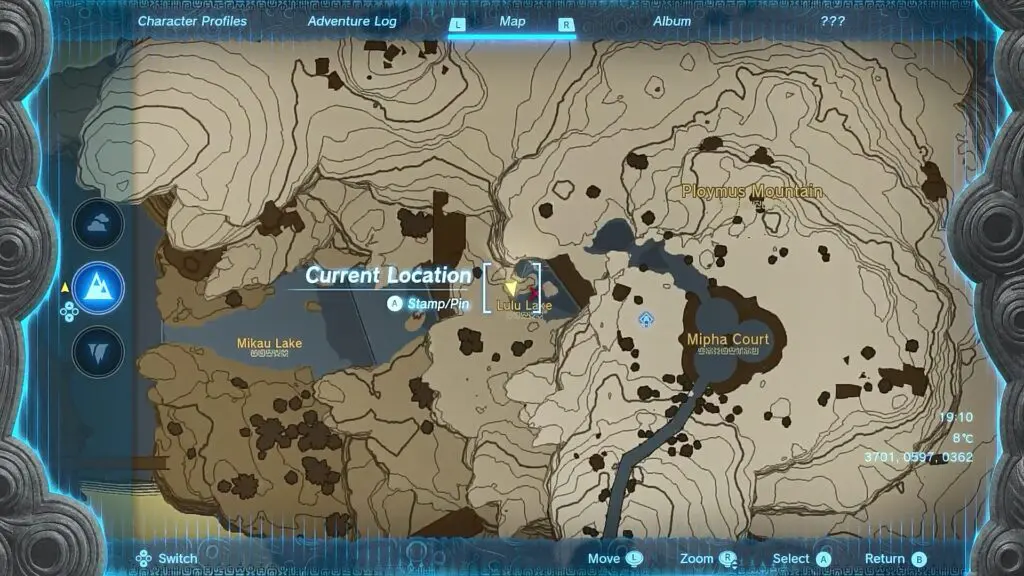
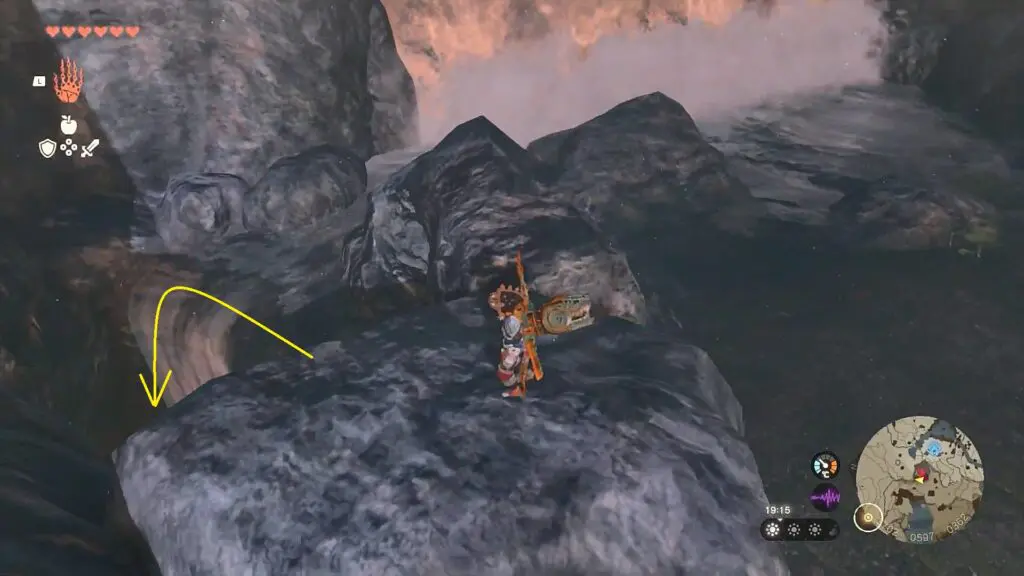
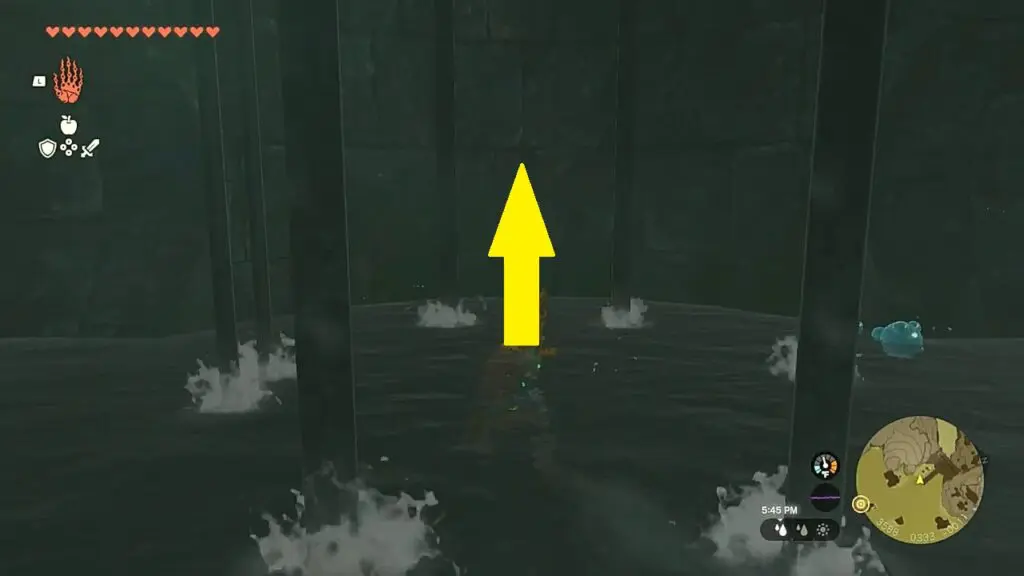
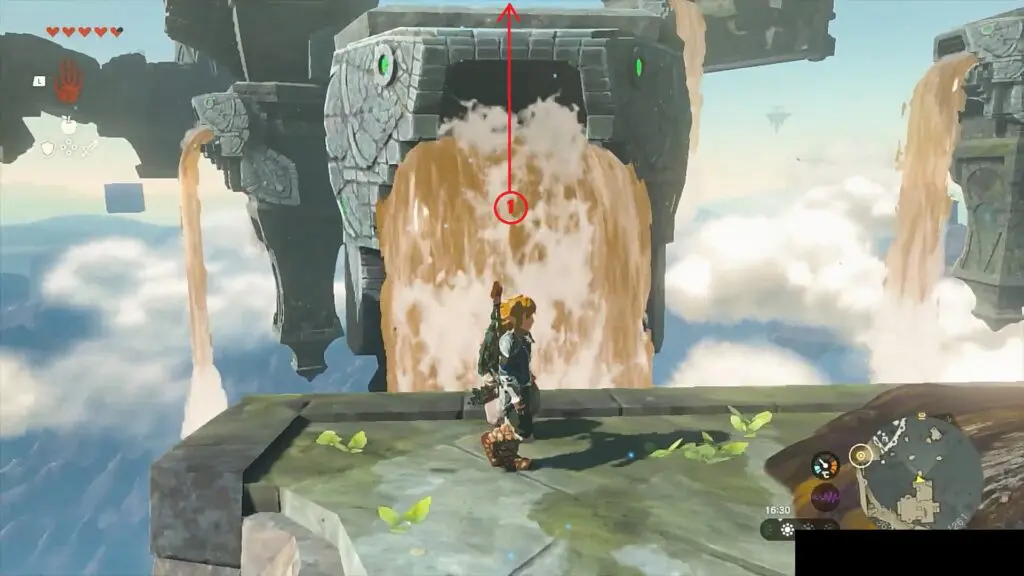
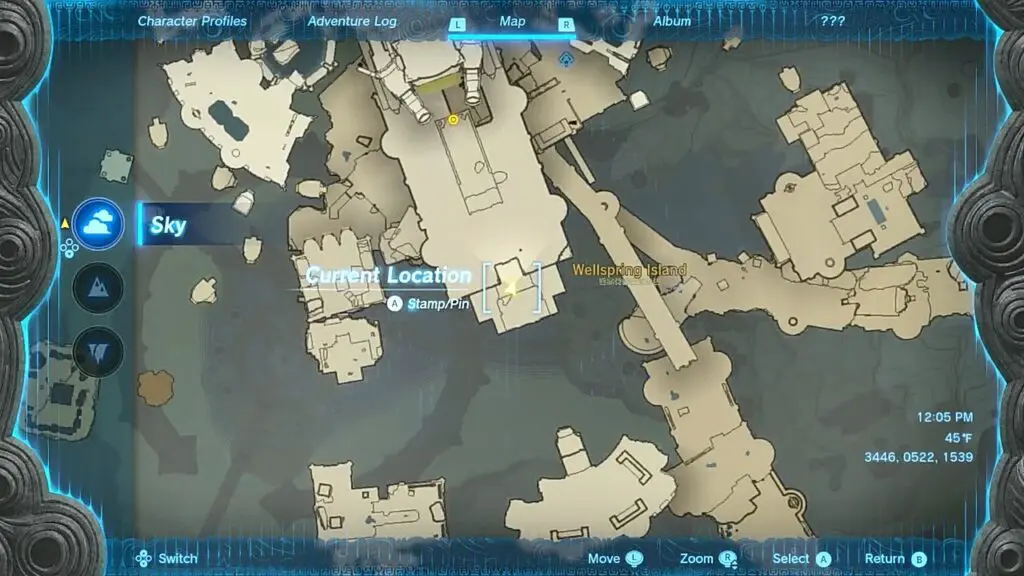
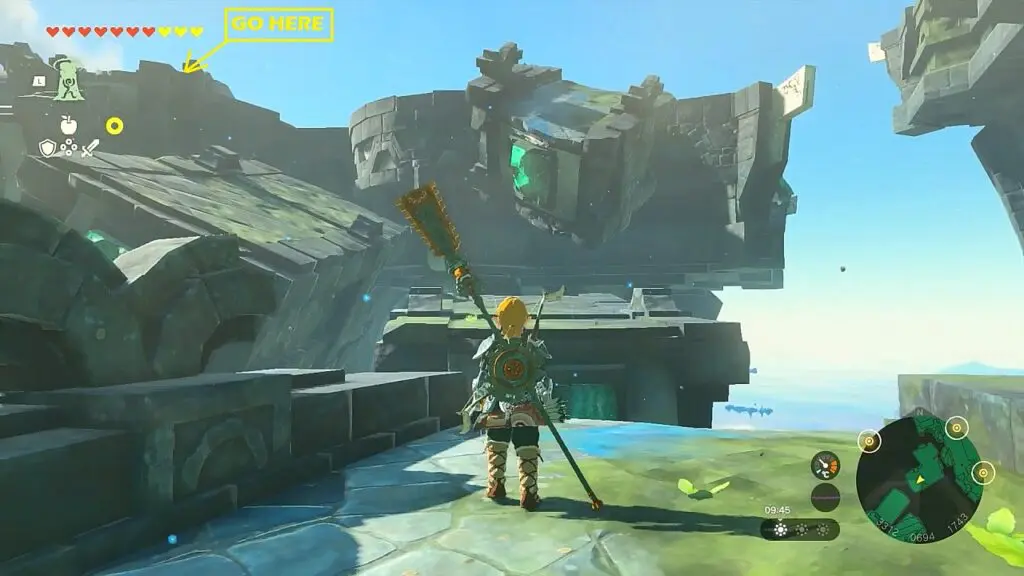
Go to Mikau Lake. Then equip the Zora Armor and climb up the waterfall as shown in the pictures below. Then climb up the next waterfall on Lulu Lake. After that climb up the next waterfall to reach Mipha Court. Talk to Sidon there as shown in the third picture below.
Step 3: Meet Jiahto at Toto Lake
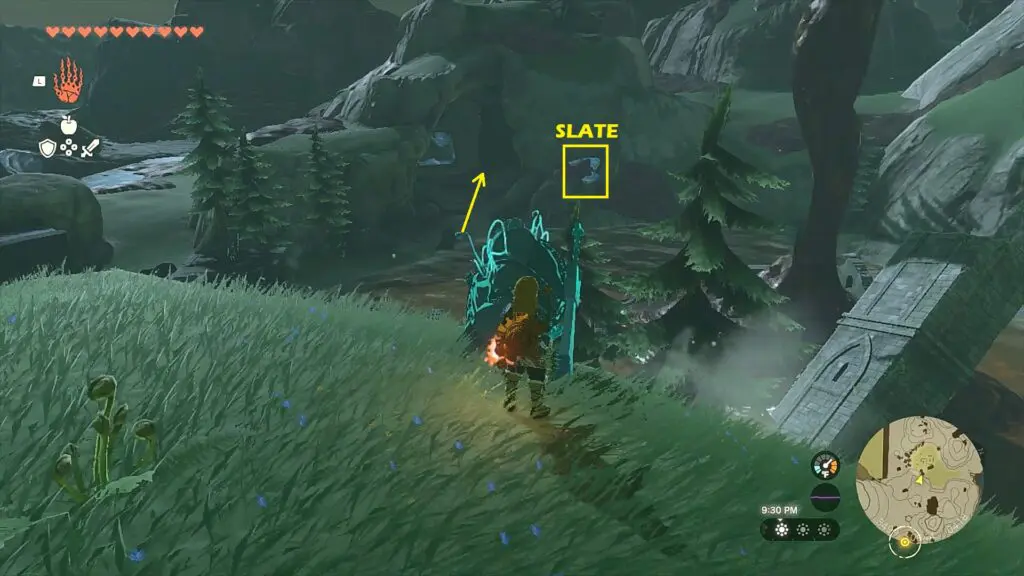
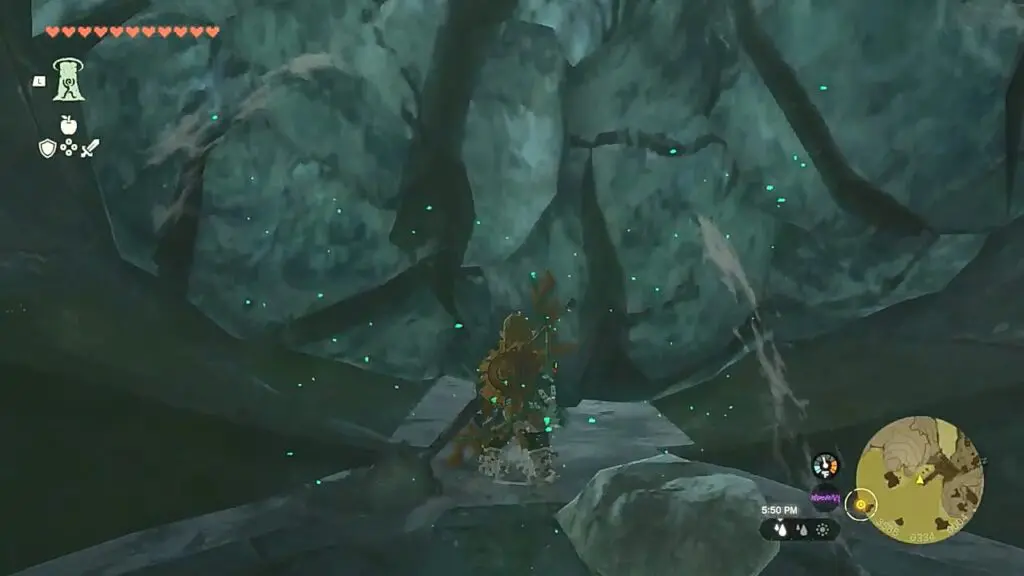
Go to Toto Lake and talk to Jiahto inside the cave as shown in the pictures below. This starts The Broken Slate quest.
Step 4: The Broken Slate
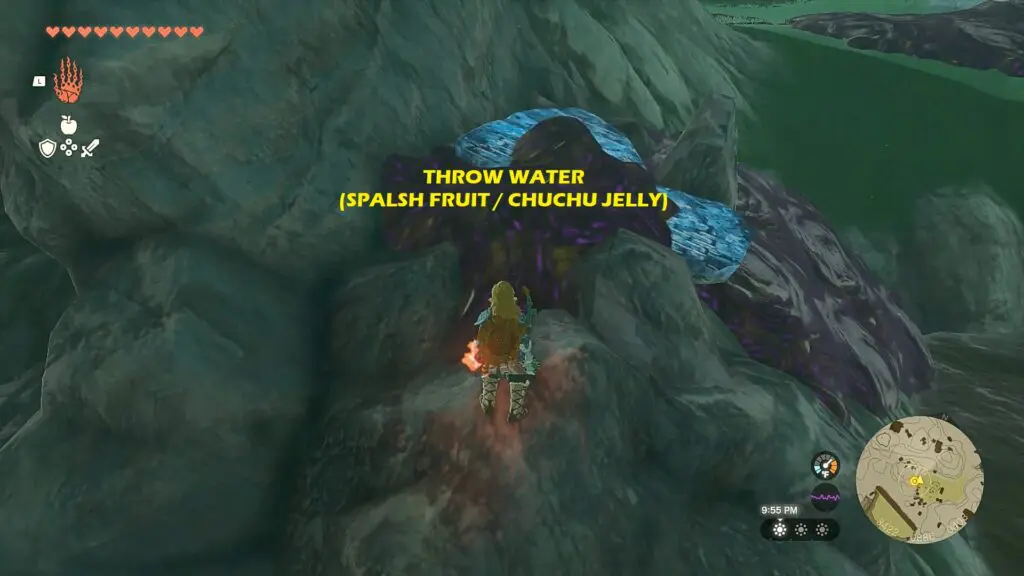
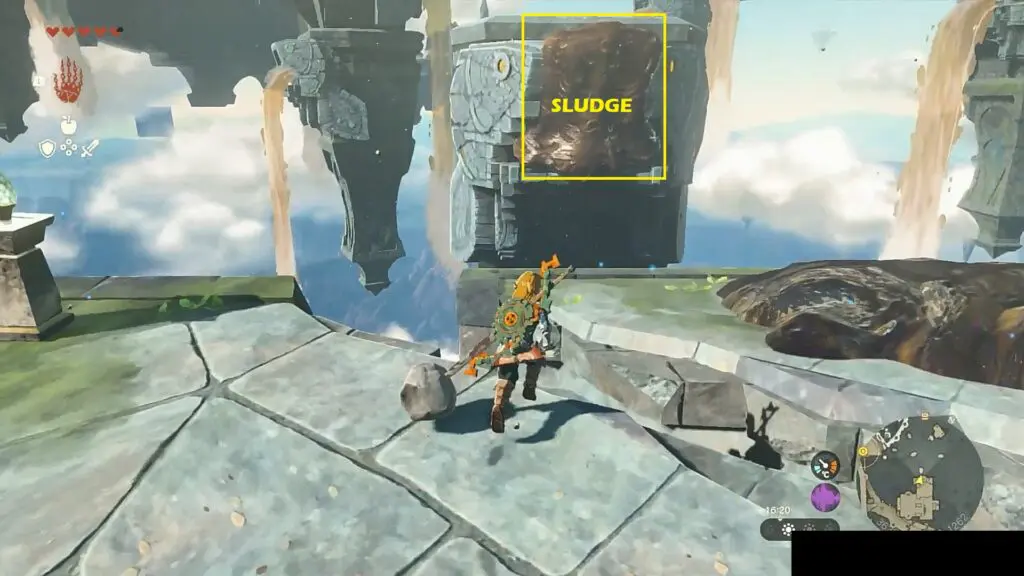
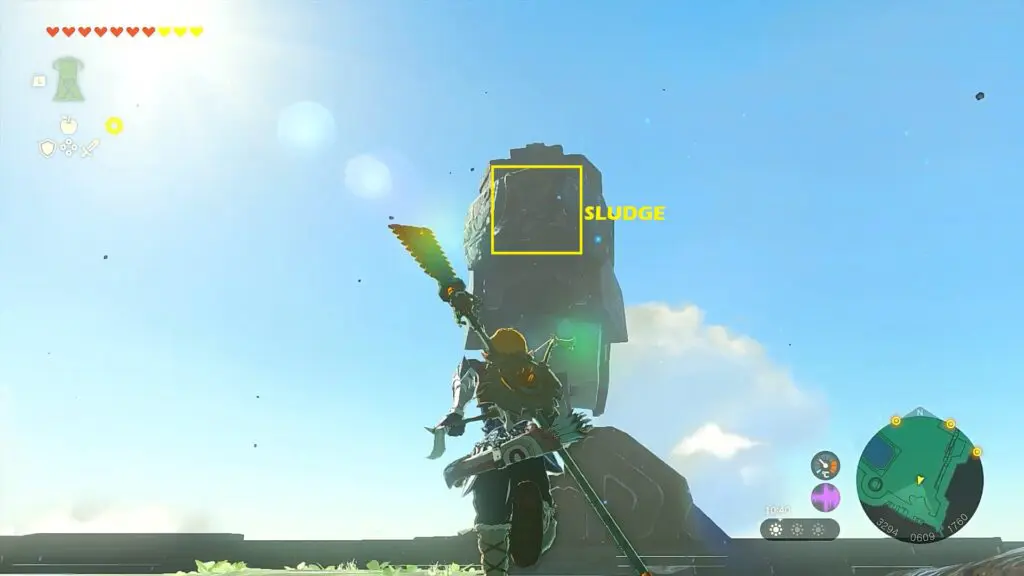
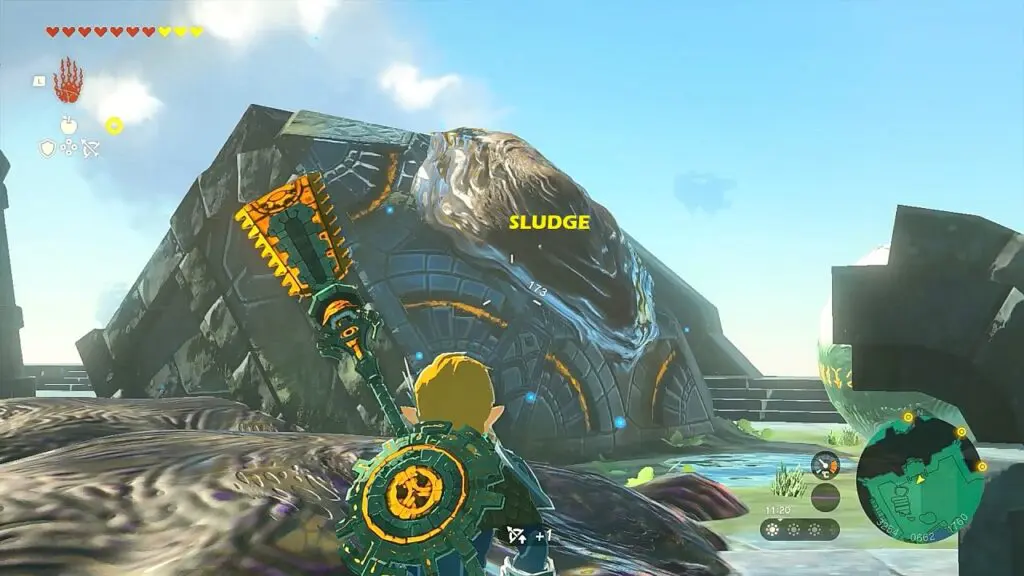
Go out of the cave and climb up the rocks on the left side. There you will see the broken slate covered with sludge as shown in the picture below. Throw SPlash Fruit or Chuchu Jelly on the sludge to clear it. Then grab the broken slate and insert it into the wall as shown in the second picture below to complete the objective.
Step 5: Clues to the Sky Quest
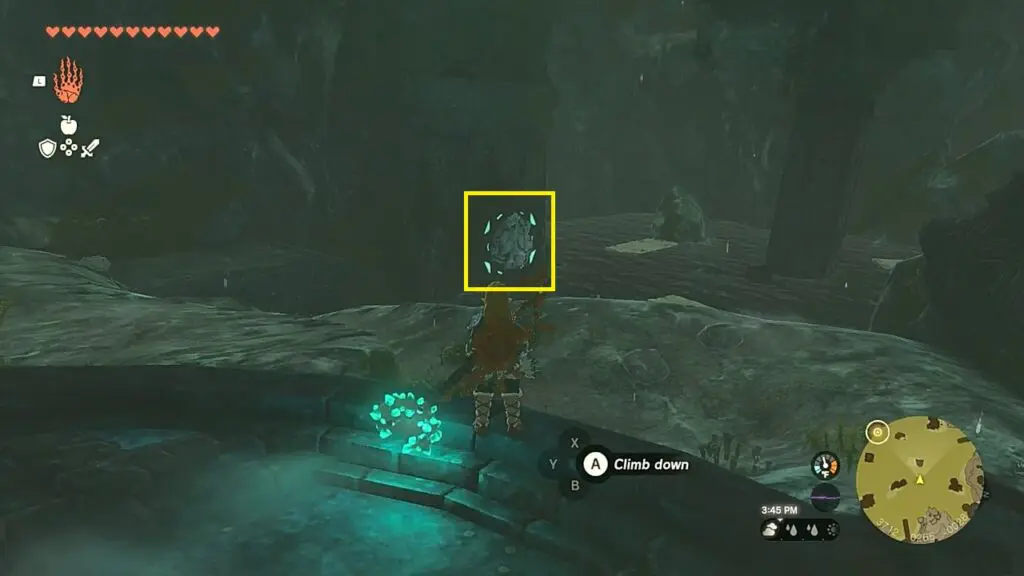
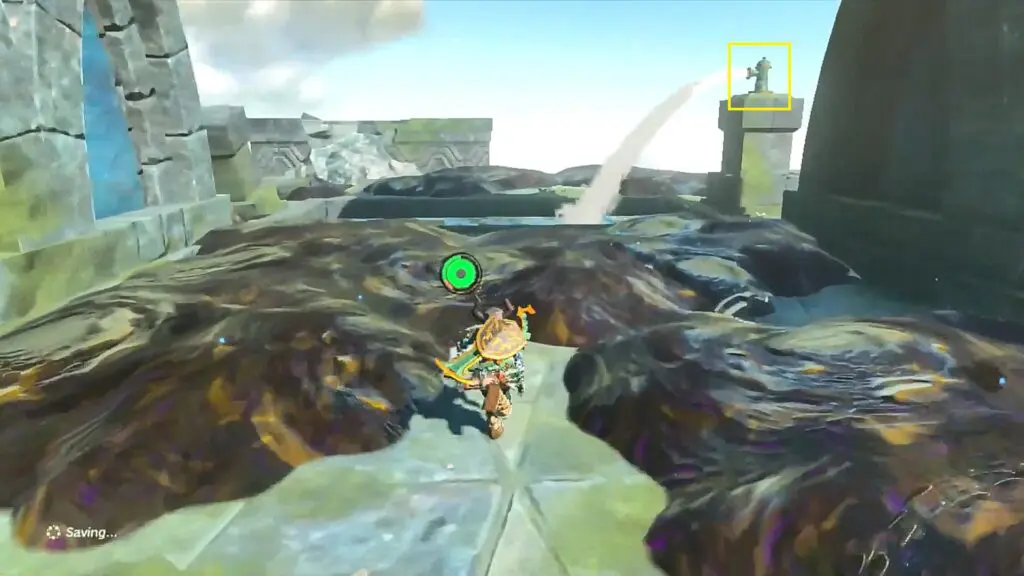
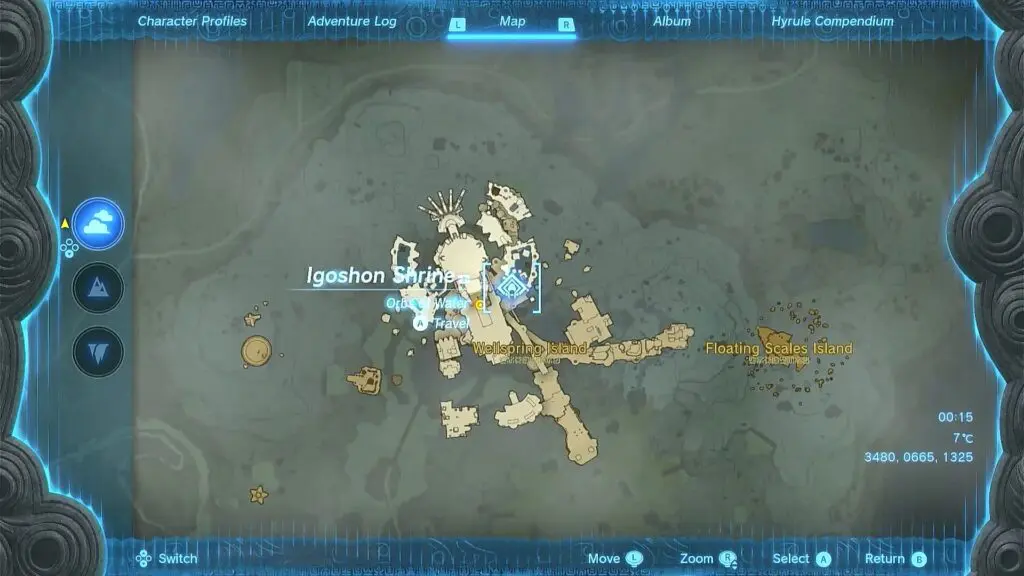
First, you need to find King Dorephan. Go to Lulu Lake on the east side of Dora’s Domain as shown in the pictures below. In front of the large waterfall, you will see a small waterfall going underground as shown in the second picture below. Jump down the hall to find King Dorephan. Talk to him and he will give you King’s Scale.
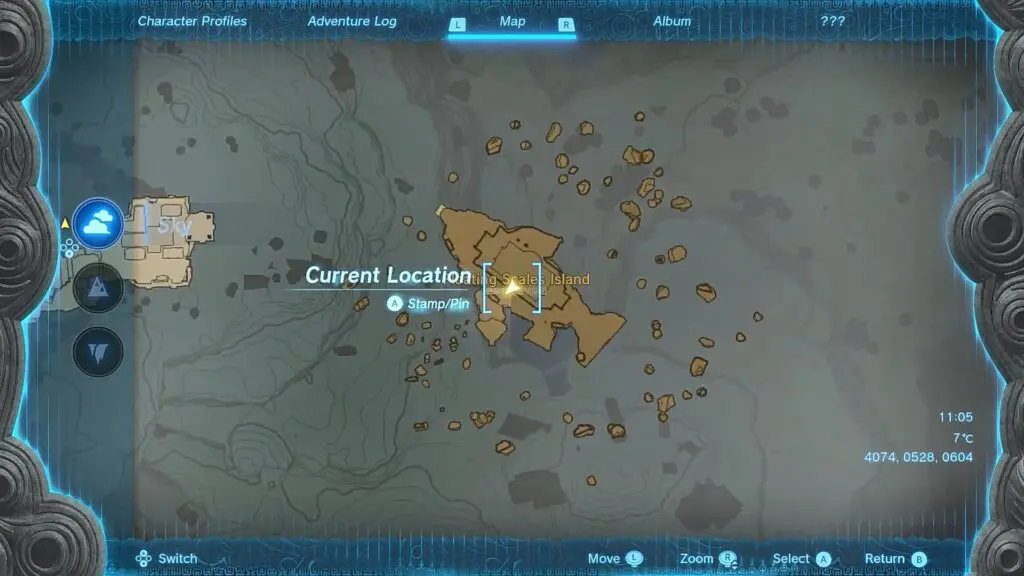
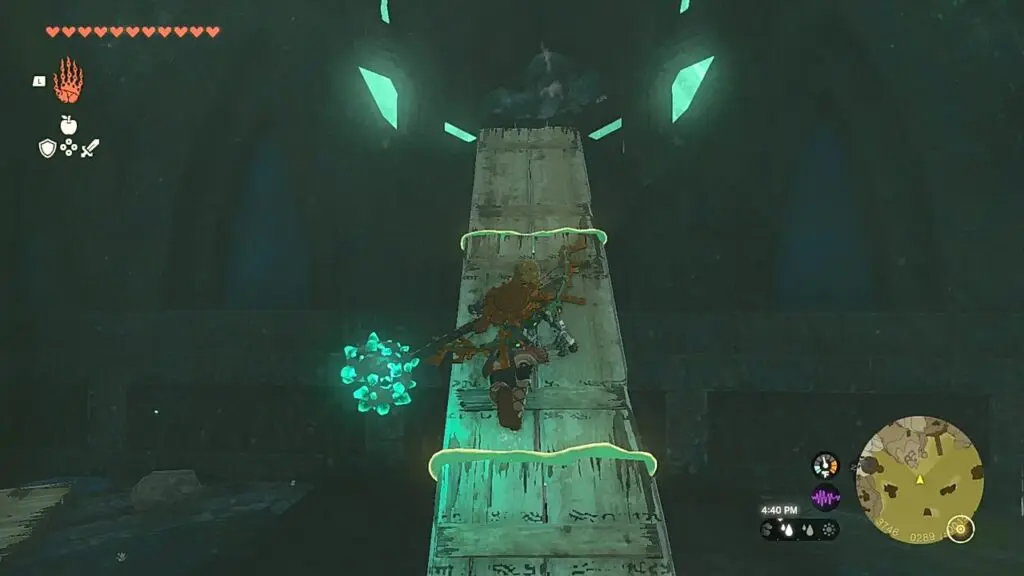
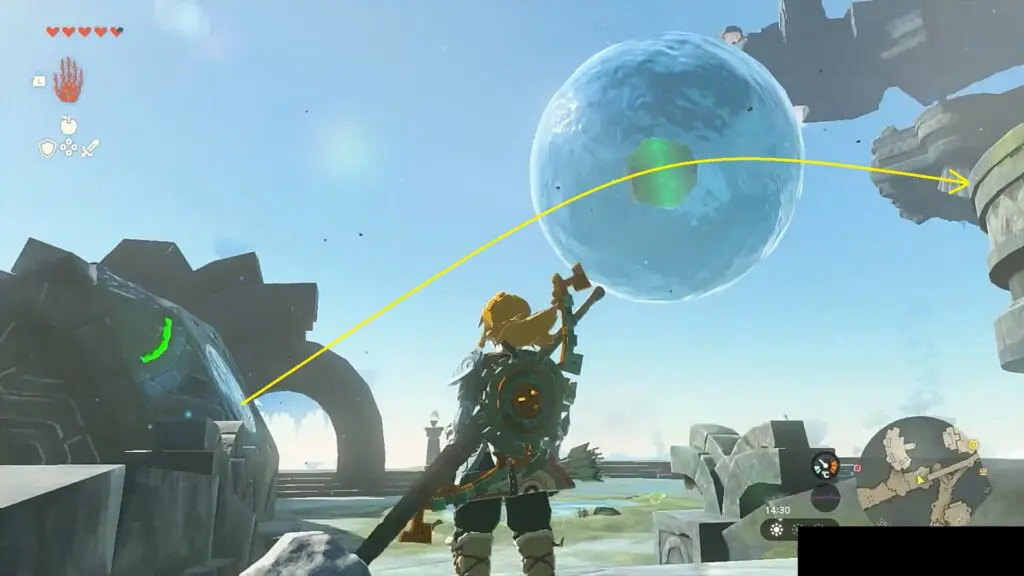
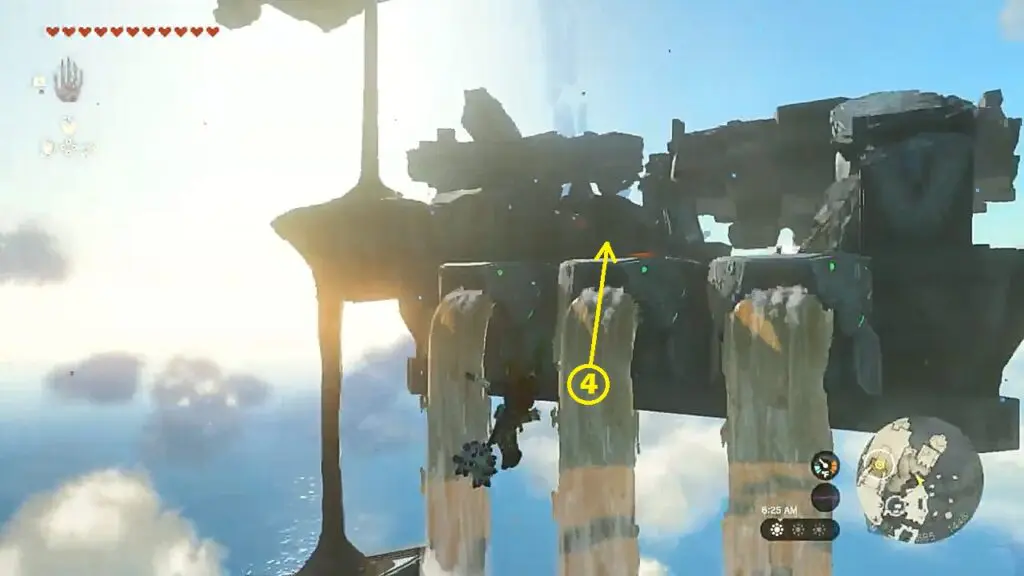
Next, you have to go to the Land of the Sky Fish, which is the fish-shaped floating island in the sky, named Floating Scales Island. Wear Zora Armor and climb up the waterfall to reach there as shown in the second picture below.
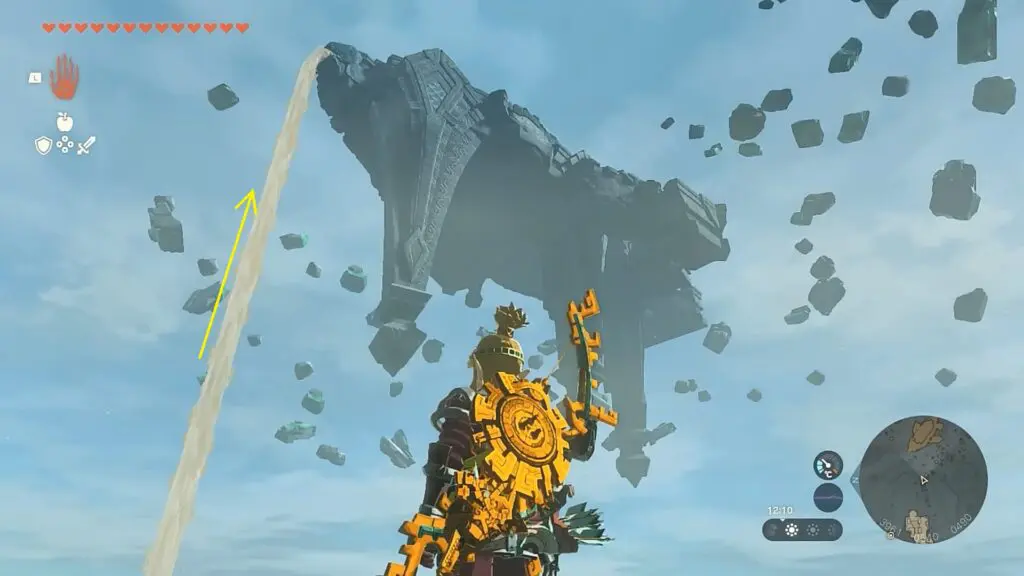
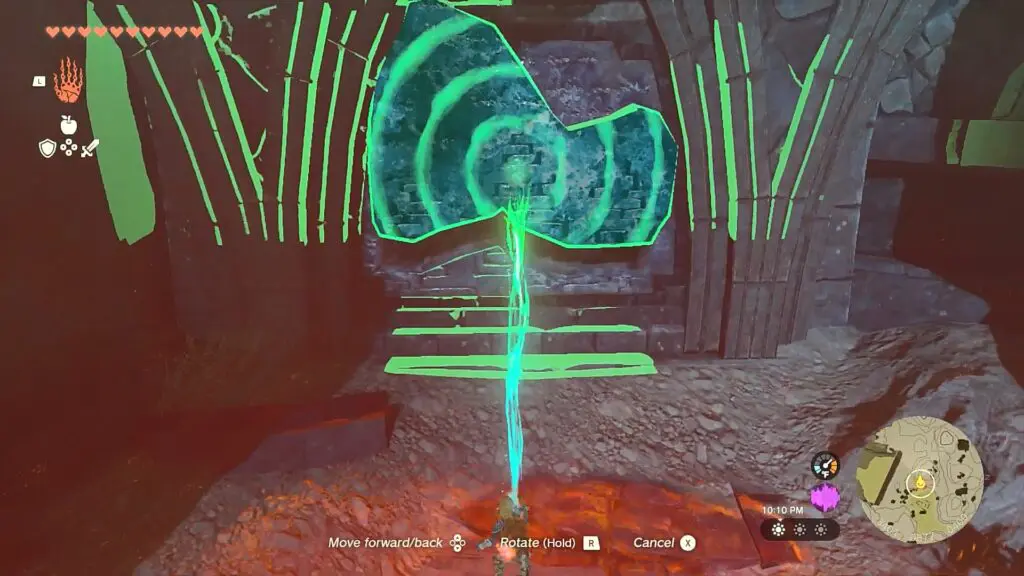
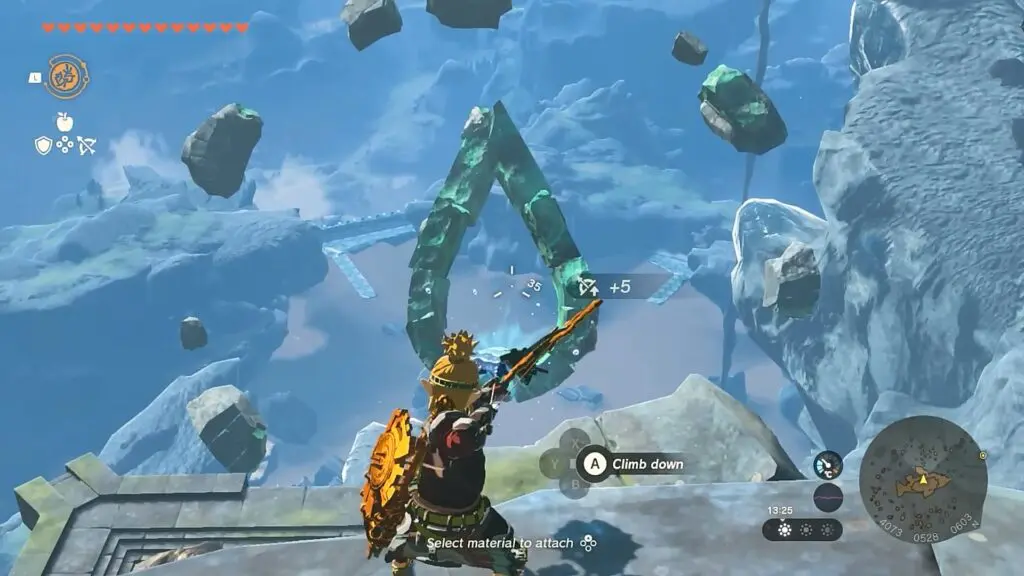
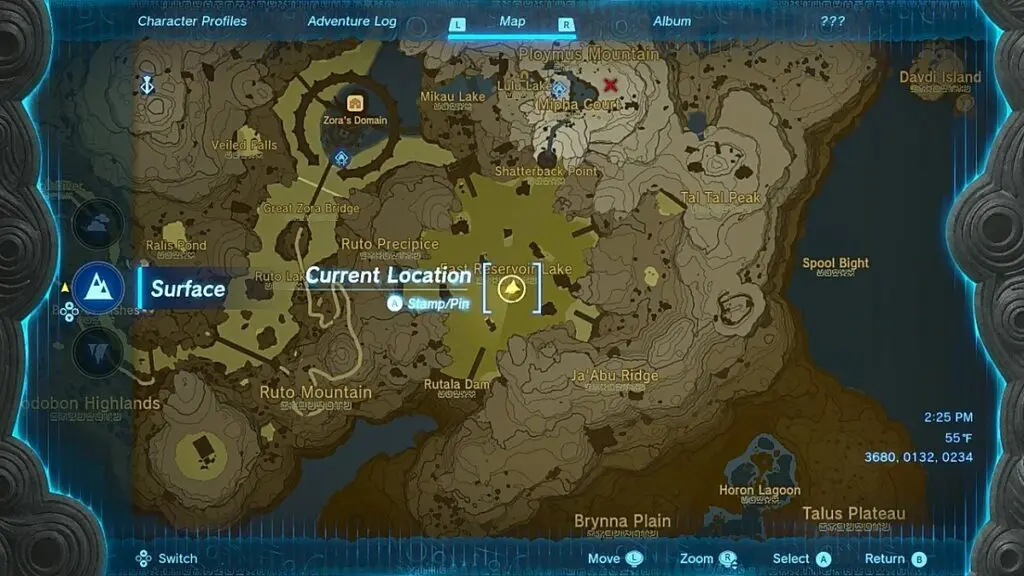
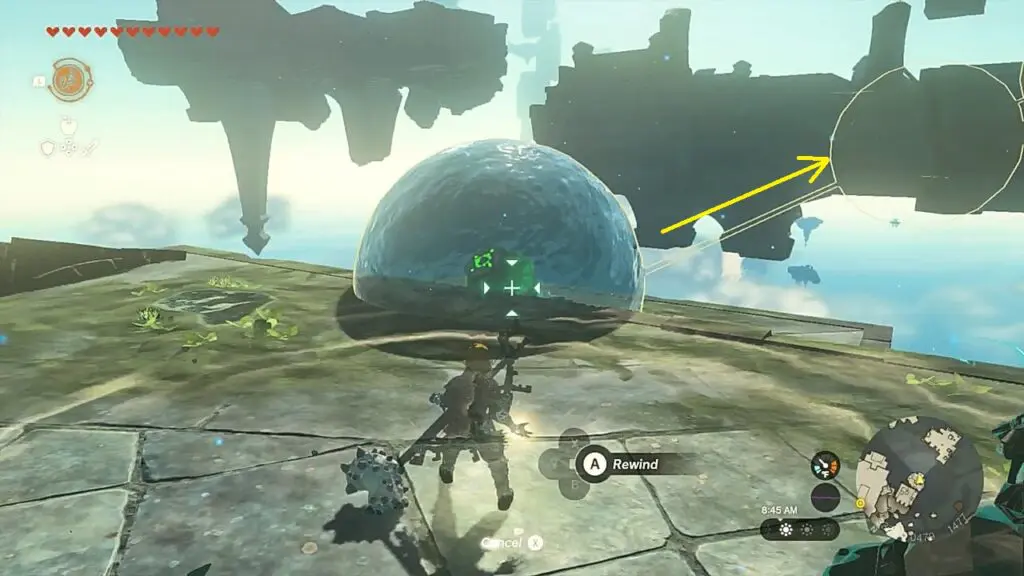
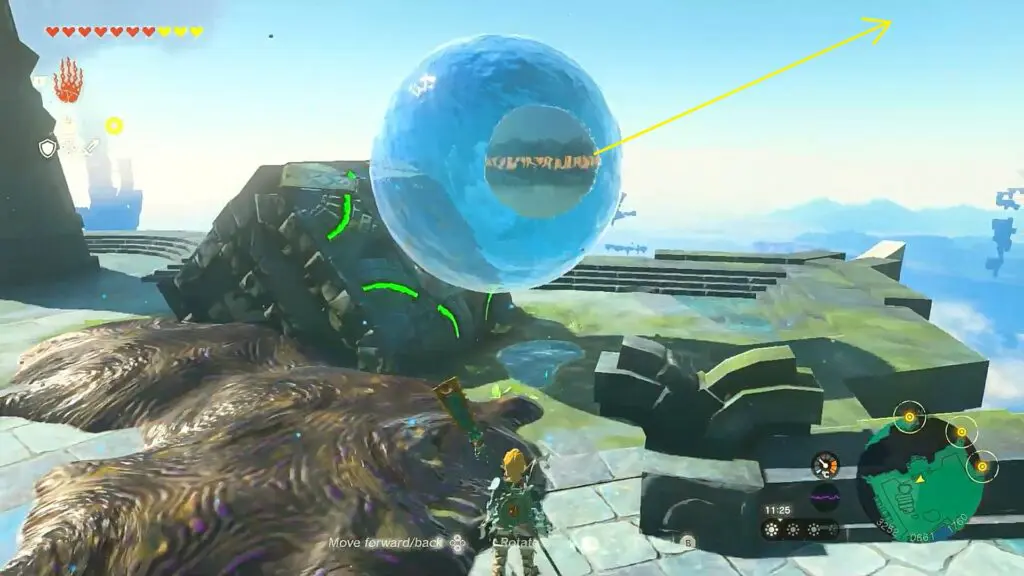
Now go to the center of Floating Scales Island and look west (See the picture above for the exact location). You will see stones forming a shape of a droplet as shown in the picture below. Aim your arrow and attach King’s Scale to it. Now shoot the arrow through the droplet to complete the quest. A pillar of light will appear at East Reservoir lake.
Step 6: Report back to Sidon & Sludge Like Boss Fight
From Floating Scales Island, you can glide to reach Mipha Court. Talk to Sidon there. Then defeat the Sludge Like boss there.
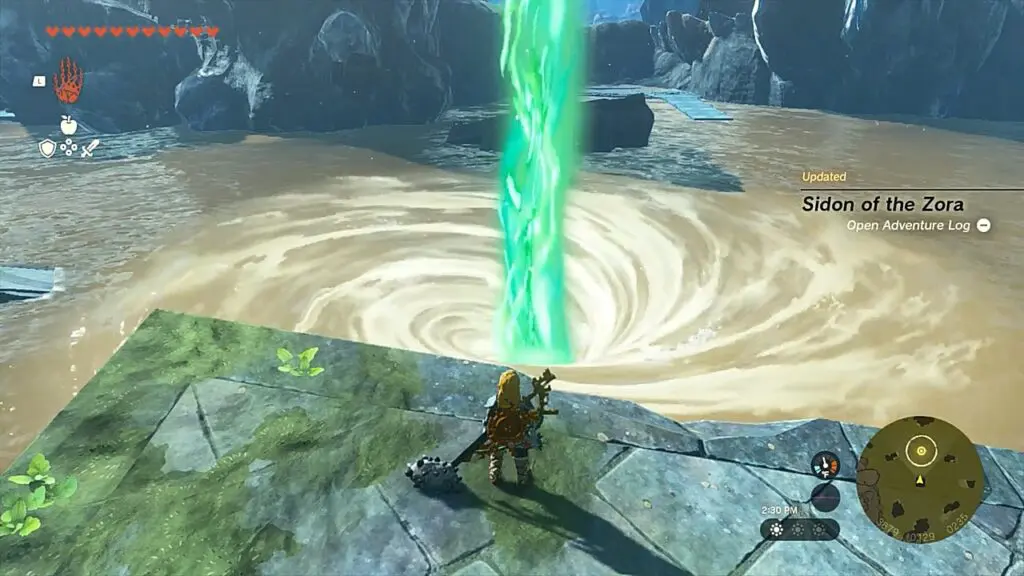
Step 7: Meet Sidon near the Pillar of Light
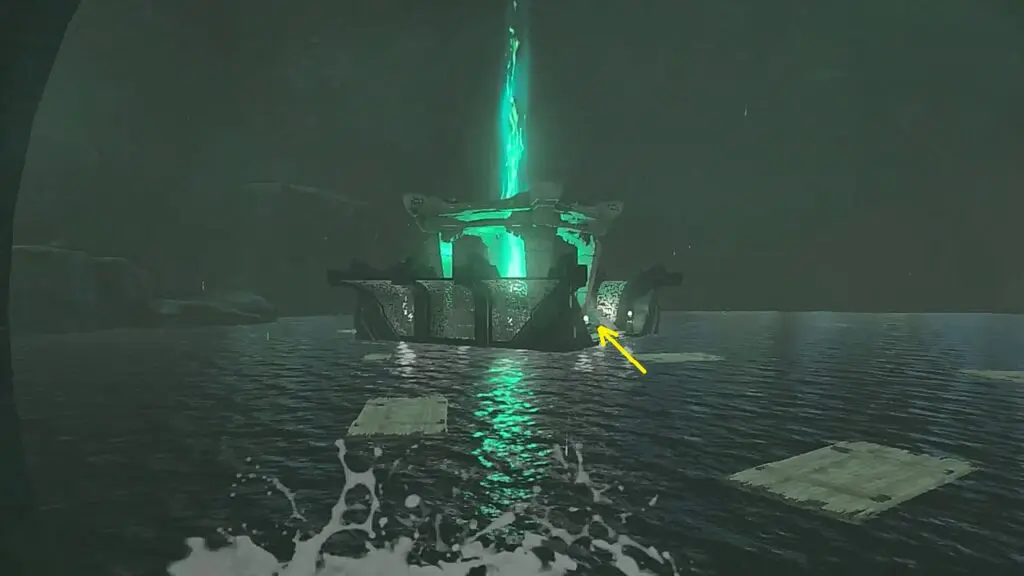
Go to the East Reservoir Lake and jump down the whirlpool as shown in the pictures below to reach the Ancient Zora Waterworks.
Step 8: Ancient Zora Waterworks
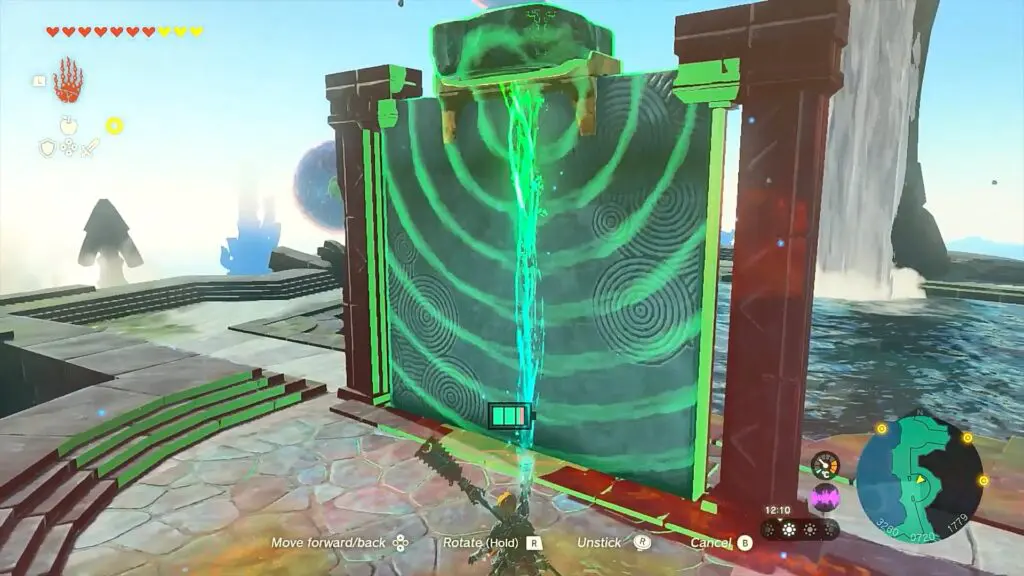
After dropping down the whirlpool, climb up the stairs ahead. Then jump down to the surface below. Proceed ahead to the other end and use a fire weapon ( Bomb Flower) to destroy the ice blocking the pipe as shown in the picture below. This will get the water flowing and fill the area with water. Now climb the stairs ahead.
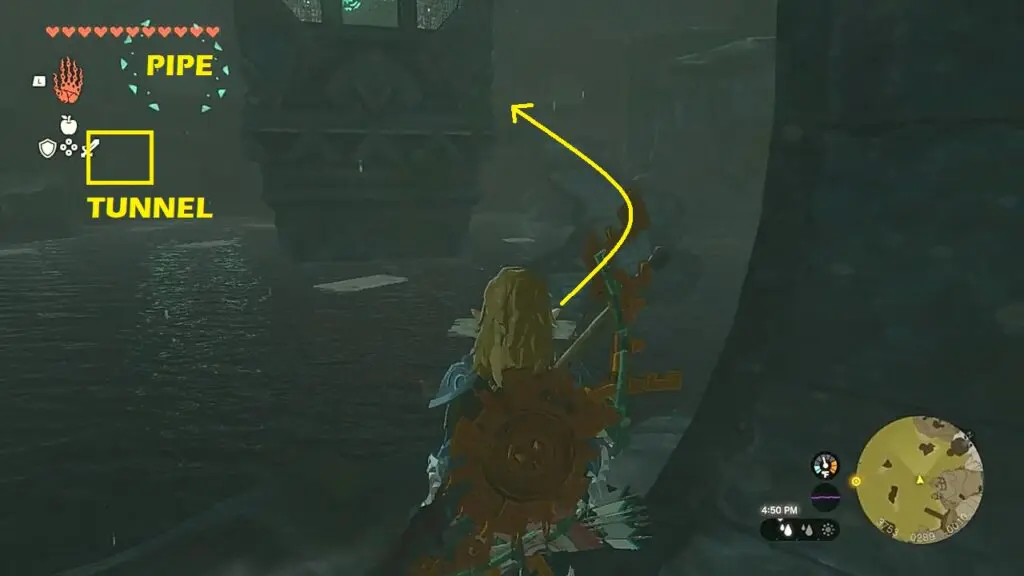
Continue straight ahead to reach the main area. There you will see a big tower with a device at the top. You need to fill this area with water to reach the top. For this, you will have to unclog three pipes. The first pipe is on the left side as shown in the picture below. Destroy the ice with a fire weapon. This will make the water level rise up.
Now swim the stairs and climb up as shown in the picture below. Use the Ultrahand ability to attach the planks there and use them to reach the pipe as shown in the second picture below. Destroy the ice blocking the pipe with a fire weapon. This will make the water level rise up.

Now make your way to the third pipe as shown in the picture below. Then jump inside the tunnel underneath the pipe as shown in the second picture below.
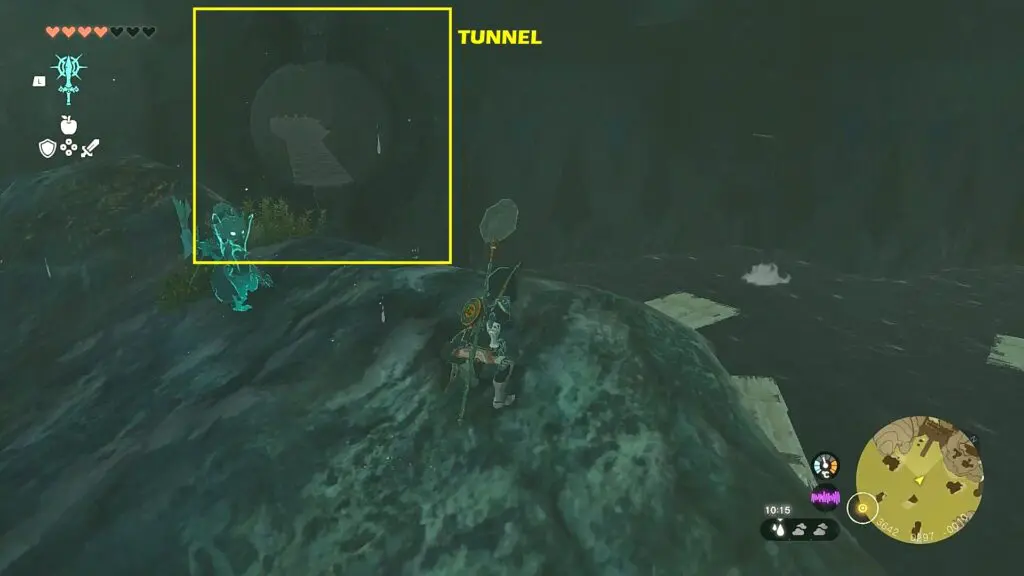
Go straight inside the tunnel. Take right and then take left to reach the area with streams of water falling down as shown in the picture below. Use ascend here to reach the clogged pipe as shown in the second picture below. Destroy the ice blocking the pipe with a fire weapon. This will make the water level rise up to the top.
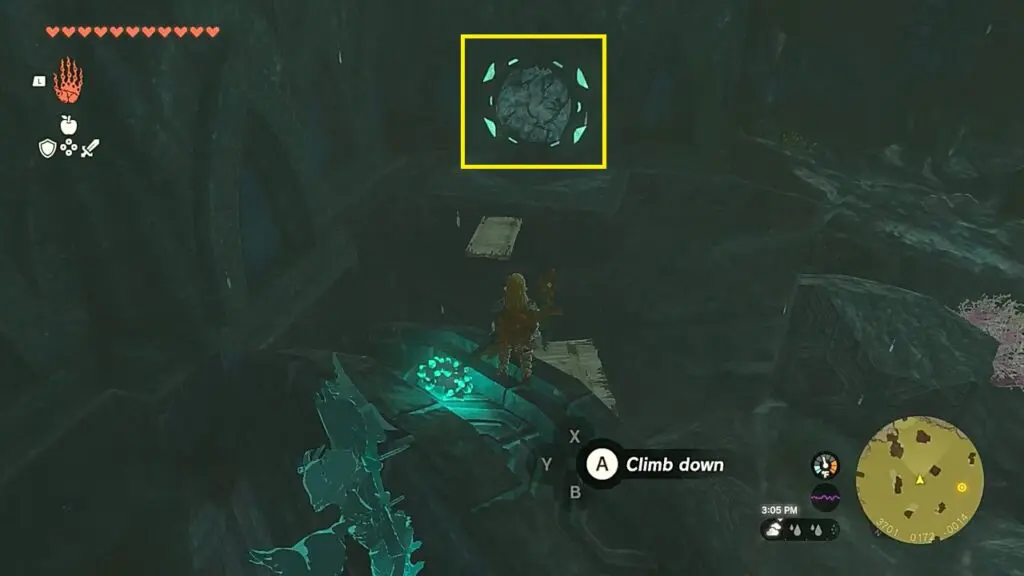
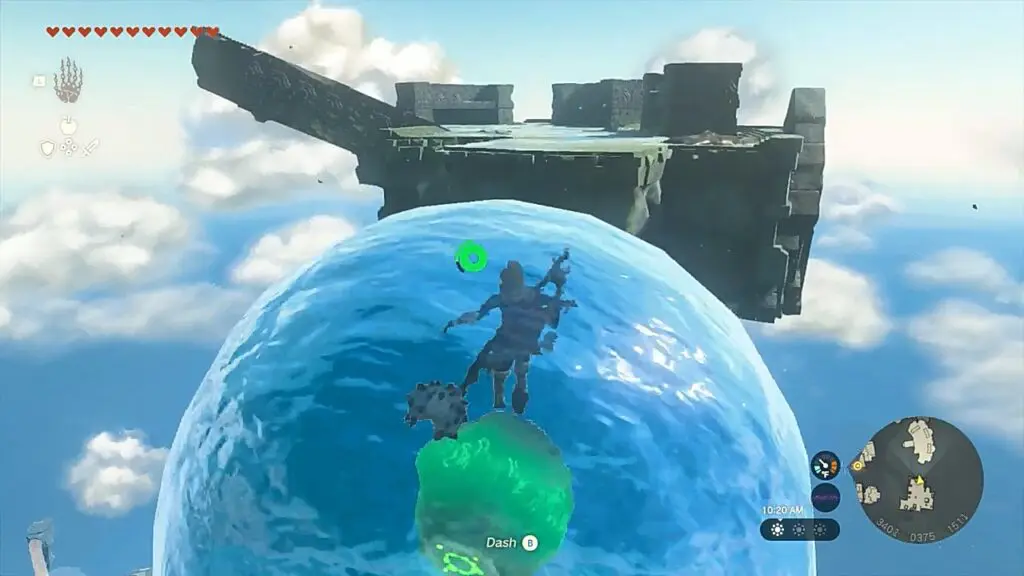
Climb up the ladder inside the pipe. Then proceed ahead and pull the lever to open the iron gate. Jump down into the water and make your way to the green light as shown in the picture below. Activating the device starts a waterfall from the ruins high above. After a cutscene, you reach the waterfall. Climb up the waterfall while wearing the Zora Armor to reach Wellspring Island.
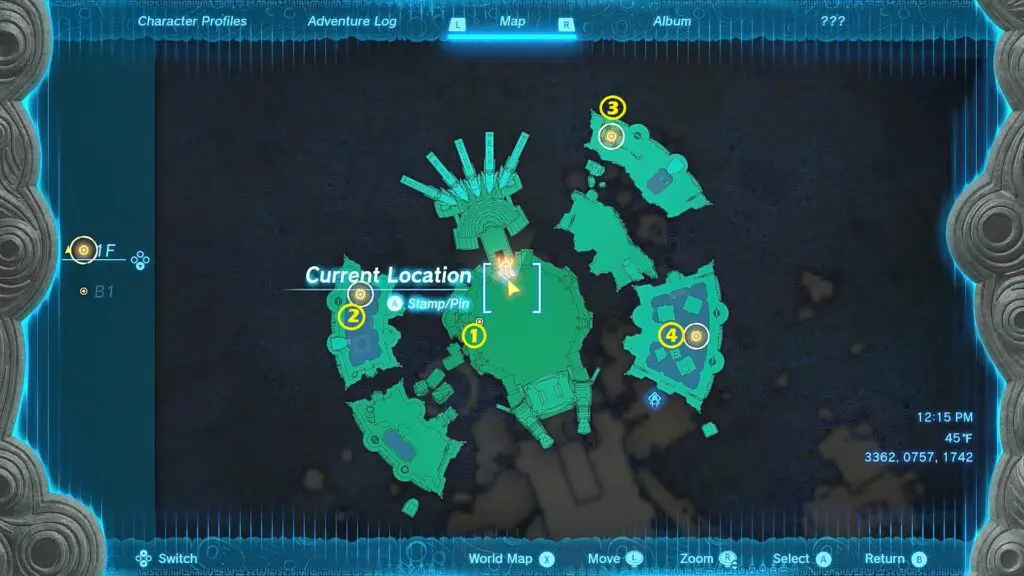
Step 9: Wellspring Island
After reaching Wellspring Island, go straight ahead and talk to Sidon at the location shown in the picture below.
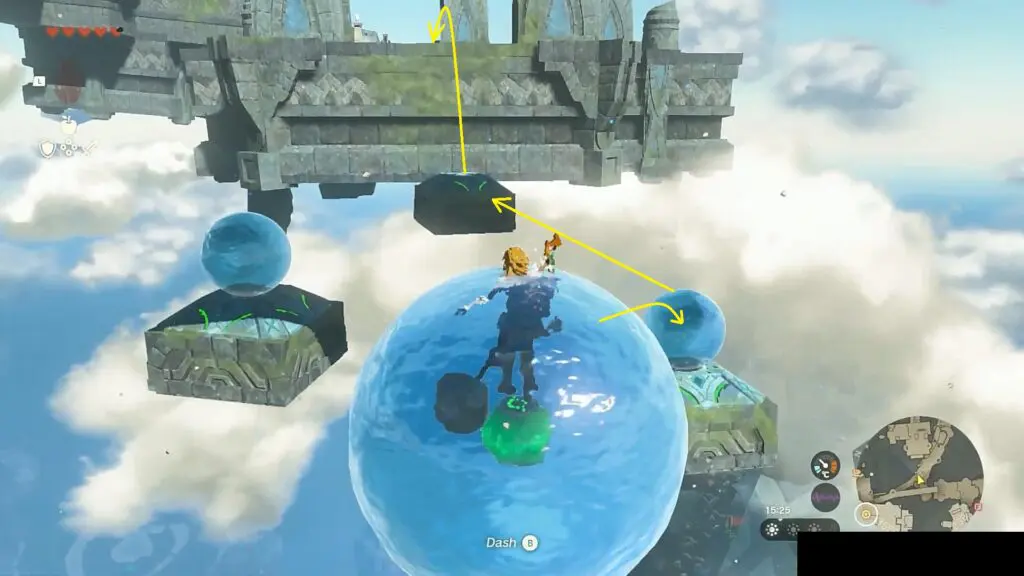
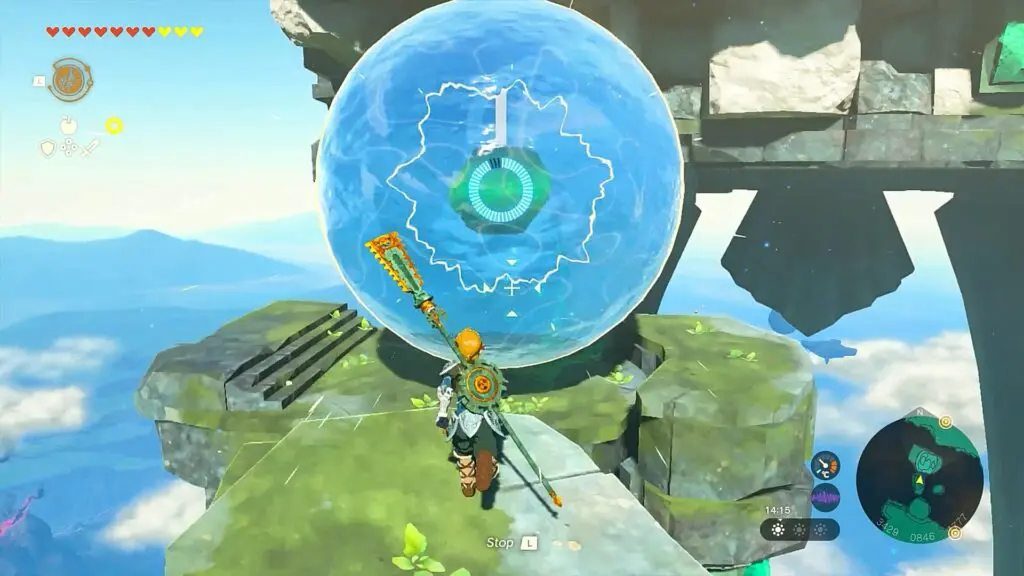
Turn left and you will see a water orb coming out from a dispenser. Ride the water orb to reach the other side as shown in the picture below.
There you will find four water orbs ahead of you. Use them to reach the other side as shown in the picture below.
Proceed ahead and pick up the water hydrant as shown in the picture below. Use it to clear the sludge. Go left clearing the sludge until you reach the dead end. Clear the sludge off of the floating pillar as shown in the second picture below. A waterfall will start coming out from the floating pillar.
After the water starts coming out from the floating pillar, use it to jump up. Then glide to the waterfall directly behind it as shown in the second picture below.
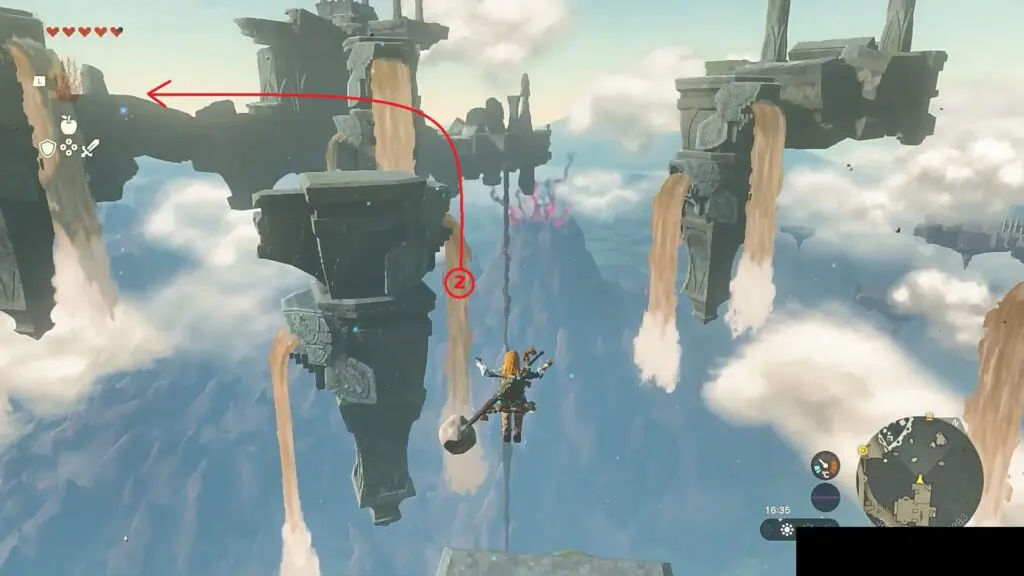
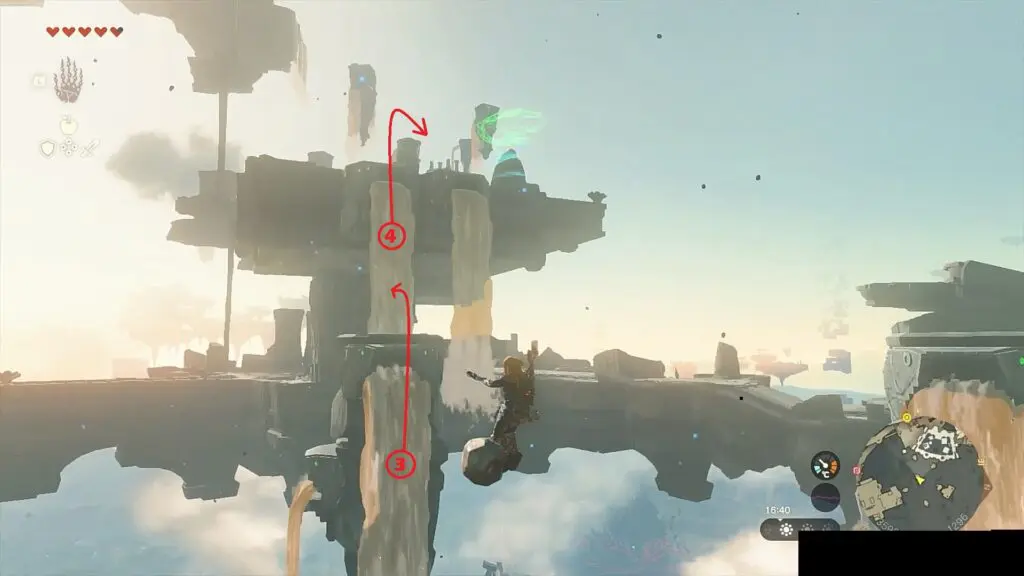
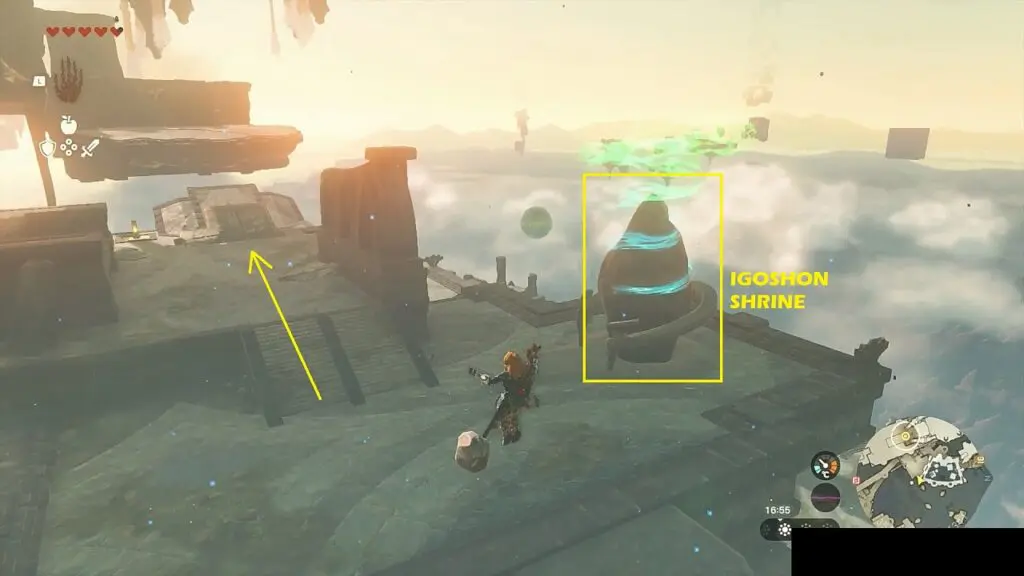
Then glide to the waterfall marked ‘3’ and then to ‘4’ as shown in the pictures below. This will take you to Igoshon Shrine as shown in the second and third pictures below.
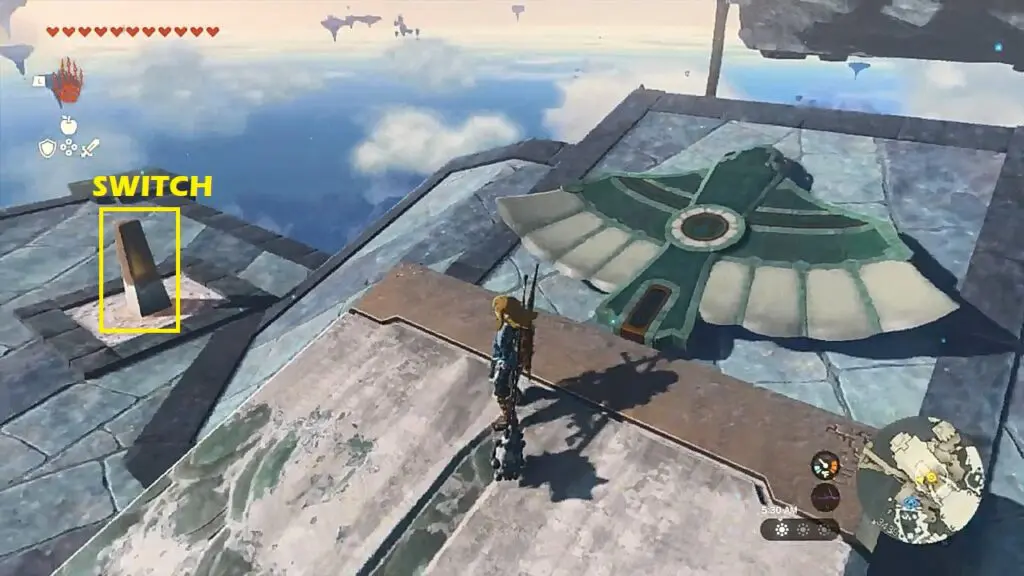
Climb up the stairs next to the shrine. Use the Ultrahand ability to pick up a flying device and place it on the slope as shown in the picture below. Stand on the device and shoot the switch. This will throw you across the gap to the surface ahead.
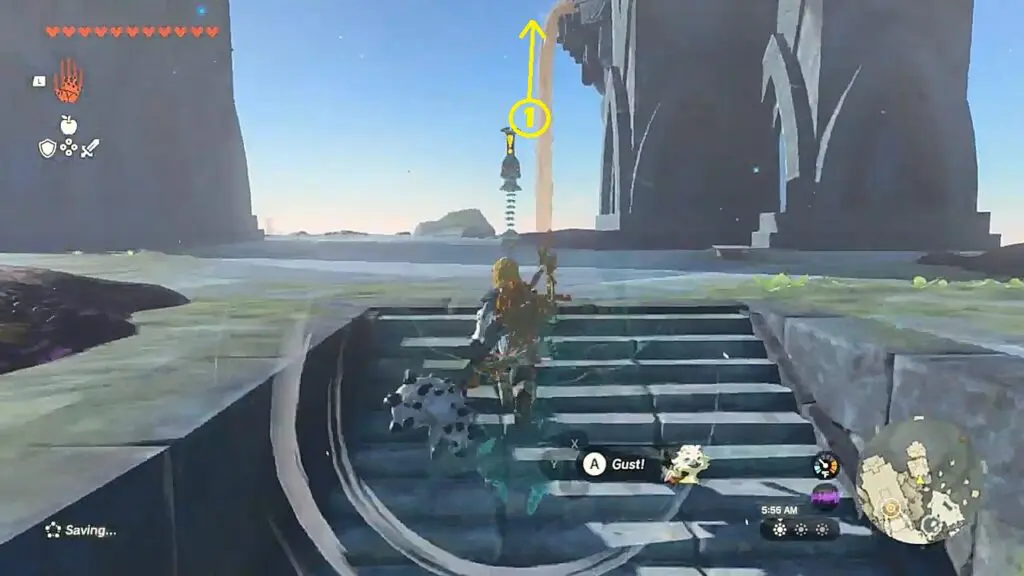
Proceed ahead and use the waterfall to jump up as shown in the picture below. Then glide to the waterfall marked ‘2’ as shown in the second picture below.
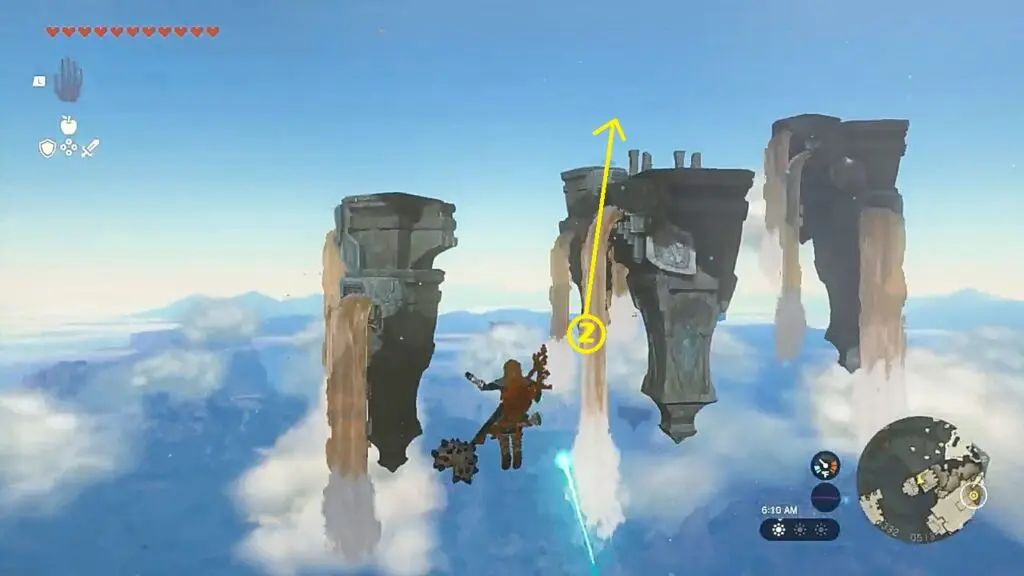
Then glide to the waterfall marked ‘3’ and then to ‘4’ as shown in the pictures below. This will take you to the platform with a few constructs. Defeat them and open the chest there to get Soldier III Blade.

After opening the chest, climb up the wall on the right side. Then go to the platform on the south side. Use rewind on the water orb there as shown in the picture below. Now step into the water orb and it will take you to the platform on the other side.
Grab a slab there and use it to make a ramp in front of the water orb dispenser as shown in the picture below. Now enter the water orb and the ramp will throw it up towards the surface up ahead as shown in the second picture below.

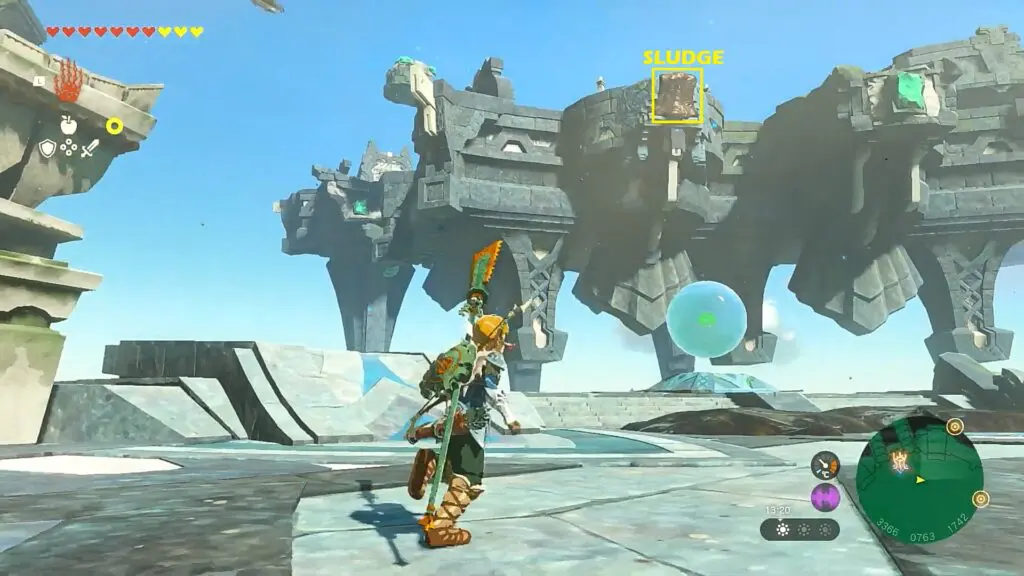
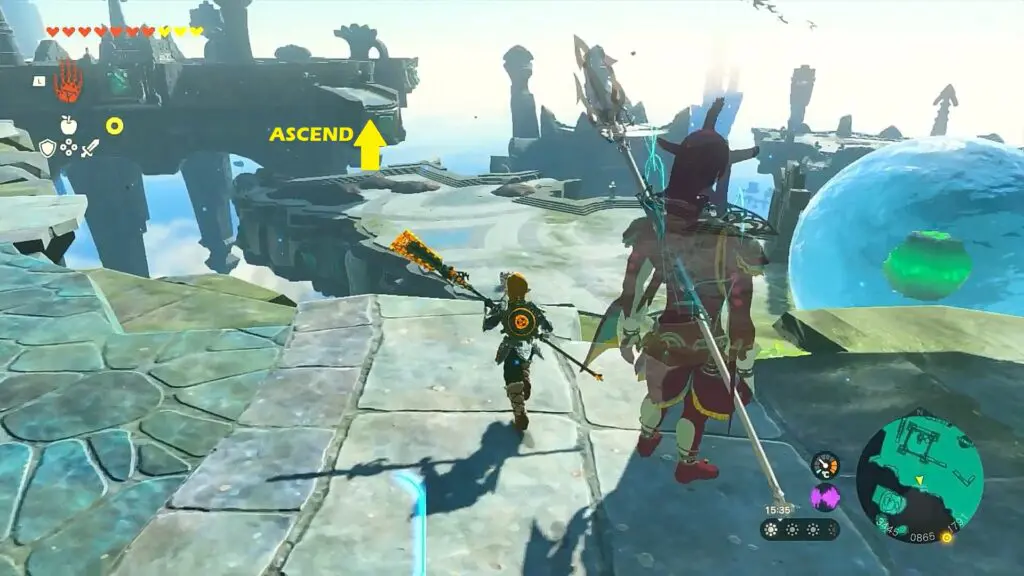
On reaching there, attach three fans to the flying device and place it on the ramp as shown in the picture below. Now stand on the flying device and hit the fans. This will take you to the surface ahead of you, as marked in the second picture below. Talk to Sidon there. Then climb up the big waterfall there to reach the Water Temple.
Step 10: Water Temple – Faucet Puzzle (With all Chests)
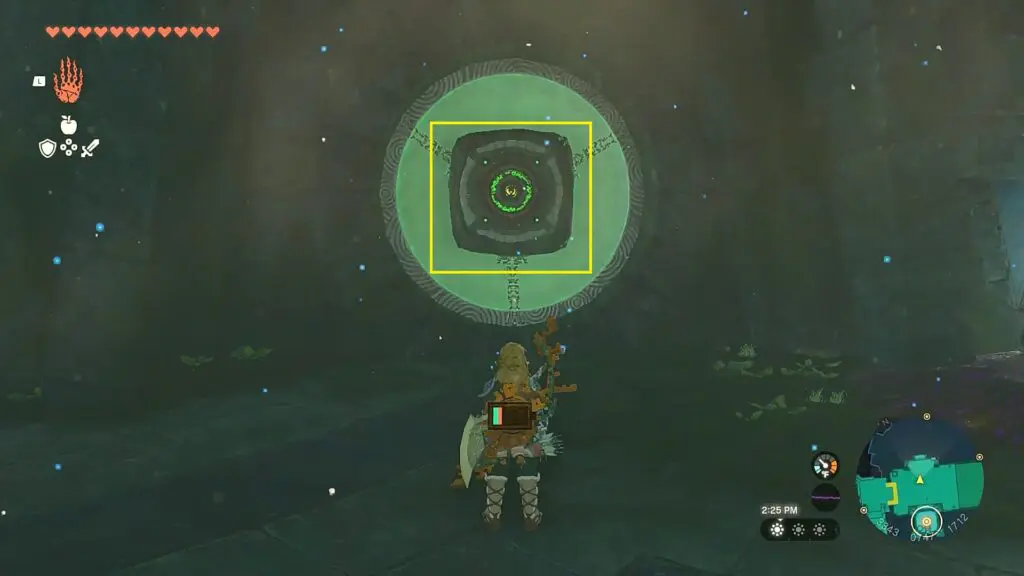
After entering the water temple, interact with the green symbol ahead. This will turn the large vessels to clear the sludge. But it will be inadequate to cleanse the area. For that, you will have to open all 4 Faucets as marked in the picture below.
Faucet 1
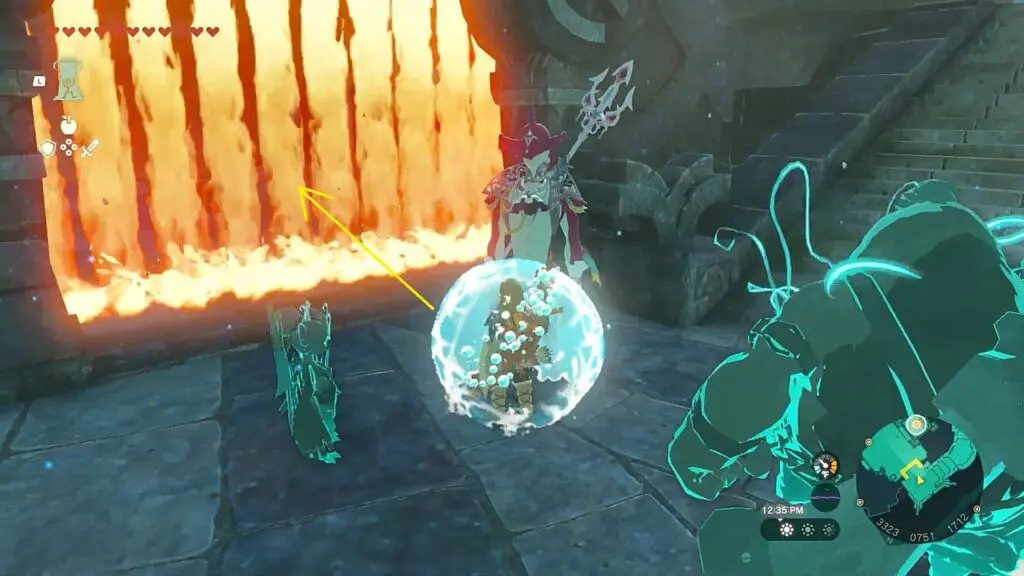
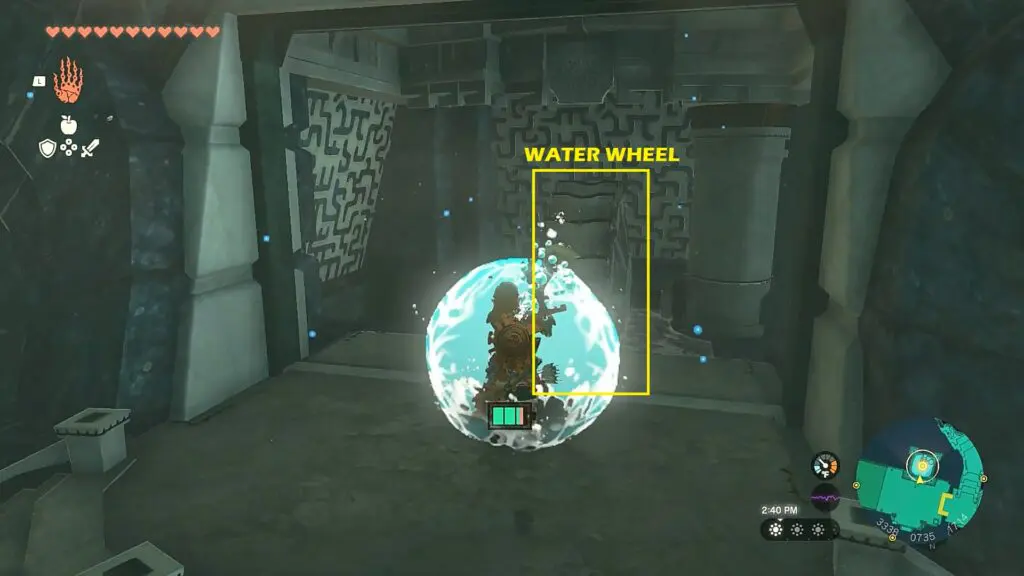
Jump down to the lower level from the left side. There you will see fire blocking the path. Go near Sidon and select the “Let’s Go” option to get a water shield as shown in the picture below. Now you can go across the fire.
Grab the green device there and place it on top of the pressure plate next to the fire as shown in the picture below. Now hit the green device, which will make it go down, pressing the switch. This will turn off the fire and Sidon will come inside.
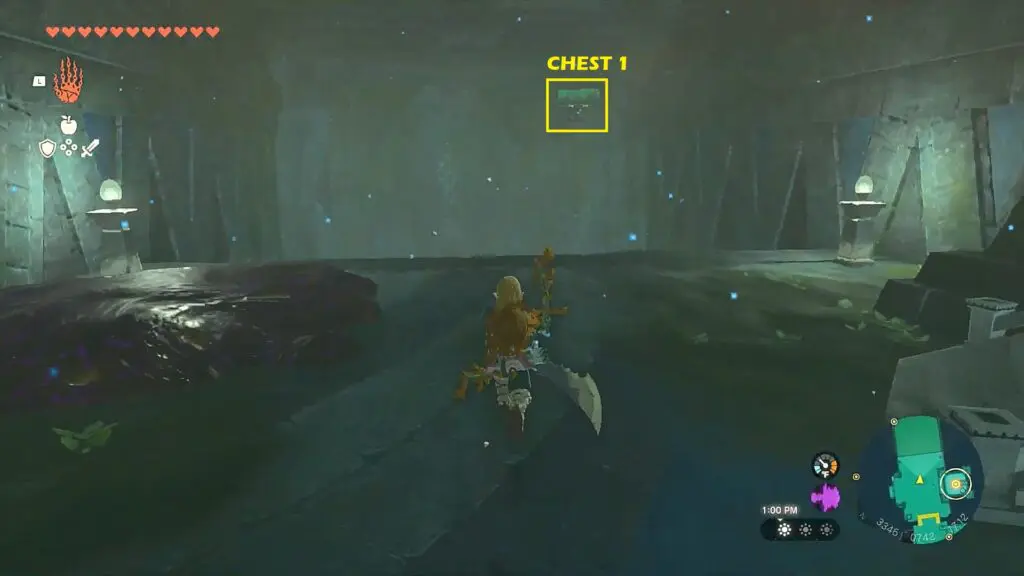
Proceed ahead and you will find chest #1 attached to a green device as shown in the picture below. Shoot the green device and the chest will fall down. Now you can use the Ultrahand ability to grab the chest.
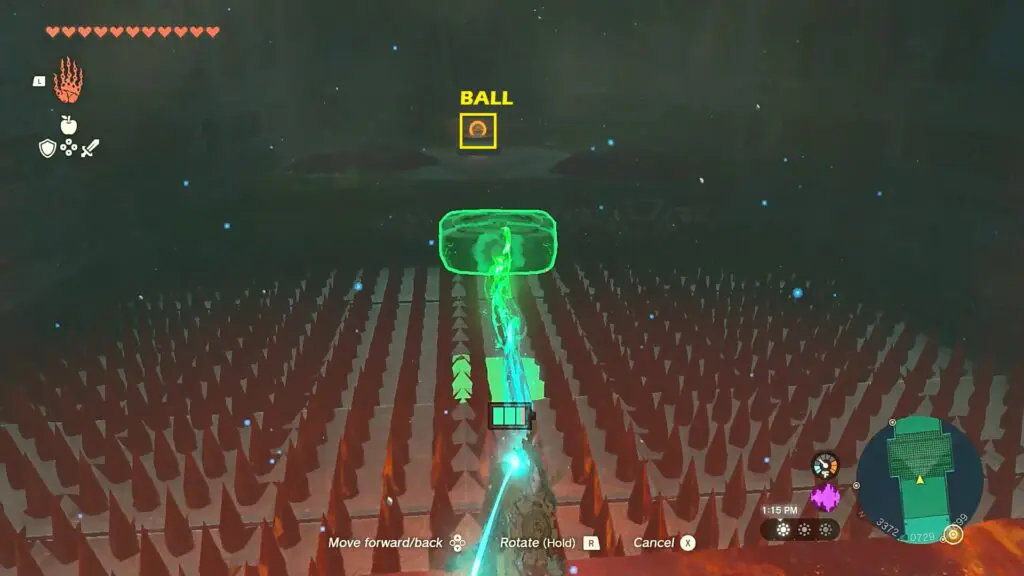
Grab another green device and place it above the spikes as shown in the picture below. Now jump to the other side. You can directly glide there without using the green device. Pick up the ball there and place it on the green device. Go glide back across the spikes.
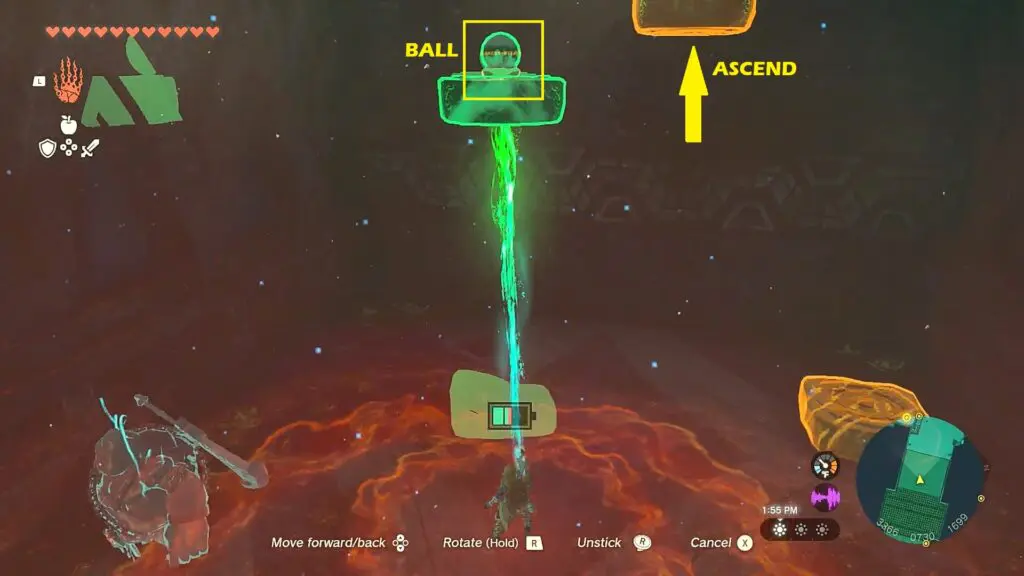
Grab the green device with the ball and place it near the wall, as high as possible. Now use the ascend ability on the other green device as shown in the picture below to reach up. From there, jump to the surface up ahead. Now use the Ultrahand ability to grab the green device with the ball, tilt it, and place it on the hole in the wall as shown in the picture below. The ball needs to be on the green device so that it doesn’t fall down.
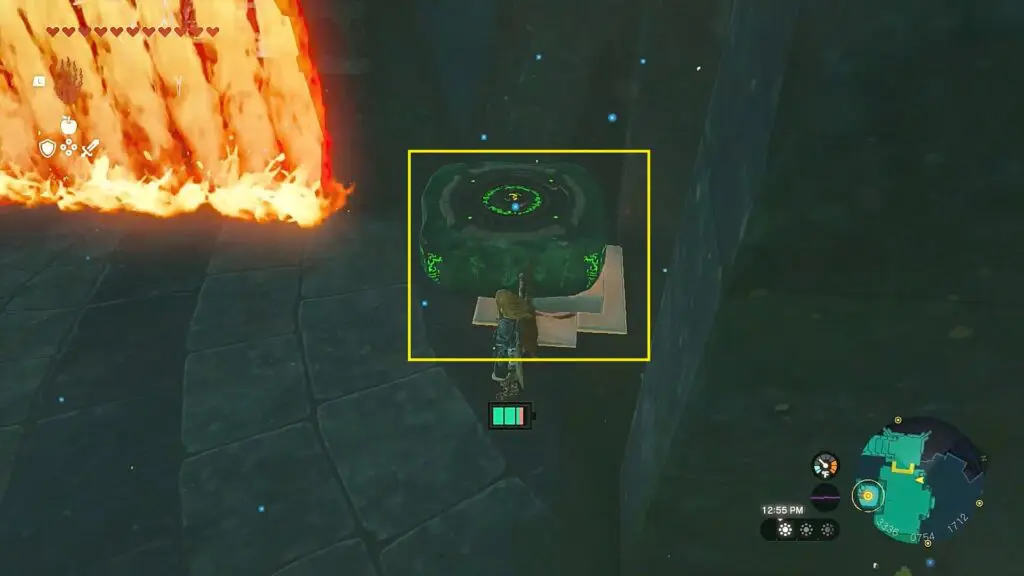
With the ball into the hole, an iron gate will open with a waterwheel behind it. Go to Sidon and cover yourself with water as shown in the picture below. Then go to the waterwheel and hit it with the water. This will activate the faucet.
Faucet 2
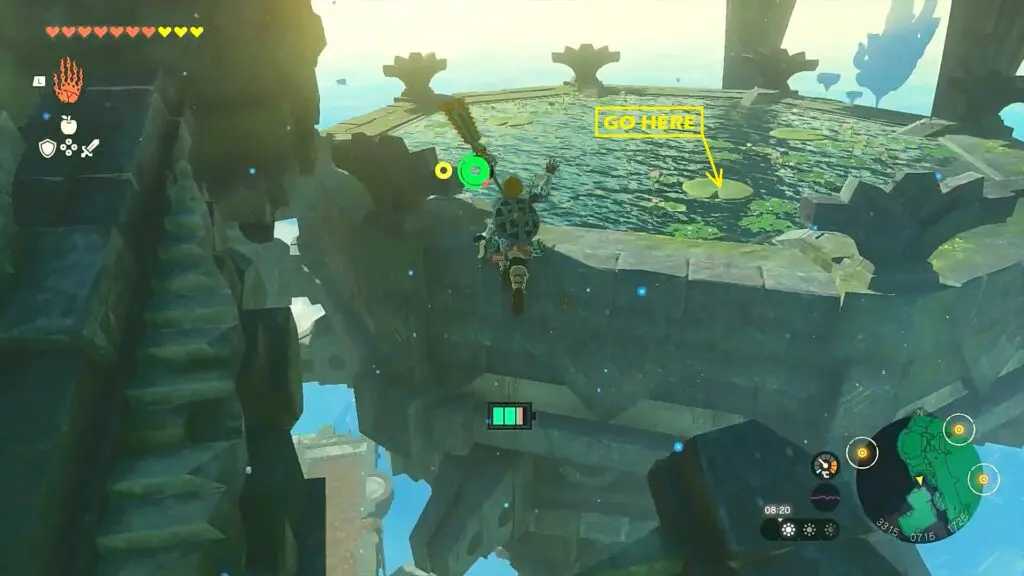
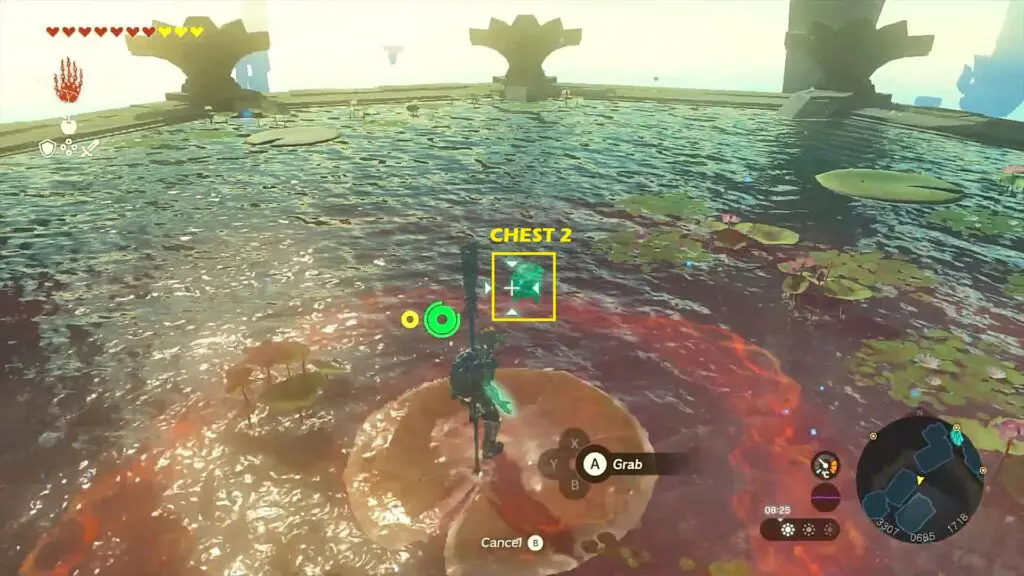
Go out of the room and climb up the stairs. Then jump to reach the pond ahead and stand on the leaf as shown in the picture below. Then use the Ultrahand ability to pick the chest #2 inside the pond as shown in the second picture below.
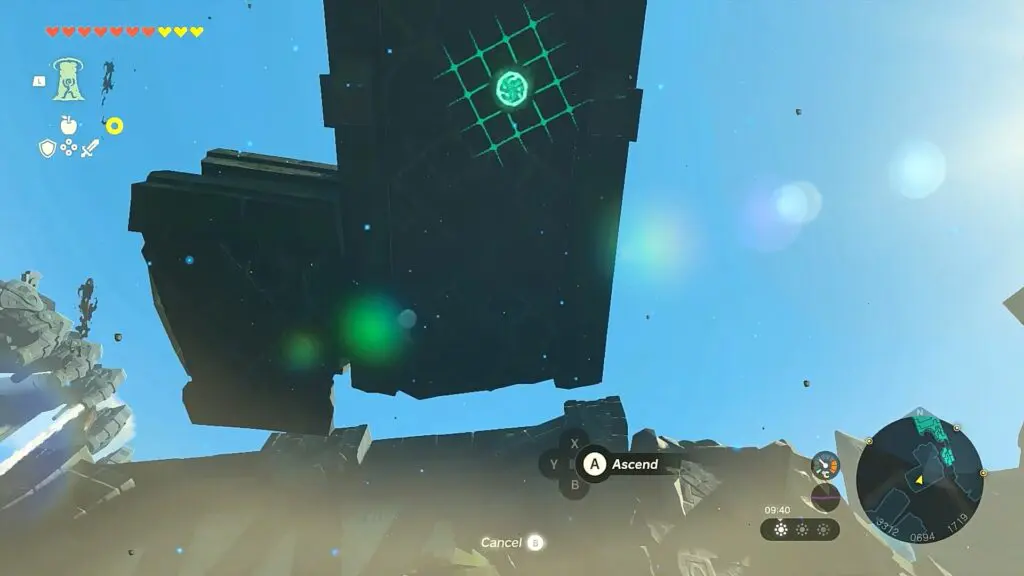
Stand on the pond wall and use ascend to reach the surface above as shown in the picture below.
Then make your way to the surface shown in the pictures below. Once you reach there, you will see a floating rock with sludge on it as shown in the second picture below. Clear the sludge by hitting it with Splash Fruit or Chuchu Jelly. Water will start falling from the rock once the sludge is cleared. Now climb the waterfall to reach the top of the rock, where you will find Chest #3 as shown in the third picture below.
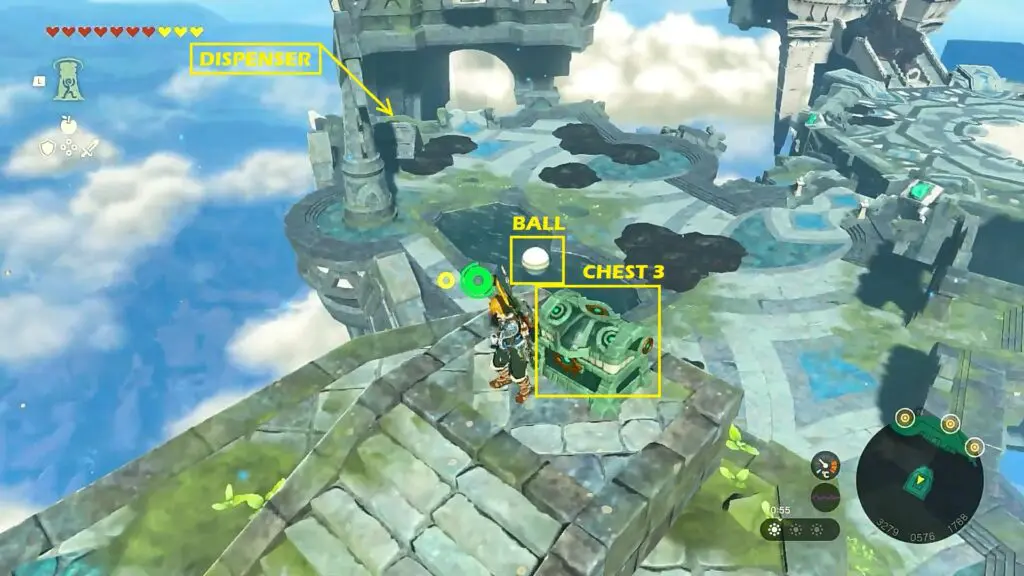
Now jump down and reach the water orb dispenser as shown in the picture above. Clear the sludge from the dispenser as shown in the picture below. Now the water orbs will start coming out from the dispenser. Pick up the ball and place it into a water orb as shown in the second picture below to send it to the surface up above. Now jump into a water orb to reach there as well.
Pick up a green device there and place it on top of the gate. Then lift the green device so that the gate stays up as shown in the picture below. This will clear the path for the hole as shown in the second picture below. If the ball doesn’t reach the hole automatically, then lift it and place it there. Once the ball is inside the hole, the gate to the waterwheel will open as shown in the second picture below. Now go to Sidon and get the water shield. Then go to the waterwheel and hit it with the water. This will activate the faucet.

Faucet 3
Go back to the central area and clear the sludge from the platform up above on the right side using Splash Fruit or Chuchu Jelly as shown in the picture below. This will start a waterfall from the platform. Use the waterfall to climb up as shown in the second picture below.
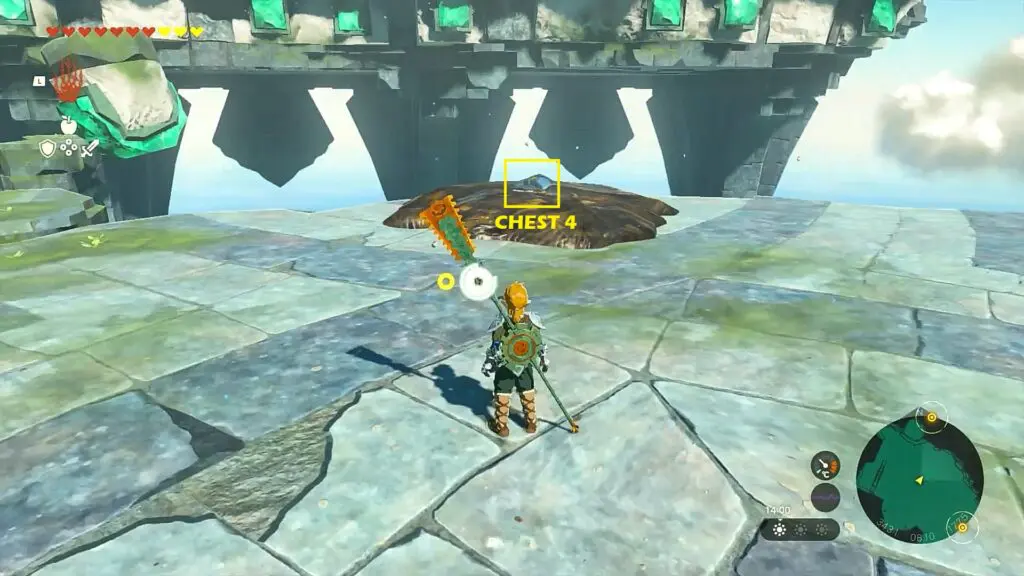
As you reach the top, you will see Chest #4 stuck inside sludge as shown in the picture below. Clear the sludge to get the chest. Then proceed ahead and use the rewind ability on the water orb as shown in the second picture below. Quickly step into the water orb and it will take you to the surface above.
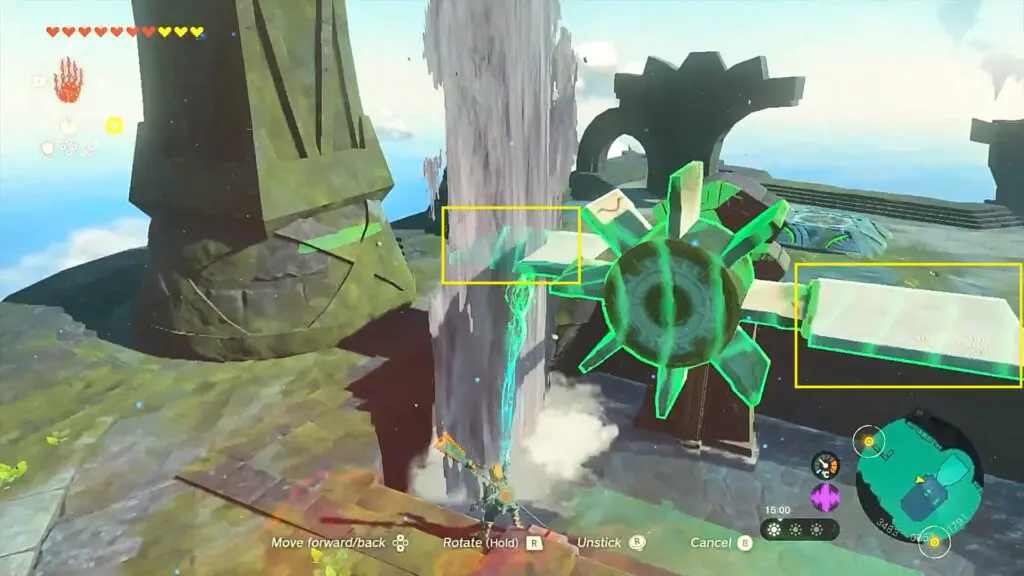
Grab two boards there and attach them to the shaft as shown in the picture below. Move the long leg of the shaft under the water as shown below, this will make it rotate automatically from the water’s force. This will generate electricity. Now place a water orb between the wires to complete the circuit as shown in the second picture below. This will open the gate to the waterwheel. Now go to Sidon and get the water shield. Then go to the waterwheel and hit it with the water. This will activate the faucet.

Faucet 4
Jump back to the platform where you got Chest #4. Then use ascend to climb up the surface on its south as shown in the picture below.
This area will be filled with water. You need to drain the water. Go and stand on the block in front of the pillar with a rotating top as shown in the picture below. Grab a green device and place it high up in the air above the block where you are standing. Then use ascend to reach the top of the green device. From there, you can glide to reach Chest #5 as shown in the picture below.
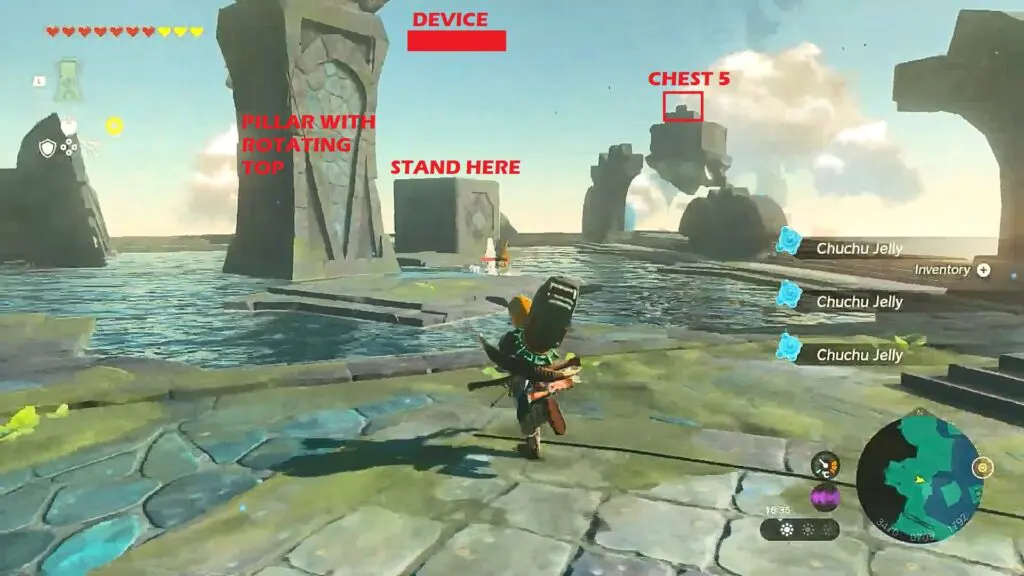
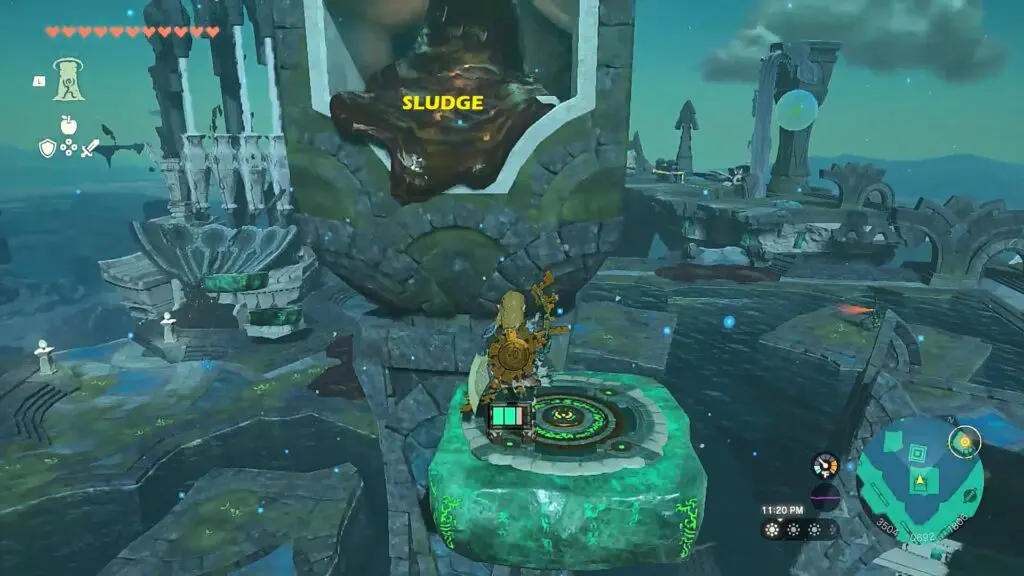
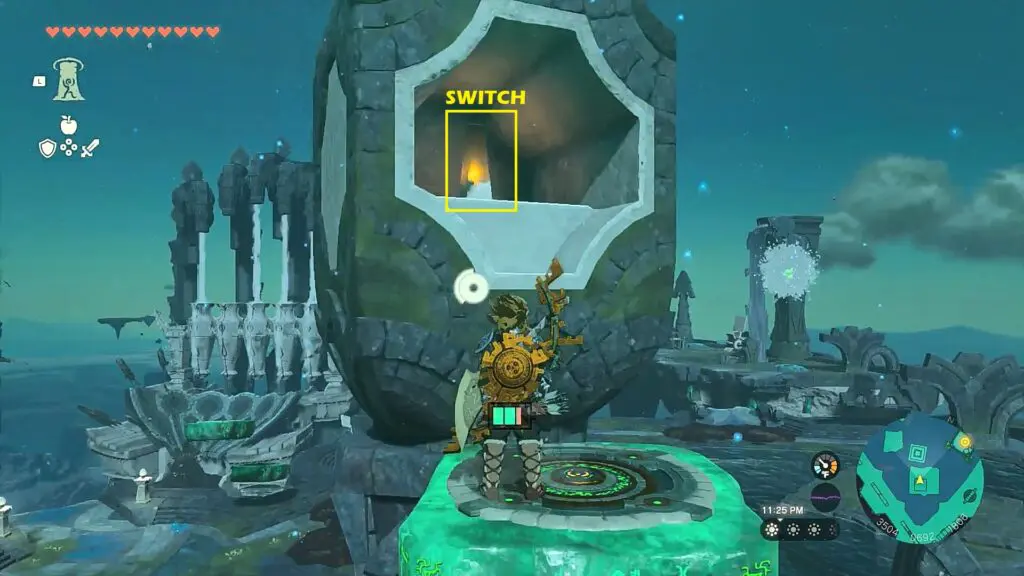
Go back to the top of the green device. Inside the rotating top of the pillar, you will see sludge as shown in the picture below. Shoot it with Splash Fruit or Chuchu Jelly to clear the sludge, revealing a switch as shown in the second picture below. Shoot the switch to drain out the water. This will also open the gate to the waterwheel.
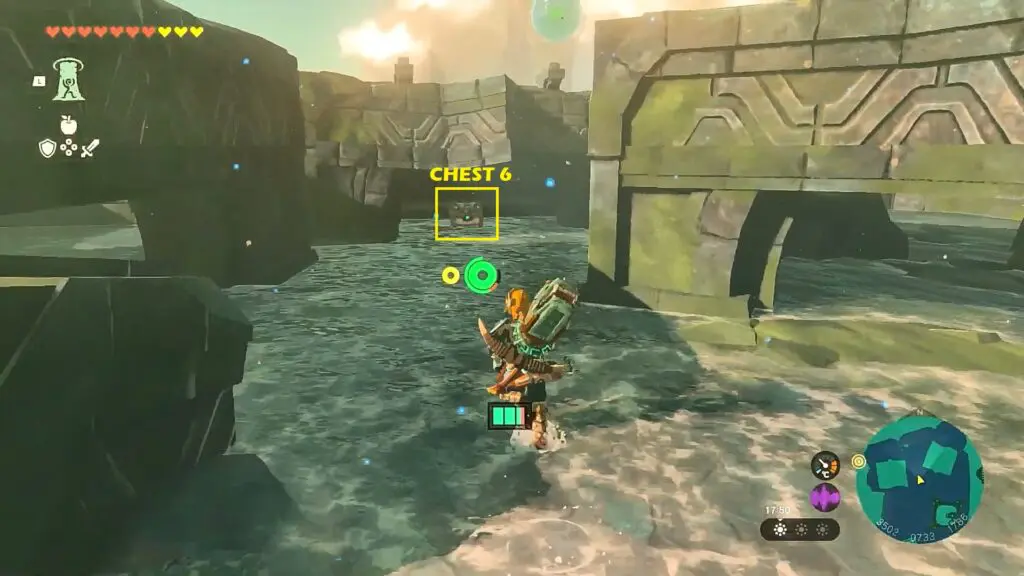
Jump down to the bottom surface. There you will find Chest #6 as shown in the picture below. Now go to Sidon and get the water shield. Then go to the waterwheel and hit it with the water. This will activate the faucet.
Step 11: Mucktorok Boss Fight
Go back to the central area of the water temple and interact with the green symbol. Then defeat the Mucktorok Boss to complete the quest.