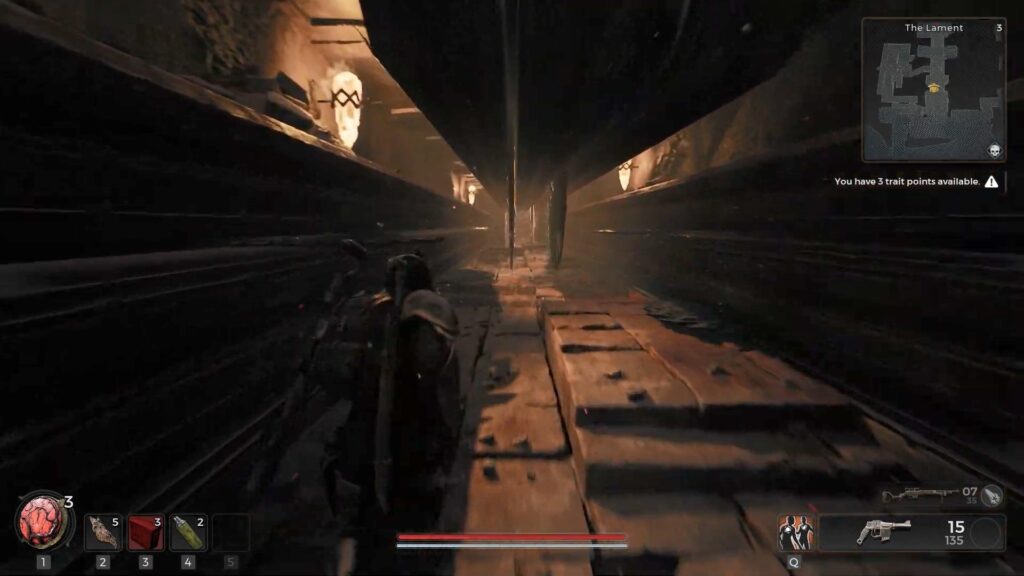
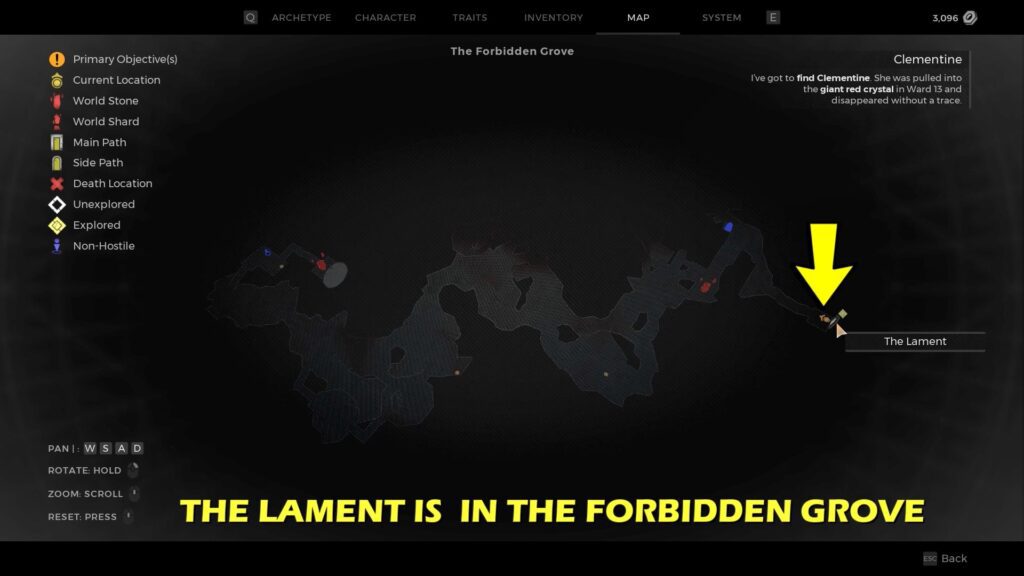
This article will guide you through all the puzzles and Secret Chests within the Lament dungeon in Remnant 2, set to be released on 25 July 2023. The Lament dungeon is located in the Forbidden Grove.
Progressing Through Arrow Traps
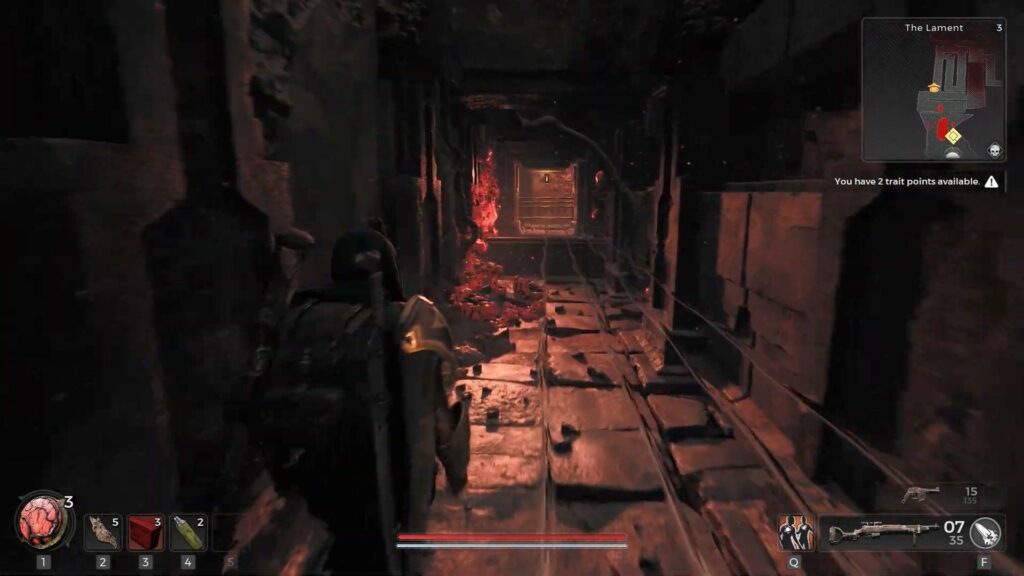
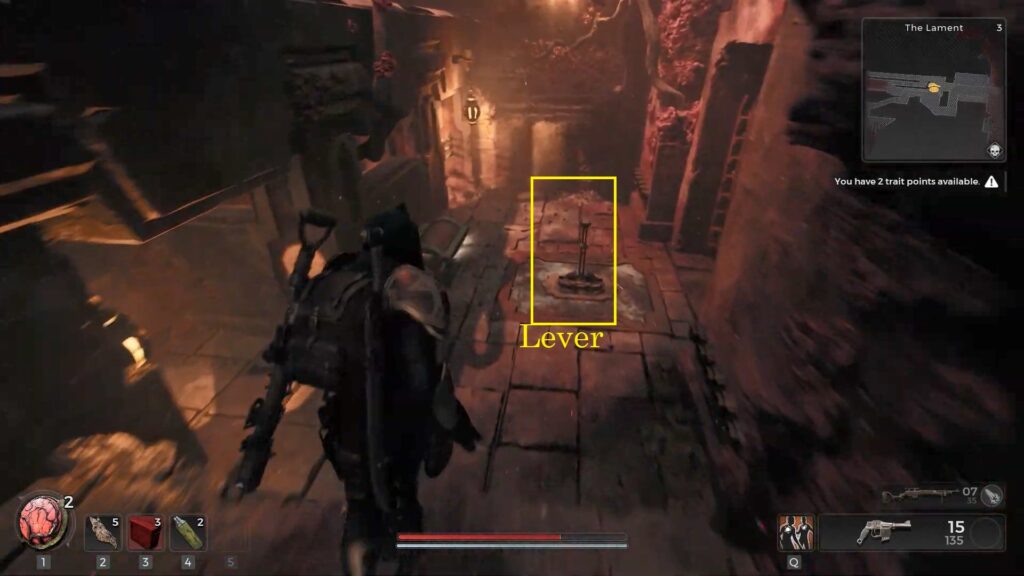
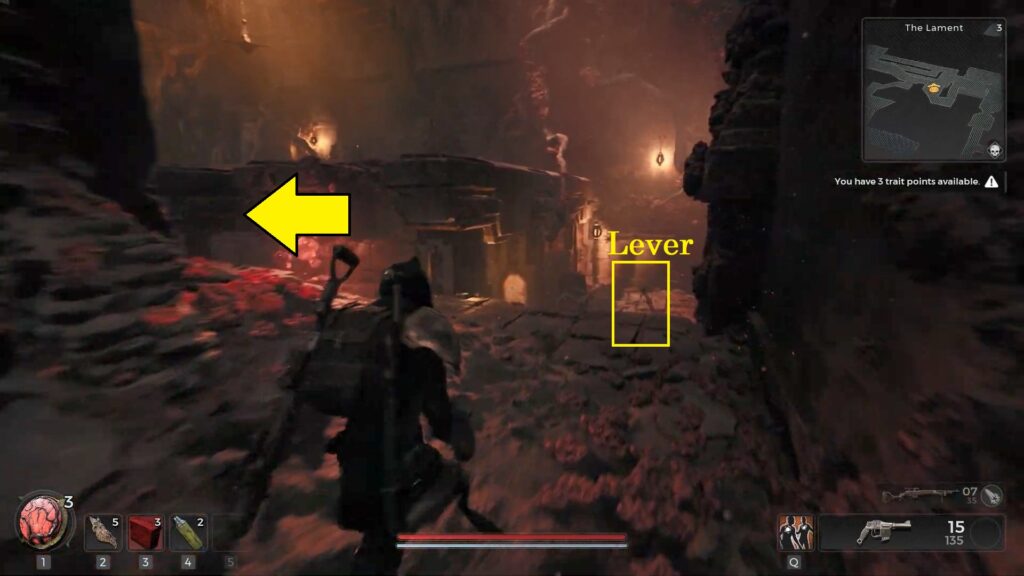
Players must time their movements carefully to zig-zag through the lanes to evade the oncoming arrows. The traps’ firing order changes as players reach the midpoint of each trap lane. Also, don’t forget to interact with the lever at the end to deactivate all arrow traps. The first chest is lying near the lever.
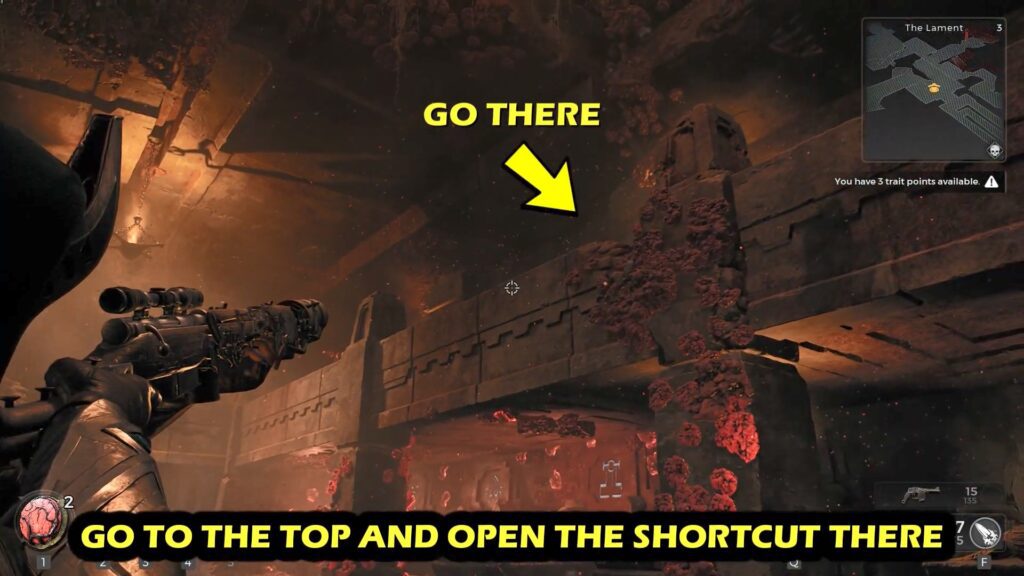
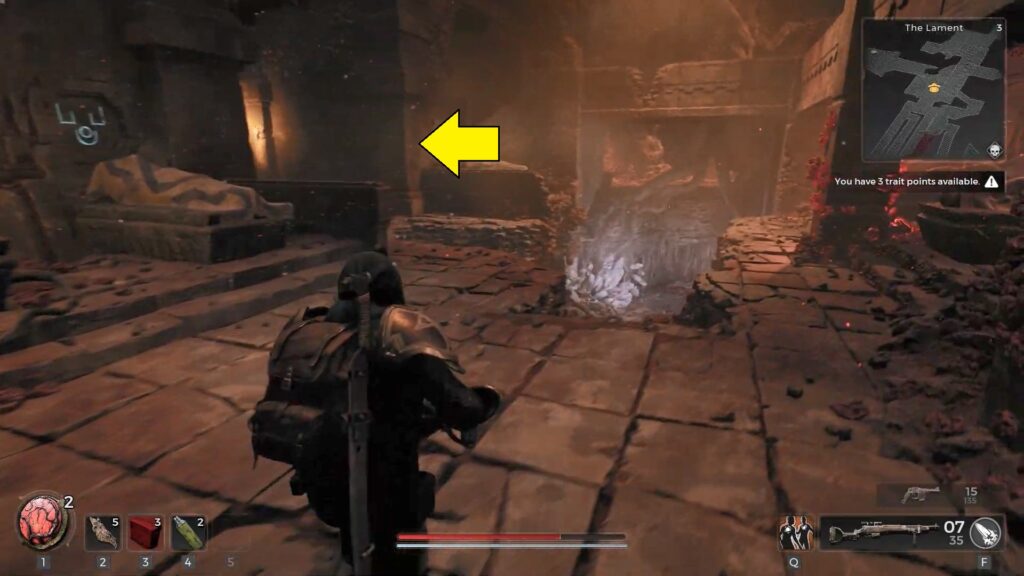
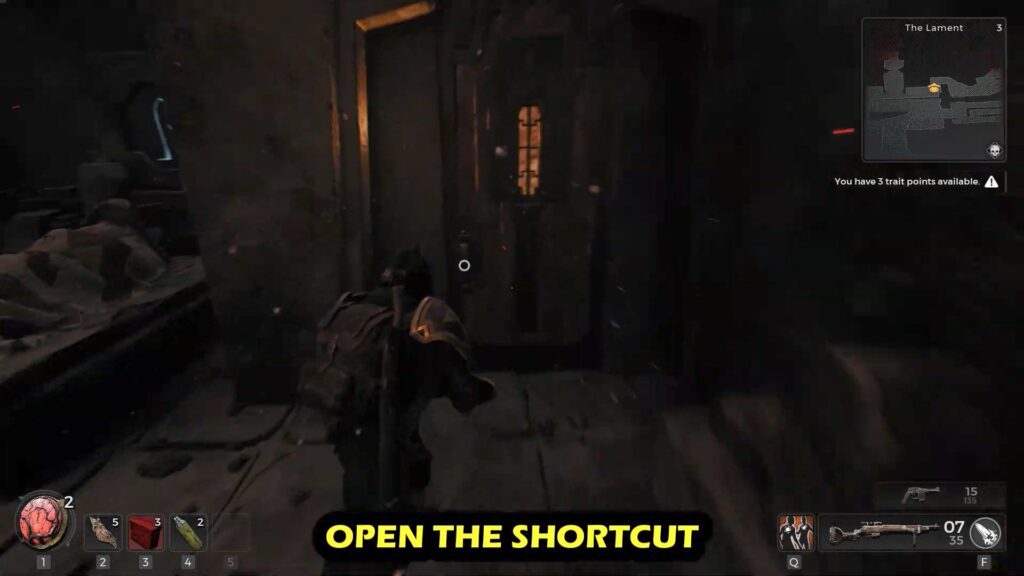
Open the Shortcut door
After interacting with the lever, proceed into the chamber and take the left path (linear path) to ascend to the upper level. Here, you’ll find a shortcut door adjacent to the first Lament Door that you can open.
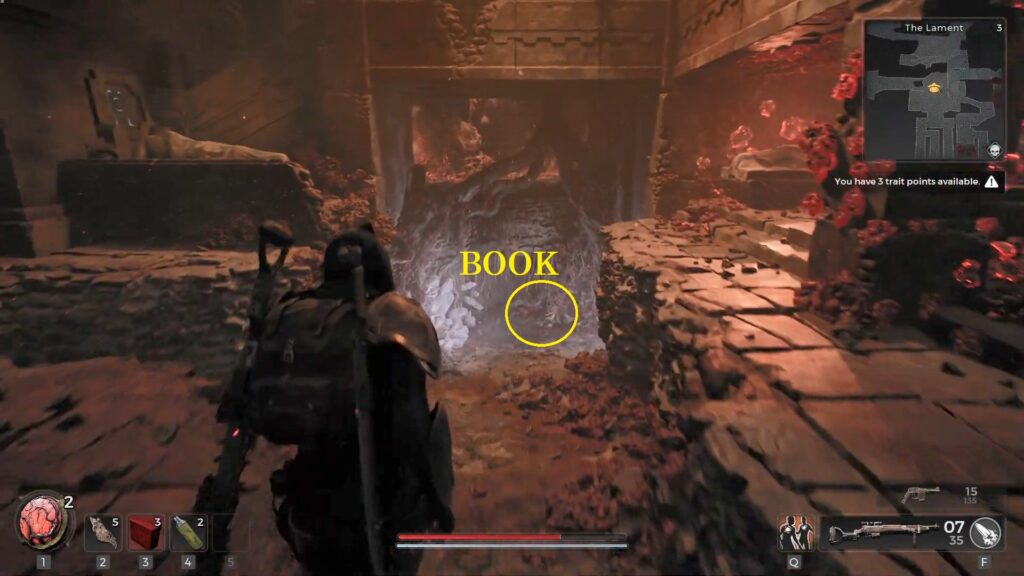
The Lament Door Puzzle Solution
Head back to the lower floor and go down the ramp. Interact with the book next to the corpse (skeleton) and take note of the symbol.
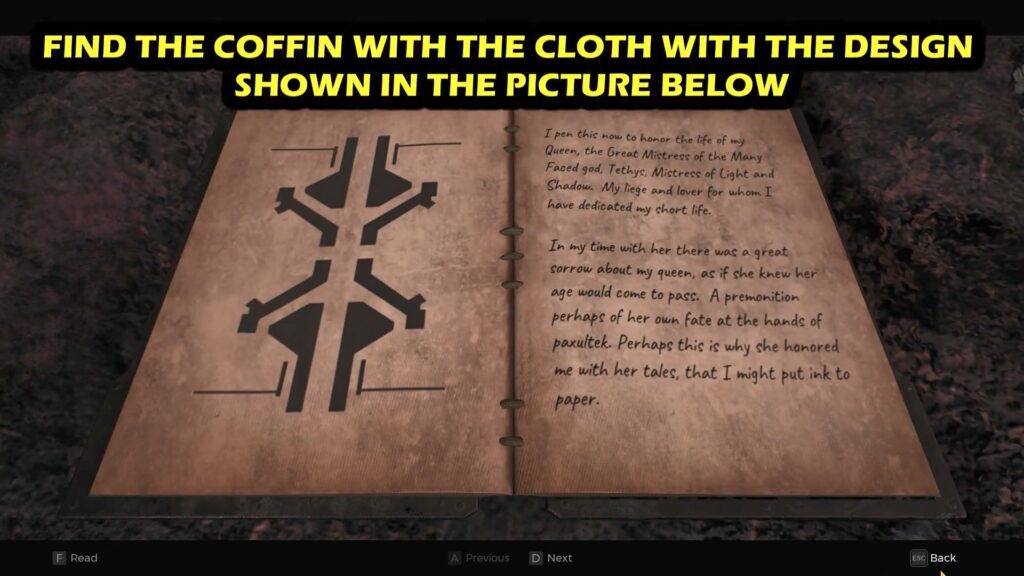
Then check out the symbols on the coffins with the cloth containing the design shown in the book. There are four coffins with the same design as depicted in the book and on the cloth. Three coffins on the lower floor and one coffin on the upper floor.
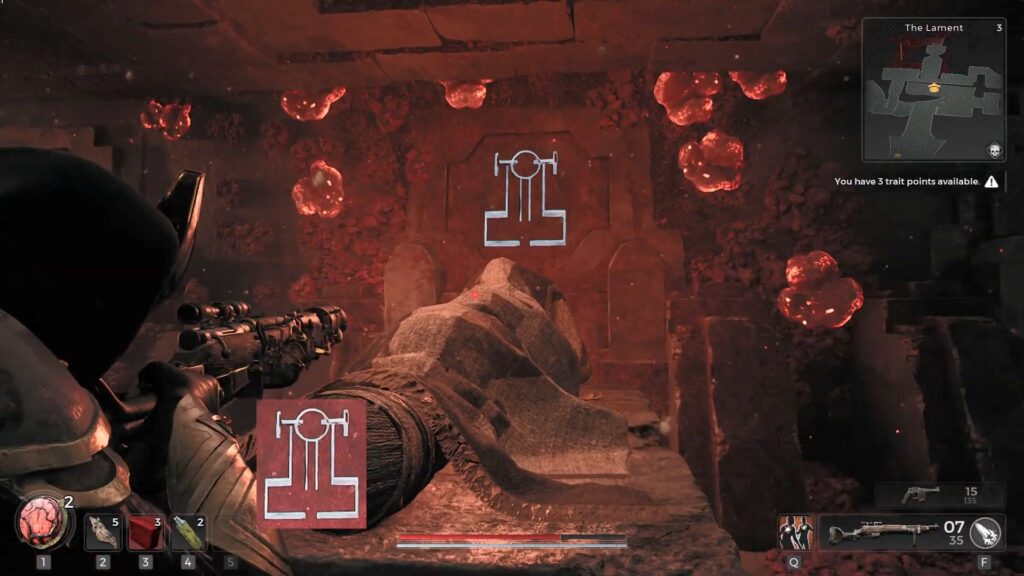
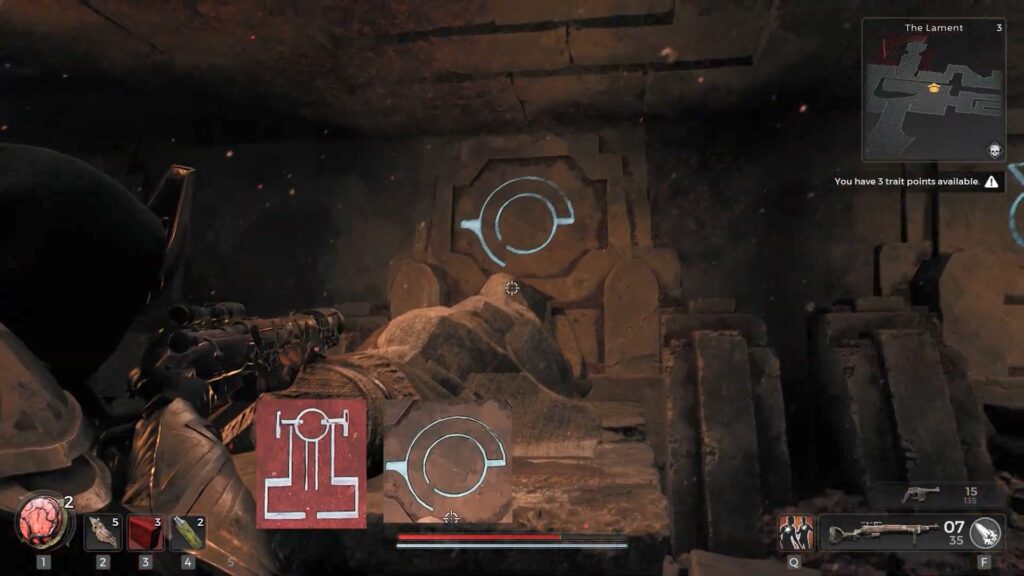
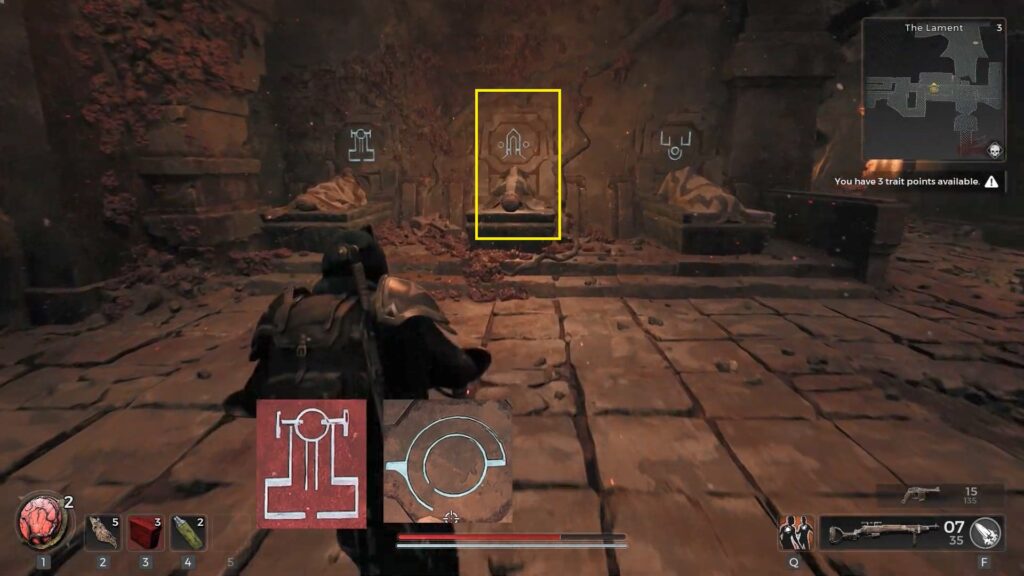
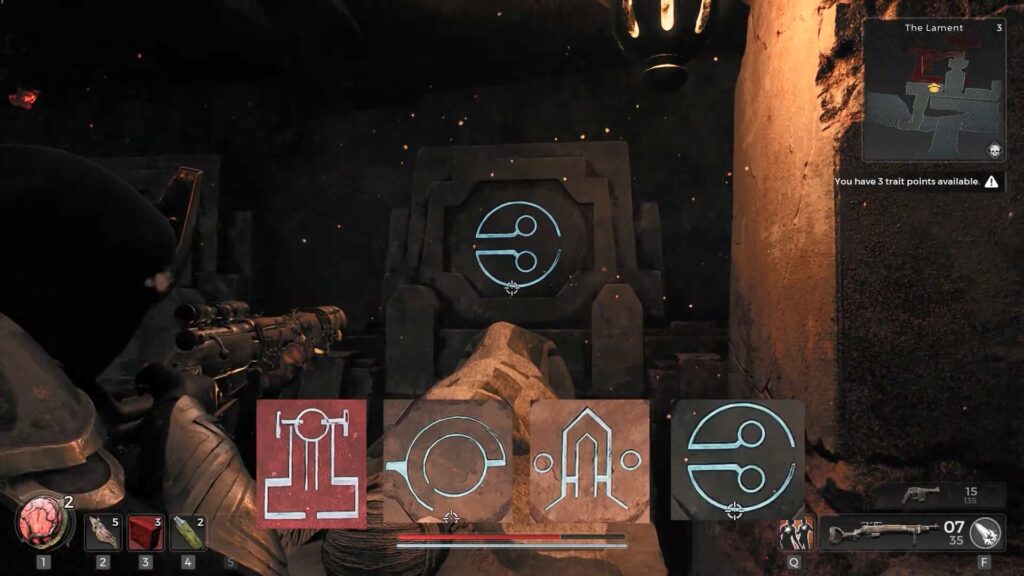
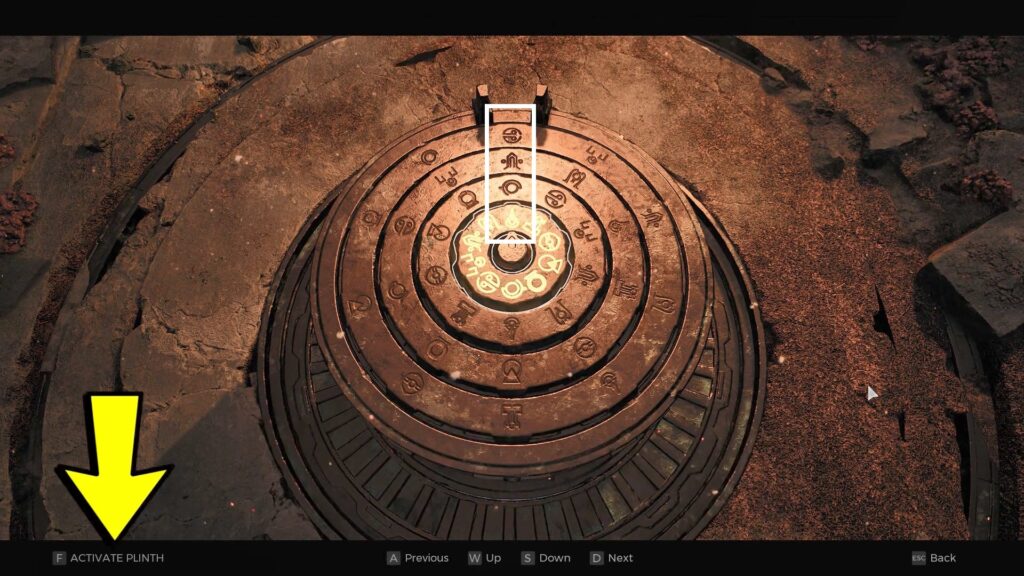
Head back to the circular device near the Lament door and adjust the rings to match the symbols indicated above the coffins. The specific order doesn’t appear to be relevant.
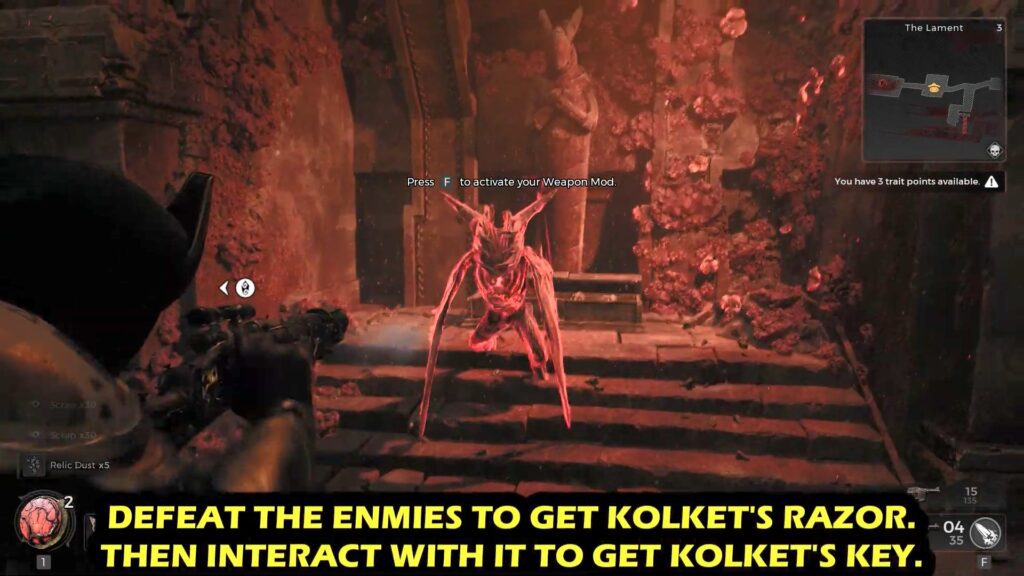
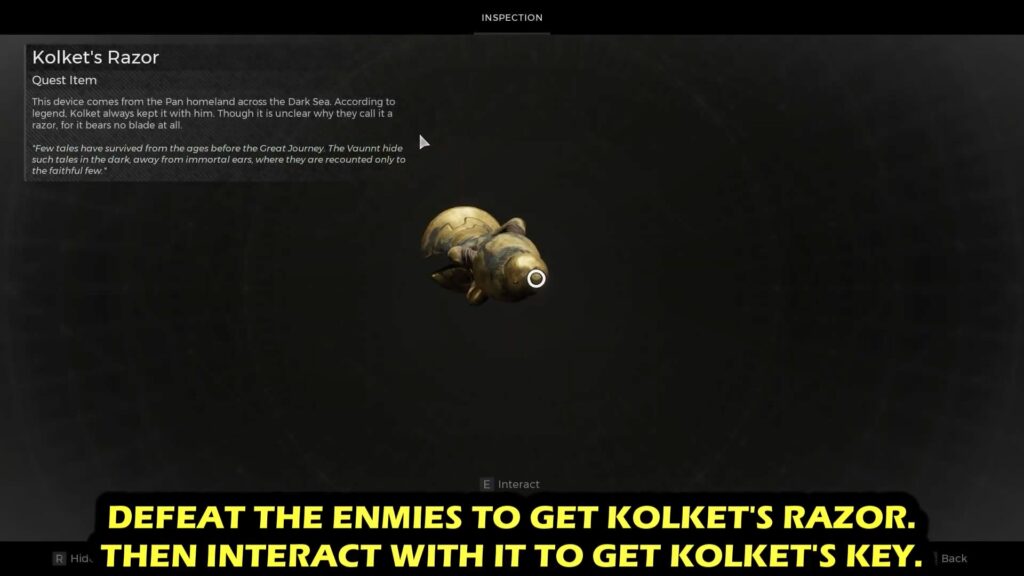
After successfully solving the door puzzle, proceed inside to find two chests on the small stairs along the pathway (before the checkpoint). Defeat Wither (enemy) to get Kolket’s Razor. Then interact with it to get Kolket’s Key.
Blood Tinged Ring
Continue further from the checkpoint point to find the Blood-Tinged Ring on a pedestal, on a balcony overlooking the main chamber of the dungeon.
Floating Platforms Section
Before heading to the main chamber of the dungeon, retrace your steps back to the spot where you interacted with the lever, which deactivated all arrow traps.
From there, take the path leading to the left and descend the left stairs. Continue by descending a ladder and keep walking along the right wall until you arrive at the Invisible Bridge Section (Floating Platforms).
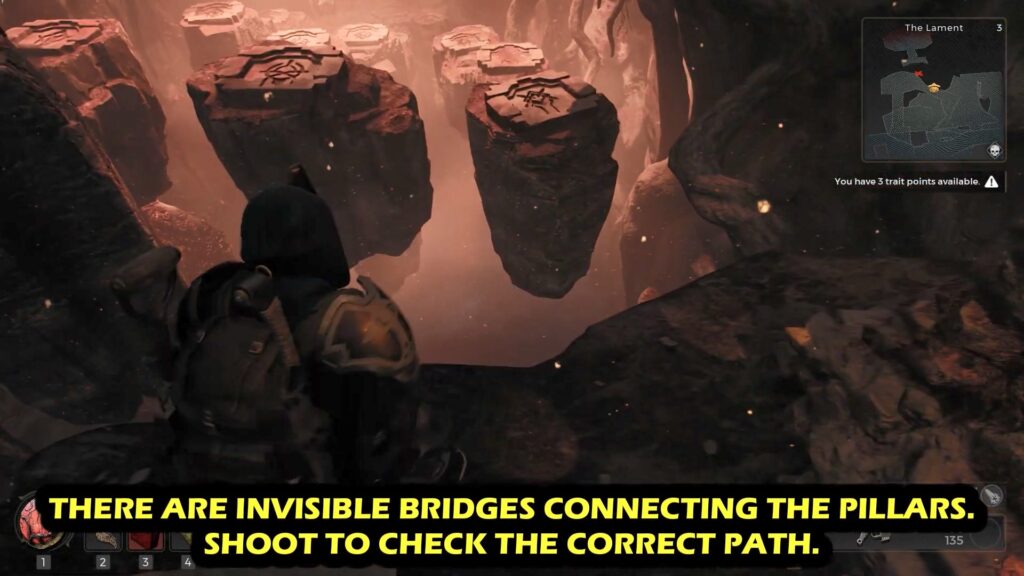
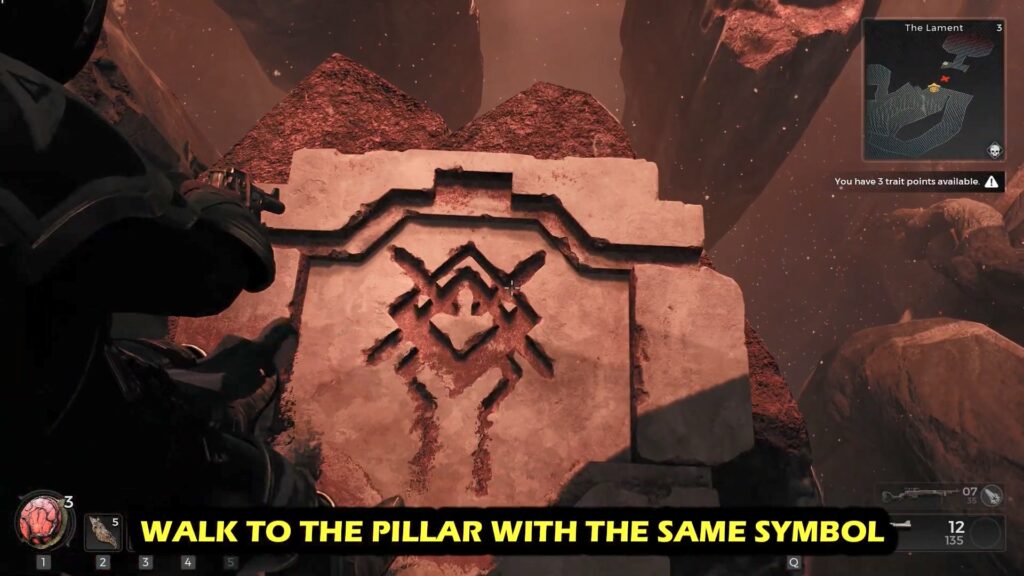
Players must locate invisible bridges that link each of the pillars. Shoot the spaces between the pillars, and if the bullets stop, just cross. Proceed to walk to the pillar with the same symbol.
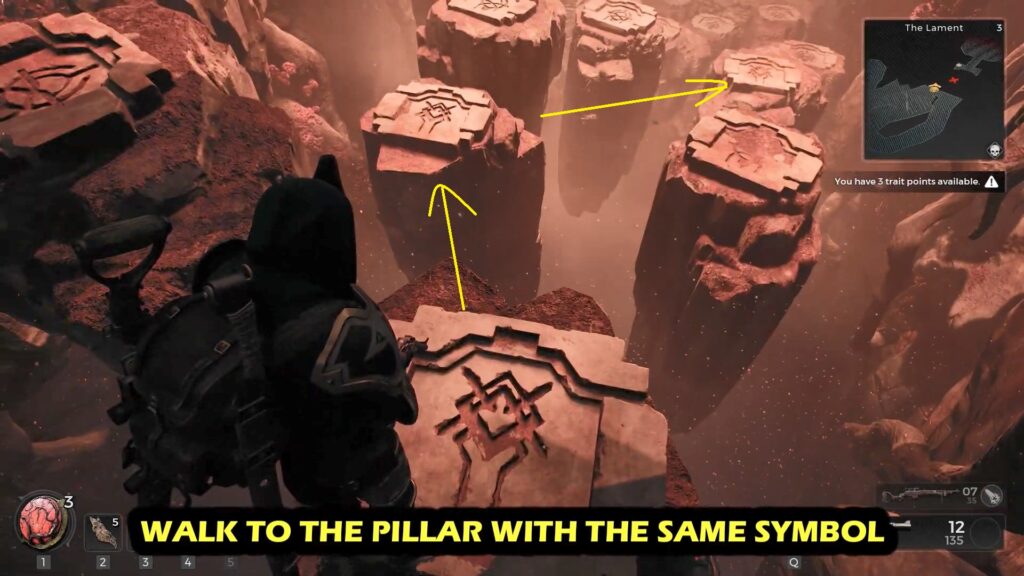
Use the Kolket’s Key to open the door on the other side. There is also a chest near the door.
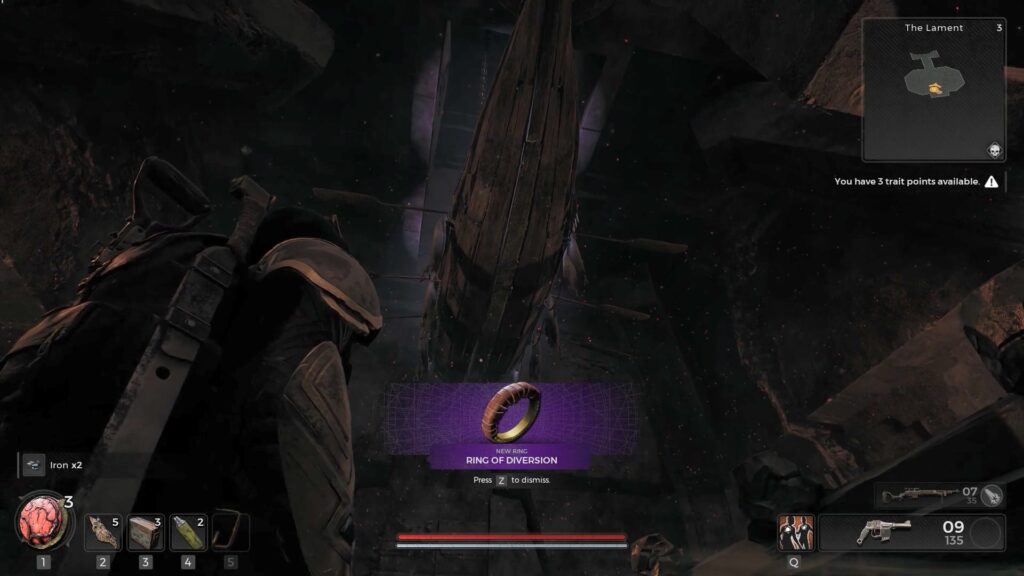
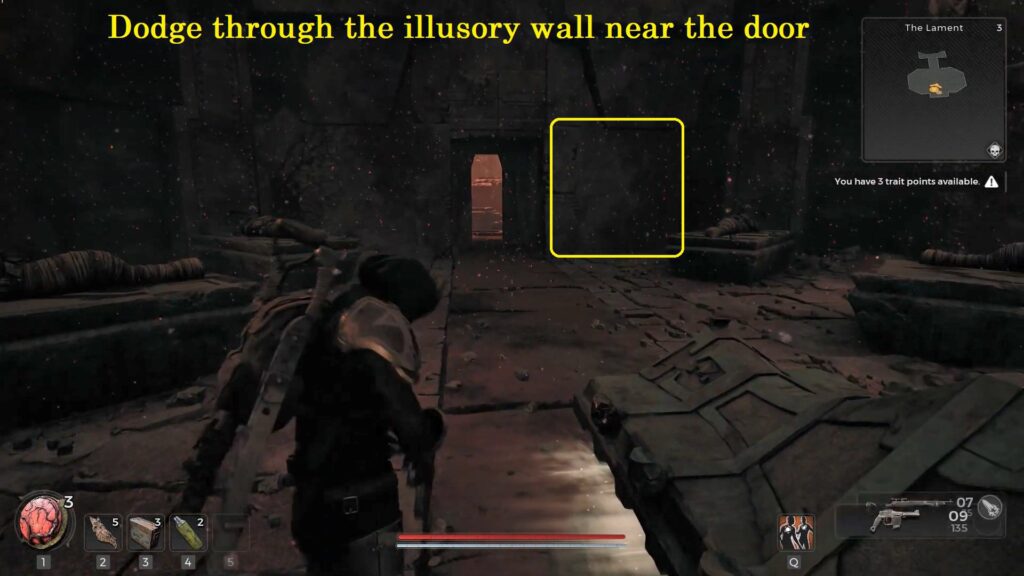
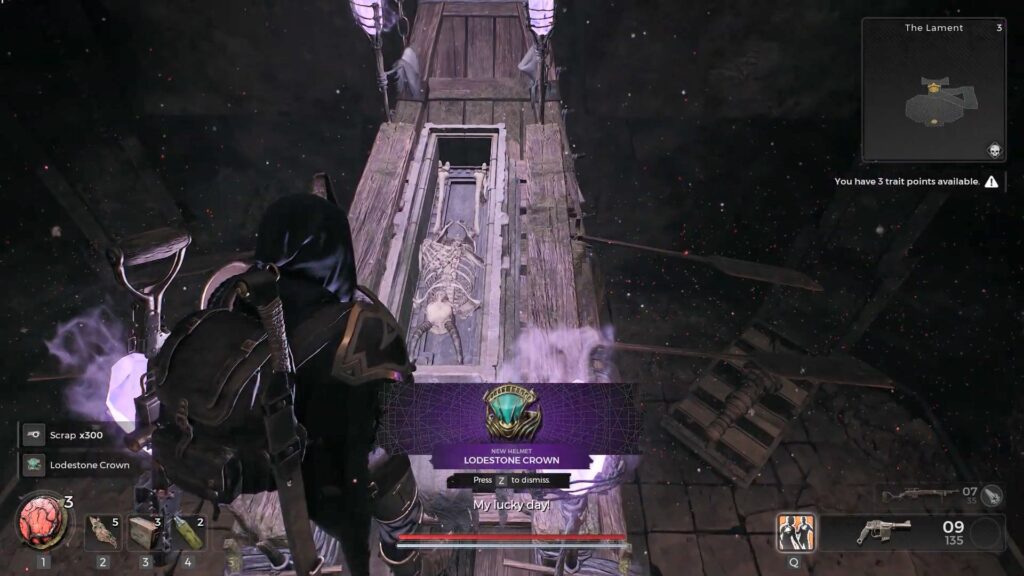
How to Reach the Boat
The boat inside the room can be reached through the illusory wall. Dodge through the illusory wall near the door and follow the path behind the wall to reach the boat where a player can obtain the Lodestone Crown.
Reaching the Main Chamber
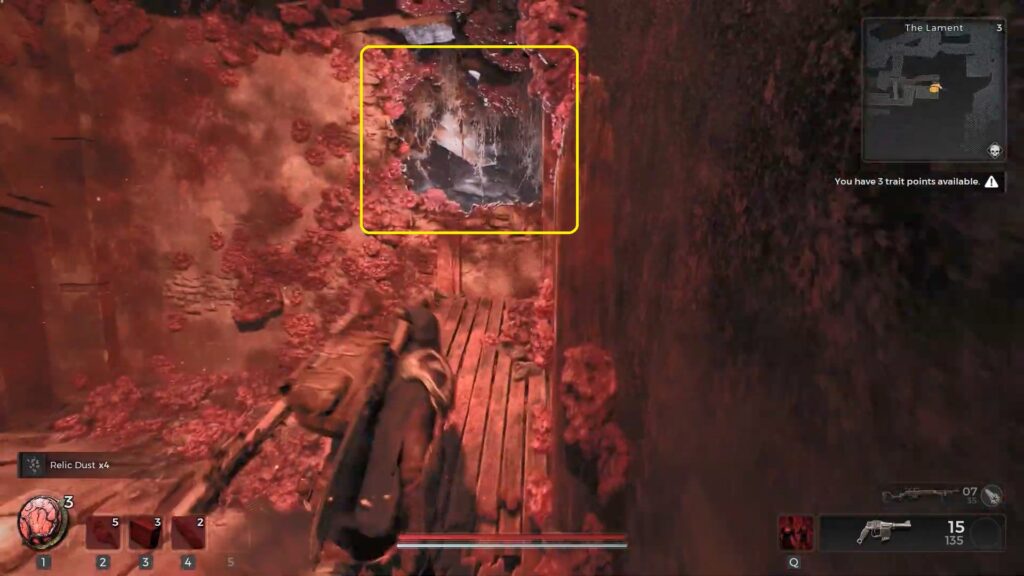
Retrace your steps back to the checkpoint behind the Lament Door. Look for a collapsed pillar in one corner of the room and some vases. Break the vases to reveal a hole leading one floor down.

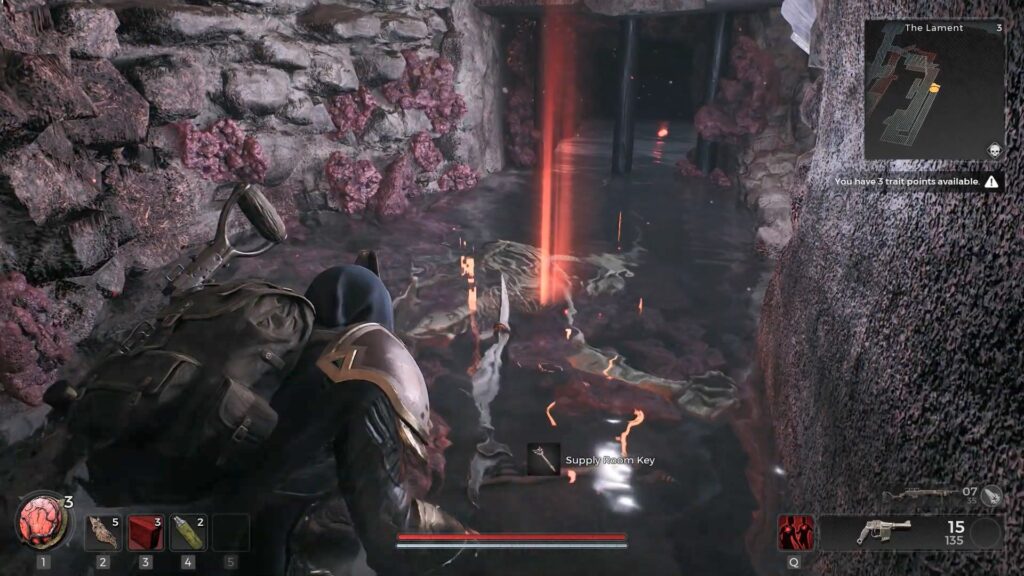
Descend and follow the water-filled path. Crouch and continue along the path hidden behind the waterfall to acquire a key for the storage room.
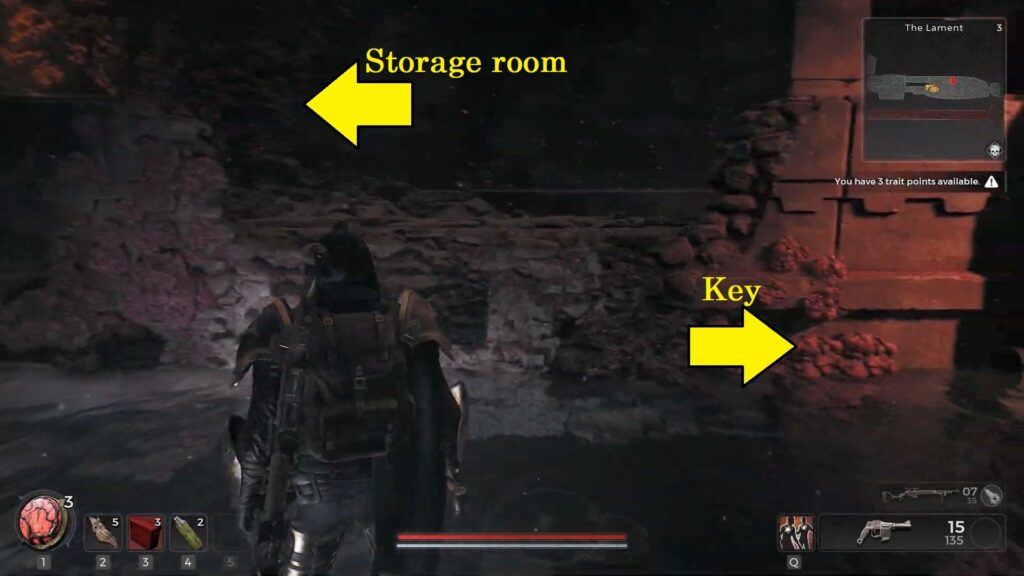
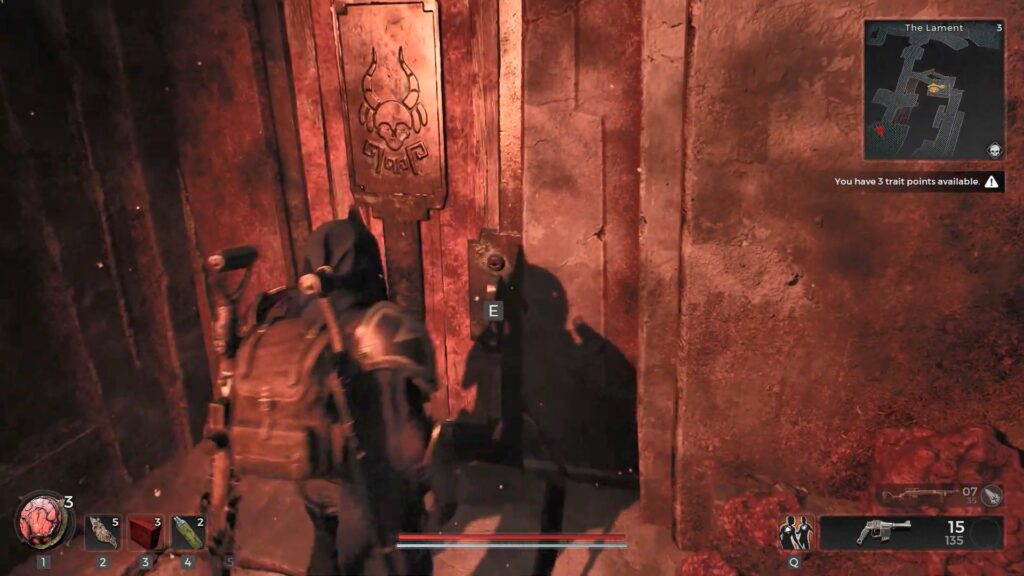
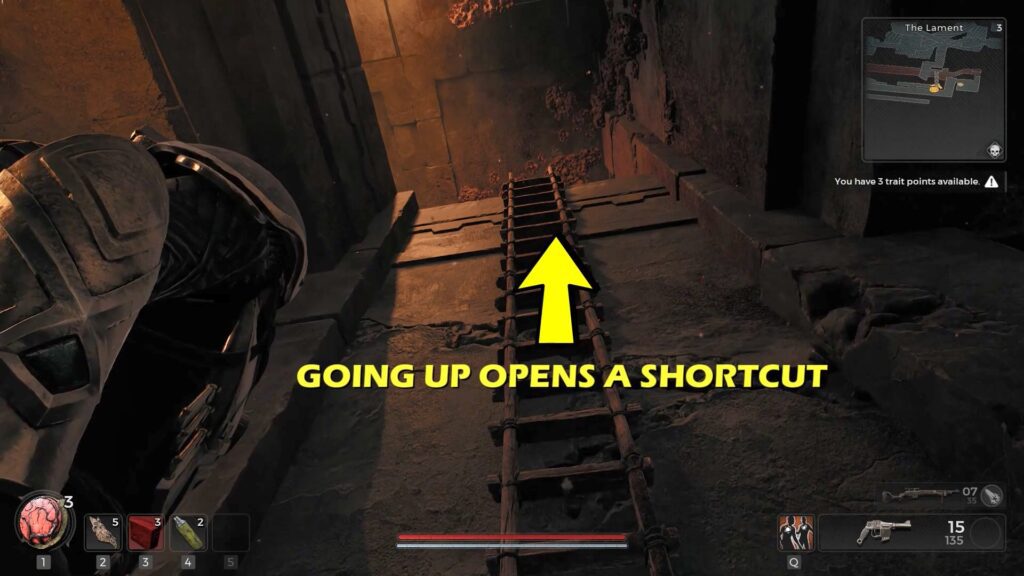
Retrace your steps and use the key to unlock the storage room. You’ll come across a ladder just before the storage room. This ladder will allow you to open a shortcut leading back to the upstairs area.
Loot the chest in the storage room, and hop through the hole in the wall to reach a hall that is filled with buzzsaw traps.
Players must time their movements carefully to zig-zag through the lanes to evade the buzzsaw.