This guide shows how to complete the world quest “The Secret of Al-Ahmar” in the game of Genshin Impact 3.1 update, which was released on 28th September 2022. This is the 3rd quest of the “Golden Slumber” questline. You will start the quest at the same location as you ended the previous quest “An Introduction to Indoor Archaeology“.
Also Read:
Dreams Beneath the Searing Sand
Enter the secret passage behind the mural
Head upstairs and enter inside the mural secret passage.
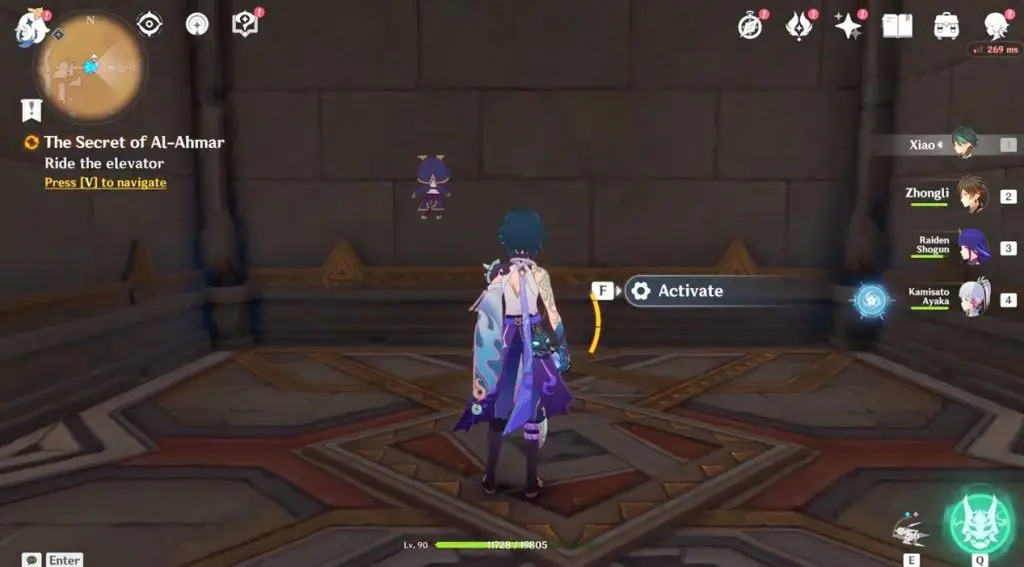
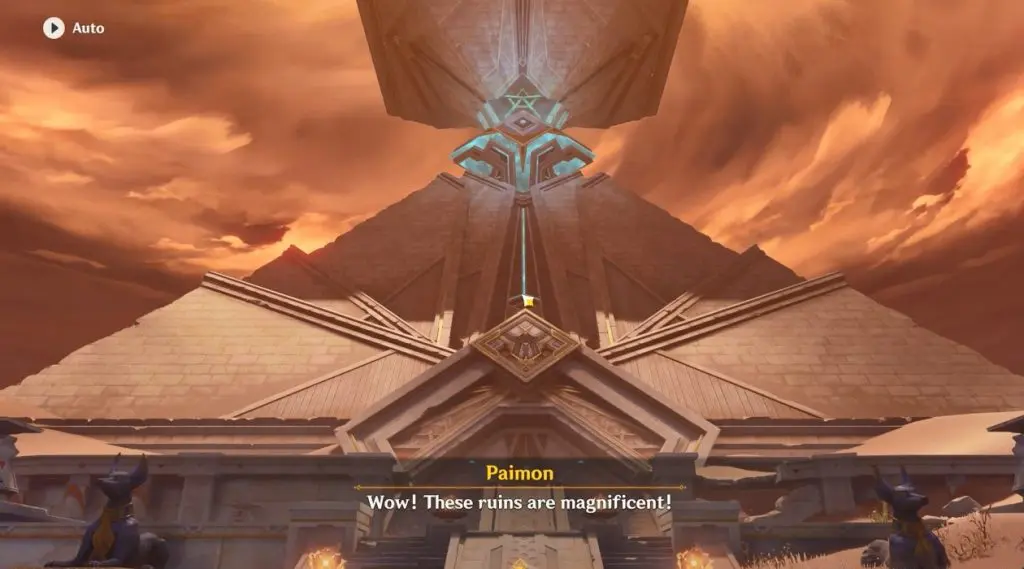
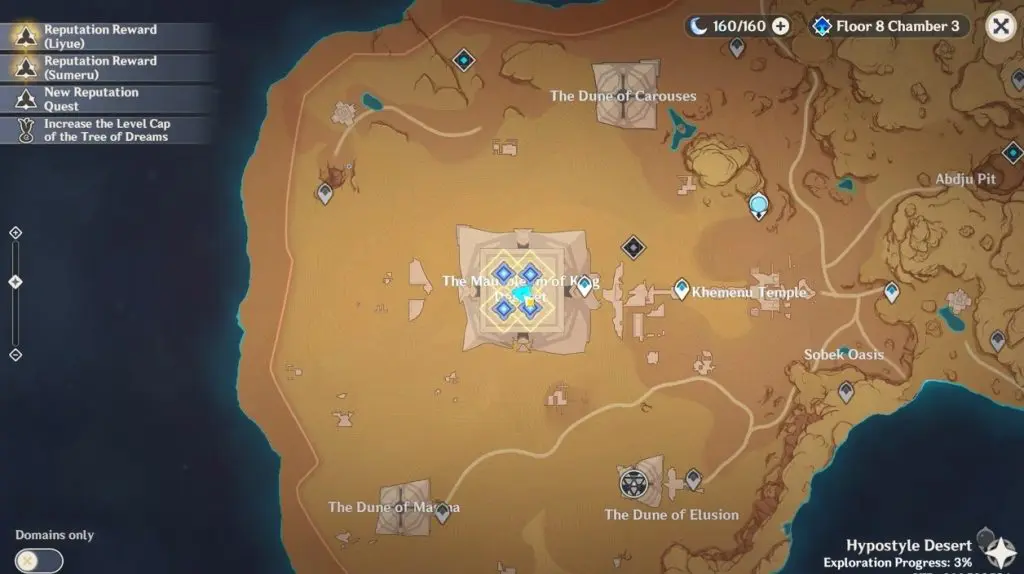
Go to King Deshret’s Mausoleum
Ride the elevator to reach the location of the Pyramid of King Deshret’s Mausoleum.
Defeat the opponents
Defeat the Primal Constructs inside the Mausoleum and proceed toward the next room.
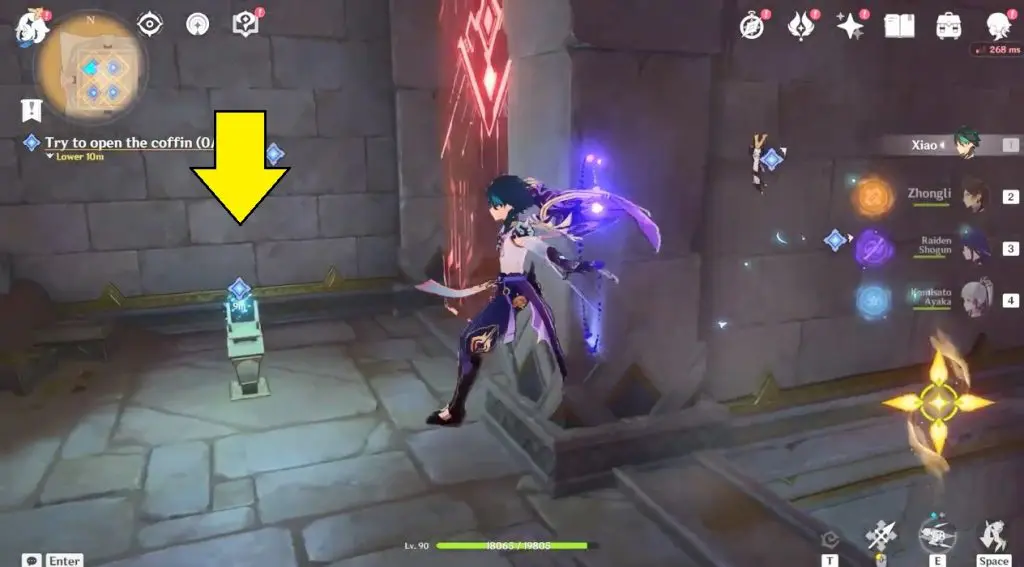
Try to open the coffin(0/4)
At this point, you will be inside the Mausoleum of King Deshret and your task is to open the coffin. You will have to find the four primal embers to open the big Mausoleum in the middle of the room.
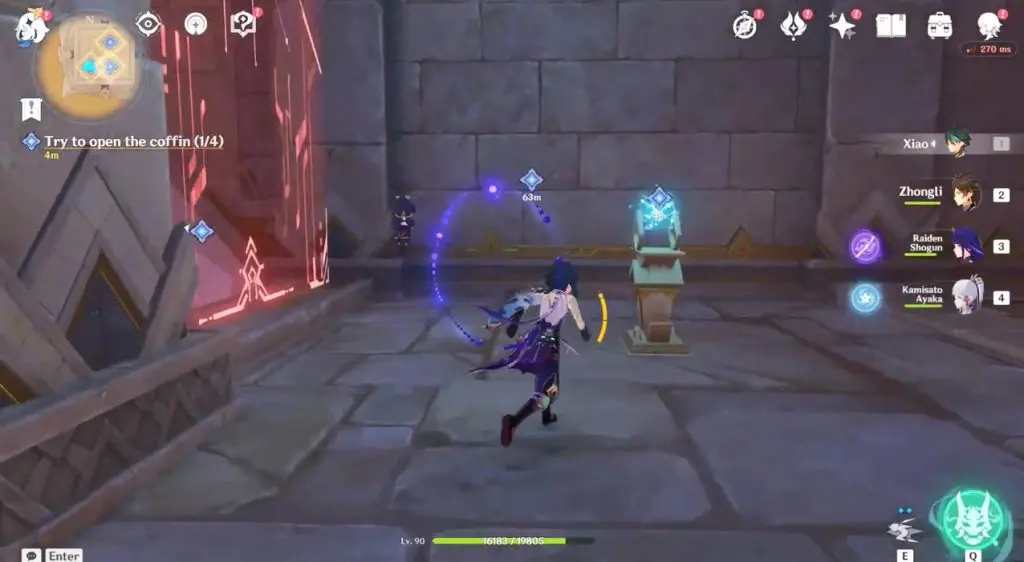
Try to open the coffin (1/4)
Take the stairs on the right side of the main room.
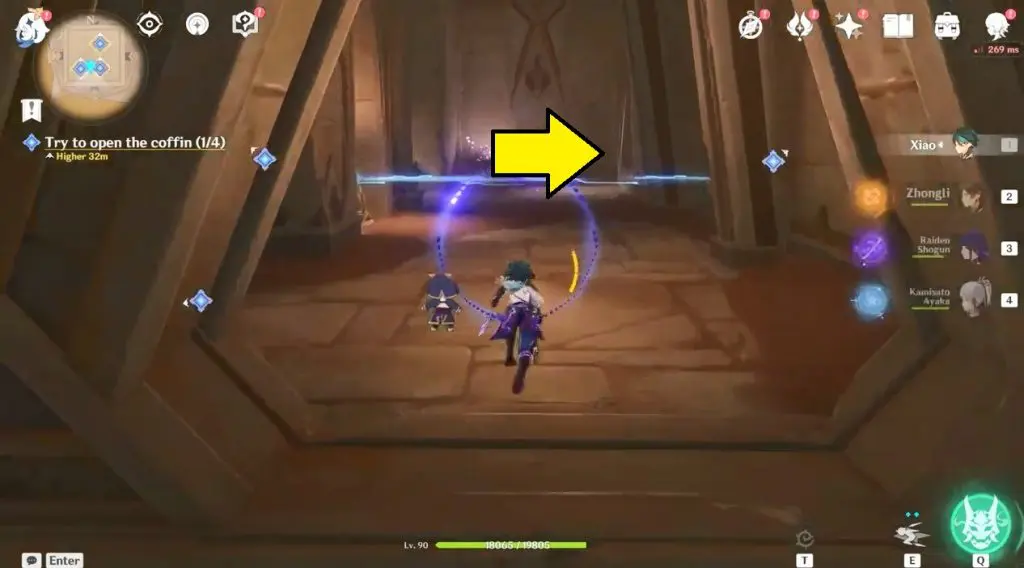
Take the far left corridor behind the trap mechanism.
Continue moving forward along the corridor until you reached a room with a Seelie.
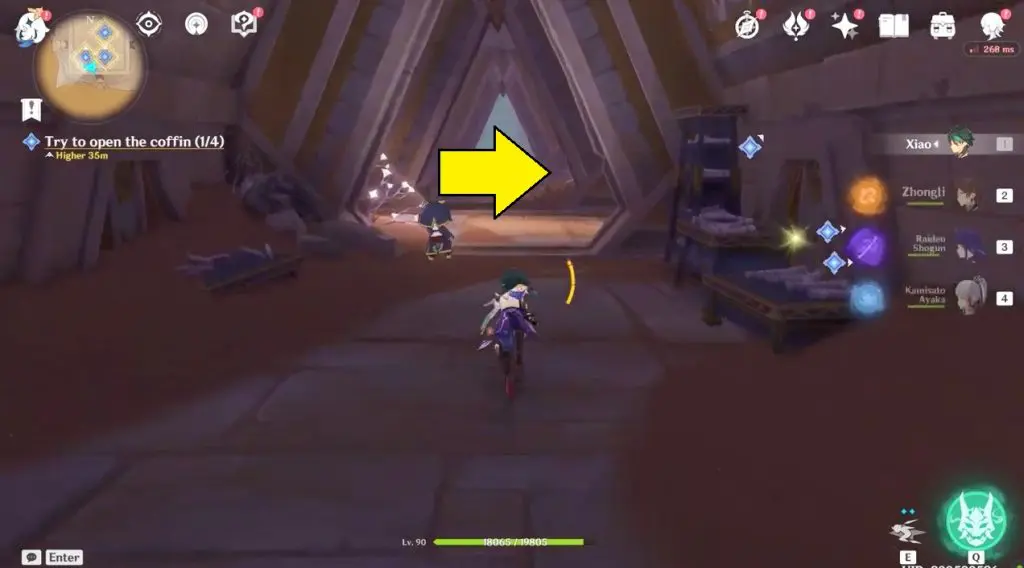
Take the left path into another corridor.
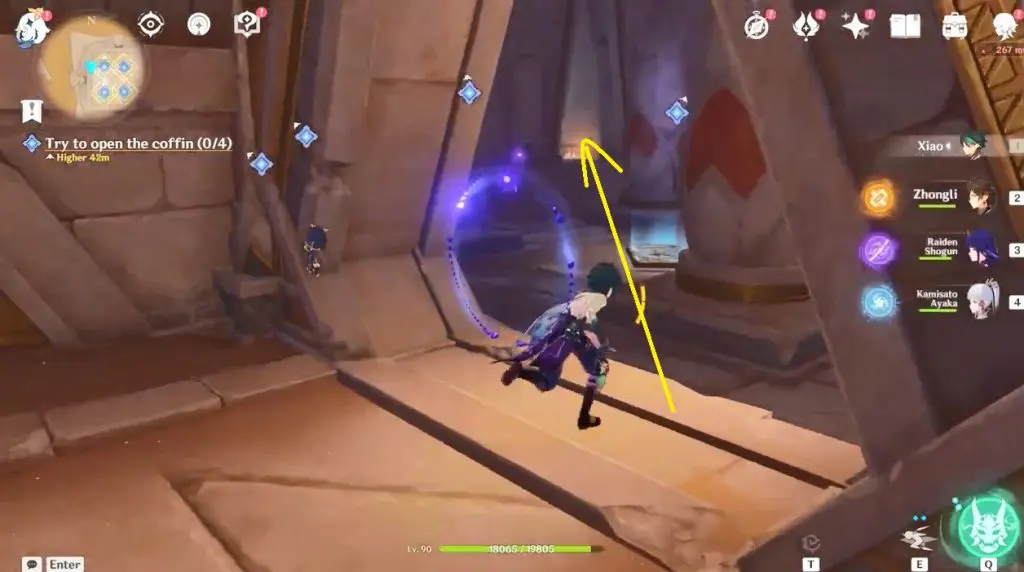
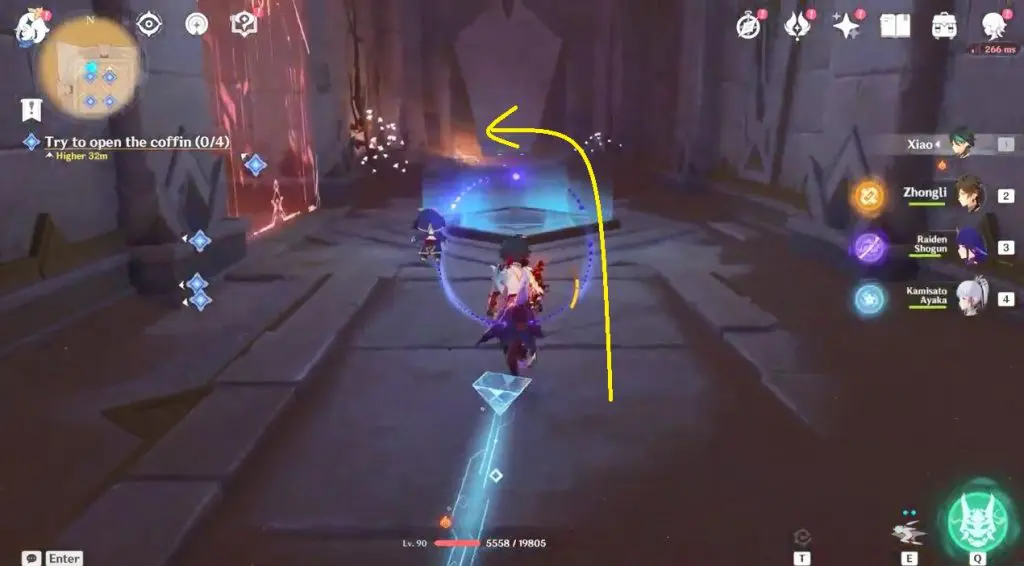
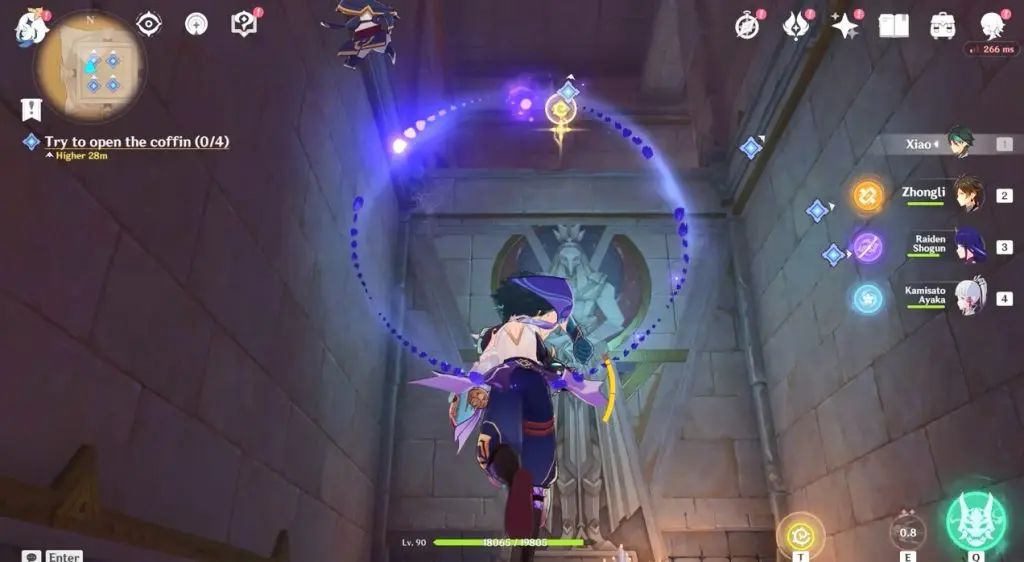
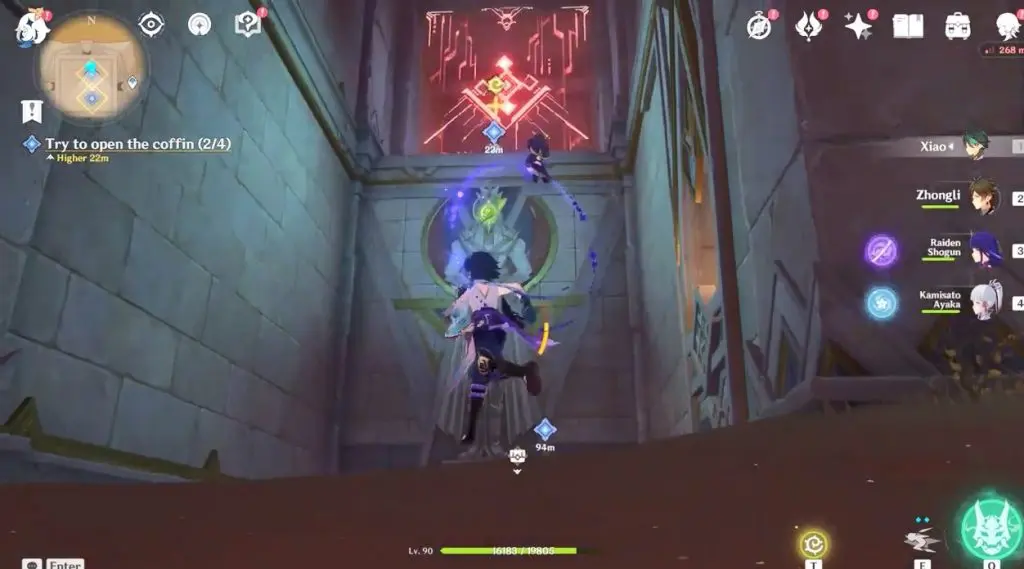
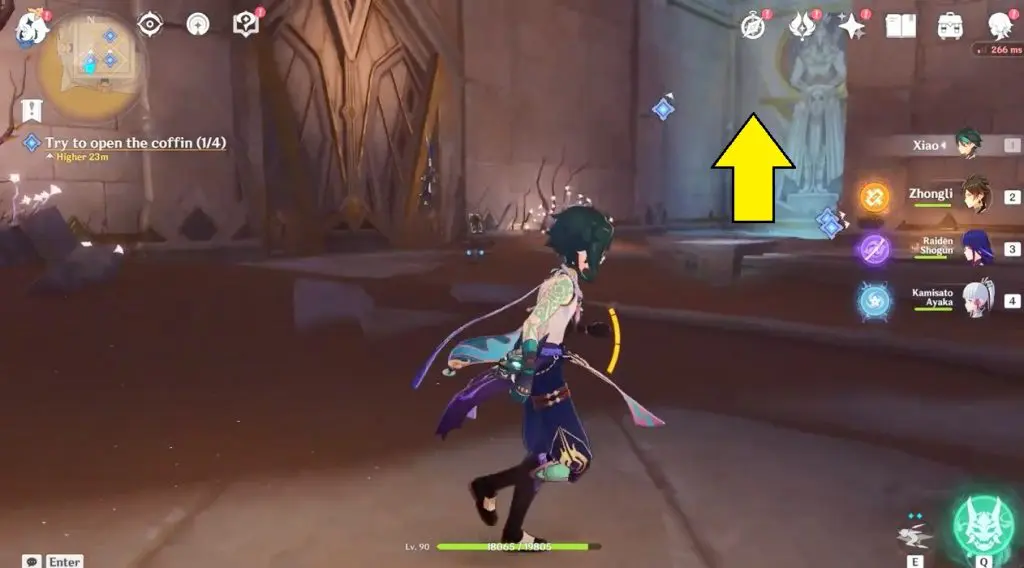
Look up the mural and swing yourself to the upper level.
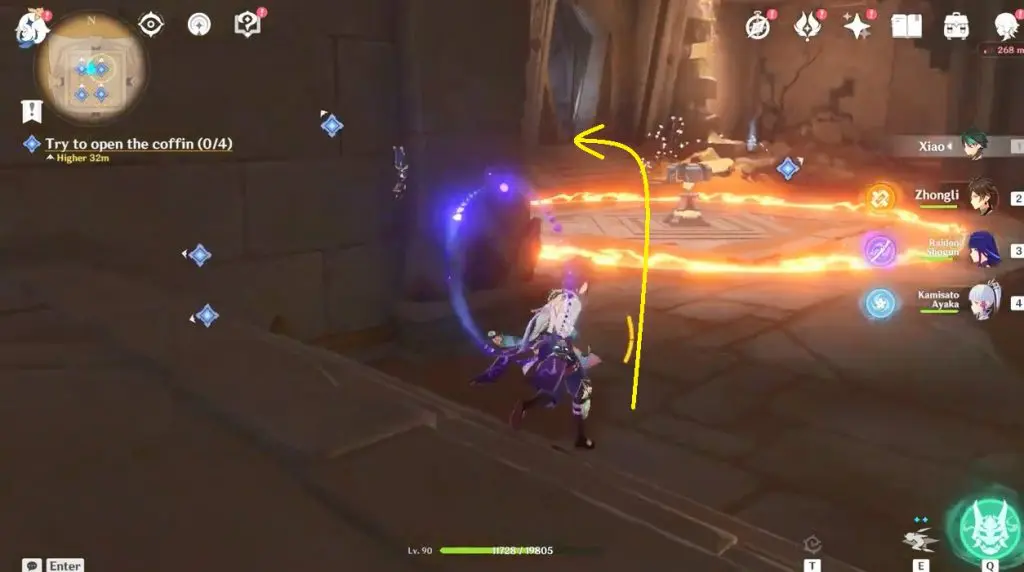
Release the first Primal Ember and follow it to light the first torch.
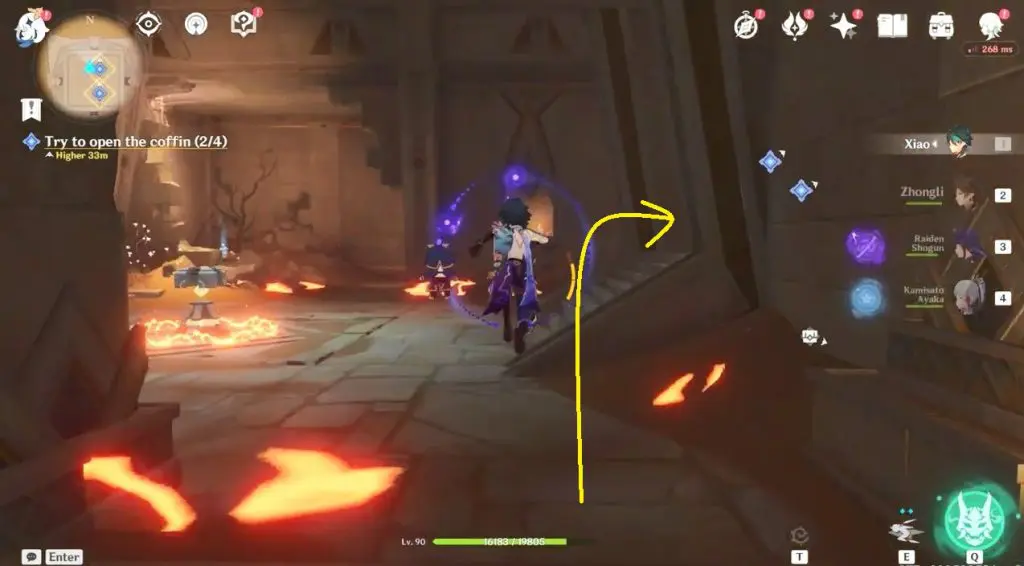
Try to open the coffin (2/4)
Take the stairs on the right side of the main room.

Take the right corridor near the trap mechanism.
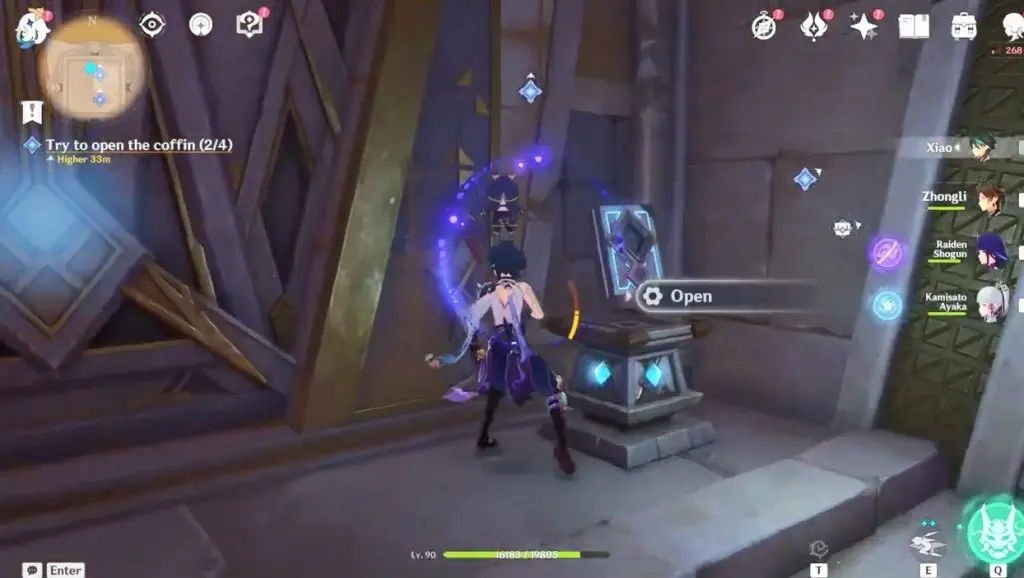
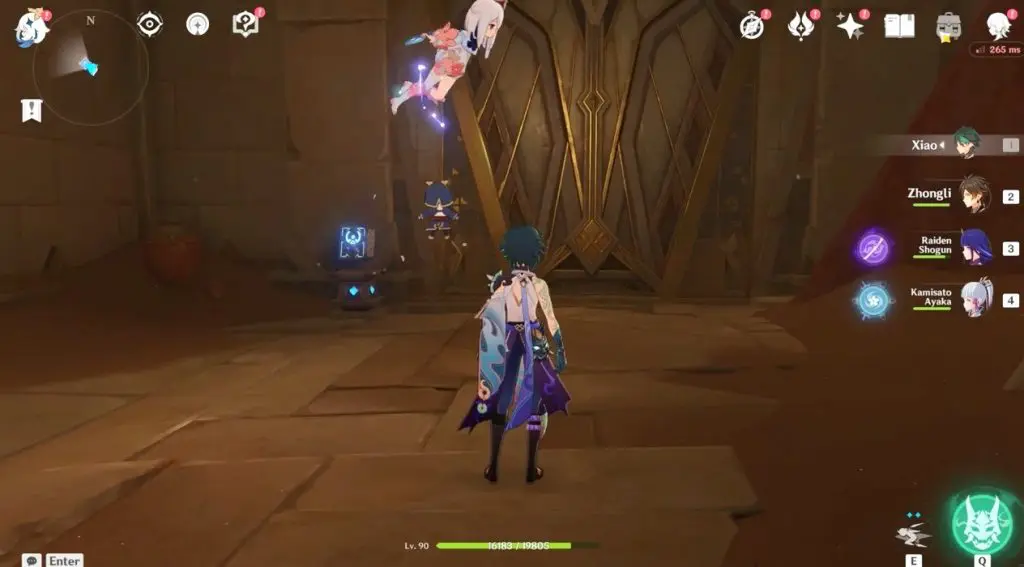
Next, open the door with the blue book mechanism.
Follow the corridor and take the right path.
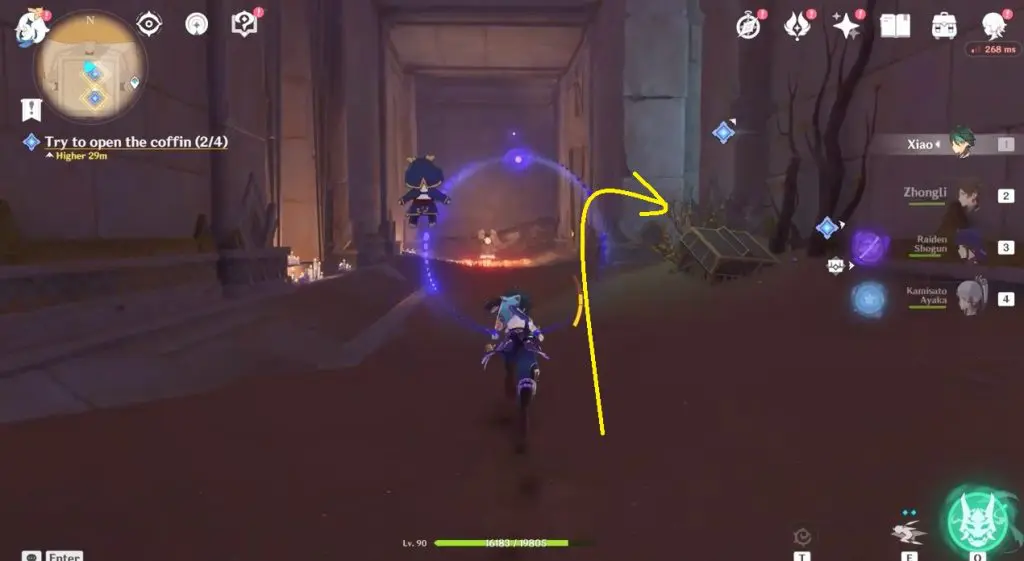
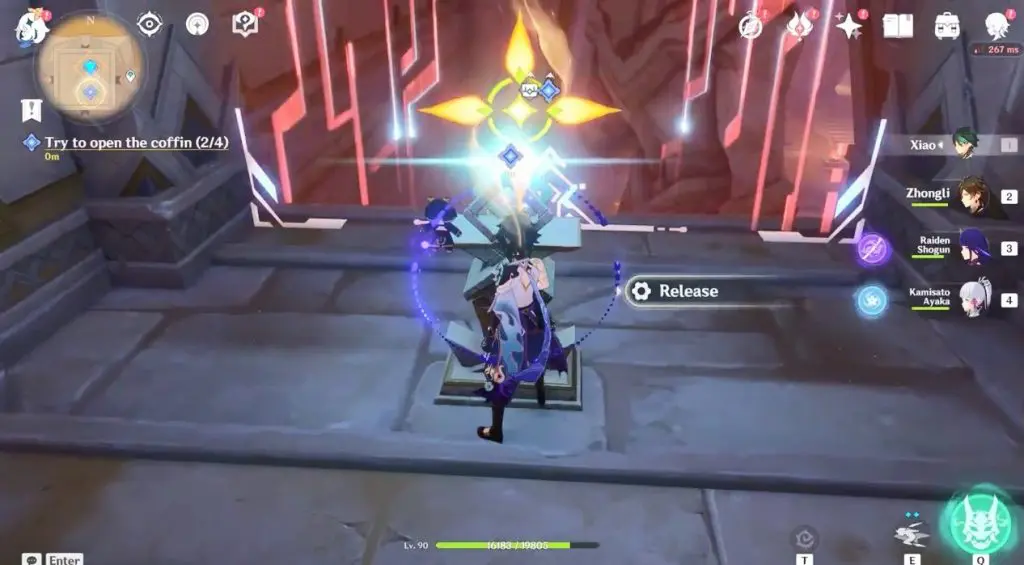
Look up the mural and swing yourself to the upper level.
Release the 2nd Primal Ember and follow it to light the 2nd torch.
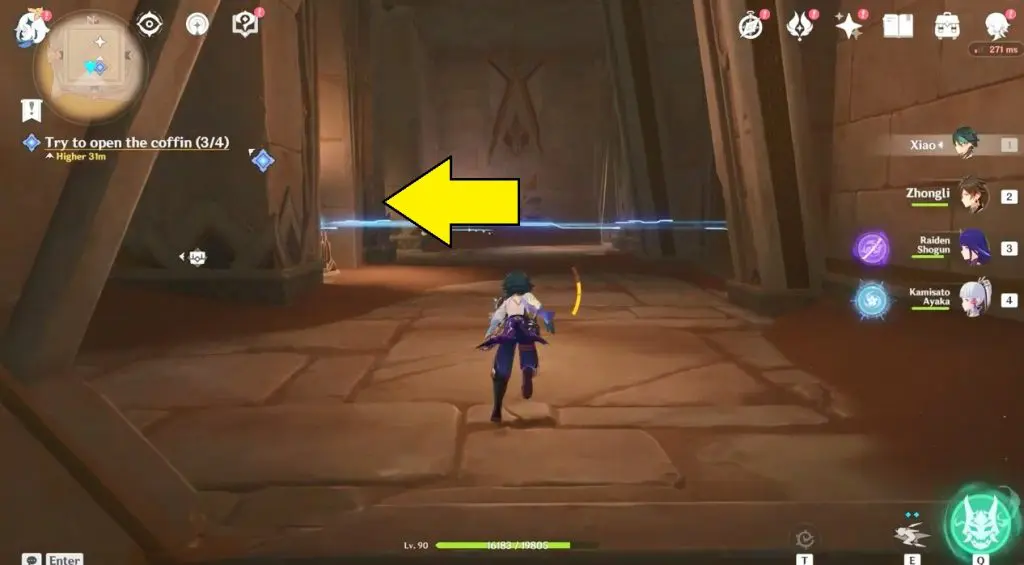
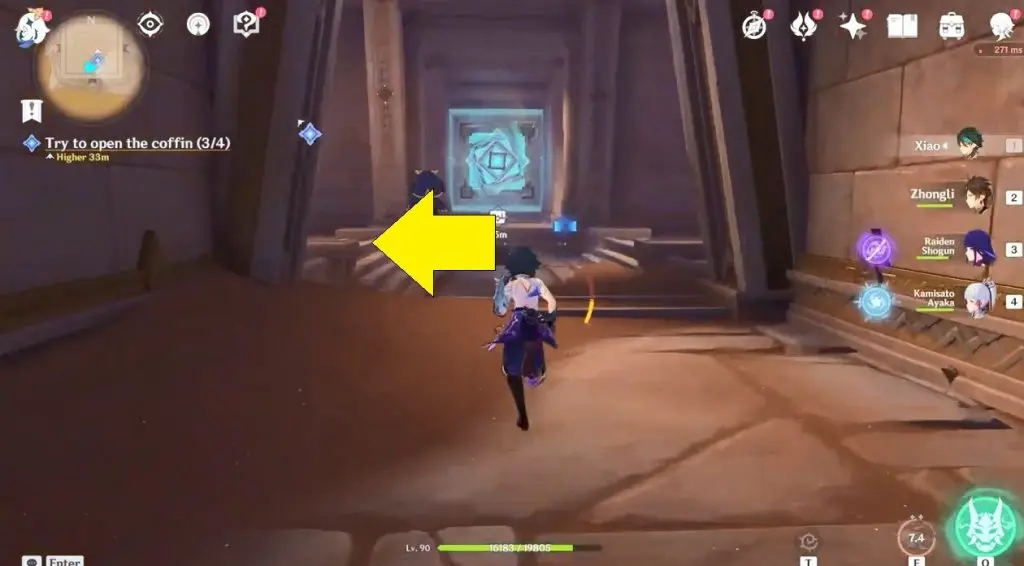
Try to open the coffin (3/4)
Take the stairs on the left side of the main room.

Head into the right corridor.
Take the first path on your right.
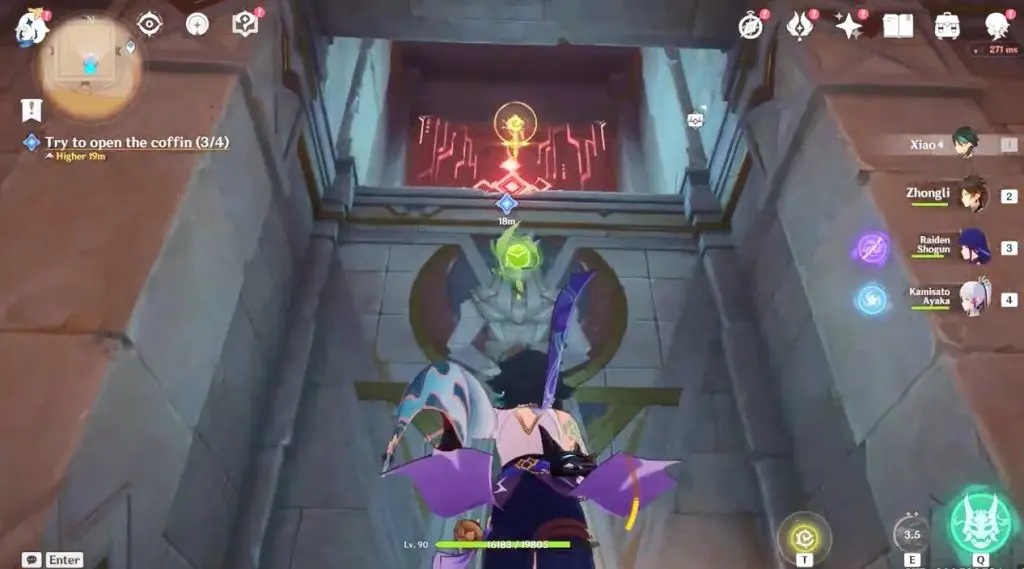
Go to the mural and glide up the wind current to land on a higher level.
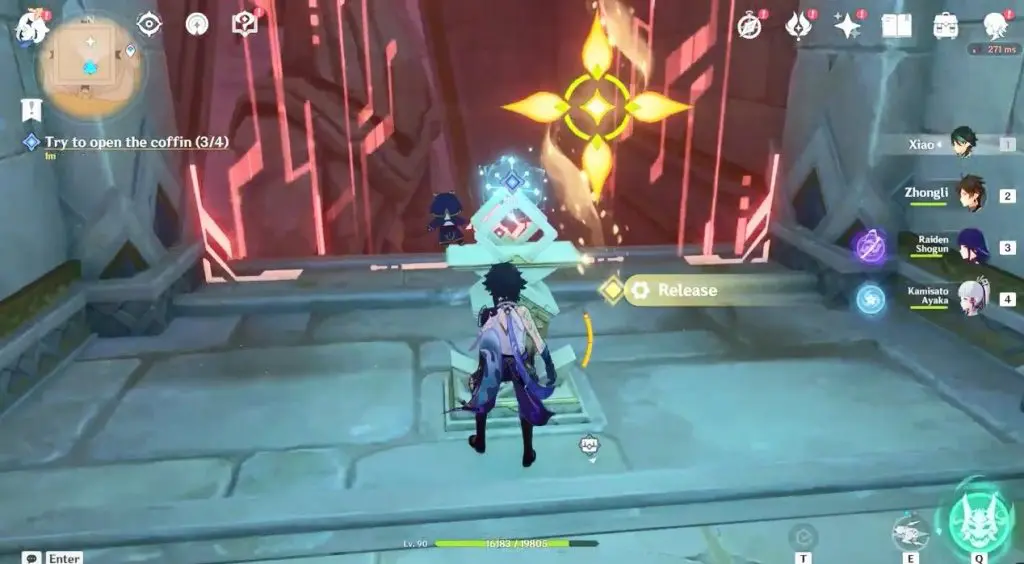
Release the 3rd Primal Ember and follow it to light the 3rd torch.
Try to open the coffin (4/4)
Take the stairs on the left side of the main room.
Head into the left corridor.
Look for the mural on the left side and swing yourself to the upper level.
Release the 4th Primal Ember and follow it to light the 4th torch.
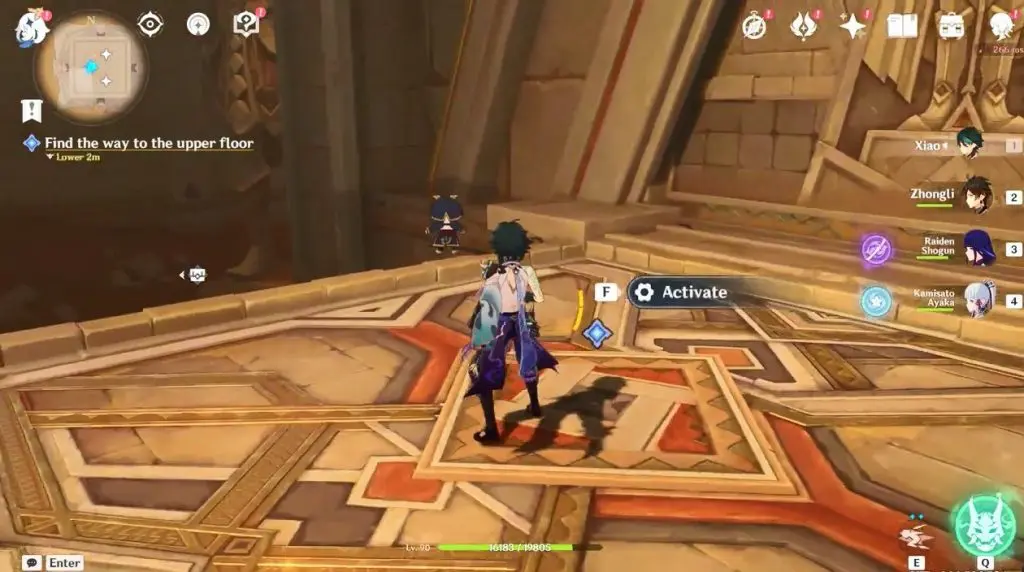
Find the way to the upper floor
Activate the elevator above the Mausoleum and use it to reach the highest floor.
Go to the highest floor of the Mausoleum
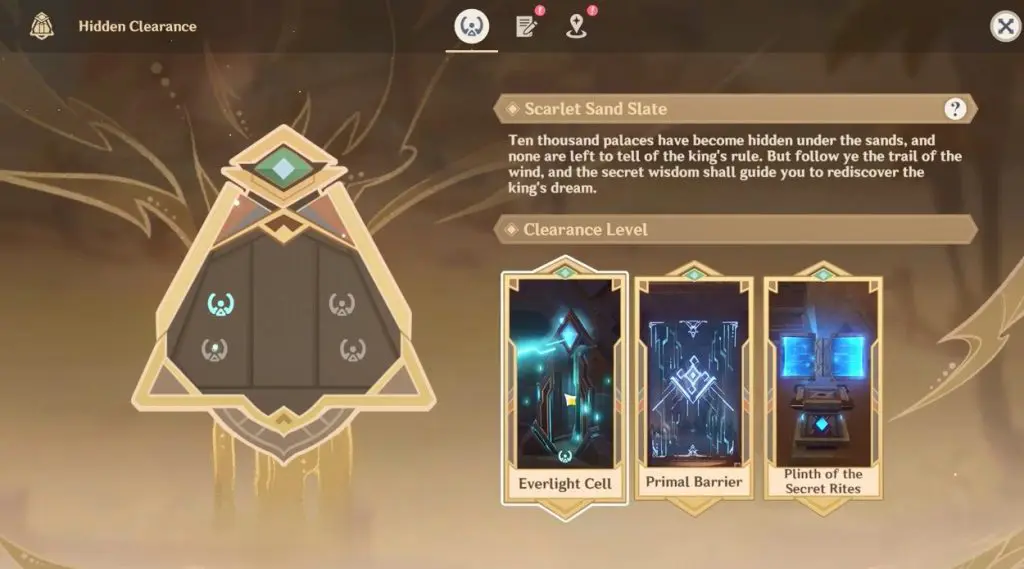
head to the right corridor, then go up the staircases to reach the highest floor of the Mausoleum. You will earn Clearance Level 1 on completing this objective, which enables you access to the Everlight Cell puzzles.

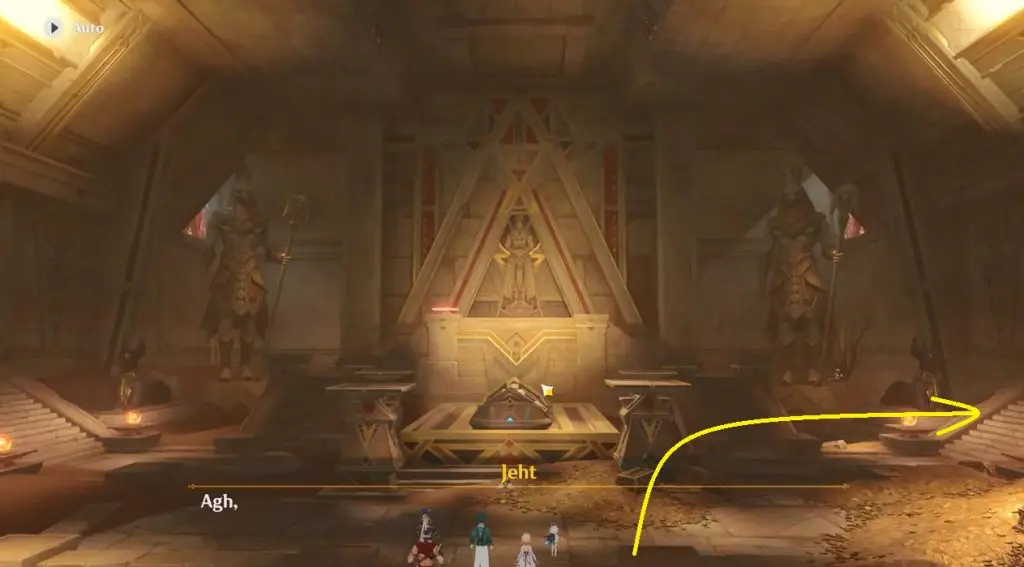
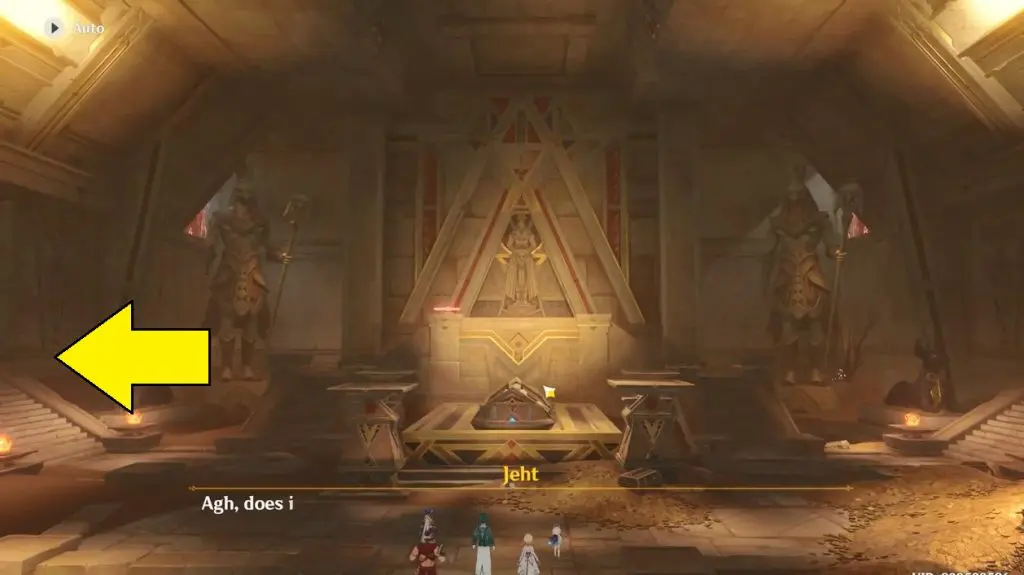
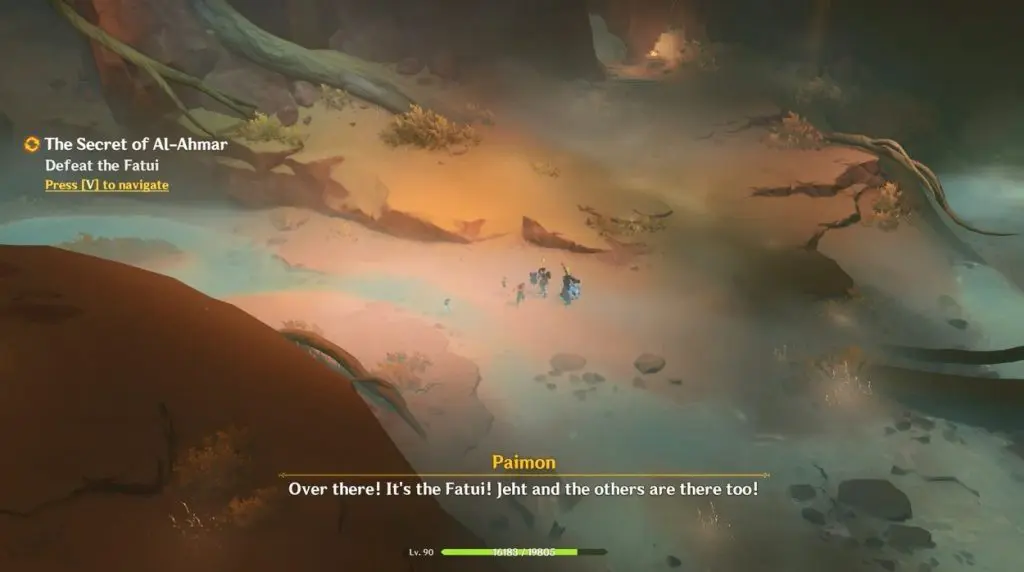
Find the members of the archaeological team
Following the cutscene, you will wake up inside an underground location. Exit the room. When you reach the outdoor area, beat the Fatui who are fighting Jeht and Jebrael.
Find Benben
At this point, you’ll need to find Benben by exploring the underground ruins. Here is the complete article to Find Benben
Go to the Fatui camp and Defeat Samail
Drop down from the Teleport Waypoint and approach the Fatui. Defeat all the enemies.
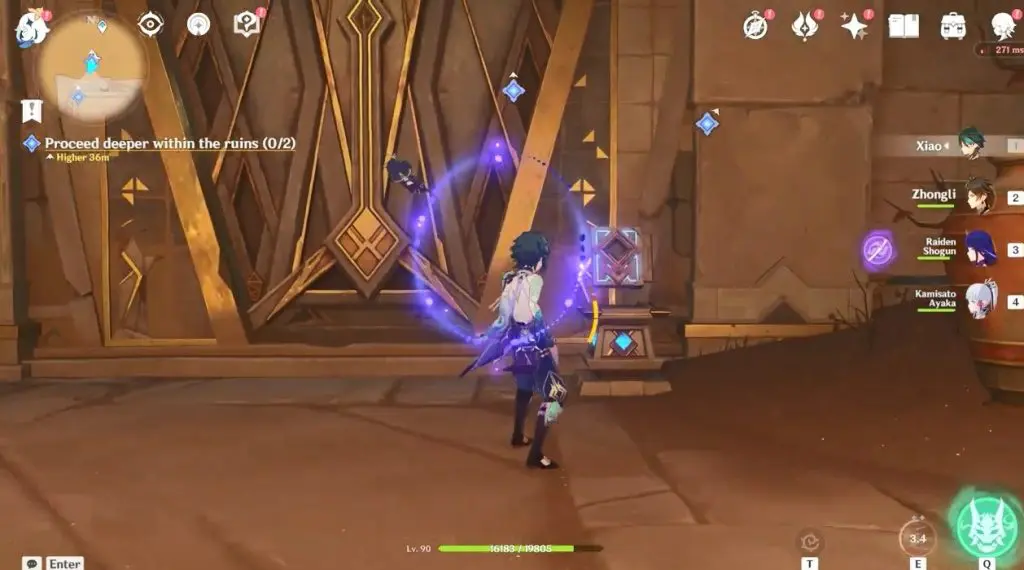
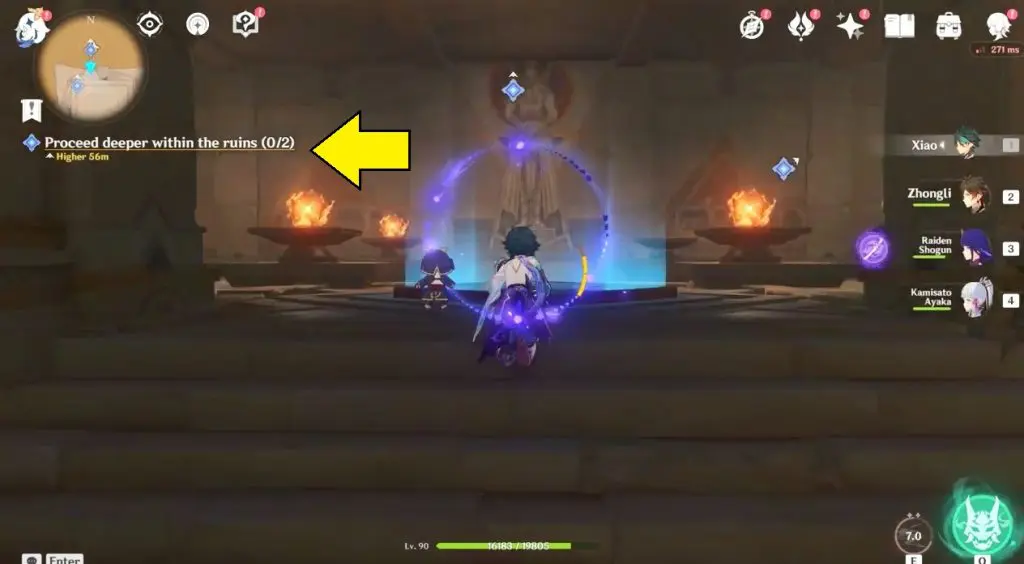
Proceed deeper within the ruins (0/2)
Here you will have to find two Primal Embers inside Opet Hall. Enter the ruins from the Fatui camp by going in the south direction.
How to Get the 1st Primal Ember for Opet Hall
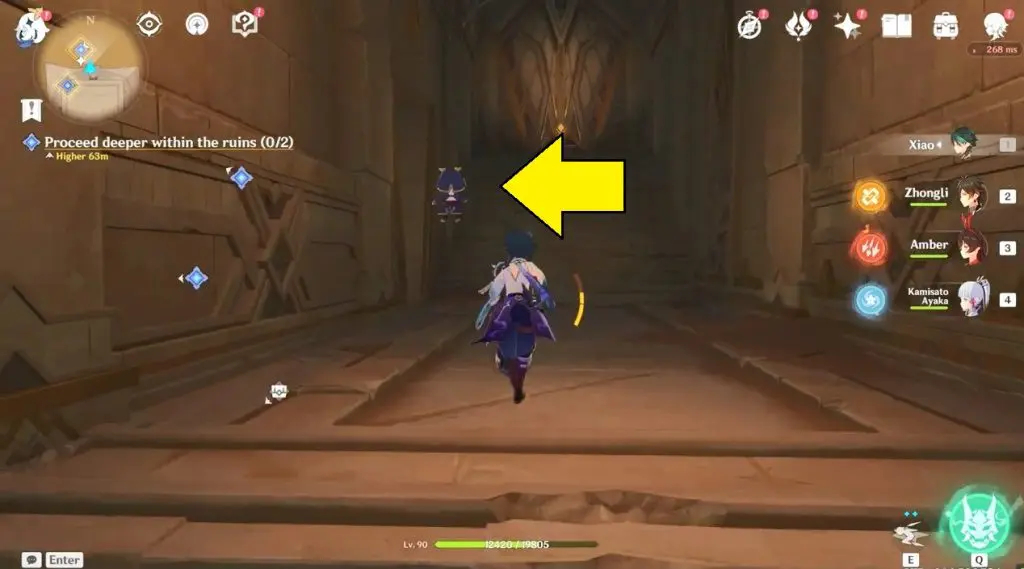
Head south from the Fatui camp and enter the room by opening it with the blue book device.
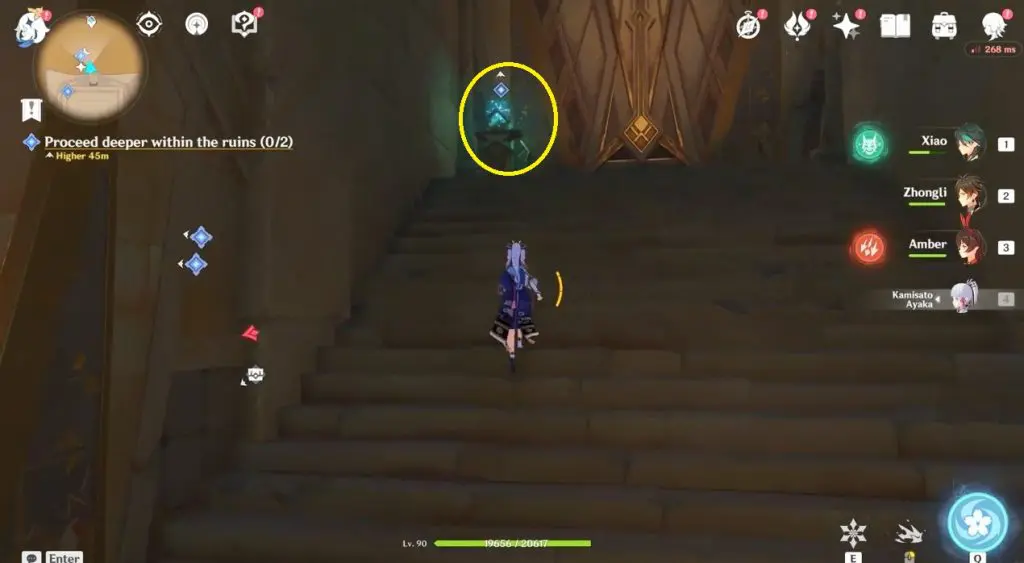
Go upstairs and then head into the left corridor.
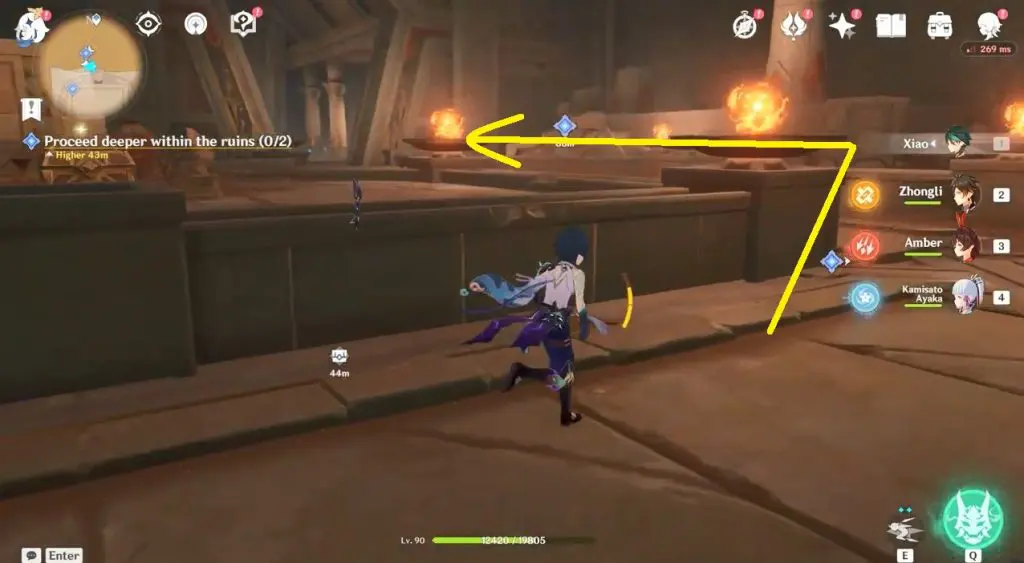
Go through the 1st set of stairs until you find an opening to your left.
Head inside and then Enter the bigger room on your left.
Here you have to open the right door by rotating the cells closest to the door. To open the door, rotate both the cell toward the door to link to their respective floating Primal Beam
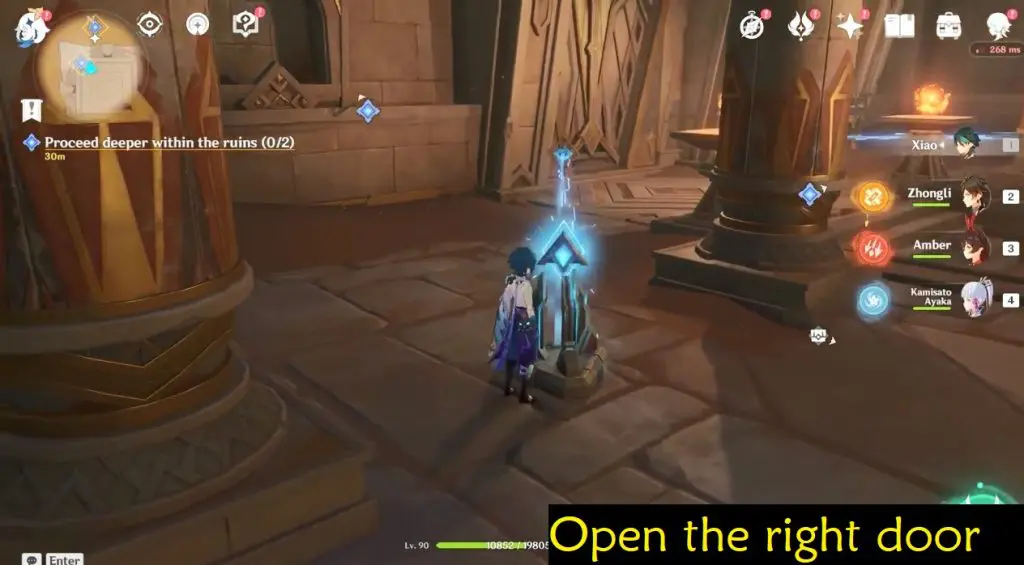
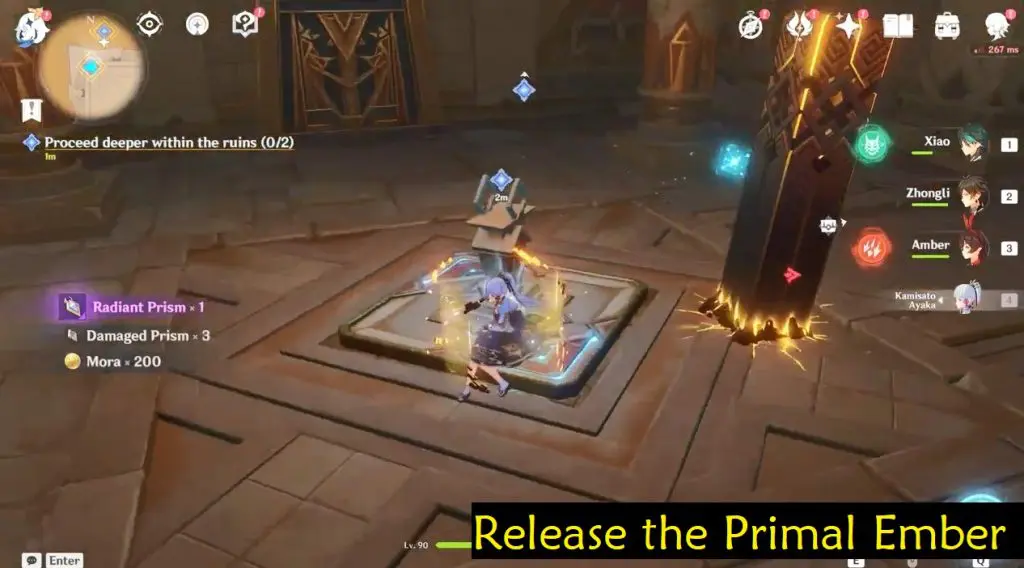
Head inside and defeat the Primal Construct. Pick the floating Forged Primal Light near the wall and activate the Replicator Keystone device to generate the Primal Ember.
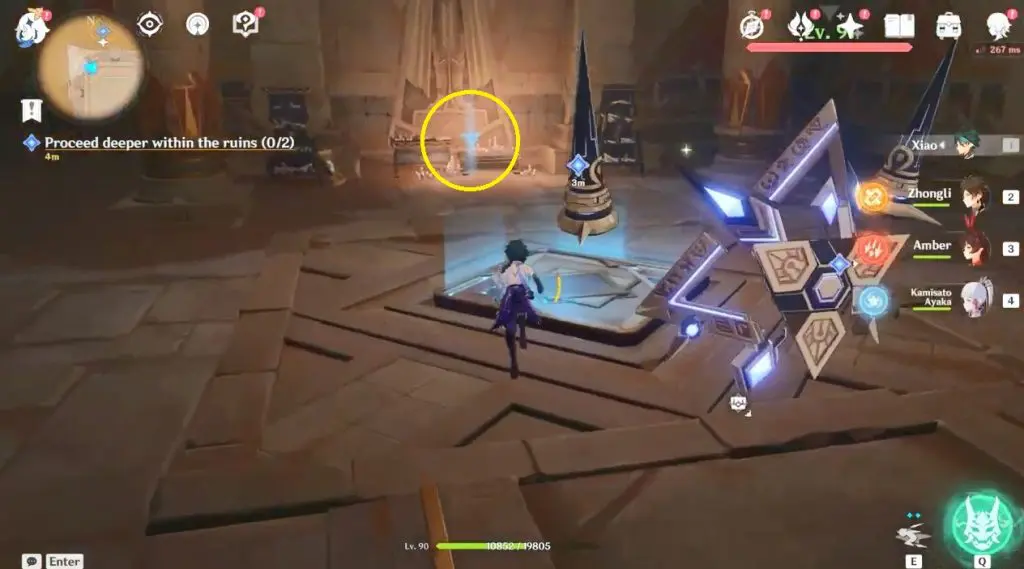
Release the Primal Ember and continue to follow it. Release it once it settles on a pedestal.
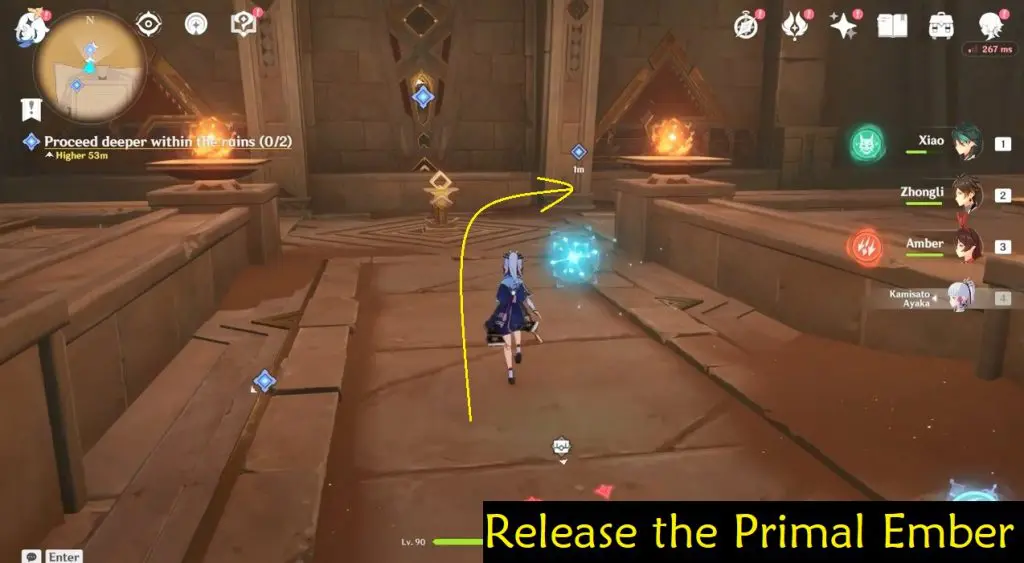
Continue to follow the Primal Ember and head up the upper stairs. Release it and go outside the ruins.
At this point, you’ll find the 2nd Primal Ember while following the 1st Primal Emberin in this location.
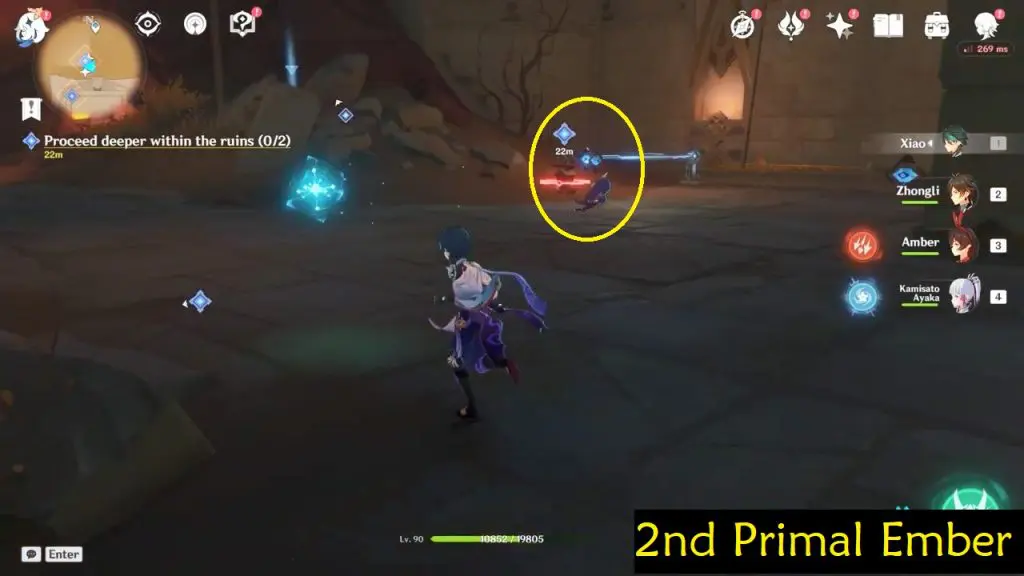
Proceed deeper within the ruins (2/2)
You can release 2nd Primal Ember and follow both the Primal Ember together to the Opet Hall
How to Get the 2nd Primal Ember for Opet Hall
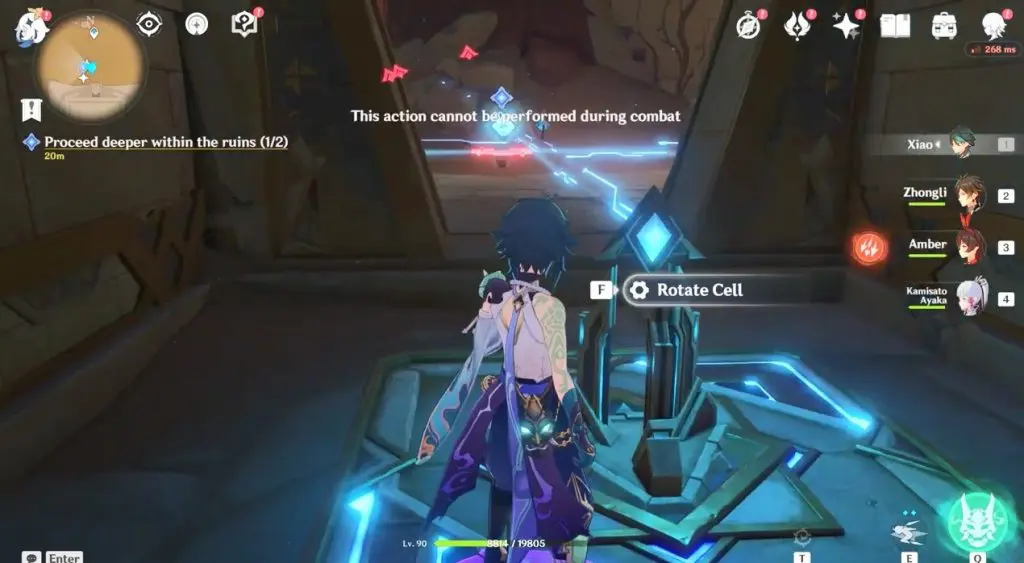
Move the cell near the wall as marked on the image below, to point toward the door.
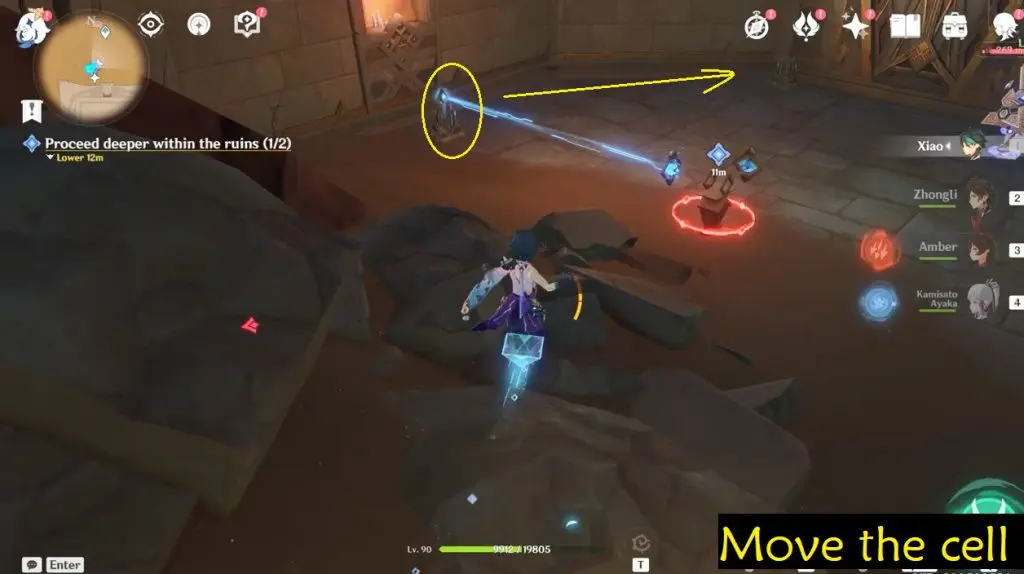
Once the cell reaches the other side, it will automatically link with other cells near the door and the door will open automatically.
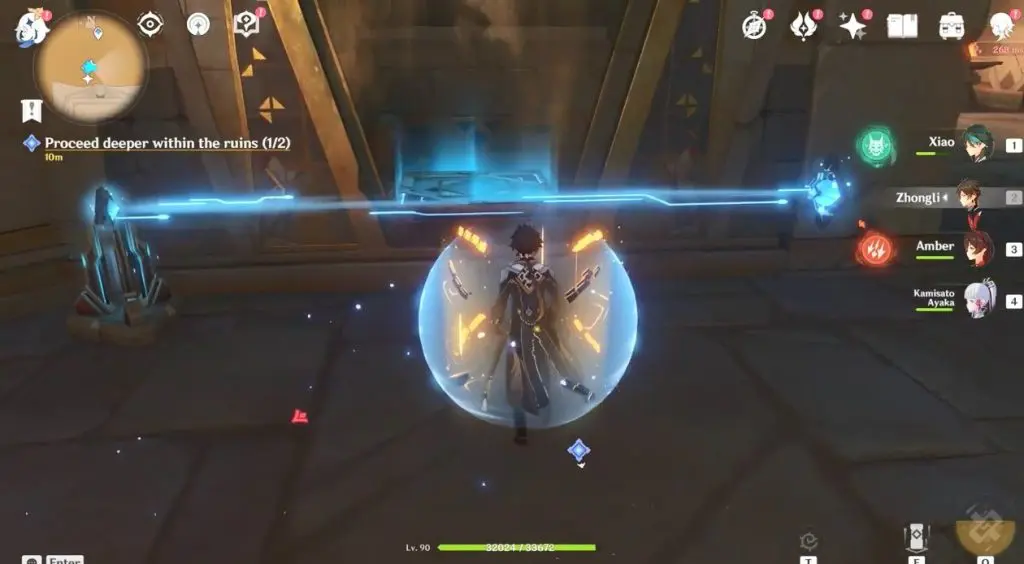
Collect the Forged Primal Light near the big stones and activate the Replicator Keystone device. This will automatically link to the monument else rotate it.
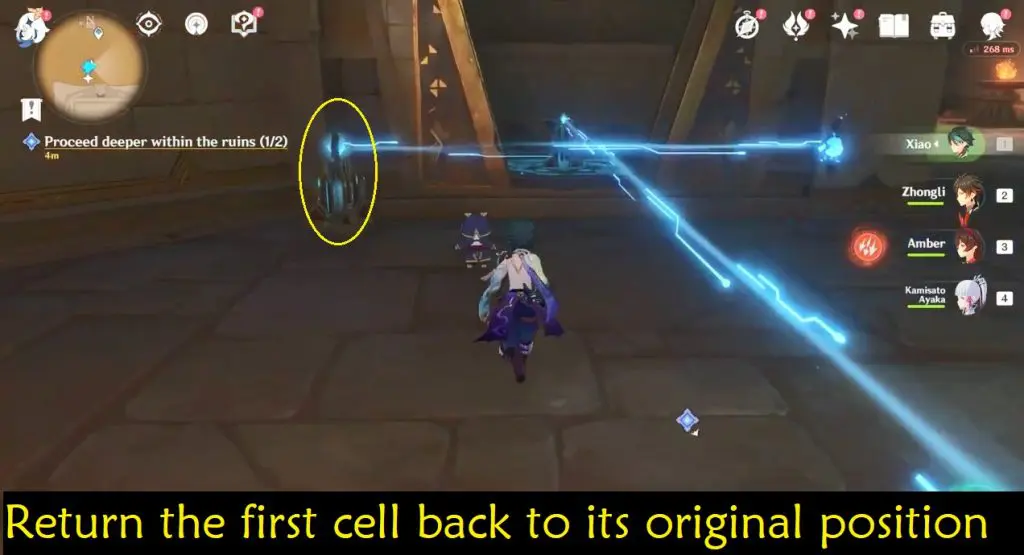
Return the first cell back to its original position. Here these two cells must get automatically linked to create a Primal Ember
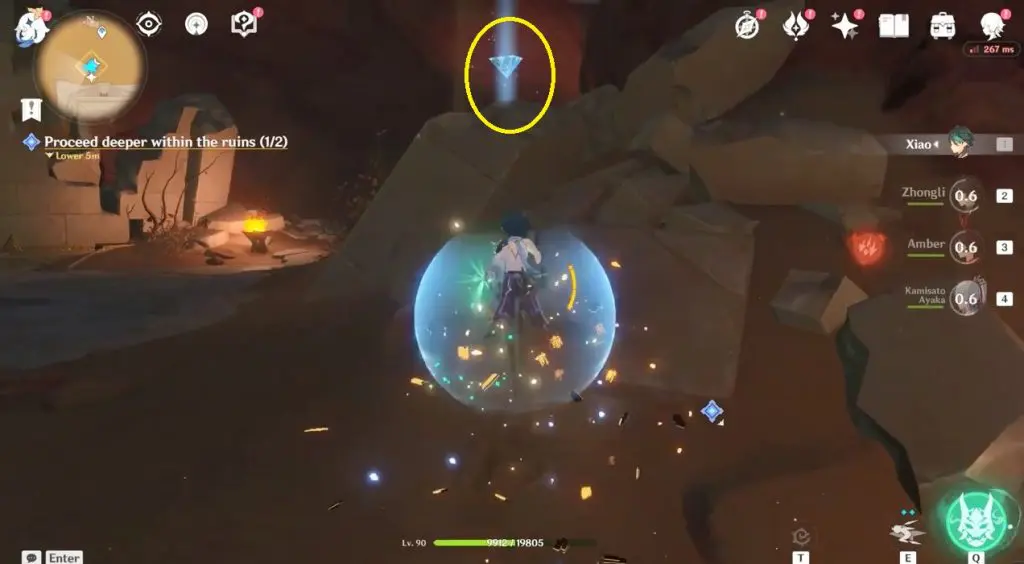
Release the Primal Ember and continue to follow it.

Here you can follow both the Primal Ember together to the Opet Hall.
Investigate the room located deep within
The door to the room above the stairs will open once both Primal Embers have lit the large torches. Enter to complete the mission!