This step-by-step guide will show where to find all the Collectibles in Toluca Prison in the game Silent Hill 2 Remake. Toluca Prison is the 10th area in Silent Hill 2 Remake.
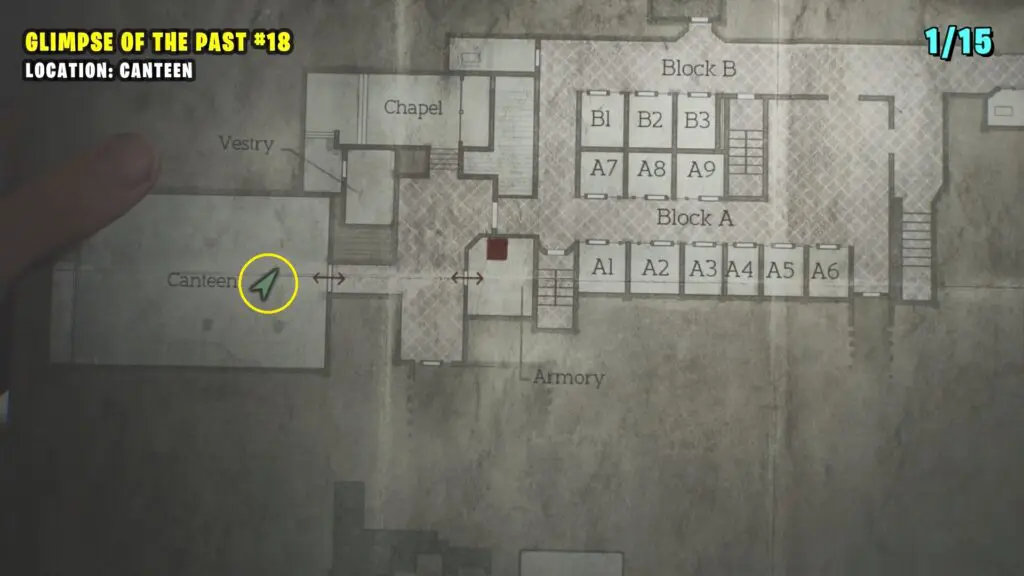
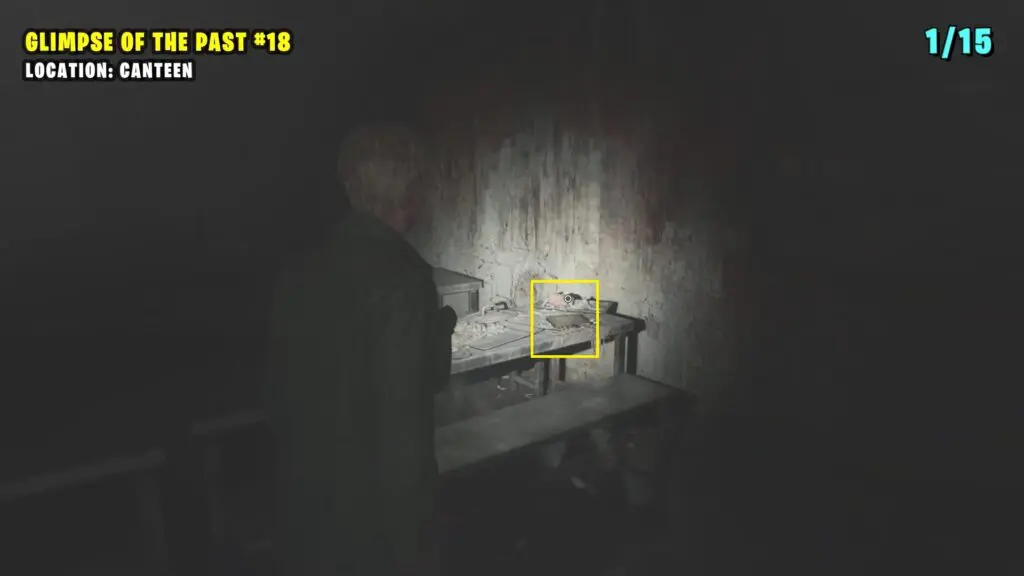
1) Glimpse of the Past #18
It’s available in the canteen at the start of the chapter, located on a dining table.
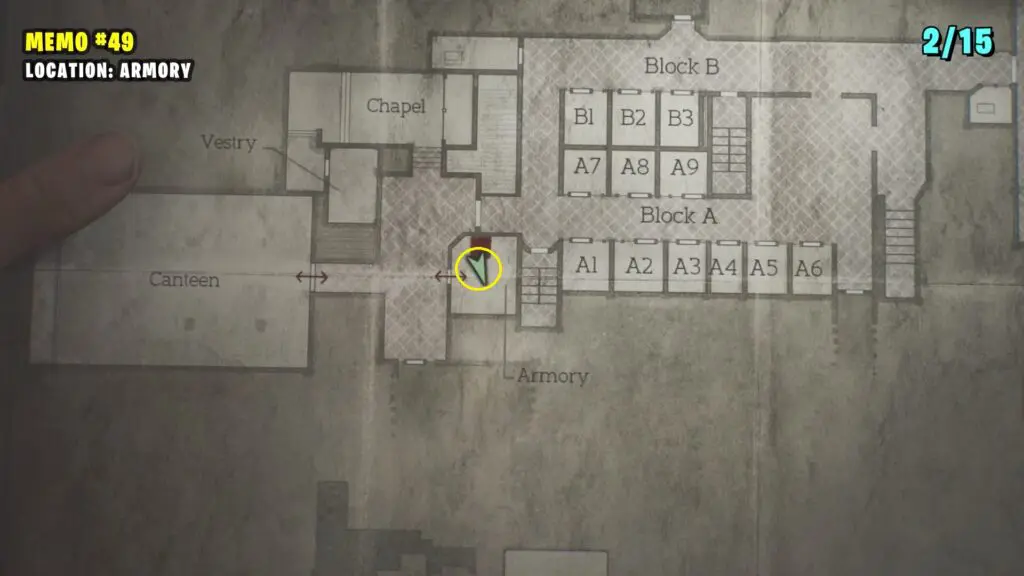
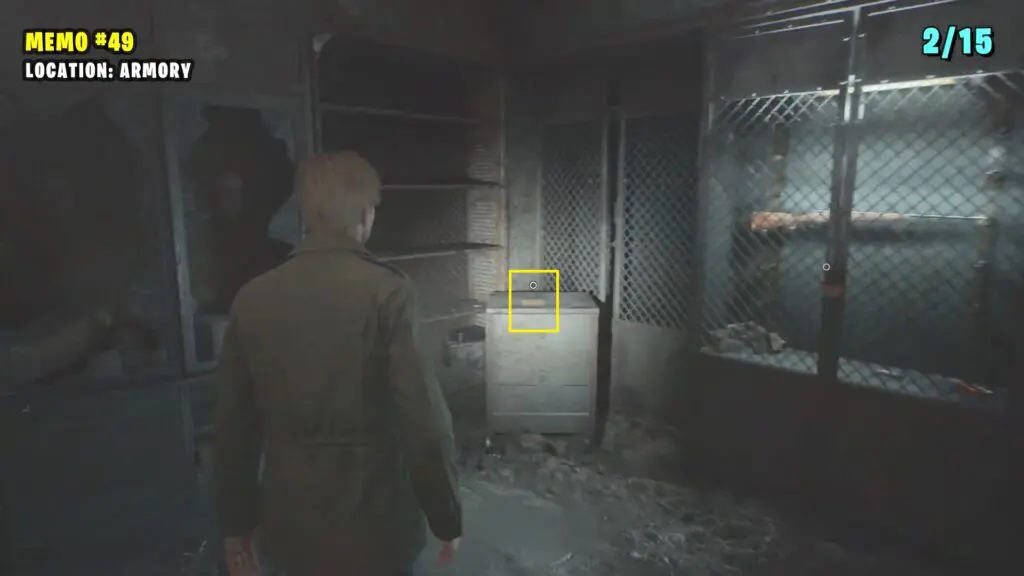
2) Memo #49: Gun Cabinet Notice
This memo is located inside the Armory, near the gun cabinet.
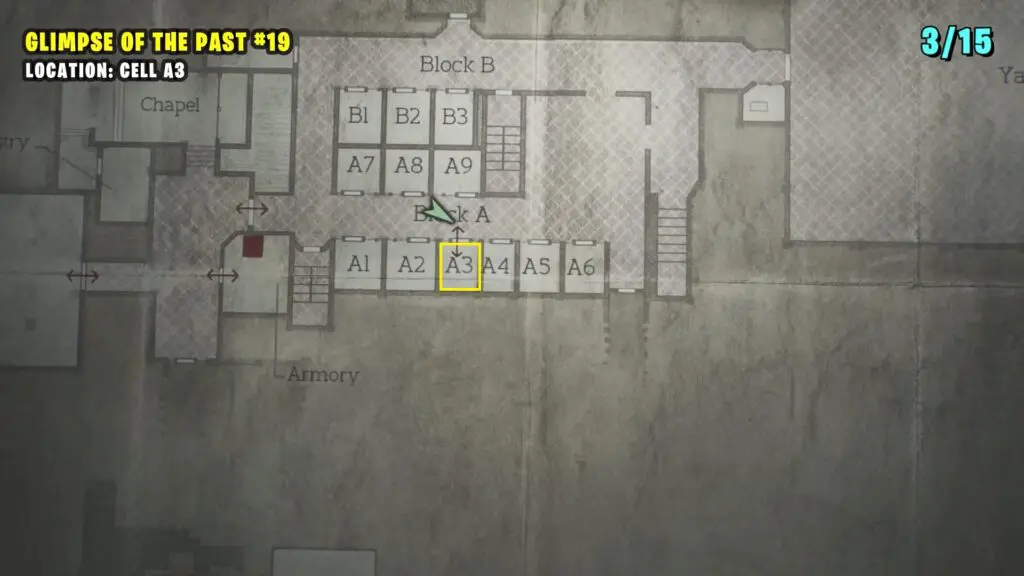
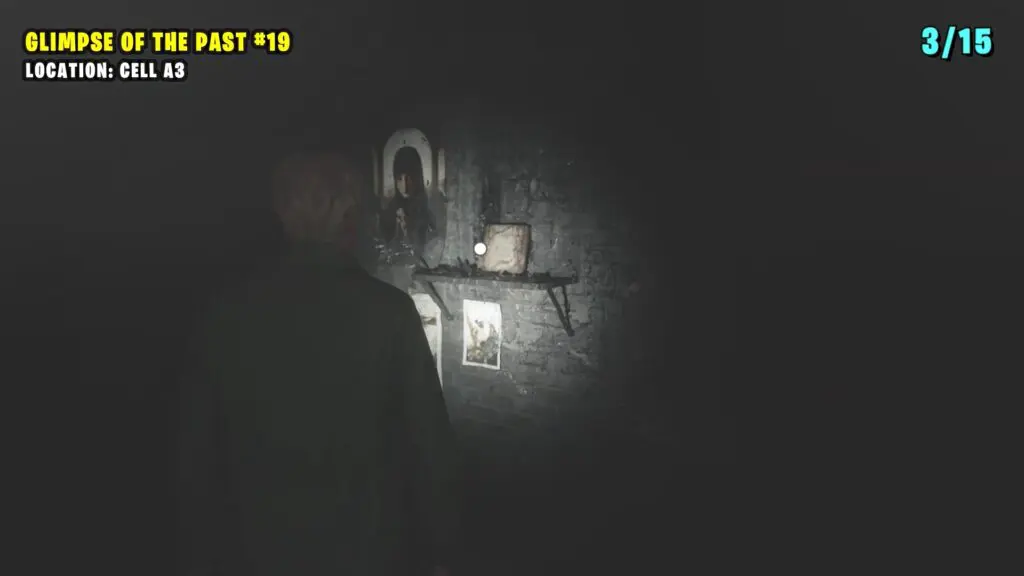
3) Glimpse of the Past #19
Go inside the Cell A3 and inspect the shrine on the wall.
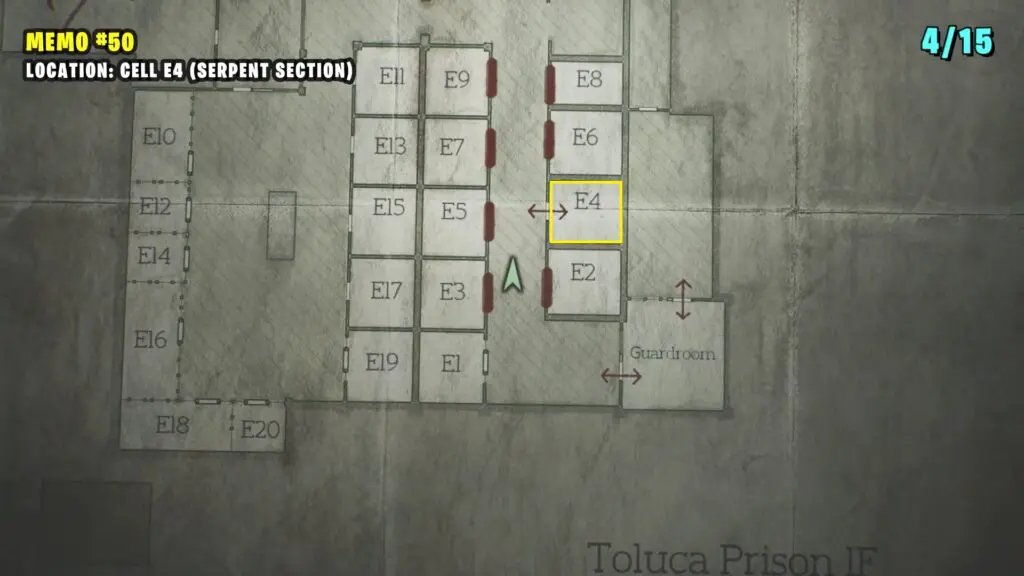
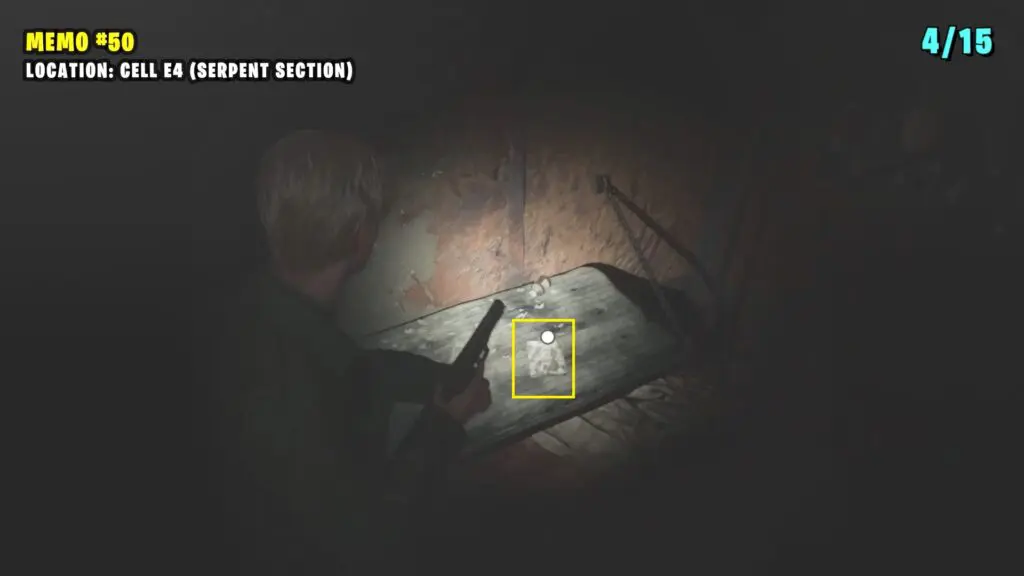
4) Memo #50: Family Photo
Enter the Serpent Door to find the memo on the bed in Cell E4.
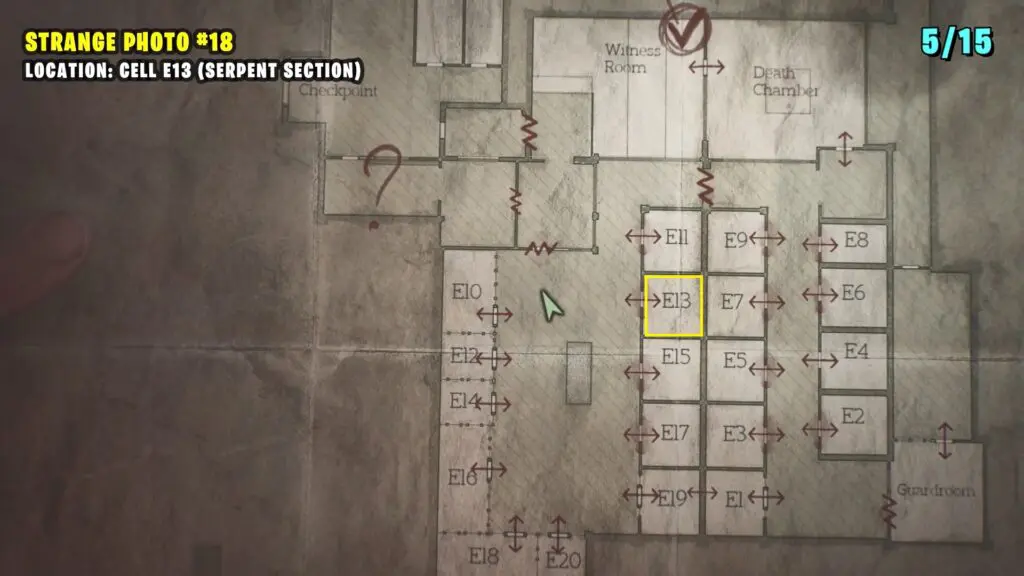
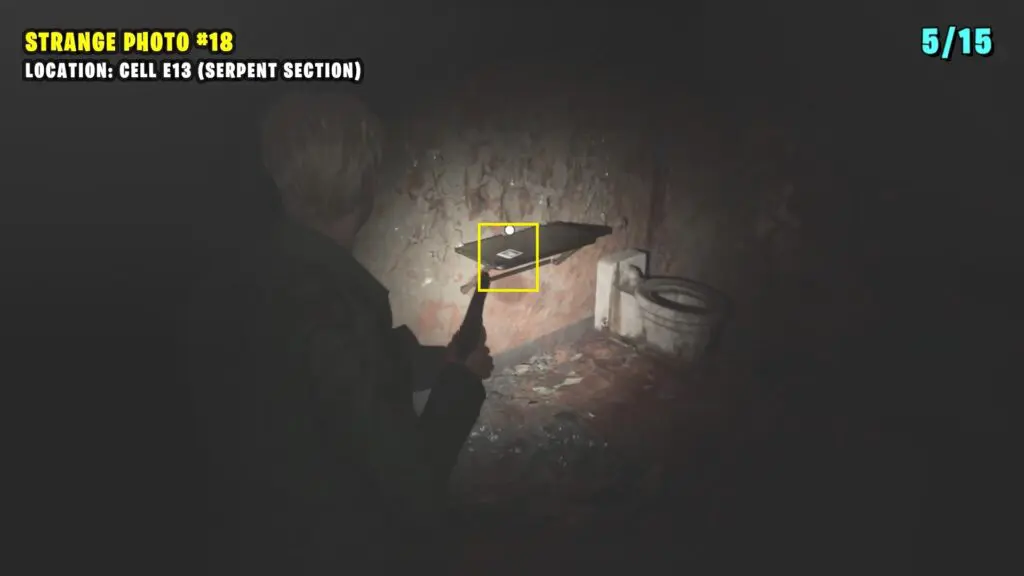
5) Strange Photo #18: “Four months to go”
It is on a shelf inside Cell E13.
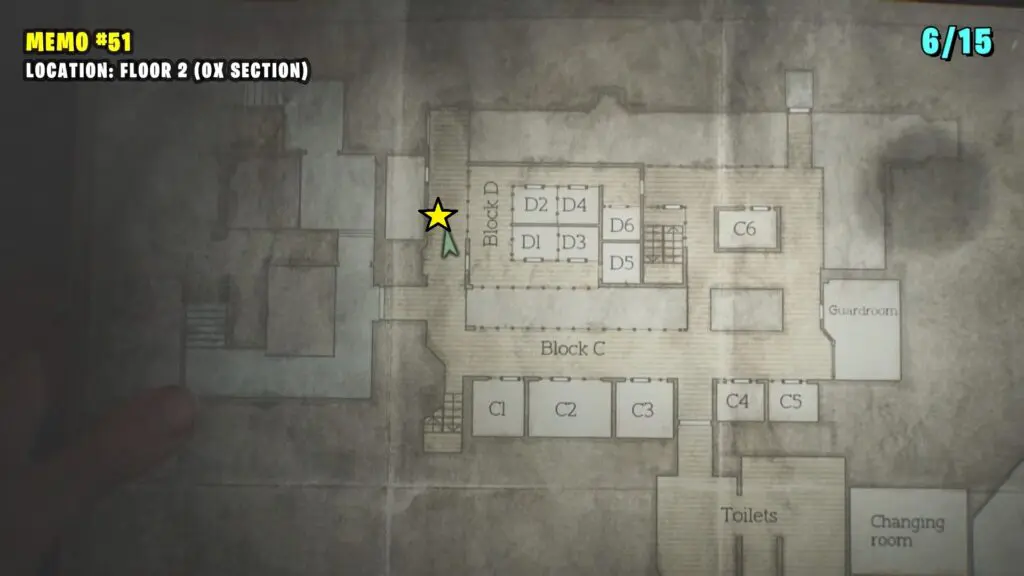
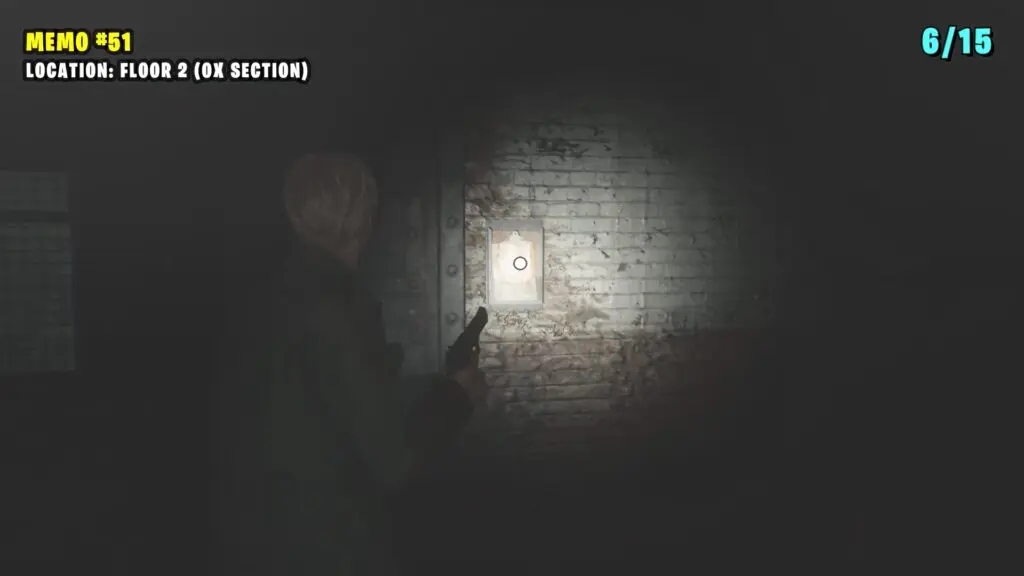
6) Memo #51: Guard’s Letter
Enter the Ox Door and then go upstairs to find the Guard’s letter posted next to a locked door.
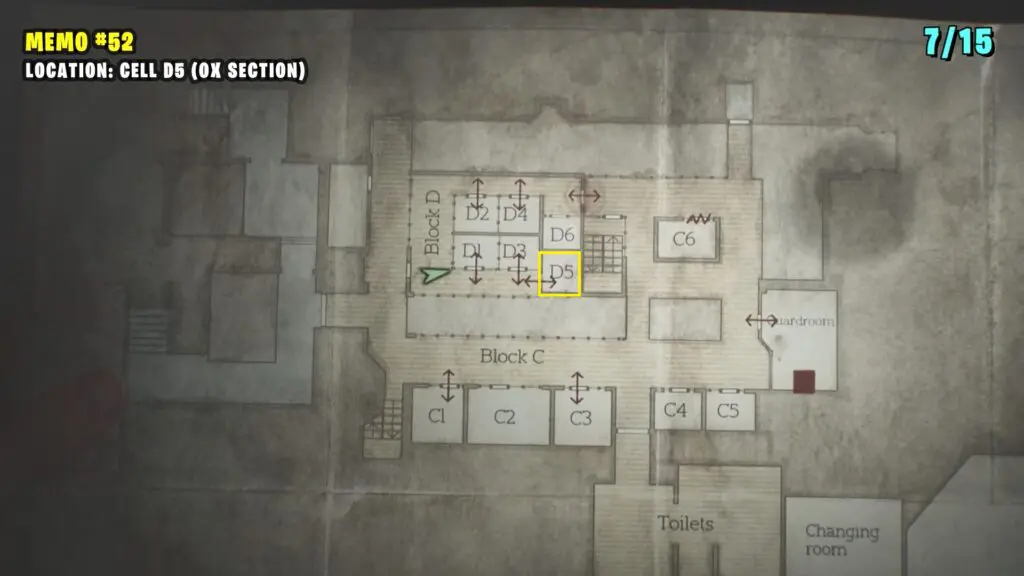
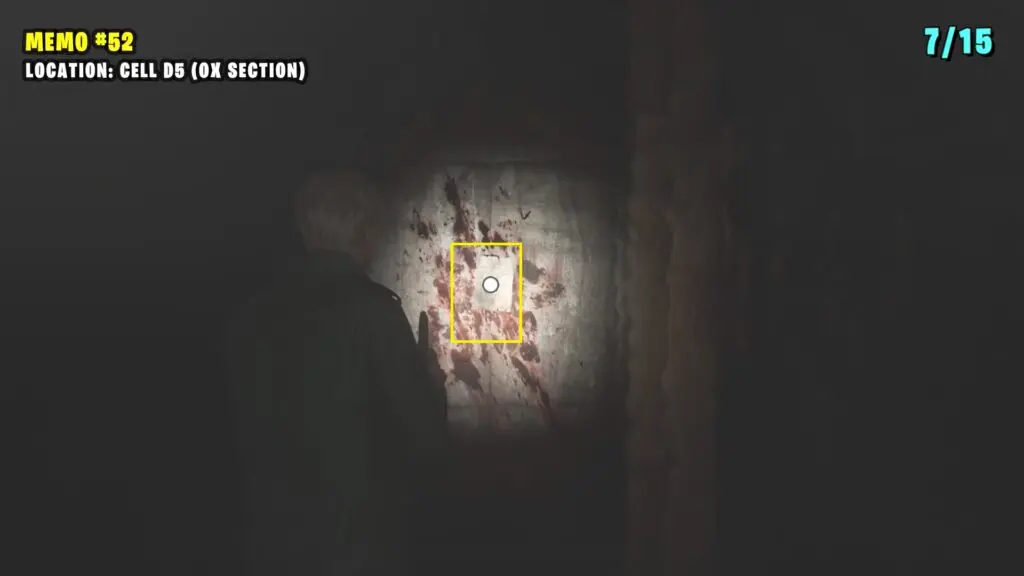
7) Memo #52: Threatening Note
It is inside the Cell D5 of Block D
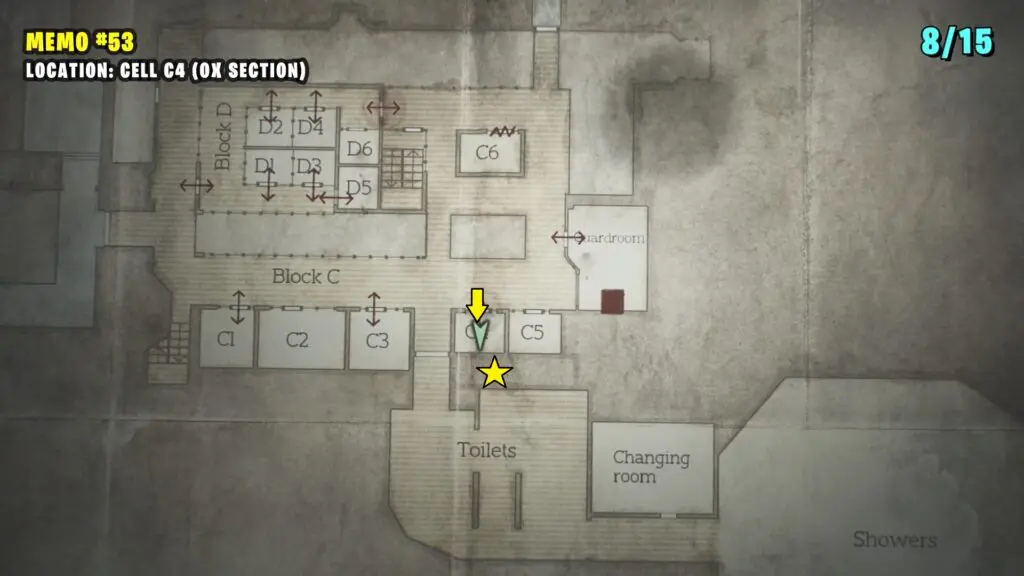
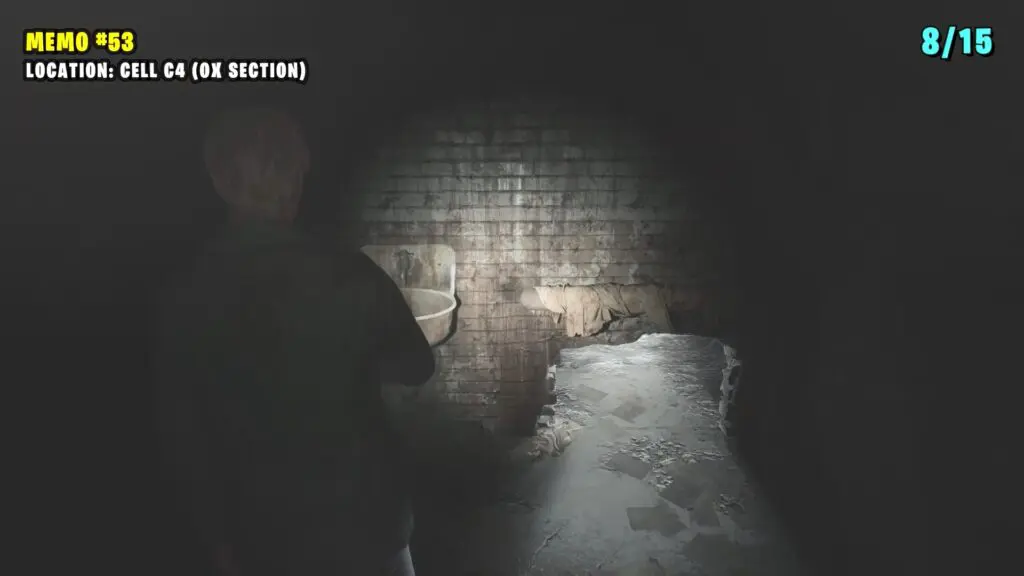
8) Memo #53: Paranoid Note
Use the Shiv Key to unlock Cell C4, then crawl through the hole to find the note on the big pipes.
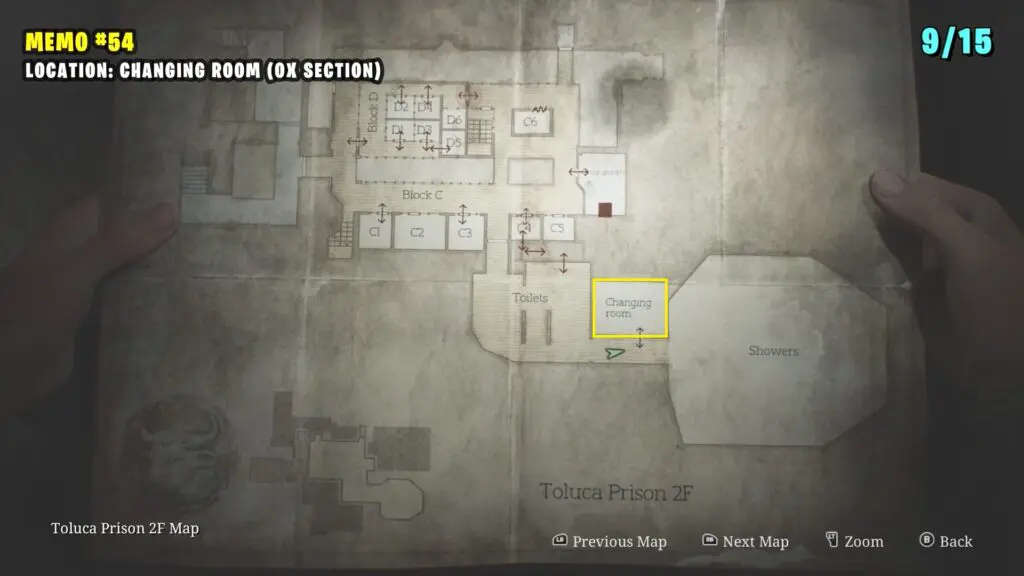
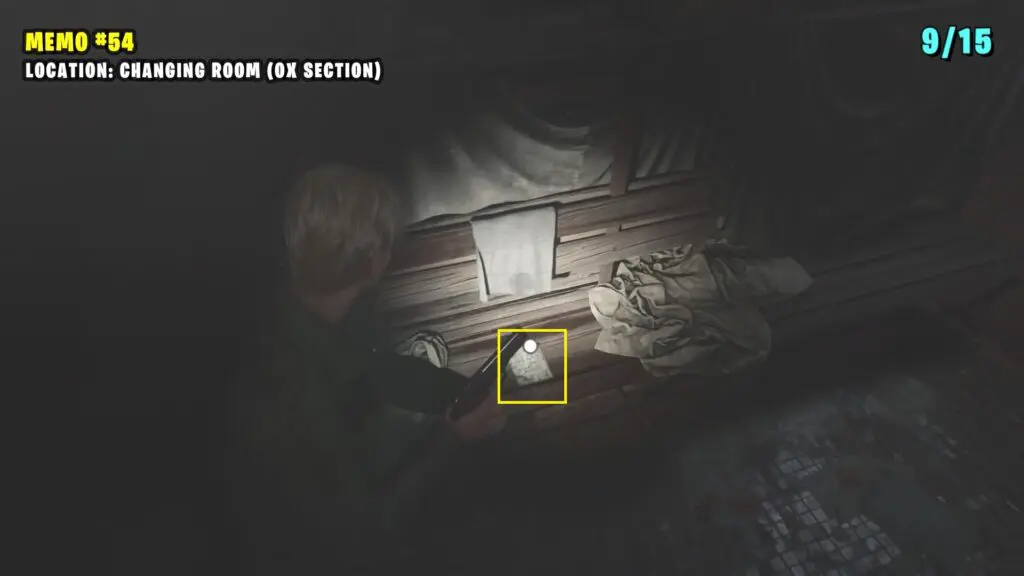
9) Memo #54: Crumpled Note
It is on a bench inside the Changing Room.
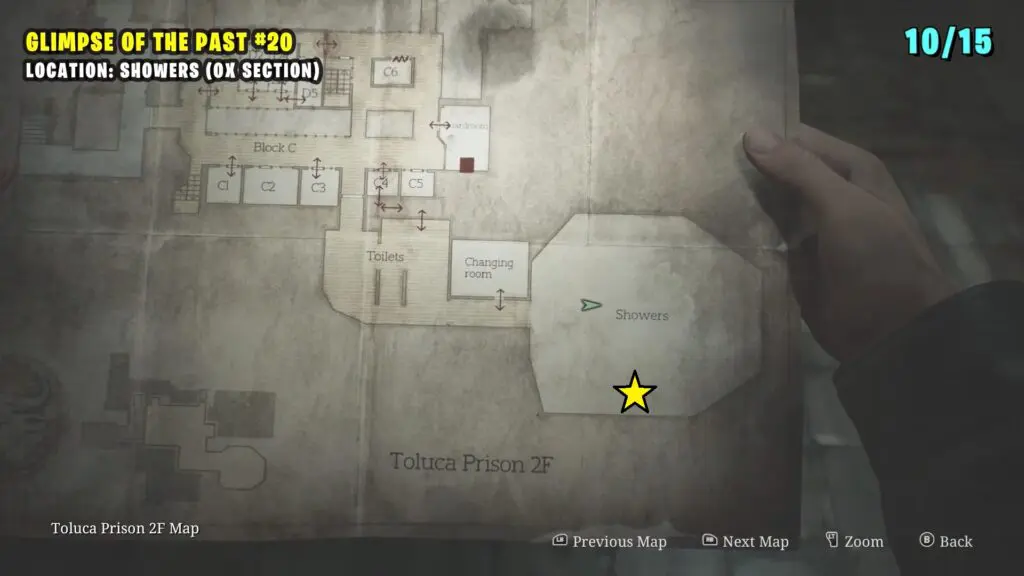
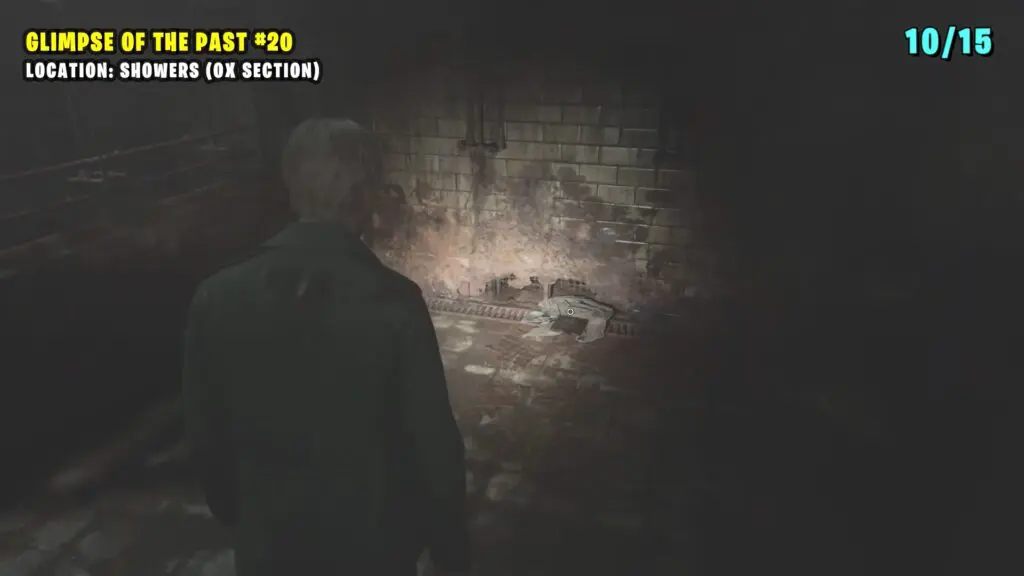
10) Glimpse of the Past #20
Go to the southern wall of the Showers. Examine the broken section near the floor.
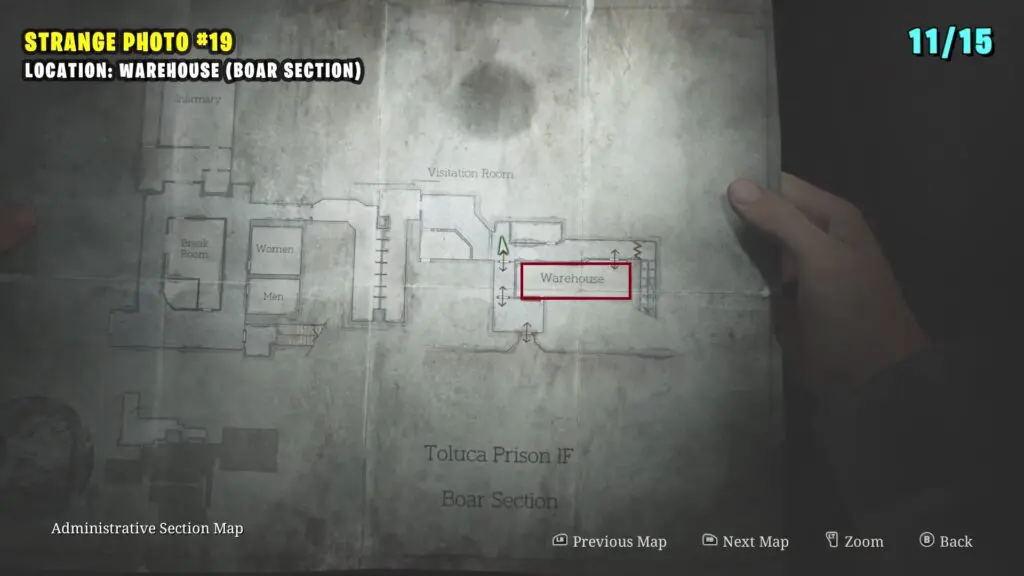
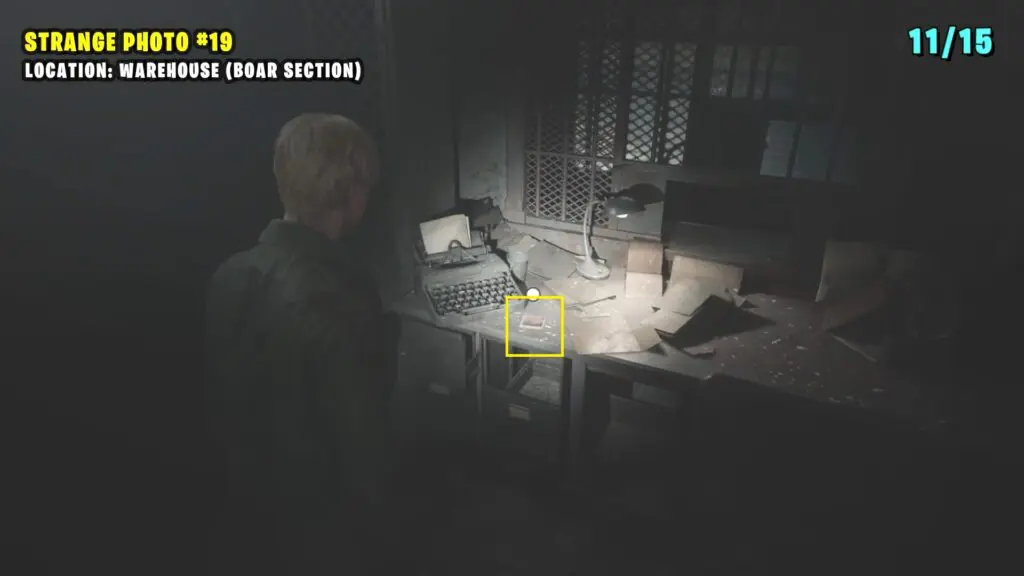
11) Strange Photo #19: “Old man’s always prepared”
Enter the Boar Door and go inside the Warehouse to find this photo.
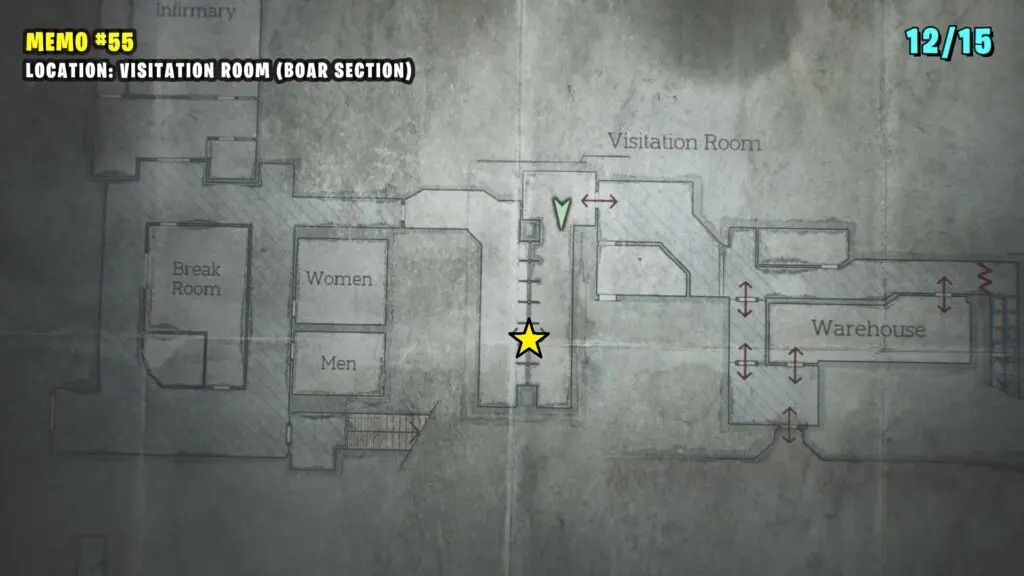
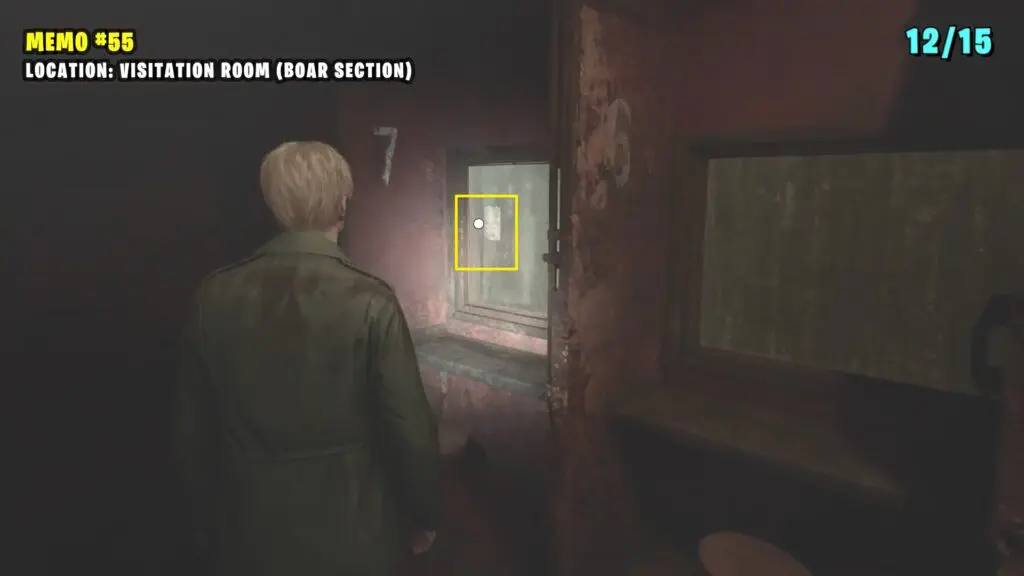
12) Memo #55: Prisoner’s Letter
It is in the cubicle 7 in the Visitation Room.
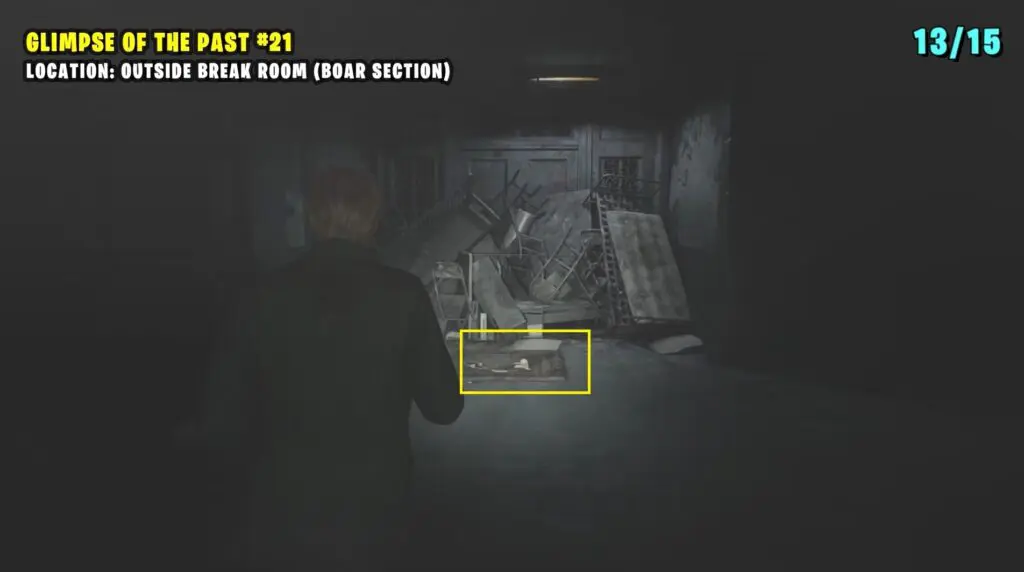
13) Glimpse of the Past #21
Head to the southwest of the Break Room and inspect the object on the ground.

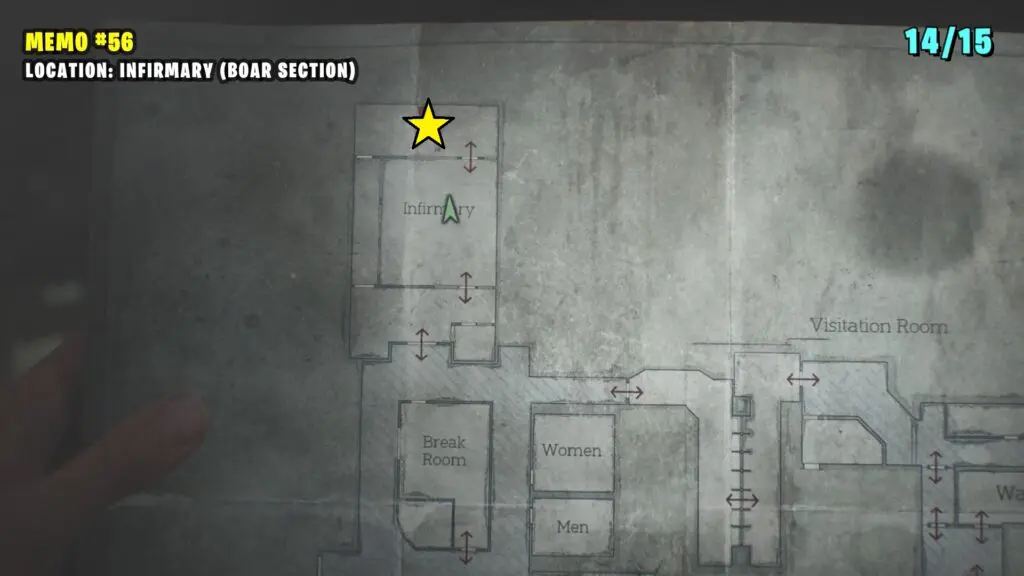
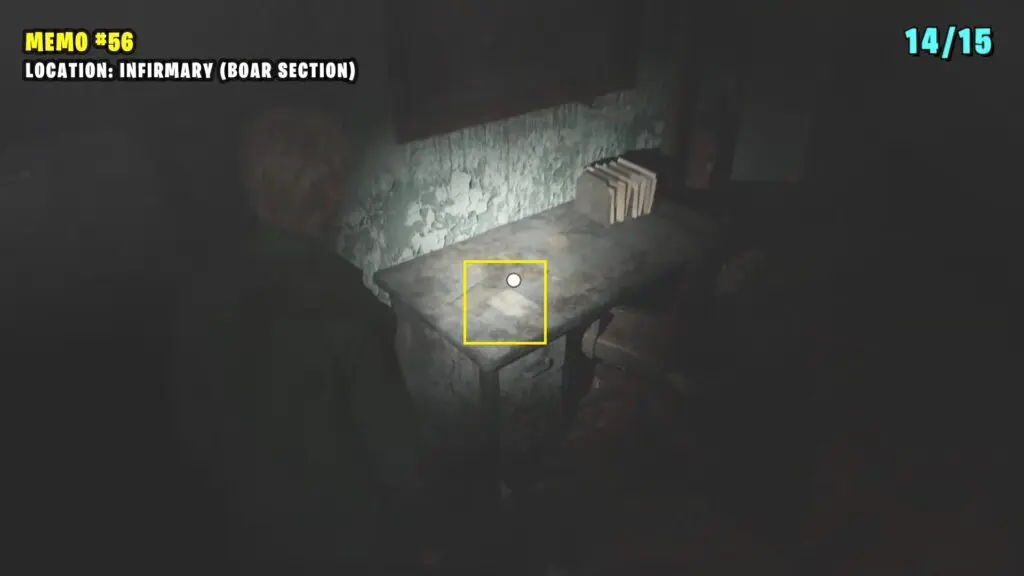
14) Memo #56: Unfinished Report
Go to the room behind the Infirmary to find this item on a desk.
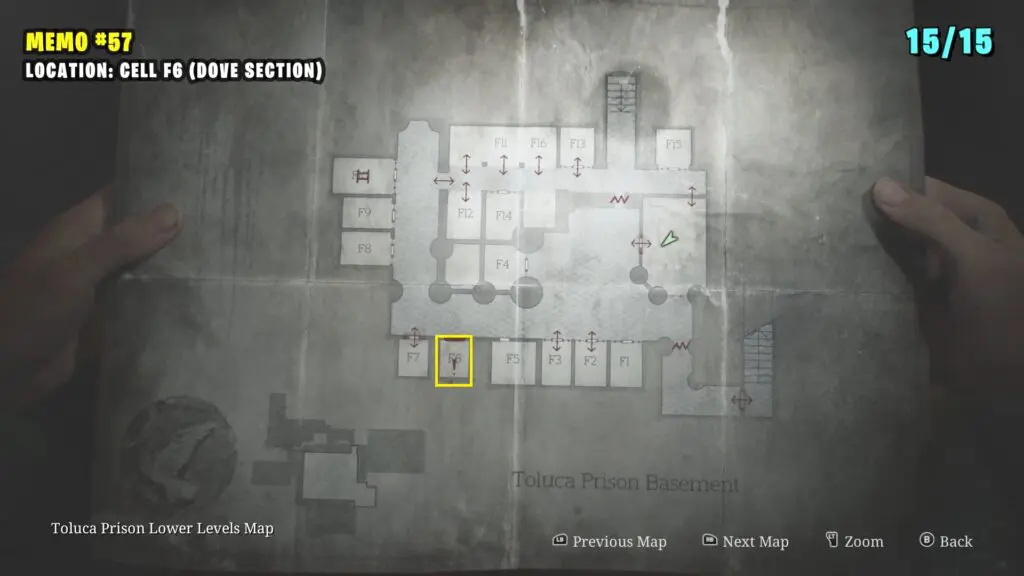
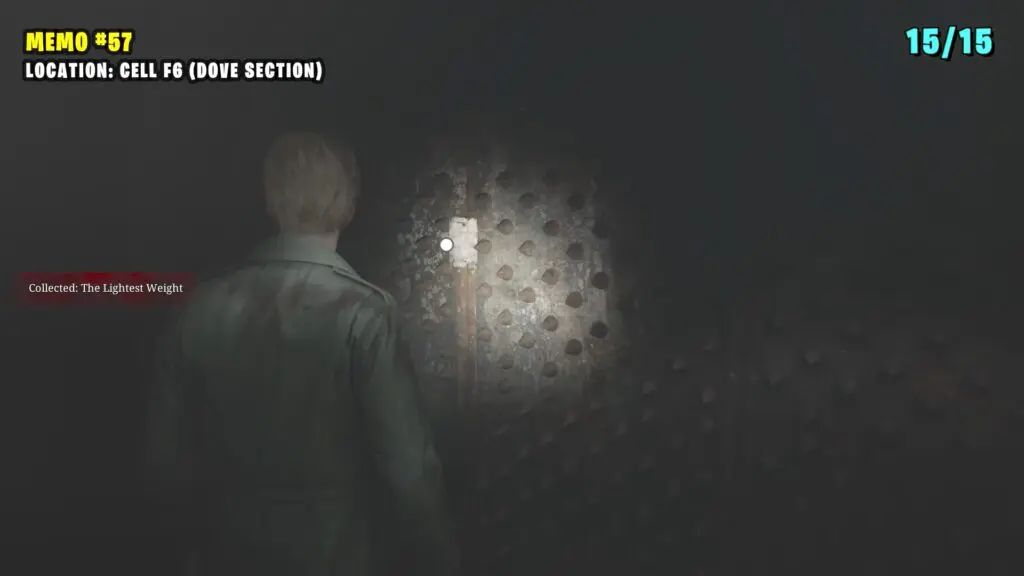
15) Memo #57: Confession
Pass through the Dove Door and descend into the Basement. Continue until you reach Cell F6, then enter the cell to find it on the wall.