In this guide, we’ll show you the complete walkthrough of the Toluca Prison of the game Silent Hill 2 Remake, released on September 8th Oct 2024.
Upon arriving at Toluca Prison, the player will enter the Armory Room, where they will find a Hunting Rifle secured in a locked case, along with a map of the prison complex.
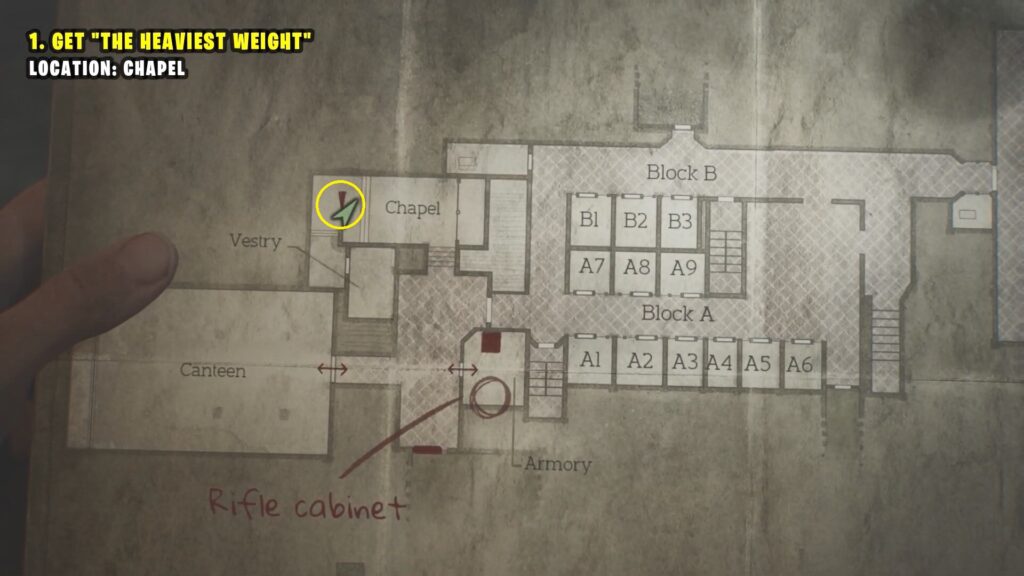
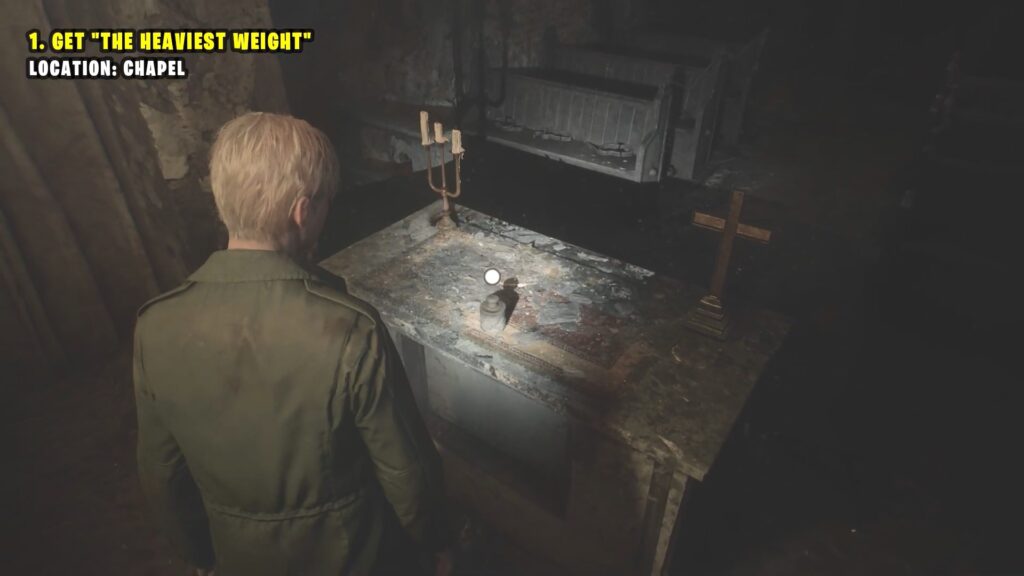
Get The Heaviest Weight
Go to the Chapel, shown in the map below. In the Chapel, players will find ‘The Heaviest Weight’ on the Altar.
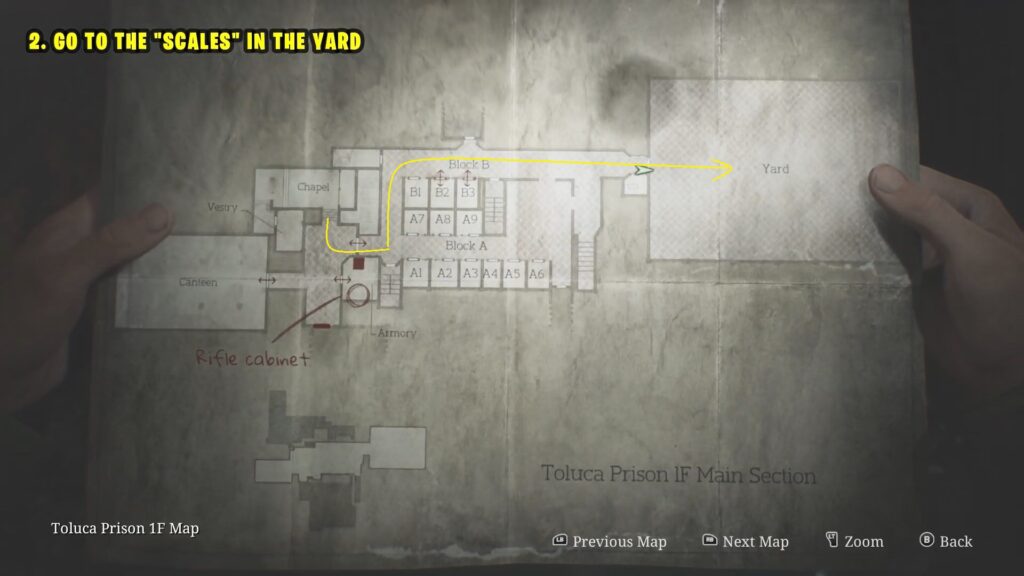
Scales Puzzle 1
Follow the path through Block B as shown in the map below into the Yard Area. Interact with the Statue in the yard where you need to solve the weight puzzle.
Unlock the Serpent Section of the Prison
To solve the weight puzzle, place the heaviest weight on the right scale and the smallest weight on the left scale. This should unlock the Serpent door.

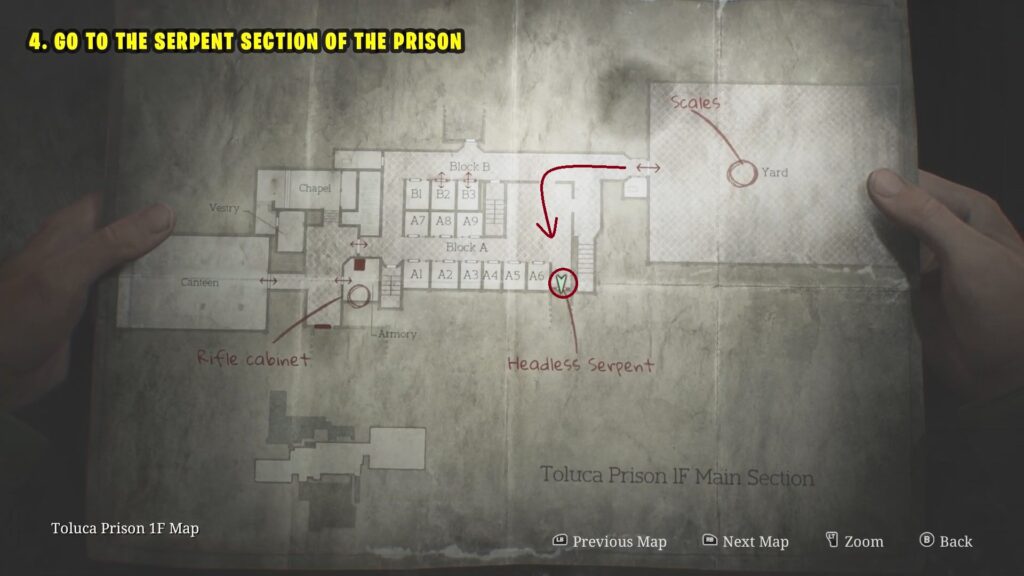
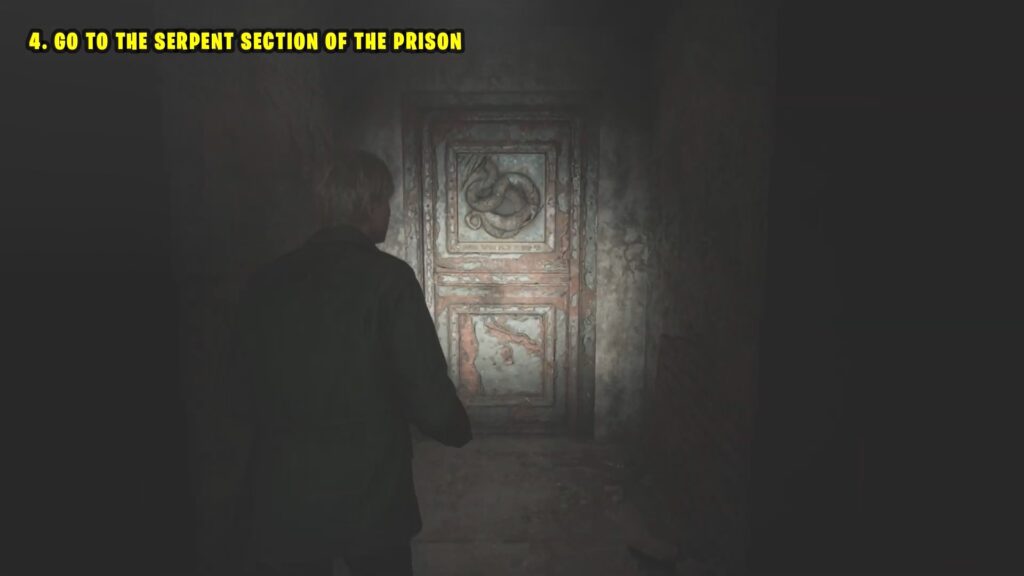
Go to the Serpent Section of the Prison
Go back inside the building, take the second left, and go straight to reach a door with a serpent symbol. Refer to the map below.
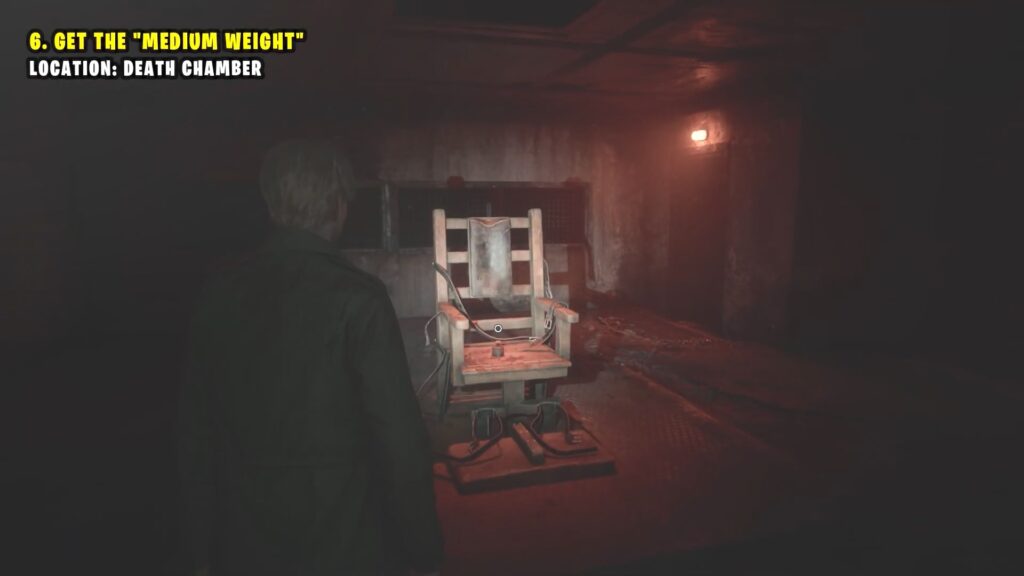
Overload the Generator & Get Medium Weight
Inside the Serpent section, follow the long corridor to reach the Guardroom. Then, exit the Guardroom and follow the corridor with locked cells to enter the Witness Room.
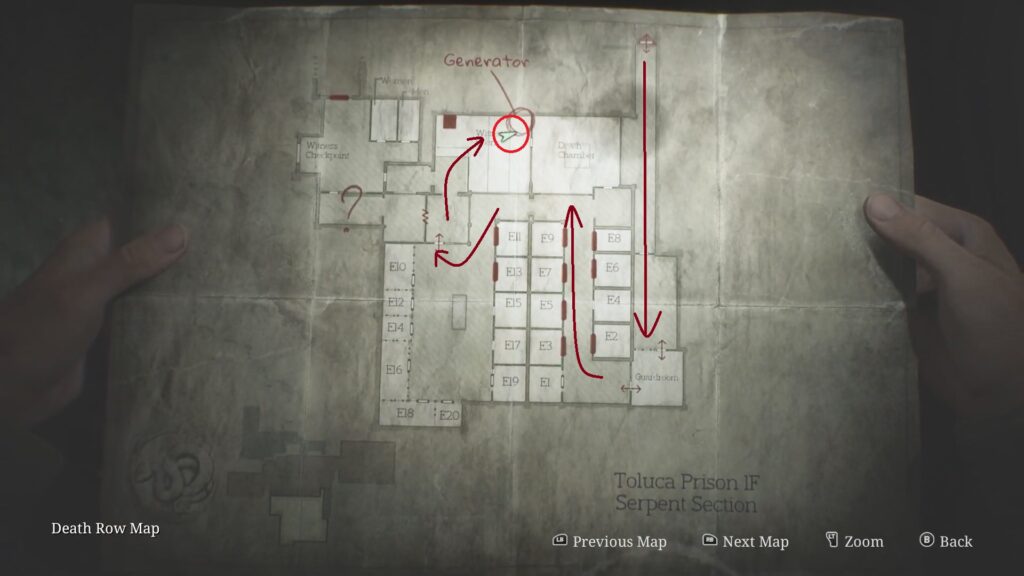
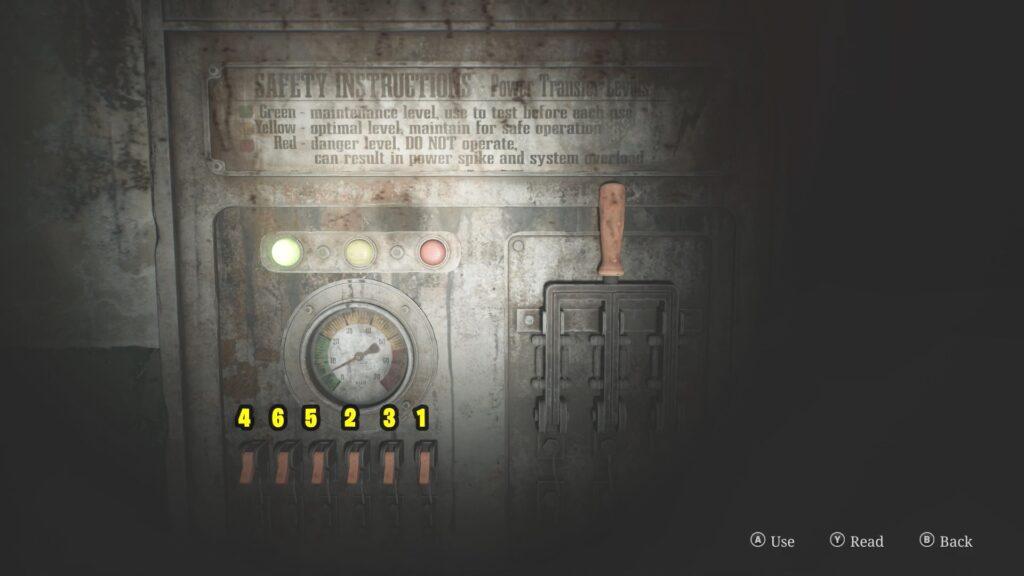
The player must flip switches in the correct sequence to overload the power panel. Once the switches are flipped correctly, pull the lever down to unlock the prison cells. Refer to the image below.
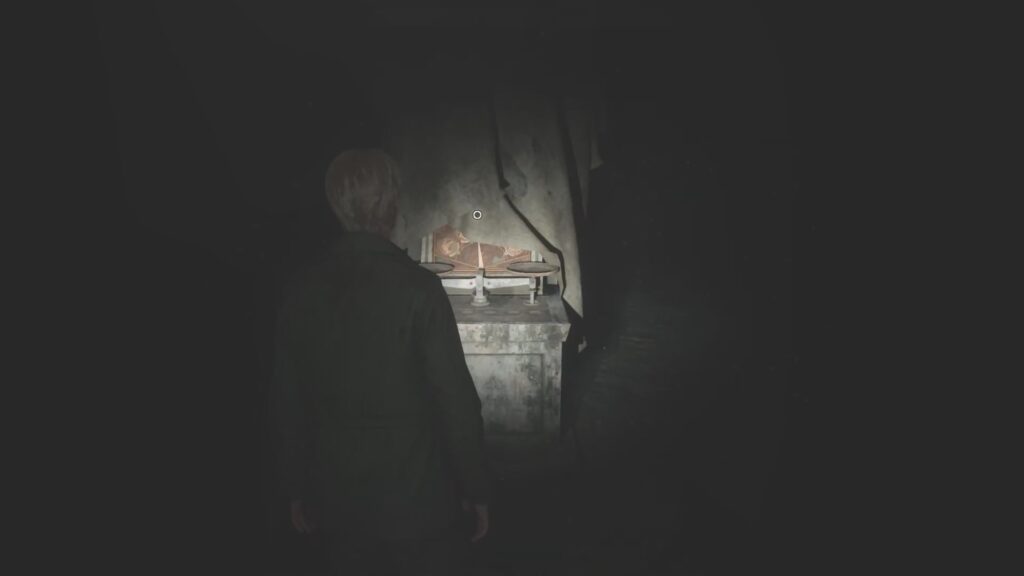
Enter inside the Death Chamber and pick the medium weight from the Chair.
Get the Armory Key (Rifle Cabinet Key)
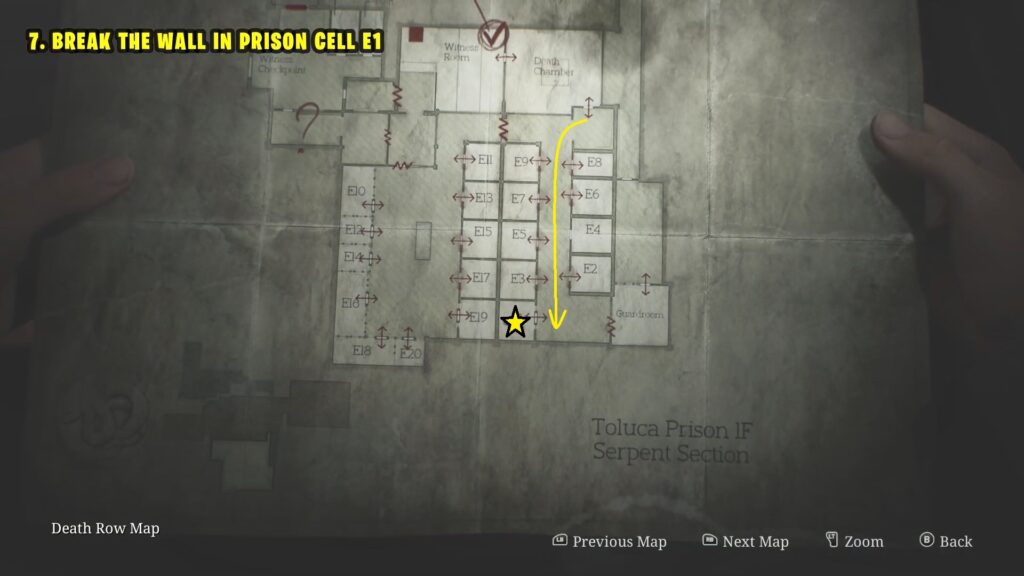
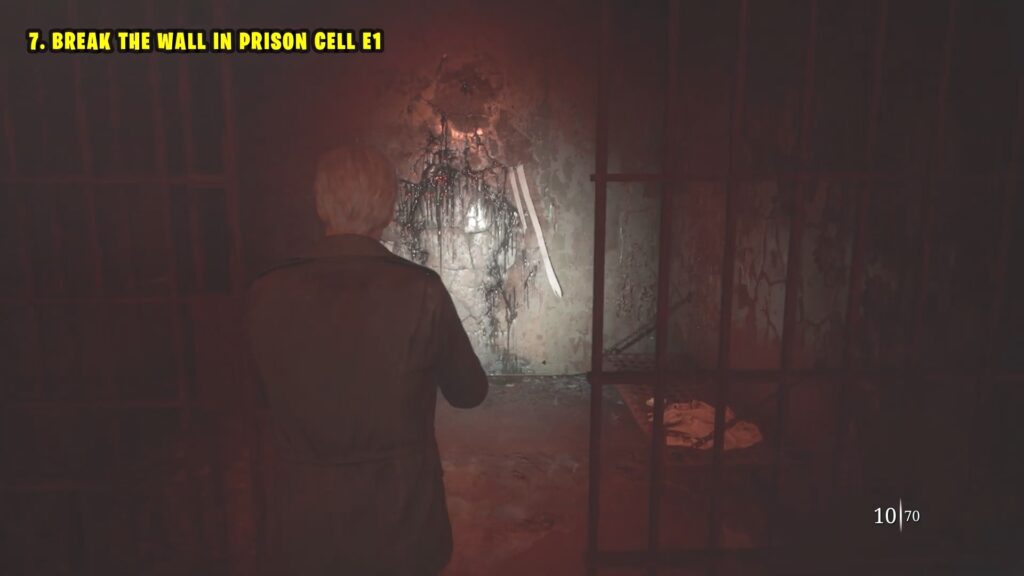
Break the wall in Prison Cell E1
Exit from the other side of the Death Chamber and go to the Cell E1. Break the wall inside Cell E1 and go to the other side.
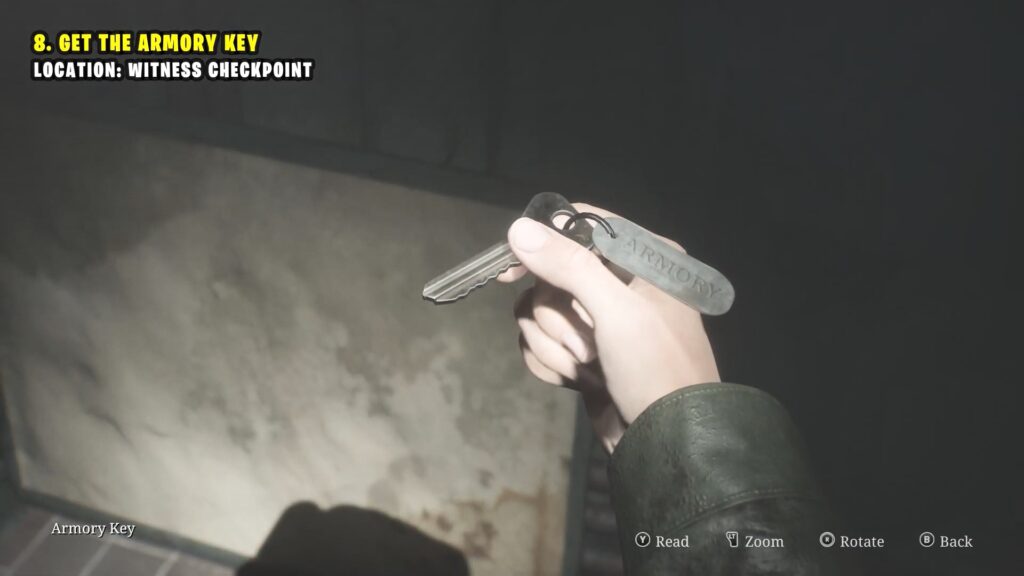
Get the Armory Key
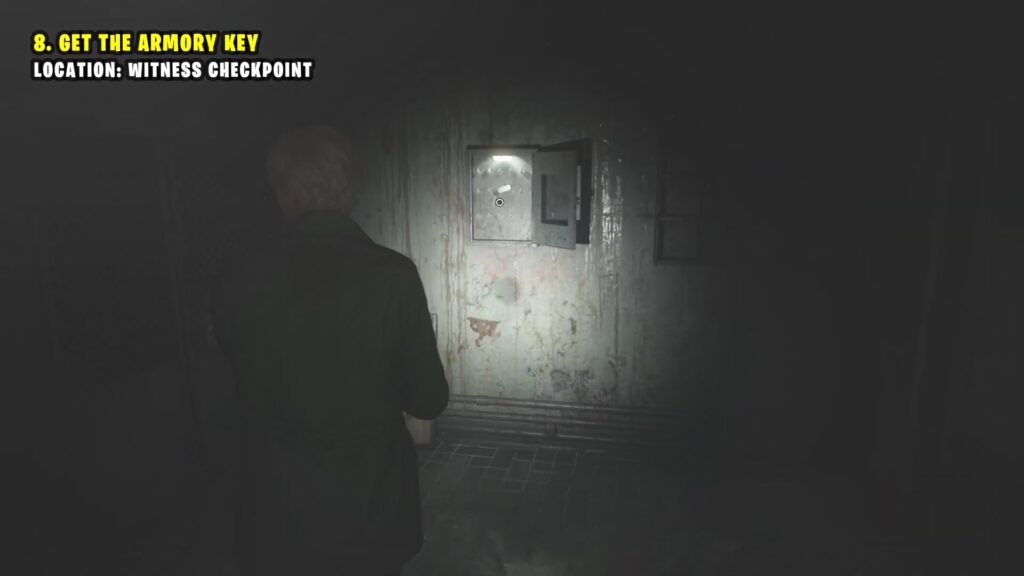
After crossing to the other side, head towards Cell E10 and slip through the crack in the wall into a room containing the Armory Key.

The key can be found inside a key case on the wall.
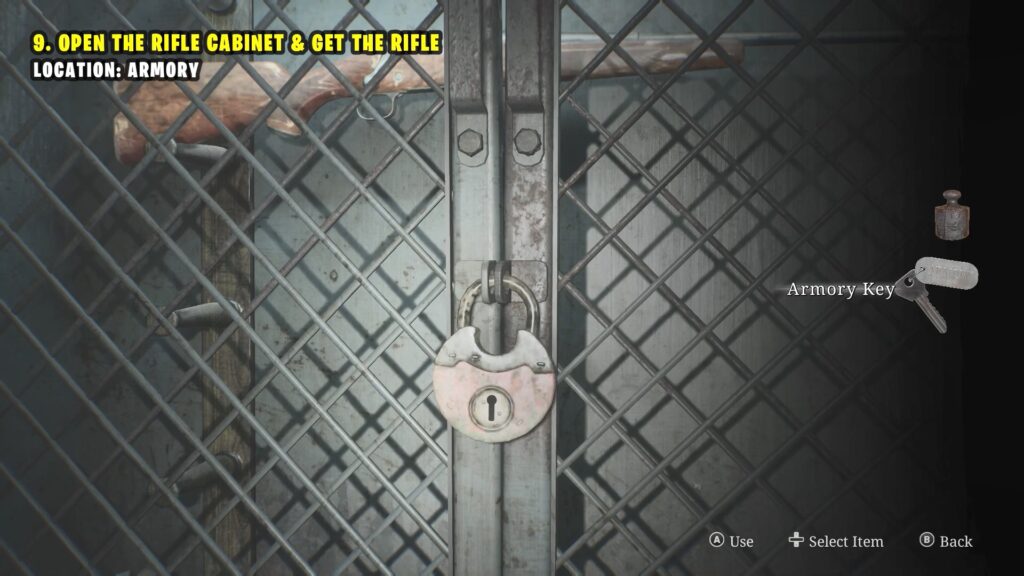
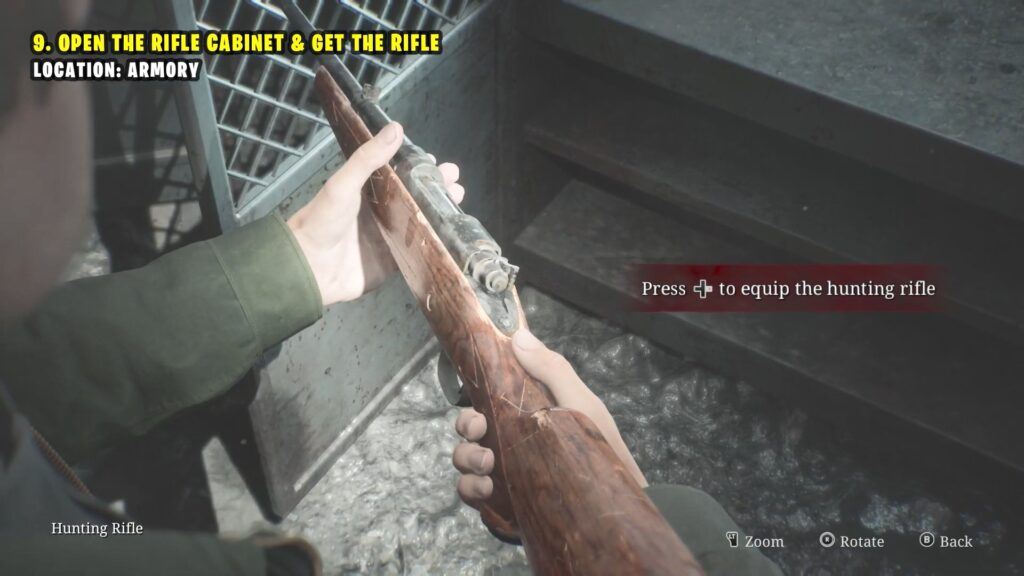
Open the Rifle Cabinet & Get the Rifle
Now, Go through the door on the right of the key case and unlock the door at the end. The Armory room is on the right. Use the Armory Key to open the Cabinet & grab the Rifle
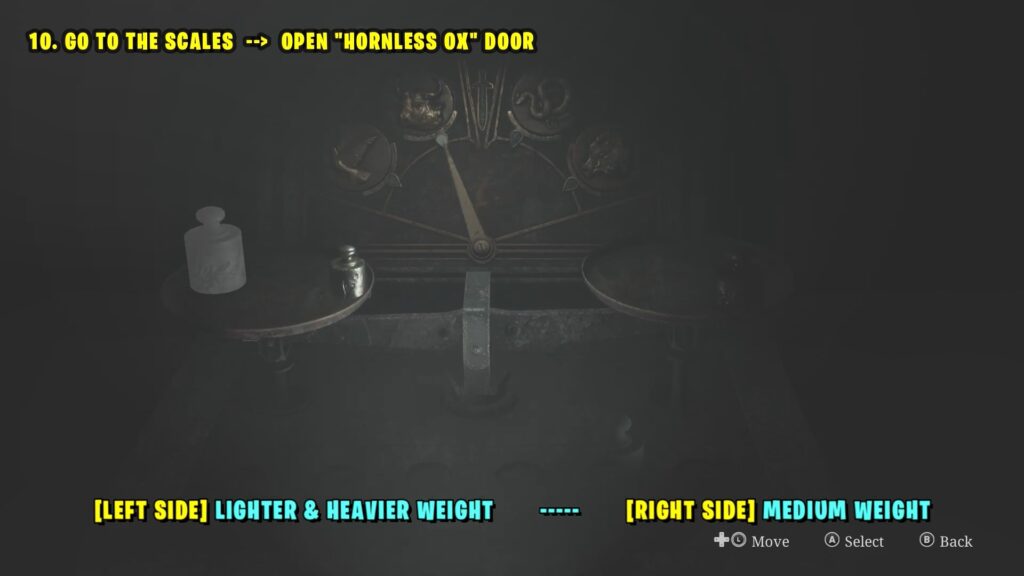
Scales Puzzle 2 – Open Hornless Ox Door
Follow the path through Block B into the Yard Area to solve the Scales Puzzle 2 to open the Open Hornless Ox Door. Place the heaviest & lightest weight on the left side of the scale and the medium weight on the right scale. This should unlock the Hornless Ox.
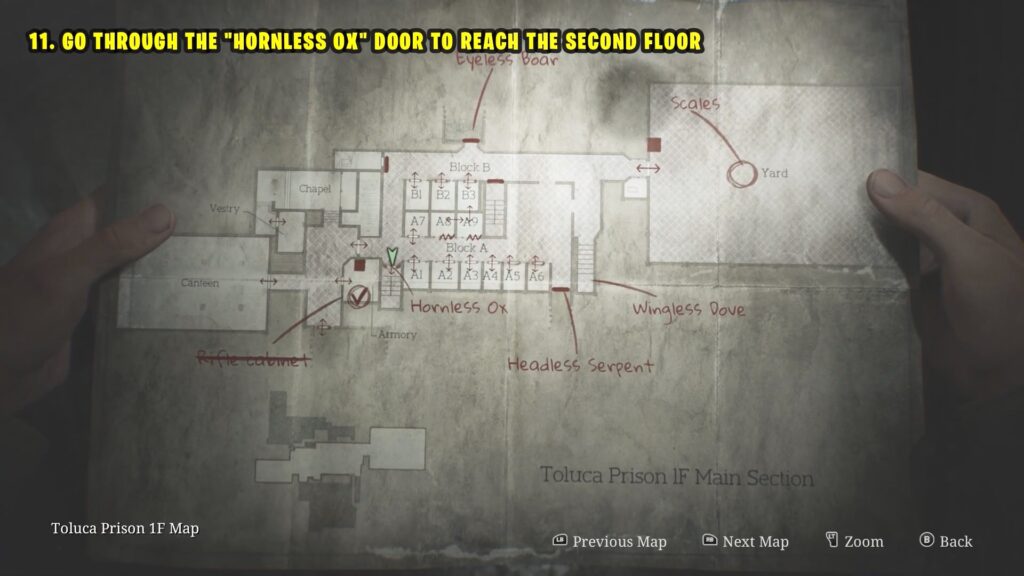
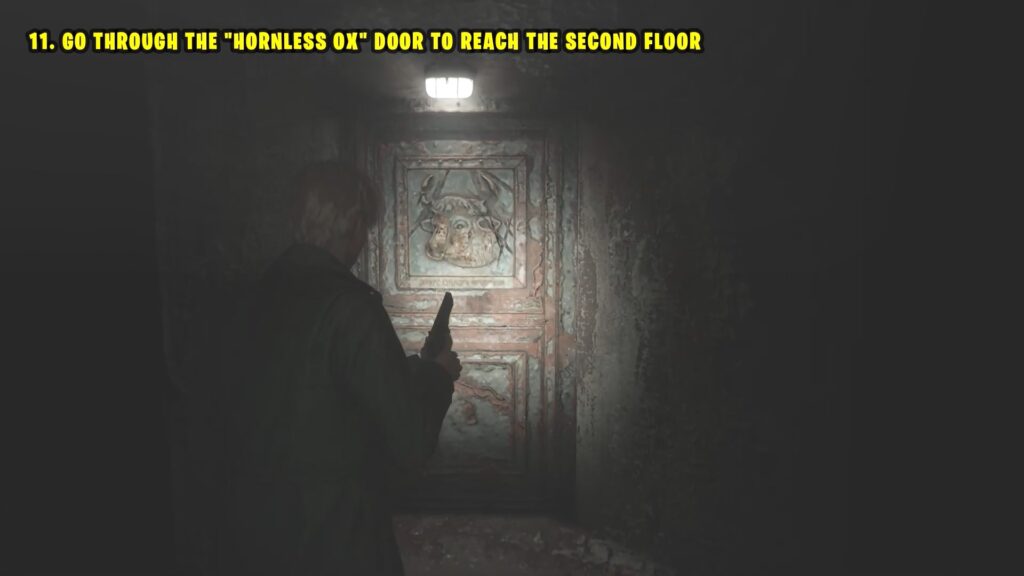
Go back inside the building, and go straight through Block B. In the end, take a left to reach a door with a Hornless Ox. Refer to the map below. This will take you to the second floor.
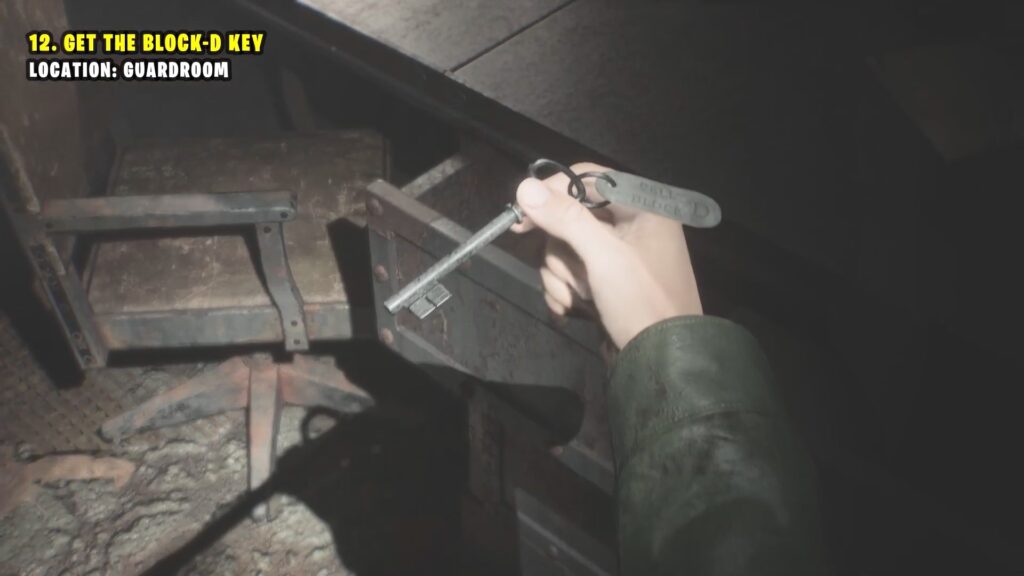
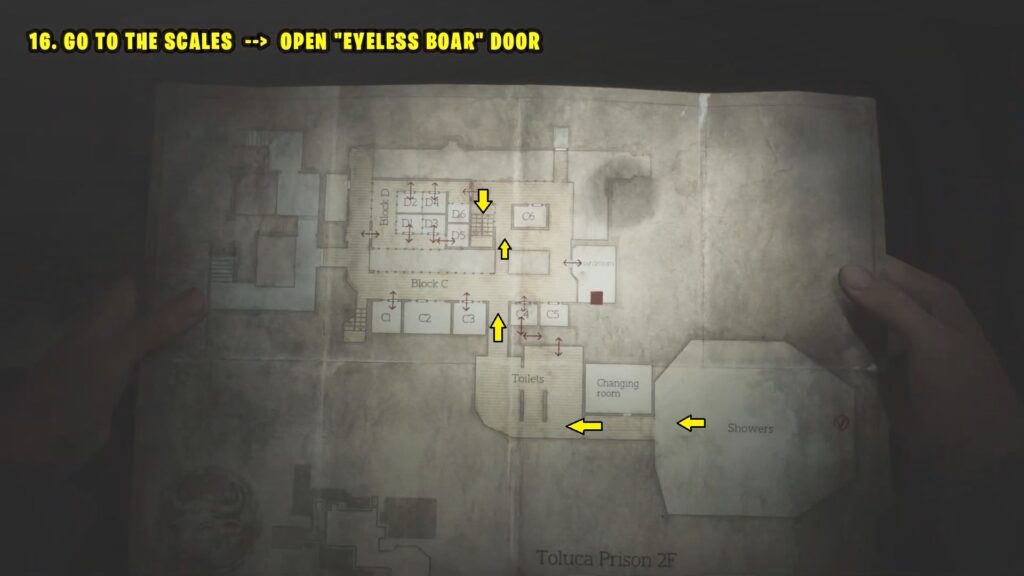
Prison 2F – Get Heavy Weight
Next, go to the Guardroom and pick up the Block D Key from a desk drawer.

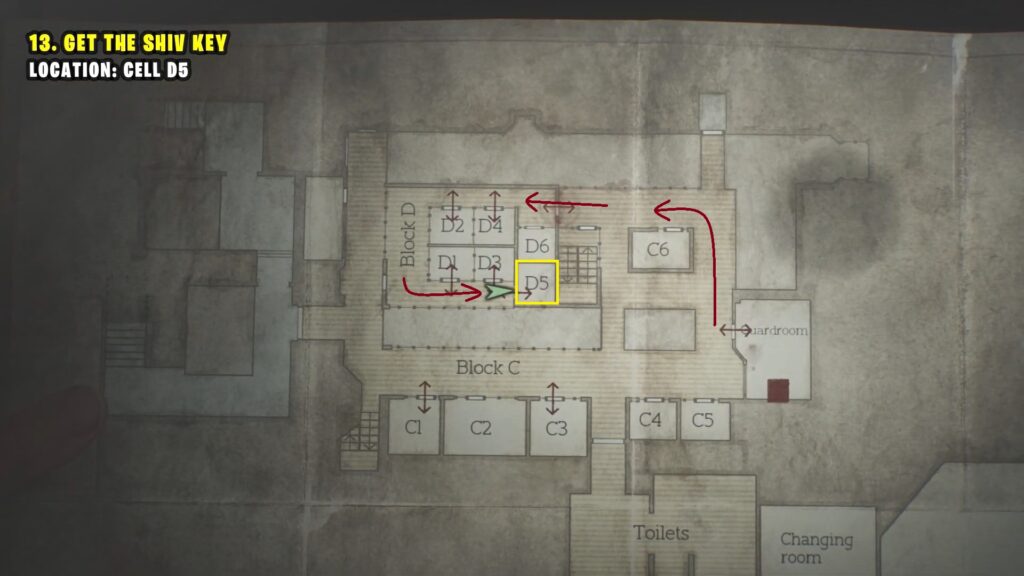
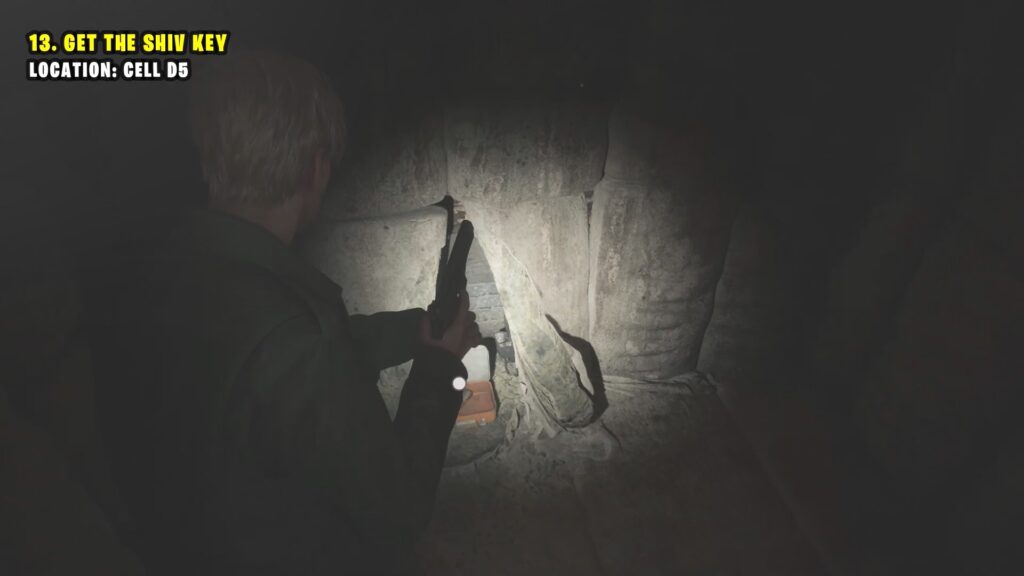
Head over to Block D and use the Block D Key to unlock the entrance. Once inside, go to Cell D5 to collect the Shiv Key.
Use the Shiv Key to open Cell C4, then crawl through the hole in the wall.
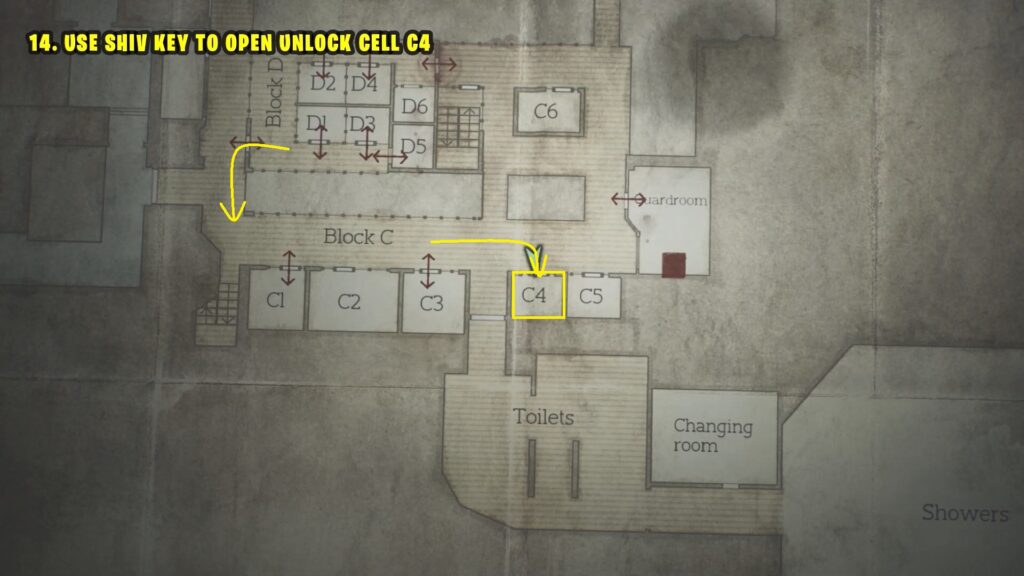
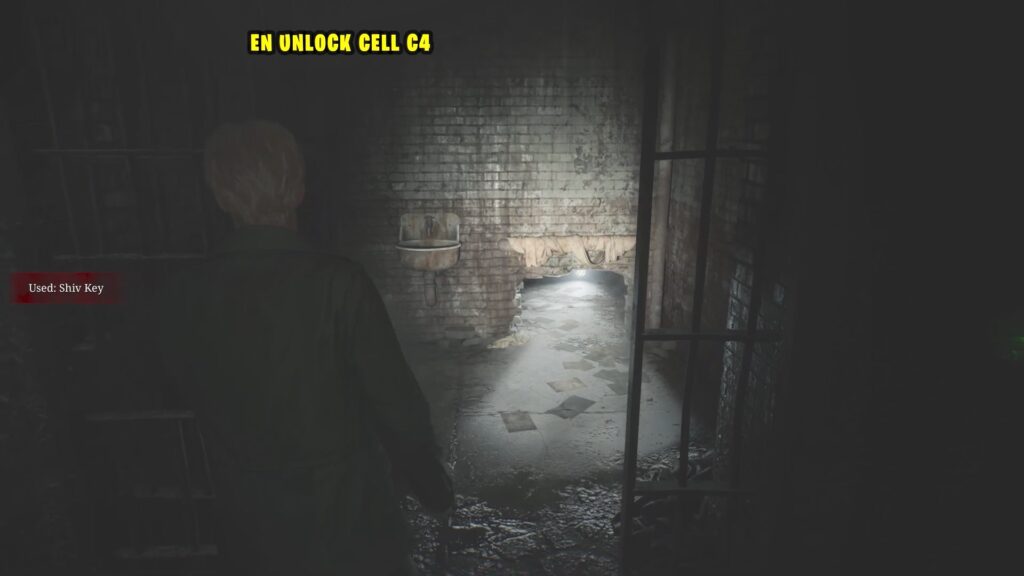
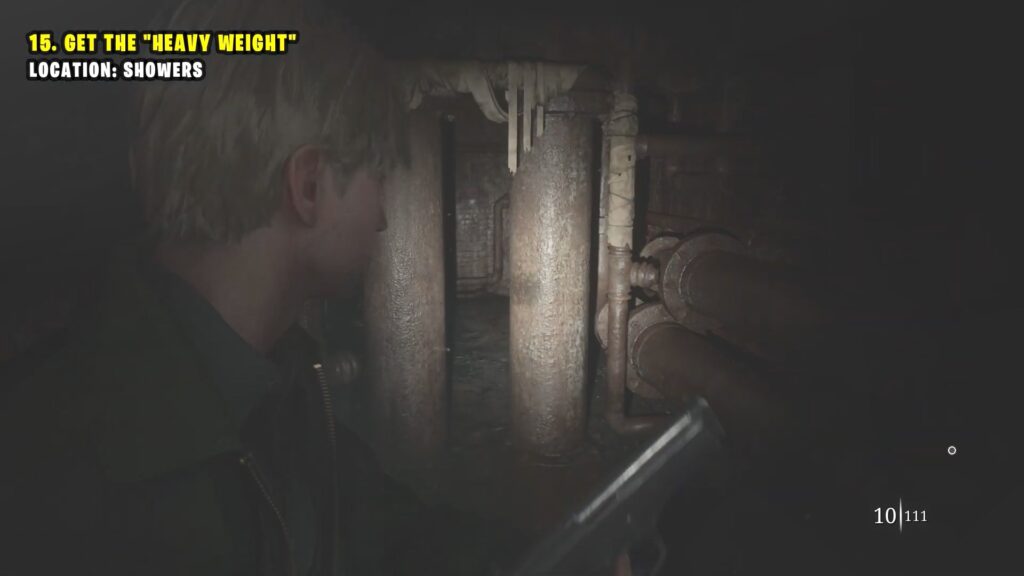
Move carefully between the pipes and crawl through the next hole to get to the Toilet area.
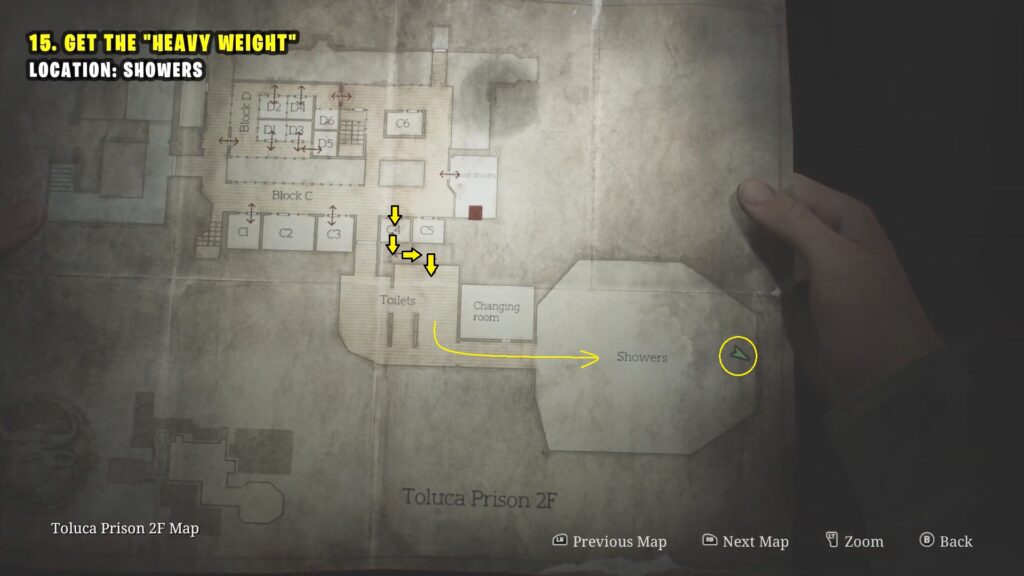
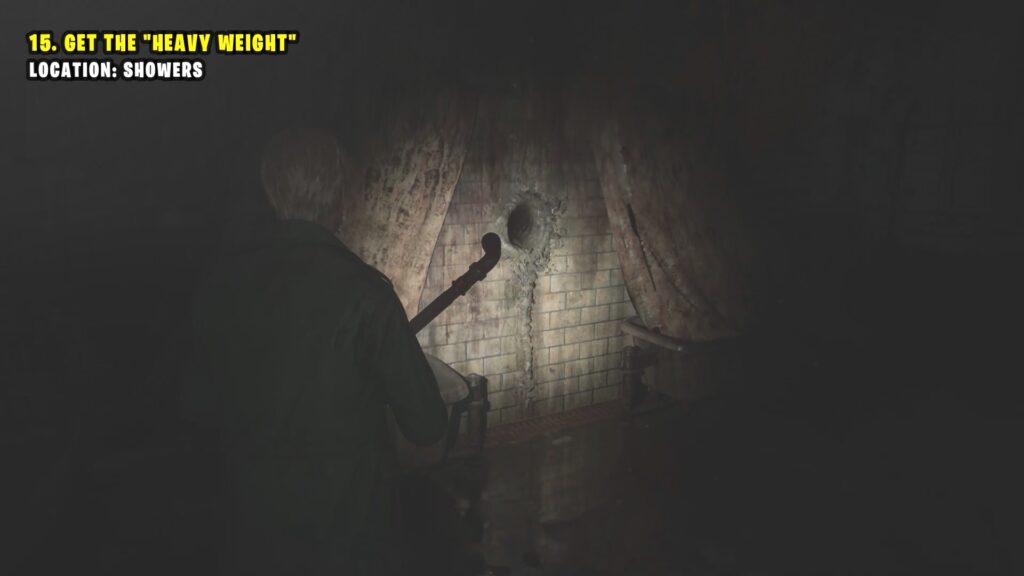
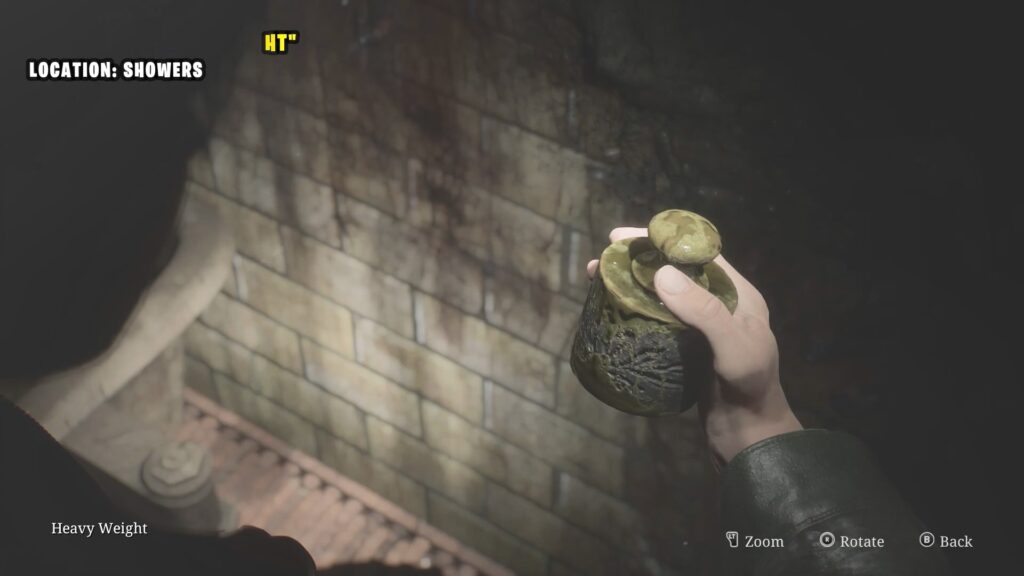
Follow the path to reach the Showers. At the end, there’s a wall with a hole. Interact with the hole to find the Heavy Weight.
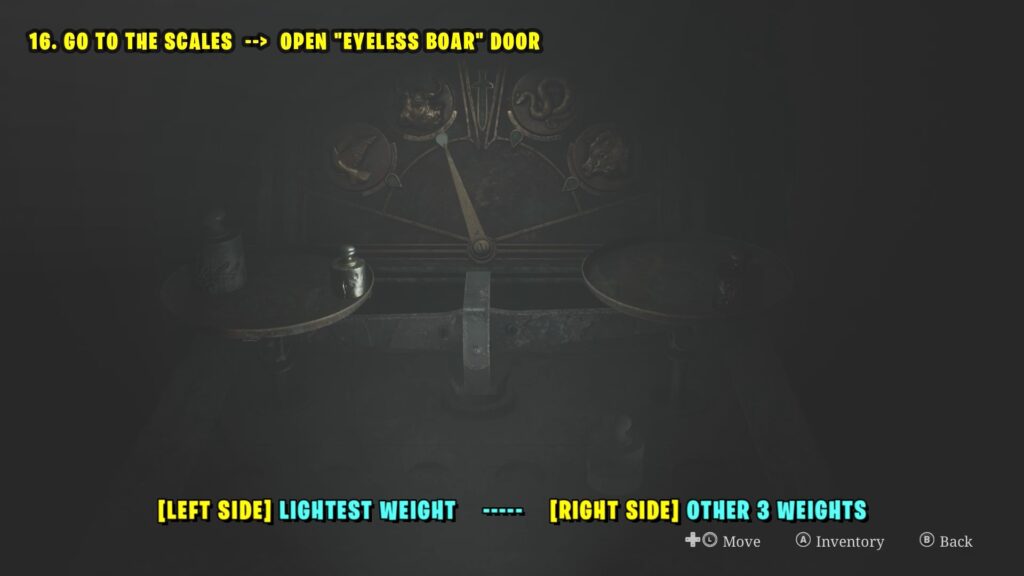
Scales Puzzle 3 – Open Eyeless Boar Door
Return to the Yard area and interact with the Statue in the yard. Use the below map to reach the lower floor to reach the yard area.
Place the lightest weight on the right scale and the other three weights on the left scale. This should unlock the Eyeless Boar Door.
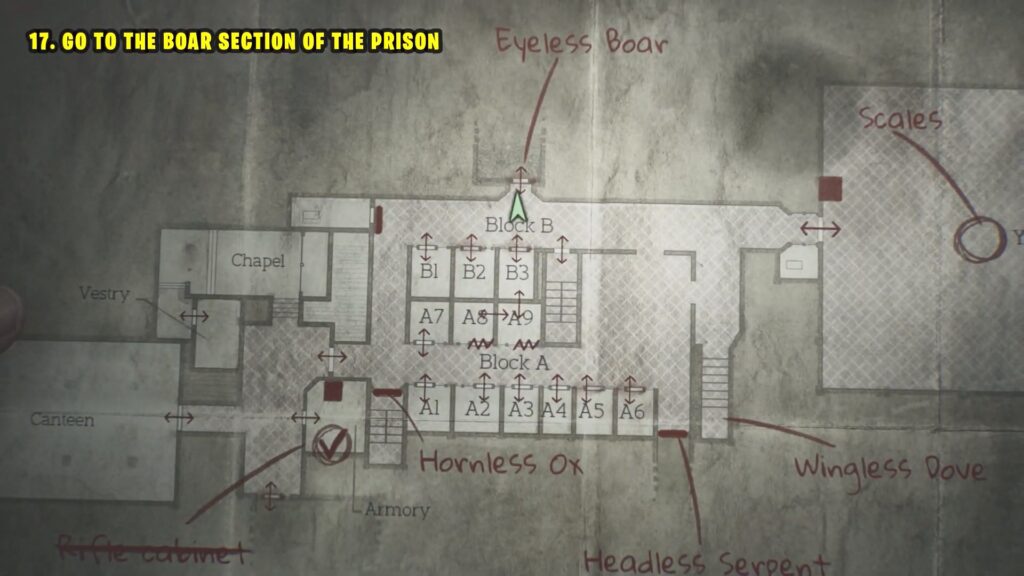
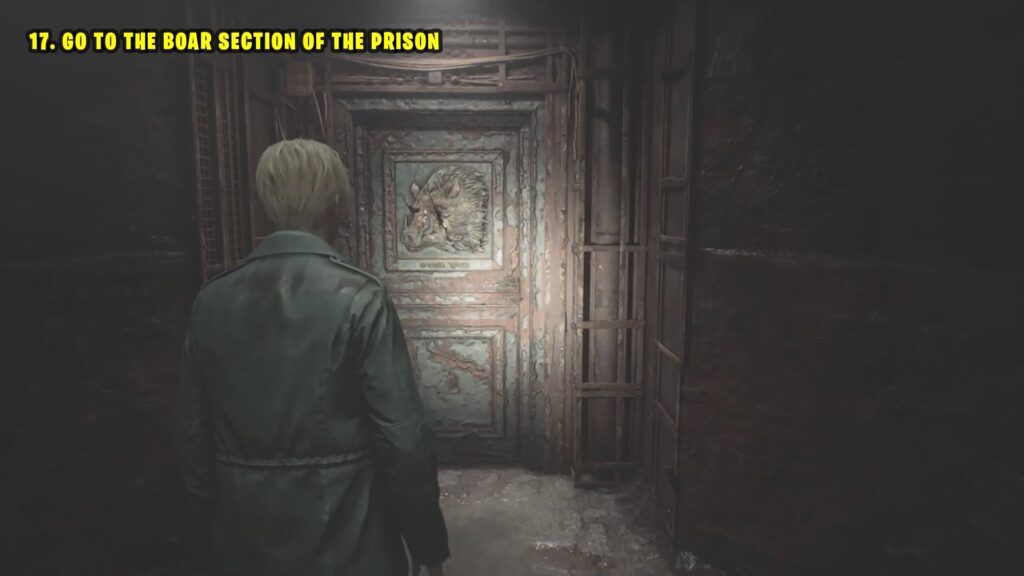
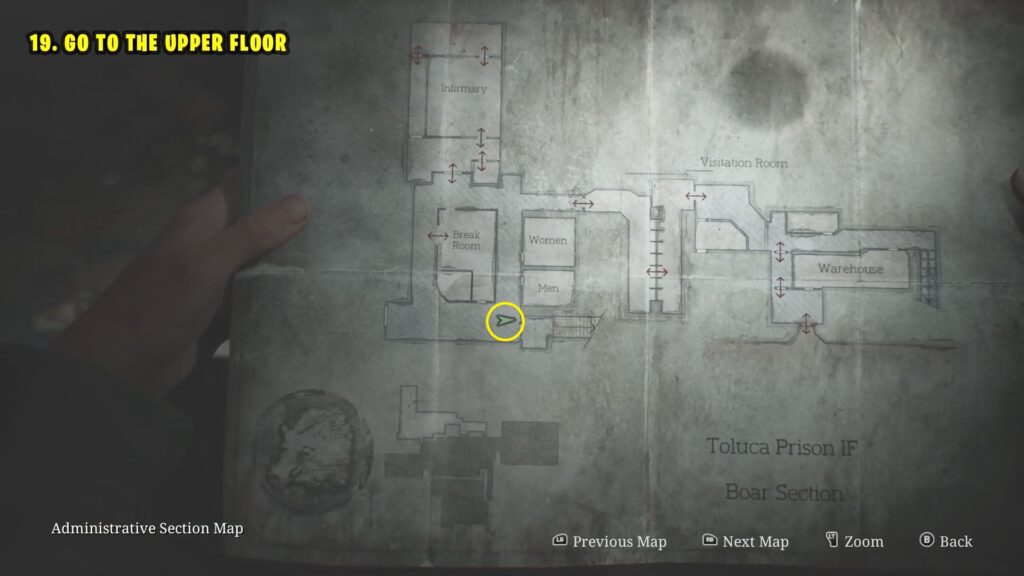
Boar Section – Get Light Weight
Go through the Eyeless Boar door in Block B, as indicated on the map below.
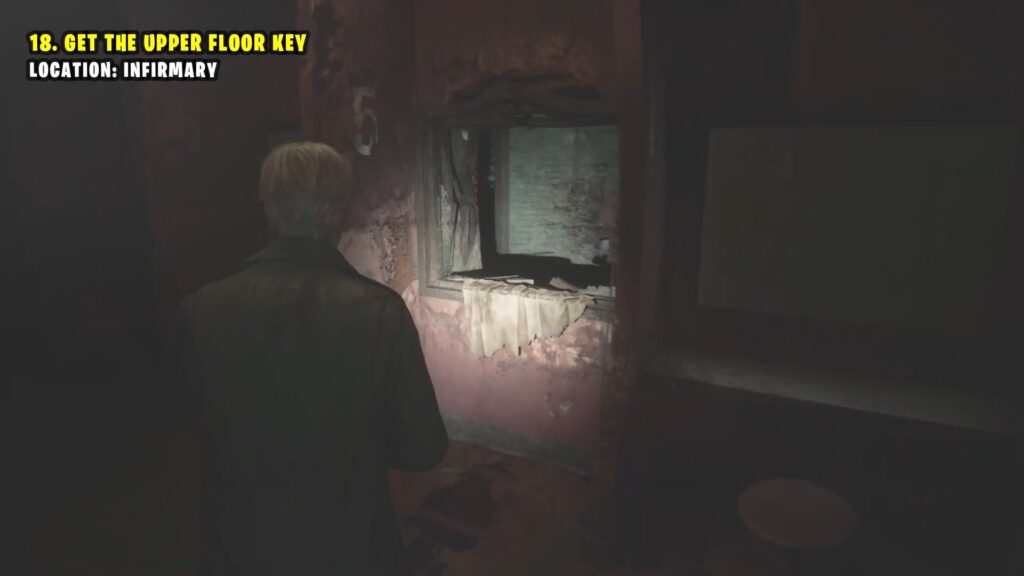
Next, walk through the corridor near the Visitation Room, then jump through the open window labeled with the number 5.
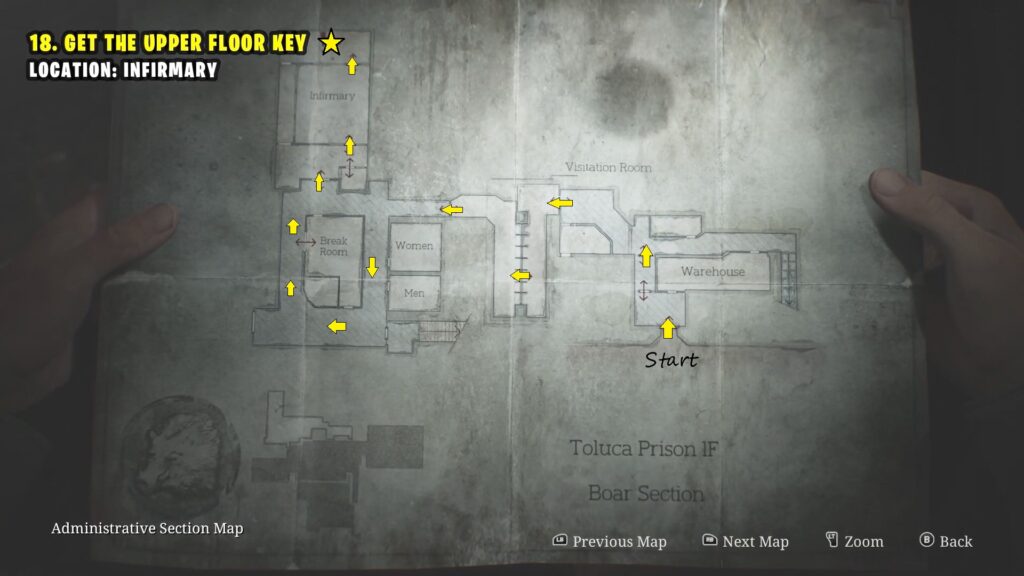
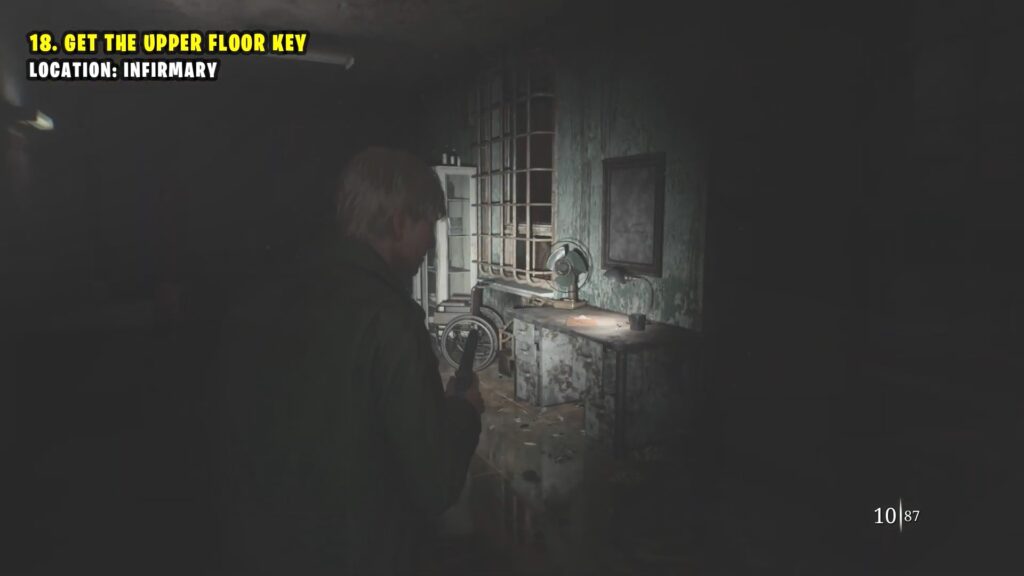
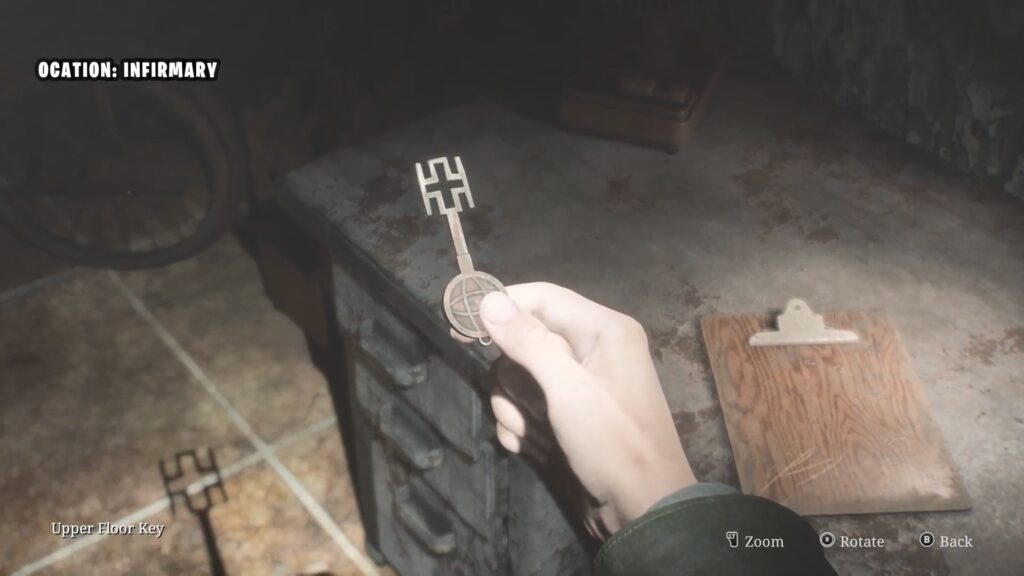
After that, head to the Infirmary Room. Once you’re inside, go to the back room and grab the Upper Floor Key from the table.
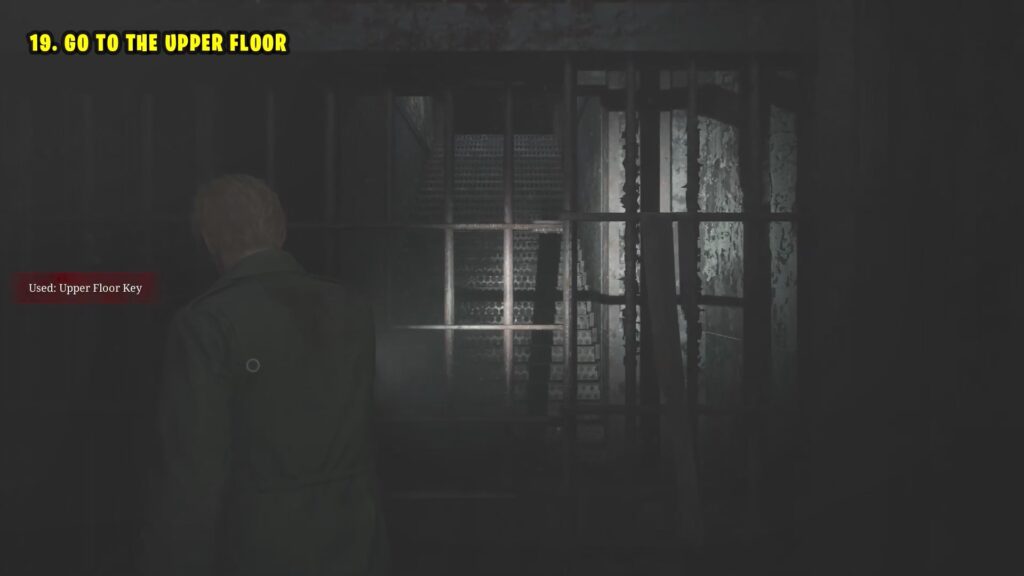
Use the Upper Floor Key to unlock the grilled door in the hallway next to the Break Room, as shown below. Go up the stairs to get to the 3rd floor.
On the 3rd floor, go into the Warden’s Office.
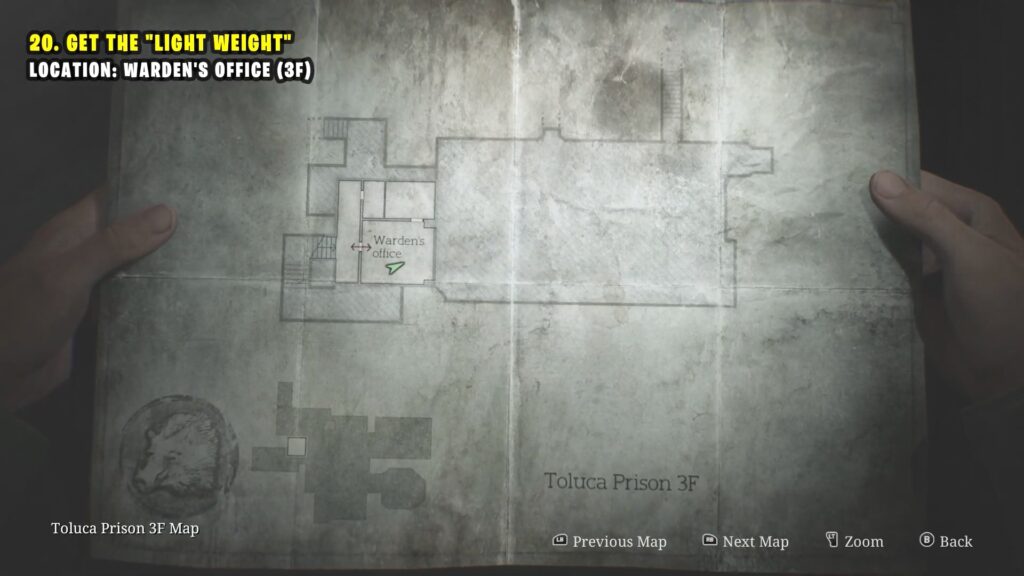
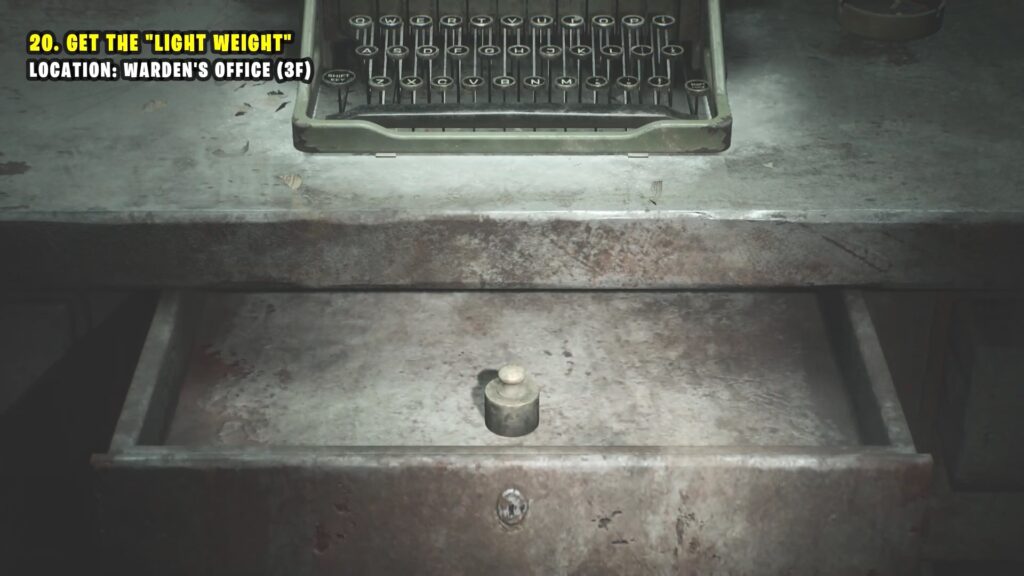
Use the typewriter and type the word ‘SICK’ with the keys.
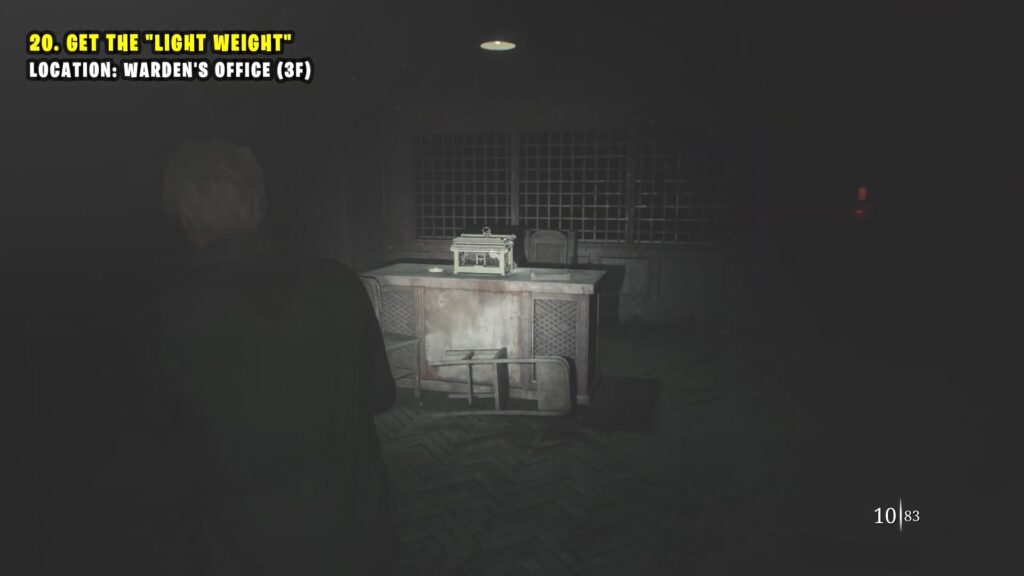
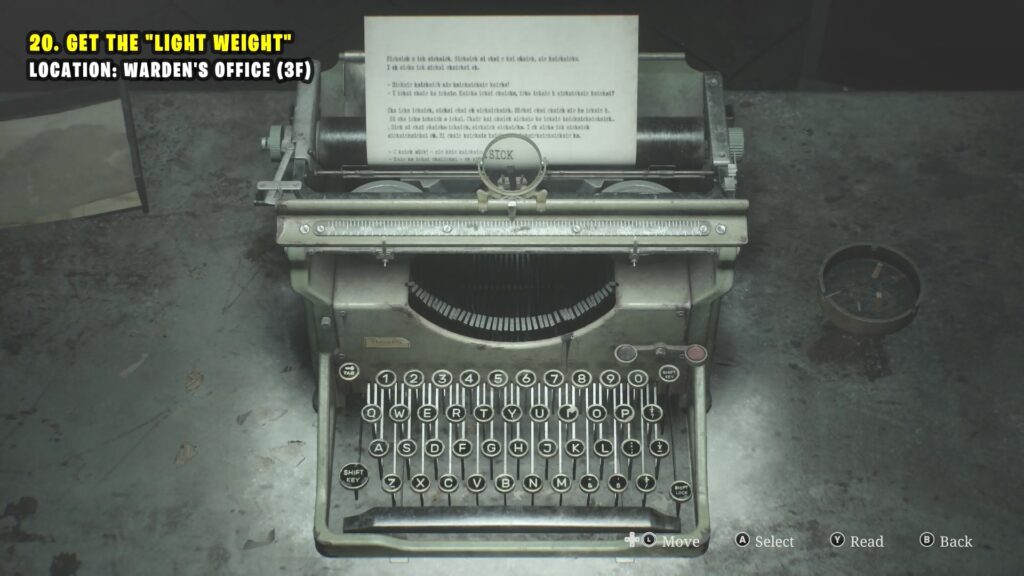
This should open the drawer and you’ll get the Light Weight.
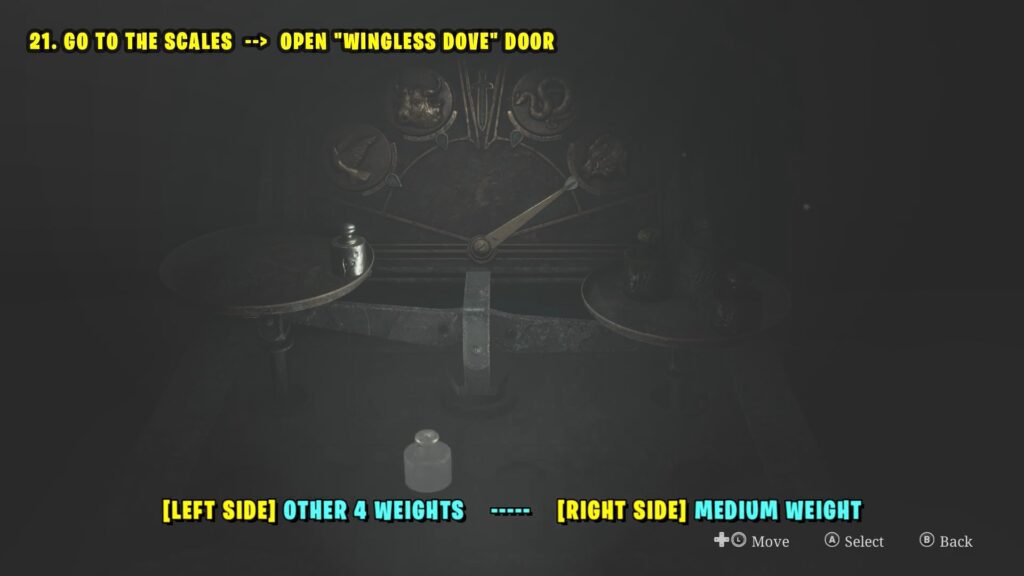
Scales Puzzle 4 – Open Wingless Boar Door
Return to the Yard area and interact with the statue in the yard. Place the medium weight on the right scale and the other four weights on the left scale. This should unlock the Wingless Dove Door.
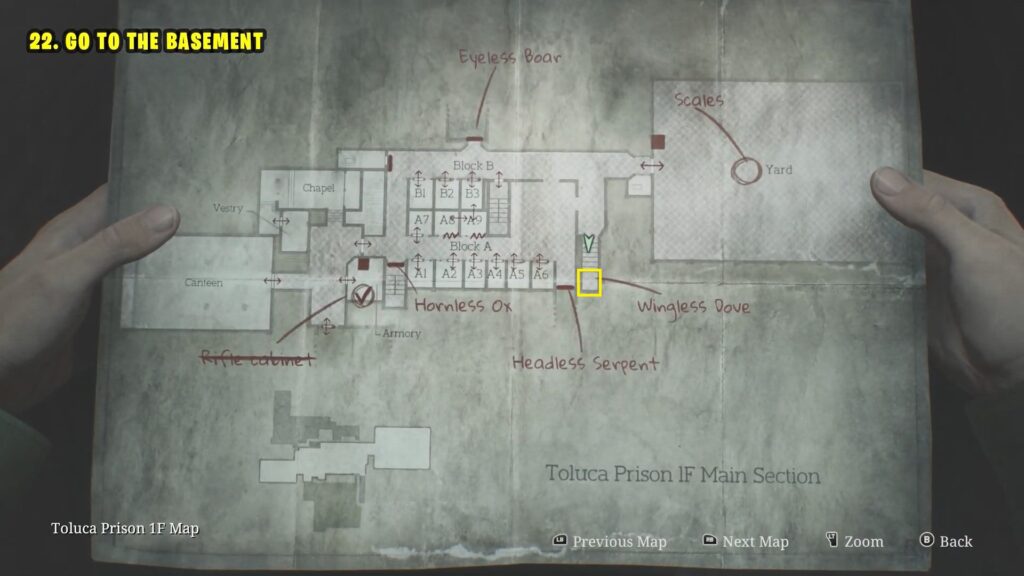
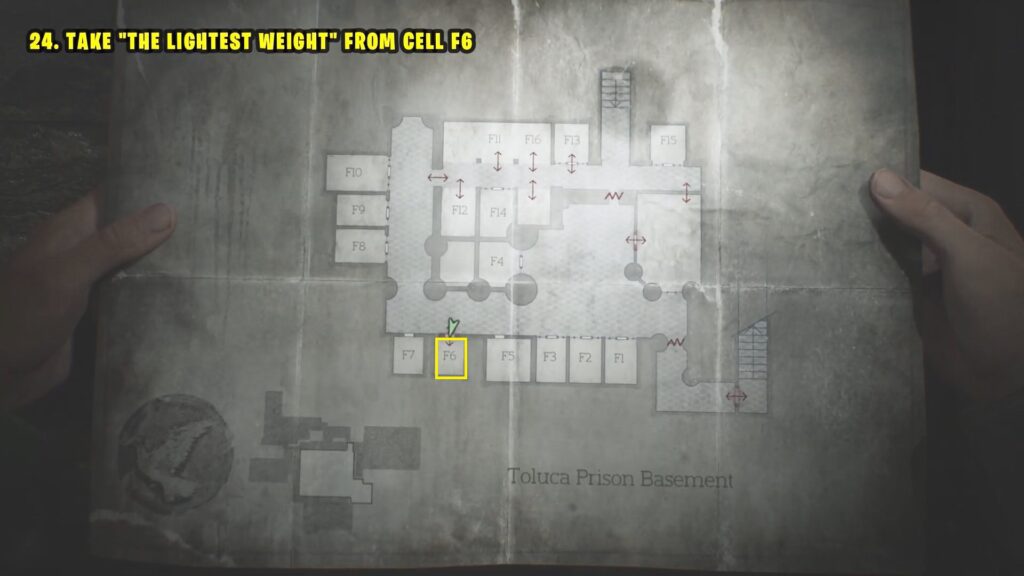
Prison Basement – Get the Lightest Weight
Go back into the building and take the first left turn. Head down the stairs and go through the Wingless Dove Door to reach the basement.
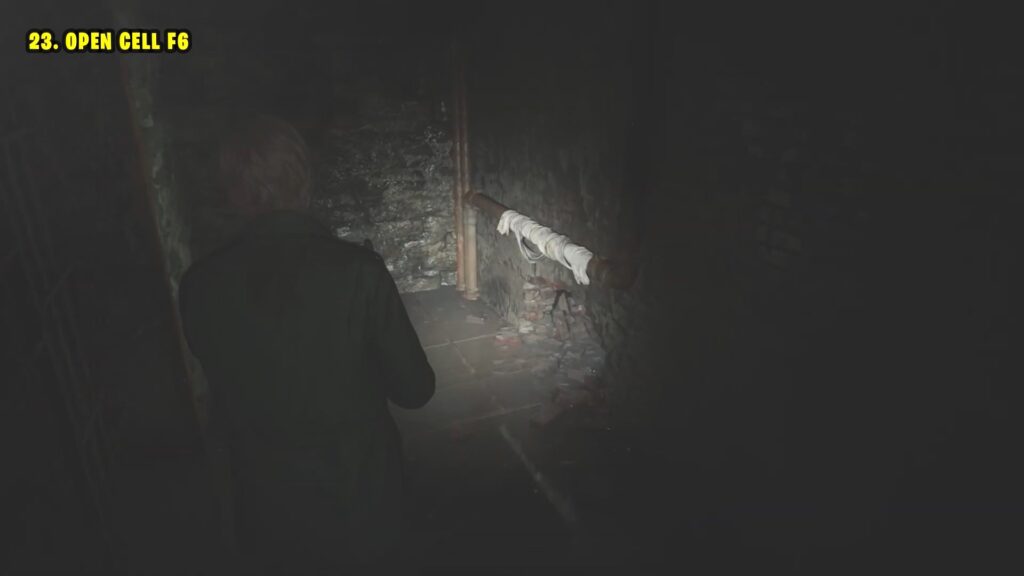
Once you reach the Toluca Prison Basement, follow the hallway to find Cell F15. Then crawl through the hole in the wall across from Cell F15.
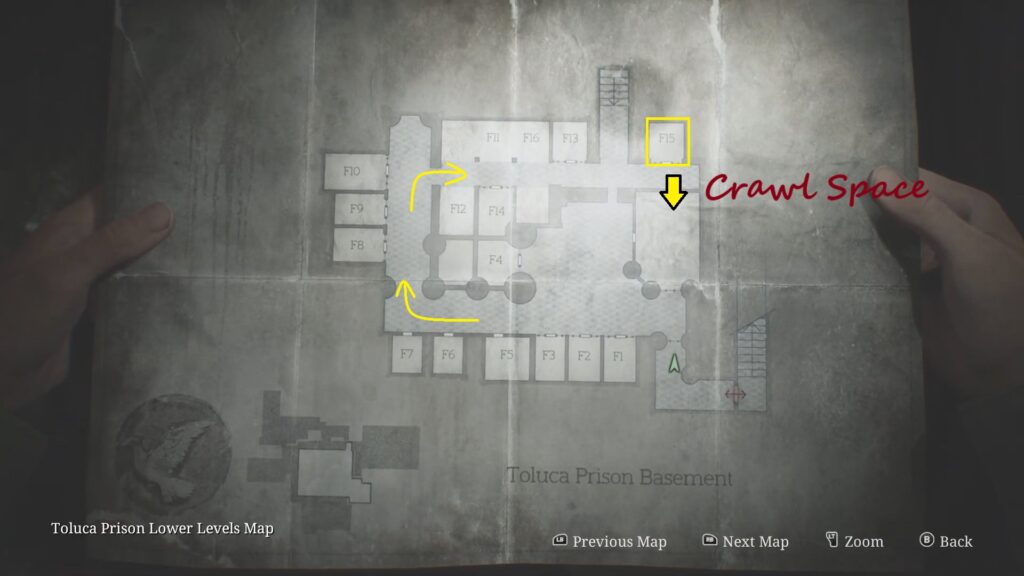
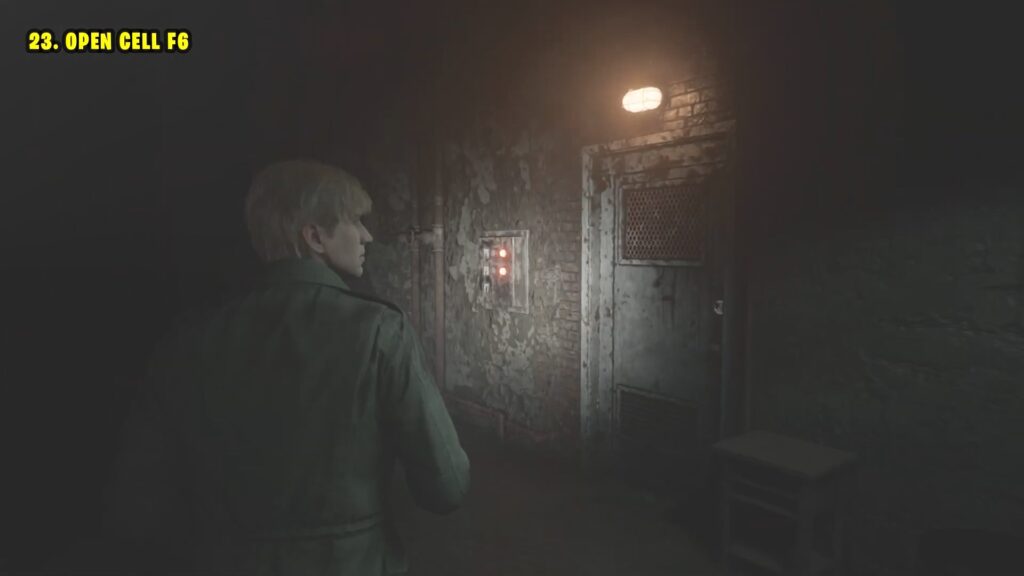
After entering the unnamed room, interact with the control panel next to the exit door and press the F6 button.
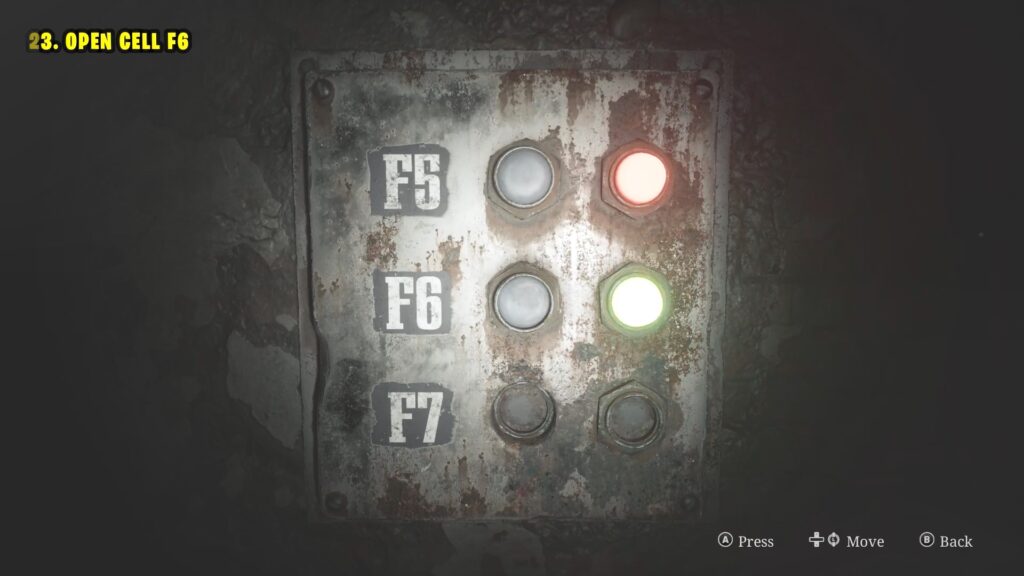
Leave the room and head to Cell F6. Pick up the Lightest Weight from the floor.
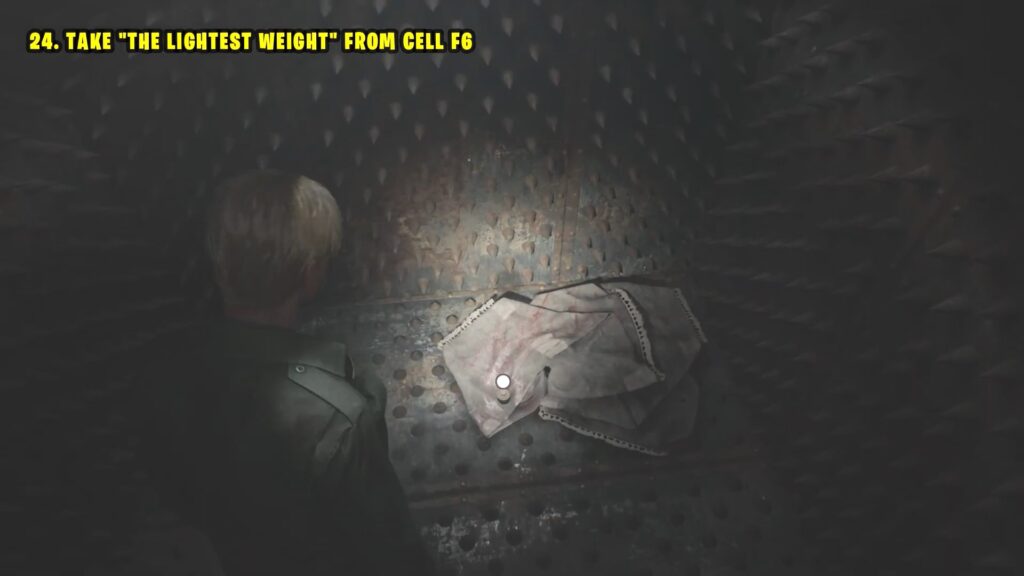
After picking up the weight, the cell door locks. Wait for the banging to stop, then take the Confession Memo from the wall.
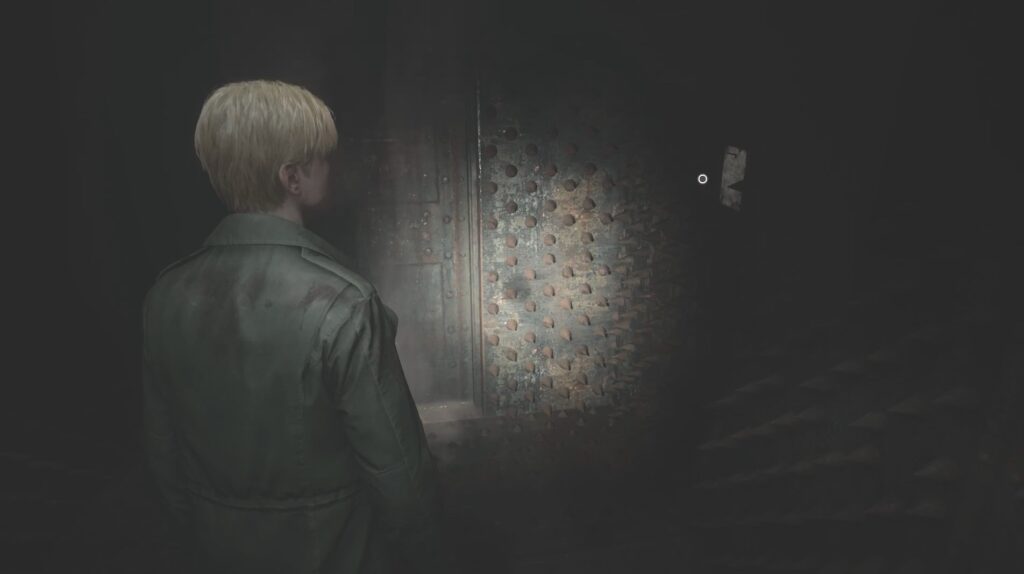
Leave Cell F6 and go to Cell F9. Break the wall inside Cell F9 to enter F10.
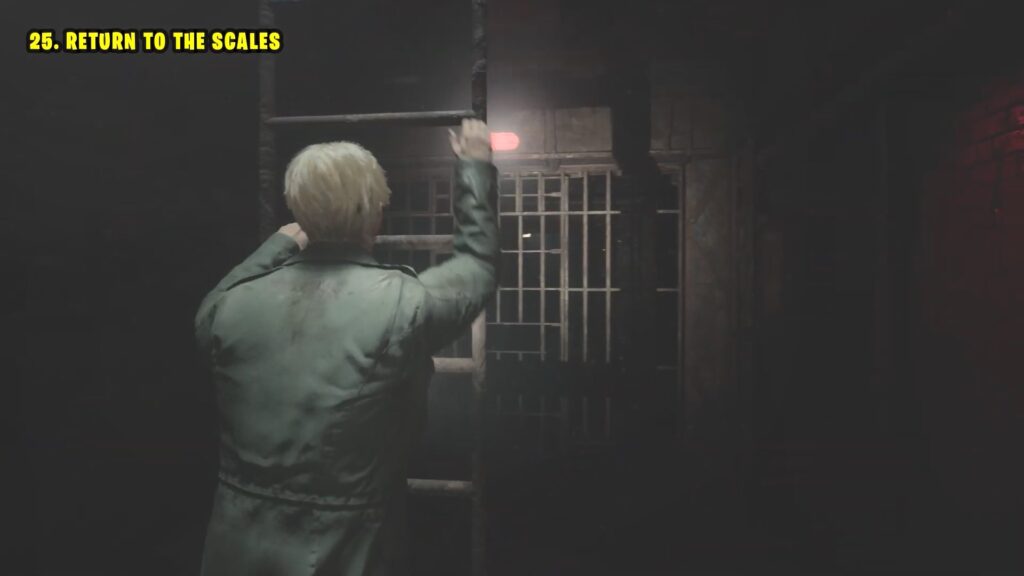
Use the ladder in Cell F10 to reach the 1F floor
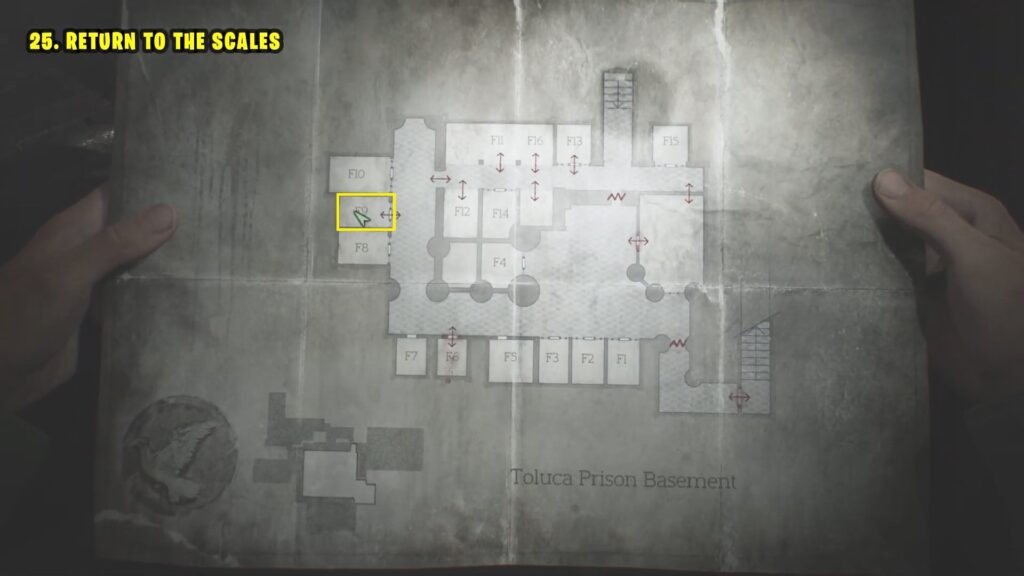
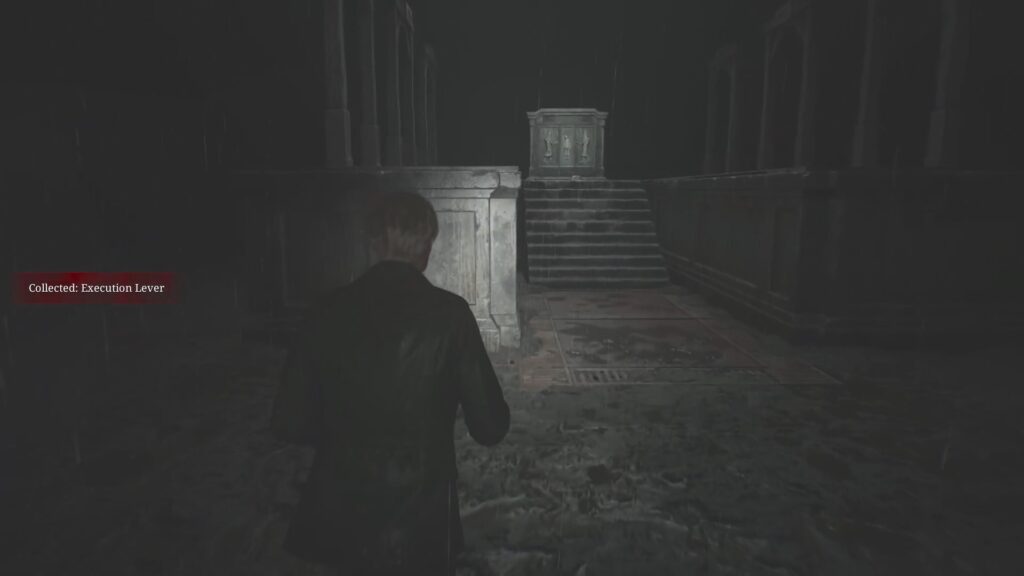
Scales Puzzle 5 – Get Execution Lever
Return to the Yard area and interact with the statue in the yard. Place all the weights back onto their slots. Then place it back on the scale as shown below.
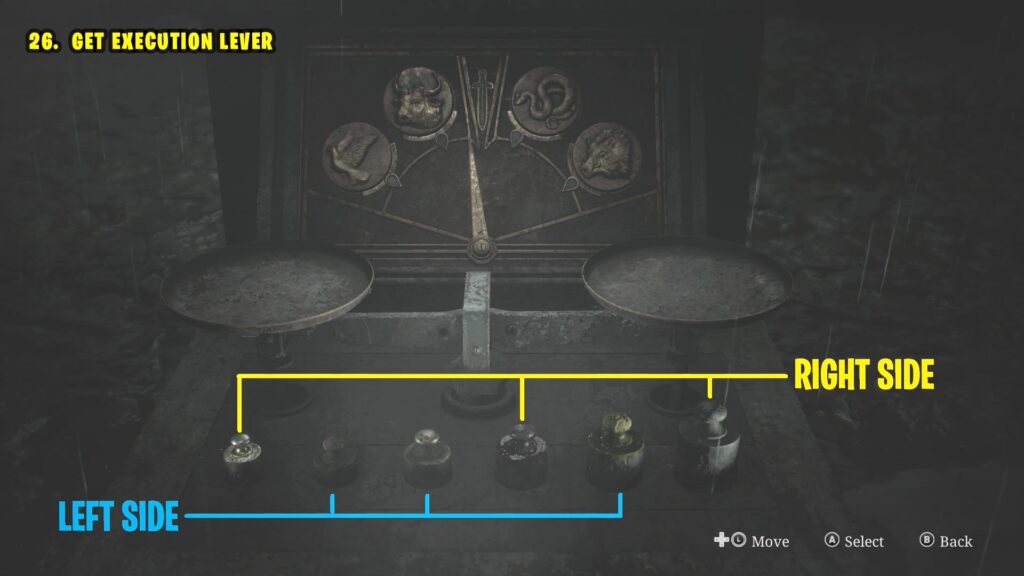
Put all 6 weights in the right spots on the scale to receive the Execution Lever.
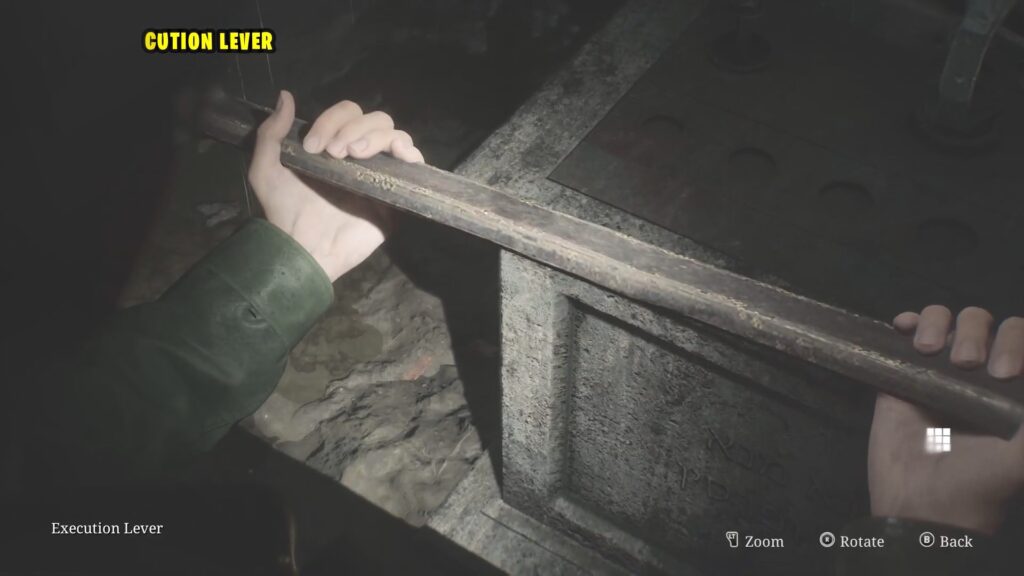
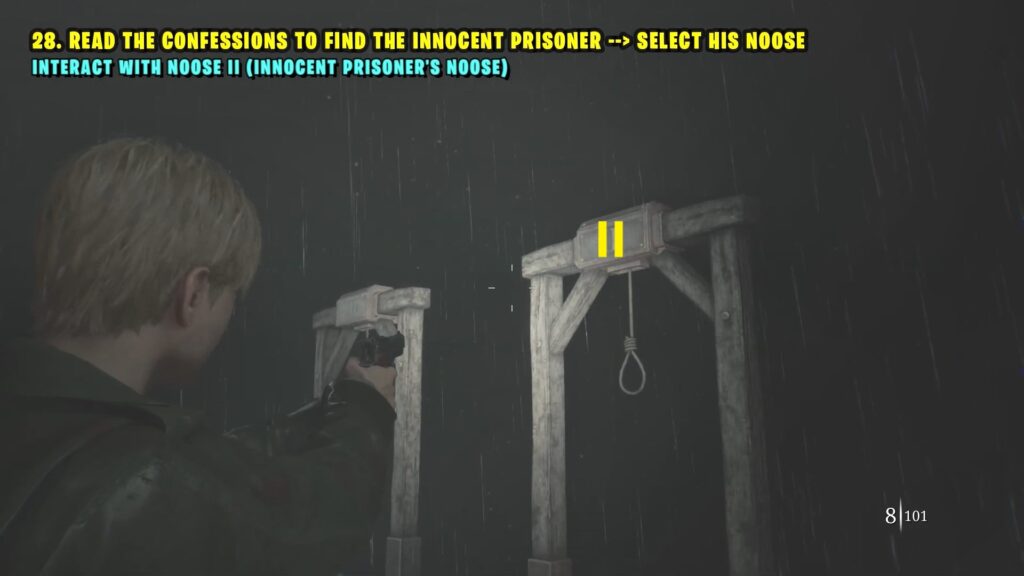
Gallows Puzzle – Complete 6 Poems & Choose the Correct Noose
Put the execution level in the empty slot at the gallows behind the statue.
Gallows Poem Correct Answers
The player must match the lines from each of the six poems. These poems are the confessions of the six prisoners.
| Number | Poem | Difficulty Standard |
| 1 | For your grace I do not plead, For the flames I did set free, Sisters shrieked and children cried, No one made it out alive. | Though the young ones’ deaths I mourn, Their tormentors are no more, On young souls the nuns did prey, Took their innocence away. |
| 2 | The wealth of others I did take, The seventh statute I did break, And yet my deeds I don’t regret, I had my reasons, that is that. | The reason, if I have to say, Was to survive another day, To them, it was a loaf of bread, To me, a cherished step ahead. |
| 3 | I took the child you are quite right, Carried her off into the night, She did not scream, she did not bawl, I was her father, after all. | My only daughter, joy of days, They wanted to take you away, Hush, little baby, and be still, If I can’t have you, no one will. |
| 4 | Once the sun has ceased its reign, I cut through the rusty chain, Pushed the door and snuck within, Filled my pockets to the brim. | I departed with great haste, Leaving not a single trace, Ever faithful to my creed, All is right, which feeds my greed. |
| 5 | Mommy dearest, mommy sweet, Your love for me was so deep, “Why, oh, why?”, you shouted out, When my knife pierced through your heart. | You were, oh, so kind to me, Filled my heart with joy and glee, In the end, it was for naught, “Why, oh, why?”, you ask. Why not? |
| 6 | I waited long, I bid my time, I waited to commit my crime, The man appeared, he saw me not, A bloody end is what he got. | In truth, he was less man than beast, And on my flesh and soul he’d feast, My will to live he’d try to break, There is so much a man can take. |
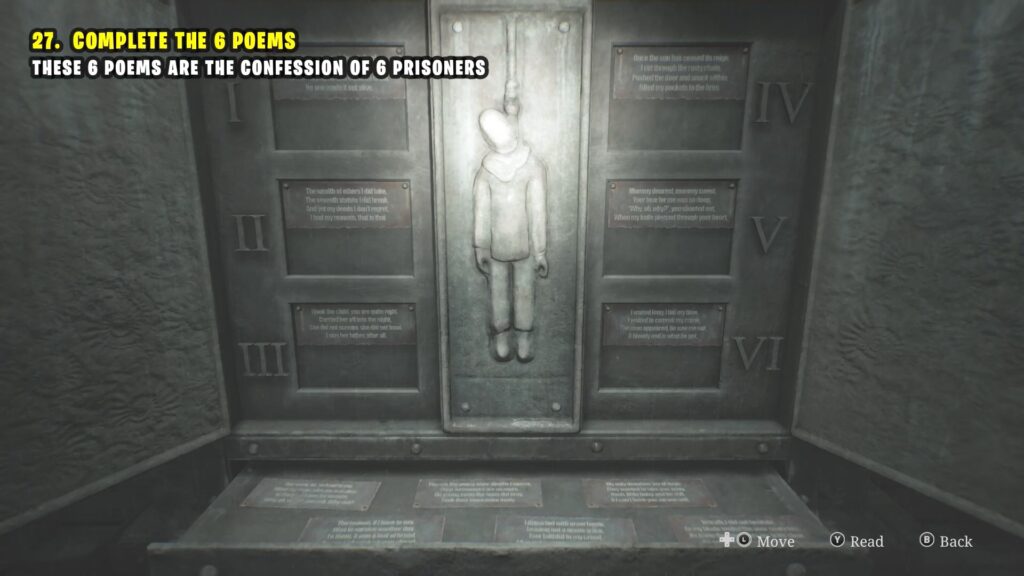
Players should stand under the number 2 noose that matches the innocent verse (the prisoner who acted in self-defense). When he falls, he will wake up in a morgue to end the chapter.