Vanquishing the Vexing Vapors is a Paradise Island side quest in the Outer Worlds 2. This article will guide the player on how to complete all the objectives of the quest in Outer Worlds 2
Also Read: The Outer Worlds 2: All Main and Side Missions & Collectible Guide
Starting Location
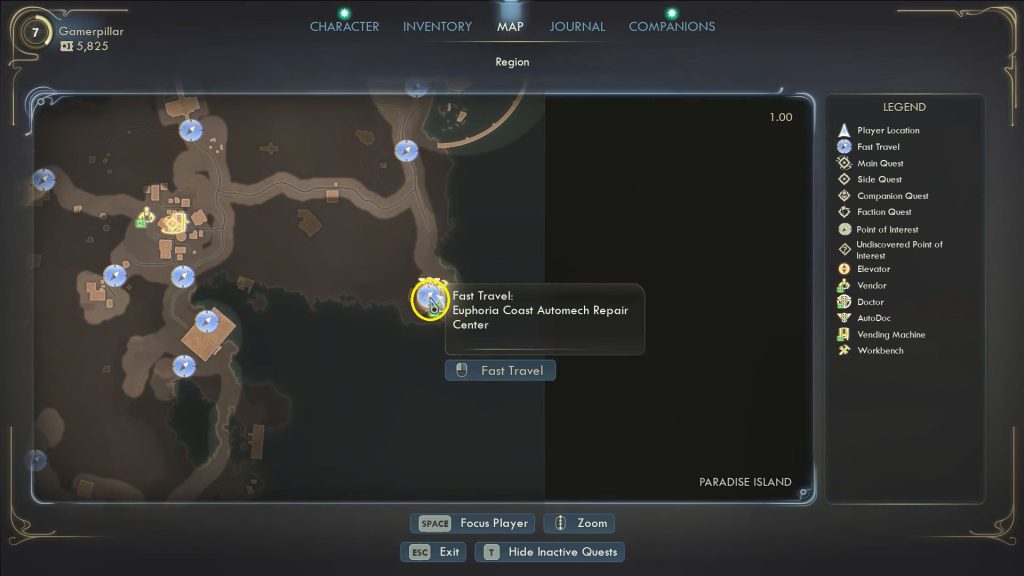
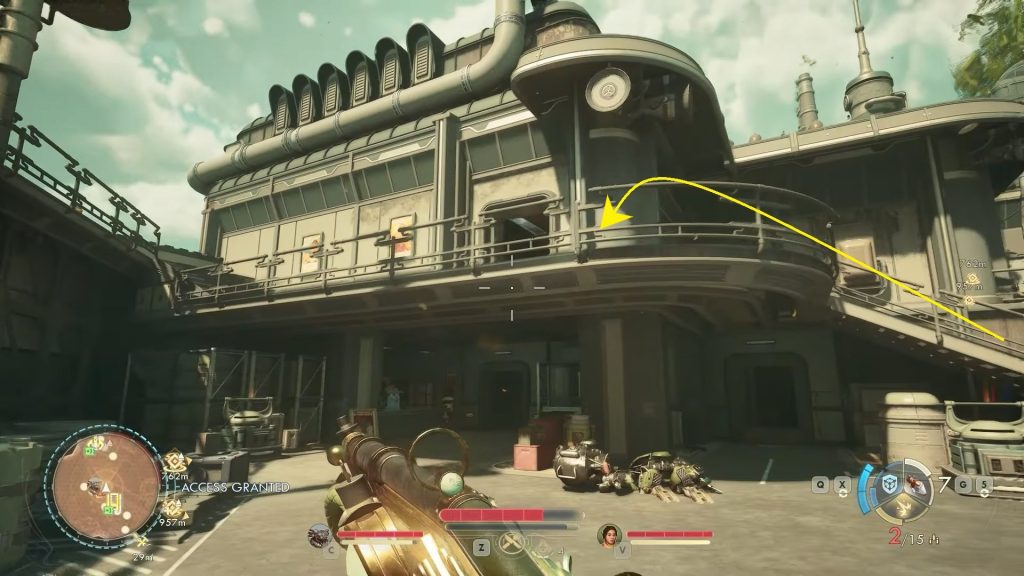
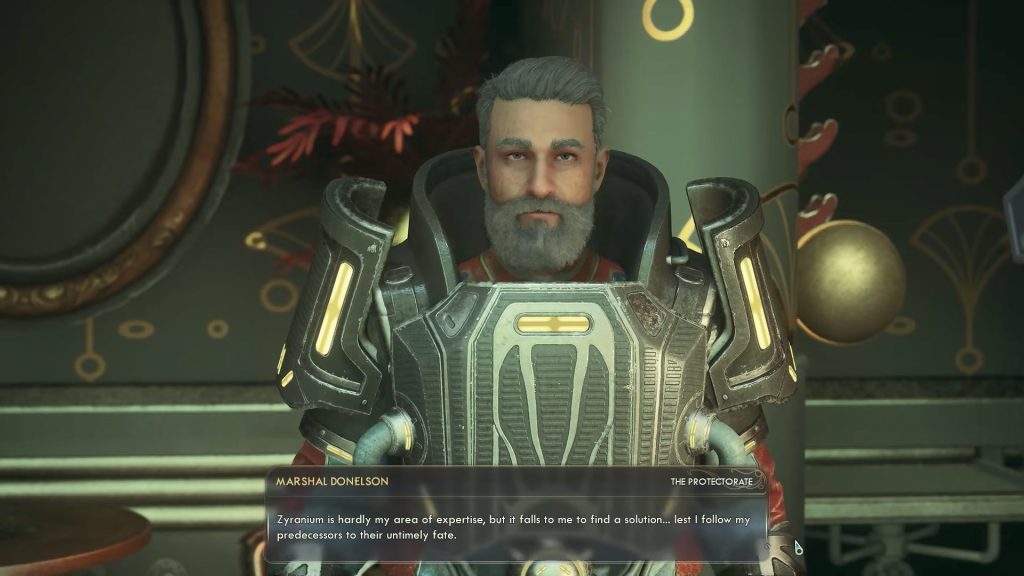
You can start the Vanquishing the Vexing Vapors side quest right after finishing the quest An Aegis Against the Miasma. Once that quest is complete, this new one will be automatically added to your journal. To begin, go to Marshal Donelson’s office and speak with him.
He will explain the problem with the gas leak at the Euphoria Coast Automech Repair Center and ask for your help to fix it.
How to Fix the Gas Leak in Vanquishing the Vexing Vapours Quest
Note: Gas-Energy Deflection Apparatus is obtained during the quest An Aegis Against the Miasma. You need this apparatus while entering a gas-filled area.
Find the Zyranium Flow Control System
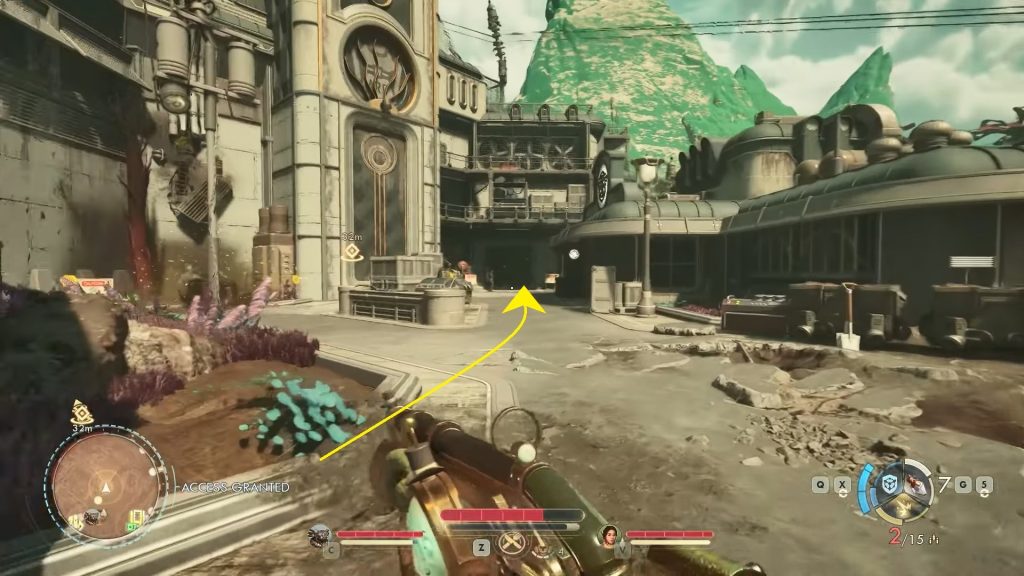
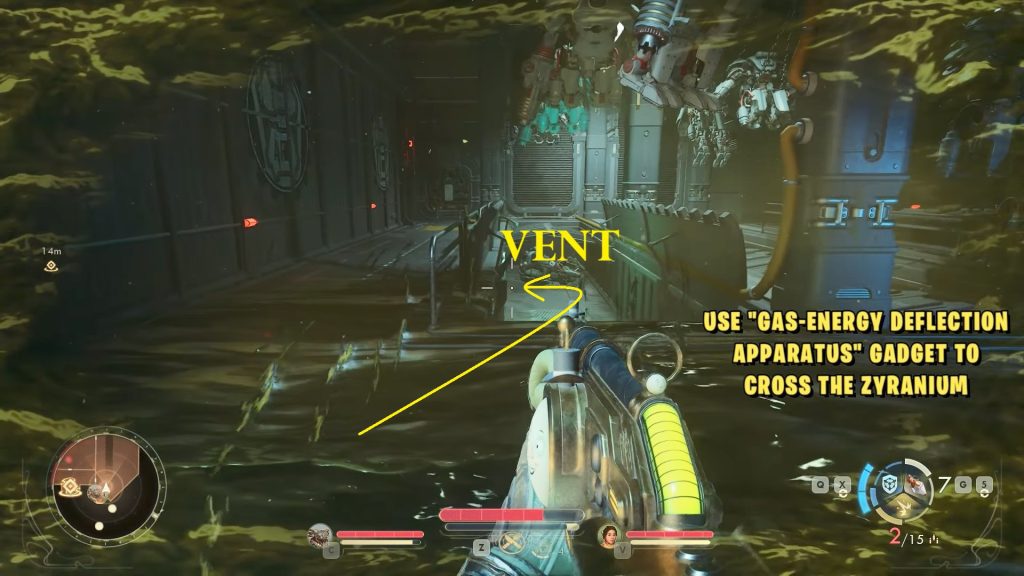
Leave Marshal Donelson’s office and go to the Zyranium-infested Primary Repair Hangar. Just follow the path along the left wall to reach the Hanger. With the Gas-Energy Deflection Apparatus in your hands, you can now step inside the Primary Repair Hangar. But be cautious with Zyranium gas. The shield from the device won’t stay up for long, so hurry through the area before it fades.
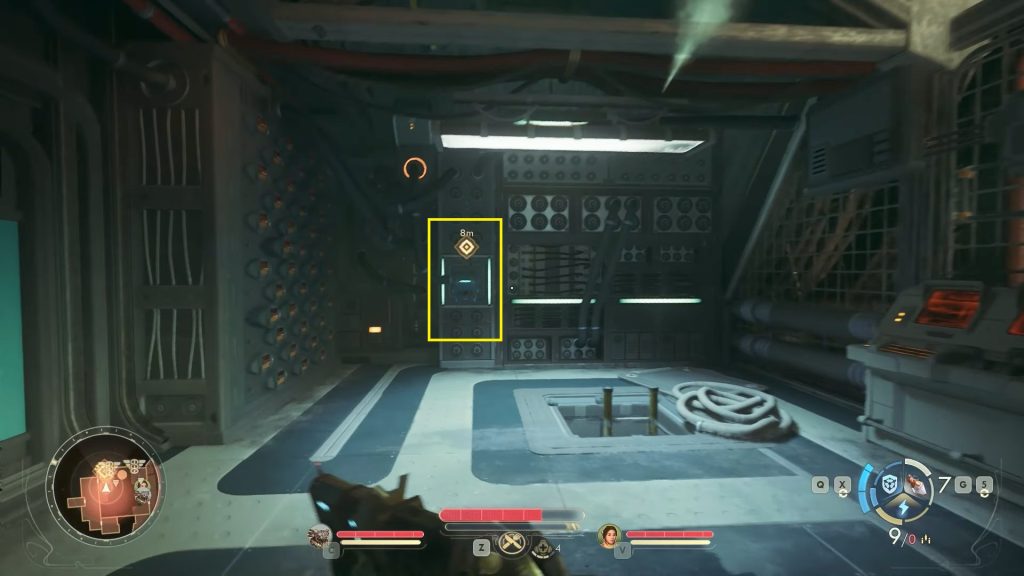
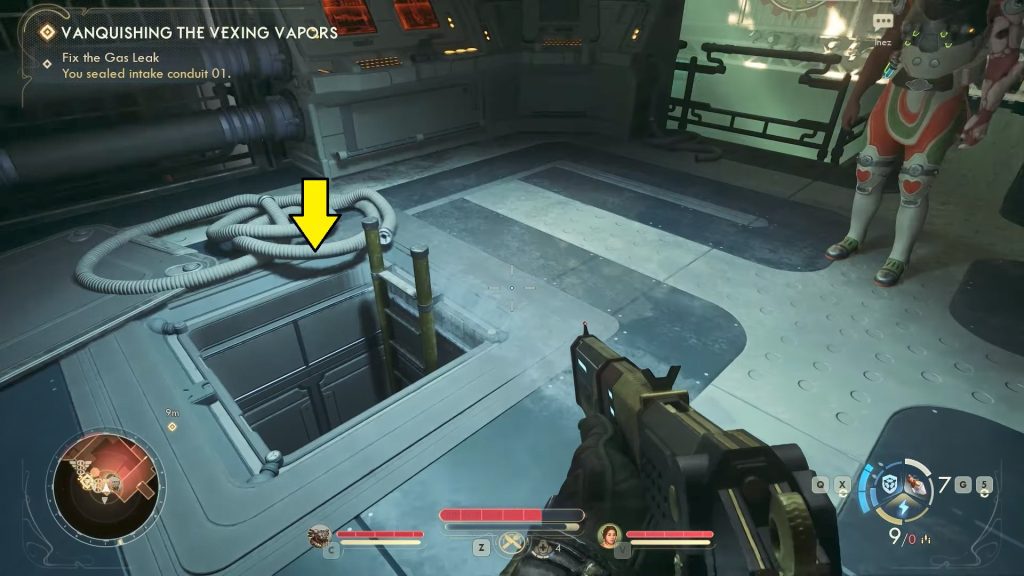
Equip the Gas-Energy Deflection Apparatus and look for a vent located near the center of the room. Crawl inside and make your way through the narrow passage until you reach the other end. As you exit the vent, you’ll enter a new area guarded by security drones.
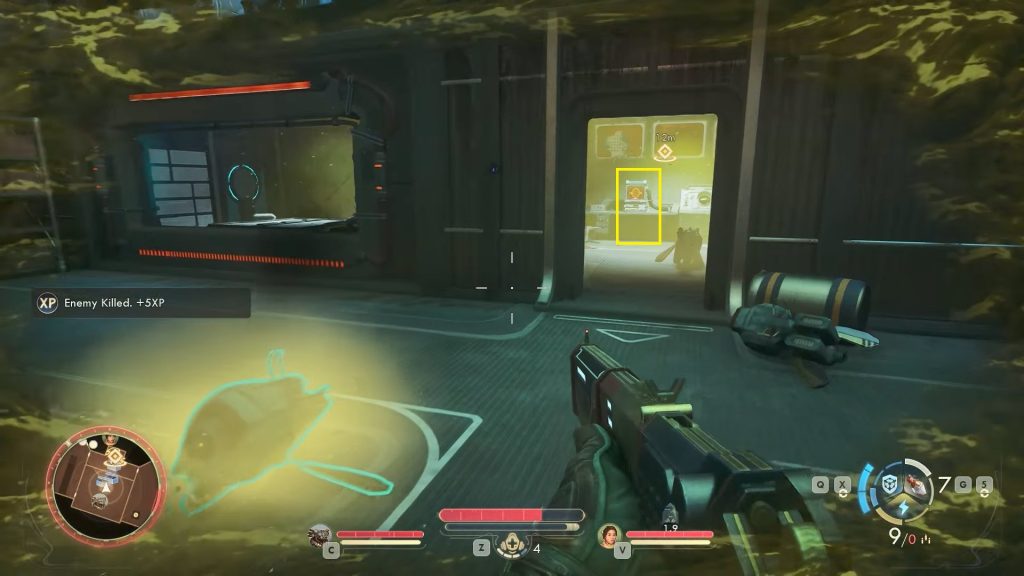
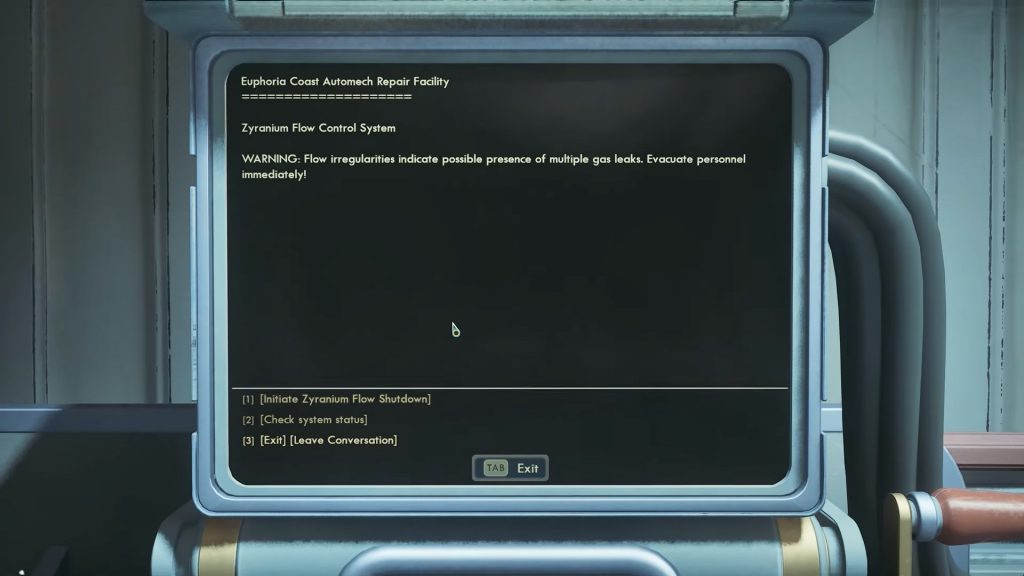
Once the area is clear, head toward the door that leads into a room filled with Zyranium gas. Remember to activate your shield before entering to avoid damage. Inside, you’ll find a computer terminal of the Zyranium Flow Control System. Interact with the terminal.
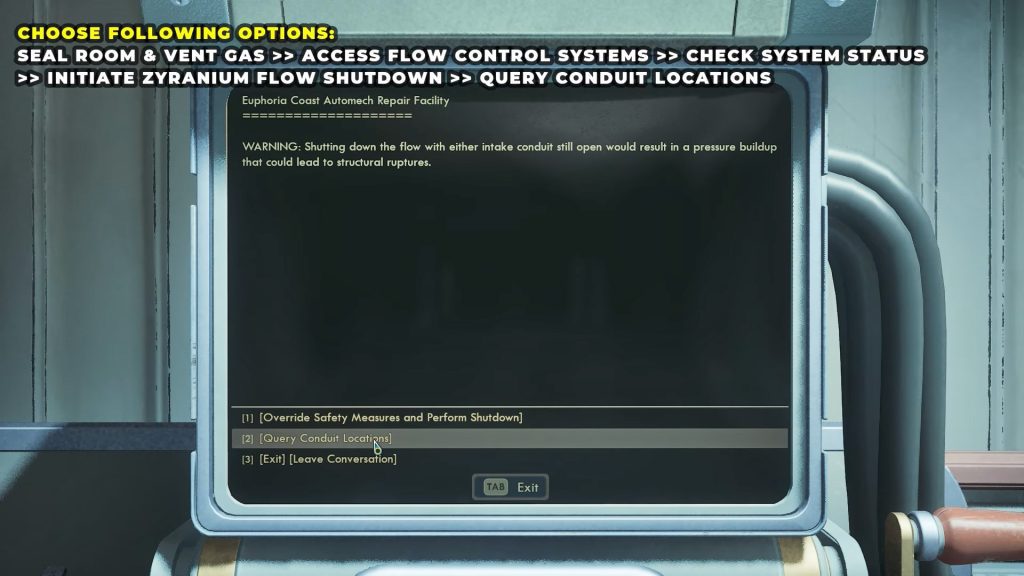
Choose the following options
Seal Room & Vent Gas >> Access Flow Control Systems >> Check System Status >> Initiate Zyranium Flow Shutdown >> Query Conduit Locations
Fix the First Leak
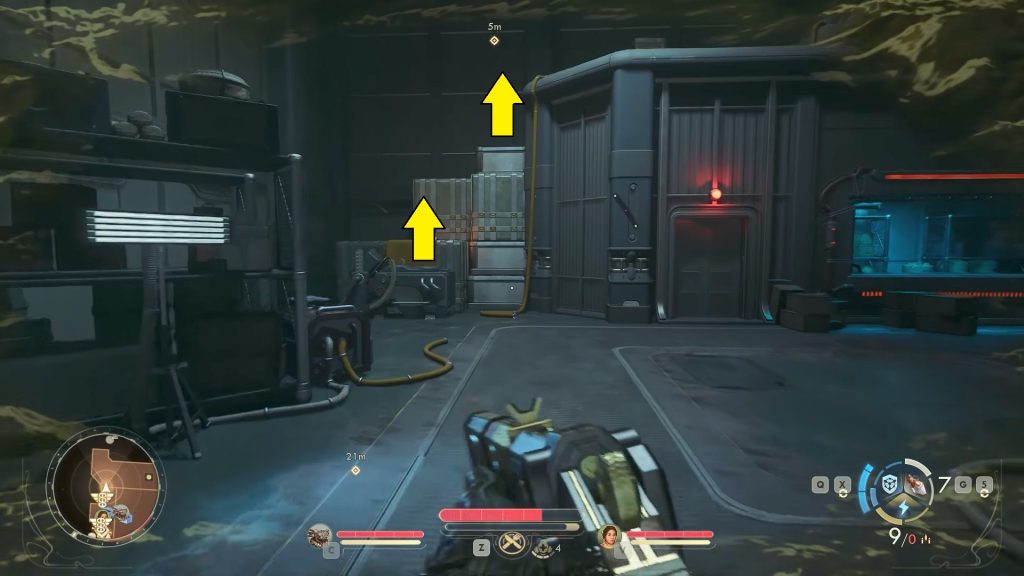
To repair the first leak, start by opening the door on the right side and defeating the enemy.
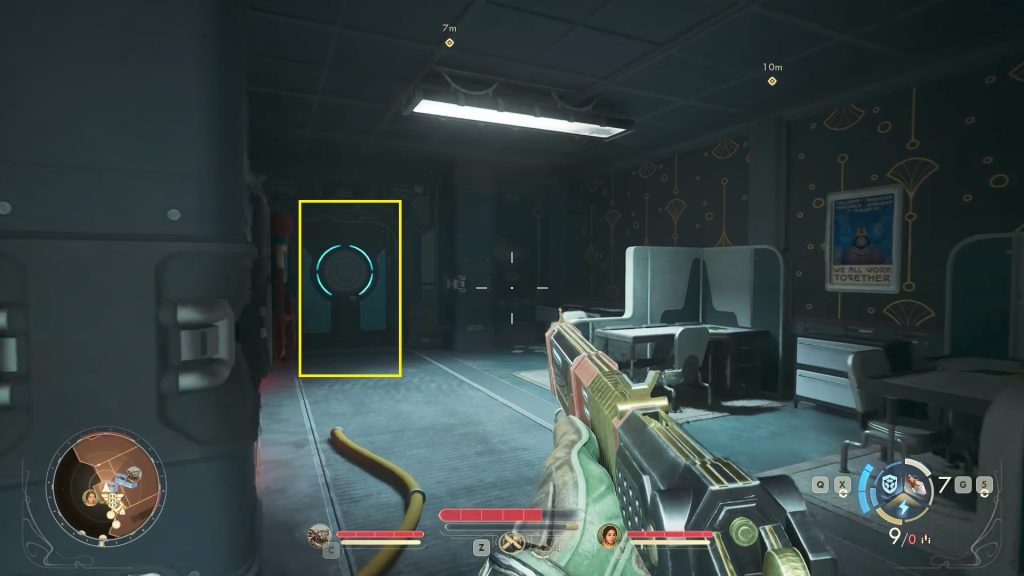
Once the area is clear, climb over the stack of boxes on the east side of the room to reach the upper platform. From there, jump carefully across the broken yellow pipes to reach the ledge with a ladder. Use the ladder to climb up to the second floor.
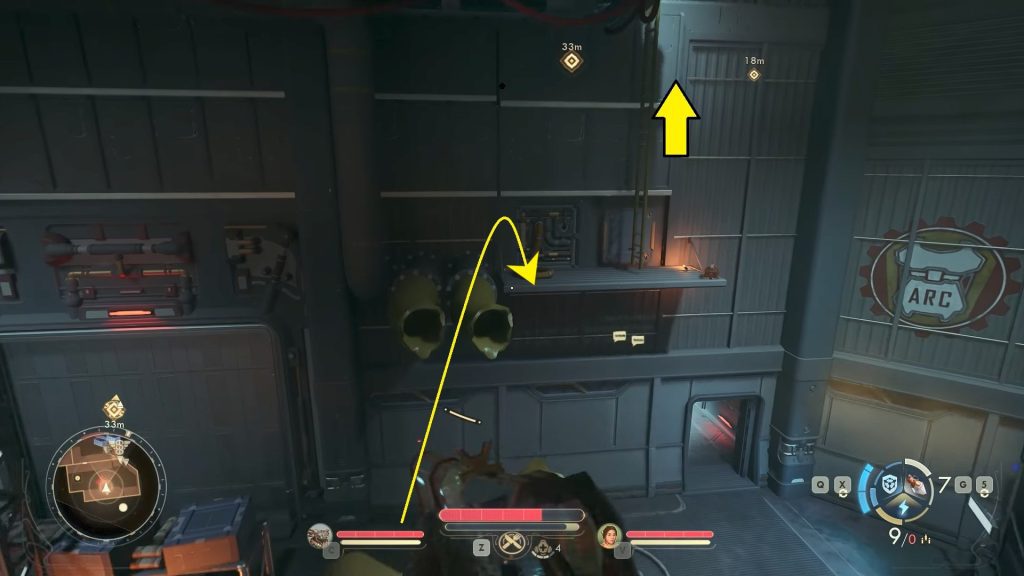
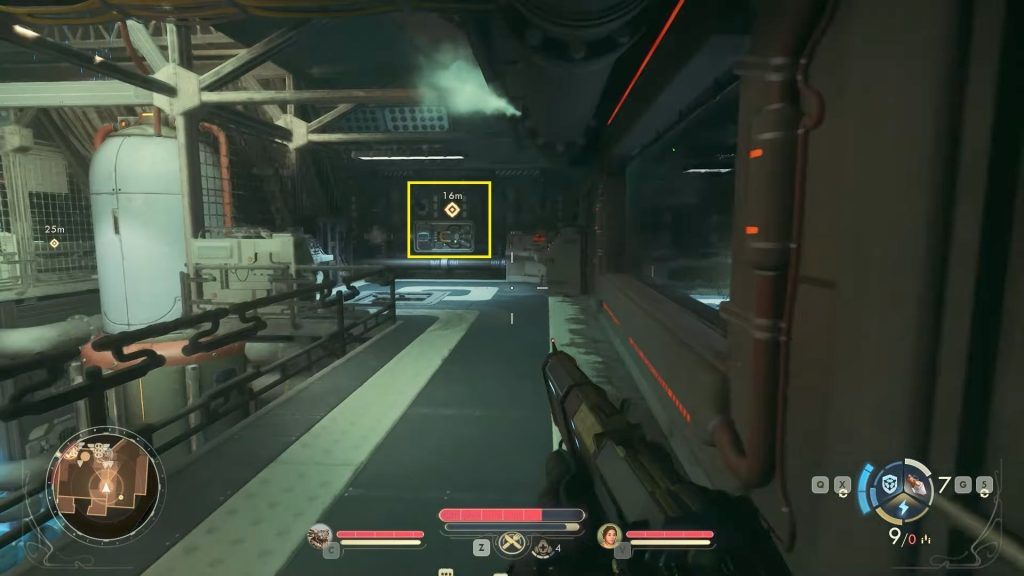
After reaching the doorway, go through the open door to enter the next room. Turn right, and you’ll notice the first gas leak along the wall. Look for the conduit switch nearby and interact with it to seal the leak, completing this section of the repair.
Fix the Second Leak
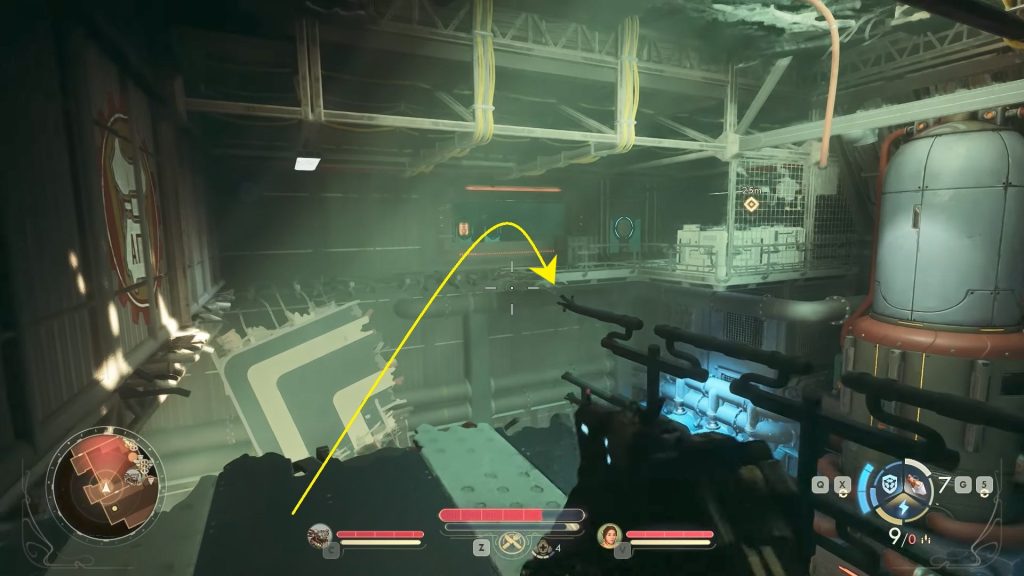
The second conduit switch is on the other side of the same room, but the pathway is broken, making it tricky to reach. Equip your Trust Booster and use it to jump across the gap safely. Once you land on the other side, interact with the conduit switch on the wall to seal the second leak.
After fixing the second leak, look for the vent with a ladder nearby on the floor and climb down. Follow the vent’s path, and it will lead you back to the Zyranium Flow Control System room.
When you arrive, access the terminal once again and select “Initiate Zyranium Flow Shutdown” to completely stop the gas leak and stabilize the system.
After successfully sealing the Zyranium leak, return to Marshal Donelson to report your progress and complete the quest.
As a reward for your efforts, you’ll receive:
- The Dose: A unique helmet
- Repeating Rifle: Explosive Rounds (weapon add-on)
- 1080 XP for quest completion