This article will guide the player on where to find all Protectorate Armorial IDs for the quest “Who Else But Us” in Outer Worlds 2.
Also Read: The Outer Worlds 2: All Main and Side Missions & Collectible Guide
In ‘Who Else But Us‘ quest, the player needs to find and collect all five Protectorate Armorial IDs to unlock the container located next to Warden Captain Beauregard’s body.
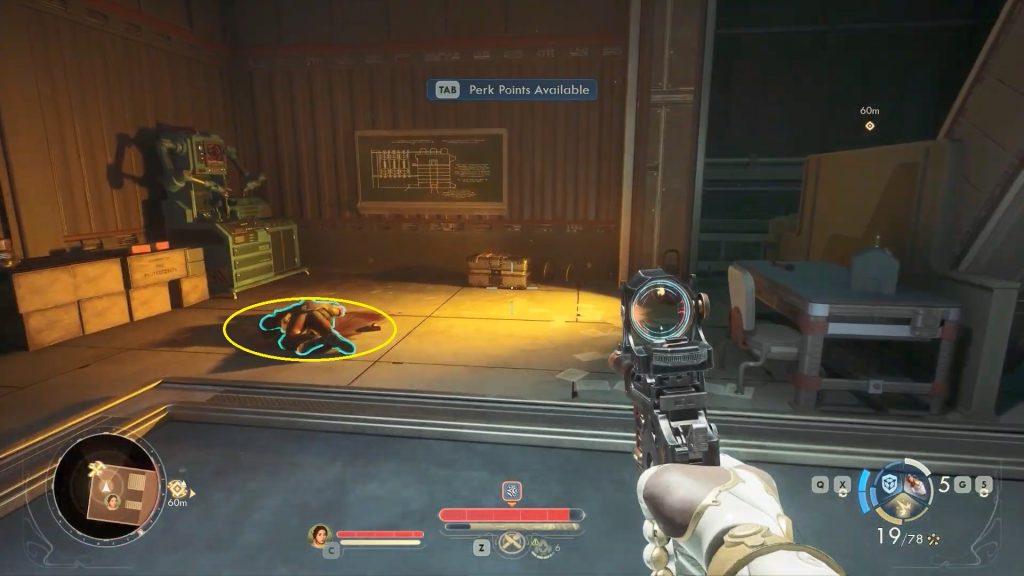
Protectorate Armorial ID #1
The Protectorate Armorial ID #1 is found on Captain Beauregard’s body in the basement, which is lying near a chest and a workbench.
Protectorate Armorial ID #2
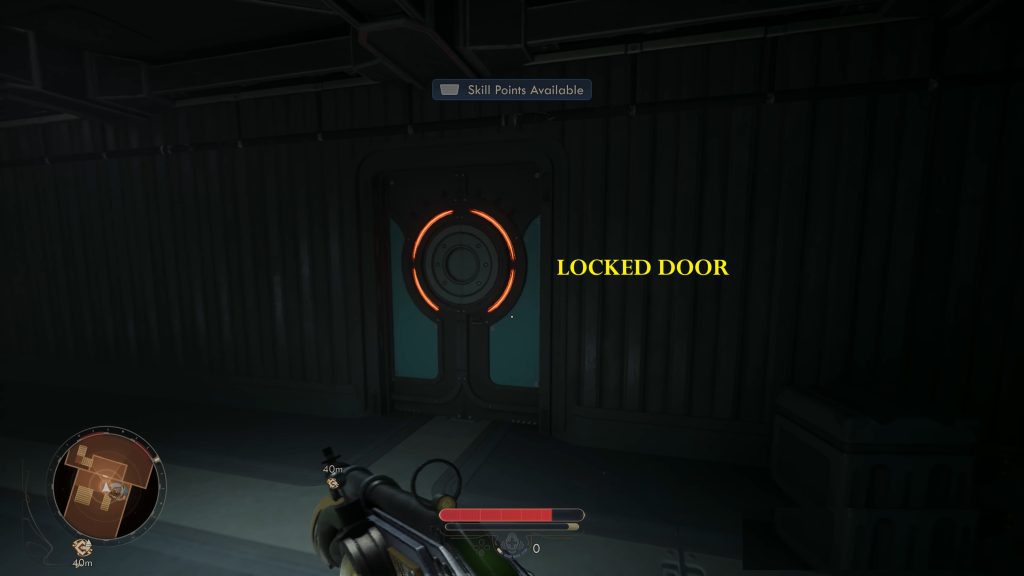
After you pick up the Sky Cutter Entrance Key, go back to the door and use it to open it.
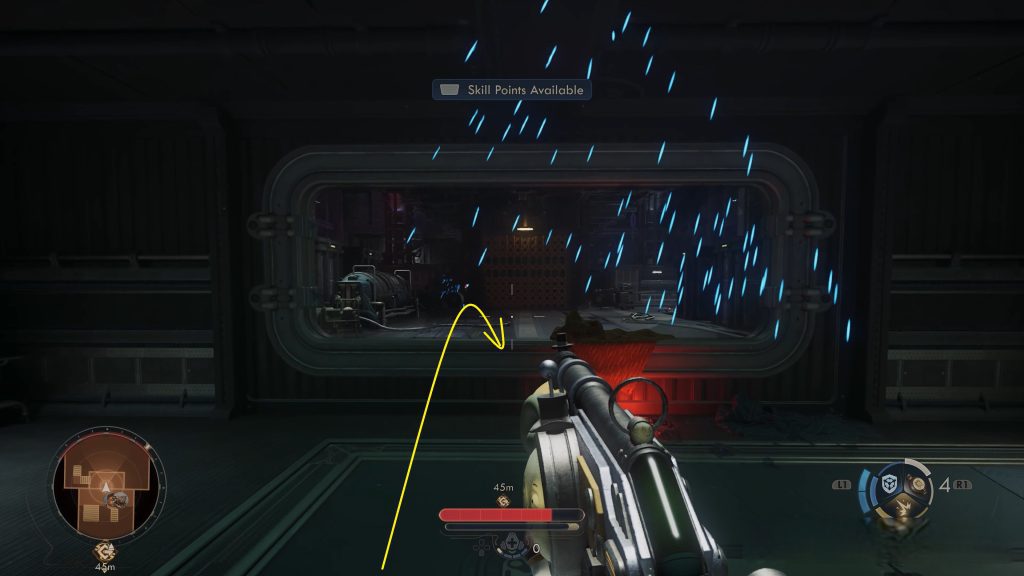
Jump through the broken glass window to enter the next hall and reach the elevator in the middle of the hall.
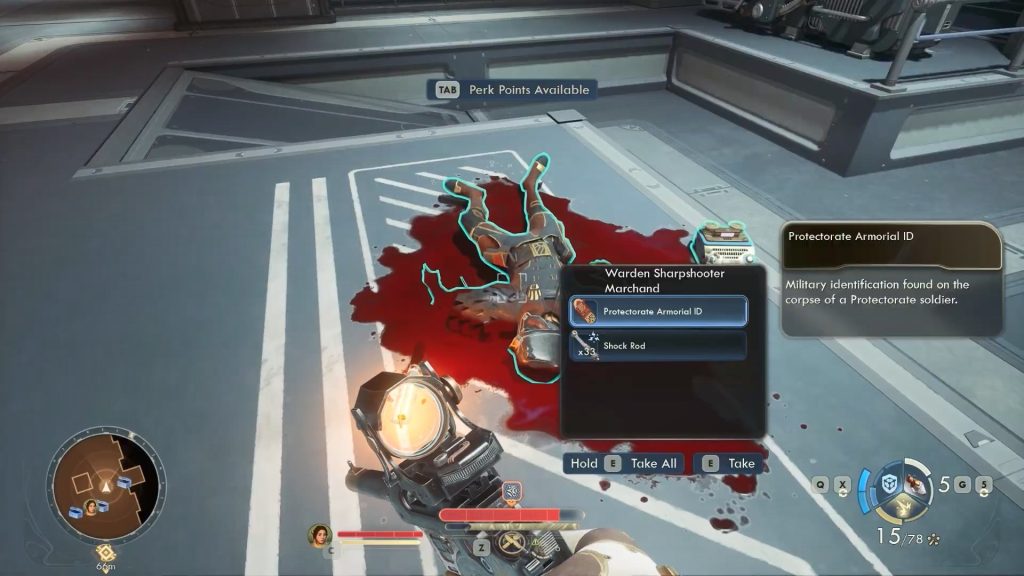
Search the body of Warden Sharpshooter Marchand, located to the right of the elevator shaft, to find another Protectorate Armorial ID #2.
Protectorate Armorial ID #3
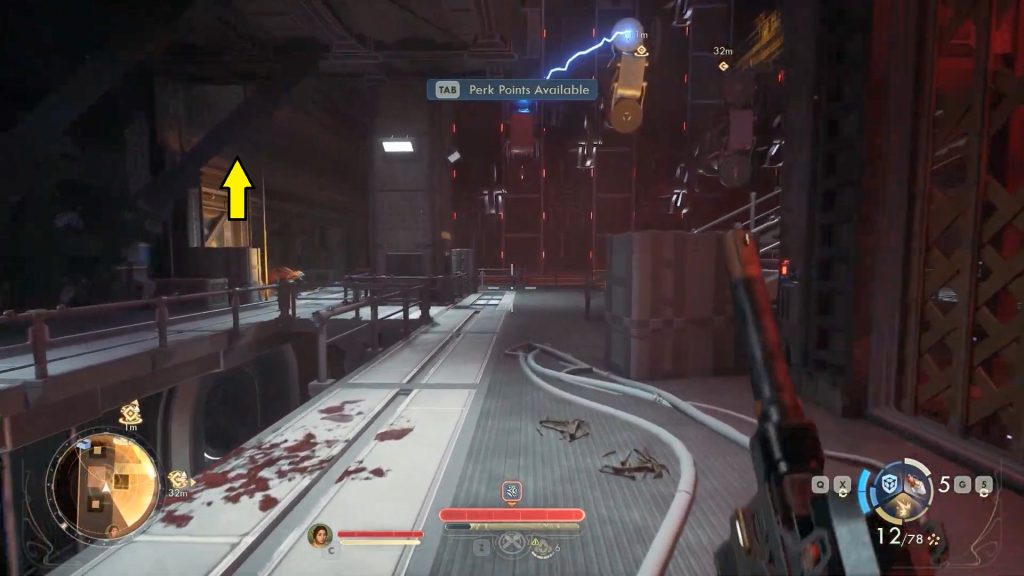
Next, head up the stairs located in the back corner of the room, and once you reach the next floor, climb the yellow ladder in front of you. After that, defeat the Raptidons in the area and use the ladder in the back corner to reach another level.
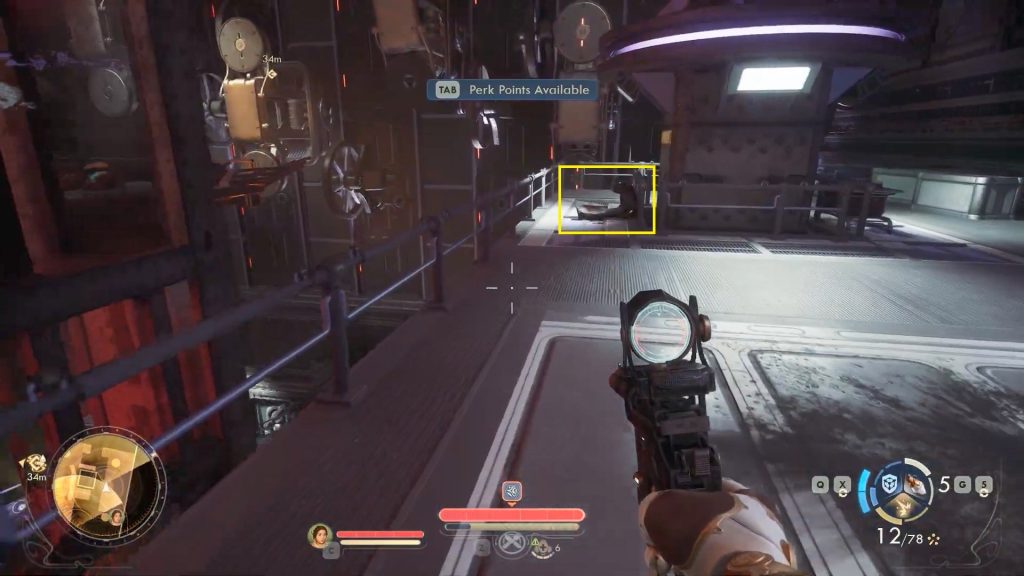
Here, you’ll find the body of Warden Gunner Aimes, who holds the third Protectorate Armorial ID.
Protectorate Armorial ID #4
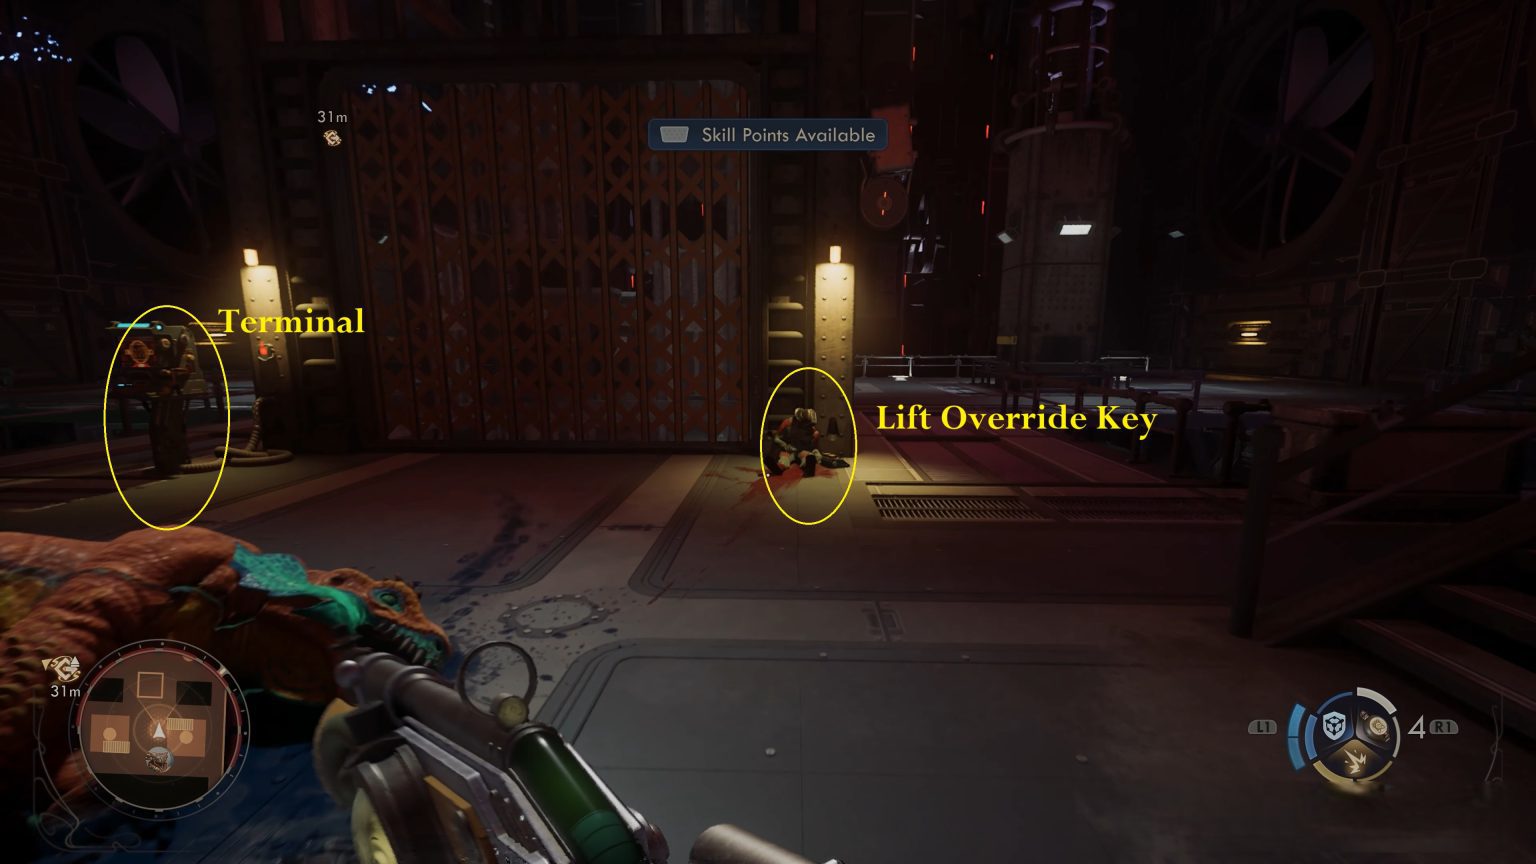
When you get to Floor 6, look for a lift in the center and a terminal on the left side. To make the lift work, you’ll need the Sky Cutter Lift Override Key. Check the corpse to your right of the lift and loot it to get the key as well as Protectorate Armorial ID #4.
Protectorate Armorial ID #5
Once you have obtained the key from the corpse, use the terminal to call the lift. While you wait, a few waves of enemies will attack. After defeating all the enemies, hop on the lift and ride it to the top floor. When you step out onto the roof, look around and find a corpse nearby. Loot it to collect the Control Panel Schematics and Protectorate Armorial ID #5.
