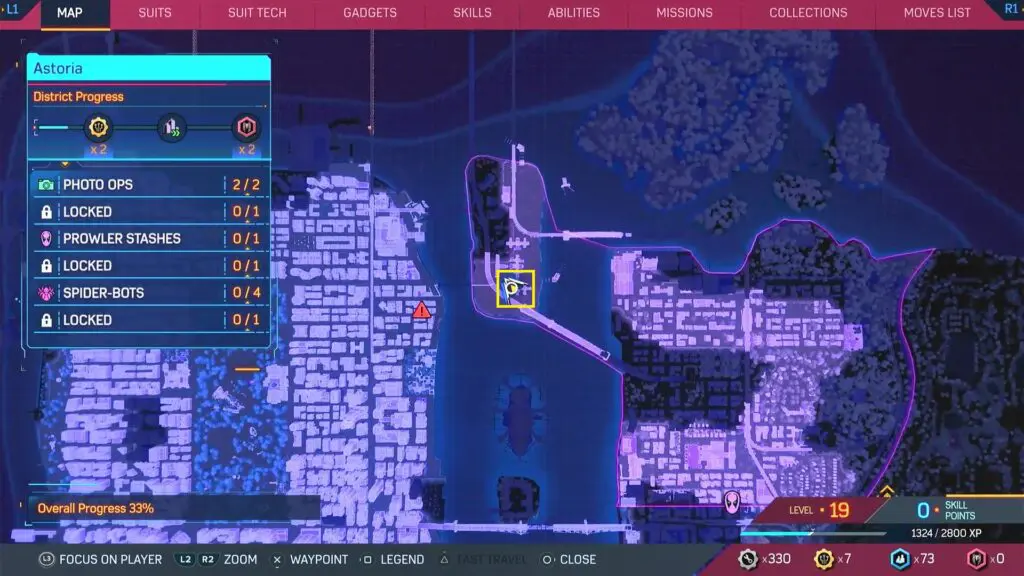
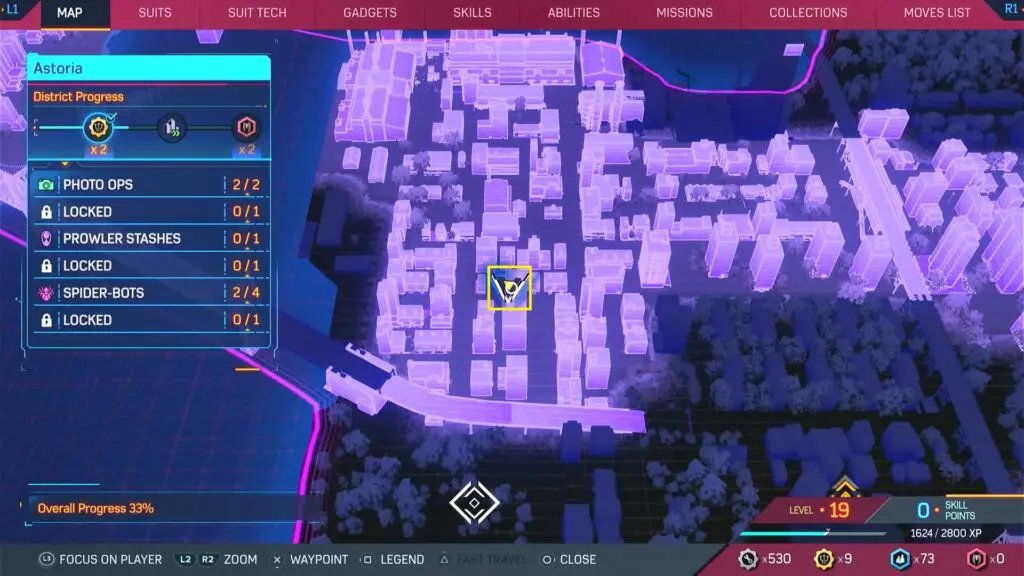
This guide shows the location of all collectibles in the Astoria district in the Spiderman 2 game, which was released on 20 October 2023. The list of Astoria Collectibles is shown below.
- 2 x Photo Ops
- 1 x FNSM Requests
- 1 x Prowler Stashes
- 1 x The Flame Missions
- 4 x Spider-Bots
- 1 x Symbiote Nests
1) Photo Ops
Photo Op: The Masked Challenger
Go to the top-left part of mainland Astoria, and find a bunch of people gathered outside a wrestling event by the building’s corner. There, you’ll see a guy in a red suit and a blue mask. Take a photo of him in front of the mural on the corner.
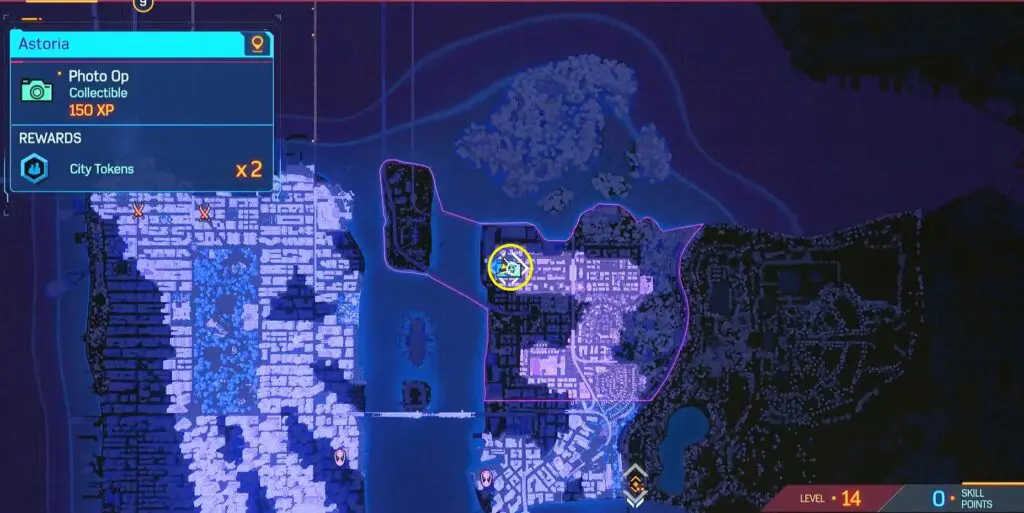

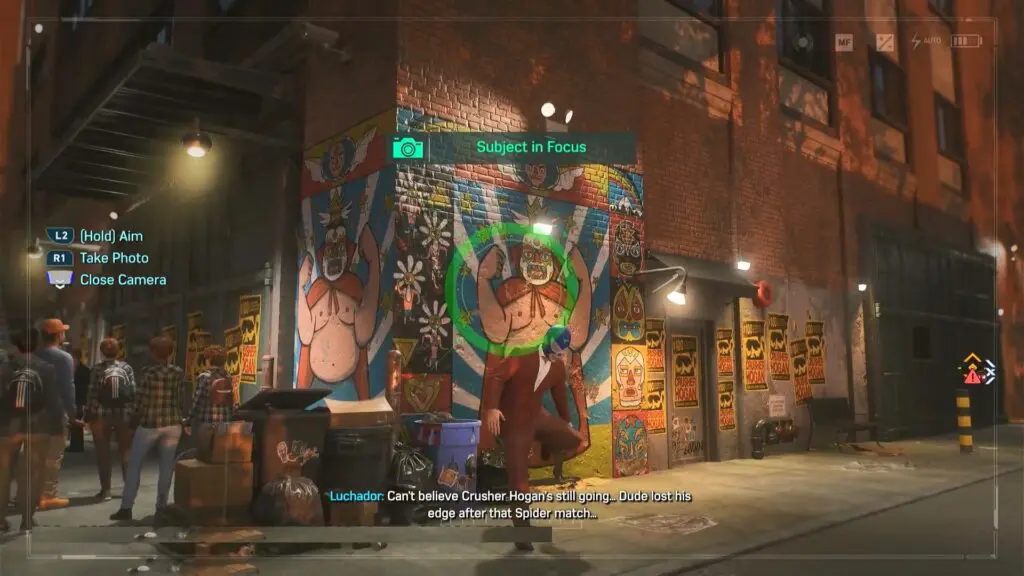
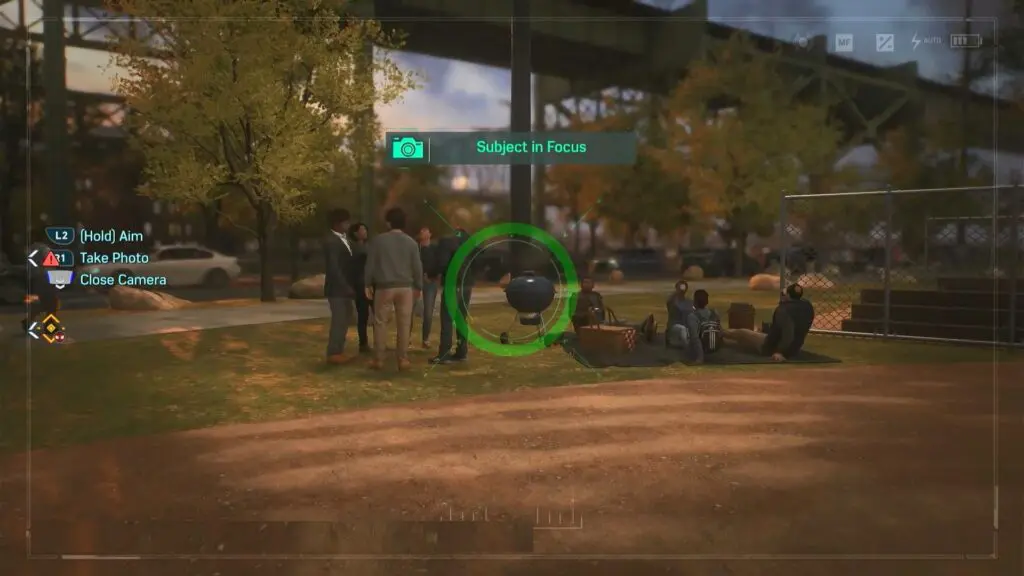
Photo Op: Step up to the Plate
Snap a picture of the barbecue party next to the baseball fields.


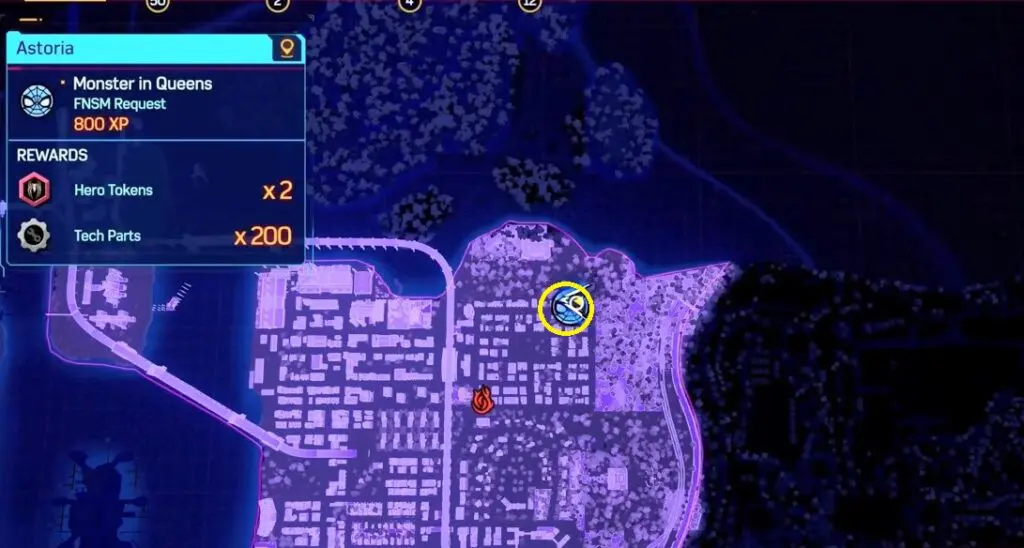
2) FNSM Requests – Monster of Queens
FNSM requests are little side quests where you must do something for quest givers and you need to complete Main Quest 18: Wings of My Own. Go to the location marked on the map below and talk to old lady Alma to start the quest.
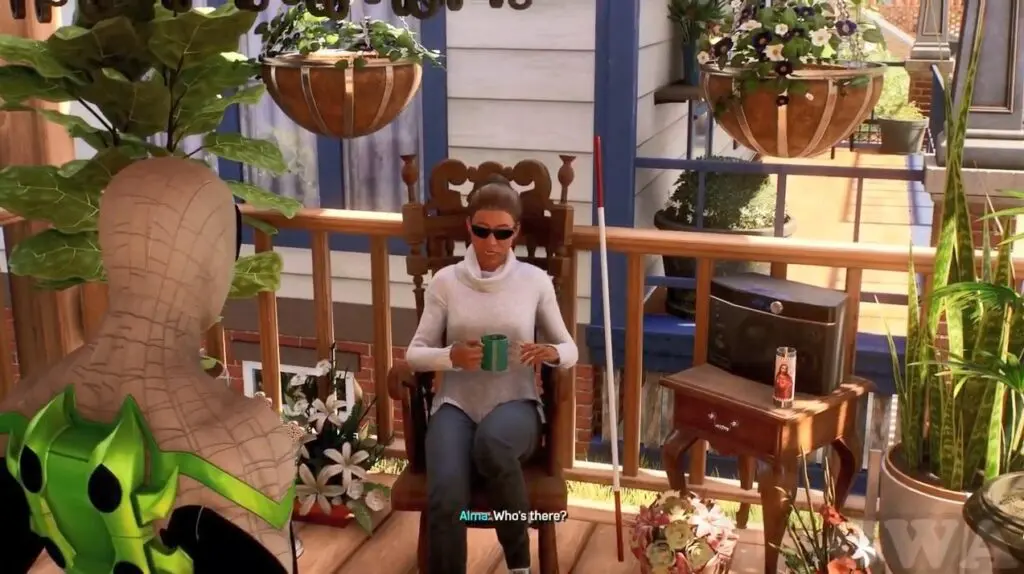
Investigate the liquid in the back left part of the garden. Start following the path that ends at a little river. There, check out the bloody fingerprints and the liquid on the ground behind the car. Then continue following the path, which will lead you to a yard with a robot. Distract the robot by shooting the highlighted objects. Finally, defeat the enemies and go back to the quest giver.
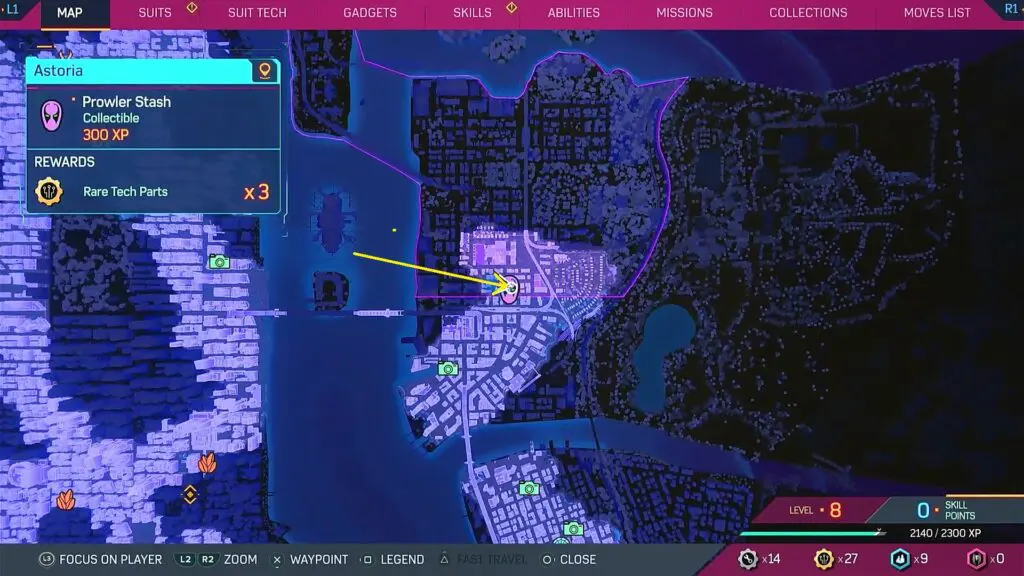
3) Prowler Stashes
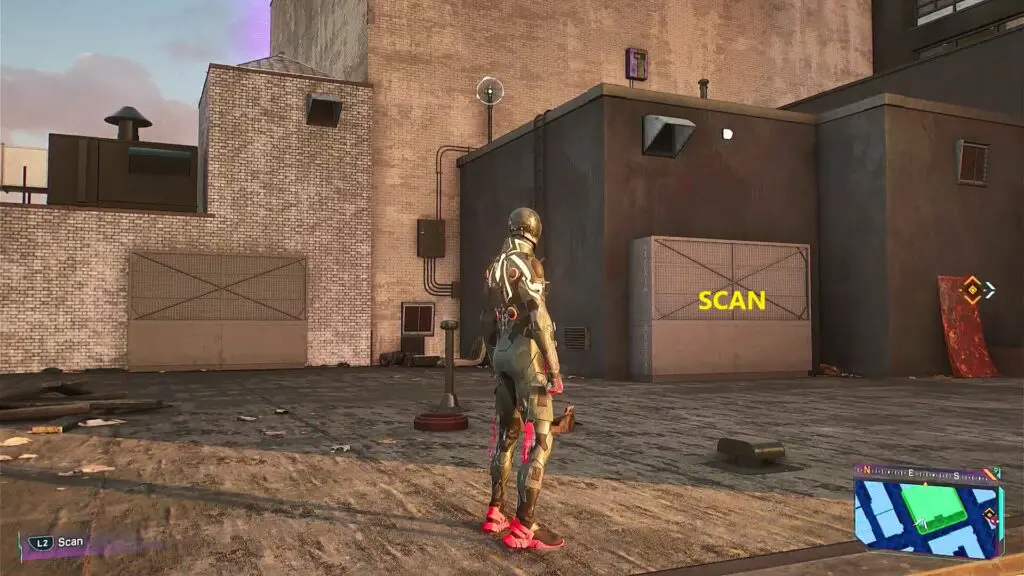
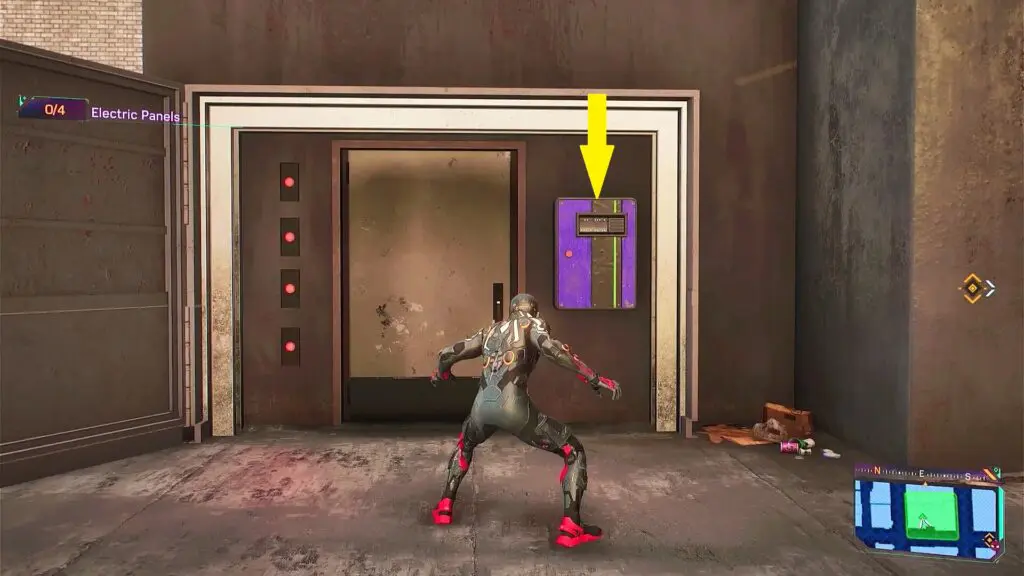
Go to the roof of the Building as shown in the picture below. Scan the panel there as shown in the second picture below and then stabilise the code by holding the yellow circles inside the grey boxes. Now press L1+R1 to open the panel, revealing a locked door.
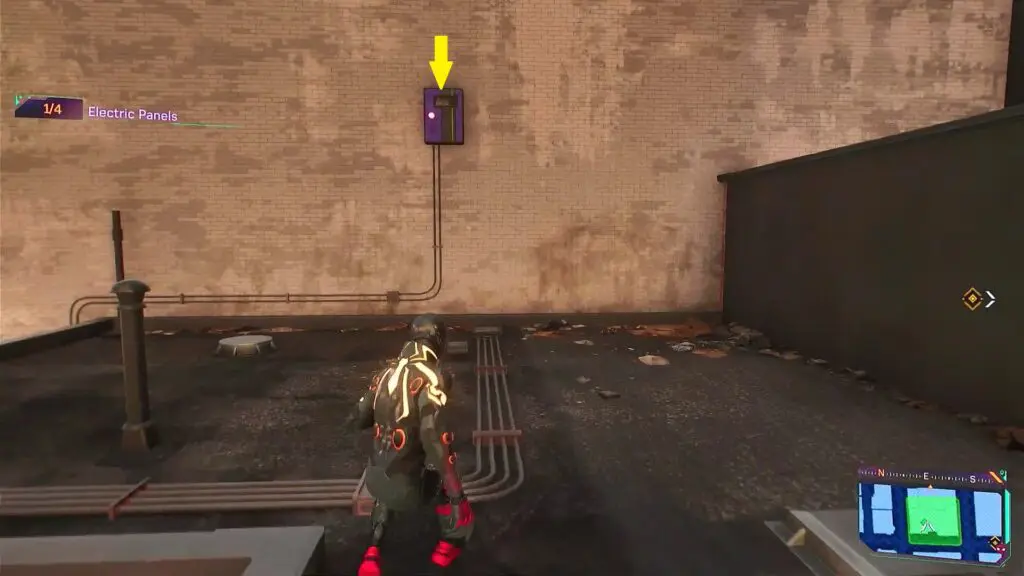
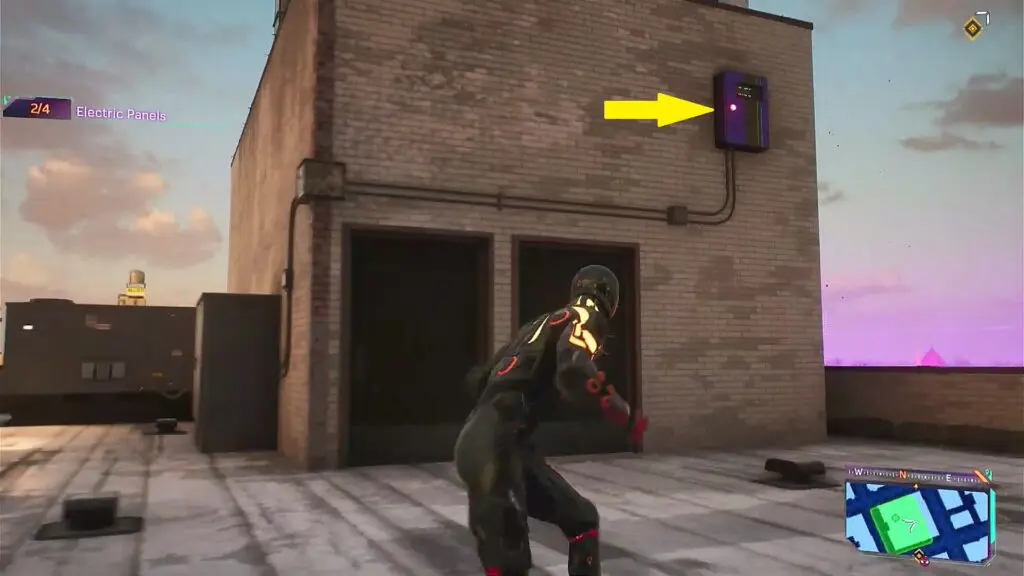
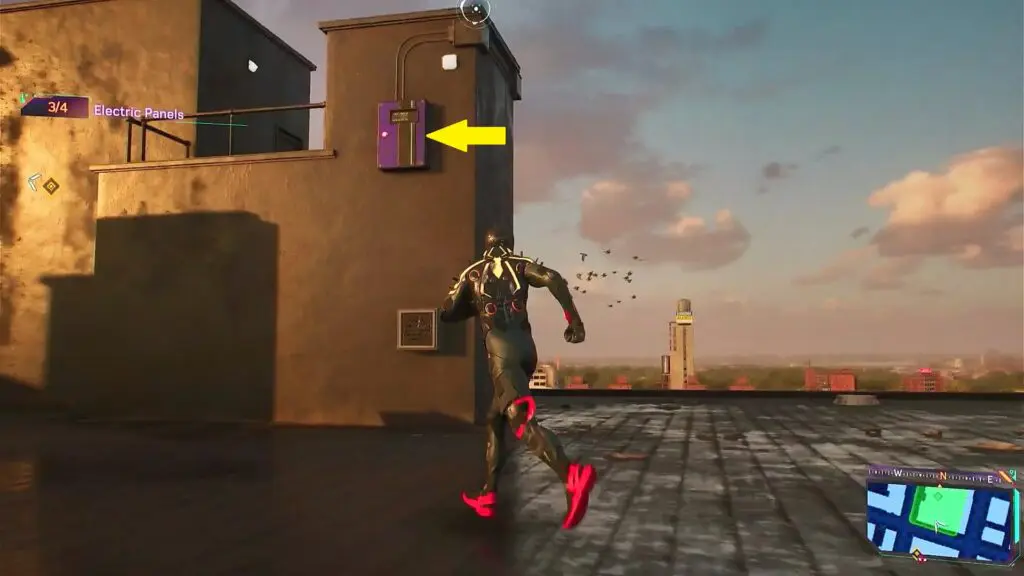
Next to the locked door, you will find an Electric Panel as shown in the picture below. There are a total of 4 Electric panels in the building. You need to overload all four electric panels to unlock the door. Press L1+Square to overload the panel next to the door. Then climb the wall behind the door to find the next panel as shown in the second picture below. Climb up the wall behind this panel to find the next one as shown in the third picture below. Then turn left and climb up the roof to find the final panel as shown in the fourth picture below. Once the four Electric Panels are overloaded, the door will be unlocked. Go inside the door to find the Prowler Stash.
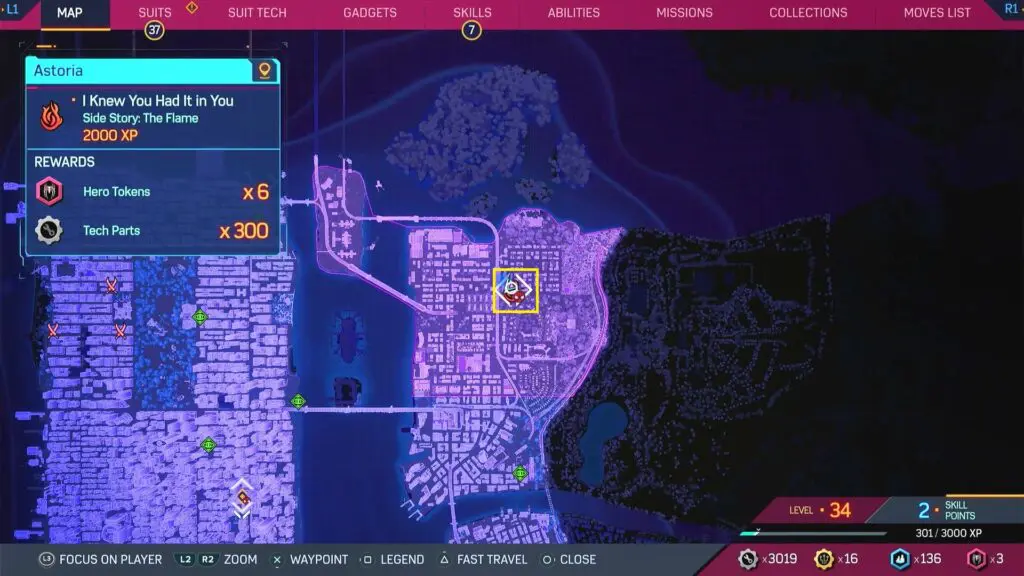
4) The Flame Missions – I Knew You Had It in You
The Flame Missions are short side quests that Peter undertakes. “I Knew You Had It in You” becomes available once you’ve completed the “Everything Burns” Flame Mission in Chinatown.
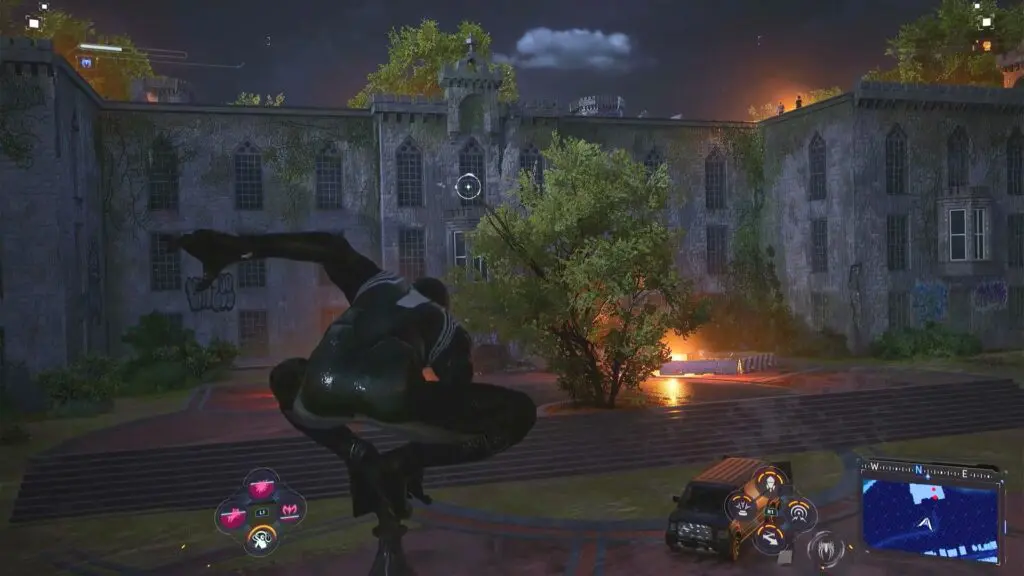
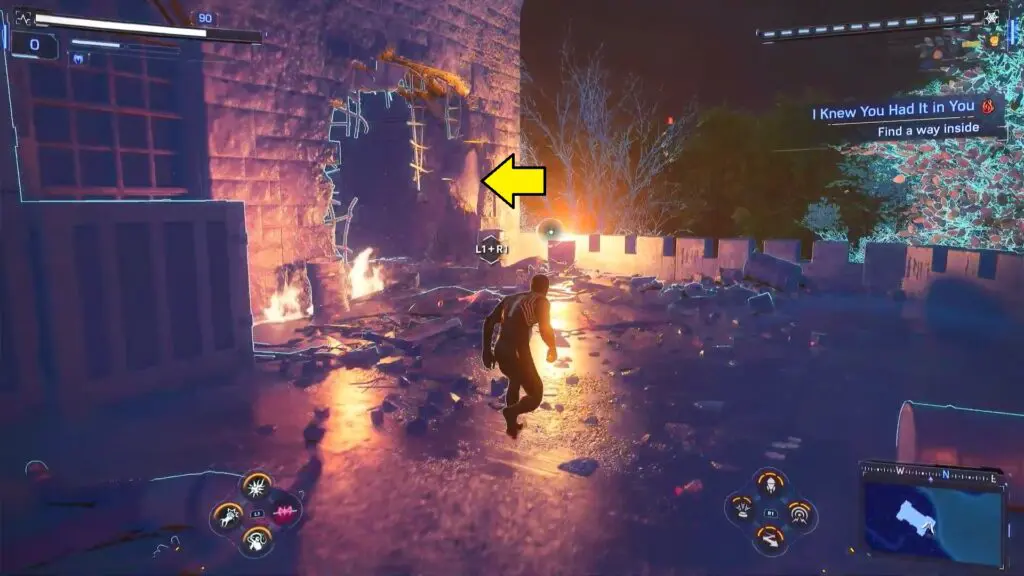
To begin the quest, first, take down the enemies on the roof of the building. After that, look for the opening in the wall and use it to get inside the building. To stay safe from the fire, hop up to the ceiling and squeeze through the crack at the top of the wall. Follow the straight path, defeating all the enemies you encounter.
5) Spider-Bots
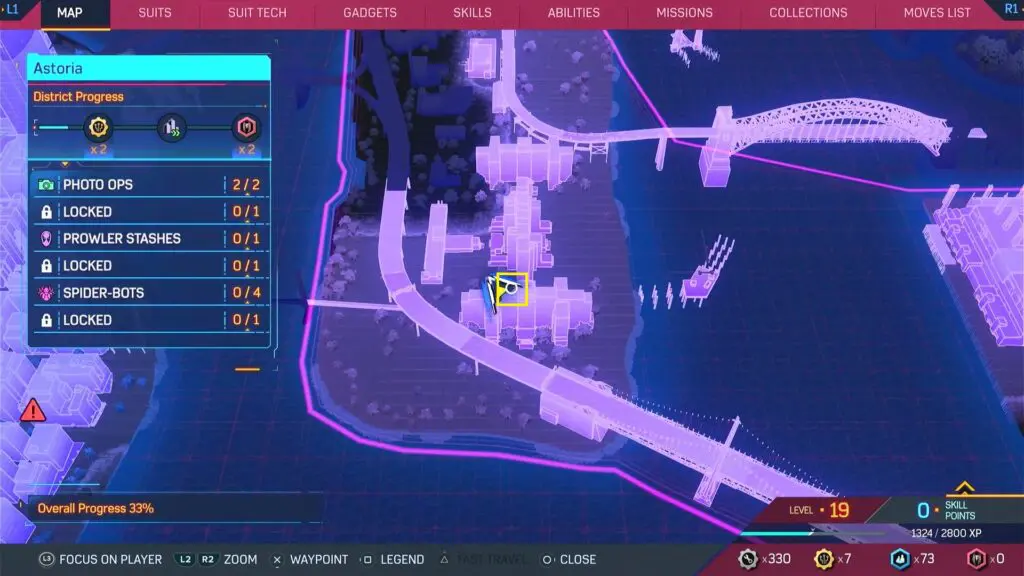
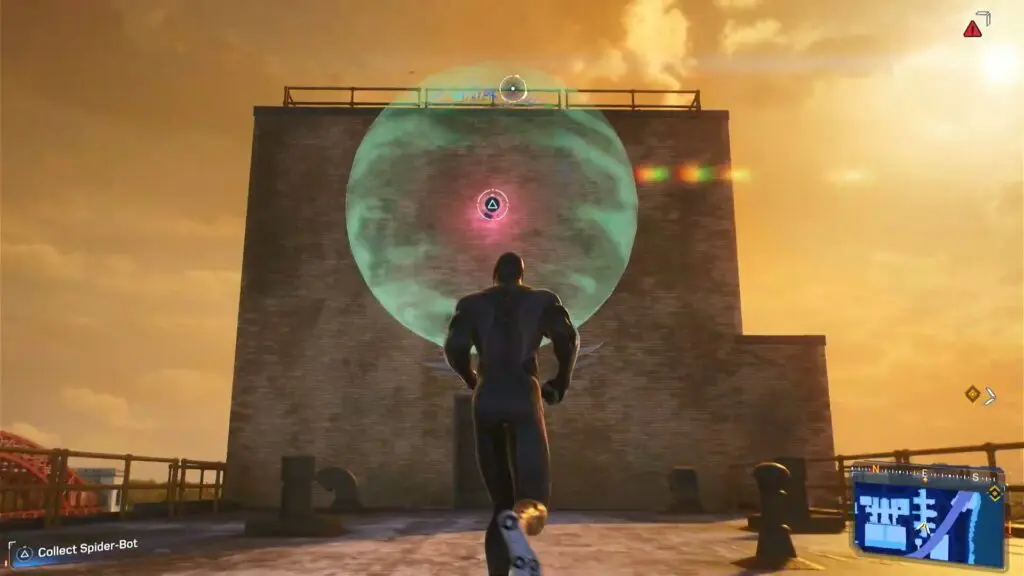
Astoria Spider Bot 1/4
You’ll find this Spider-Bot on Astoria’s island in the northwest part of the district. Go to the building closest to the highway bridge, and you’ll spot the Spider-Bot on the roof.
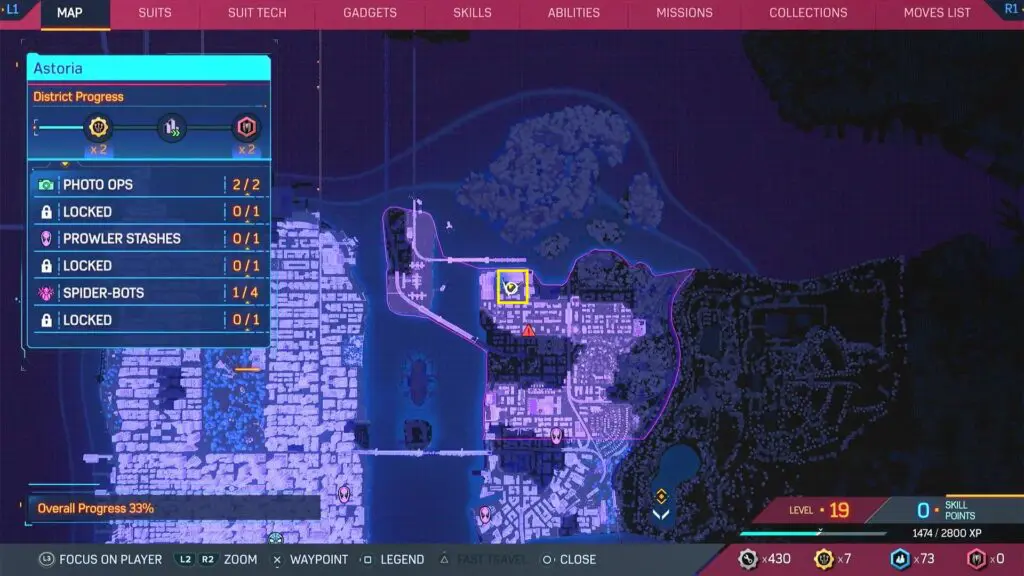
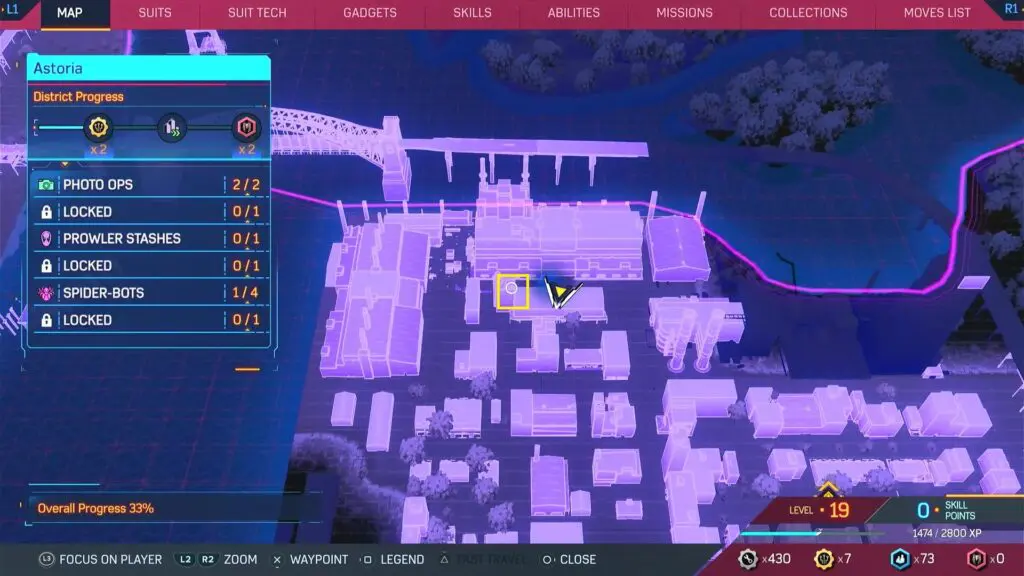
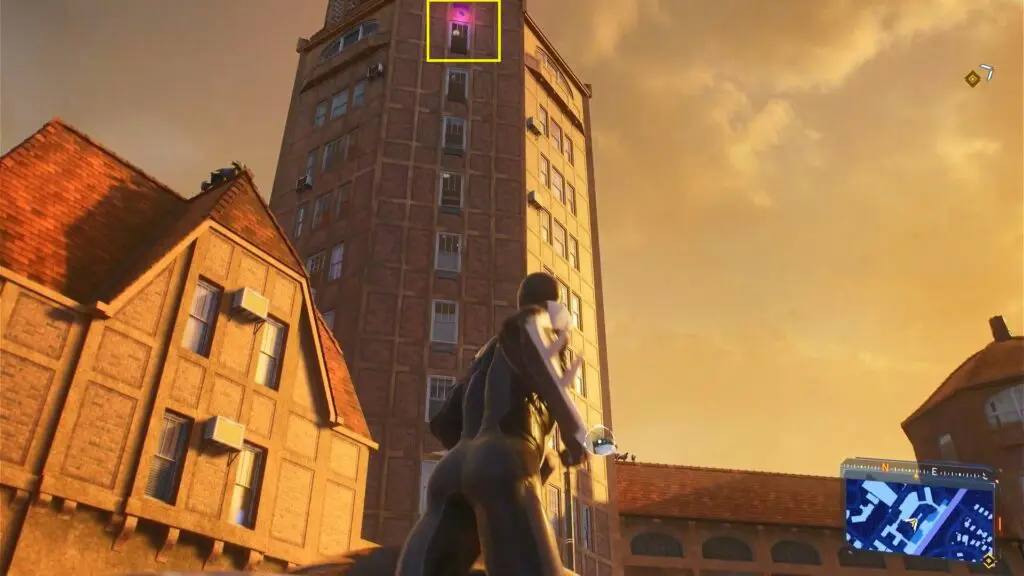
Astoria Spider Bot 2/4
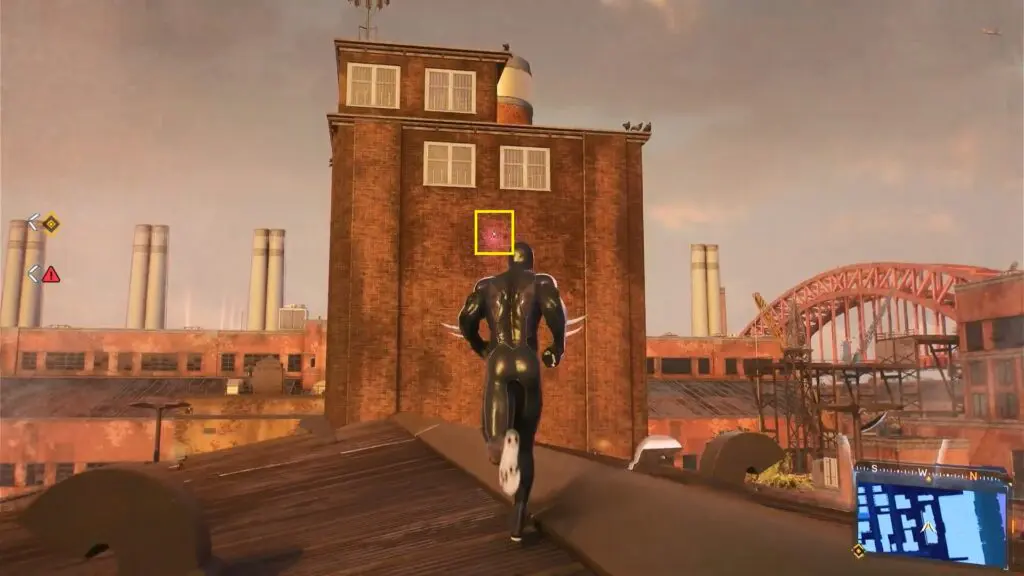
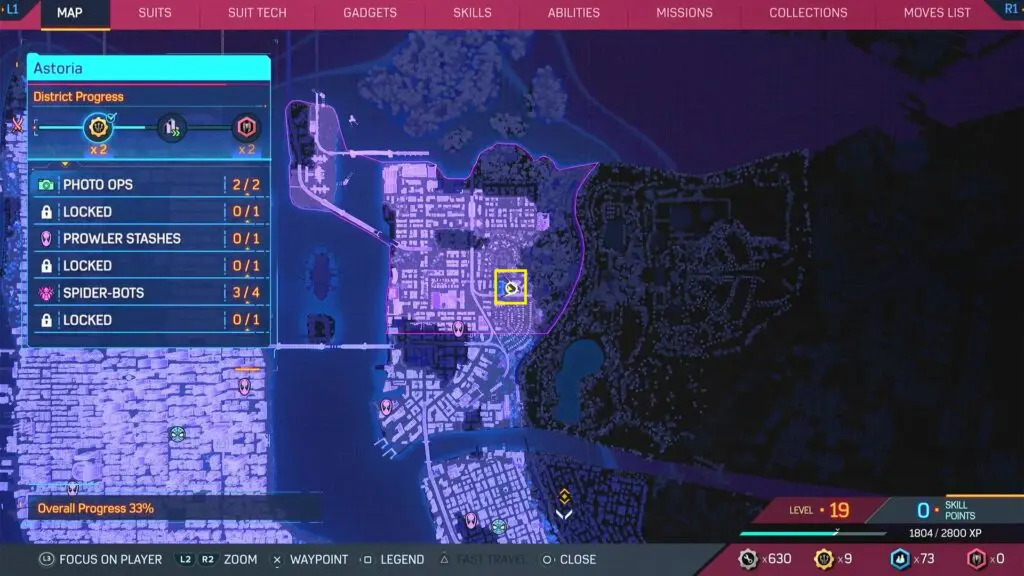
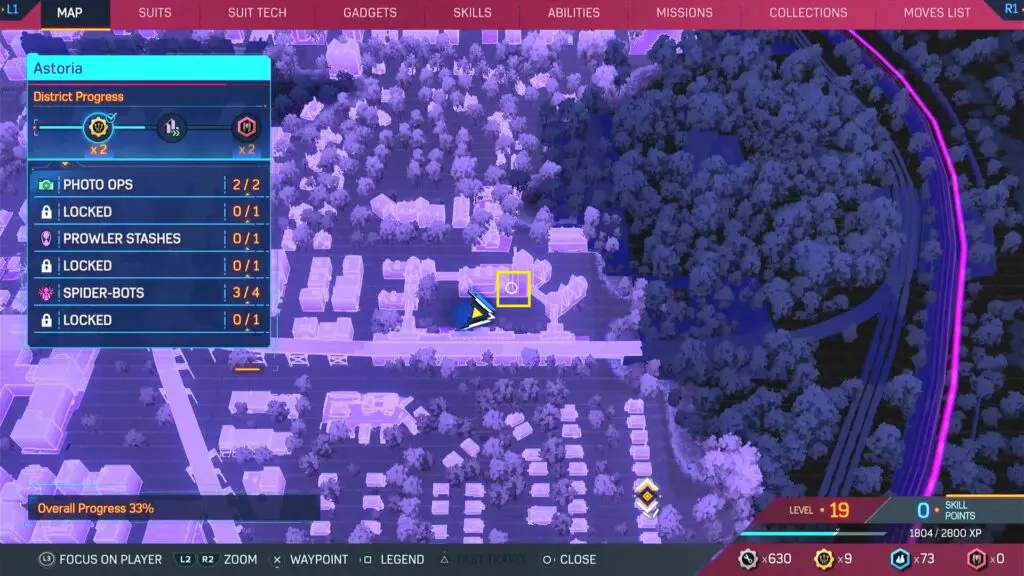
The Spider Spider-Bot is located in the northwest corner of mainland Astoria. Look on the eastern side of the building’s tower to find the Spider-Bot.
Astoria Spider Bot 3/4
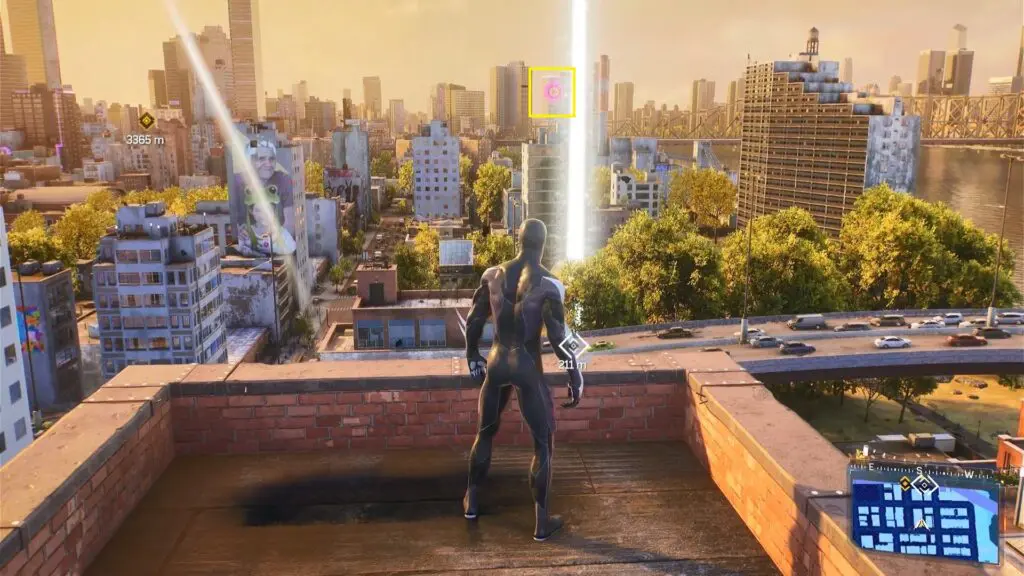
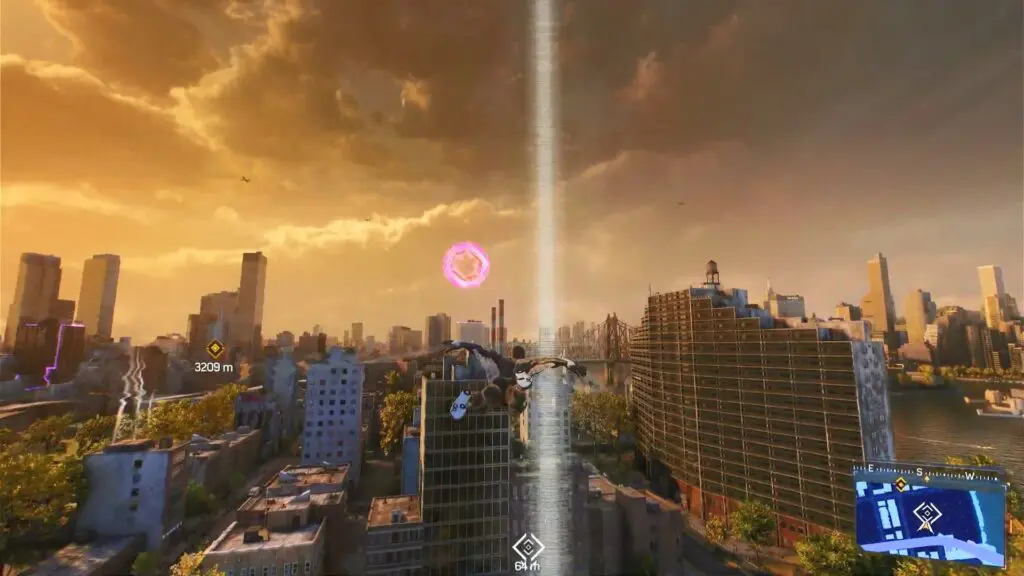
This Spider-Bot is in the air just south of the bridge. The easiest way to reach it is by jumping from the building a bit farther to the south.

Astoria Spider Bot 4/4
The Mangaverse Spider-Bot is situated in the southeastern part of the Astoria region. You’ll find it at the top of the outer wall on the southwest side.
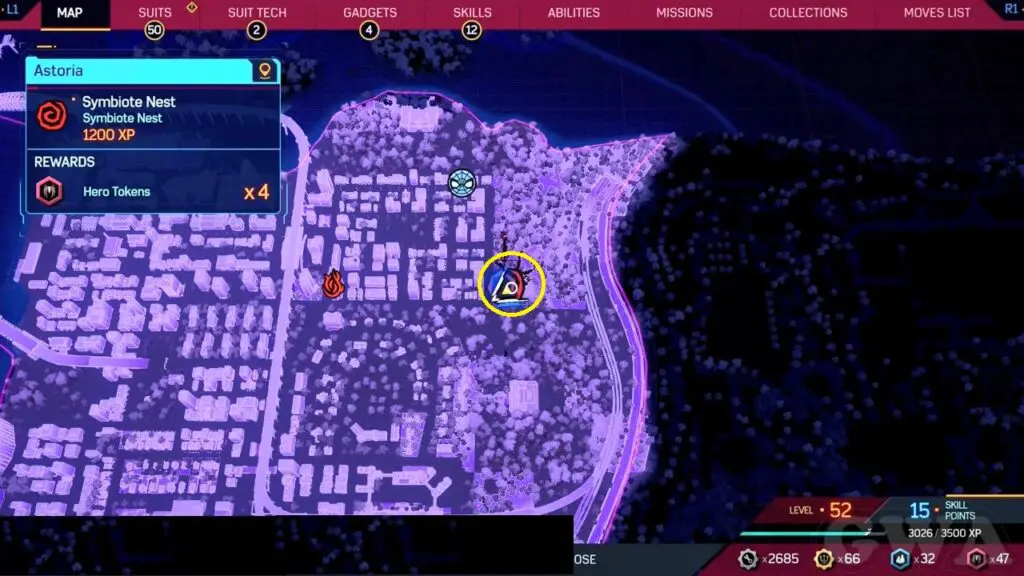
6) Symbiote Nests
Symbiote Nests in Astoria unlock after Main Mission 26