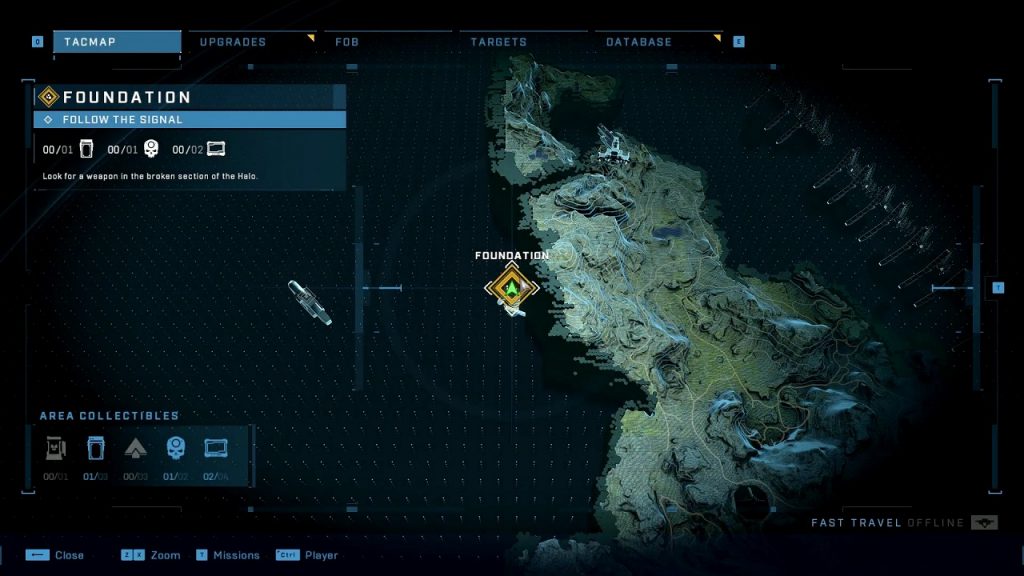
Skulls are collectibles in Halo Infinite that can modify your gameplay experience by making it easier or difficult. There is a total of 12 Skulls in the game. 5 of the Skulls are in the missions and 7 in the open world. If you miss a mission skull and complete the mission, then you won’t be able to get the collectible without restarting the campaign. Open-world skulls can be collected in the end game as well. This guide shows the location of all the Skulls in the game. First, I will show the location of 5 mission skulls, followed by 7 Open-World skulls.
Also Read: Halo Infinite Collectibles Guide
1) Boom Skull (Warship Gbraakon)
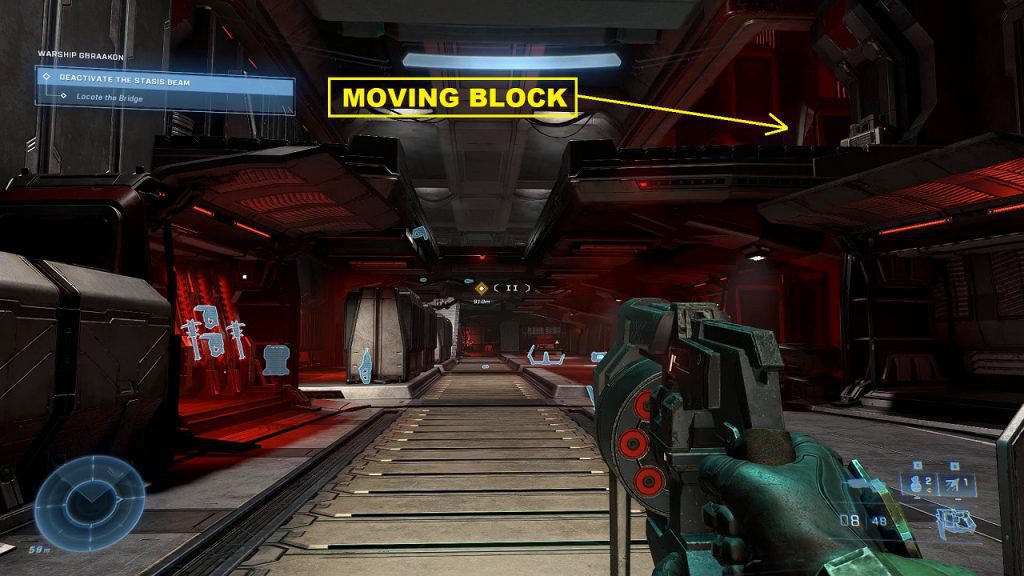
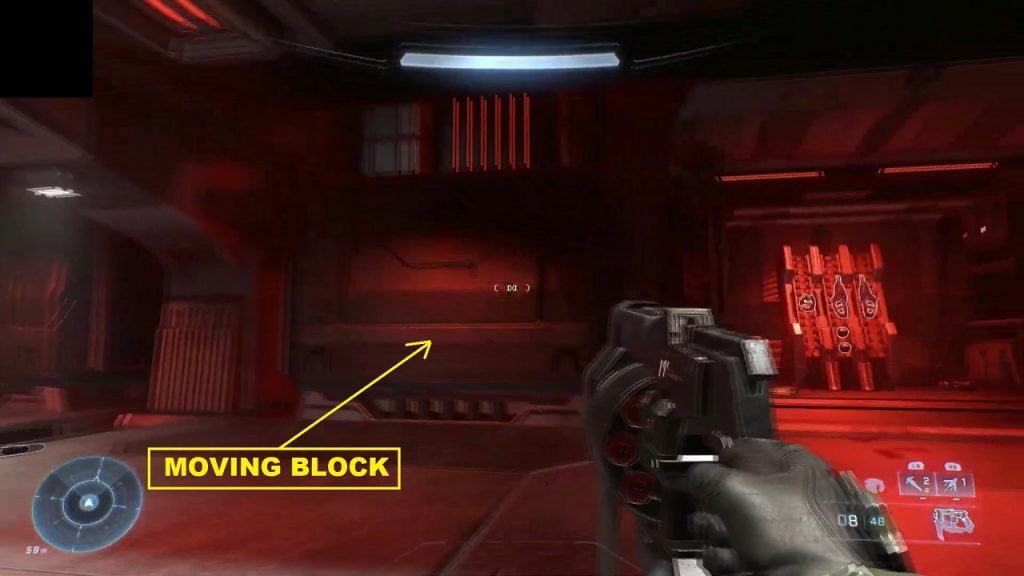
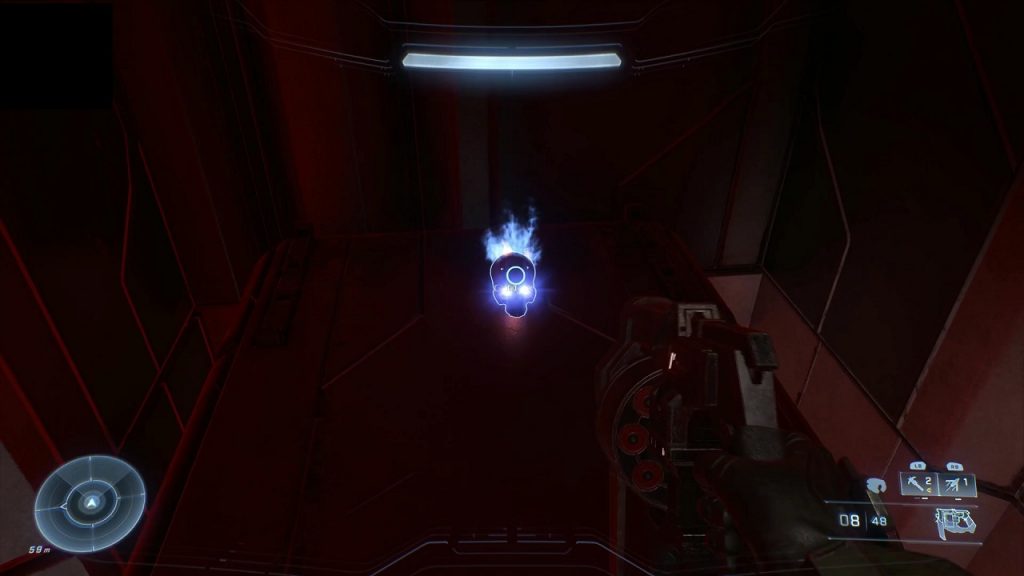
Boom Skull doubles the explosion radius. You will get it in the first mission, Warship Gbraakon. During the objective to ‘Locate the Bridge’, you will come to a room with three lifts moving banished crates up on the right side as shown in the pictures below. Get on the ascending crate in the middle to reach the upper level. Don’t get down on the upper level, and keep going up instead. As you go up, you will find a skull in a secret spot as shown in the third picture below.
2) Cowbell Skull (Foundation)
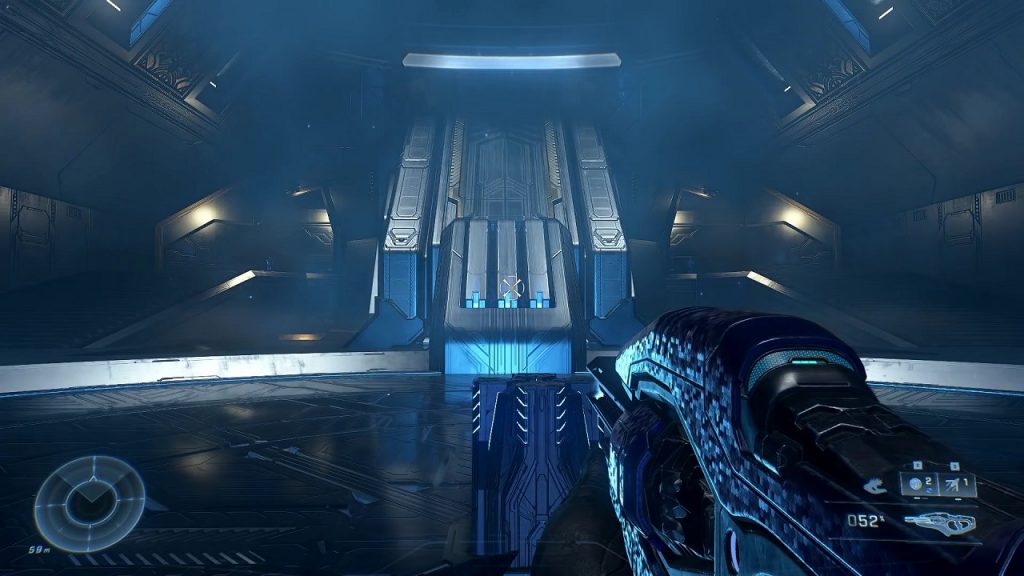
Cowboy Skull increases the acceleration from the explosions. You will get it during the second mission, Foundation. During the ‘Follow the Signal’ objective, you will have a cutscene with Cortana. After that, ascend on the blue platform as shown below. Then continue ahead in the blue corridor.
After going through the door in the blue corridor, turn left and proceed until you see a small platform as shown below.
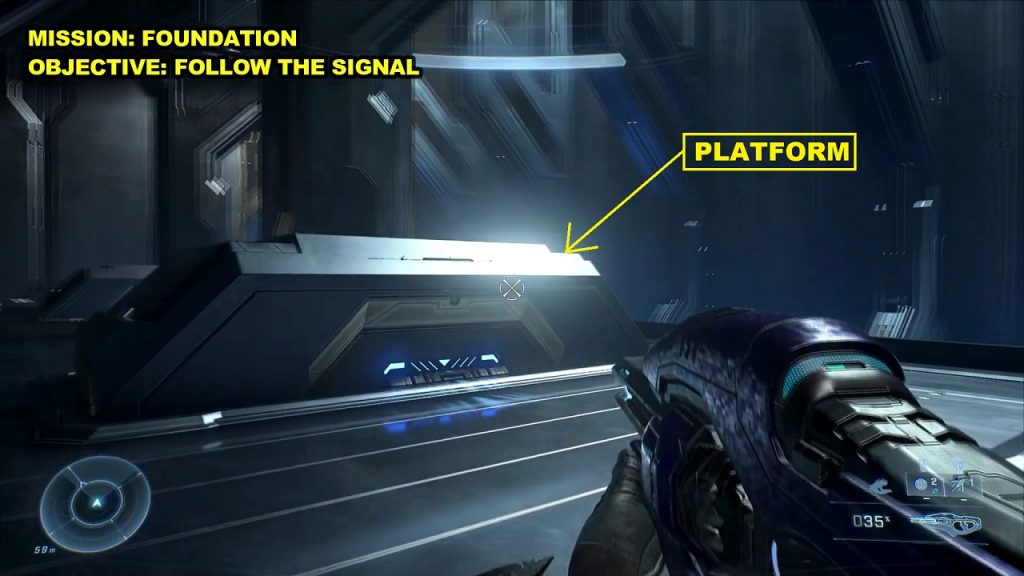
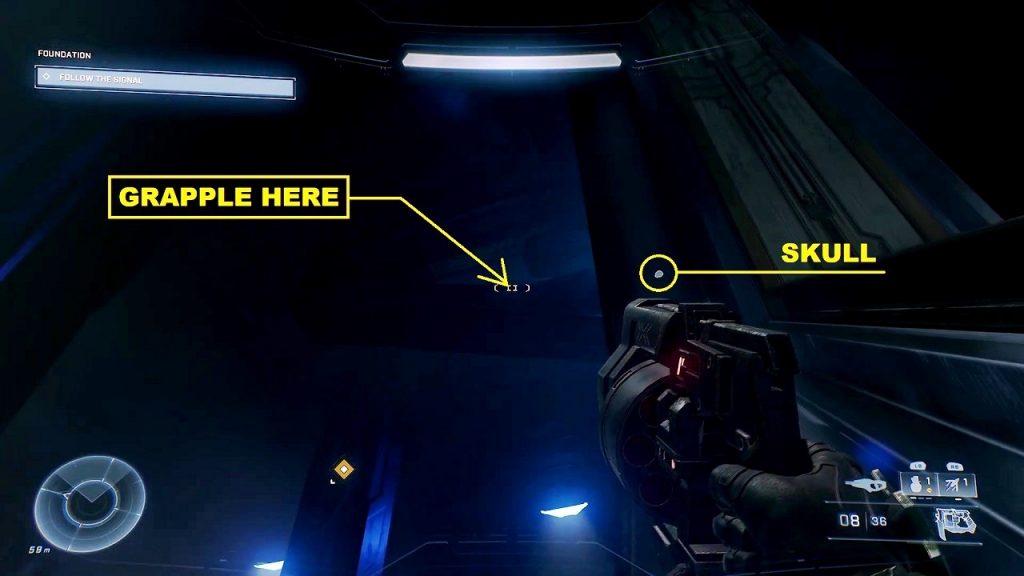
Get up on the platform, then turn around and look up. You will see the skull up above on the left side as shown below. Grapple up on the platform as shown in the picture below.
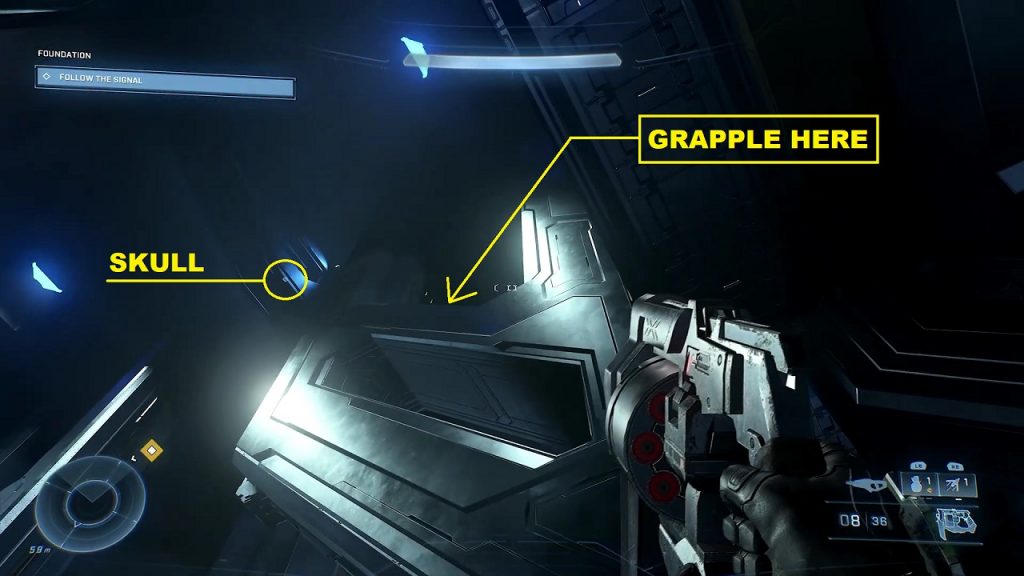
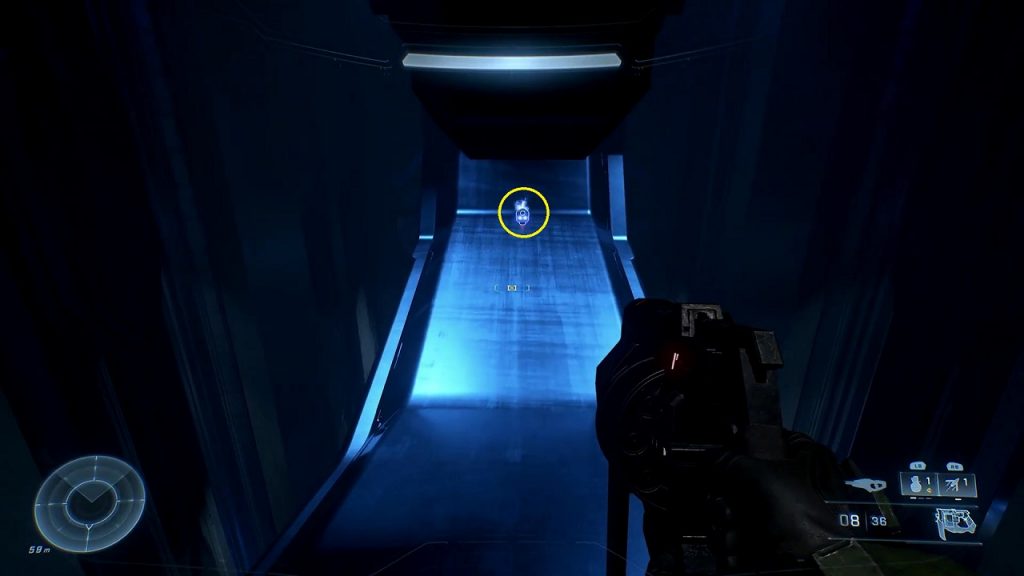
Look in the direction of the skull and you will see another platform where you can grapple to. The location is quite dark and it might be a little difficult to spot the platform. Increase the brightness if you are unable to see the platform. Once you have grappled to this platform, you will find the skull here (see the second picture below).
3) Mythic Skull (The Command Spire)
Mythic Skull increases the health of the enemies. You will get it during The Command Spire mission. During the mission, you will come to a room with giant orange portal-like shapes with hexagonal beams going through them as shown in the picture below.
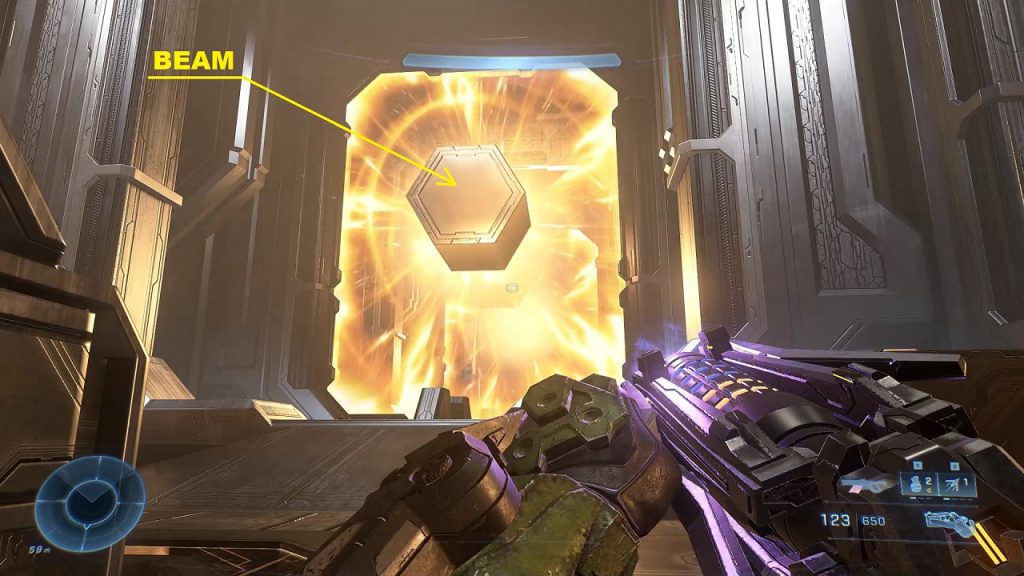
On both sides of the orange portal type shapes, you will find a passage. Go through the passage till the end of the hall.
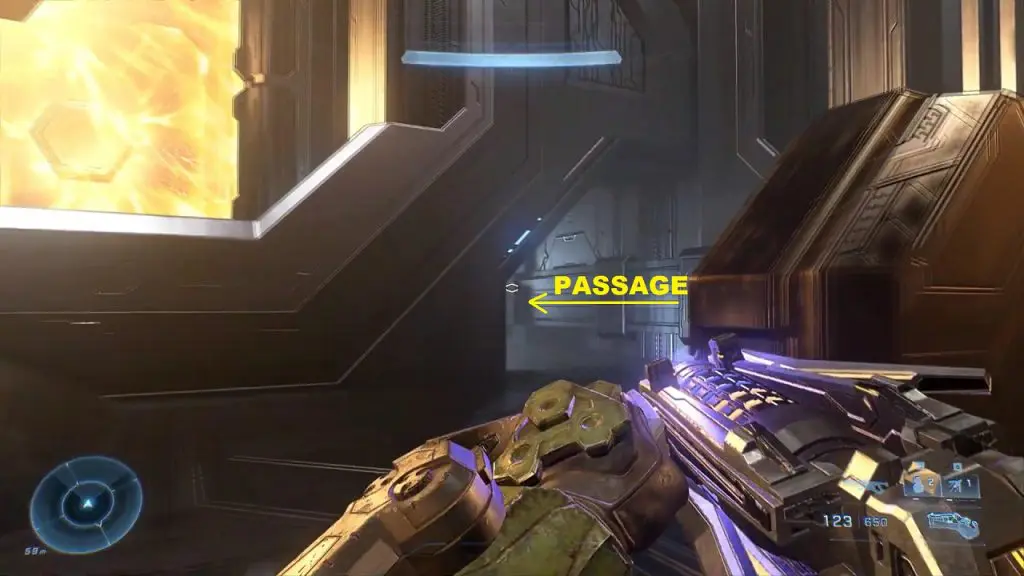
Here you will see the Hexagonal beam coming out from the final orange portal-like shape and turn the right side. Grapple to the top of the hexagonal beam.
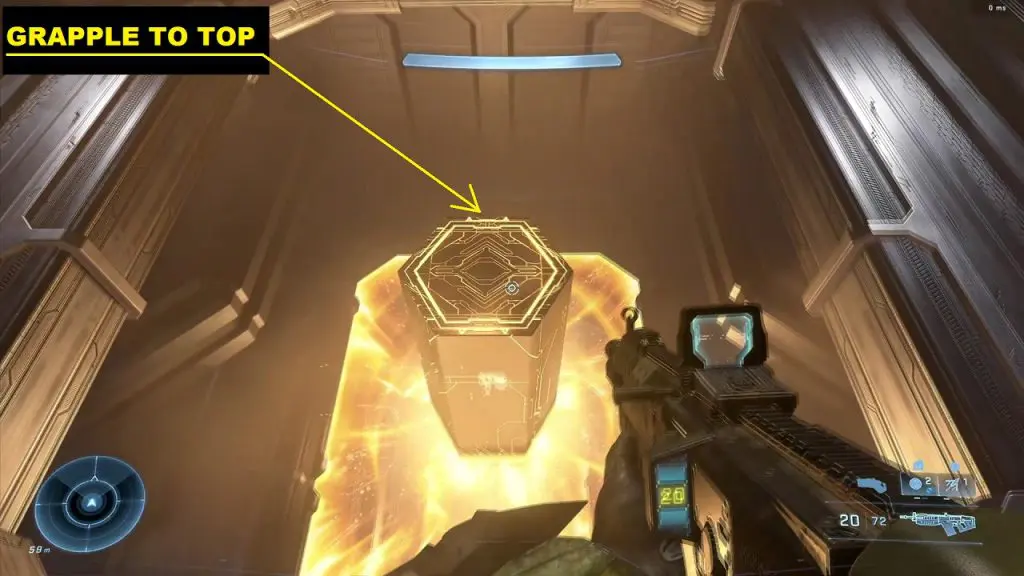
Then turn around and look for a ledge where you can grapple to reach the upper level as shown below. You might need a few tries before you are able to grapple up.
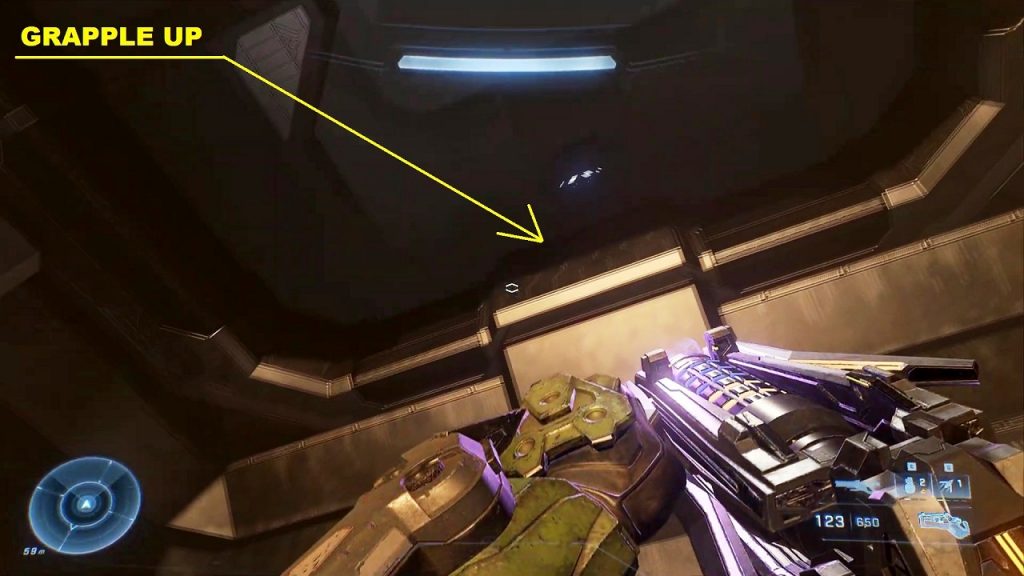
The upper level is quite dark. You can switch on the flashlight to see clearly. Look up to see another ledge. Grapple on the ledge to reach the upper level. Then go through the doors to reach the mythic skull.
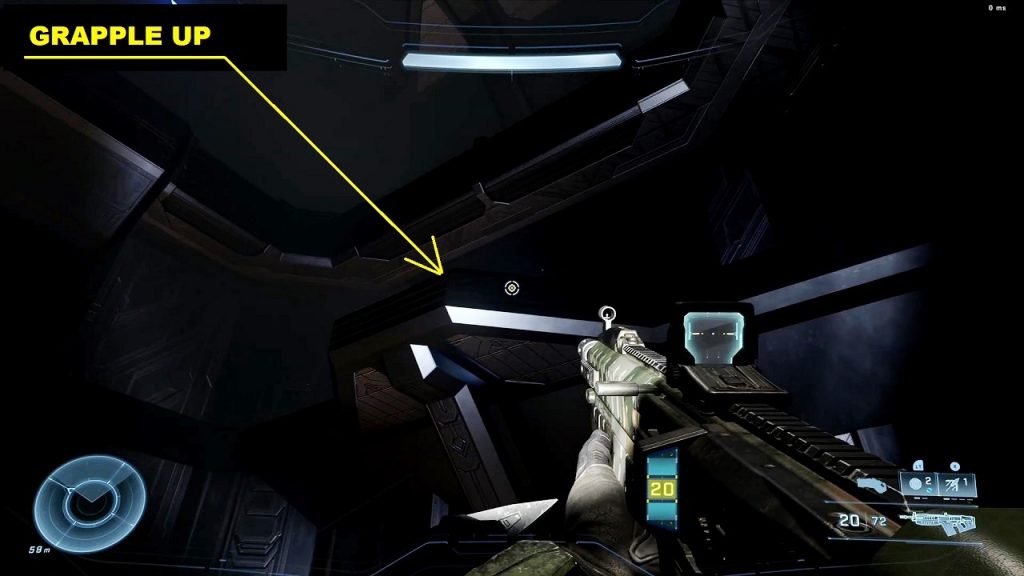
4) Grunt Birthday Party Skull (Repository)
With Grunt Birthday Party Skull, Grunt headshots lead to glorious celebrations. In the Repository mission, players should make their way to the area where Master Chief gets a message from Escharum, the main Brute leader of the Banished. After the cutscene, a light bridge gets activated and extends further as shown in the image.
Heading back to the start of the bridge. While facing the bridge, use Grapple Shot to reach the balcony on your right. From the balcony, go down the hallway into a room to collect the Power Seed.
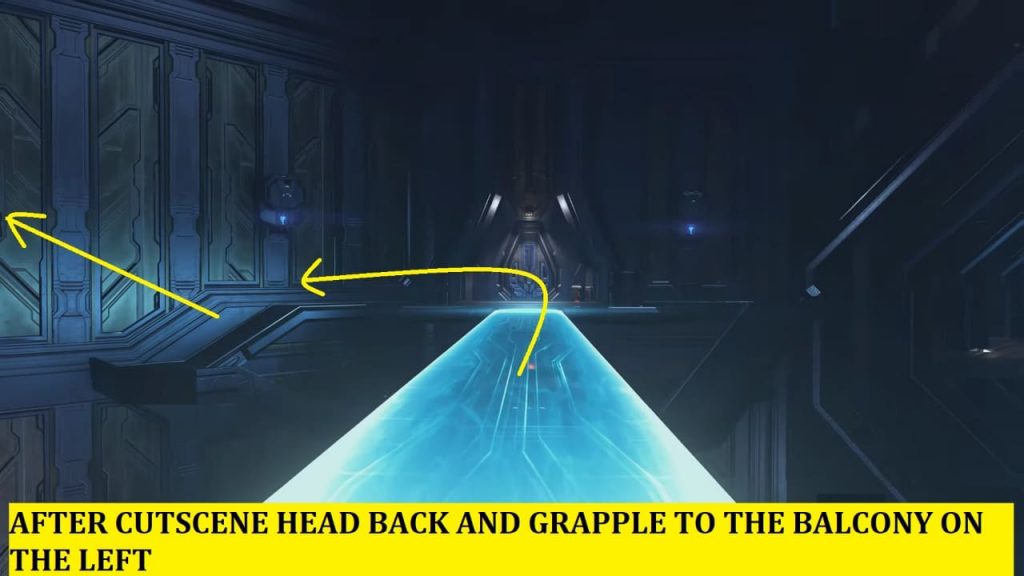
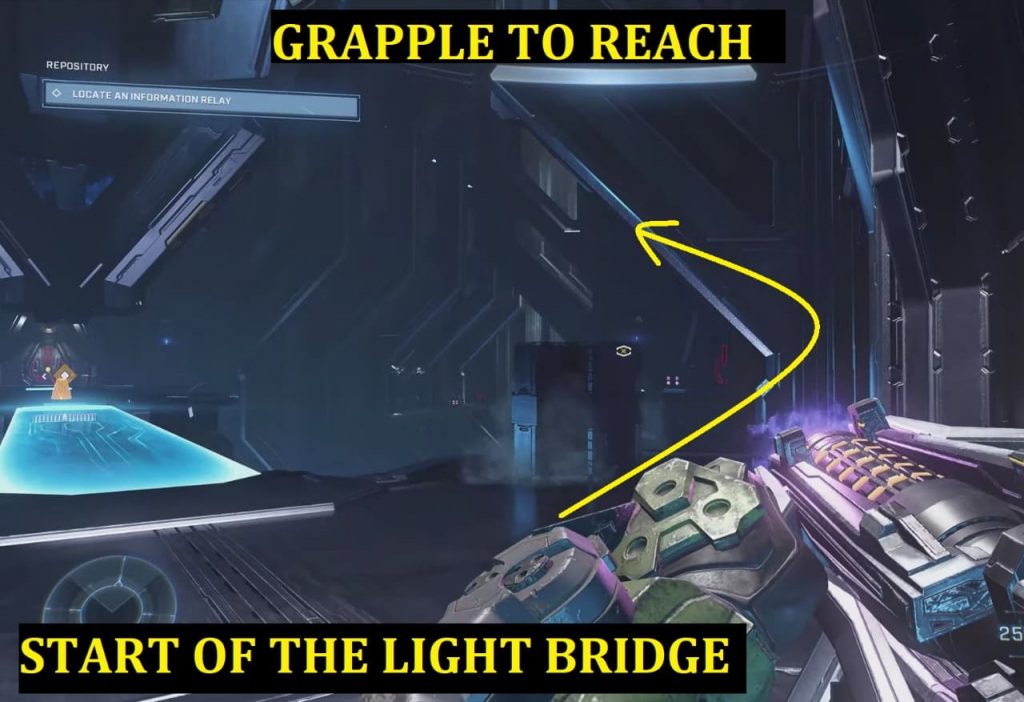
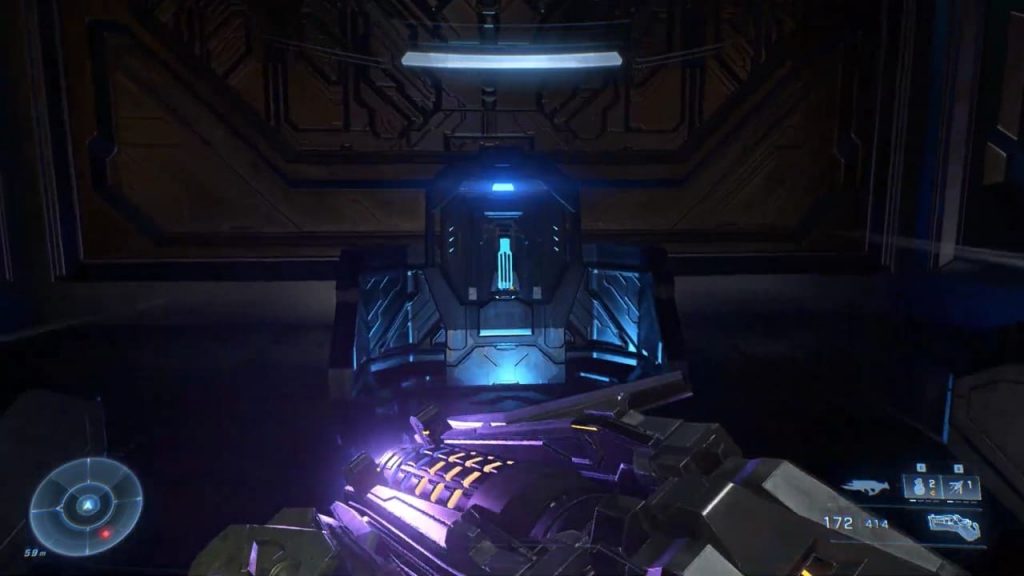
Head back to the main room with the light bridge after collecting the Power Seed. Now, go to the other side of the light bridge (the bridge that formed earlier after the cutscene). Use Grapple Shot to reach the balcony on your right (while facing the bridge) as shown in the image.
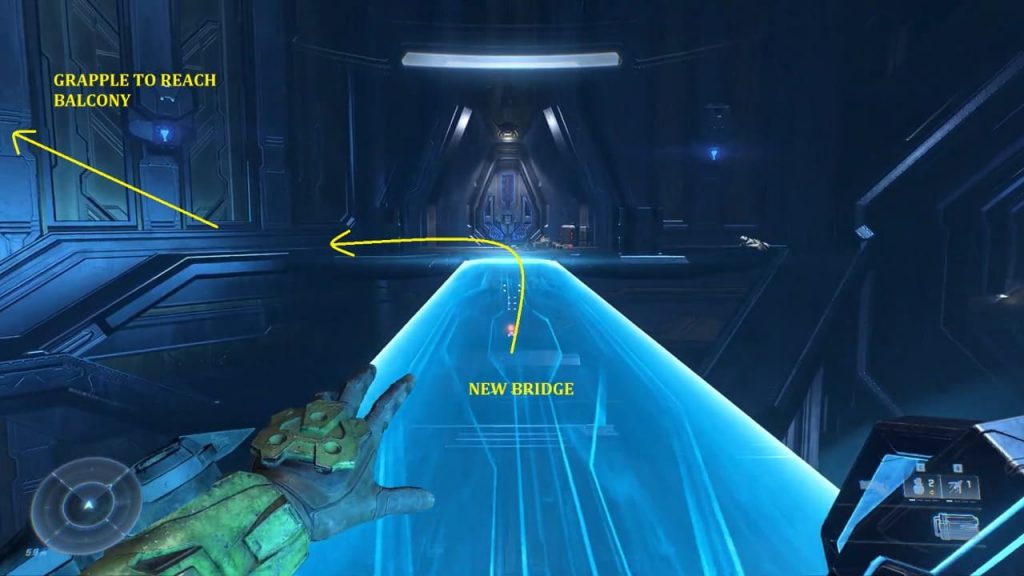
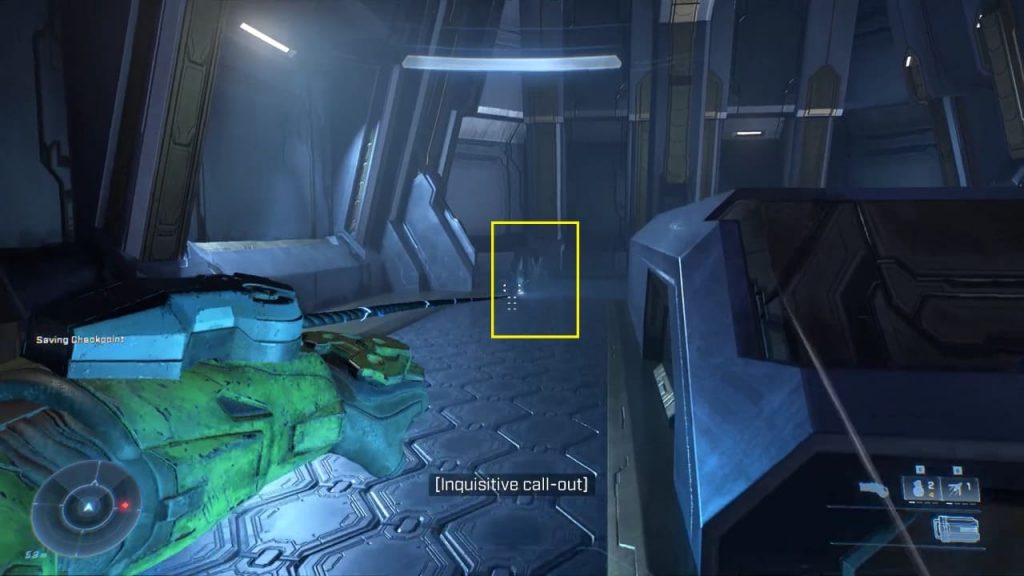
From the balcony, go down the hallway and then turn to the right to find a receptacle for the Power Seed at the end of the room. Put the battery in the socket and head back to the light bridge.
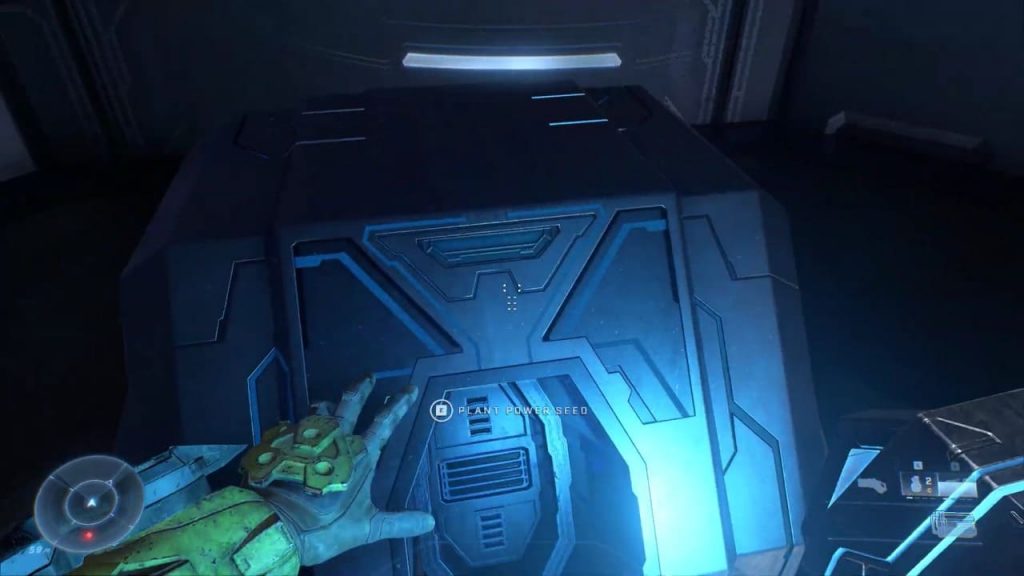
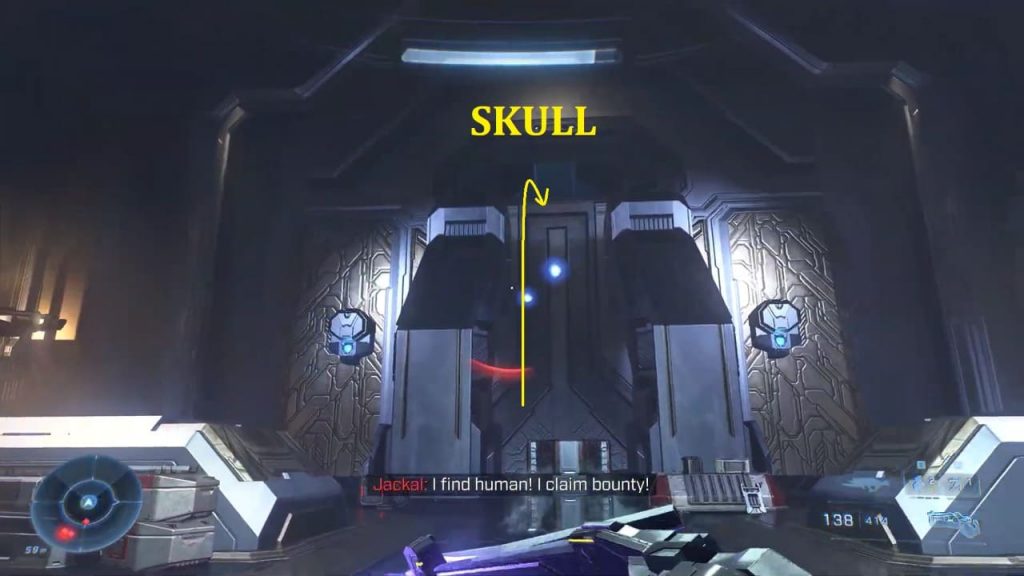
Now, continue with the mission until you reach two large rooms with hallways on either side. Make your way through the first room until players will come to a room with two large angled architectural elements contacting the wall across from the entrance as shown in the image. You will find an unlocked door at the top of the arch structure. Grapple up to pass through the gap and at the top, you will find the skull.
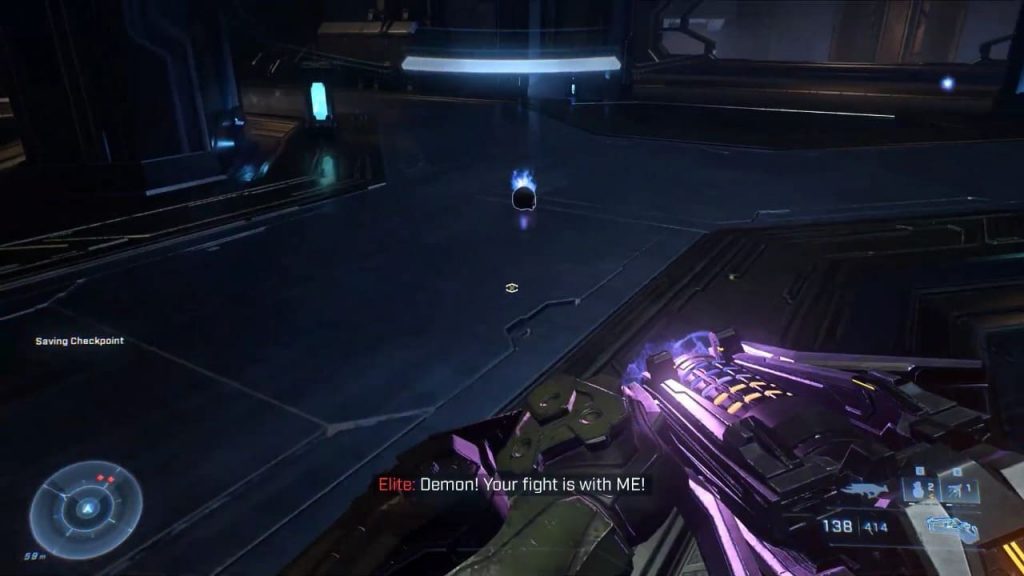
5) Bandana Skull (Silent Auditorium)
Bandana skull grants you unlimited Ammo & Grenades and removes the equipment cooldown. You will get it during the final mission, Silent Auditorium. Play the level until you reach the room as shown in the picture below. This is the room where Sentinels will first appear. Make sure that you do not kill any sentinel as the skull won’t be available if you do.
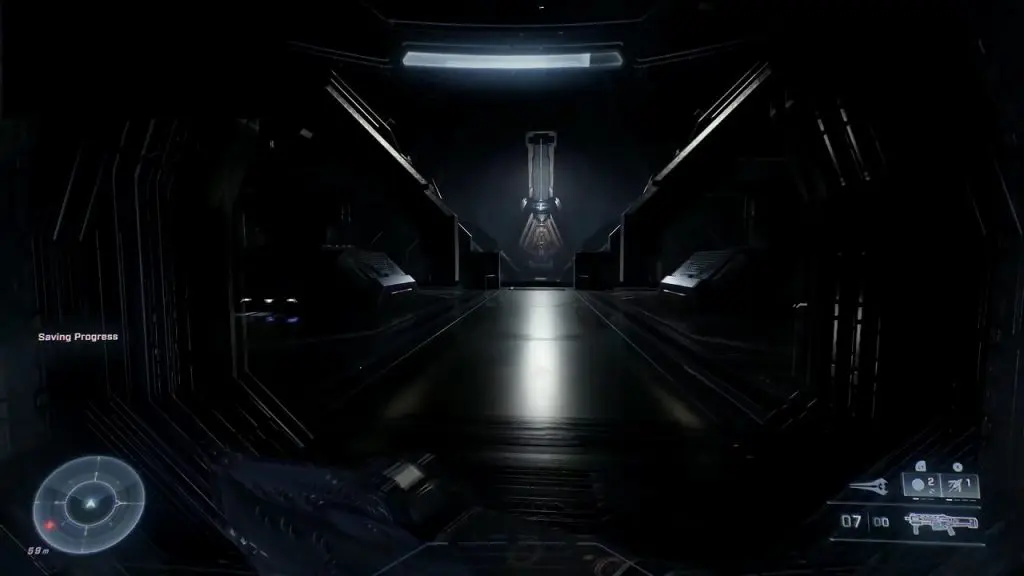
Proceed forward and after a couple of rooms, you will reach two light bridges as shown in the picture below. Interact with the button to activate the bridge. After crossing the light bridge, the path on the left leads you in the main mission and the second bridge straight ahead leads you to the skull.
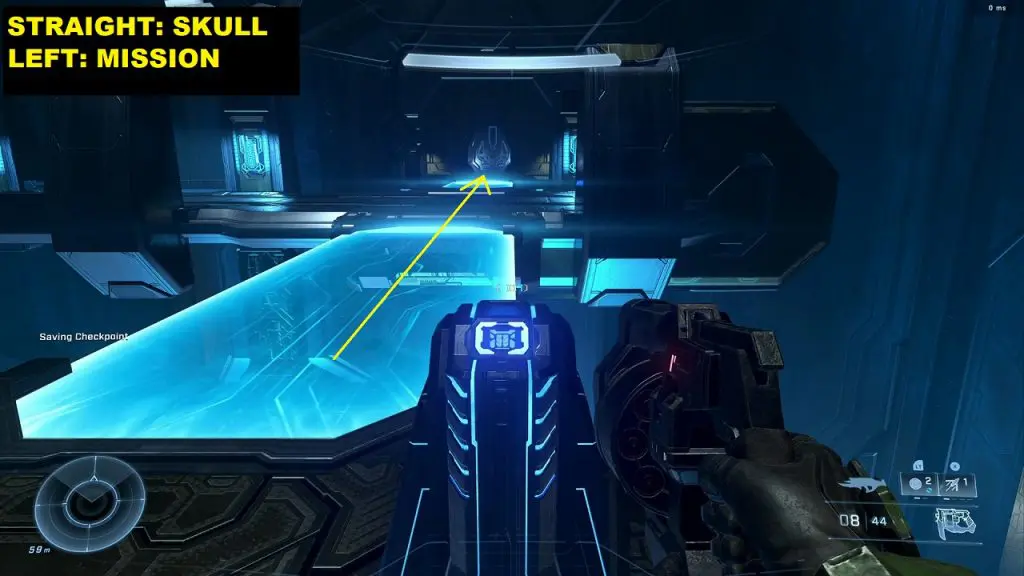
Cross the two light bridges and go through the door after the second bridge. If you killed any Sentinel in the mission, then this door will be locked and you won’t get able to go through it. If the door is closed, then reload an old save and replay the mission without killing any Sentinel for the door to be open. If you complete the mission without collecting the skull then you will have to replay the entire campaign again.
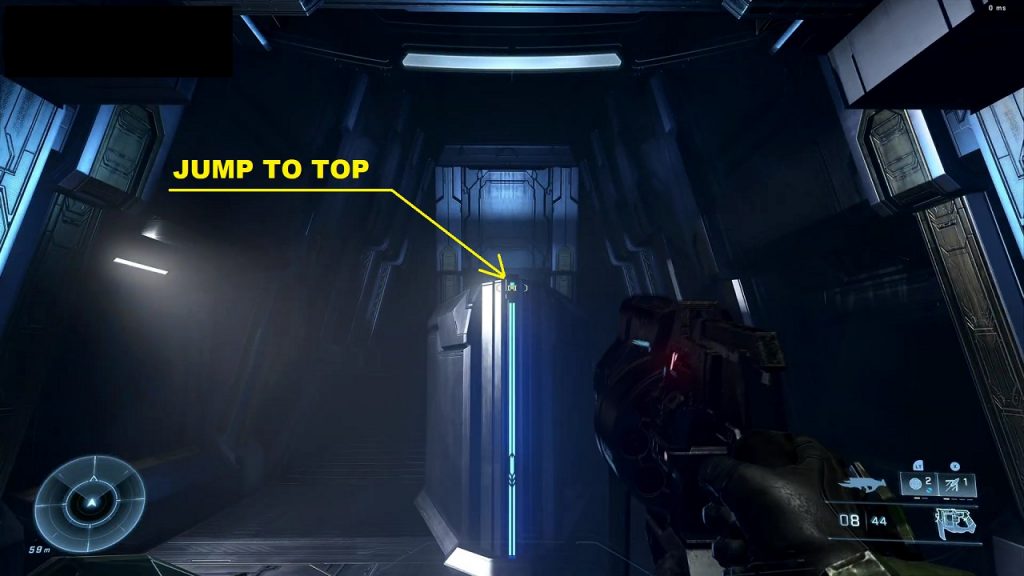
Go through the door and jump up the platform at the center of the room as shown in the picture below. You will find the Bandana Skull on this platform.
6) Catch Skull (Open World)
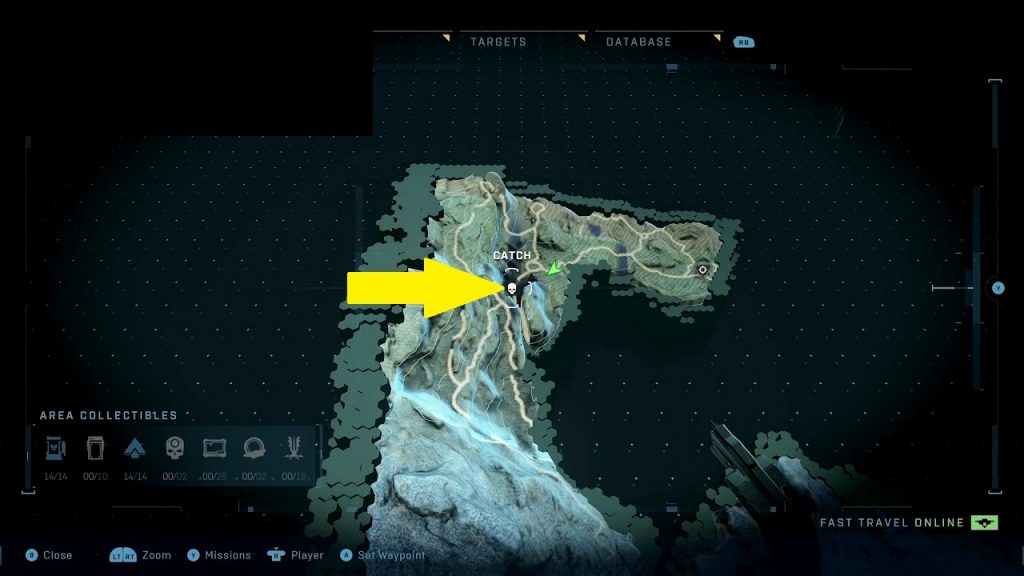
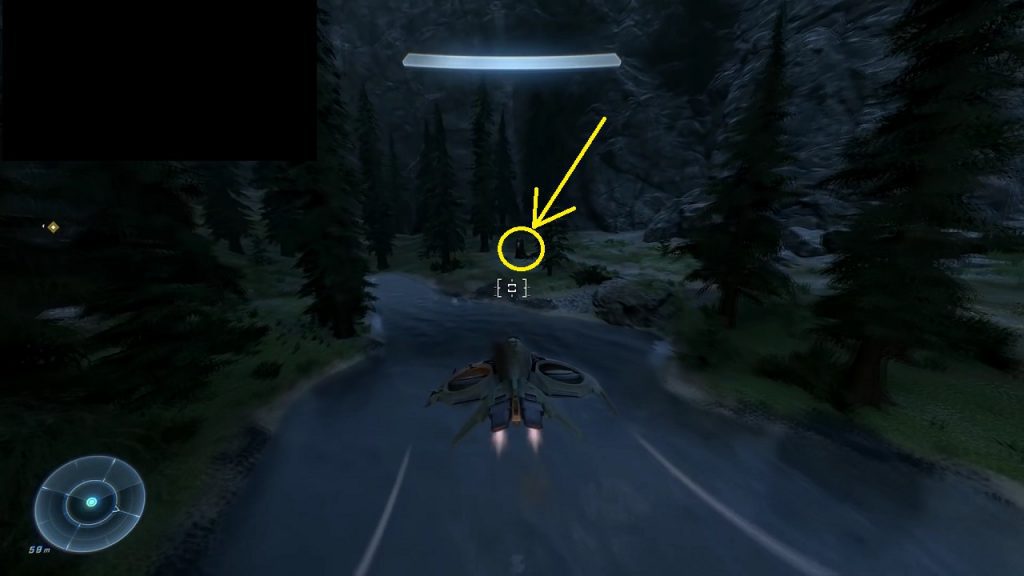
Catch skull makes enemies throw and hold more grenades. It will be available as you reach the open world of Zeta Halo. You will find it in the far north end in the little canyon as shown in the picture below. The skull is sitting on top of a tree stump next to the lake.
7) Fog Skull (Open World)
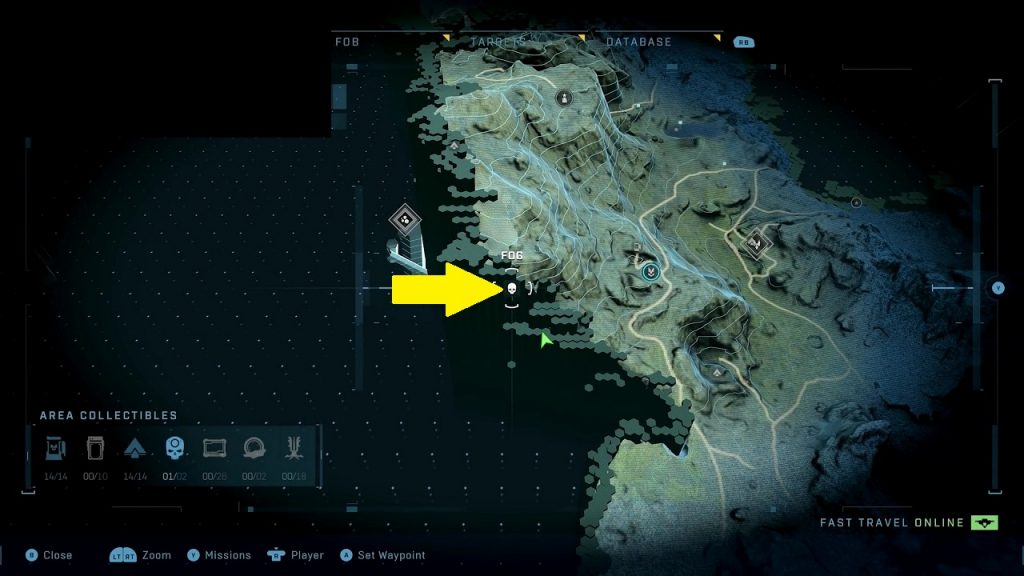
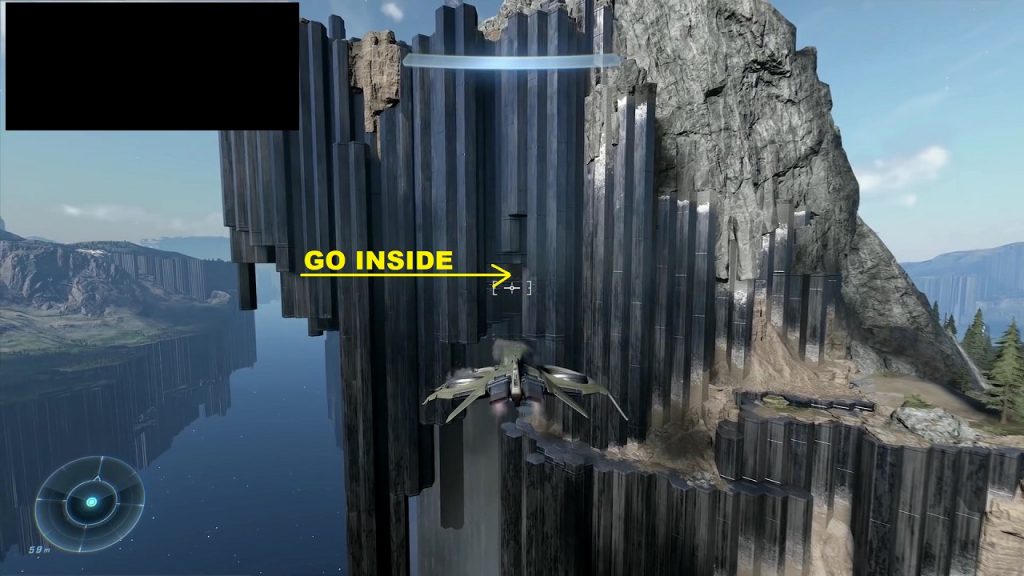
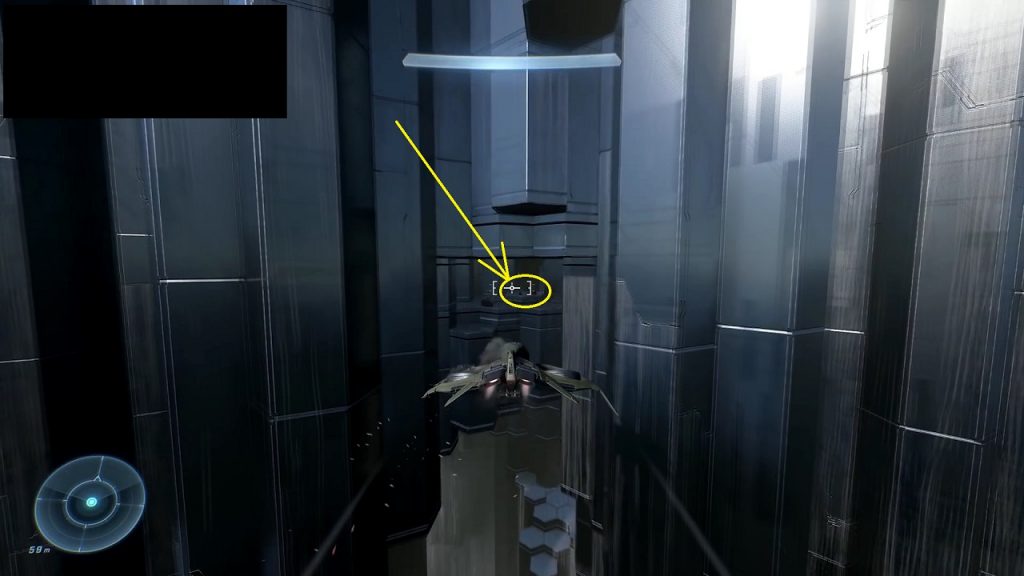
Fog Skull disables motion tracker. It is located on the edge of the mountain wall west of FOB Alpha. The skull is inside a little cave among the hexagonal columns as shown in the picture below. You can easily reach there with a wasp.
8) I Would Have Been Your Daddy (IWHBYD) Skull (Open World)
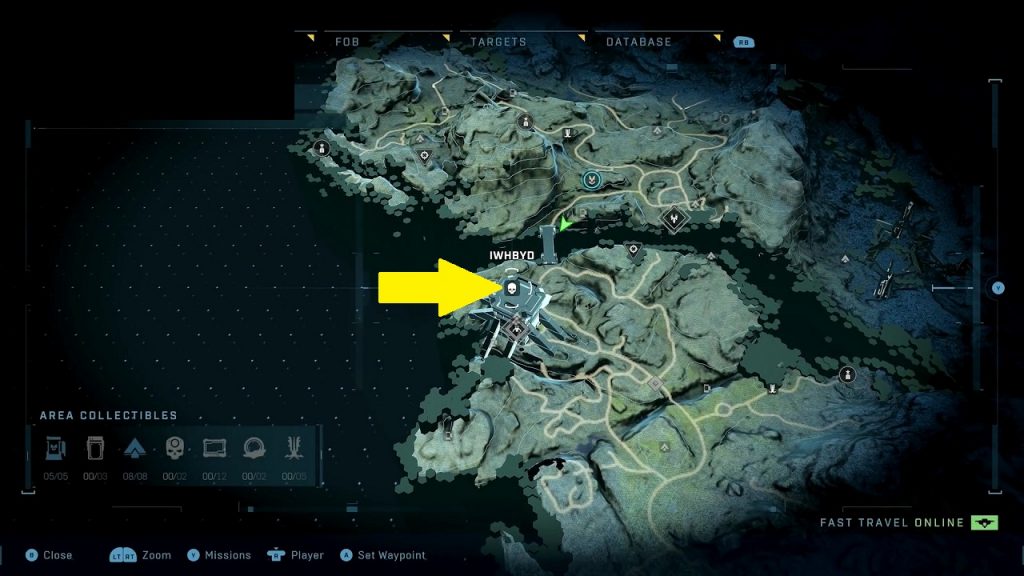
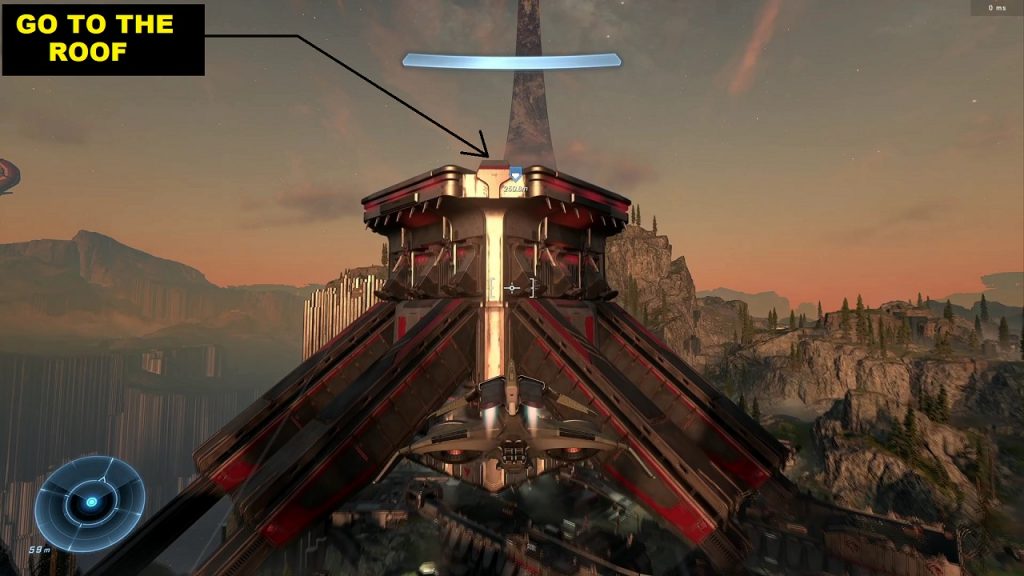
IWHBYD Skull makes rare combat dialogues more common. It is on the roof of The Tower as shown in the pictures below. You can reach there easily using a wasp.
9) Blind Skull (Open World)
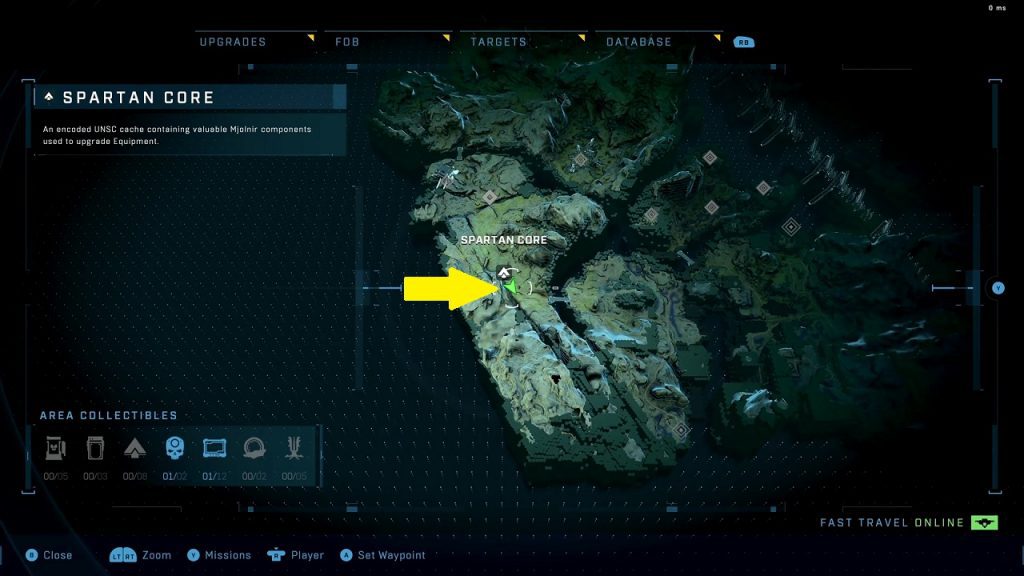
HUD and Weapon do not display onscreen with the Blind Skull. the skull is south of The Tower as marked on the map below.
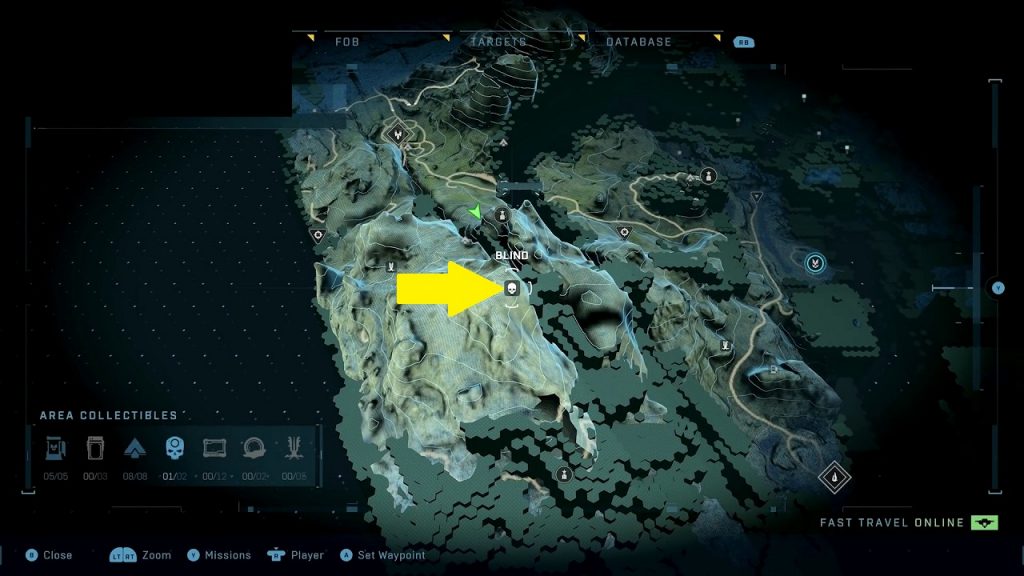
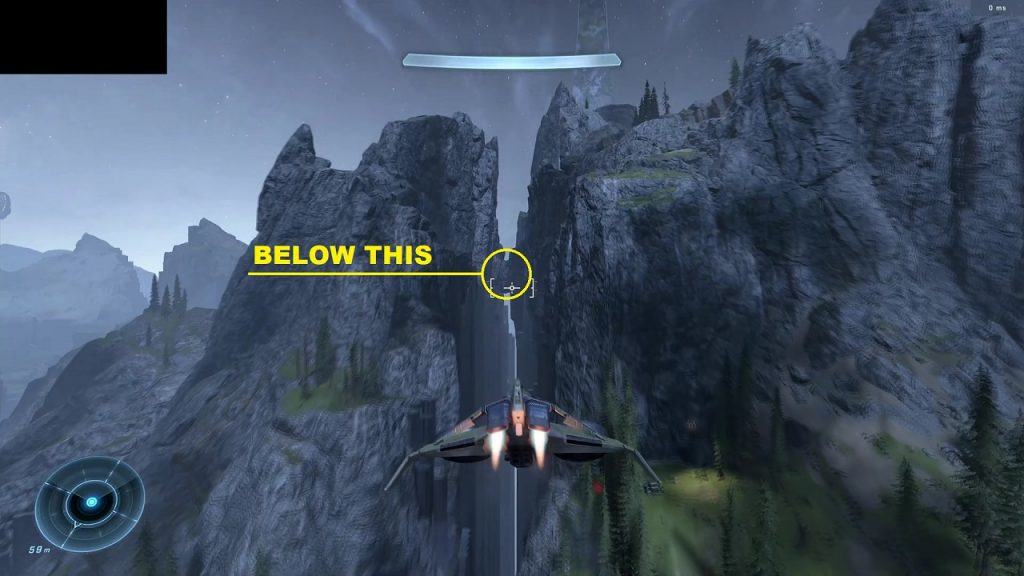
At the marked location, you will find a thin gap between the two mountains. Both the mountains will be connected by a strip of land as shown in the picture below. Underneath the connecting strip of land, you will find the skull on a small platform in the mountain wall as shown in the second picture below.
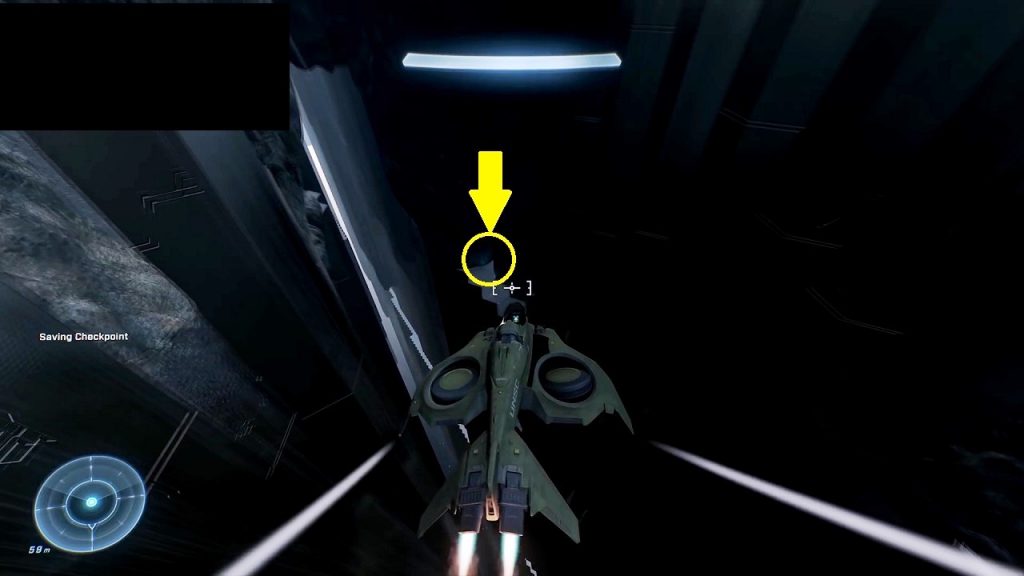
10) Thunderstorm Skull (Open World)
Thunderstorm Skull upgrades the rank of most enemies. It is on top of the column west of the beacon as shown in the pictures below.
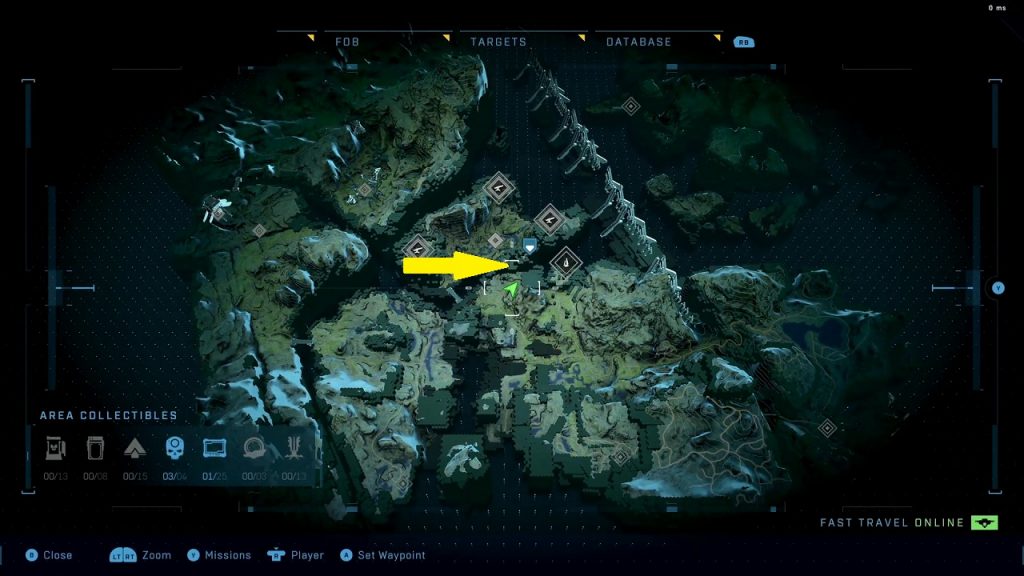
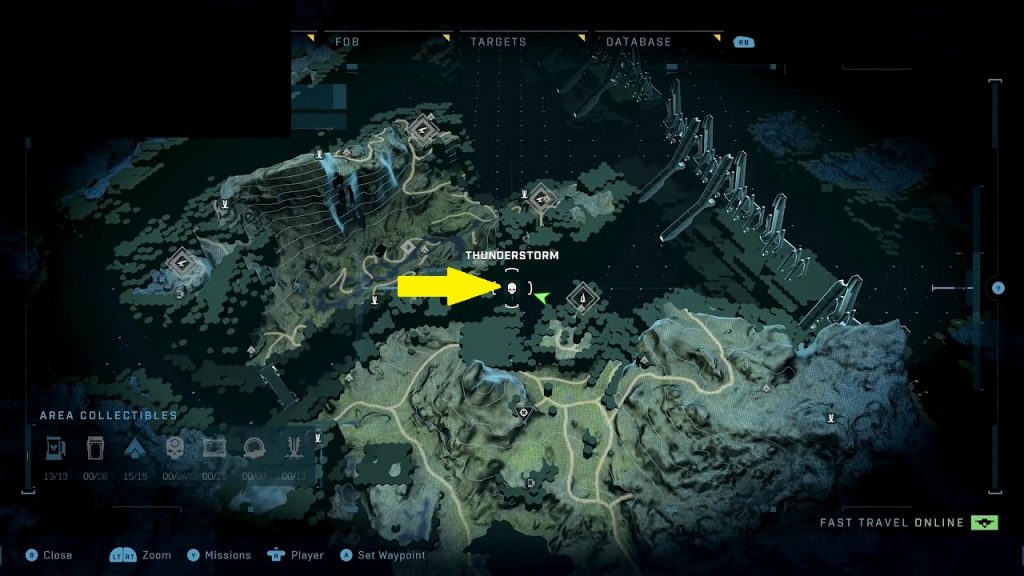
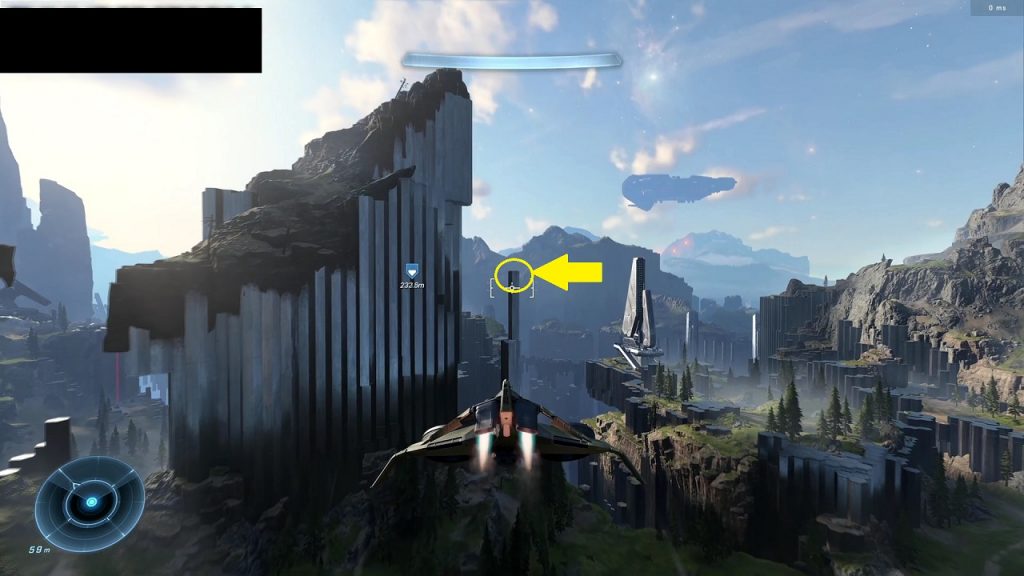
11) Black Eye Skull (Open World)
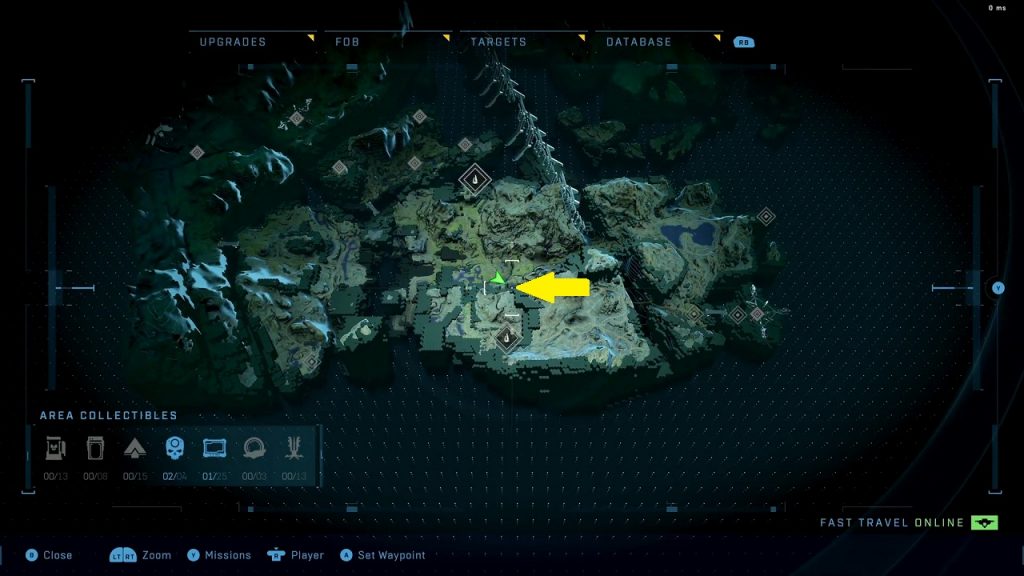
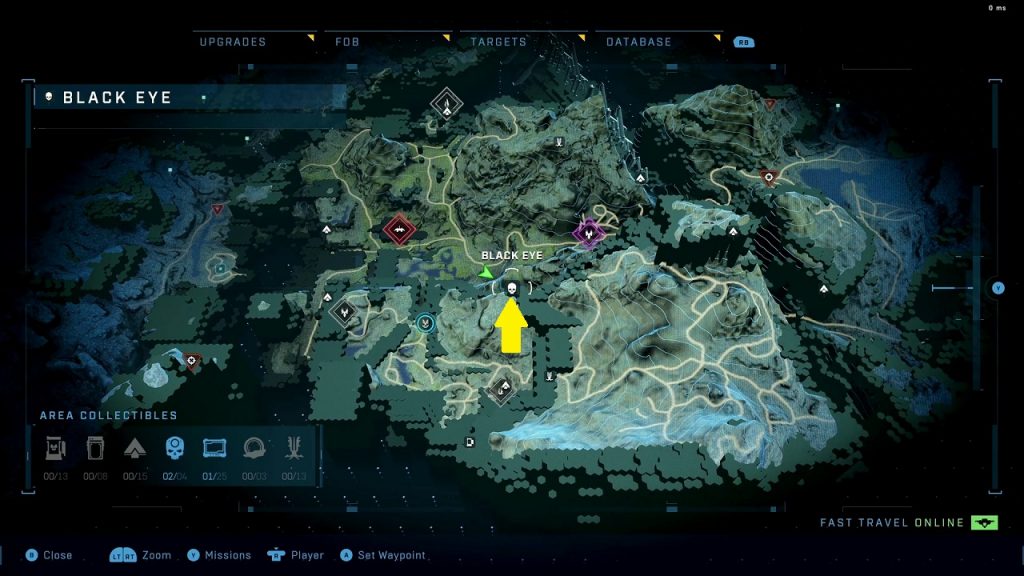
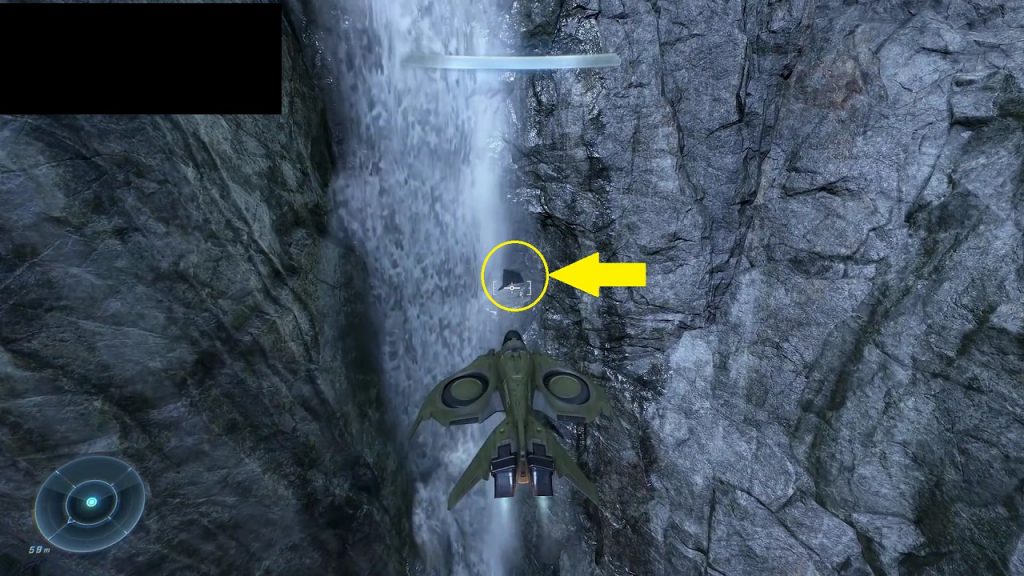
With Black Eye Skull, your shields only recharge when you melee enemies. The skull is east of FOB Kilo as marked on the map below. It is inside a cave behind a waterfall. The entrance to the cave is shown in the third picture below. The entrance is hard to spot, but you can easily find it with a wasp. Enter the cave and inside you will easily spot the skull.
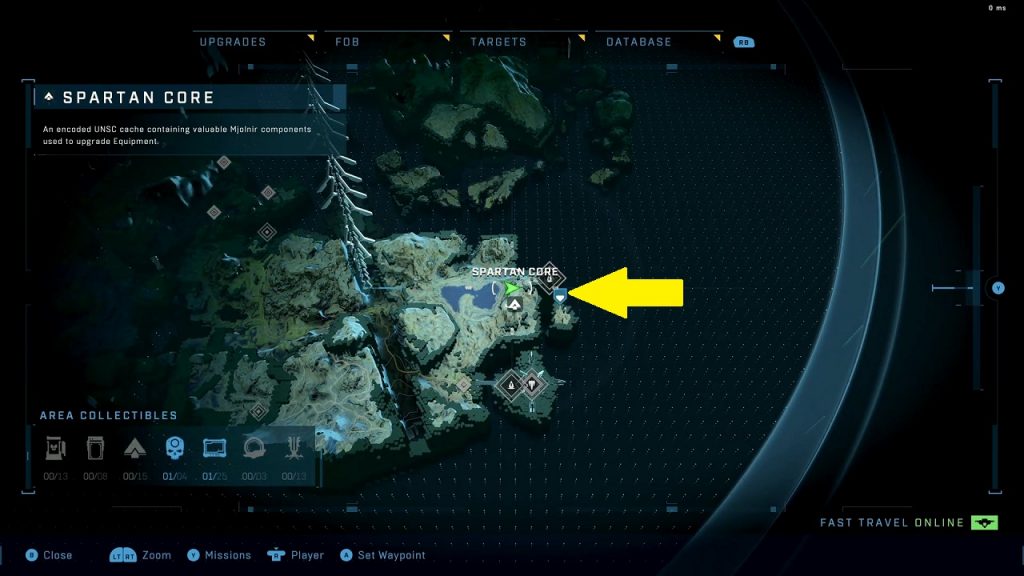
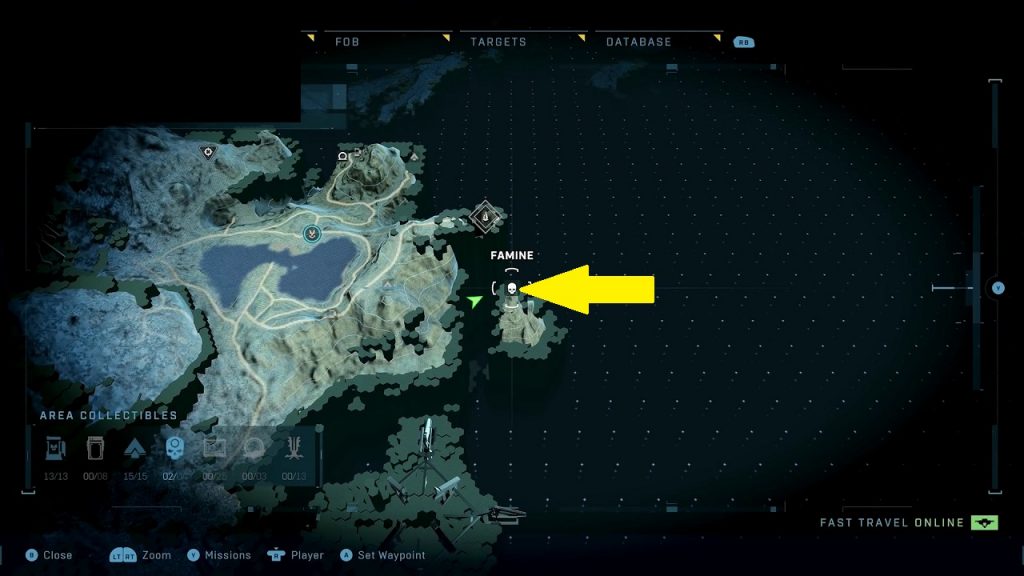
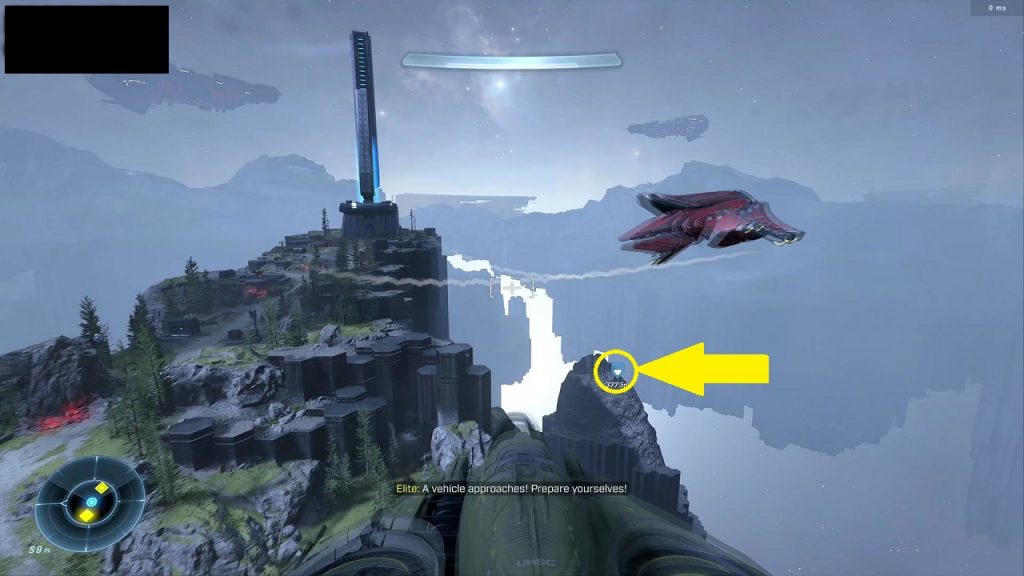
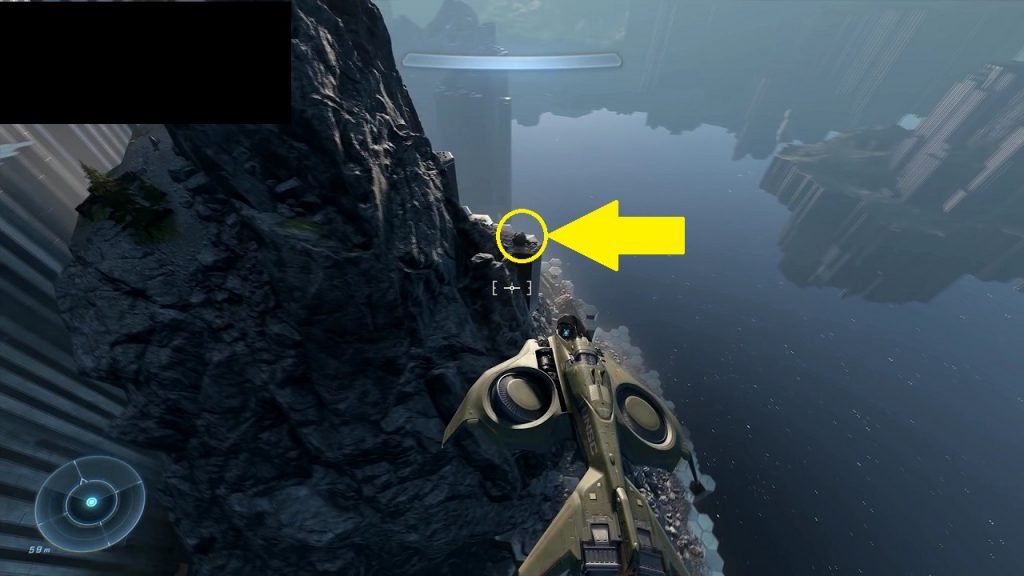
12) Famine Skull (Open World)
With Famine Skull, weapons dropped by enemies will have half the ammo than they normally would. It is on a floating mountain at the bottom right-hand corner of the map as shown in the pictures below. On the east side of the mountain, you will notice some ledges with a corpse there. The skull is near the corpse.
