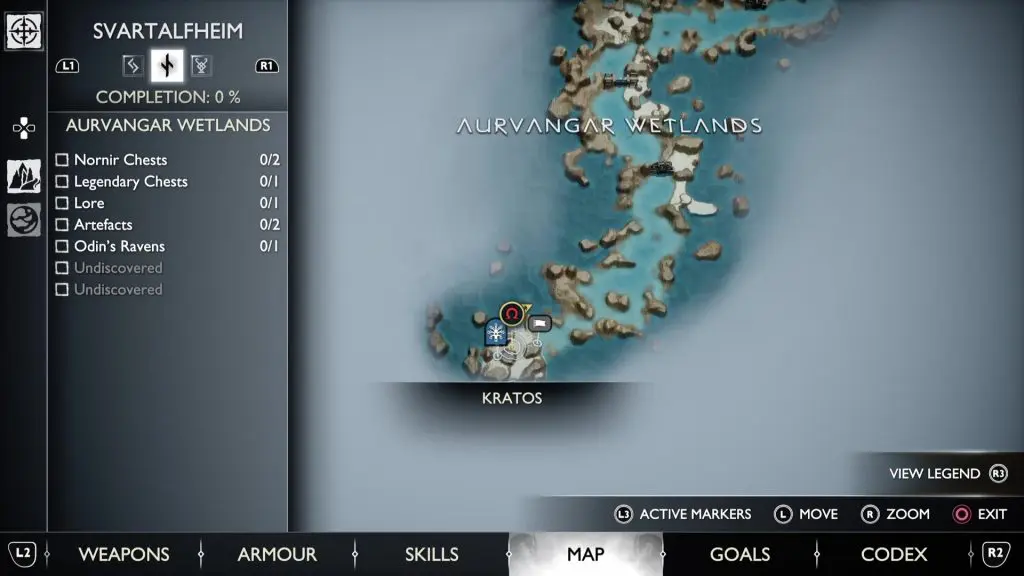
God of War Ragnarok: Aurvangar Wetlands Collectibles
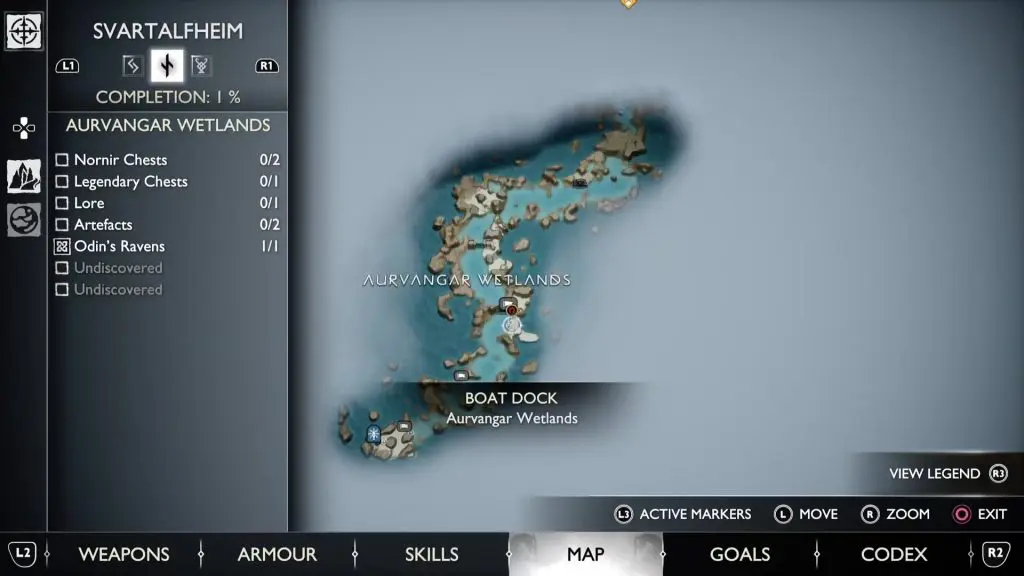
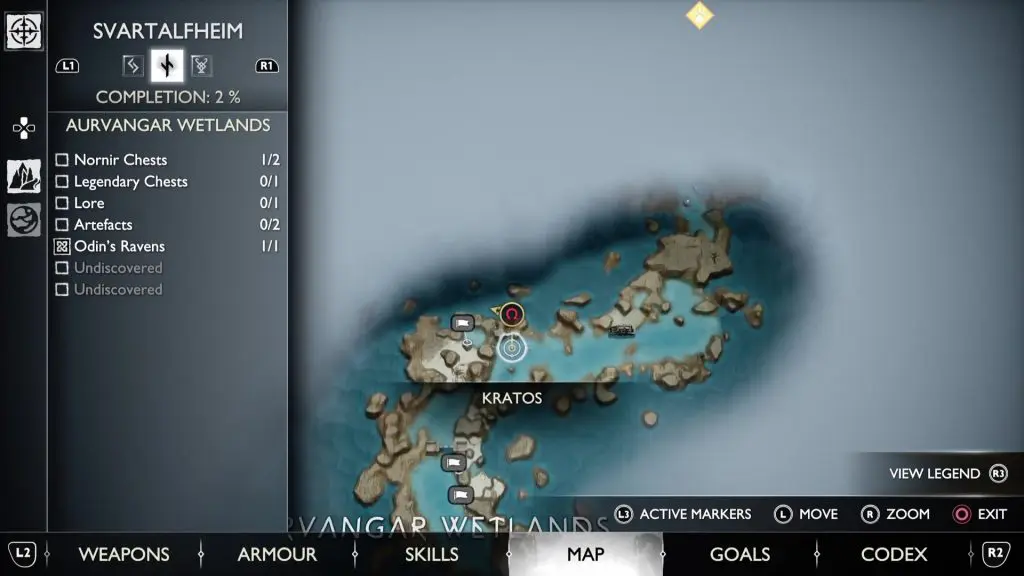
This guide shows how to get all of the Aurvangar Wetlands Collectibles in God of War Ragnarok, which released on November 8th, 2022. There are 9 Collectibles in Aurvangar Wetlands, which is part of the area of Svartalfheim.
Also Read: Aurvangar Wetlands: All Collectibles Locations Guide | God of War Ragnarok
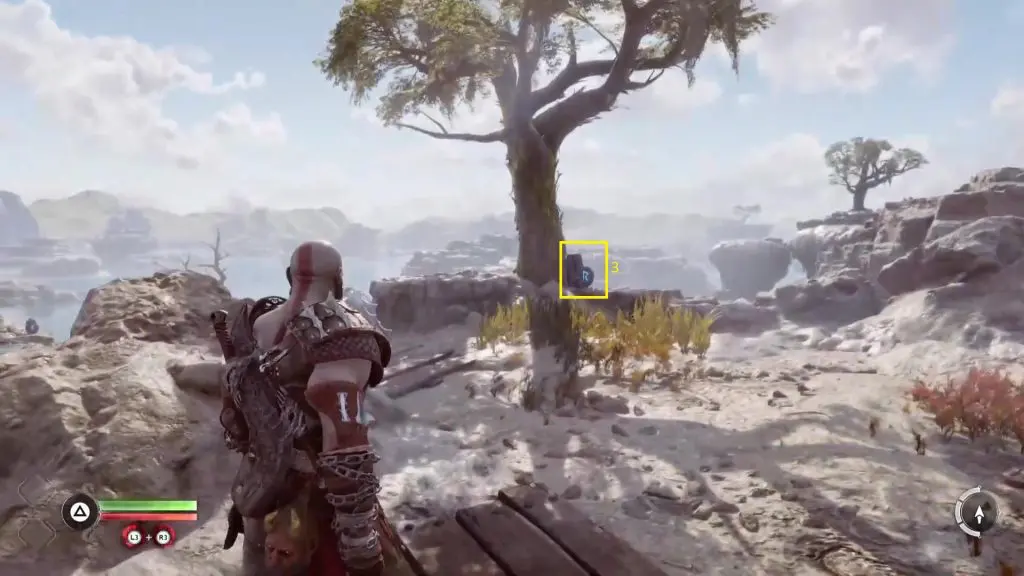
1) Odin’s Raven
The location of the Raven is shown in the pictures below. Throw your axe at the raven.

2) Artefact (Things Left Behind – Hreidmar’s Brassard) – Artifact
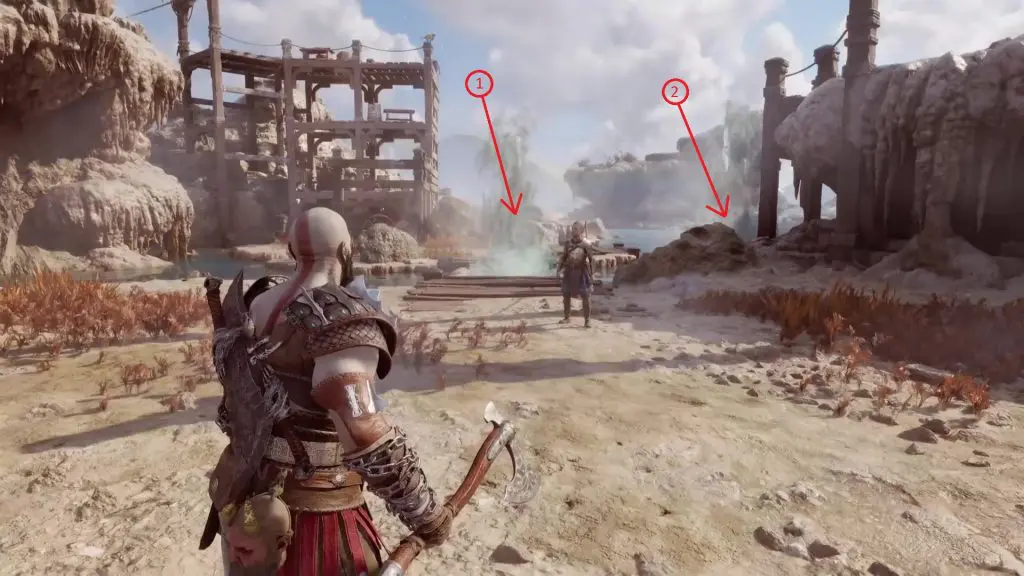
Go to the water wheel at the location shown in the picture below.
On the right side of the waterwheel, you will see two geysers as marked in the picture below. Hit the Geyser 1 with your axe to freeze it and then jump on the platform behind it. Now turn right and hit geyser 2 to freeze it. Then use the grapple to climb up the wall behind the geyser.
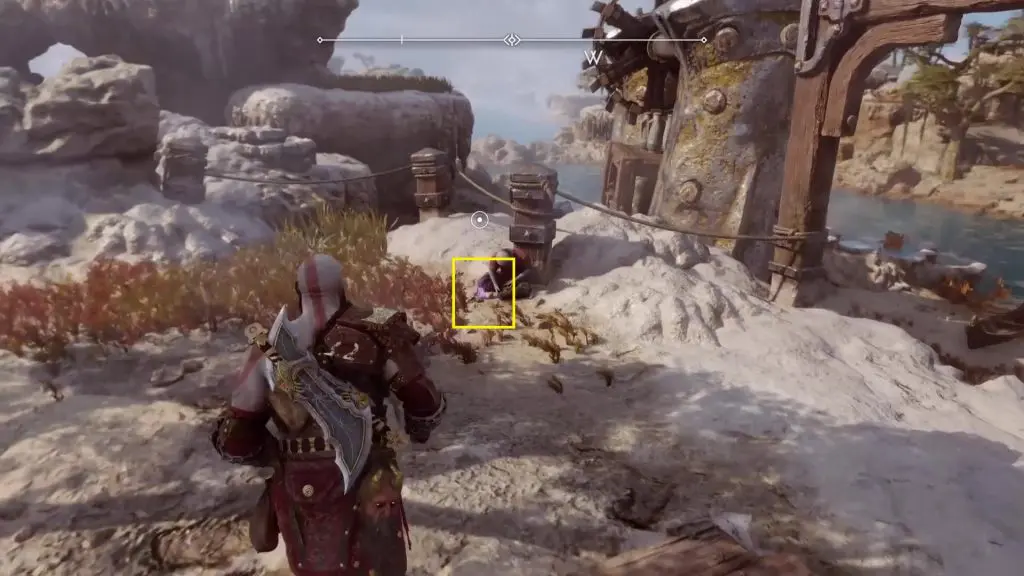
After climbing up the wall, turn right to see the artifact on a corpse as shown in the picture below.
3) Nornir Chest
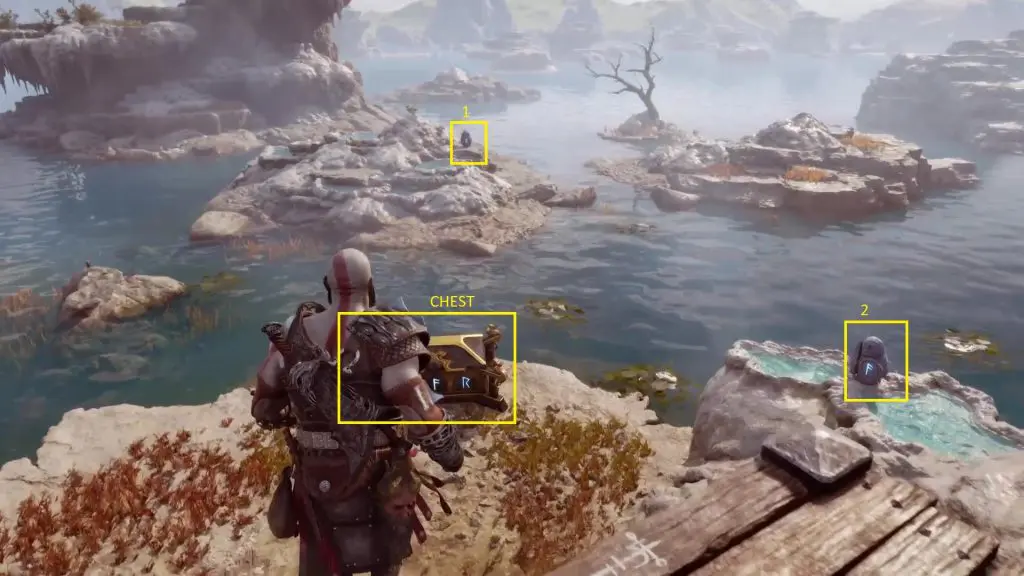
After collecting the artifact, turn around and go to the edge of the platform to see the Nornir Chest down below as shown in the below picture. But before jumping down to reach the chest, you need to destroy three seals to unlock the chest. Seal #1 is behind the chest and Seal #2 is on the right side of the chest. Seal #3 is near the tree on the same platform you are on. The locations of all the seals are marked in the pictures below. Throw your axe to destroy the three seals. Then jump down the platform to reach the chest. Open it to get an Idunn Apple.
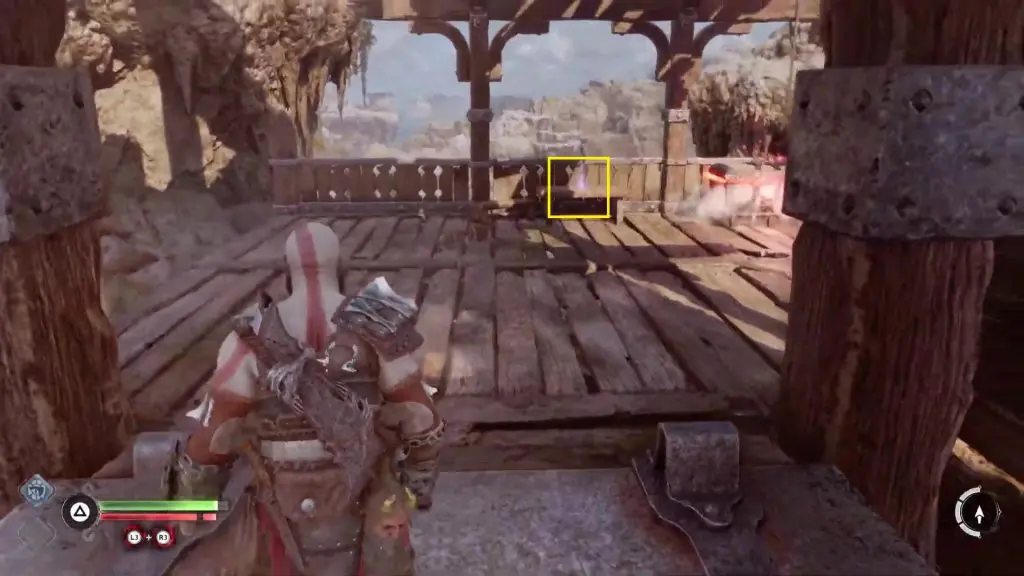
4) Hel Tear (Frozen Spark)
The location of the Hel-Tear is marked in the picture below.

From the geyser, grapple up the platform on the left side as shown in the picture below. Then go till the end of the platform and climb down to reach the portal as shown in the second picture below. You will have to interact with the portal and defeat the enemies.
Note: This will be available only after you have completed Main Mission 12.

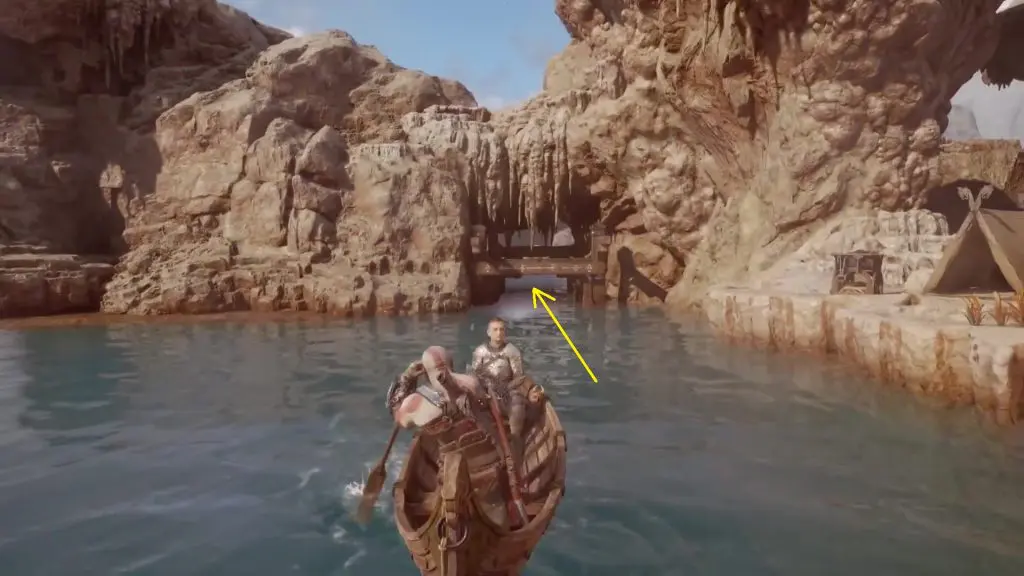
5) Remnants of Asgard
Go to the location shown in the picture below. Go under the opening on the rock wall as shown in the second picture below to reach a hidden area. After you dock your boat and get down, you will be attacked by a bunch of enemies. Defeat them to clear the Remnants of Asgard.
Note: This will be available only after you have completed Main Story.
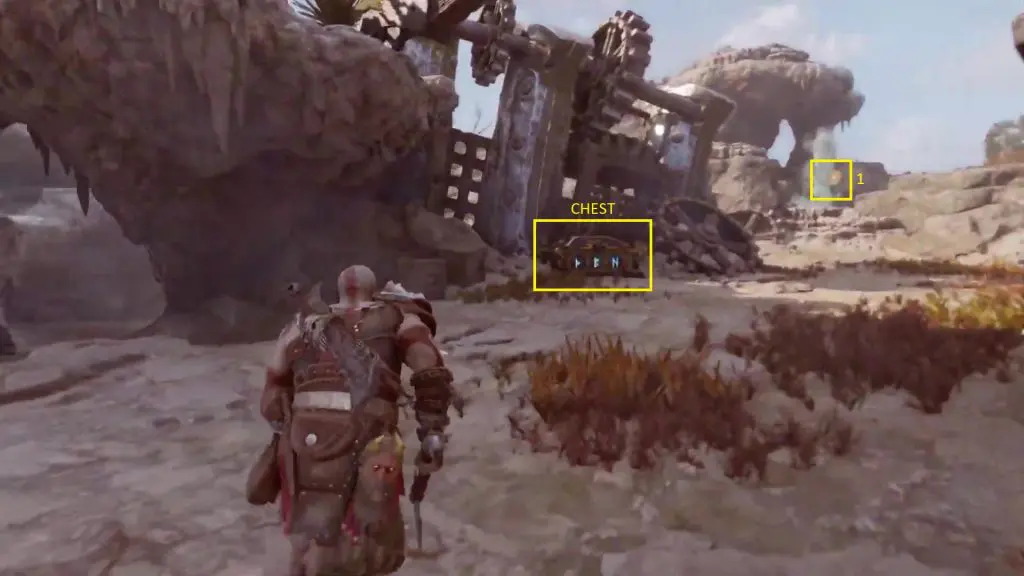
6) Nornir Chest
In the same area where you encountered the Remnants of Asgard as explained before, you will find a Nornir Chest. On the chest, you will see three glowing symbols as shown in the picture below. You need to find and hit three posts in the area to make the same symbols as on the chest appear on the post. This will make the symbol on the chest stop glowing and this will unlock the chest. The first post is on the right side of the chest as shown in the picture below. Hit it two times to make the symbol “P” appear on the post. The symbol won’t be visible due to the geyser. Just hit until the symbol “P” on the chest stops glowing.
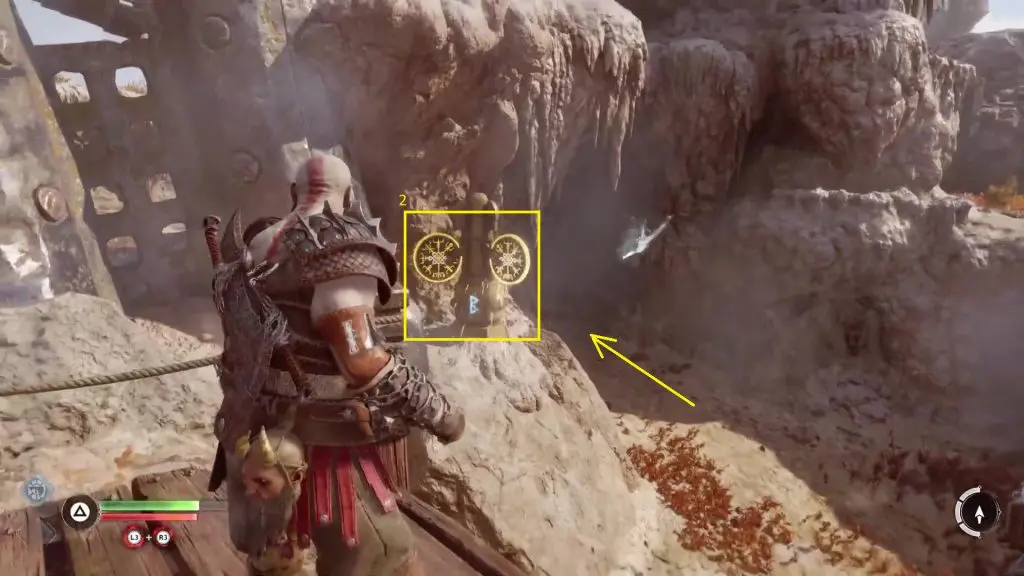
For the second post, take the path on the right side of the chest and turn left. Hit the post until the symbol “B” appears on it as shown in the picture below.
For the third post, grapple up the platform on the left side of the chest and then turn right as shown in the pictures below. Hit the post until the symbol “N” appears on the post. This will unlock the chest. Now go back and open the chest to get a Horn of Blood Mead.
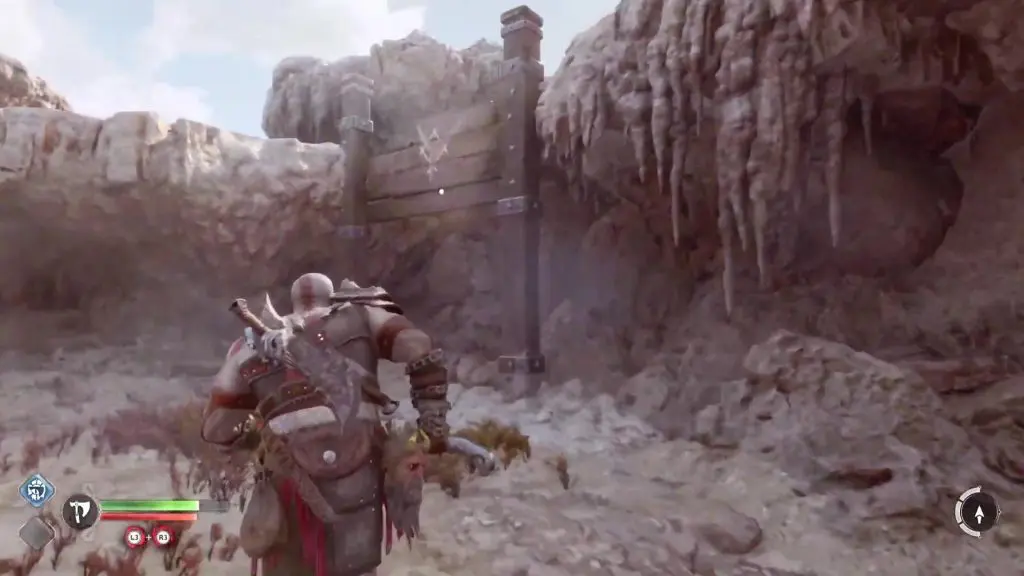

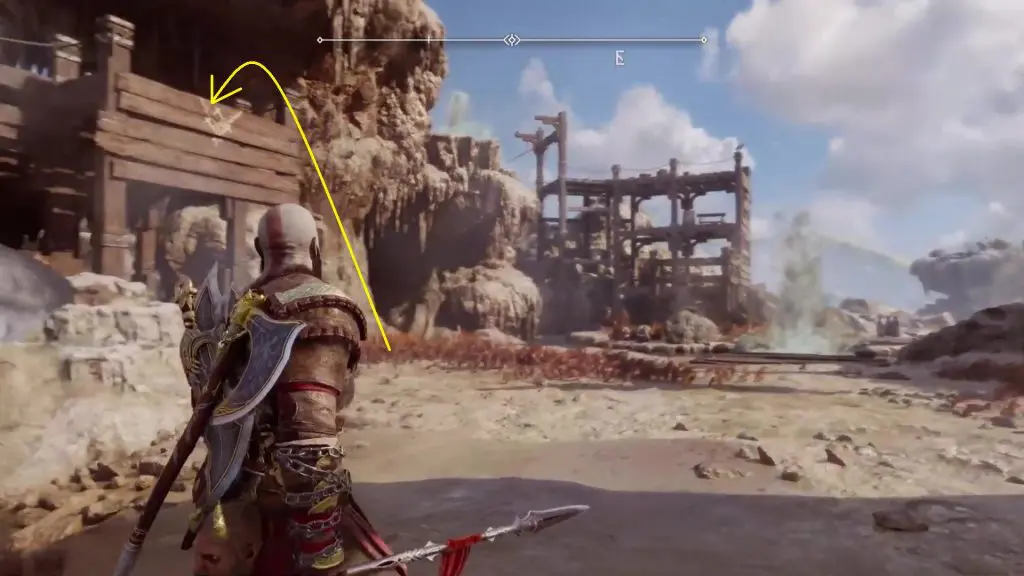
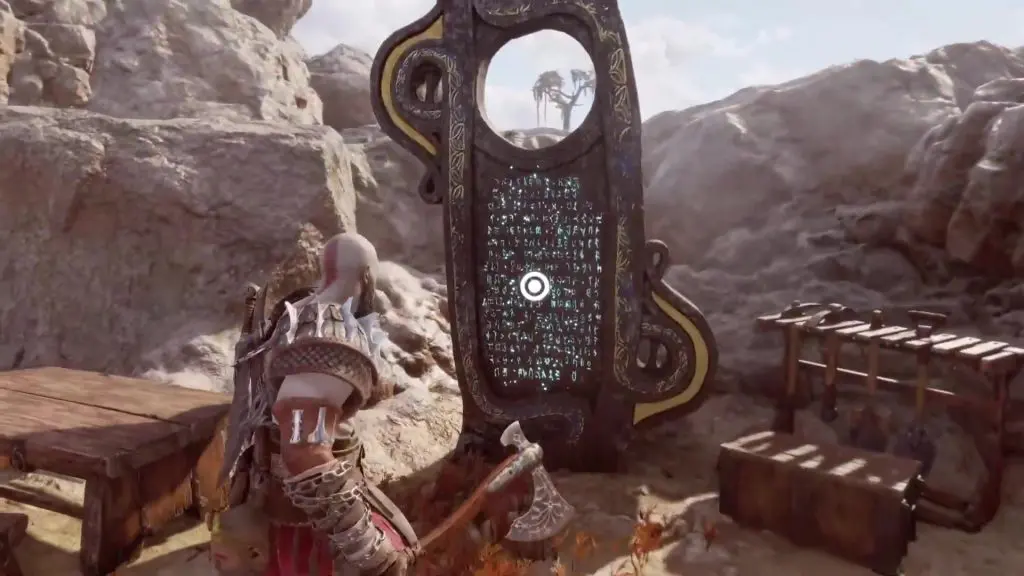
7) Lore (Lore Marker – Unsafe Roads)
Grapple up the platform on the left side of the Nornir chest. Then go right and jump down to reach the stone tablet containing the lore as shown in the picture below.
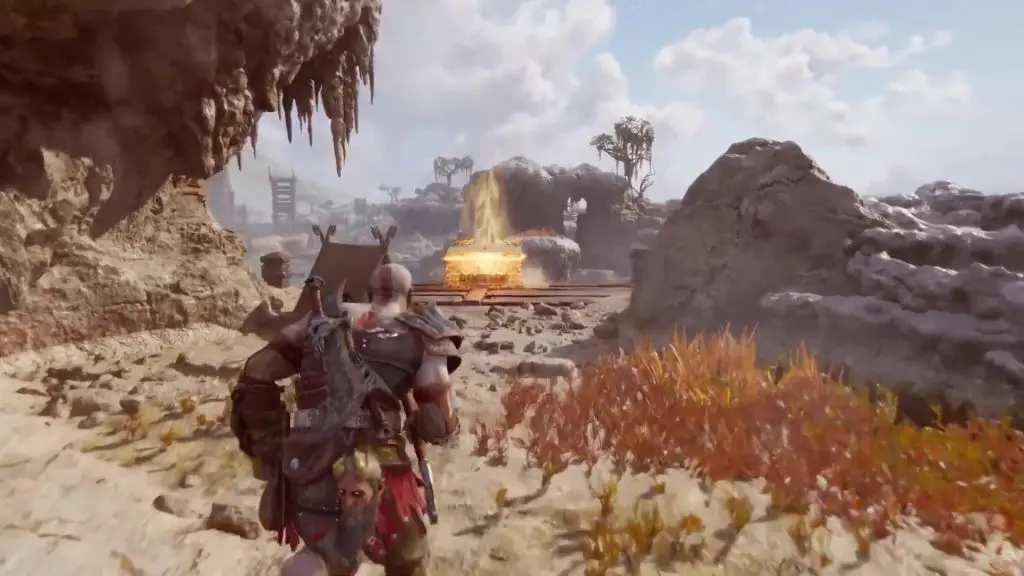
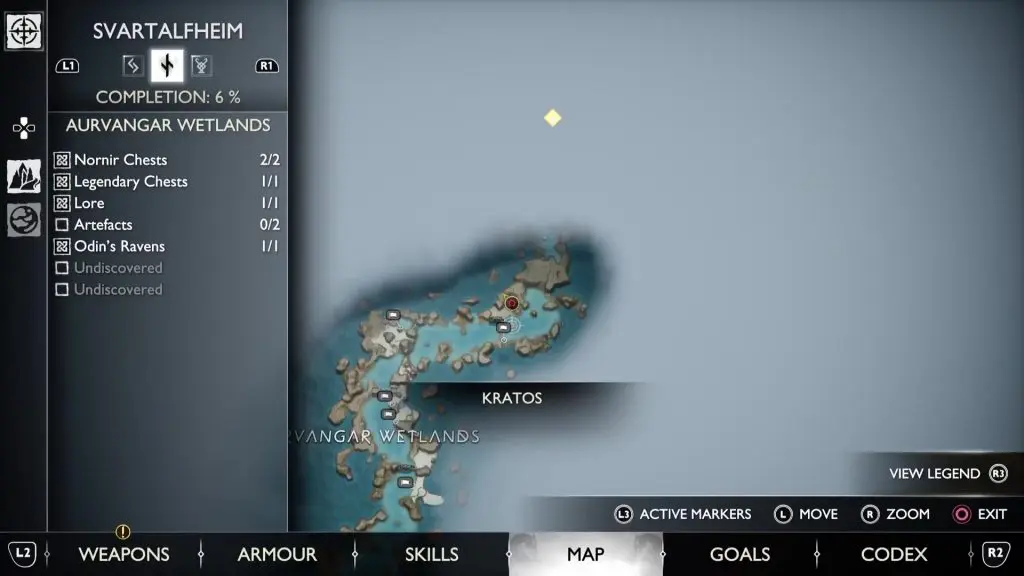
8) Legendary Chest (Deadly Obsidian Handles – Blade Attachment)
Grapple up the platform on the left side of the Nornir chest. Then go left to find the legendary chest as shown in the picture below.
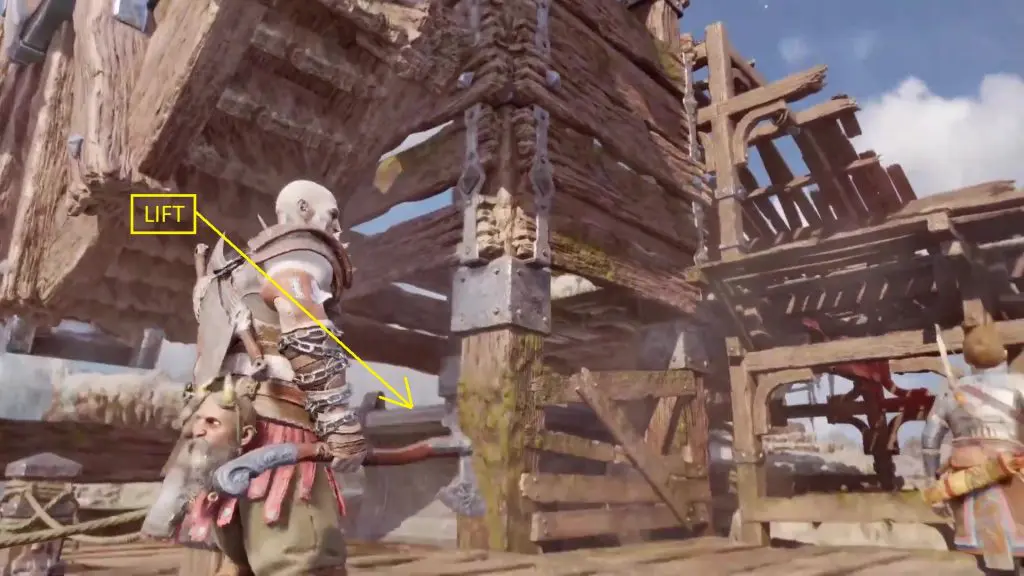
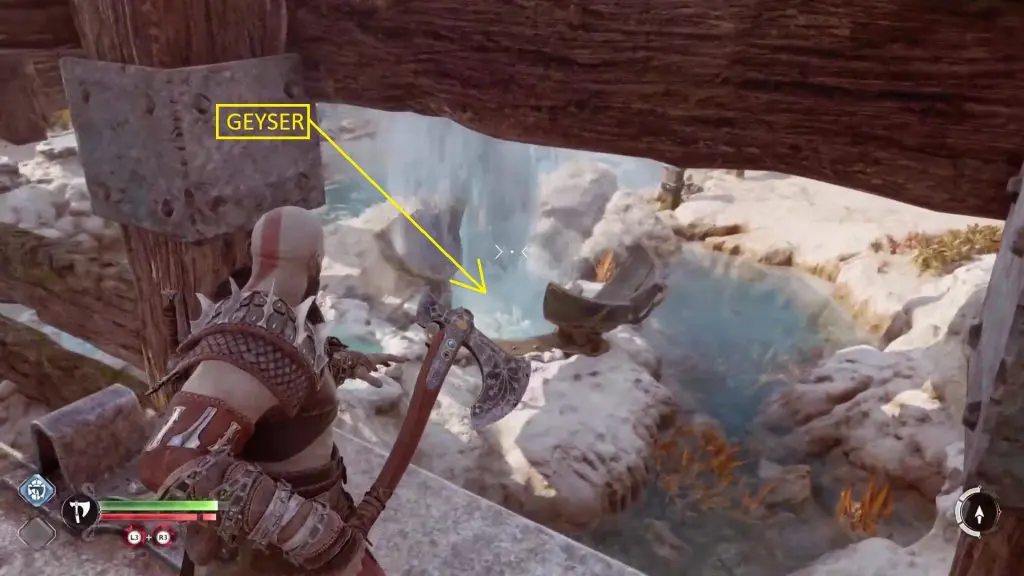
9) Artefact (Kvasir’s Poems – The Sunrise of Nothingness) – Artifact
Go to the location shown in the picture below.
Climb up on the lift as shown below. Then look through the opening on the left side and throw your axe to freeze the geyser as shown in the second picture below. This will make the lift go up. There you will find the artifact in front of you as shown in the third picture below.