This guide shows how to find all the Collectibles in Chapter 1: New Arrivals in the game Dead Space Remake.
Also Read: Dead Space Remake Walkthrough & Collectibles
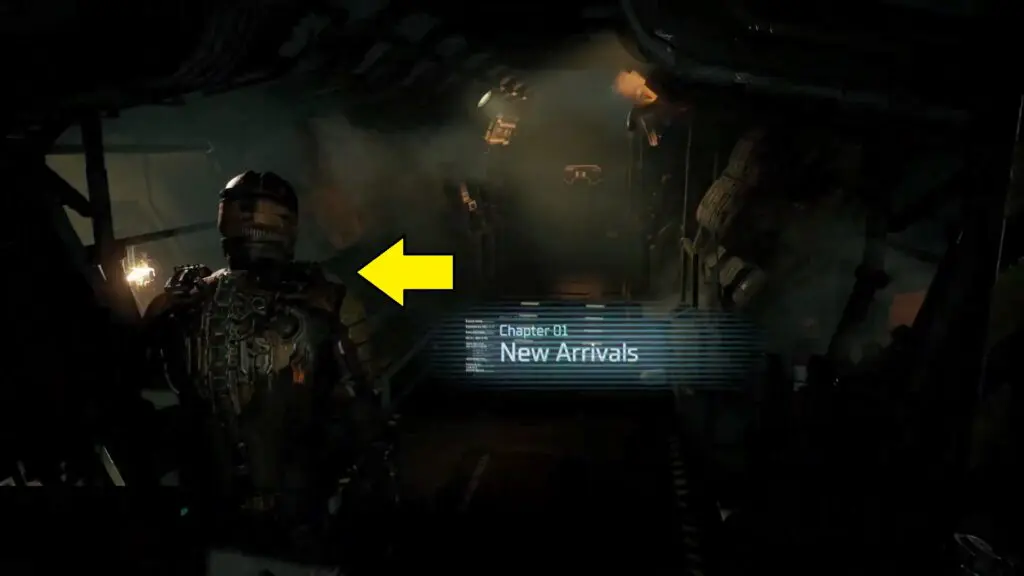
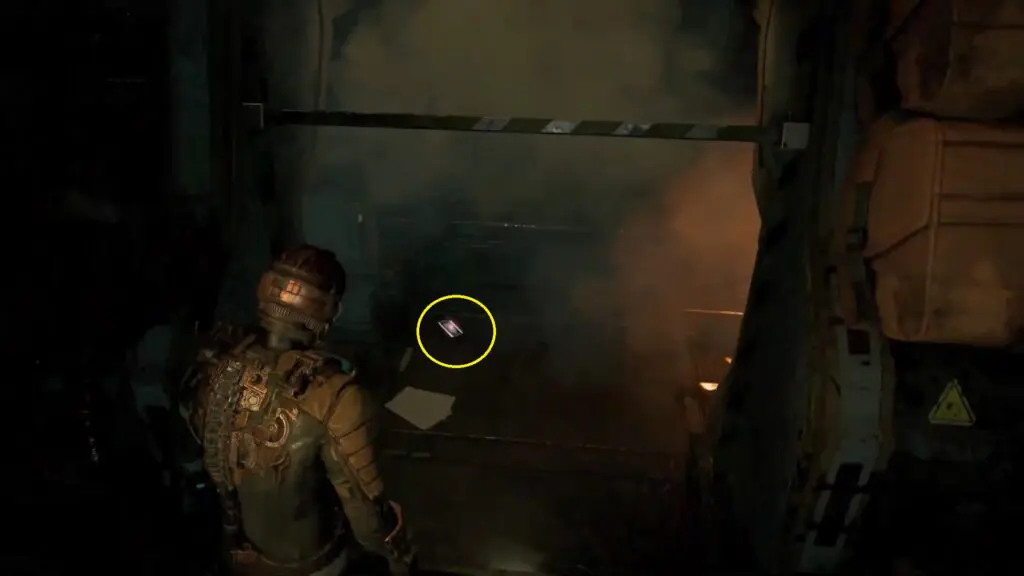
1) Log 1: Background Request
The first collectible is available as soon as you gain control of your character – Isaac. Turn around and go through the left door to find the first log on the ground.
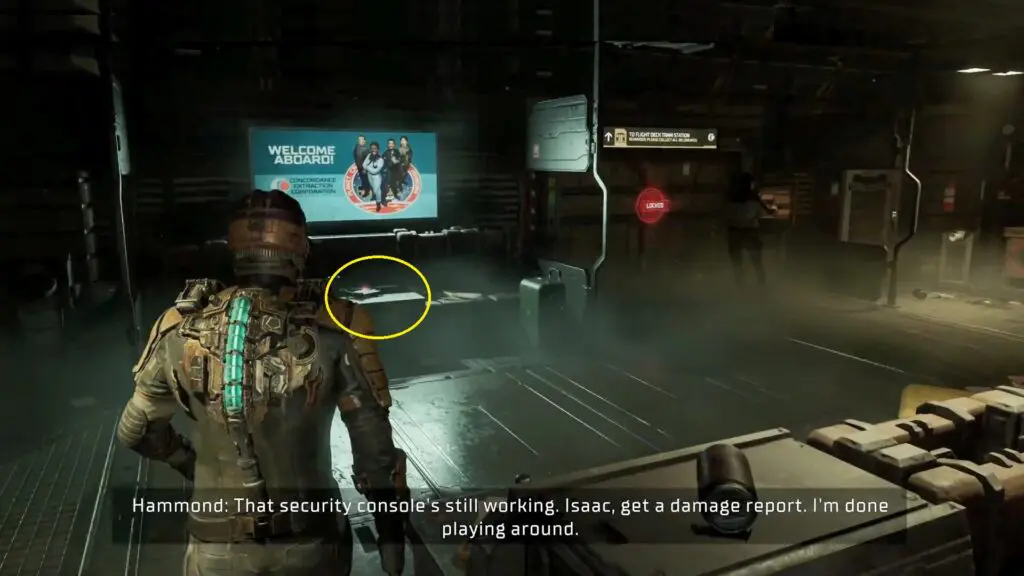
2) Log 2: Sponsored Article: The USG Ishimura
It is located inside the first room “Flight Lounge” that you enter with your crew. The log is on a bench on the far left side near “Welcome Aboard!” Sign.
3) Log 3 – Run!
Story-related. This log is available as you flee the Necromorphs.
Weapon 1 – Plasma Cutter
Next, go down the elevator to find the plasma cutter.
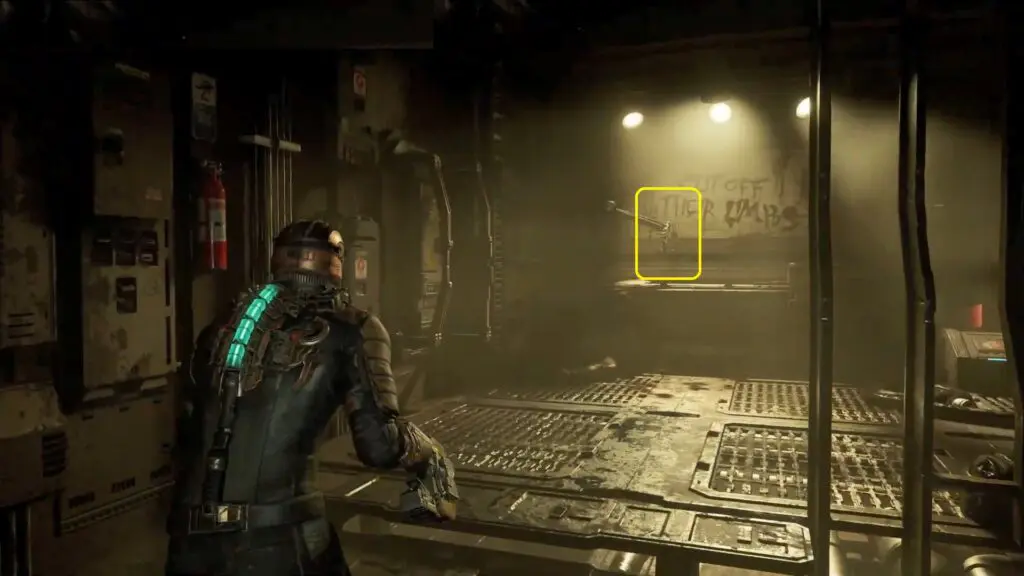
4) Log 4 – Send Help
Go through the door on the right of “Plasma Cutter”. Defeat the first Necromorph, then go through a hallway and open the next door of “RAM Control Room”. The log is on the Security Phone.
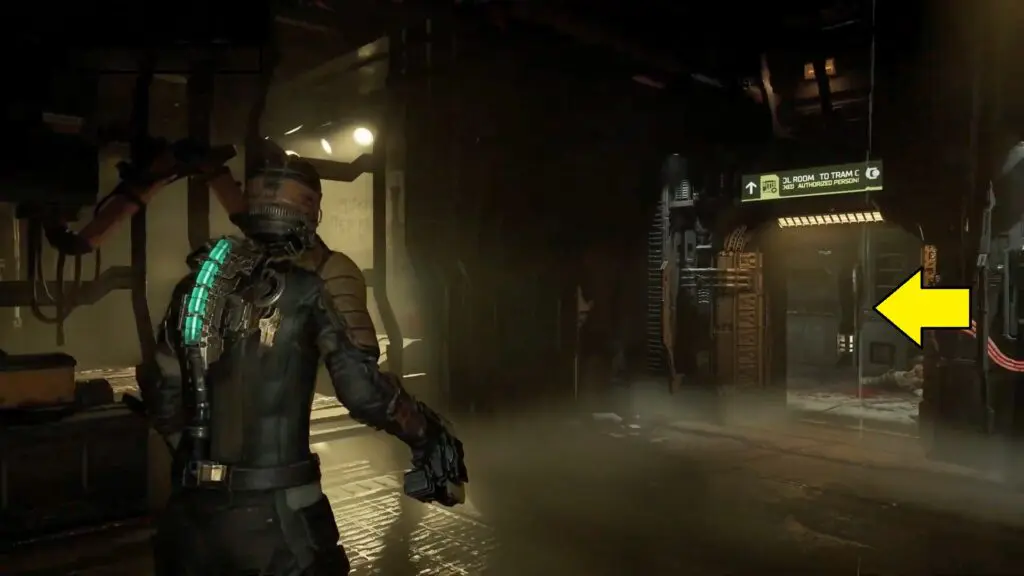
5) Log 5 – Repair the Tram System
Story-related. This log is available in Tram Control Room.
Weapon 2 – Stasis Module
This is not part of Collectible. Take the right door from the Tram Control Room. Go downstairs to find the Stasis Module in front of a malfunctioning door.
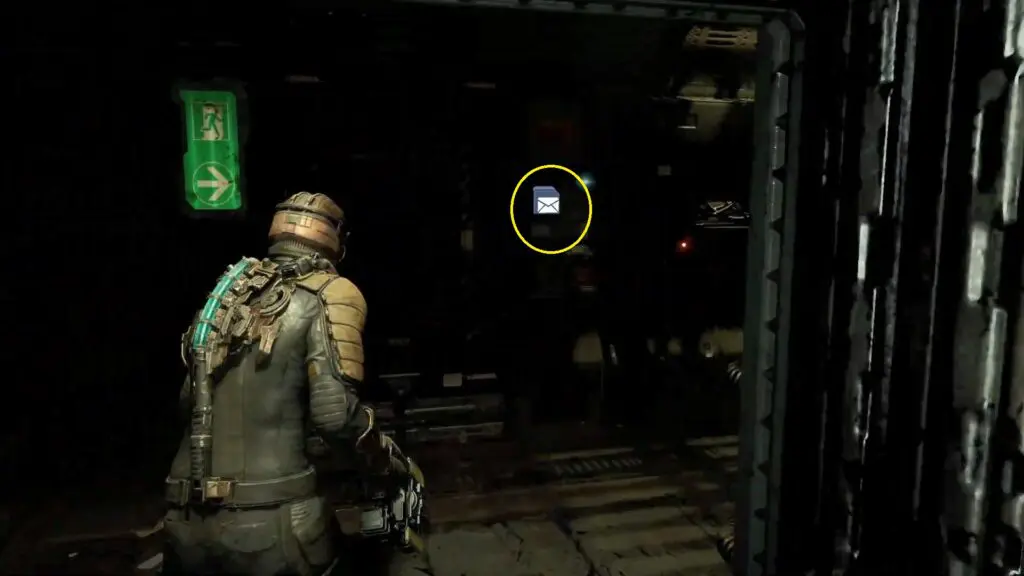
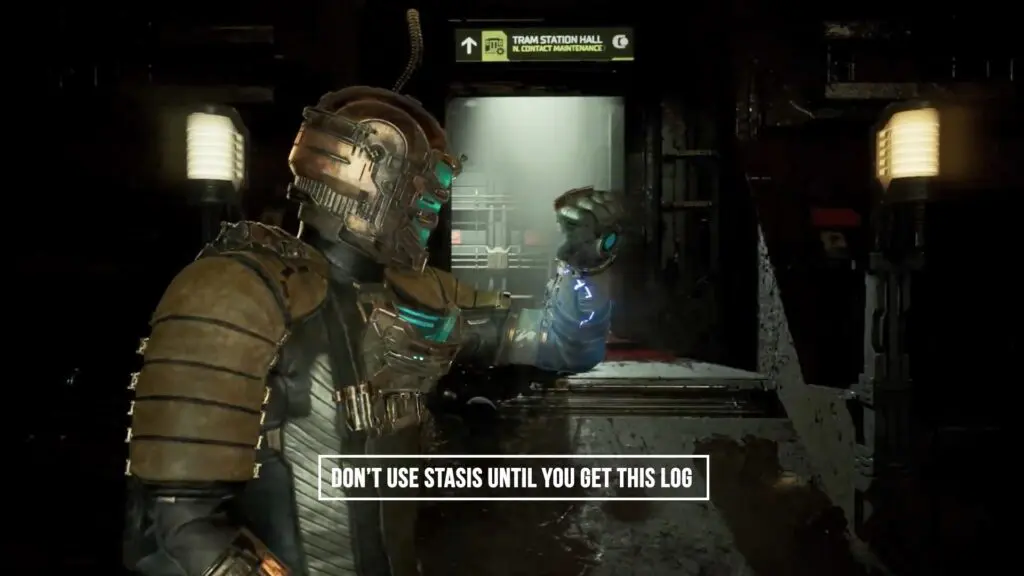
6) Log 6 – Stasis Door
After obtaining the Stasis Module, stand for roughly 30 seconds in front of the malfunctioning door and Daniels will call you. Don’t use Stasis on the door now.
7) Log 7 – Dismemberment
Story-related: This log is available in Tram Control Room.
Node 1
Its on a wall near the door that you used to enter the Tram Control Room.
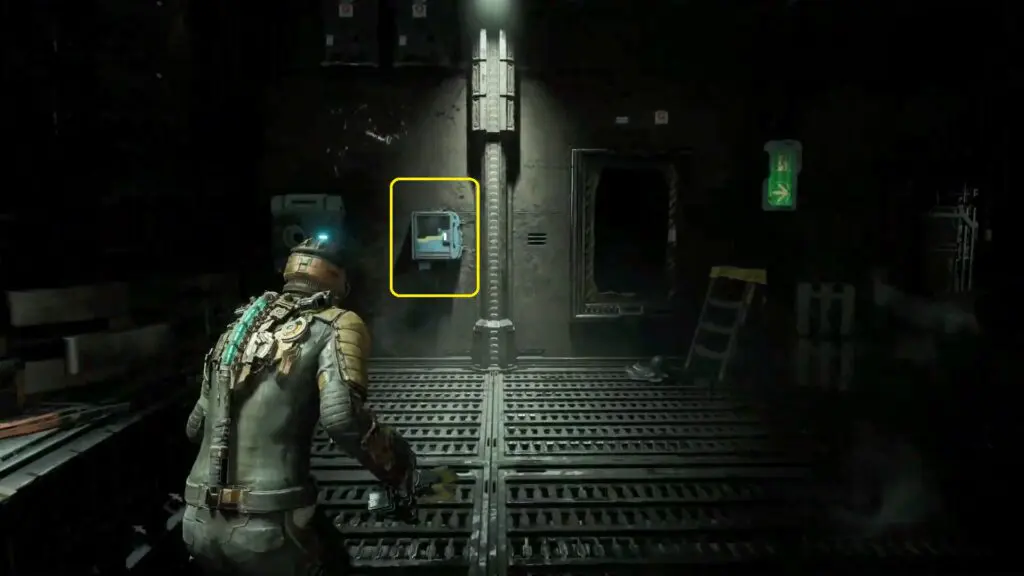
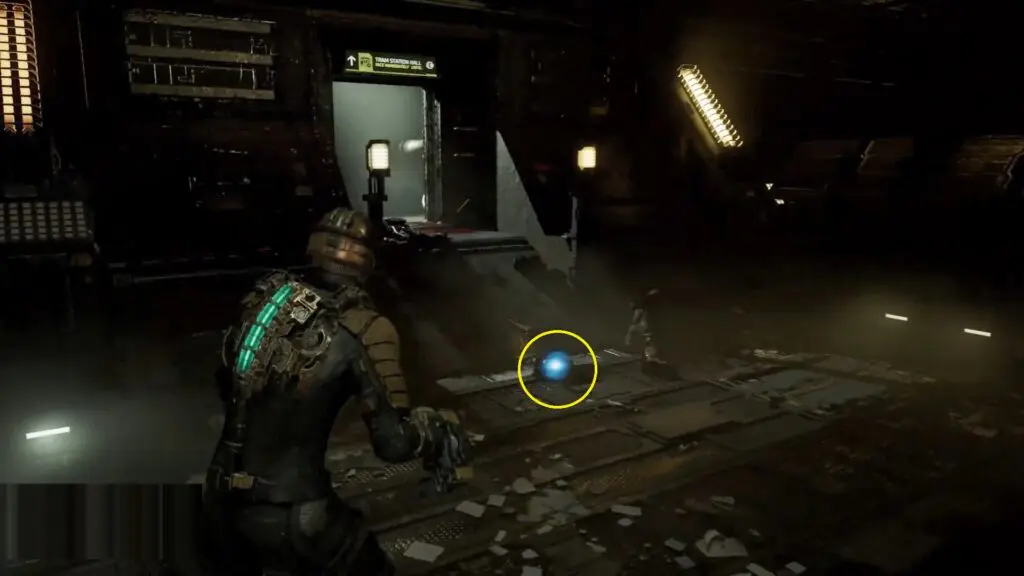
8) Log 8 – Stasis Module Request
This is located inside Tram Repair Room. As you enter the room turn to the right, and you will find this log on a bench near the claw controller.
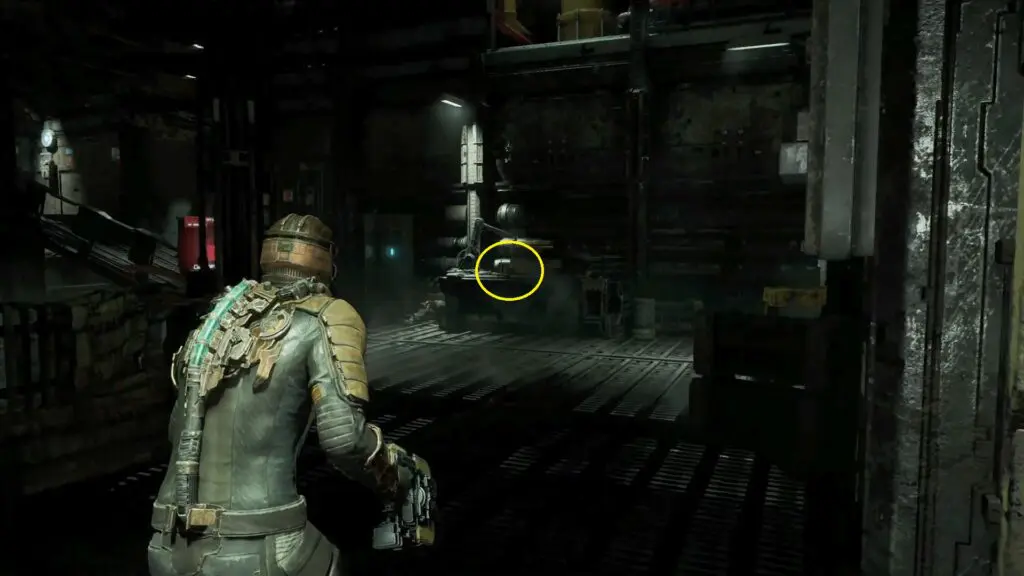
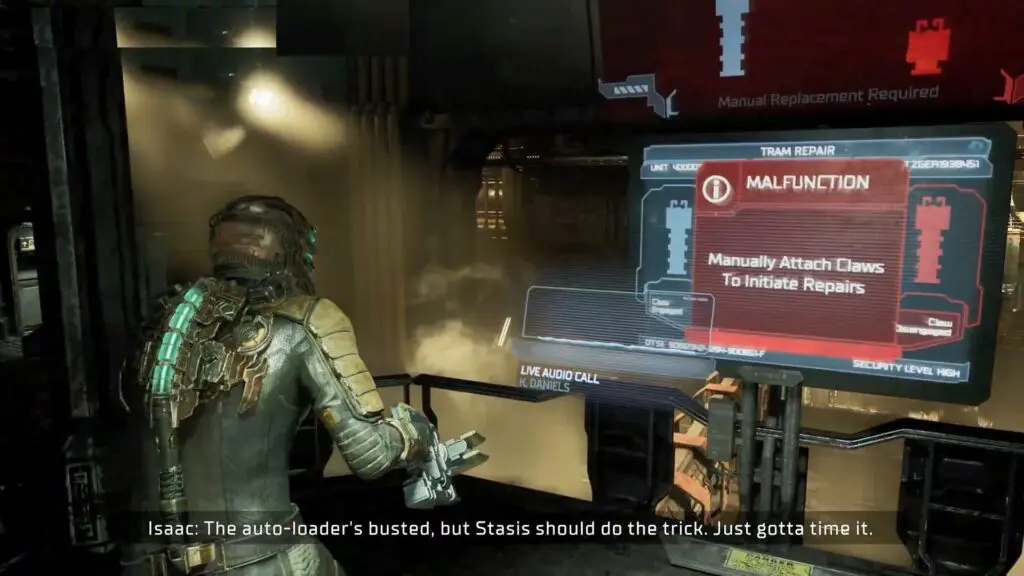
9) Log 9 – Autoloader
It is located in the same location as the preceding collectible. For the tutorial, interact with the tram repair panel in the centre of the room, and then attach the left claw arm to the tram. Then proceed to the other claw and try to link it. It will fail the first time and spawn an enemy. Similarly, the second attempt will fail, but don’t use Stasis. Wait a few seconds and Daniels will call you to show you how to appropriately attach the arms.
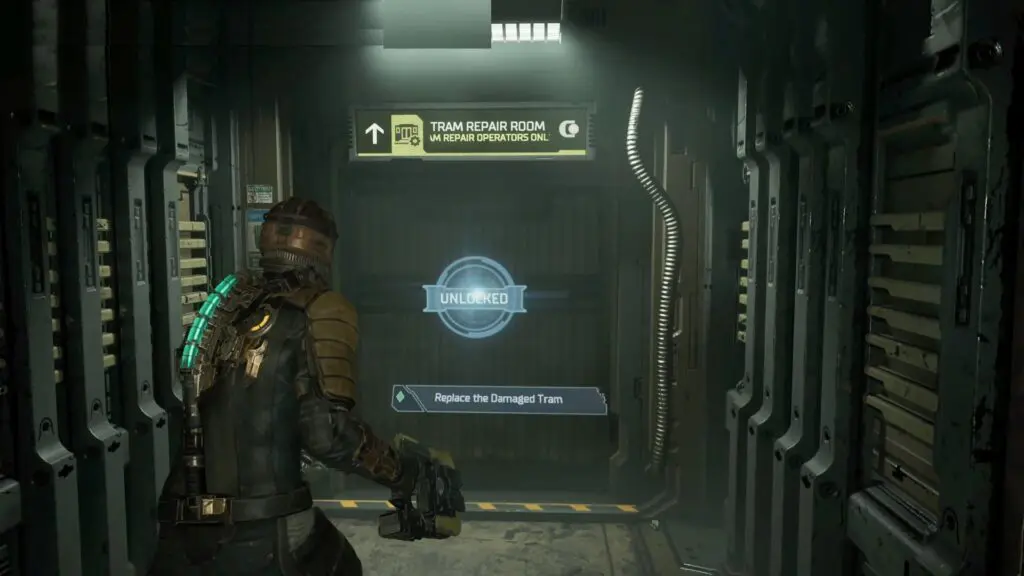
10) Log 9 – Replaced the Tram Car
Story-related: This log is available automatically after replacing the tram.
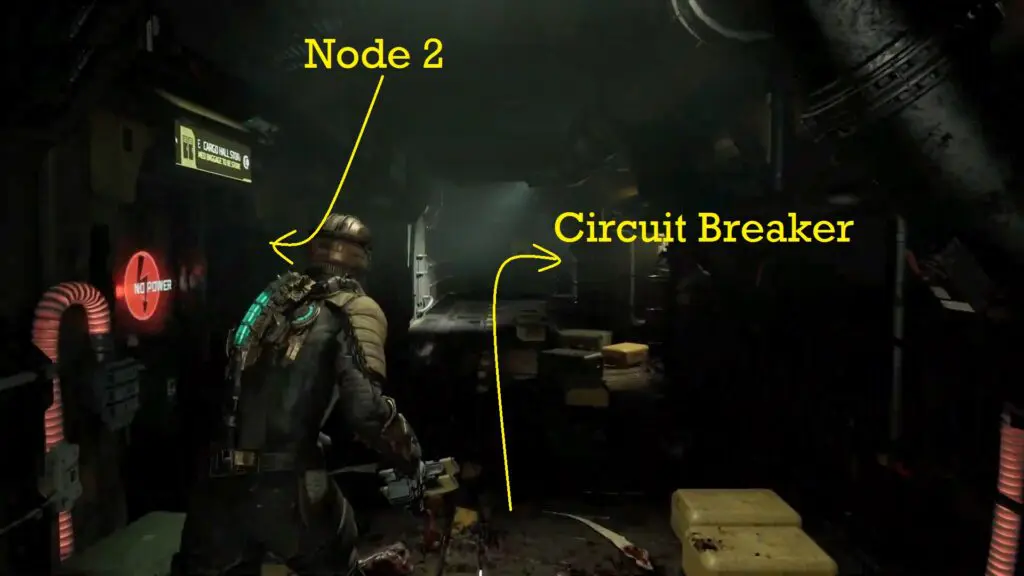
Node 2
Return to the Tram Control Room, where you obtained Log No. 5. Proceed to the “Cargo and Baggage Hall” from here.
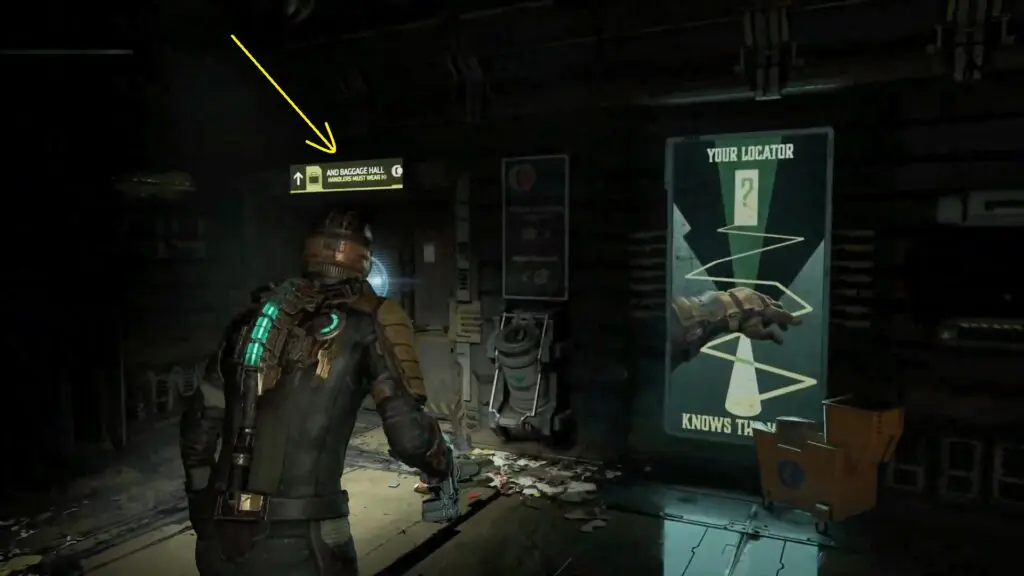
Enable the appropriate circuit breaker at the end of the corridor to get access to a room called “Crago Hall Storage” down the hall. Backtrack through the hallway and enter the “Crago Hall Storage” to find the node.

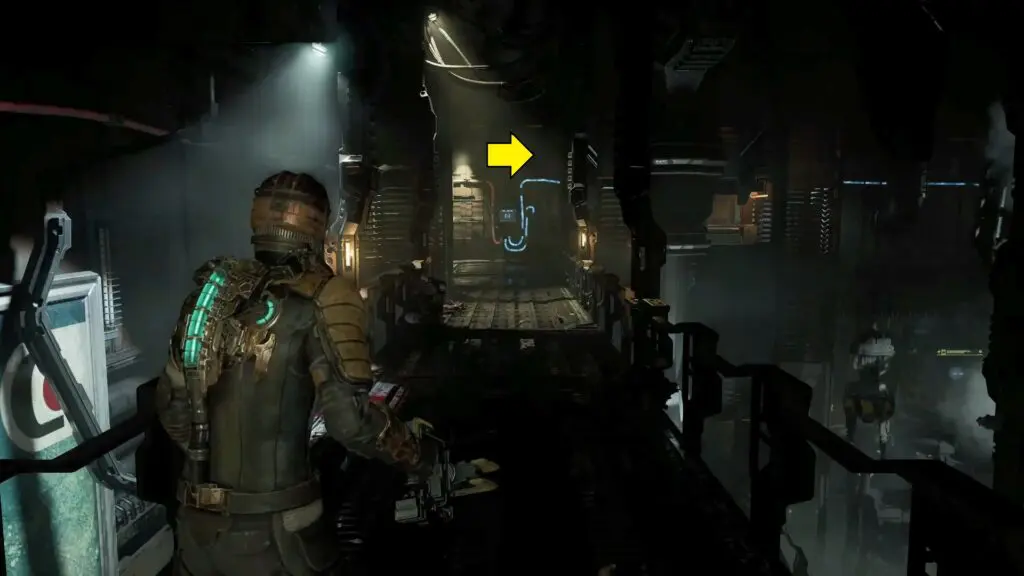
11) Log 11 – Repair Invoice
Go back to the circuit breaker at the end of the hallway, reroute power to the Maintenance Bay, and enter it. In Maintenance Bay follow the green arrow to reach the elevator and go to the 2nd floor. Follow the path until you see a circuit breaker. The log is on a chair next to the circuit breaker.
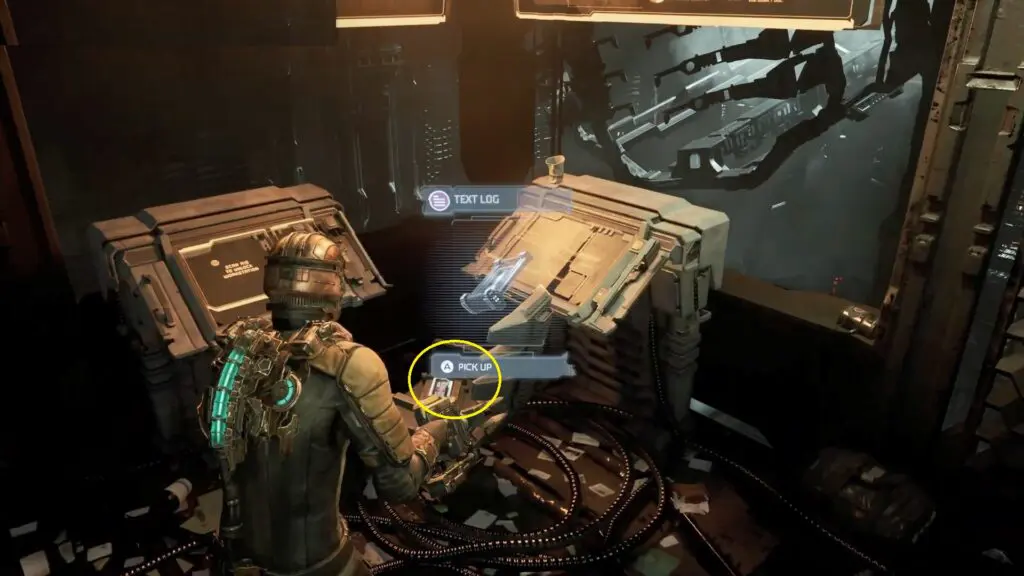
12) Log 12 – Poker Invitation
Rerouting the power to the Maintenance Bay Office. Use the same elevator to get back to the first floor. Head straight from the elevator to enter Maintenance Bay Office. The log is on the shelf directly next to the node.
Node 3
On a wall in the same room.

13) Log 13 – Found the Data Board
Story-related: Available automatically after collecting the Data Board.
14) Log 14 – En Route to the Bridge
Story-related: Available automatically after calling the tram.
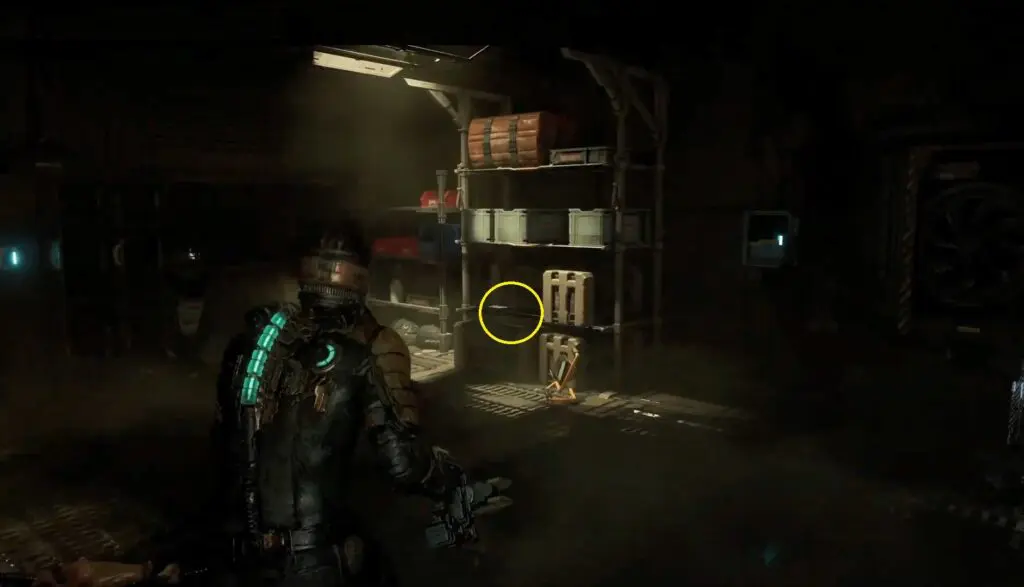
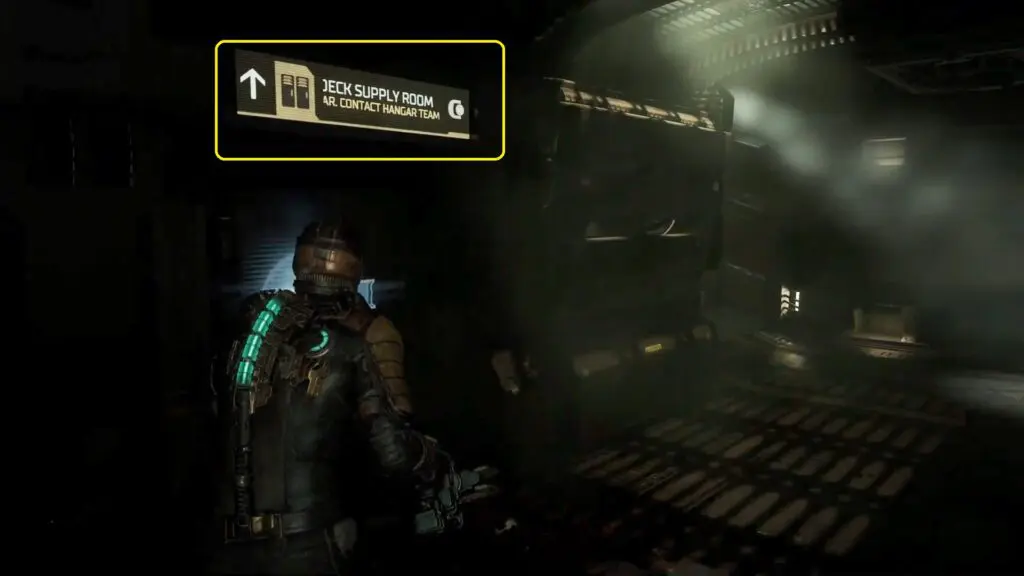
Node 4
Available while doing the objective ” Return to the Kellion”. It is inside a room called ” Deck Supply Room”
15) Log 15 – Arrived on the Bridge
Story-related: Available automatically after entering Flight Lounge.
16) Log 16 – Go to Medical
Story-related: Available automatically after returning to the Kellion.