This article will guide you through all the objectives of Chapter 13 of the game Resident Evil 4 Remake, released on 24 March 2023.
Go after Ashley
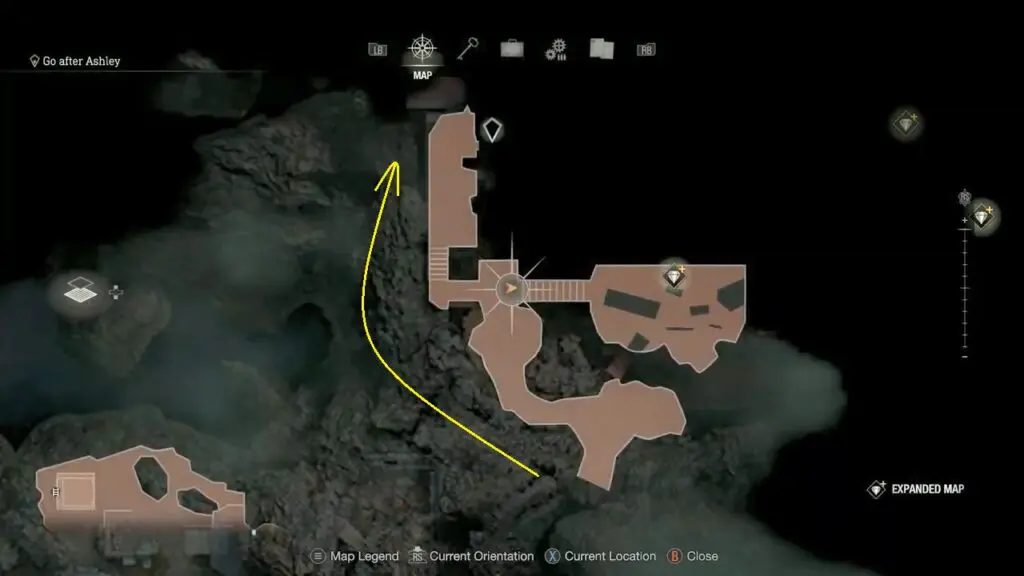
At the beginning of chapter 13, proceed along the path that lies ahead to enter the caves. Once you reach the first section, turn right and head towards the merchant to purchase the Island Treasure Map.
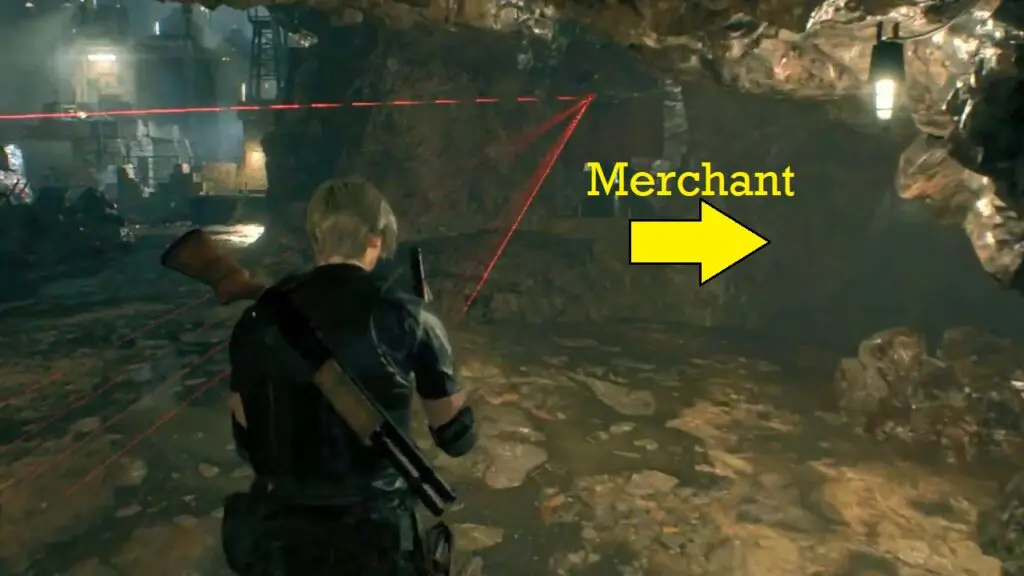
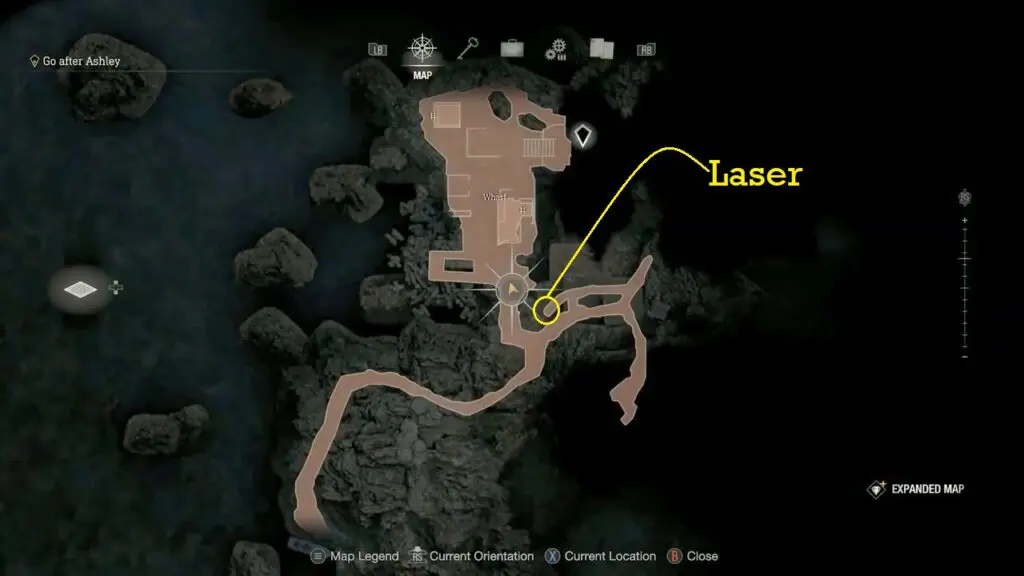
Follow the path located to the left of the merchant, which leads you to the back of the laser machine turret-1. Interact with it from behind to either move it or disable it, enabling you to proceed past the obstacle.
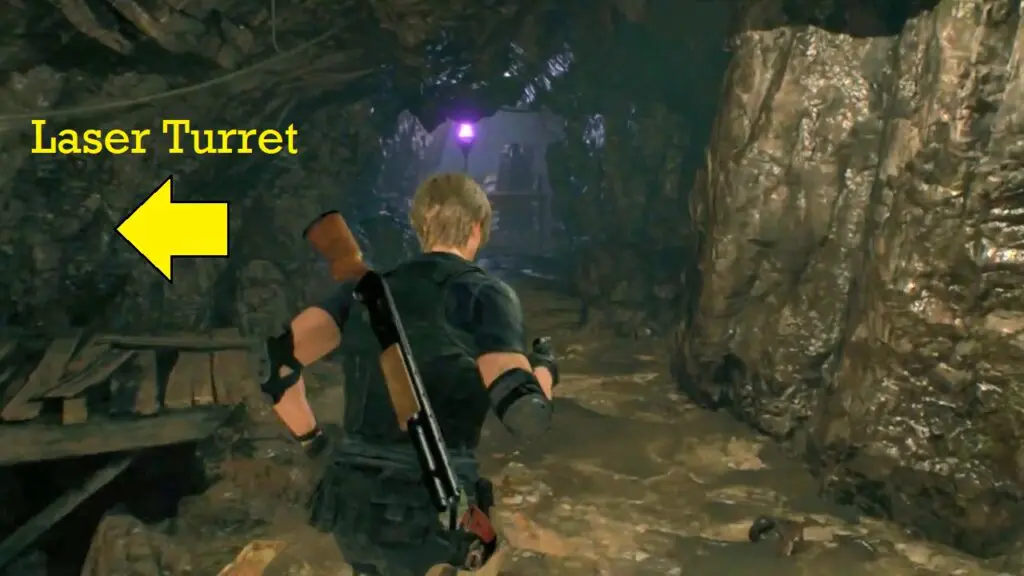

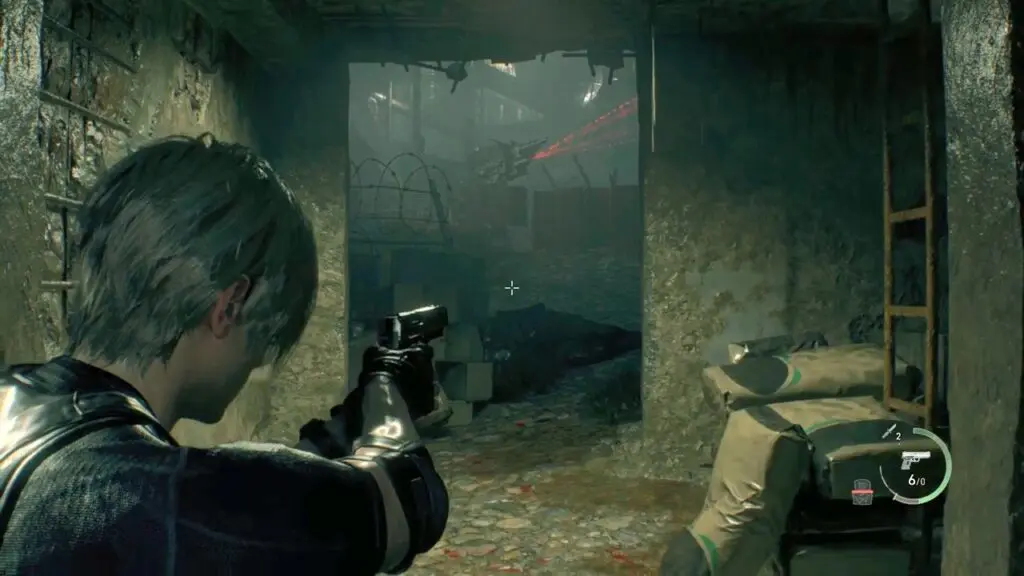
Return to the main path and continue along the route that was previously obstructed by the laser. This will lead you to the first combat area.
Upon entering the area, an alarm will trigger, and multiple enemies will start chasing you. Station yourself in front of the window of the building to your right to take down a significant number of enemies as they converge on you.
Climb up the ladder in this building and rotate the turret-2 to clear the path ahead.
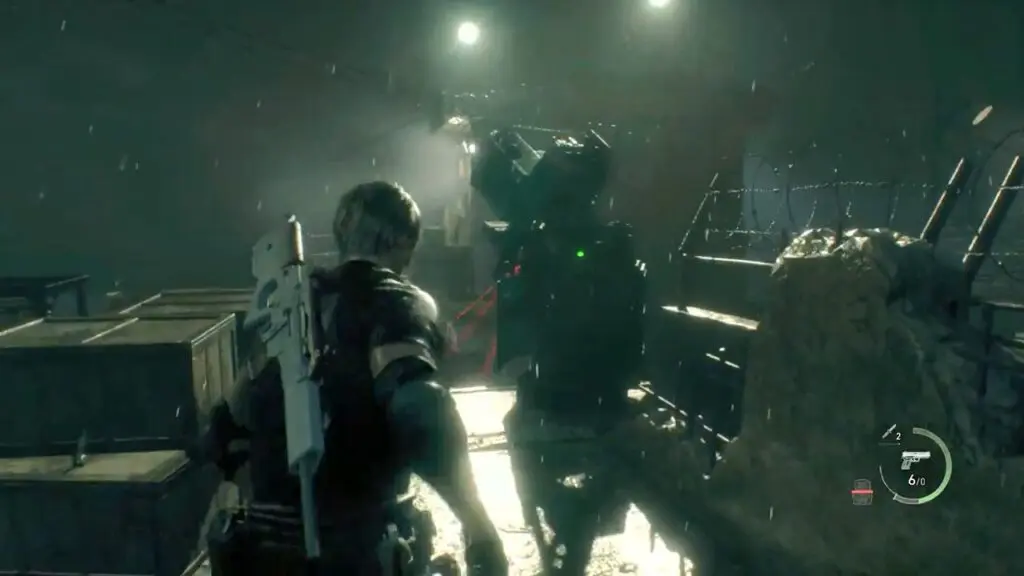
Finally, move around turret-3 and activate it, ensuring that it is also facing away from the door.
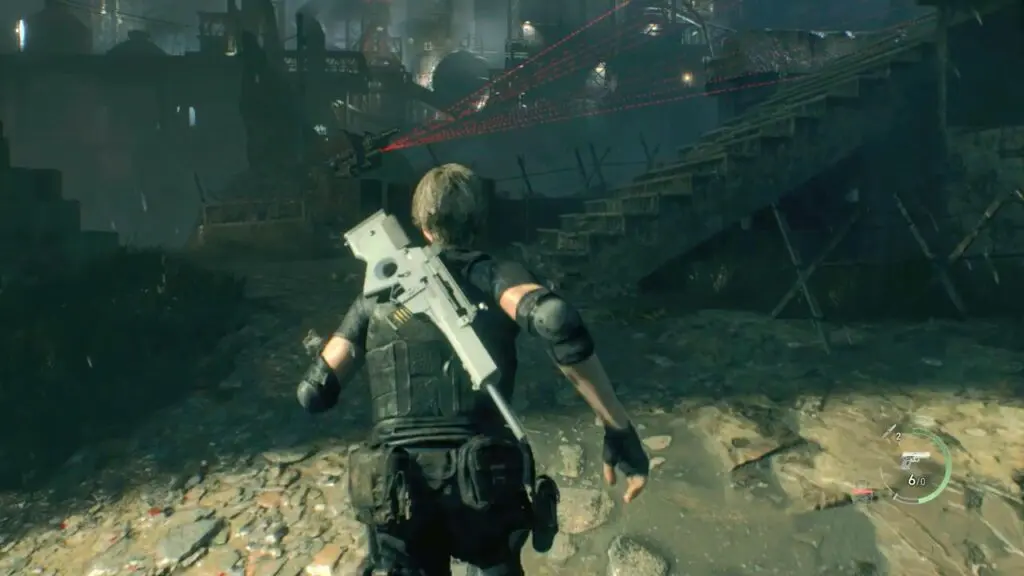
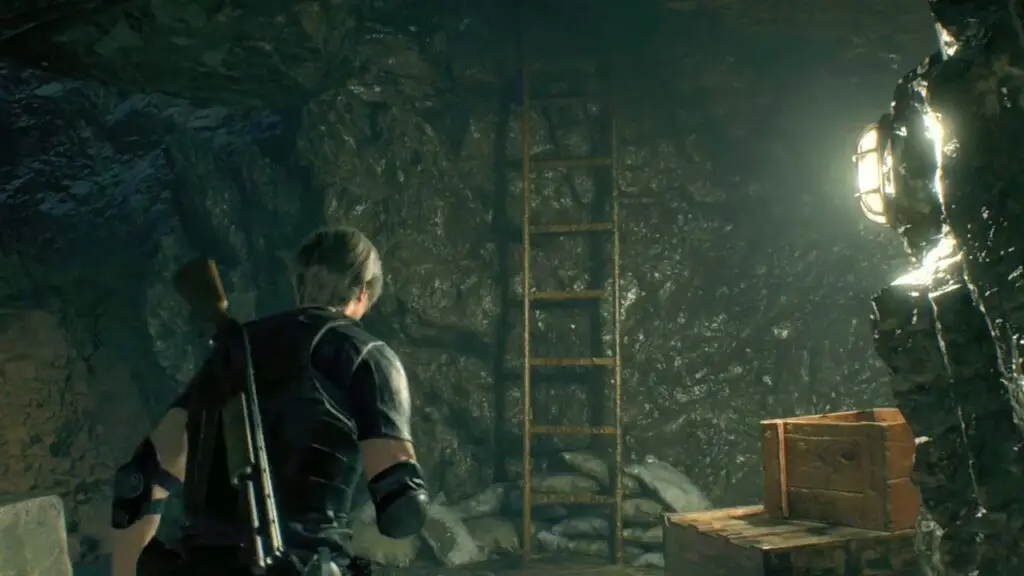
Now that both turrets have been repositioned to face away from the direction you’re heading, ascend the stairs to advance to the next area. Keep following the path ahead until you reach the end of the cave, where you’ll need to climb the ladder.
Once you reach the top, proceed along the path until a brief cut scene introduces an enemy wielding a rocket launcher. You may choose to either take cover or shoot the enemy. Finally, proceed through the door to reach the next building.
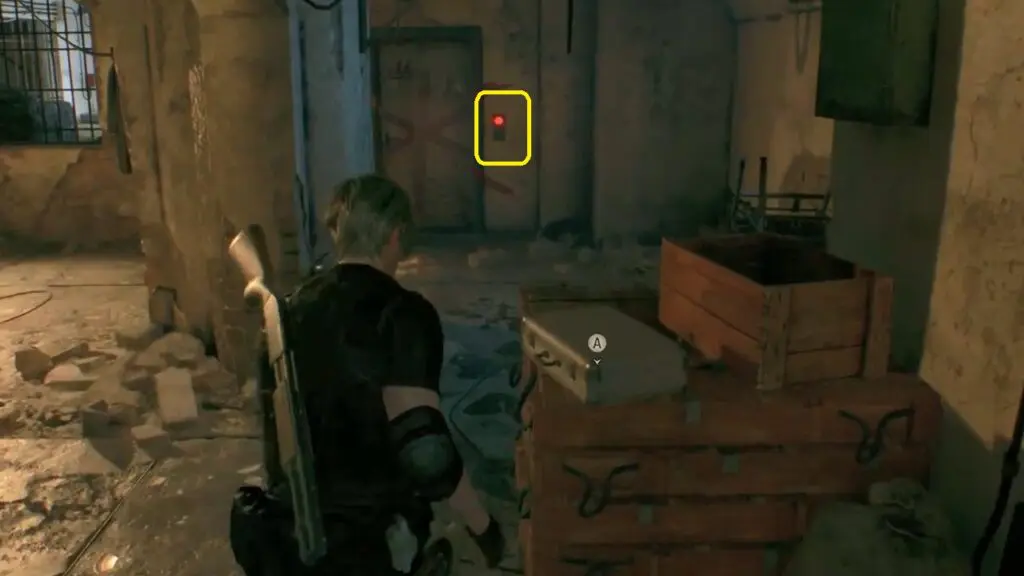
Disarm the tripwire right at the front door and enter the surveillance area.
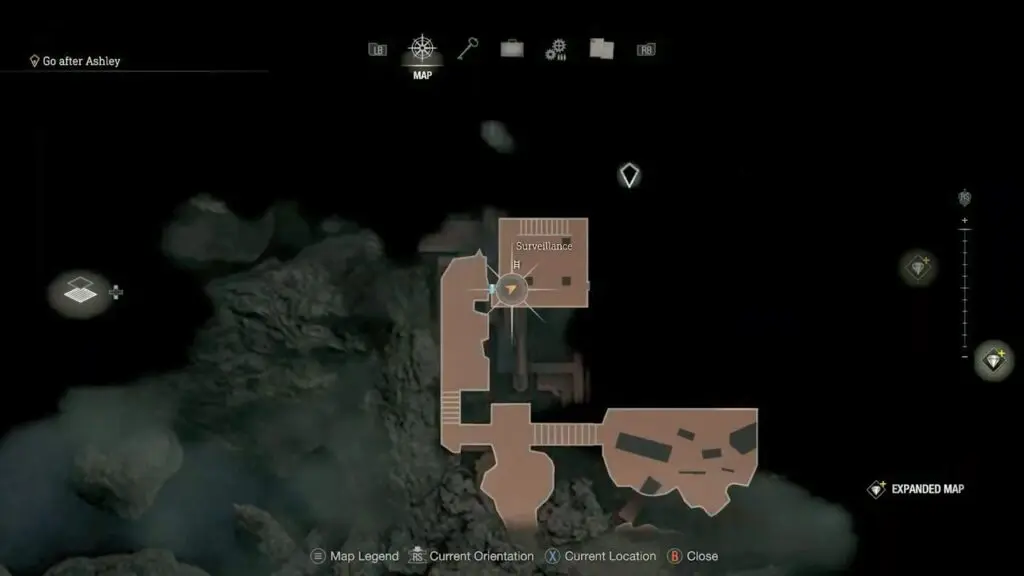
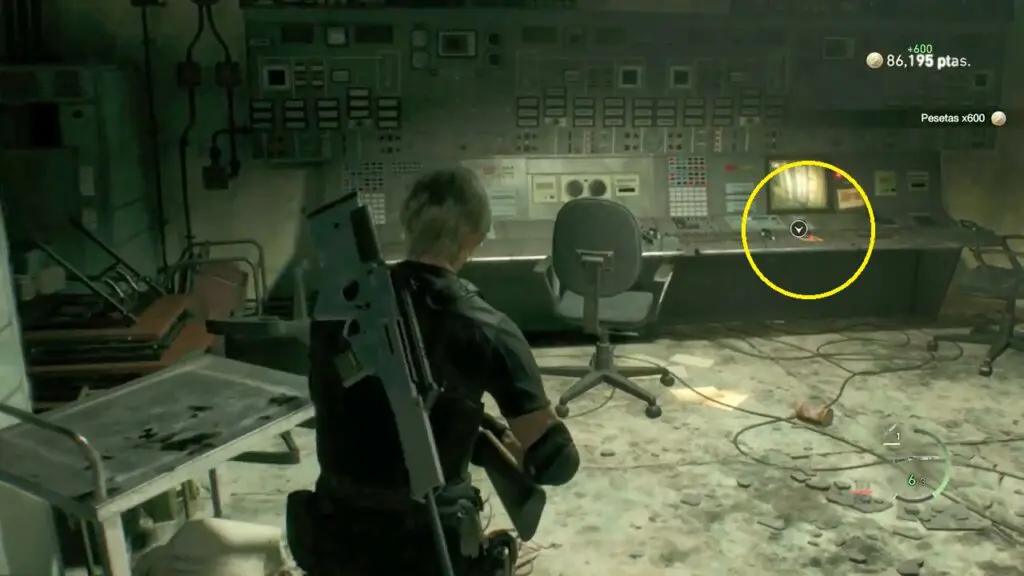
The door on the current floor is inaccessible, and you must proceed upstairs to activate it. Once you’ve reached the upper floor, enter the room and use the button on the console to unlock the door on the lower floor.
Rescue Ashley
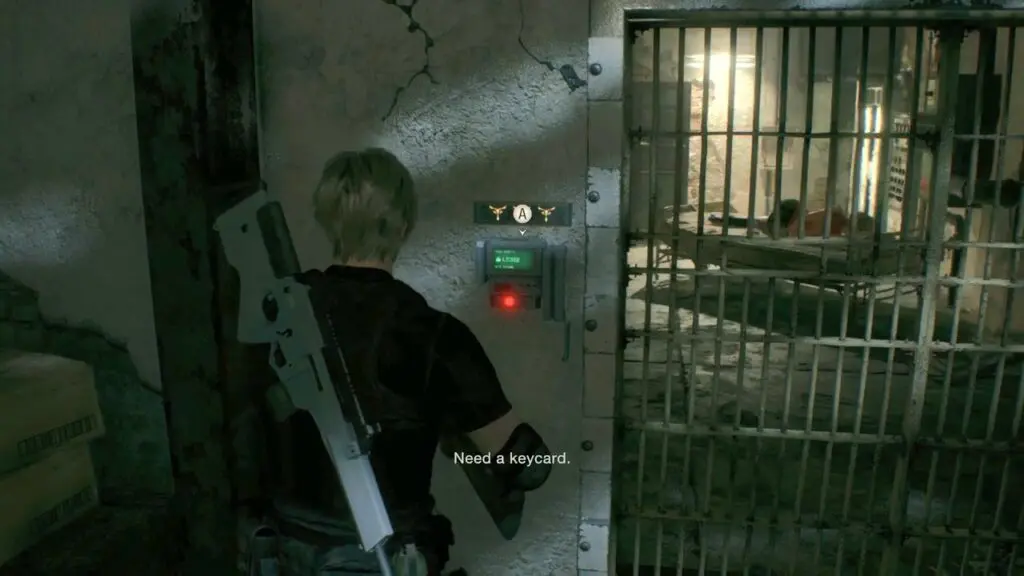
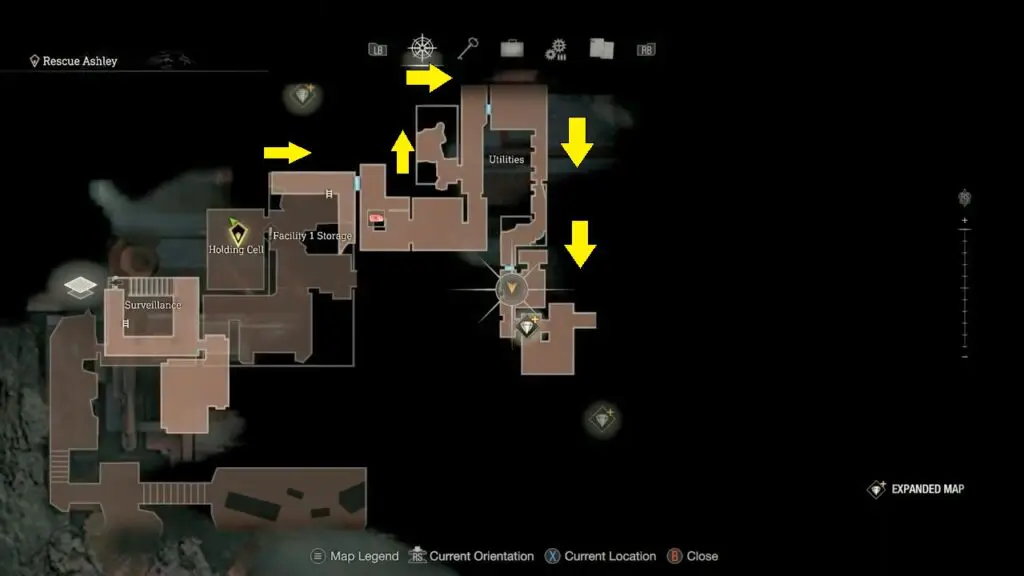
Go through the newly unlocked door to find Ashley. Drop to the lower level and defeat both monsters. Afterward, interact with the gate, and a screen prompt will instruct you to obtain the Level 3 Keycard.
Climb the ladder located in the far corner of the room, and proceed along the straightforward route through the Utilities area. Progress along the linear path beyond the merchant, toward the Dissection area.
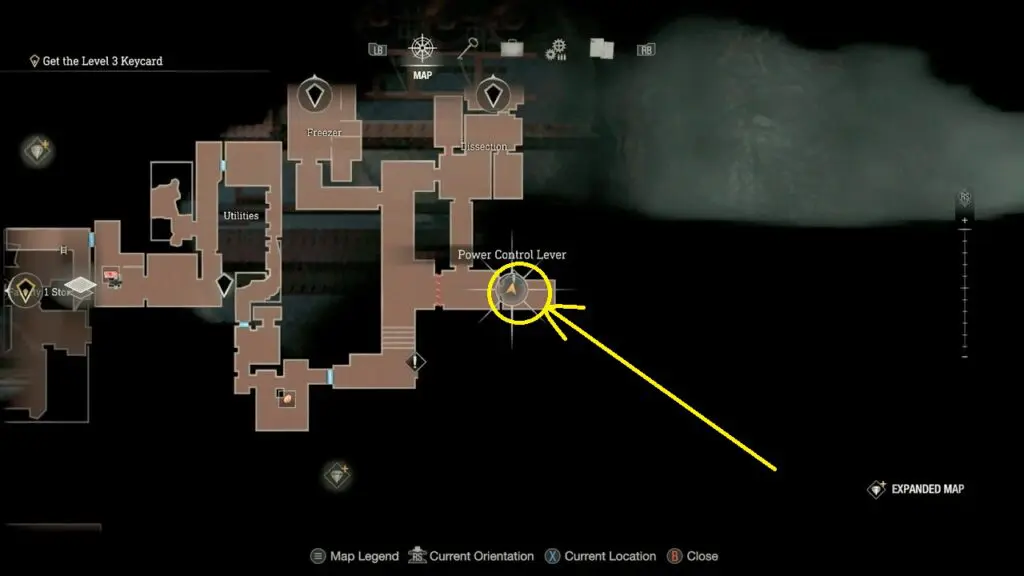
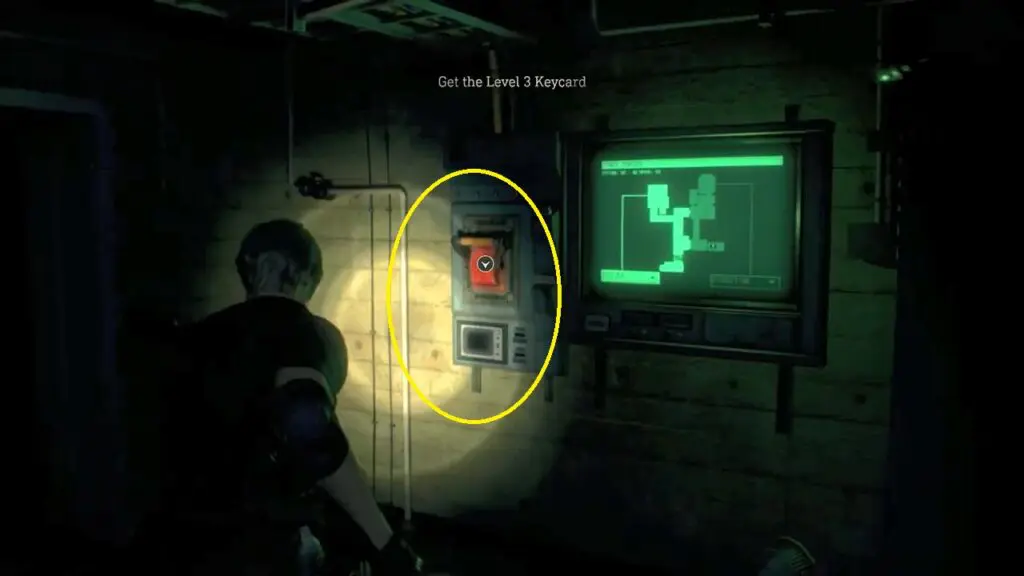
Upon reaching the end of the path, activate the lever to modify the power route. Below location is the location of the power control lever.
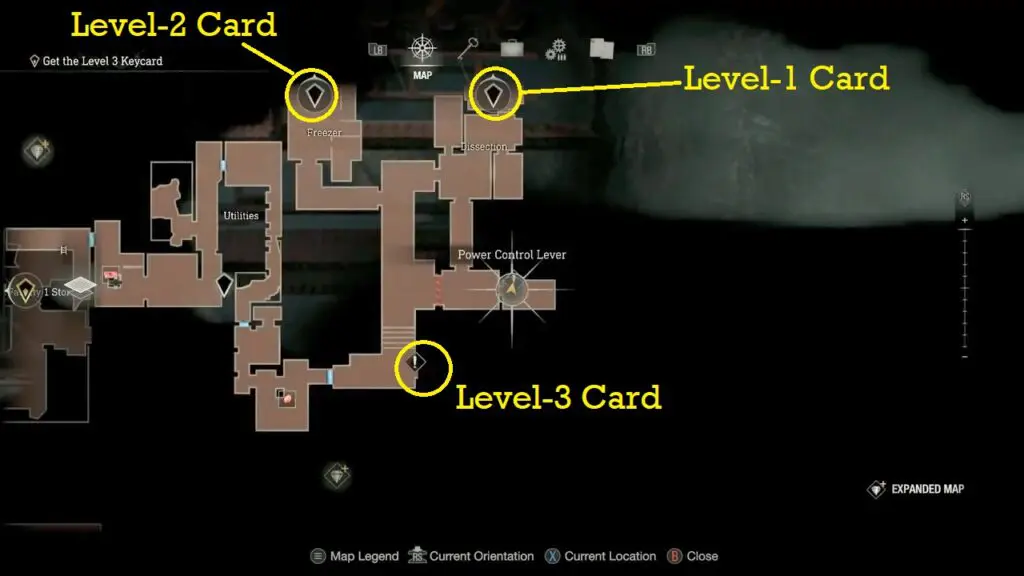
Get the Level 3 keycard
After pulling the lever to direct the power. You’ll then have the objective of getting the Level 3 Keycard requiring you to complete a series of tasks in the order of Level 1, Level 3, and then Level 3 again.
Level 1 keycard
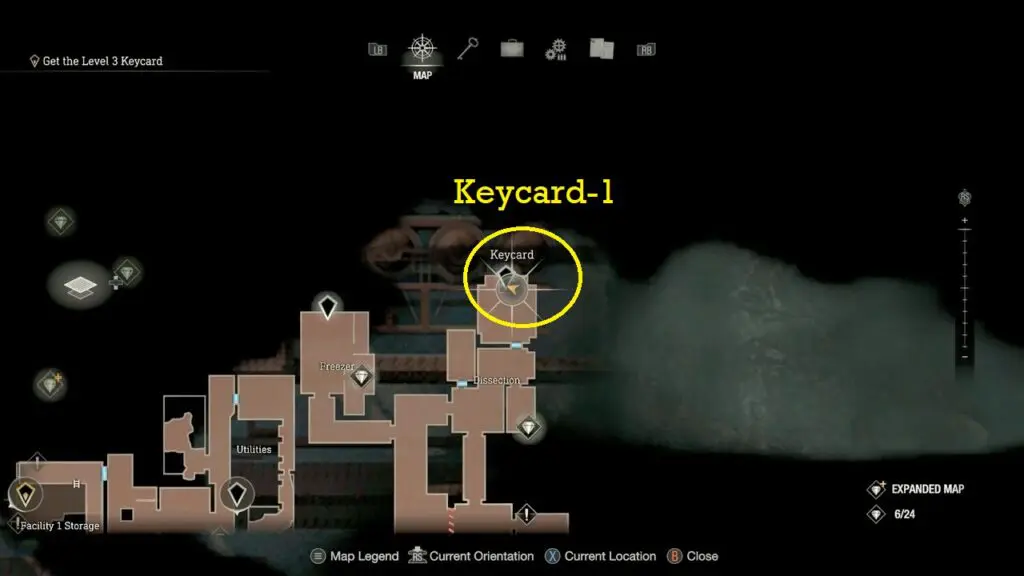
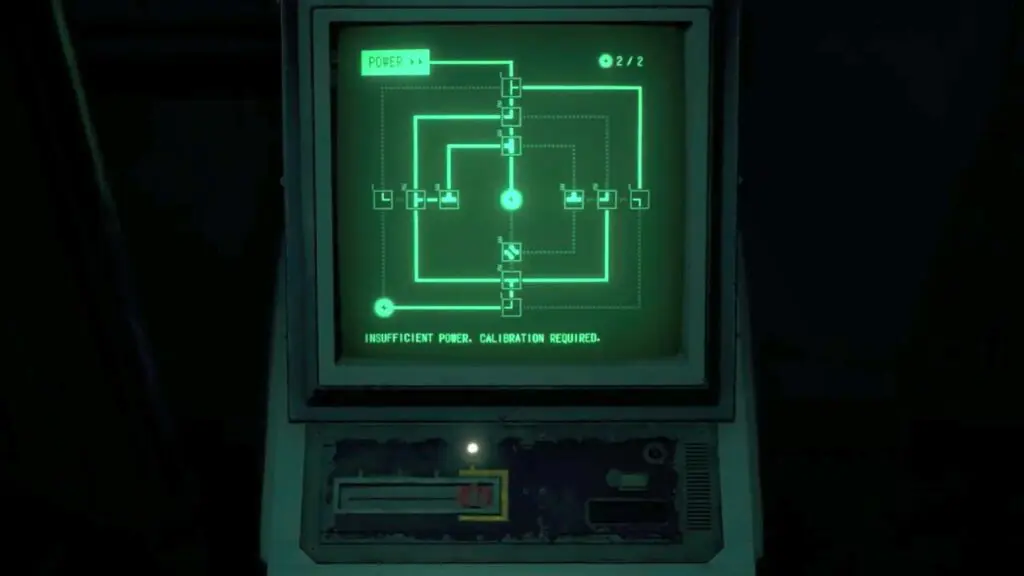
Proceed to the northern end Dissection area and interact with the power console and solve the puzzle. This will result in the opening of the door located to the north of the Dissection, granting you access to the Level 1 Keycard, situated towards the room’s rear.
The symbol positioned at the top needs to face toward the right, as does the T located on the left. Meanwhile, the T at the bottom should point downwards, and the symbol on the right side of the line should face toward the left. This arrangement directs the power toward the lower-left portion of the node.
Level 2 keycard
Go back to the power control lever and activate the lever to modify the power route to the Freezer room. To obtain the Level 2 card, one must proceed toward the Freezer room, which is accessible by using the Level 1 keycard. Once you reach the Freezer room, you should insert the Level 1 keycard into the console located at the end.
Once the machine spits out the keycard make sure to go over and grab it.
Level 3 keycard
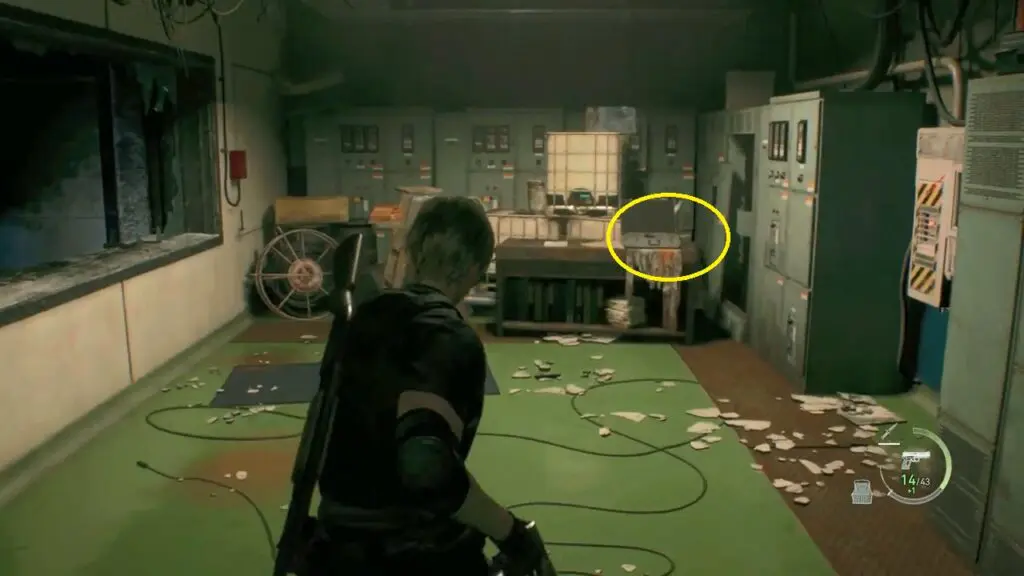
To acquire this keycard, players must proceed to the Incubation Lab. Upon entering the lab, two purple glass tubes should be visible directly in front of you. Run towards the room in the back to retrieve the Biosensor Scope.
Add a sniper rifle to your inventory and combine it with the Biosensor. Using the Biosensor, aim your gun at the Regenerators in the tanks and locate the one with two Parasites arranged in a row.
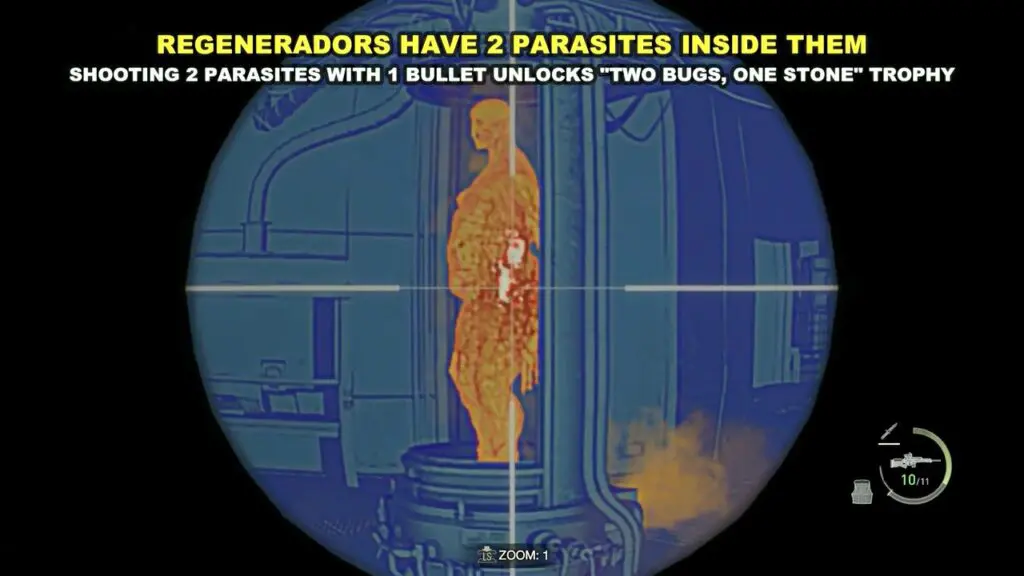
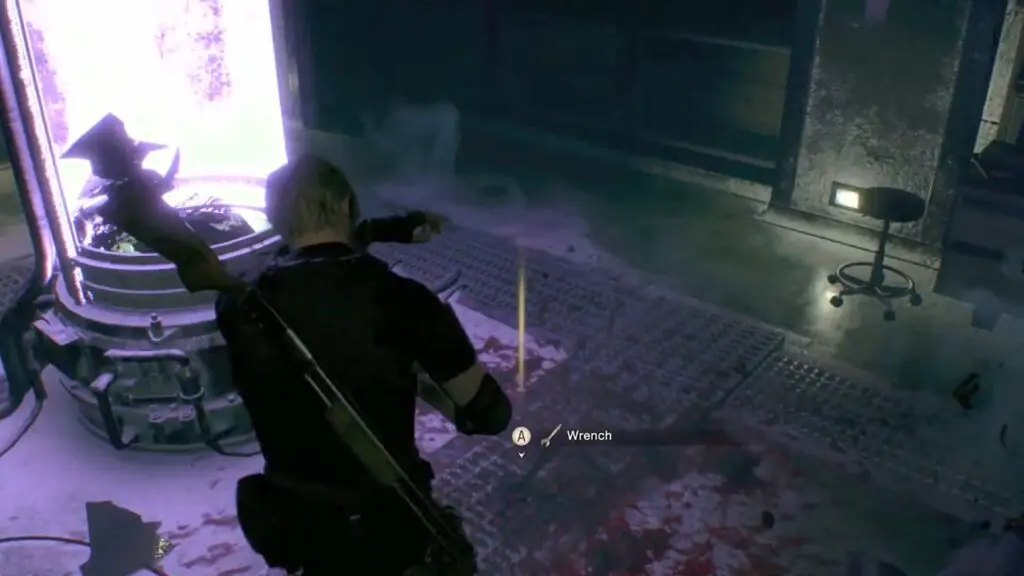
Shoot the Regenerador to obtain the wrench.
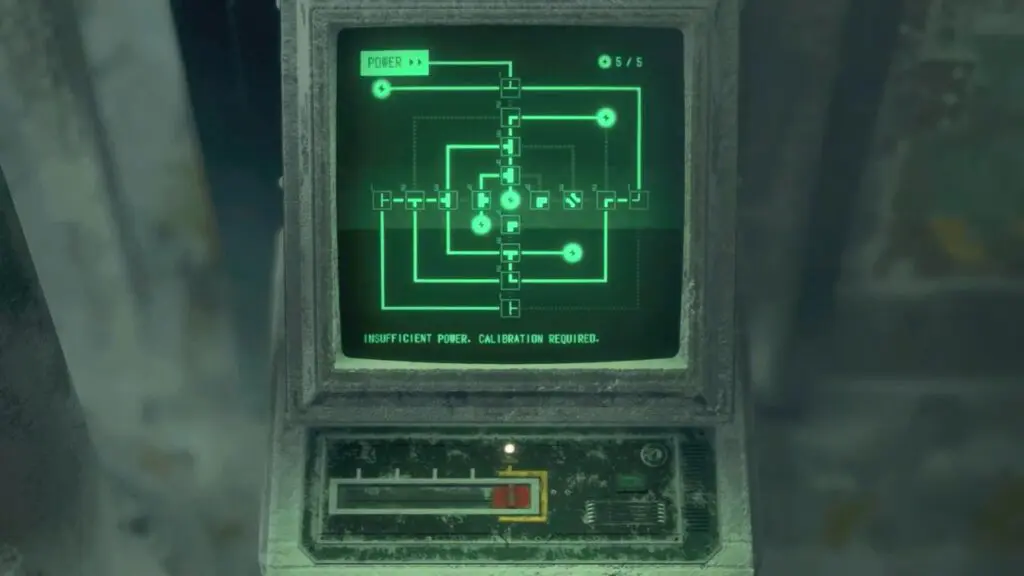
Then head to the Overwrite Terminal situated in the northern section of the Incubation Lab where you previously found the Weapon Part.
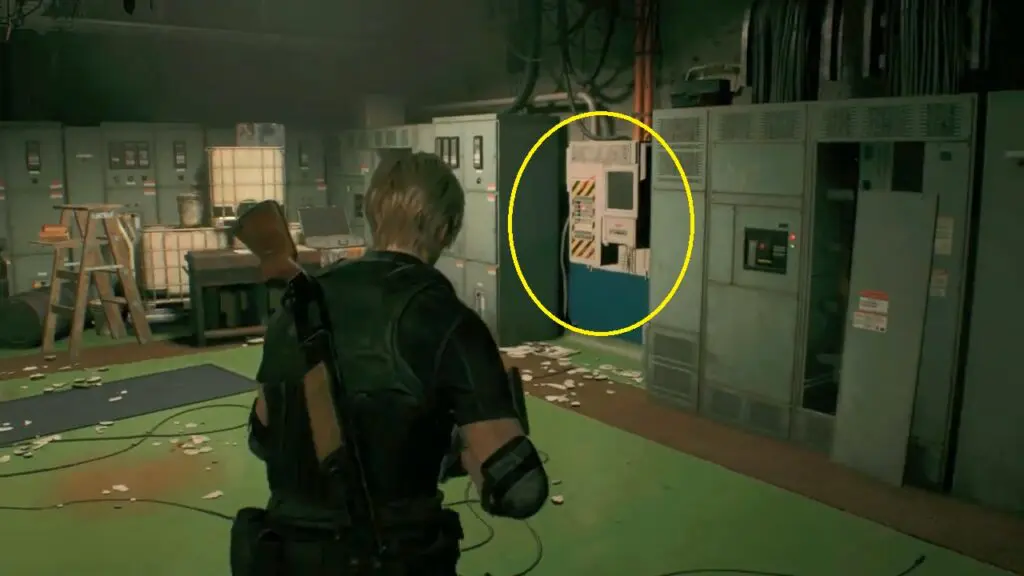
Utilize the Wrench to upgrade the terminal, and make sure to insert your level 2 keycard to advance it to level 3.
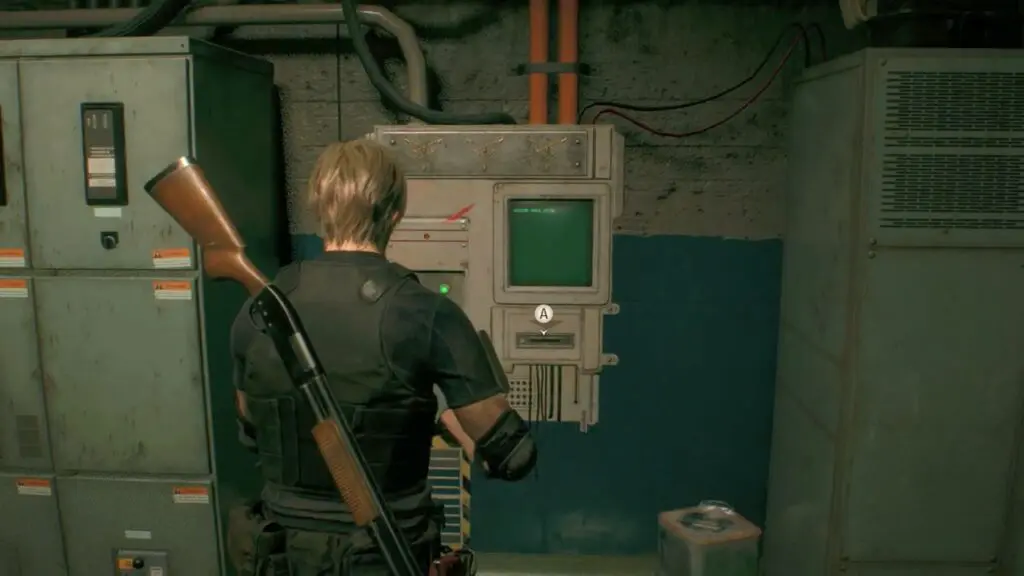
Upon inserting the keycard, numerous enemies will rush into the room. Wait for a few minutes until they have been dealt with, and then retrieve the Level 3 Keycard from the machine.
Once you have obtained the keycard, proceed through the door on the right side of the lab, and follow the path that leads directly to the location of Ashley. Use the keycard to open the door and successfully conclude the chapter.