This step-by-step guide will show you how to complete Chapter 2 of Senua’s Saga Hellblade II (2024).
Also Read: Senua’s Saga Hellblade 2: All Chapter and Collectables Guide
Checkpoint: Freyslaug Sighted
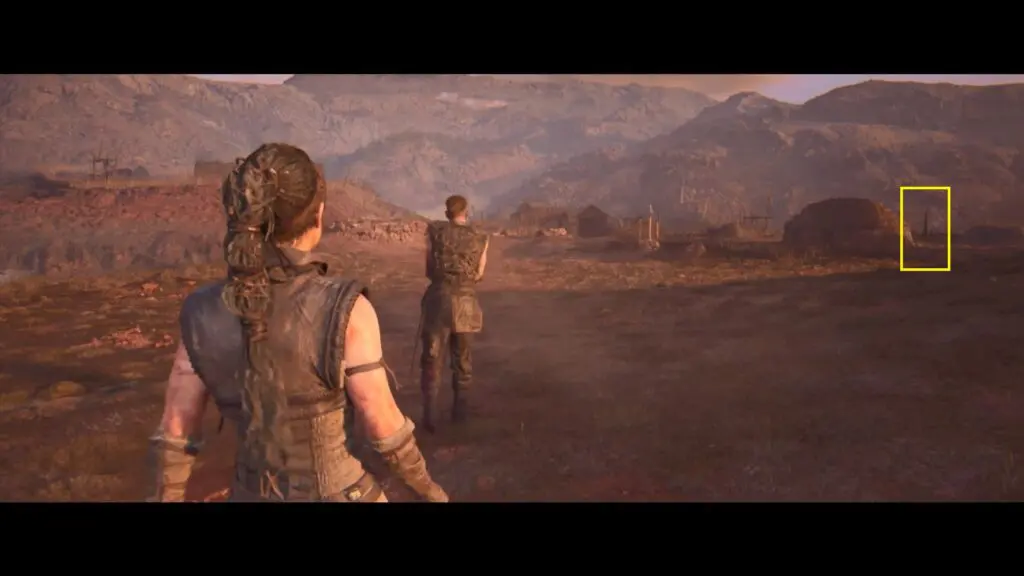
At the start of the chapter, you will be walking with the slave master.
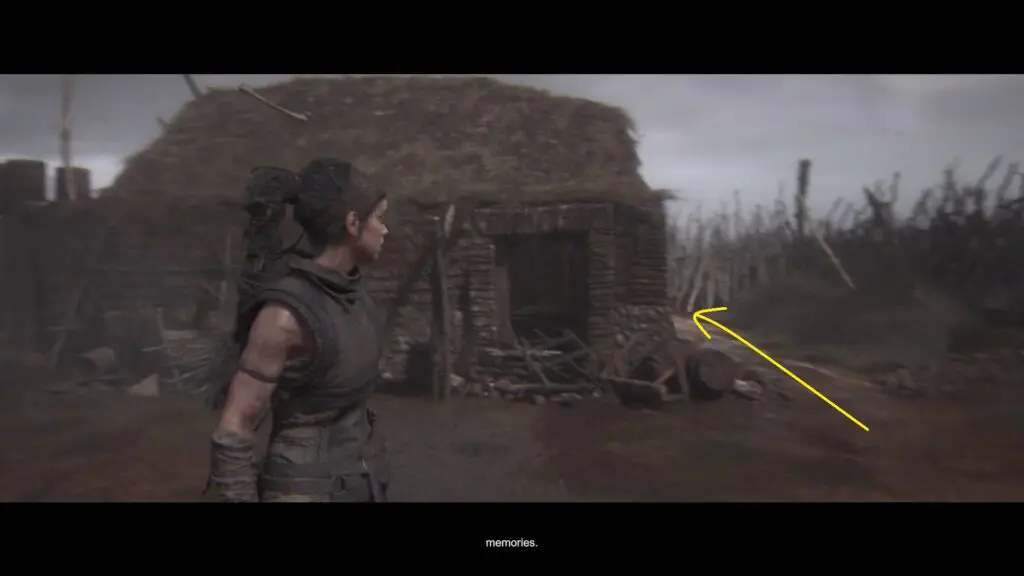
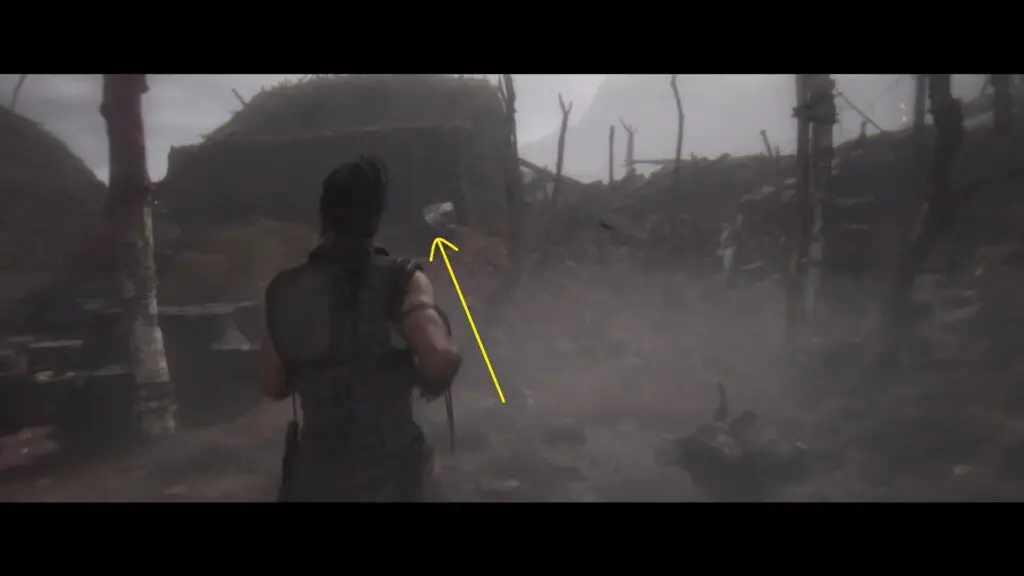
Collectible: Lorestangir #2
Go behind the straw houses to find Lorestangir #2. Zoom in to get the collectible.
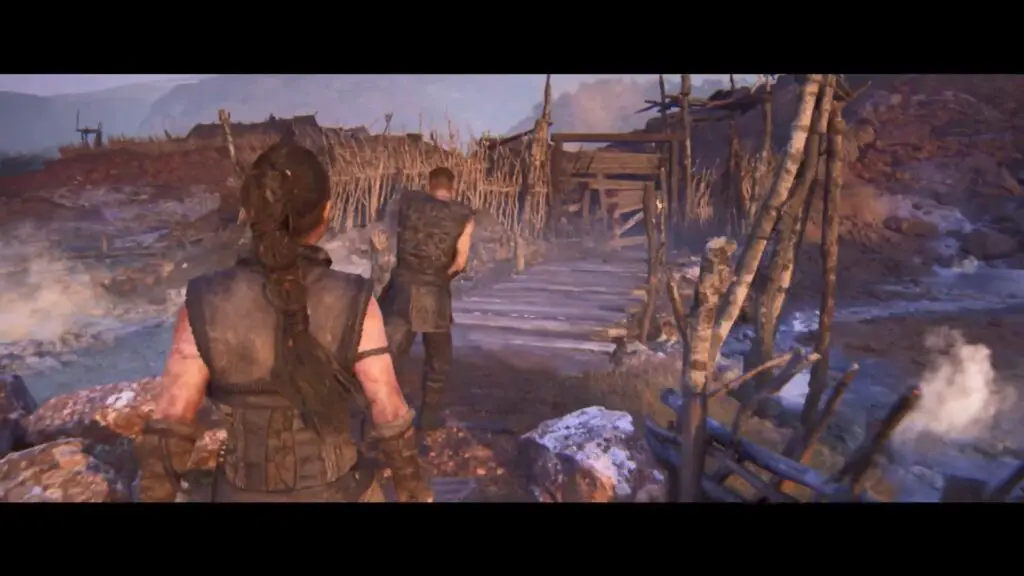
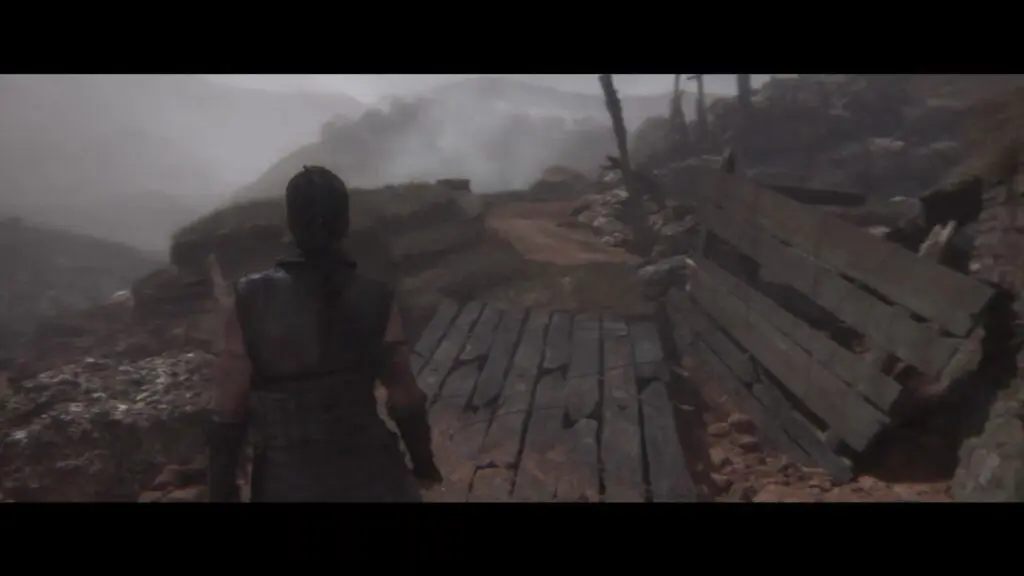
Proceed along the main path and follow the slave master until you reach a village settlement.
Checkpoint: Settlement Entrance
Interact with the main gate to remove a plank and enter inside.

Go into the hut ahead. Then, go through the second house to get inside the village.
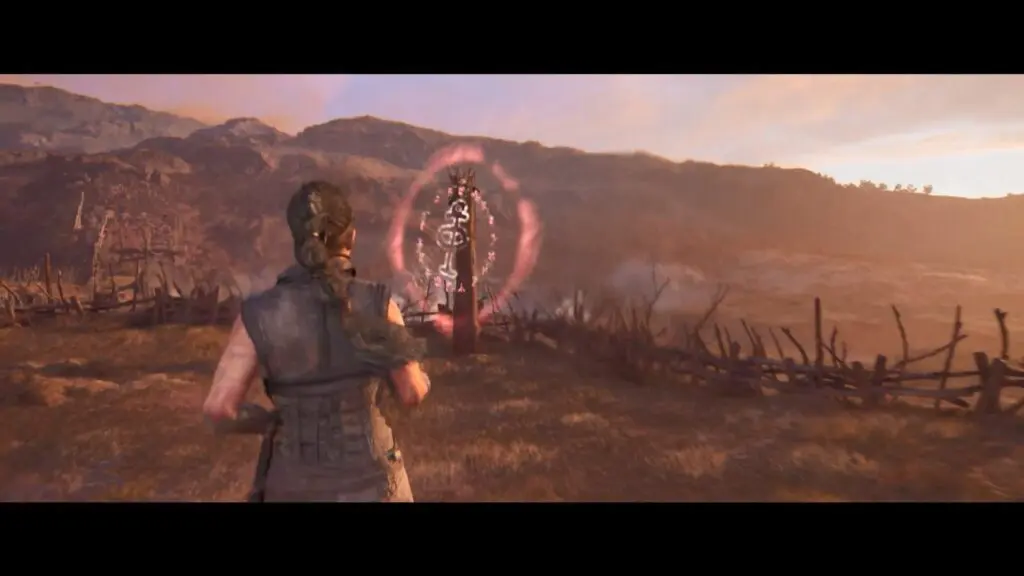
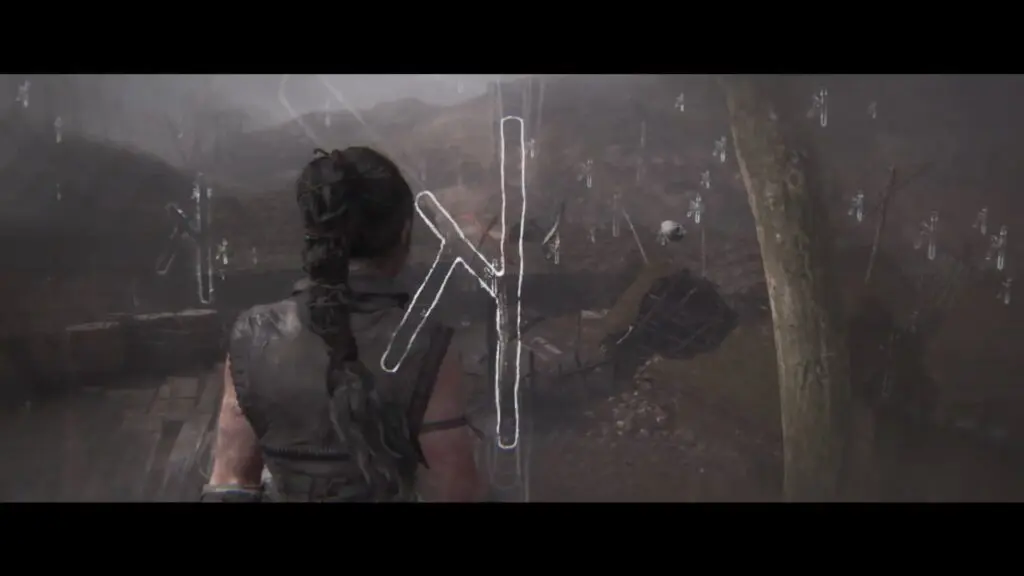
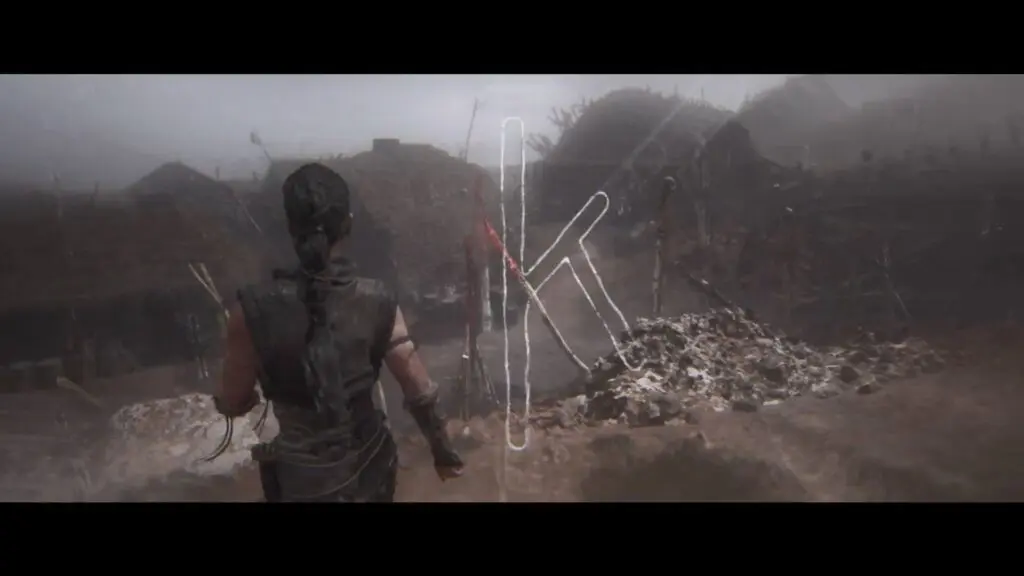
Keep going until you see a blocked path. Start by focusing on the symbol at the block path to see the three symbols of specific shapes that need to be found around the village.
#1 Symbol
To find the first symbol, go behind the last house on the left and go up the wooden ladder. While standing on the balcony, zoom in on the left to find the first symbol.
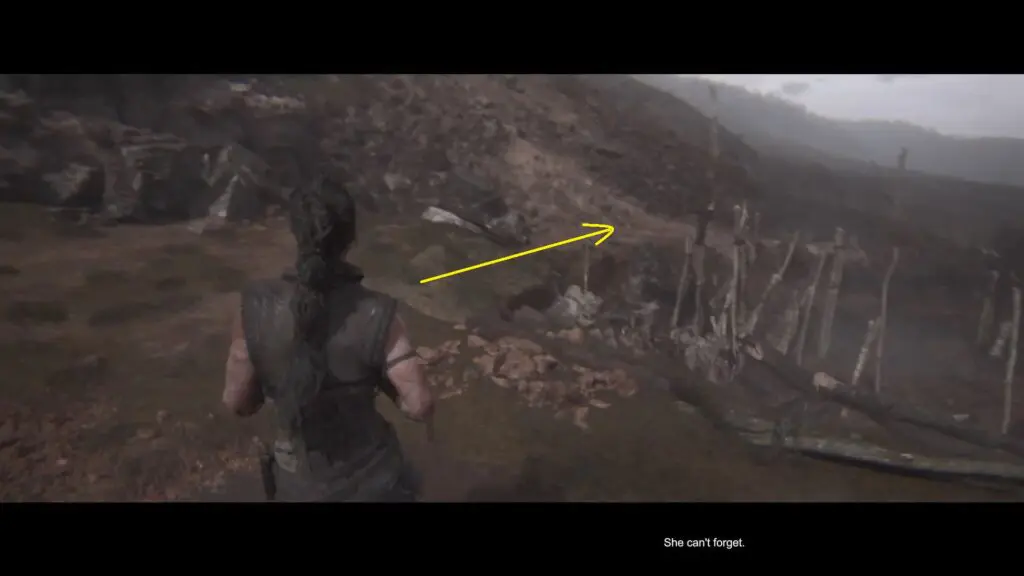
#2 Symbol
The second symbol is located in the middle of the village. Follow the path opposite to the locked path to find the symbol.
#3 Symbol
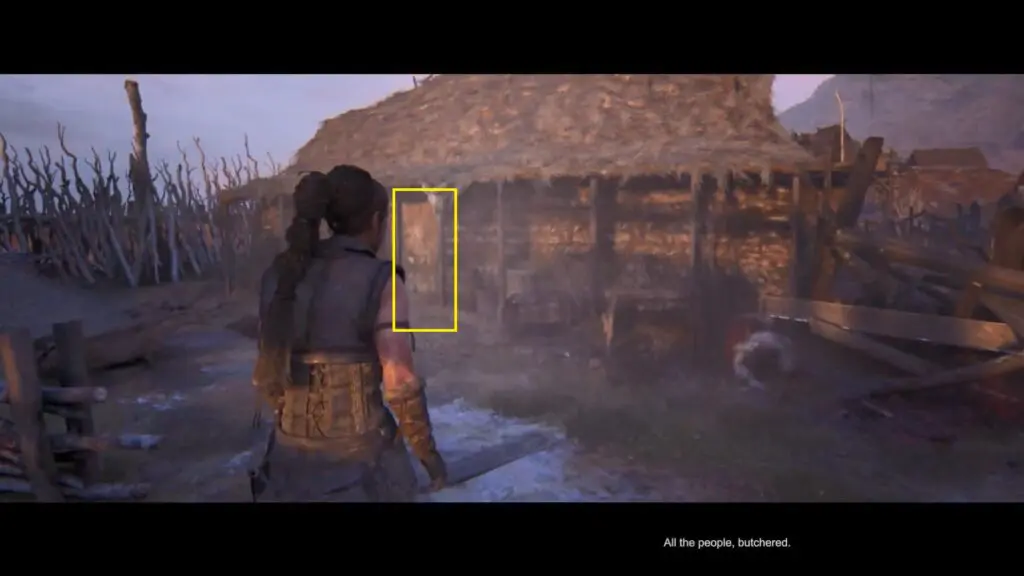
Enter the 2nd house on the right.

Follow the linear path to enter another hut and exit from it back.
Follow the path on the right to reach the third symbol.
Adjust and Zoom in to find the symbol.
Go back into the village, then keep going along the unblocked path.
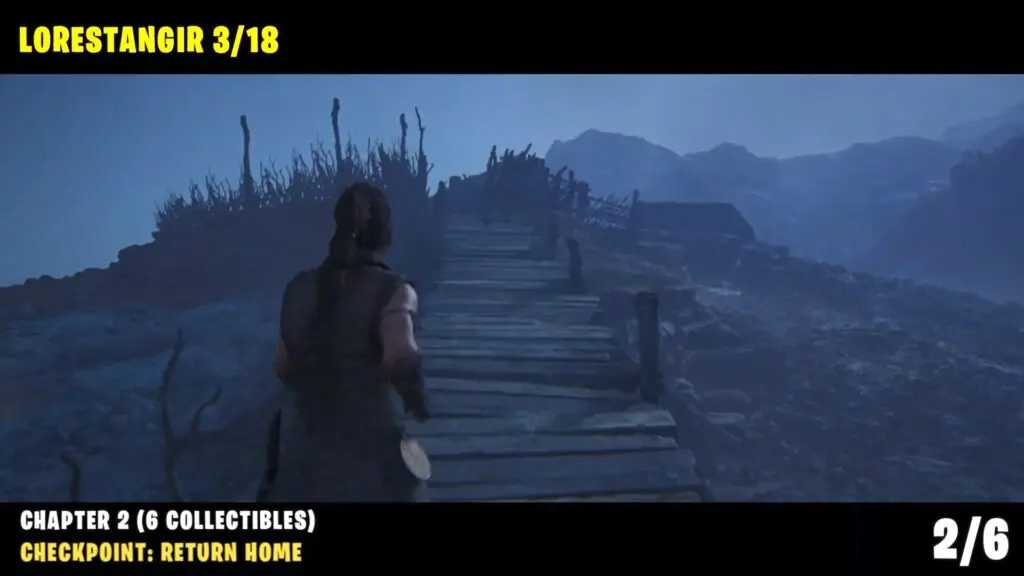
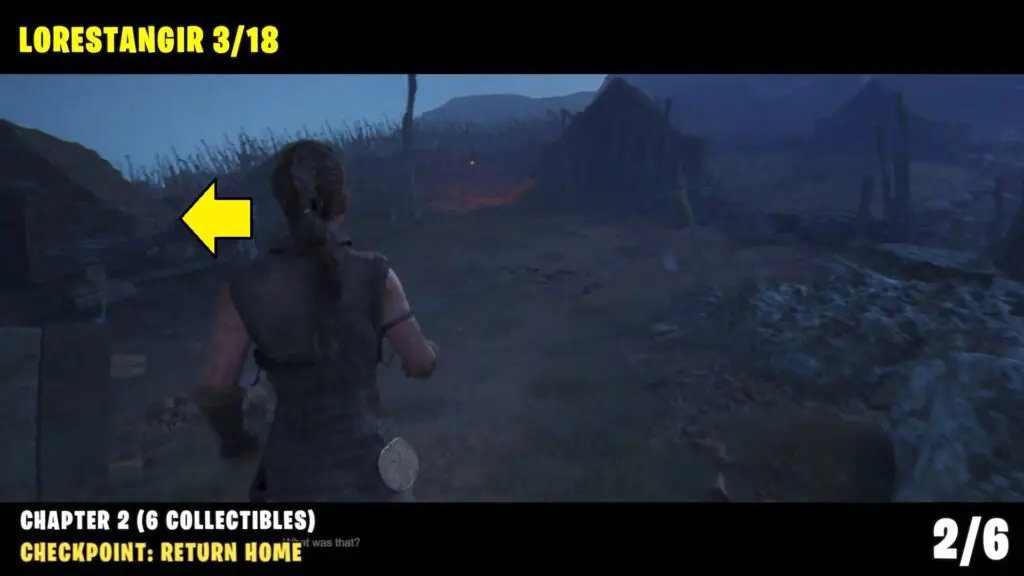
Checkpoint: Return Home
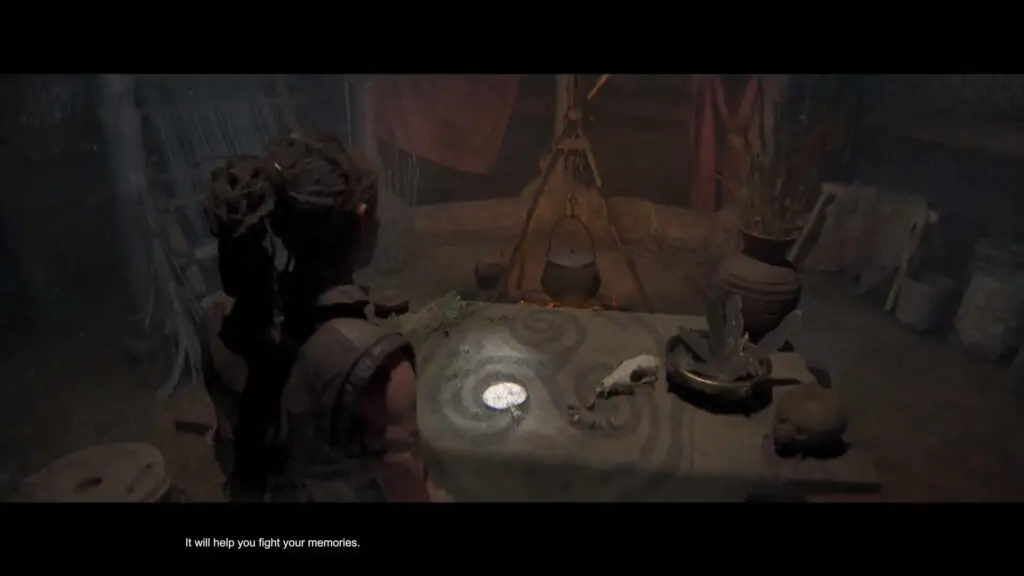
Go into the straw house and interact with the mirror on the table, followed by a cutscene and a fight.
Collectible: Lorestangir #3
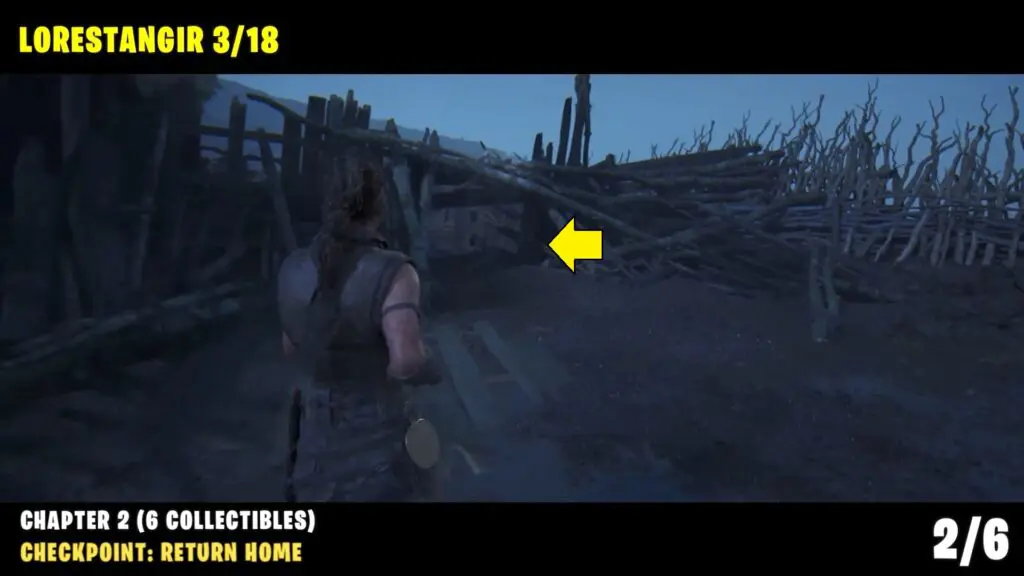
Continue to follow the path after obtaining the mirror weapon until nighttime. After crossing the hanging wooden bridge, enter the barn on your right.
Exit the barn from the other end and take the first left turn to reach a round area.
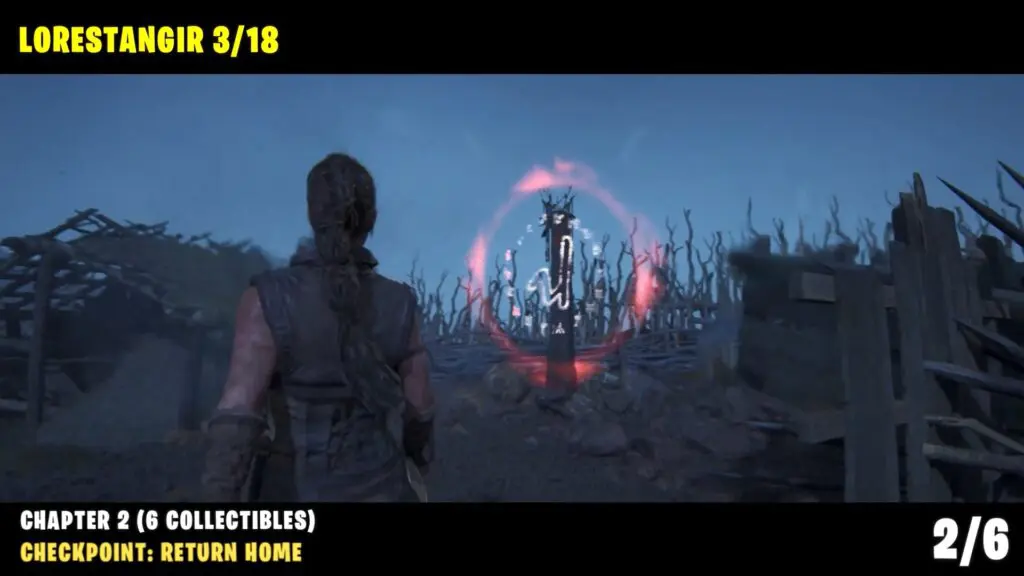
Crawl through the hole under the wooden rubble. In the next area, you will find a Lorestangir totem.
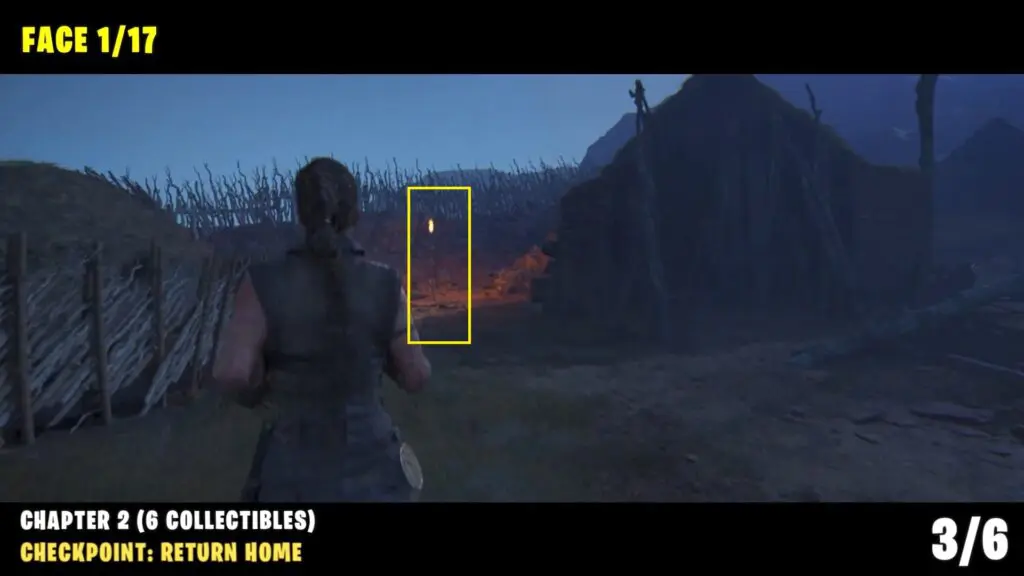
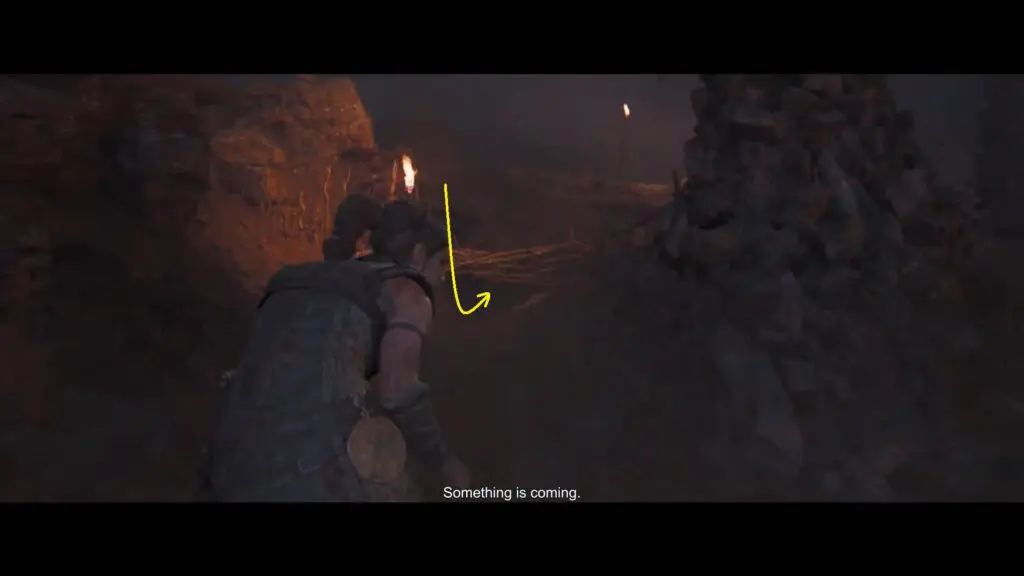
Collectible: Face #1
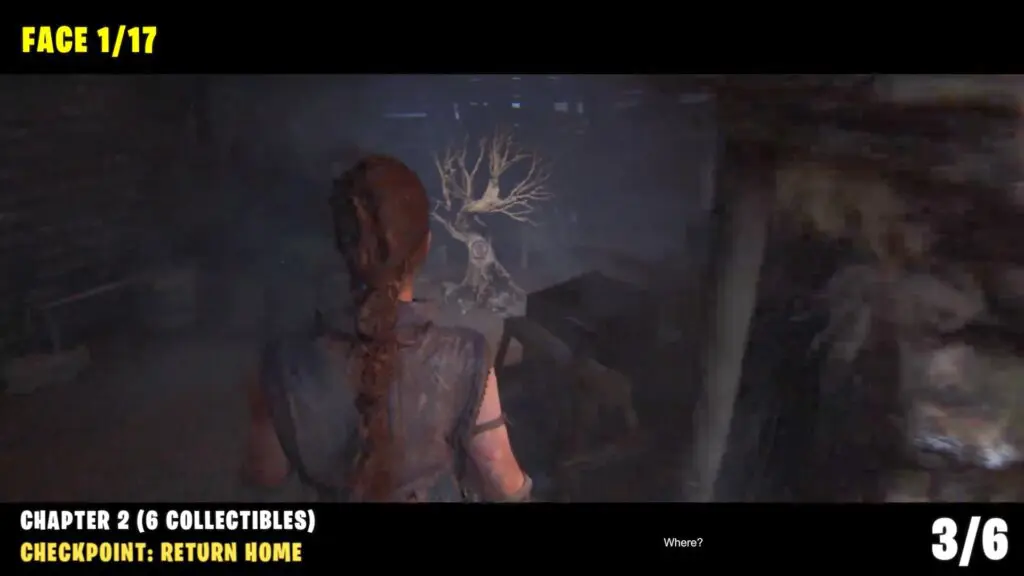
Return to the point where you entered the round area after exiting the barn. From here, head in the left direction to find a burning torch at the end of the path.
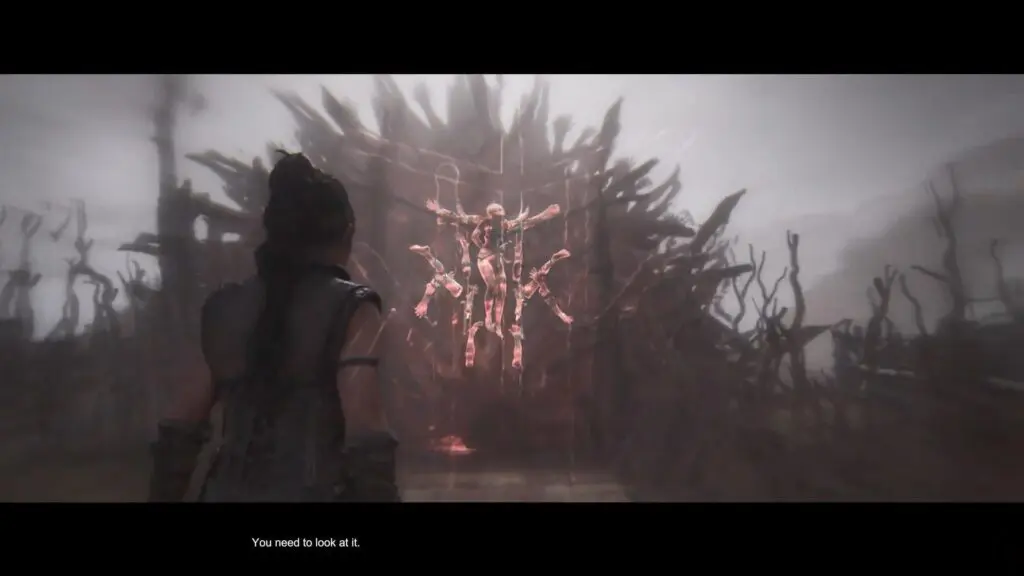
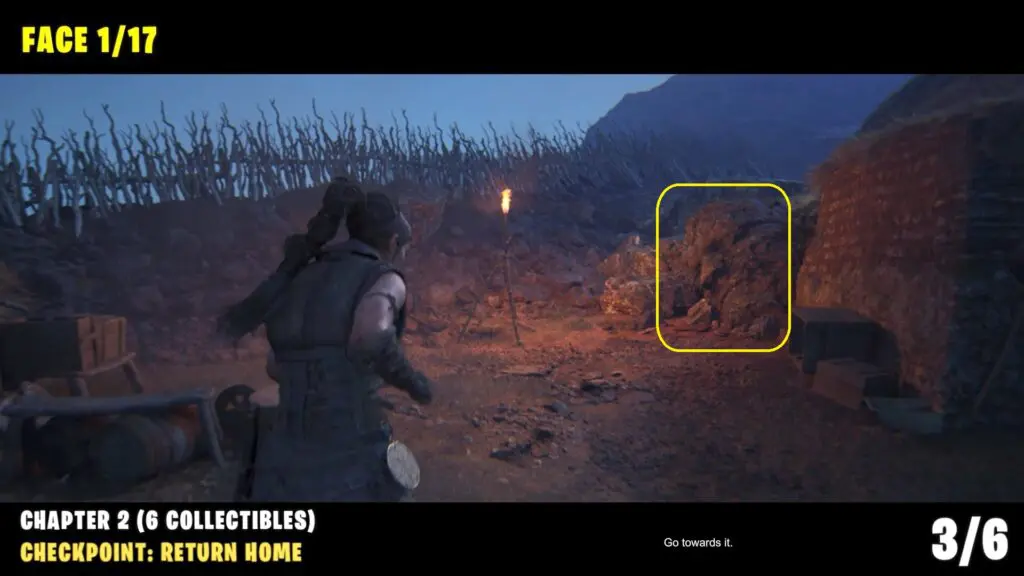
Zoom into the stone face to the right of the torch. This should open the wall. Go inside and look at the tree.
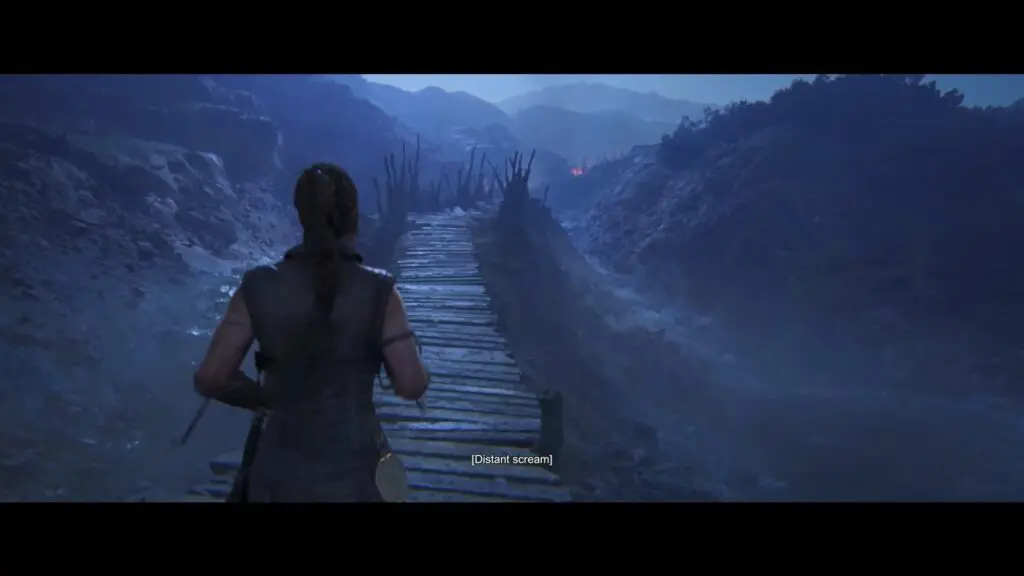
Start following the main path and cross the long wooden bridge to trigger a cutscene.
Checkpoint: Draugar Ceremony
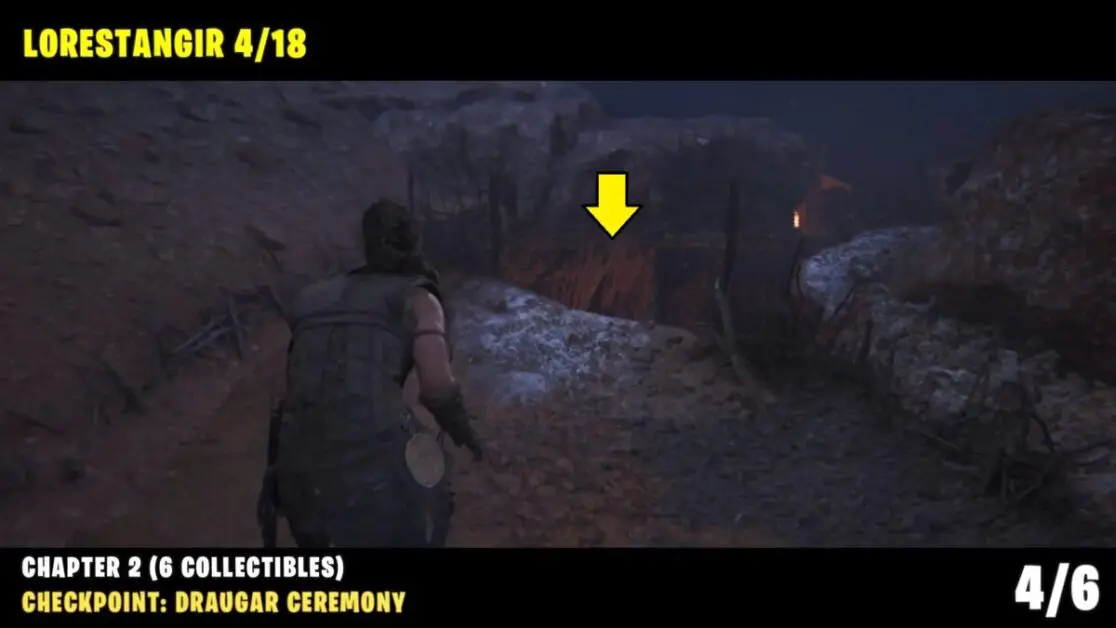
Collectible: Lorestangir #4
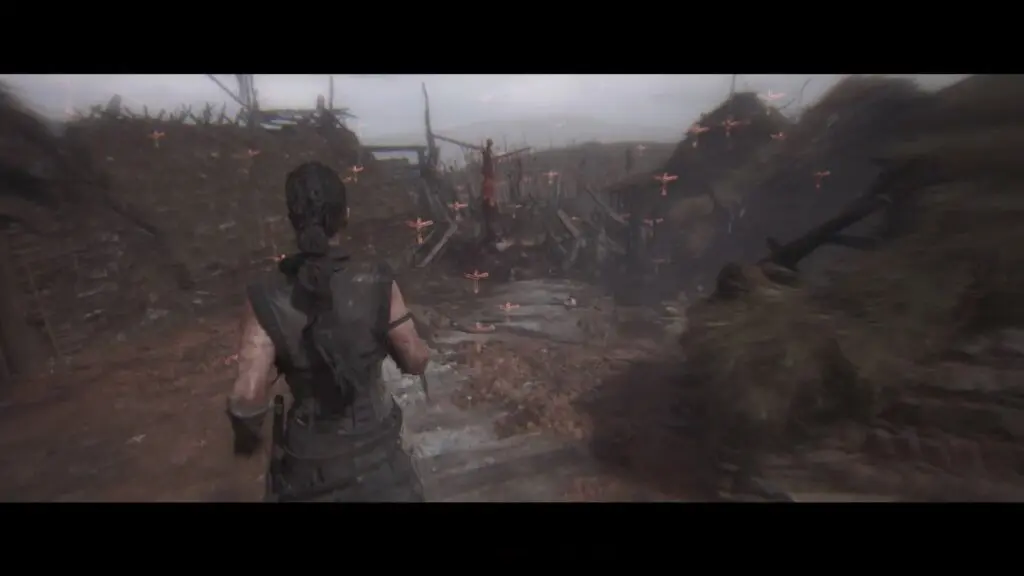
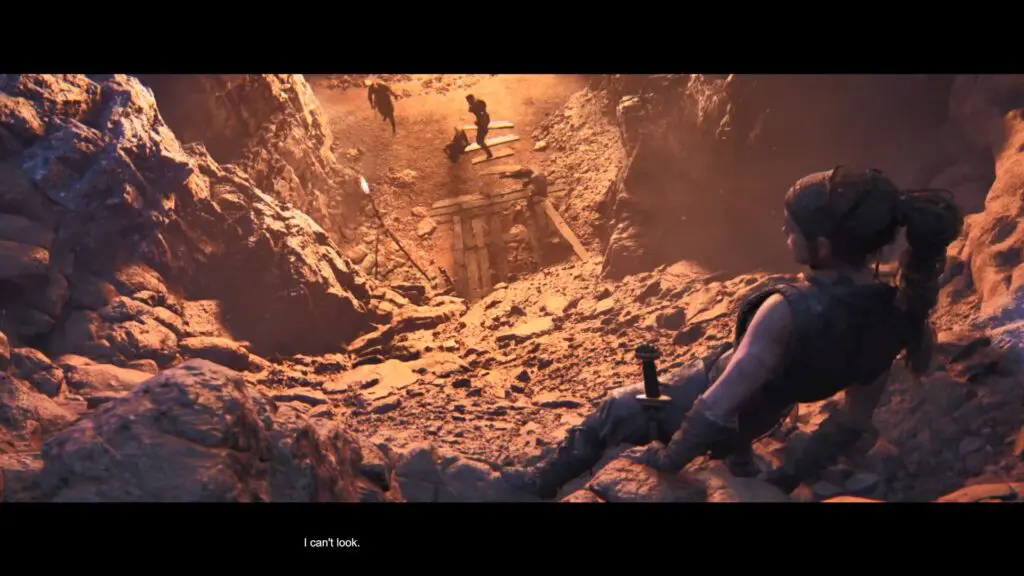
After the cutscene, you will find yourself in a mountain area where the player must cross a narrow ledge while the monsters attack the villagers below.
Drop down the ledge.
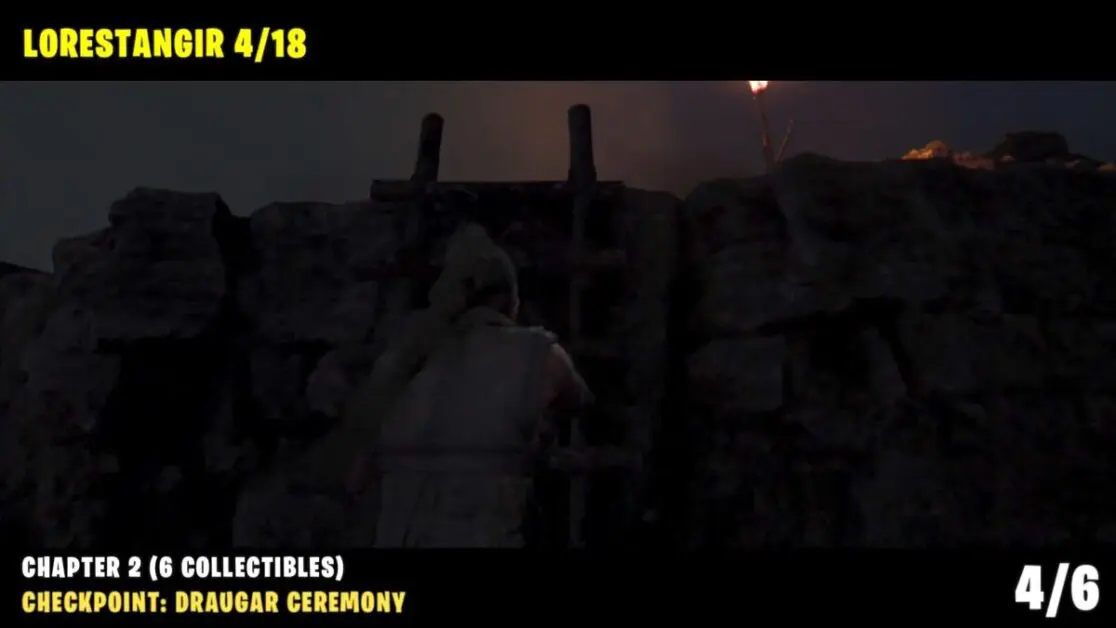
Follow the path, turn left, and climb up the ladder. (the main path is straight ahead).
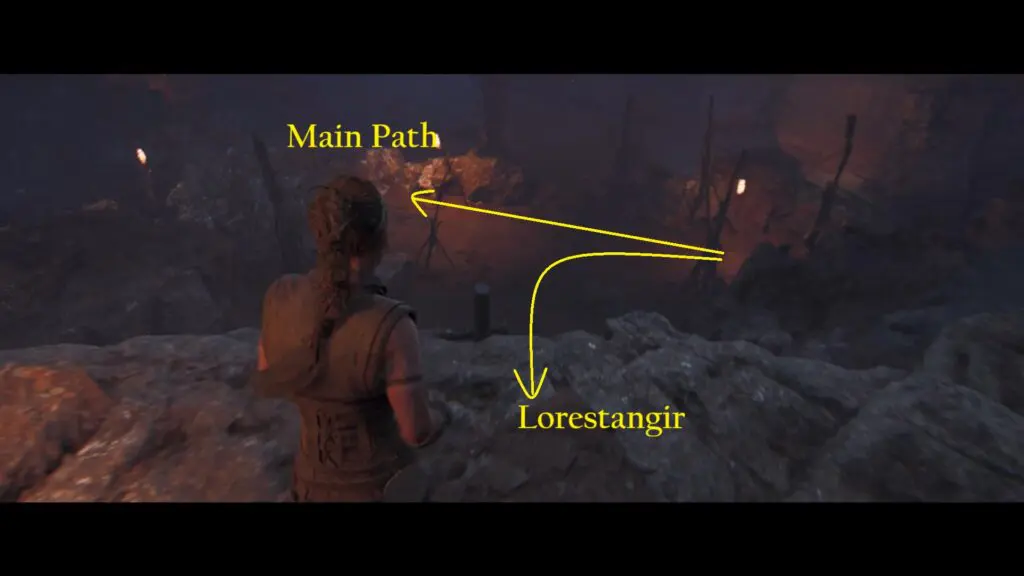
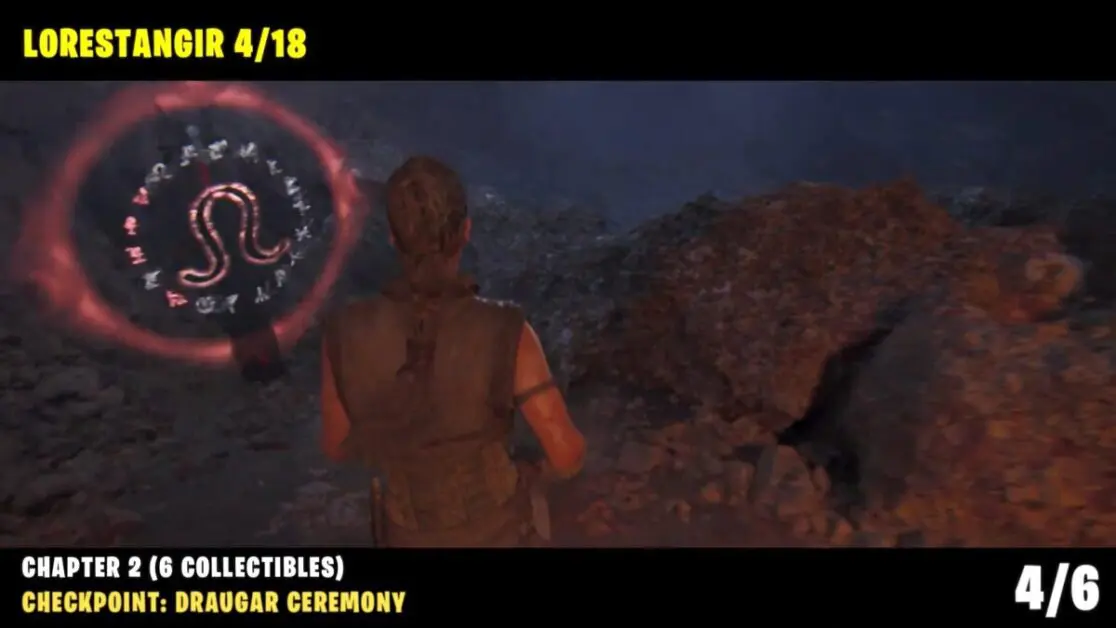
Follow the path and hop over the little wall to find a Lorestangir totem.
Return to the main path and follow it. Squeeze through the narrow gap with skulls on both sides.
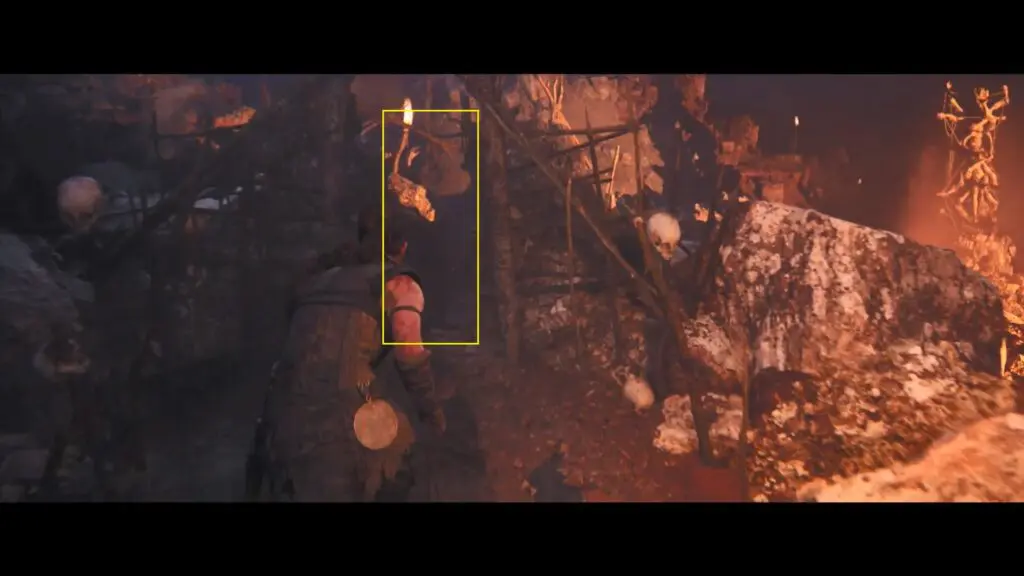
Crawl under the wooden fence. When you get to the other side, a cutscene will begin.
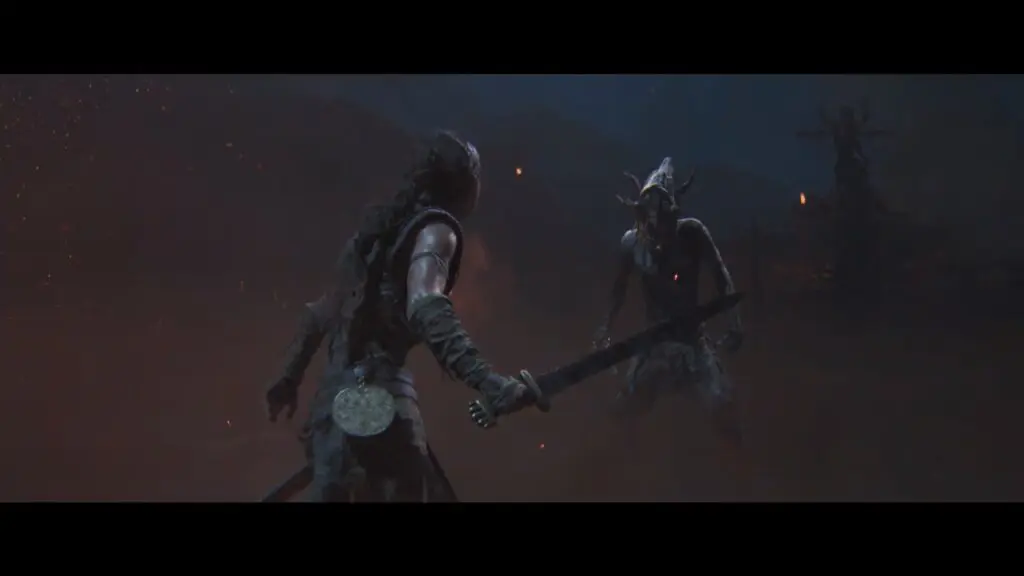
Checkpoint: Draugar Battle
Defeat the monster after the cutscene.
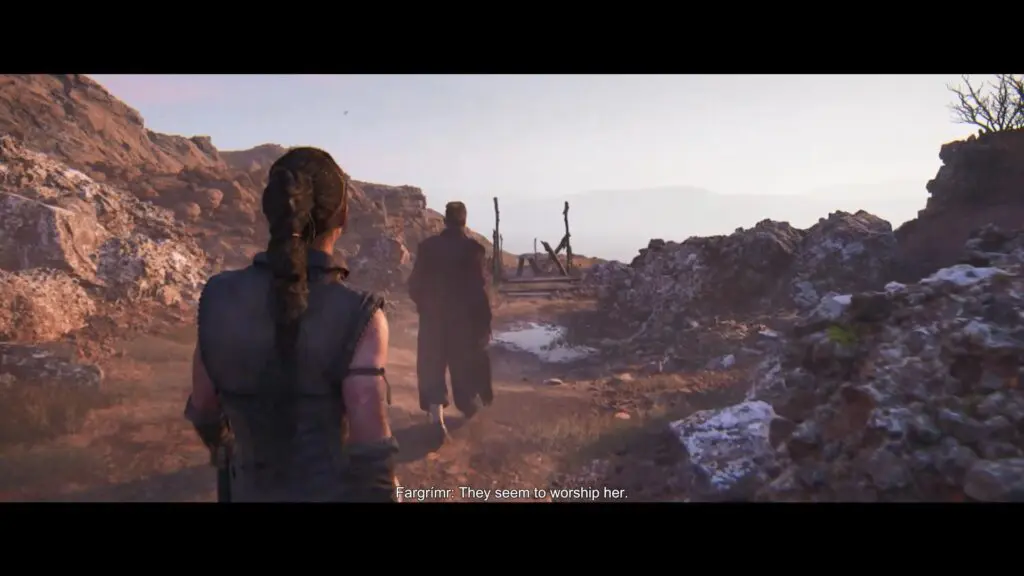
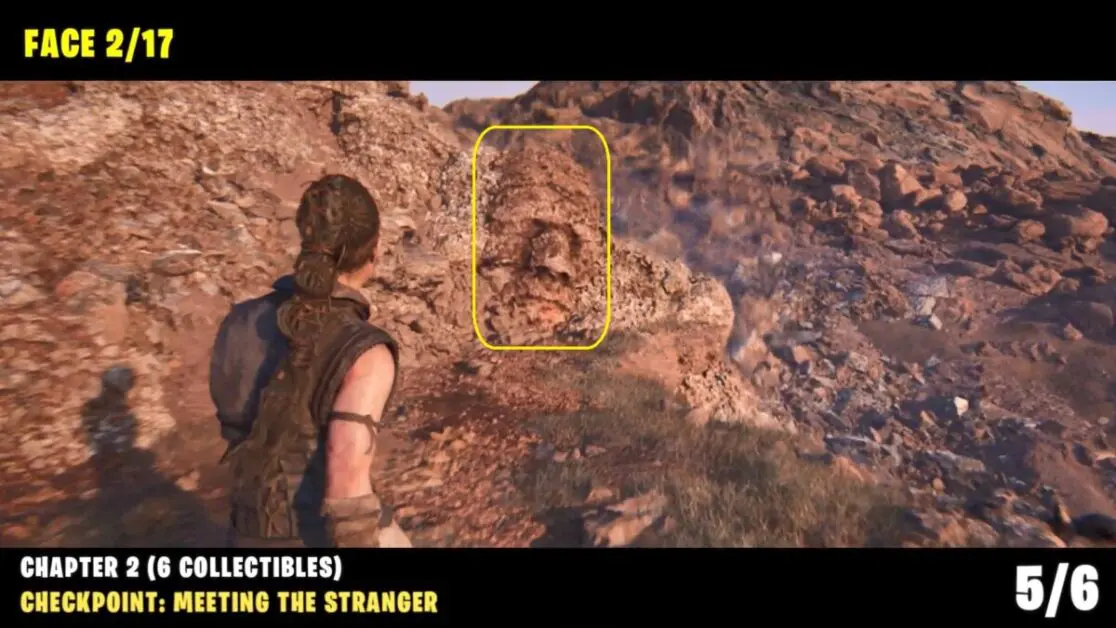
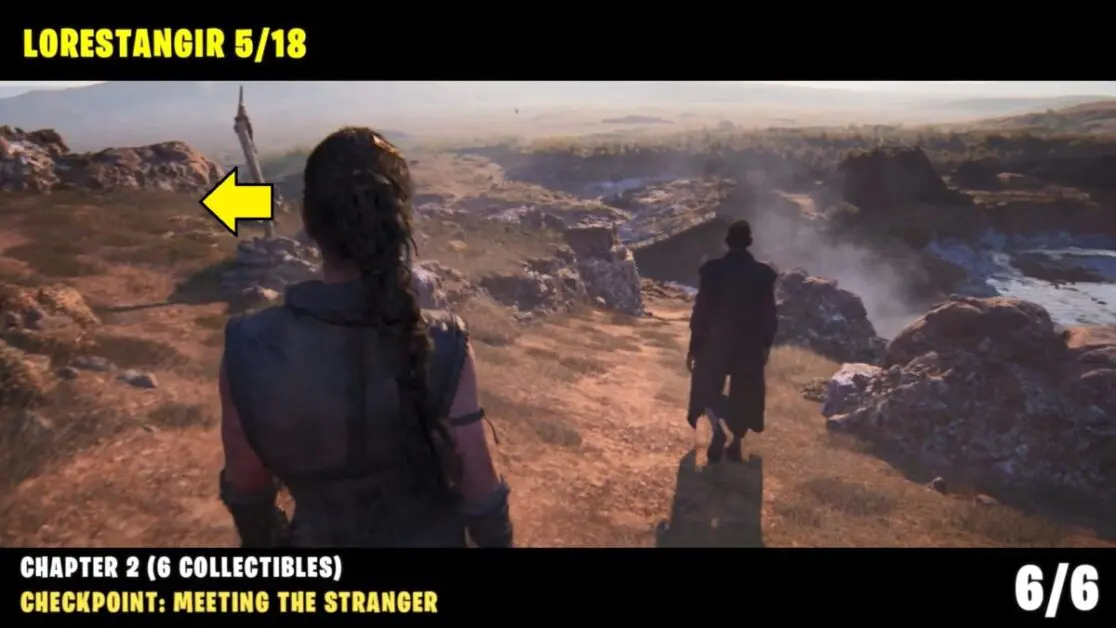
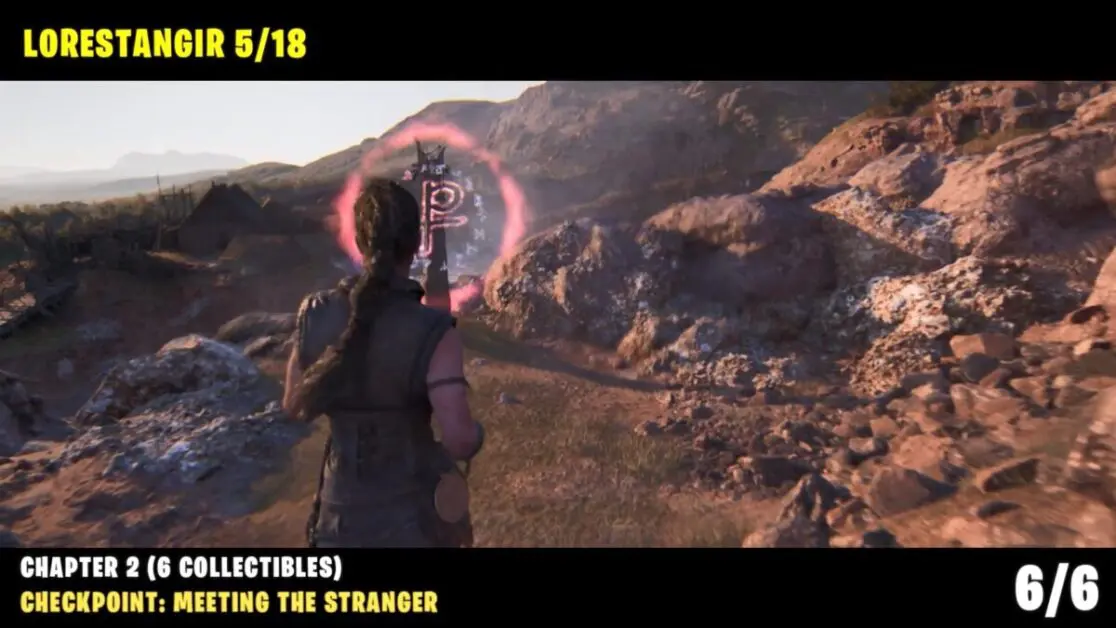
Checkpoint: Meeting the Stranger
After you’ve rescued the man (Fargrimr), walk with him during the day until you reach a destroyed bridge.
Collectible: Face #2
Head to the left to locate a stone face in the corner.
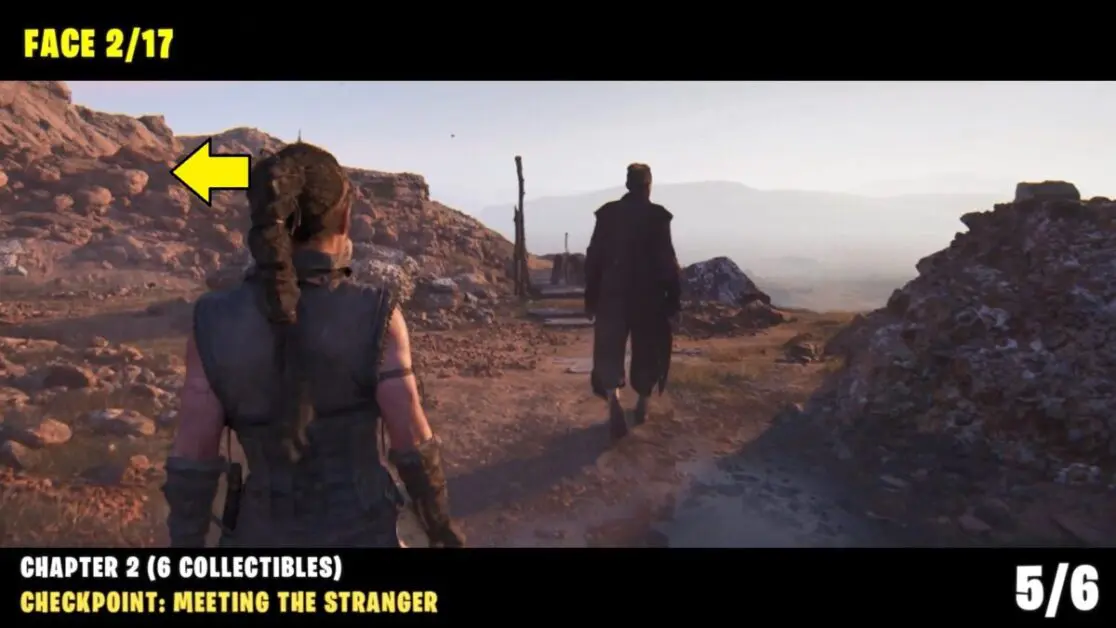
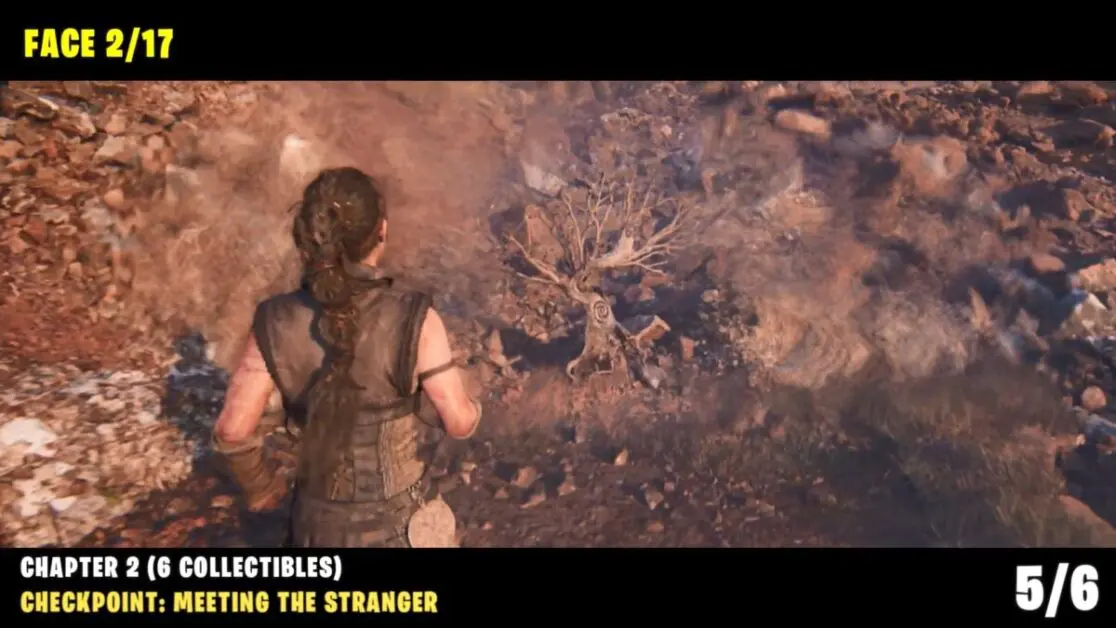
Zoom in on the stone face to reveal the new way.
Follow the new path and then zoom in on the tree at the end.
Collectible: Lorestangir #5
Return to Fargrimr and continue to follow him downhill. Turn left at the fork instead of following the Fargrimr. Follow the dirt path to the end to find the Lorestang totem.
Return to Fargrimr and follow him to the end of the chapter.