Chapter 7: Into the Void
This guide shows how to complete Chapter 7: Into the Void in Dead Space Remake. The guide only shows the main mission objectives and does not include the collectibles. Please note that you will be able to access some areas only from the story progression. So, if you are unable to open some doors then don’t fret as you will be able to access those areas later.
Also Read: Dead Space Remake Walkthrough & Collectibles
Go to the Mining Deck
As the mission starts, make your way to the Mining Tram station. Then enter the Mining Operations. The quest ends as you enter the Mining Operations.
Activate the Launch Tubes
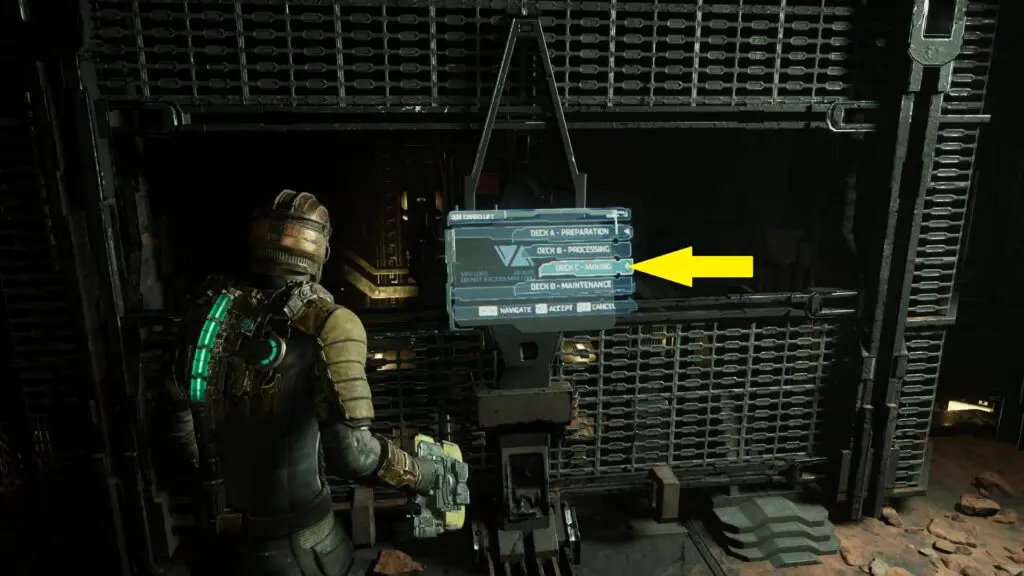
As you get the objective, proceed ahead and enter the Rig Room. Then go straight ahead and enter the Elevator to Mining Operations. Take the elevator to Deck C- Mining as shown in the picture below.
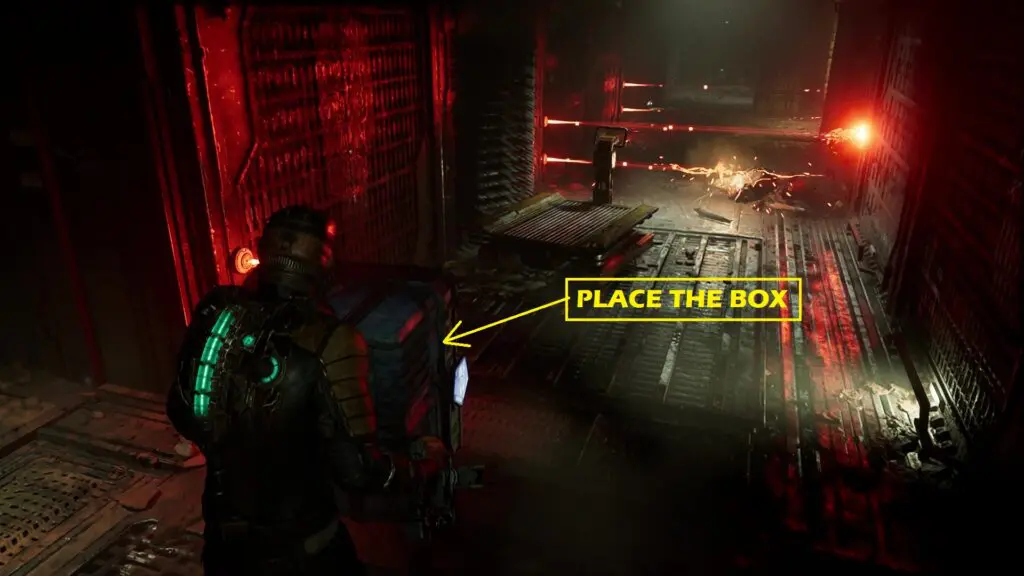
Step out of the elevator and proceed ahead. Soon you will reach an area with lasers blocking your path. Use Kinesis to move the box there in front of the laser as shown in the picture below and proceed ahead. Cross all the lasers then turn right and enter Extraction Area.
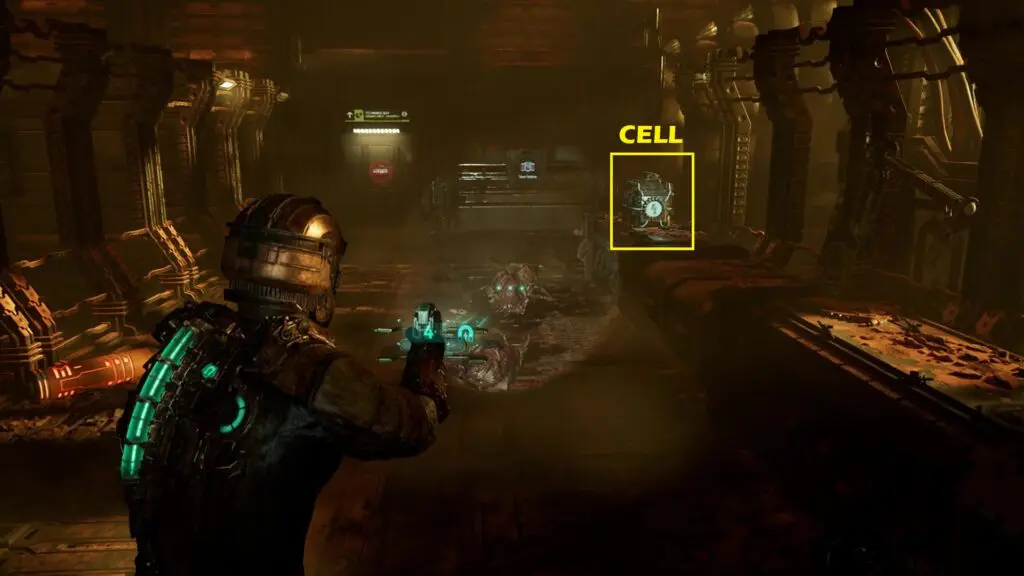
Proceed straight ahead and climb down the ramp. On the left side, you will see an elevator going to Mining Control. In front of the elevator, you will find a power cell as shown in the picture below. Insert this power cell into the socket next to the elevator. Now take the elevator up and enter the Mining Control. Interact with the console there to complete the objective.
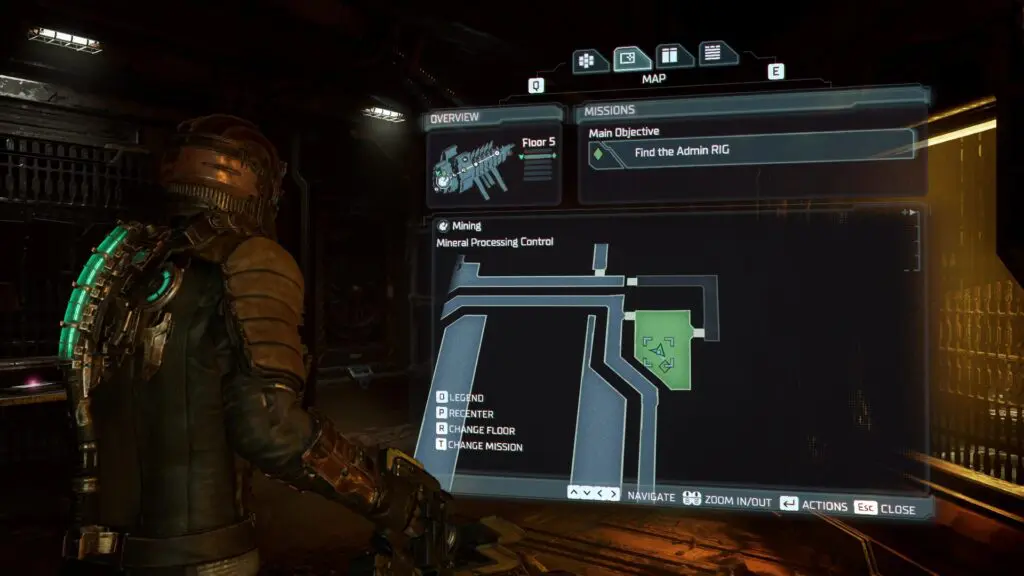
Find the Admin RIG
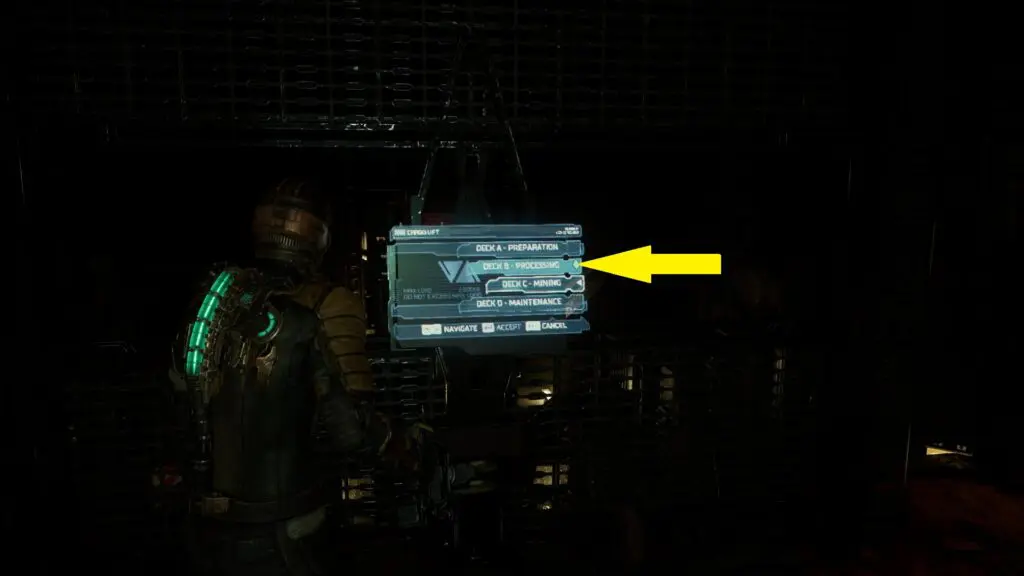
Make your way back to the Elevator to Mining Operations. Take the elevator to Deck B- Processing as shown in the picture below.
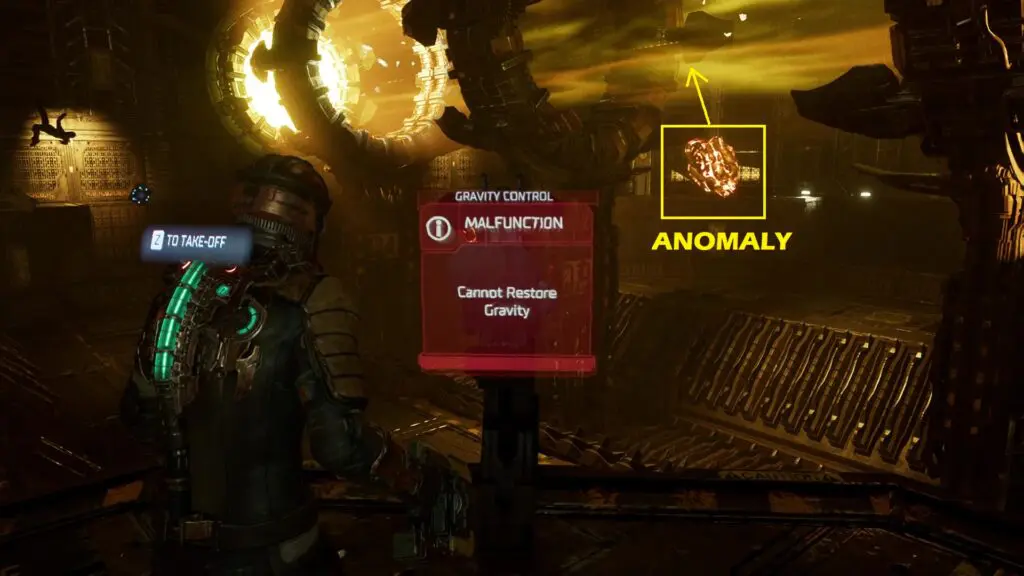
Step out of the elevator and go right. Use Kinesis to remove the boxes blocking the path and continue ahead. Proceed ahead and enter the Mineral Processing Area. Keep going ahead and step out into the open area through a hole in the wall. Then use your thrusters to fly to the Gravity Control console as shown in the picture below. The console won’t work until debris (Anomalies) is flying around. The screen in front of the console will display the number of anomalies flying around in the area. Use Kinesis to throw the debris into the processing beam as shown in the picture below. This will destroy the debris. Destroy all the debris flying around and then restore gravity.
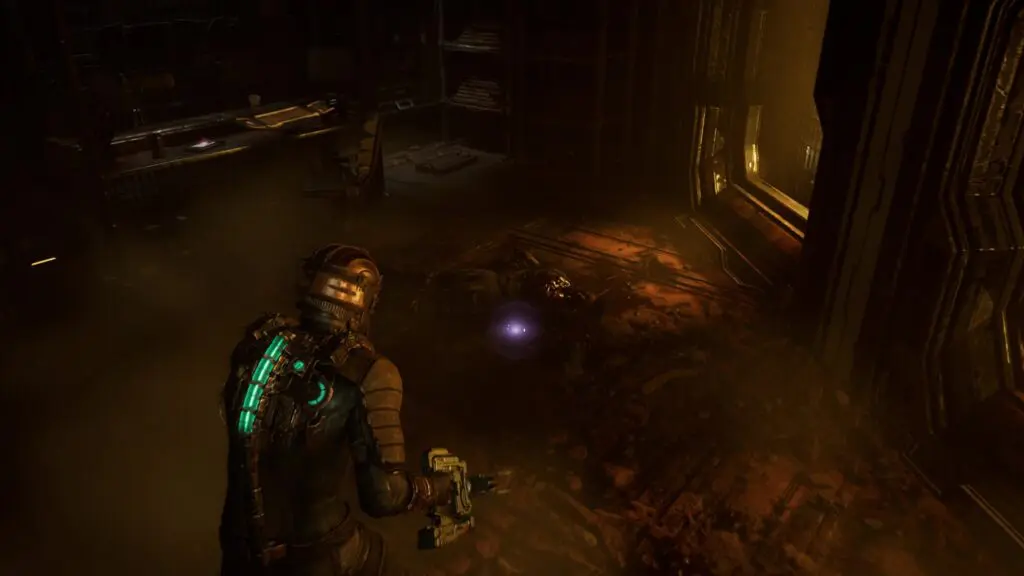
After the gravity is restored, enter the Mineral processing Control room and collect the Admin RIG as shown in the pictures below. If the Admin RIG does not spawn, then make sure that you have destroyed all the enemies in the area.
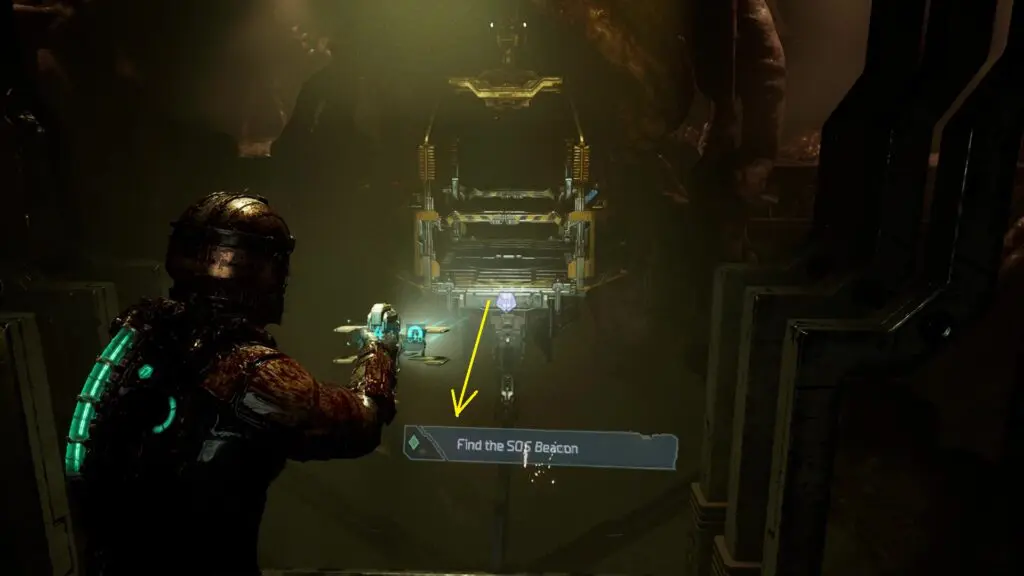
Find the SOS Beacon
From the Mineral processing Control room, take the elevator going towards the elevator. Make your way back to the Elevator to Mining Operations. Take the elevator to Deck D- Maintenance. Step out of the elevator and go to the Equipment Maintenance Bay. There you will find a cable car. Use Kinesis to pull it towards you as shown in the picture below. Then ride it to the other side. Step out of the cable car and enter the Repair Room. Then defeat all the enemies and enter the Equipment Workshop. Go down the stairs there to find the SOS Beacon.
Launch the SOS Beacon
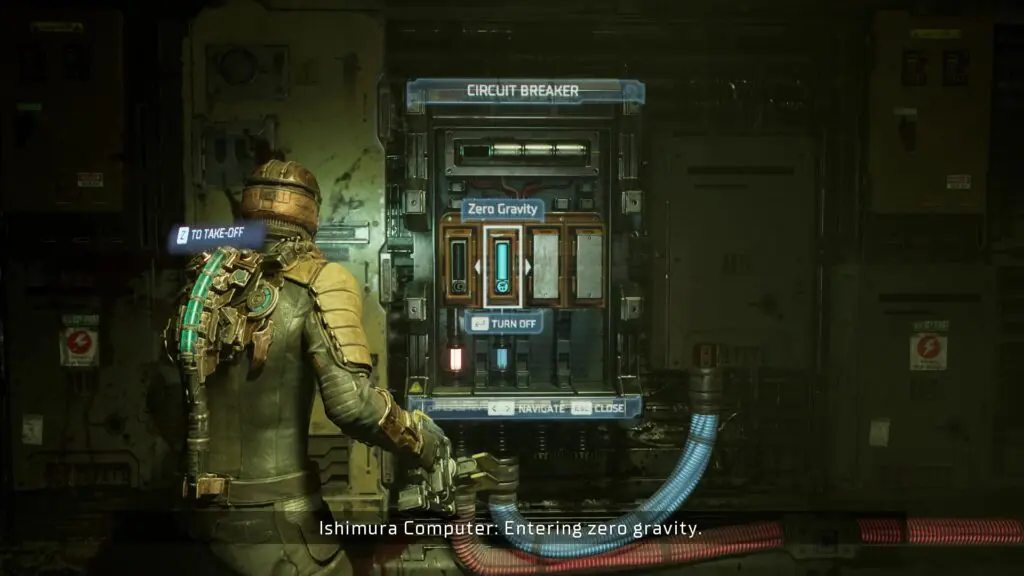
After collecting the SOS Beacon, use the elevator in the same room to go to the upper floor. Hop off the elevator and go right to Equipment Maintenance Bay. There you will find a Circuit Breaker. Use it to switch on Zero Gravity as shown in the picture below.
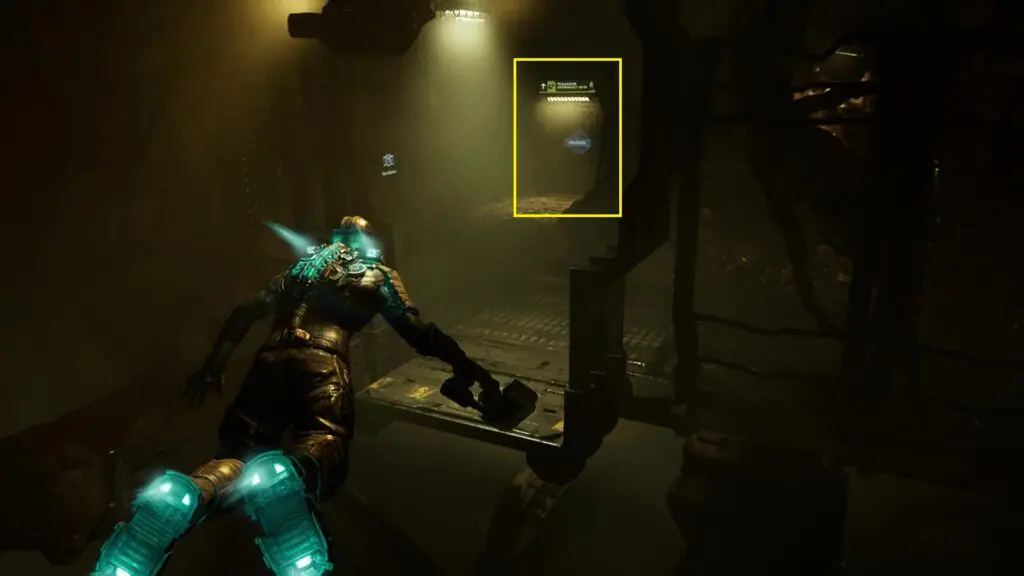
Now turn around and use your thrusters to fly straight ahead. At the end of the path, enter the door leading to the elevator as shown in the picture below. Proceed ahead to reach the Elevator to Mining Operations. Take the elevator to Deck C- Mining. Step outside and make your way to the Mining Control. Interact with the console there. The objective will fail and a new objective will start.
Plant the SOS Beacon & Destroy the Gravity Tethers
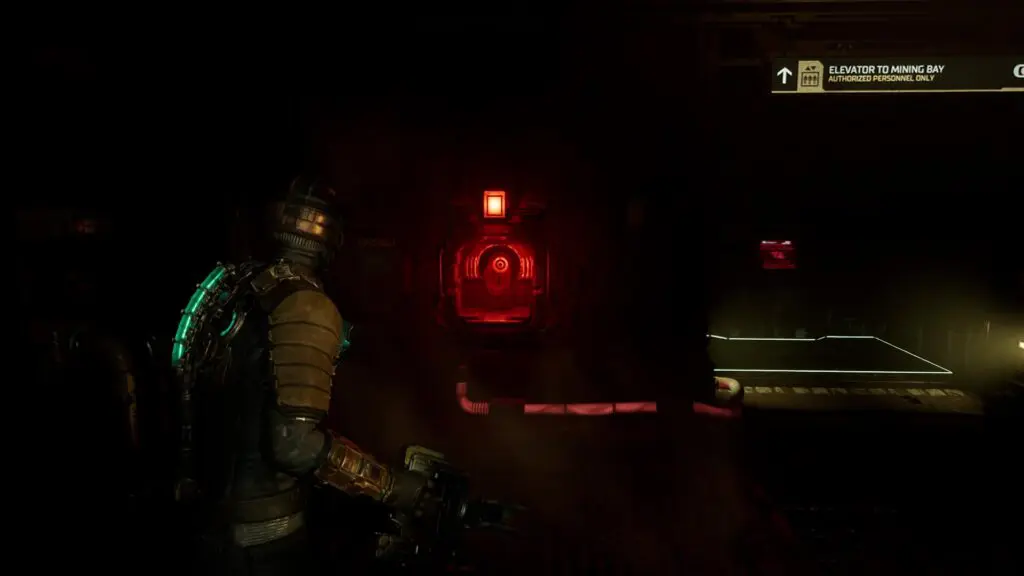
Go back to the Elevator to Mining Control and take it down. After stepping out of the Elevator to Mining Control, Pull out the power cell from the socket next to it as you will be needing it later. Carry the power cell to the opposite side of the elevator into the door leading to Mining Bay. Defeat the enemies and proceed ahead. The path will lead you to Elevator to Mining Bay as shown in the picture below. Insert the power cell into the socket to activate the elevator. Take the elevator down to Mining Bay. Proceed ahead into Mining Bay then go through the door on the right side to enter the zero gravity area.
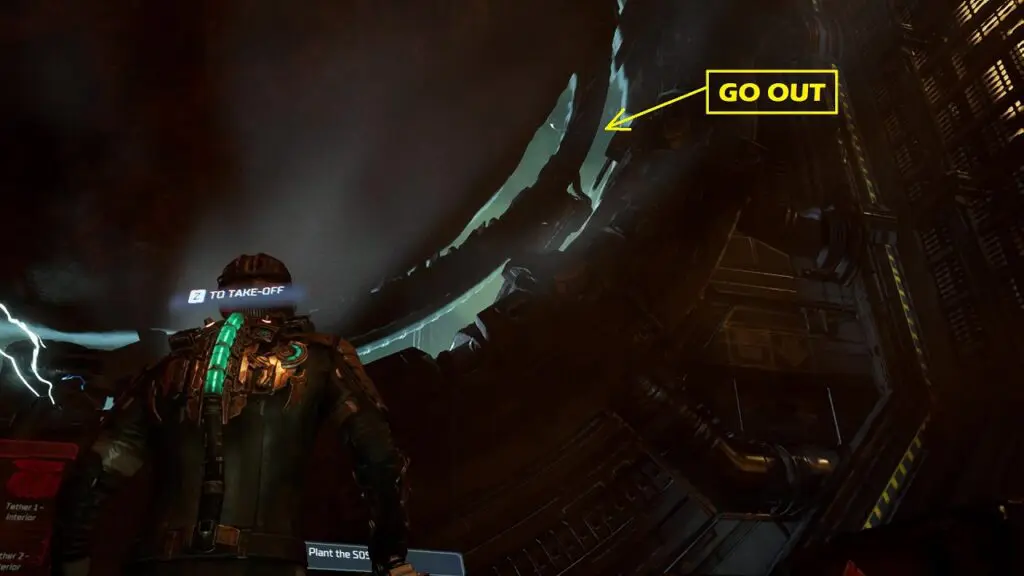
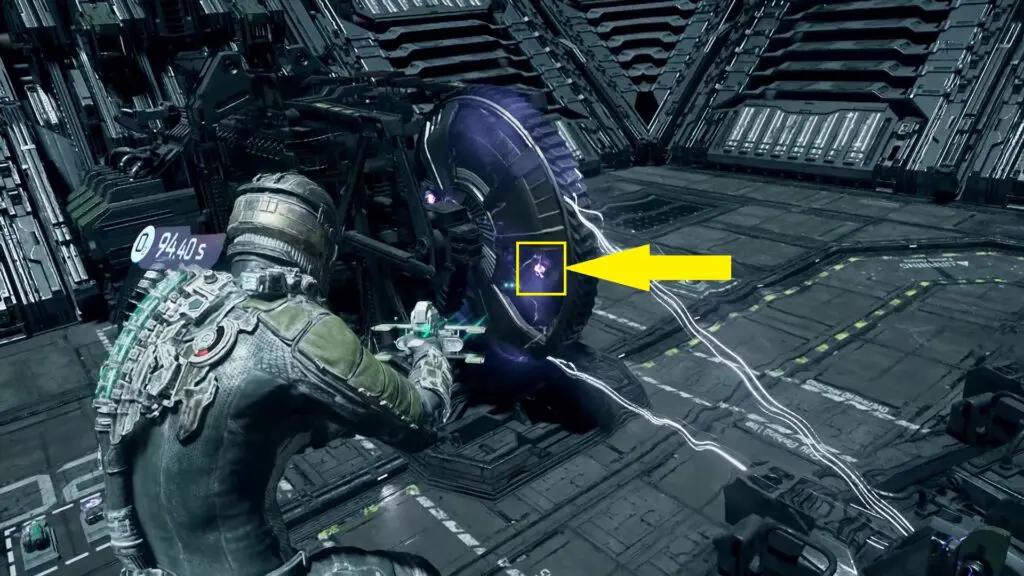
Destroy the Interior Tethers
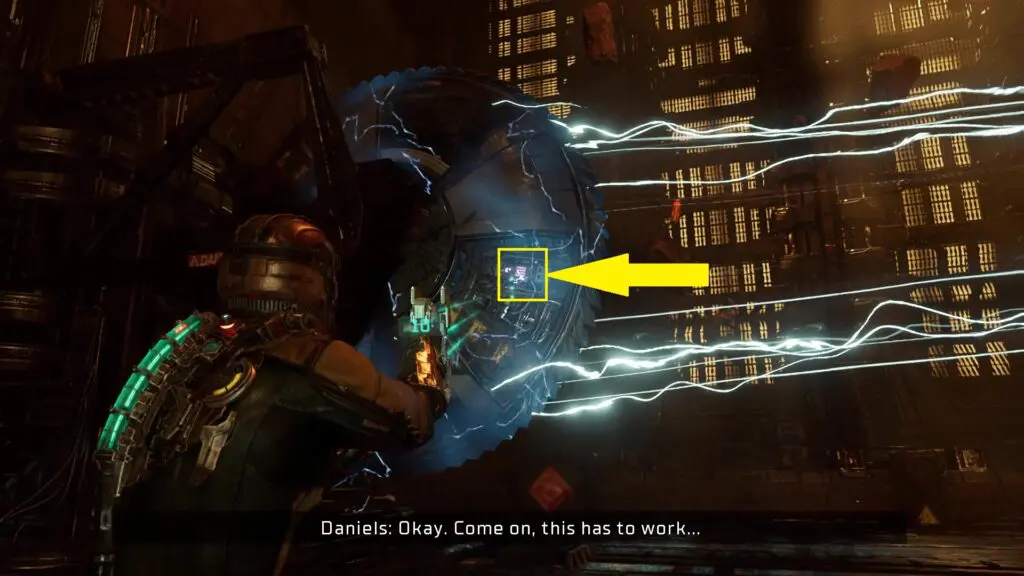
As you enter zero gravity, you will see two giant wheels. One on the ground and the other one up in the air. Use Stasis to slow down the wheels and then shoot the tethers as shown in the picture below to destroy them. Now fly outside into space through the gap as shown in the second picture below.
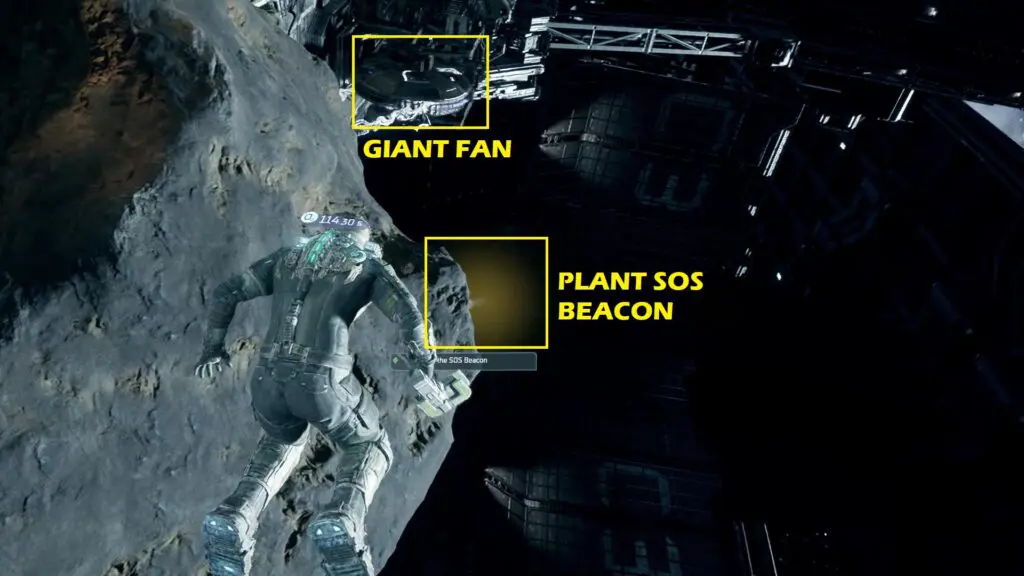
Destroy the Exterior Tethers & Plant the SOS Beacon
As you come out into space, go left and you will see two giant wheels and the asteroid where you have to plant the SOS Beacon as shown in the pictures below. Use Stasis to slow down the wheels and then shoot the tethers as shown in the second picture below. Then plant the SOS Beacon on the asteroid.
Launch the Asteroid
Go inside and make your way back to the Mining Control room. Use the locator and it will guide you back to the location. Use the console there to launch the Asteroid.
Return to the Tram Station
As you try to go out of the room, a monster will appear. Fight it until the door unlocks. Then go out and make your way back to the Elevator to Mining Operations. Take the elevator to Deck A- Preparation. Step out of the elevator and make your way to the Mining Tram Station to complete the mission.