This article will guide you on how to solve the Depulso Puzzle Room 1 in Hogwarts Legacy. Below is the video link for Depulso Puzzle Room 1.
Also Read: Depulso Puzzle Room 2 Walkthrough
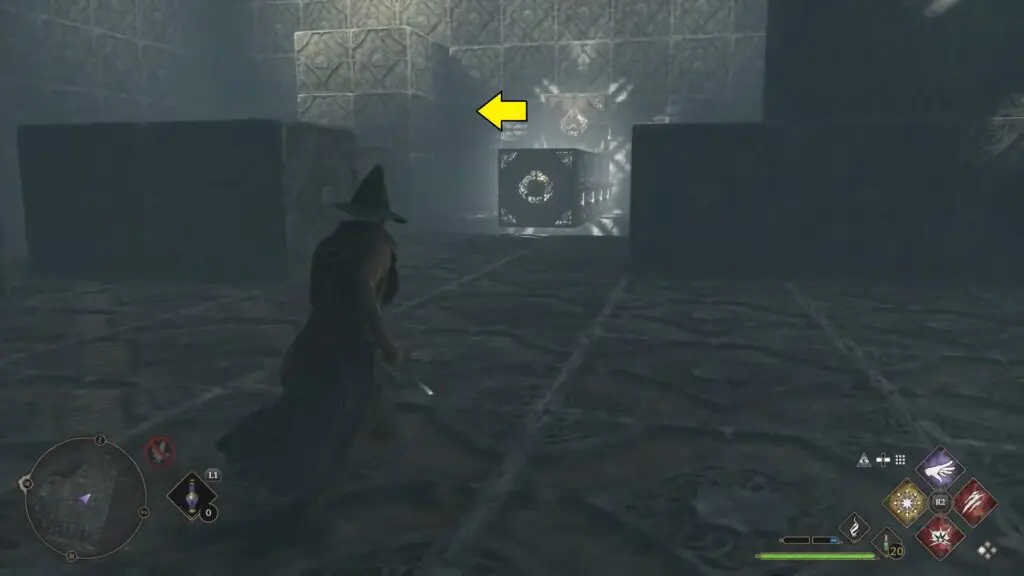
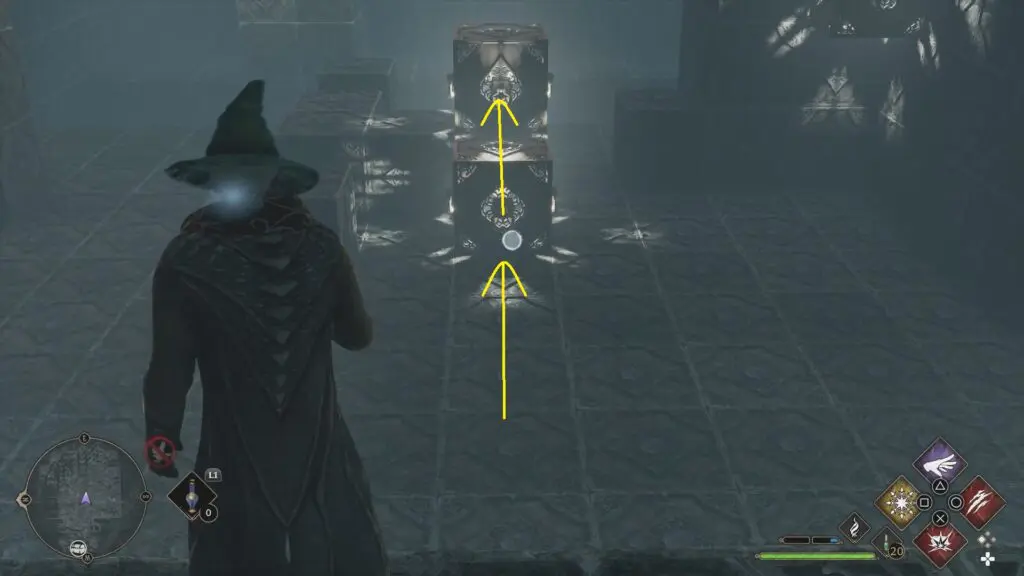
1) PUZZLE ( Rightside chest )
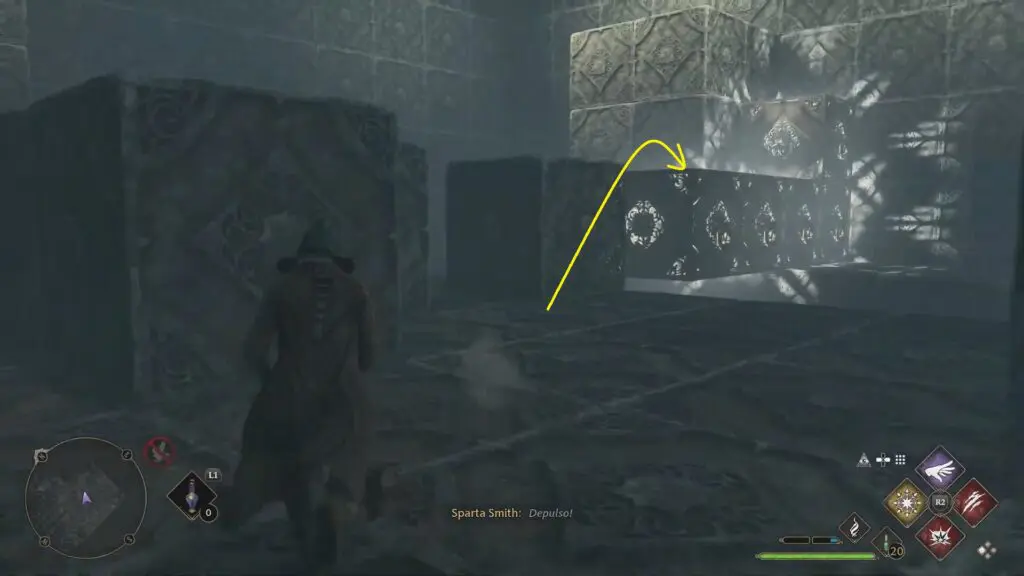
Get the box out of your way.
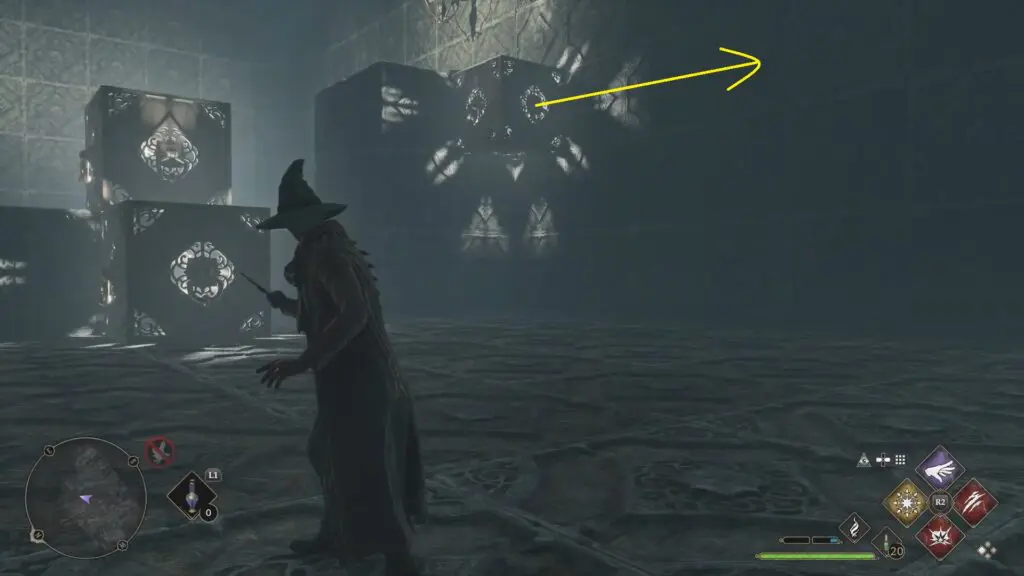
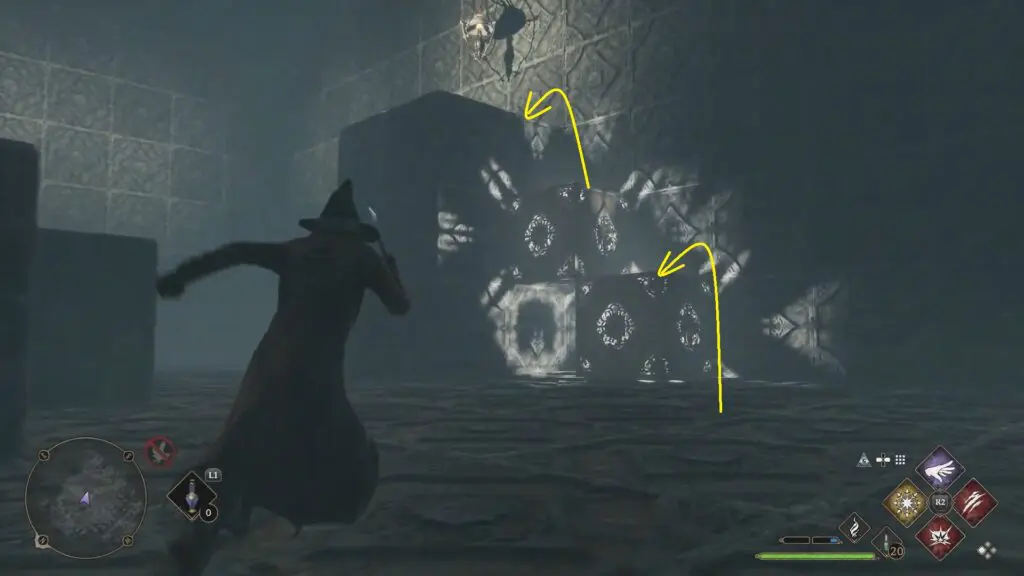
Push these two block up against the wall.

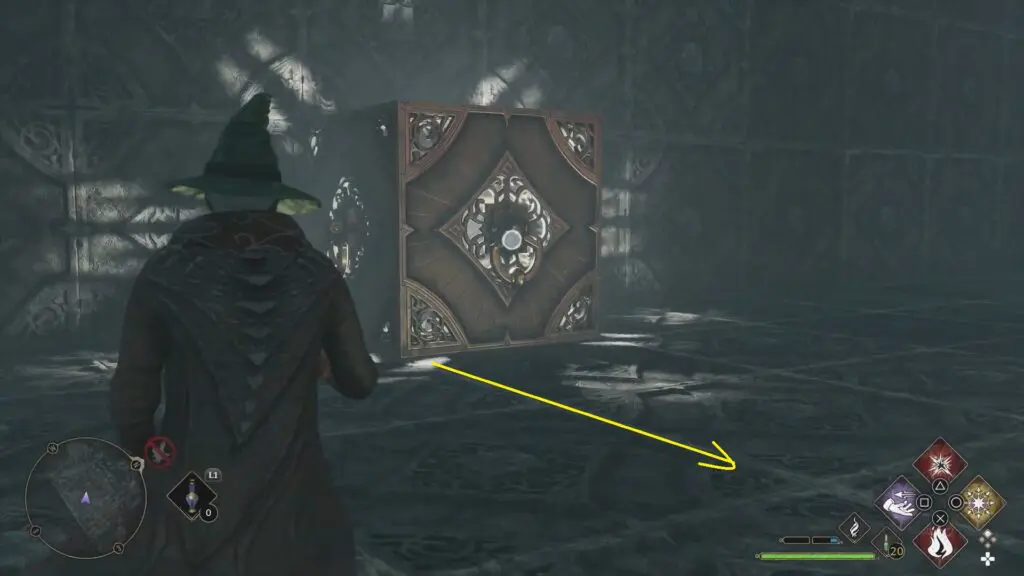
Now you can climb up to the chest on the right wall.
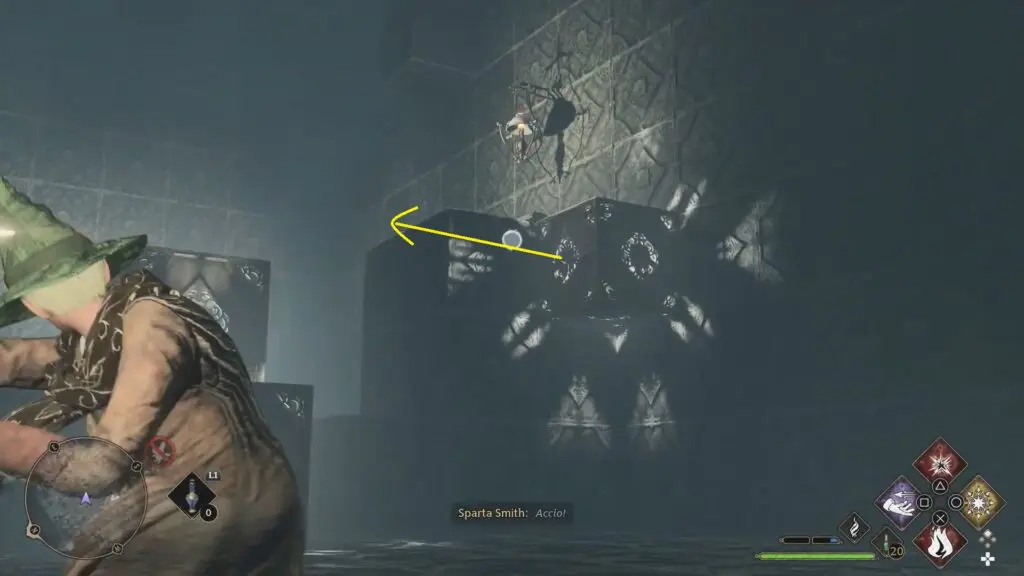
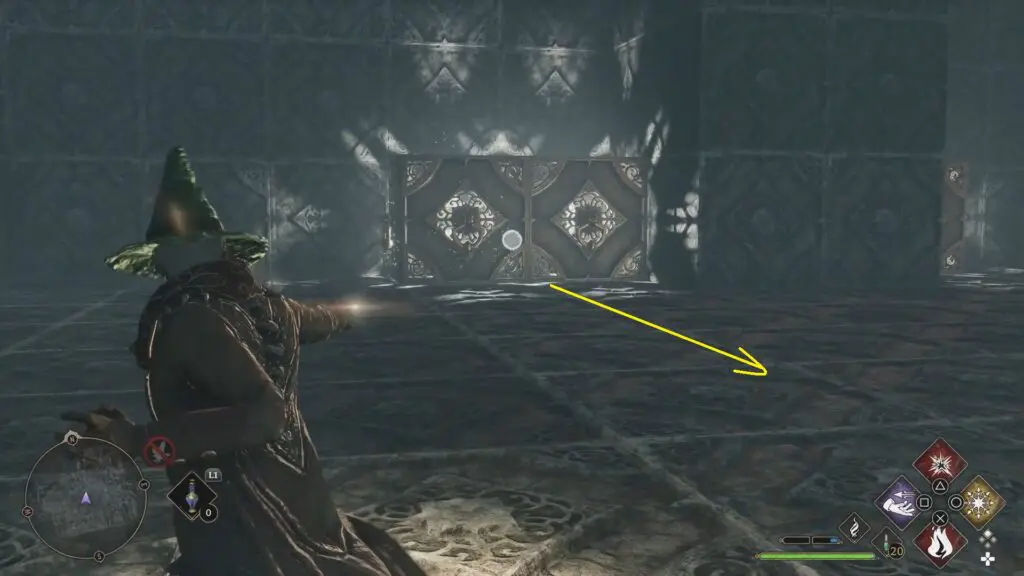
2) PUZZLE ( Leftside chest )
Pull the box on the right wall to the left side.
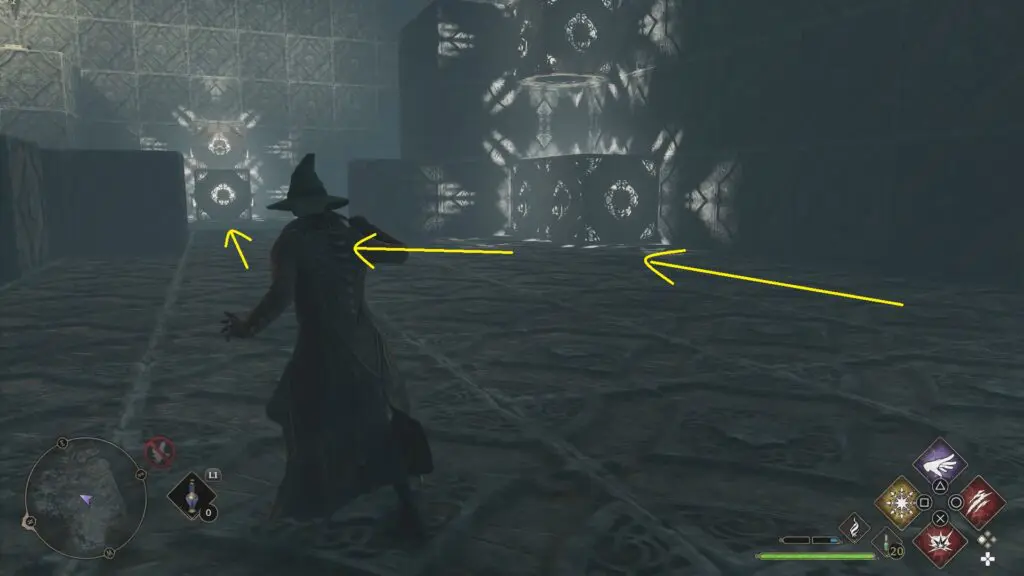
Move the higher box to connect it to the platform that is having the chest,
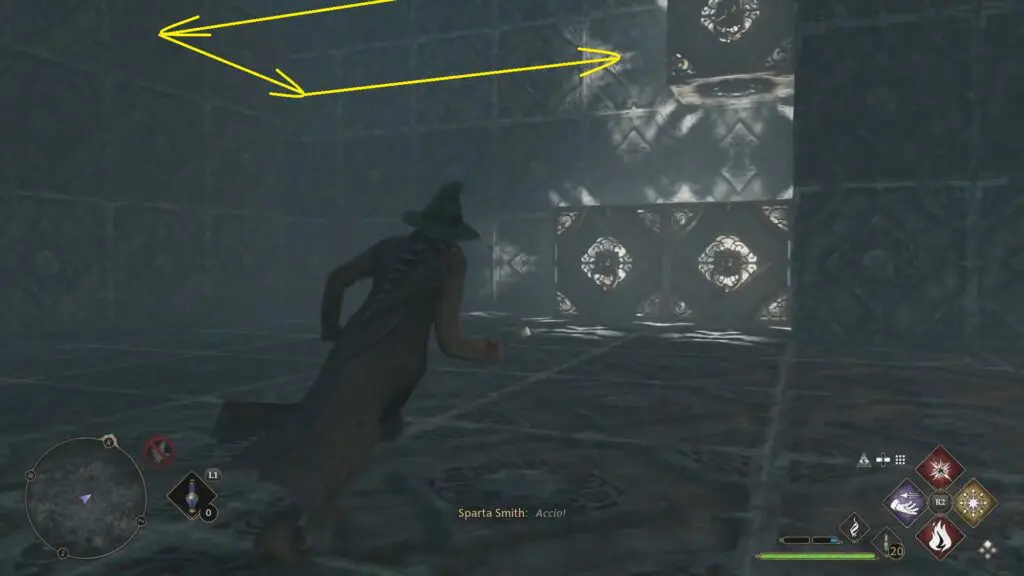
Move these two blocks to the wall near you.
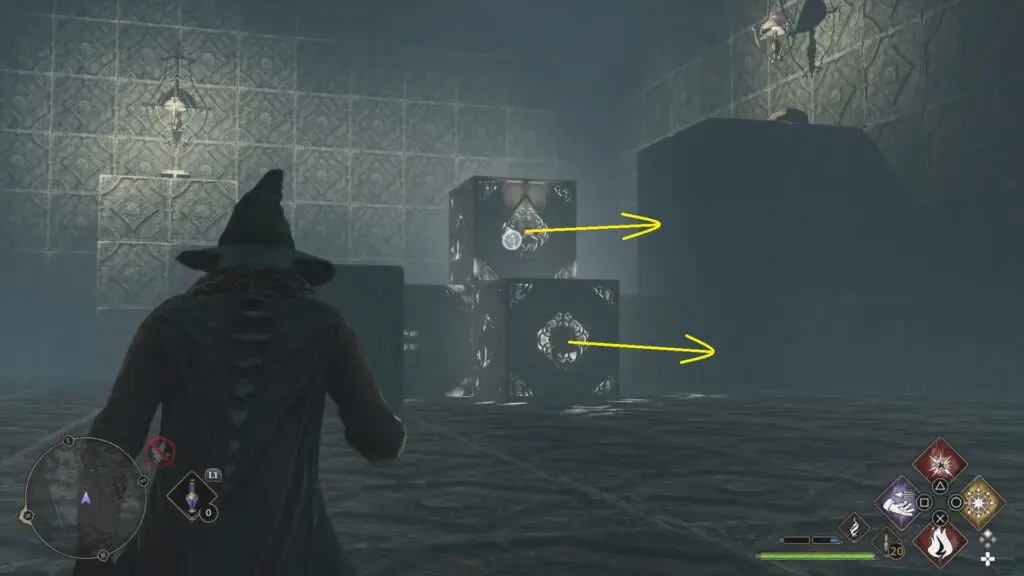
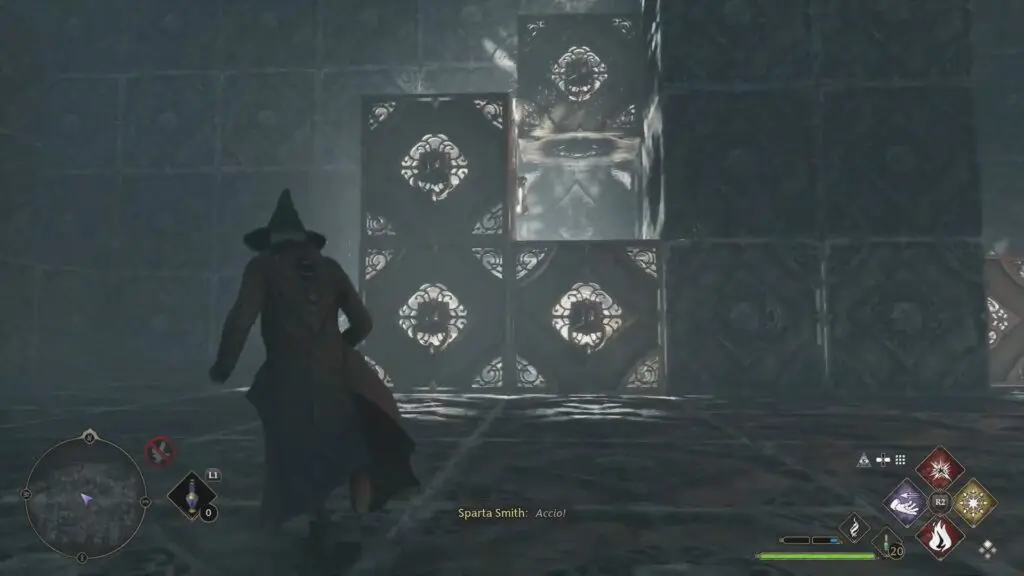
Finally, move these two blocks to the wall on the left and then to the platform with the chest. Climb up the blocks to get the chest.
3) PUZZLE ( across the gap )
Reset all the cubes. Push these two blocks up against the wall.
Drop down and move this single block also right down to the other end as well.
Move these two blocks to the right wall.
Follow the pattern to push these two blocks also down to the other end as well.
Move the entire block to the left so that you can reach the chest.