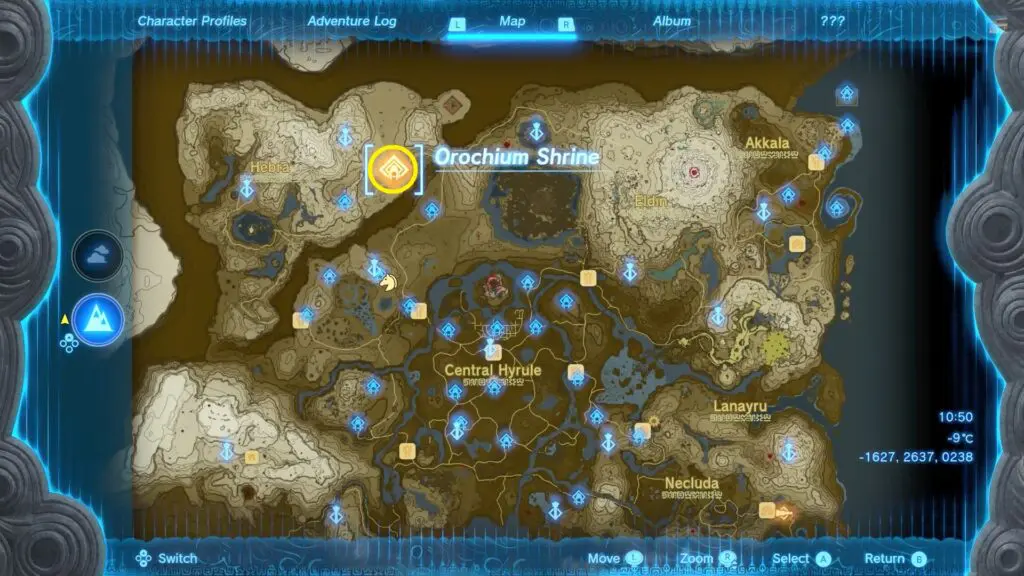
This guide shows how to complete the Orochium Shrine in the Legend of Zelda: Tears of the Kingdom, released on 12th May 2023. The Orochium Shrine is located in the eastern part of Herba area as shown in the pictures below.
As you enter the shrine, you’ll see a pit to your left where you need to place a ball to open the final gate of the shrine. But you must navigate the entire dungeon to return the ball to the starting point.
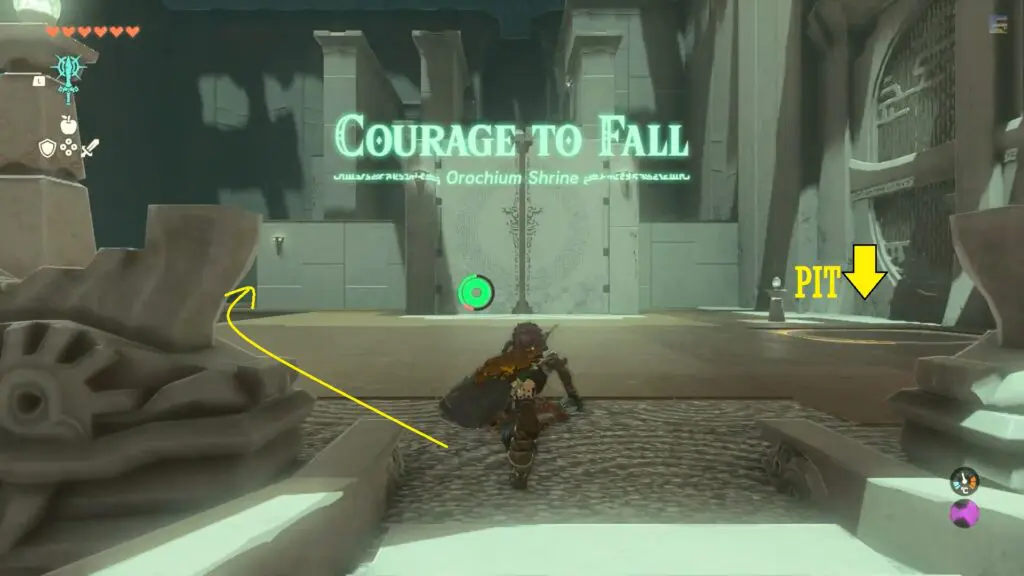
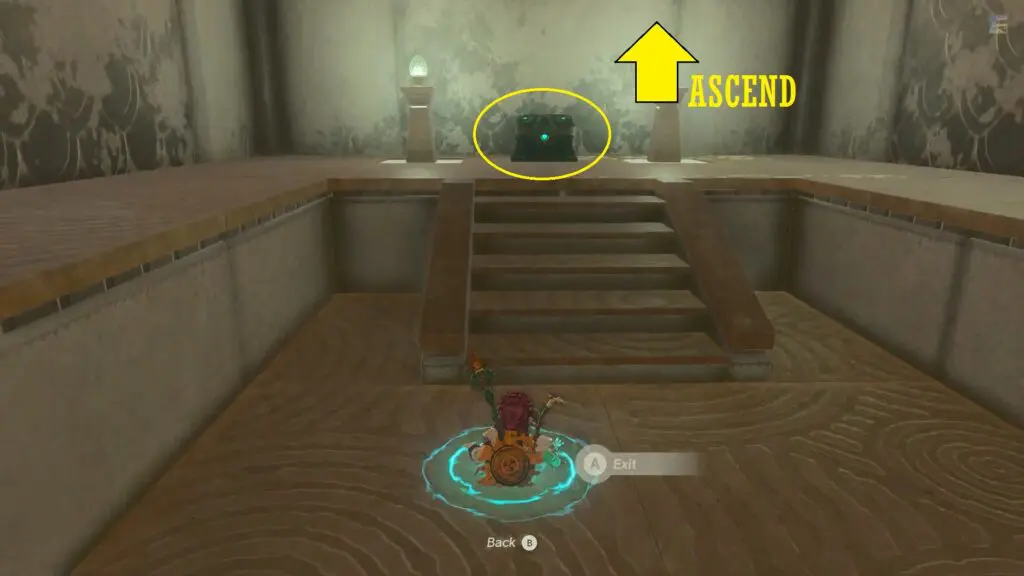
Go to the left corner and take out the single enemy. Then use Ascend to go up to the next level.
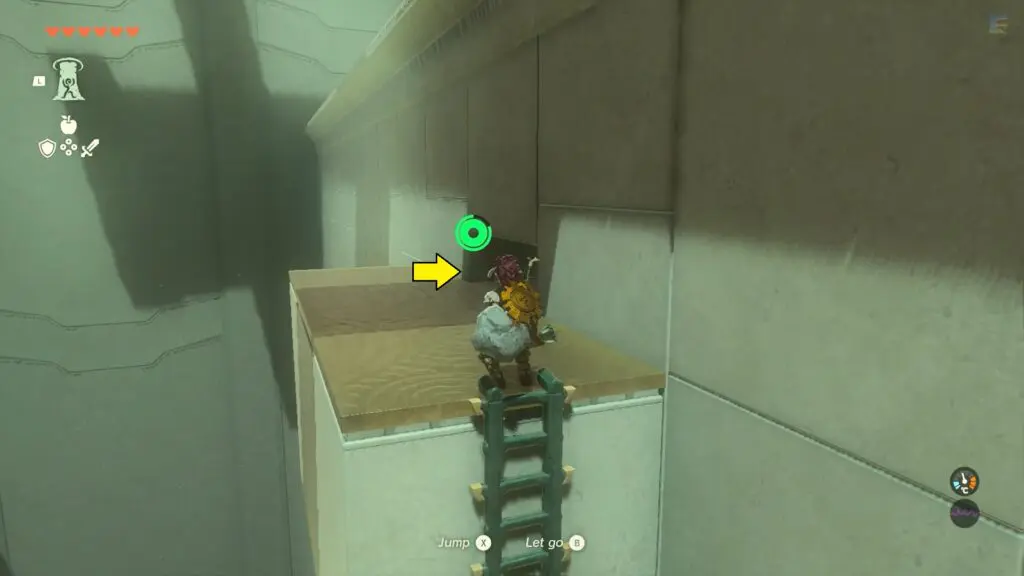
Climb up the ladder and then crouch through the small opening.
Turn right and drop down to the floor below. Defeat the single enemy.

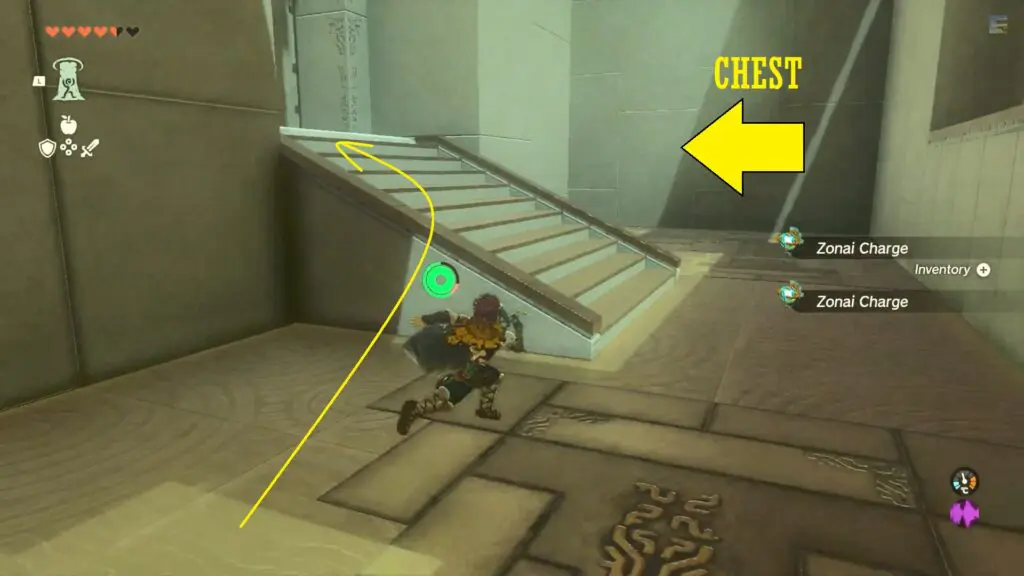
Proceed to the right of the double door. Defeat the enemy before unlocking the treasure chest. Then use the Ultrahand ability to open the door and enter inside.
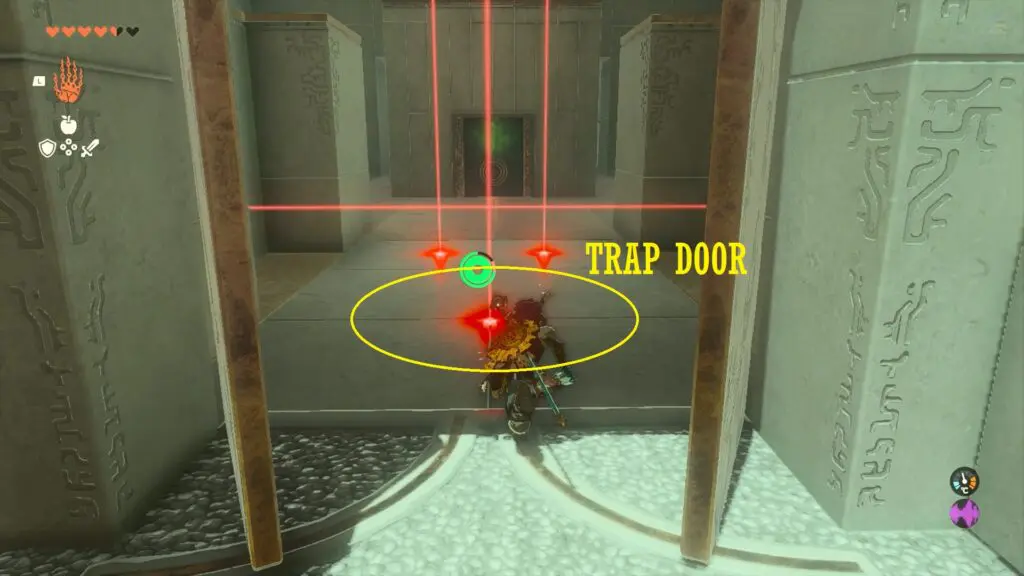
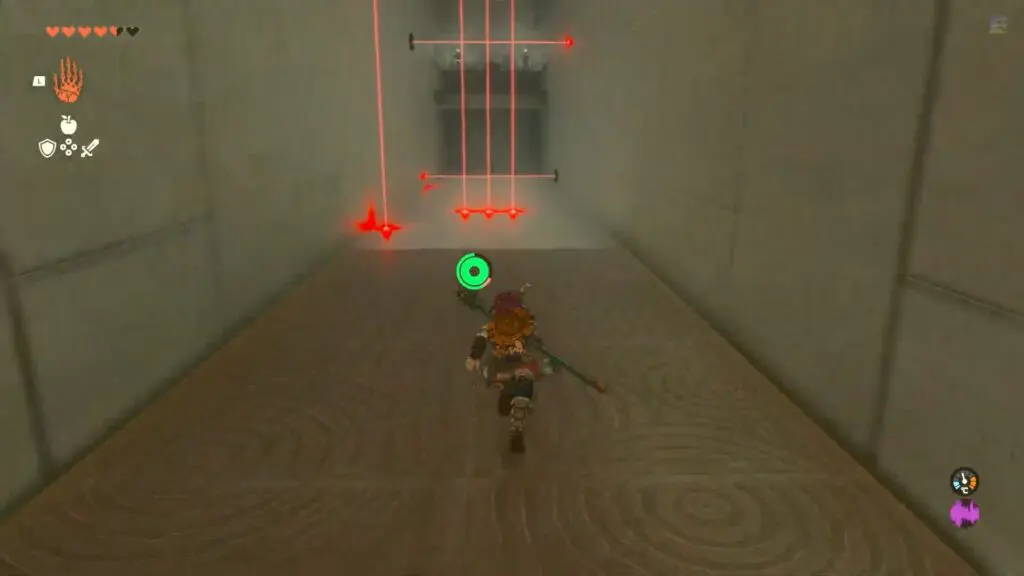
Upon entering the area, you will notice a laser grid that can be avoided. As you continue forward, you’ll eventually drop down. Alternatively, you can cling to the edge to cross the lasers. If you drop down, there’s a chest waiting for you.
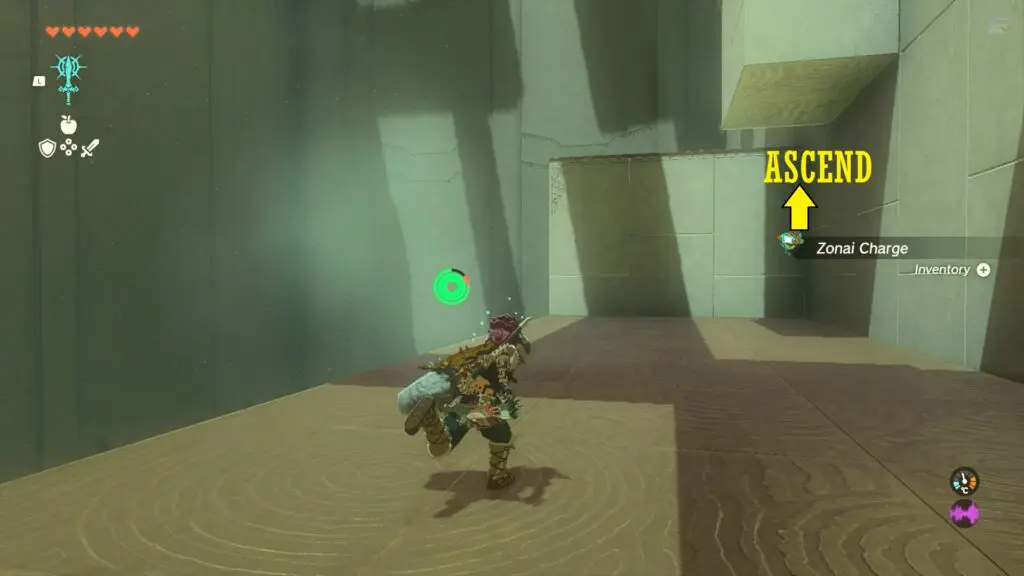
Drop down, go to the other end of the corridor. Use Ascend ability to reach the upper floor containing the chest.
Use Ascend ability again near the chest to reach the next floor. This chest has a Small Key that you need later to open a door.
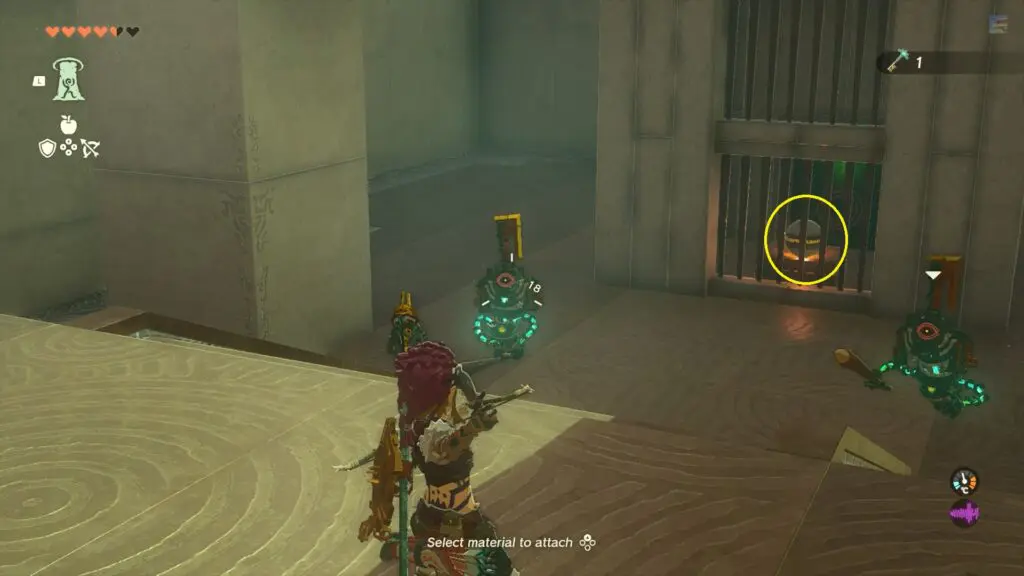
Defeat the two enemies, and then go behind the ball to open the door using the small key.
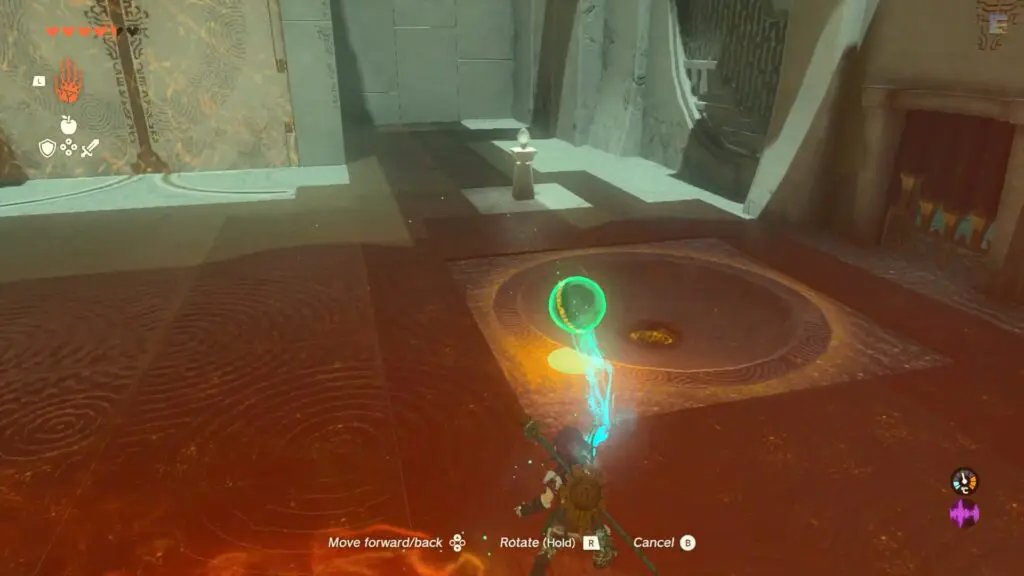
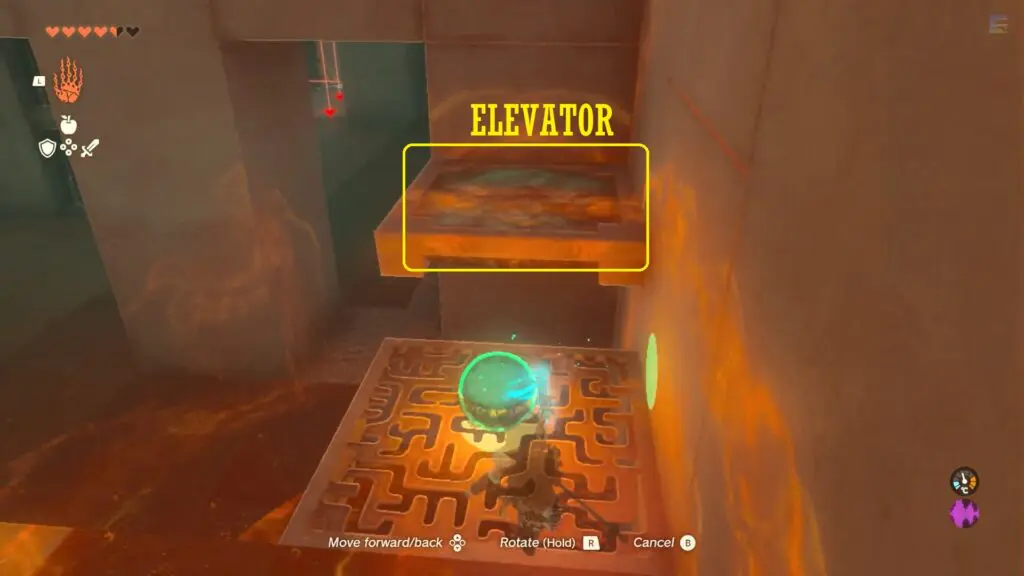
Use ultrahand ability to take the ball to the upper floor using the elevator near the wall.
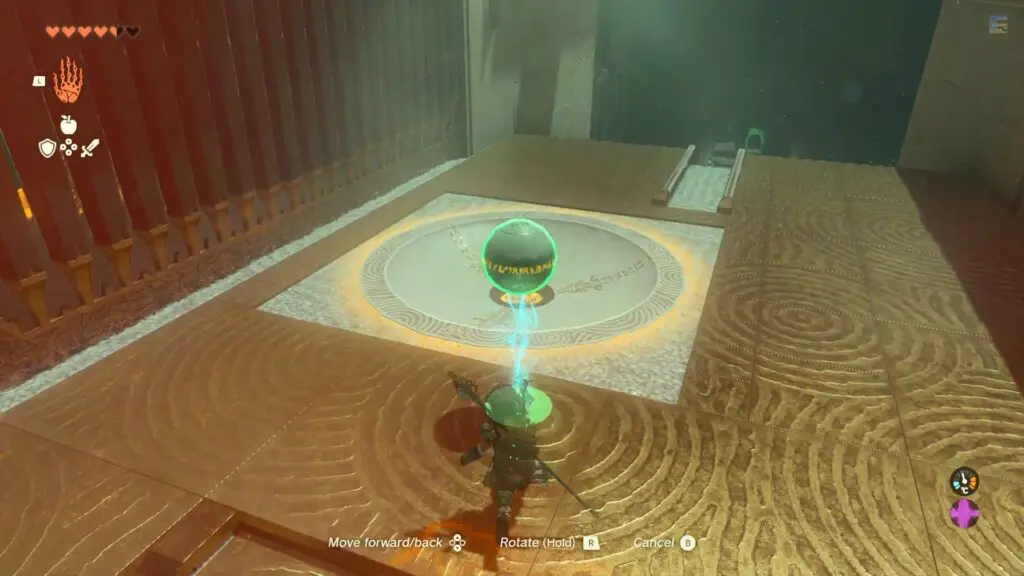
Place the ball in the hole to open the adjacent gate.
Inside you will find a Glider. Set the Glider on the rails leading off the platform and place the ball on it also. Strike the fans of the glider to carry the ball to the starting location of the shrine.

Glide down and place the ball on the pit to open the final gate.