This guide shows how to complete the “Reach Pilgrim’s Sanctuary” objective in Star Wars Jedi: Survivor game, which was released on 28th April 2023. The video walkthrough is also posted below.
Reach Pilgrim’s Sanctuary
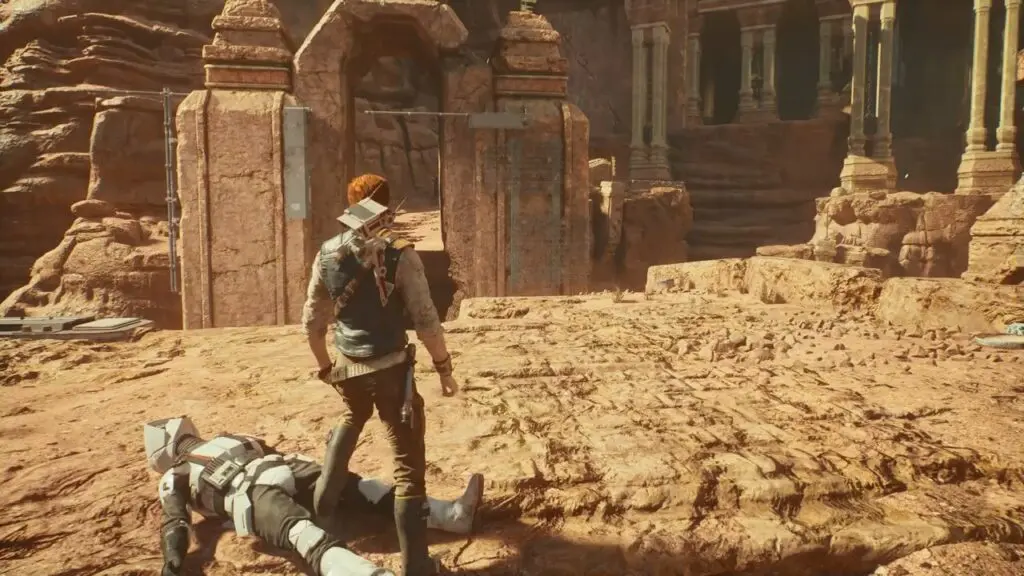
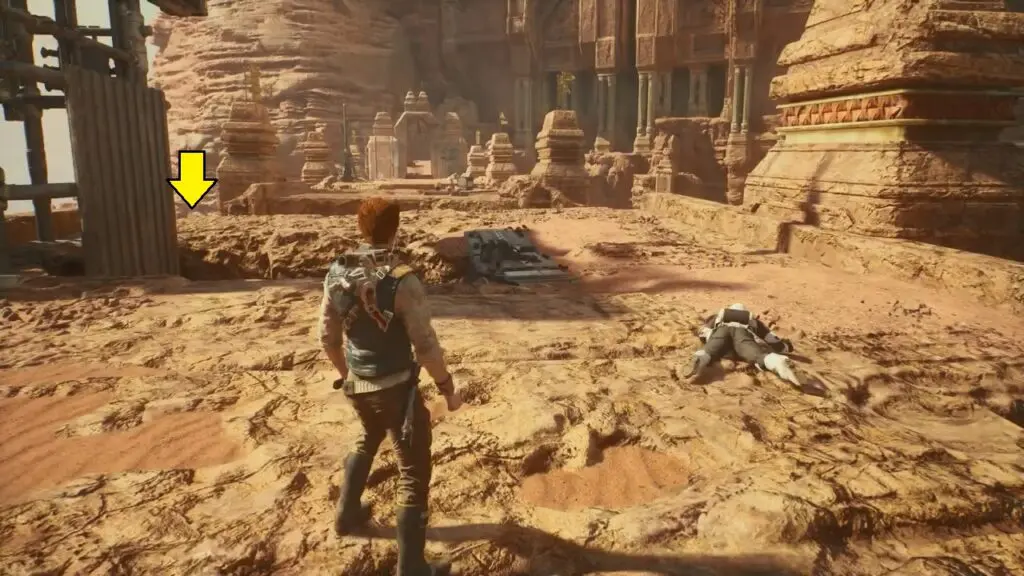
Starting from the Archives Meditation Point. As you set out on your journey, Merrin will accompany you as your travel companion. Make your way towards Anchorite Base by following the path outside the building. Defeat any enemies you encounter on the way.
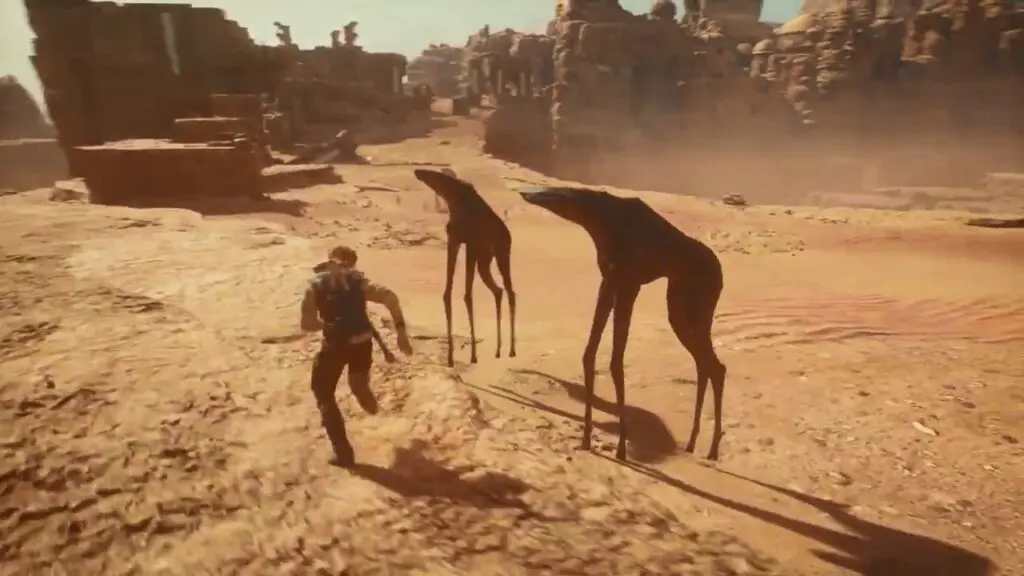
At Anchorite Base, ride the headless Giraffe to navigate the cliffs of Arid Flats that lead to the main objective with some black flag posts.
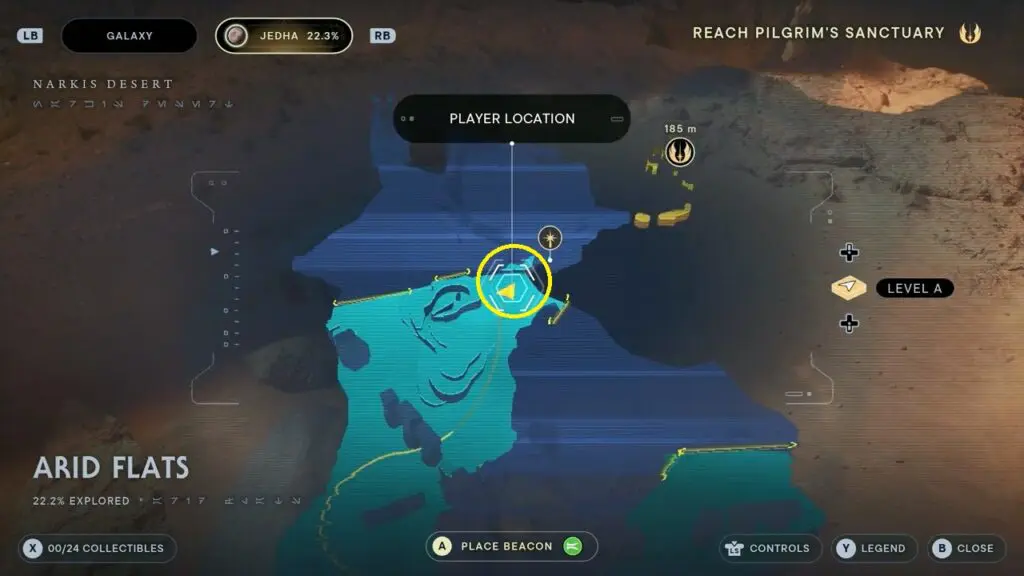
Go to the edge of the cliff and look for a command prompt for your ascension cable. Climb up the cliff and proceed to the next area – Narkis Highlands.
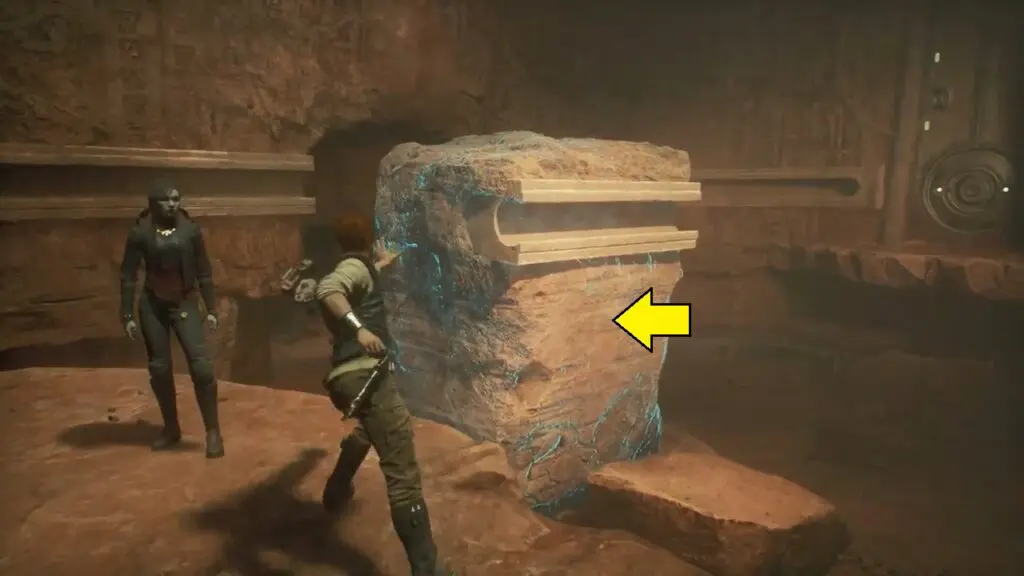
When you enter the Narkis Highlands building, you will notice a large boulder on your left. Push the boulder back into the rock wall with force push.
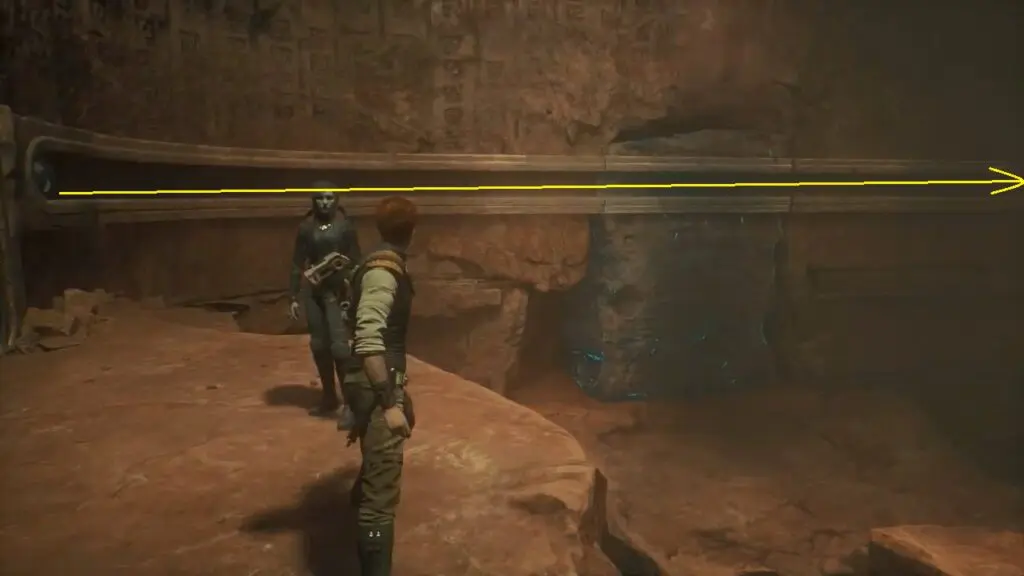
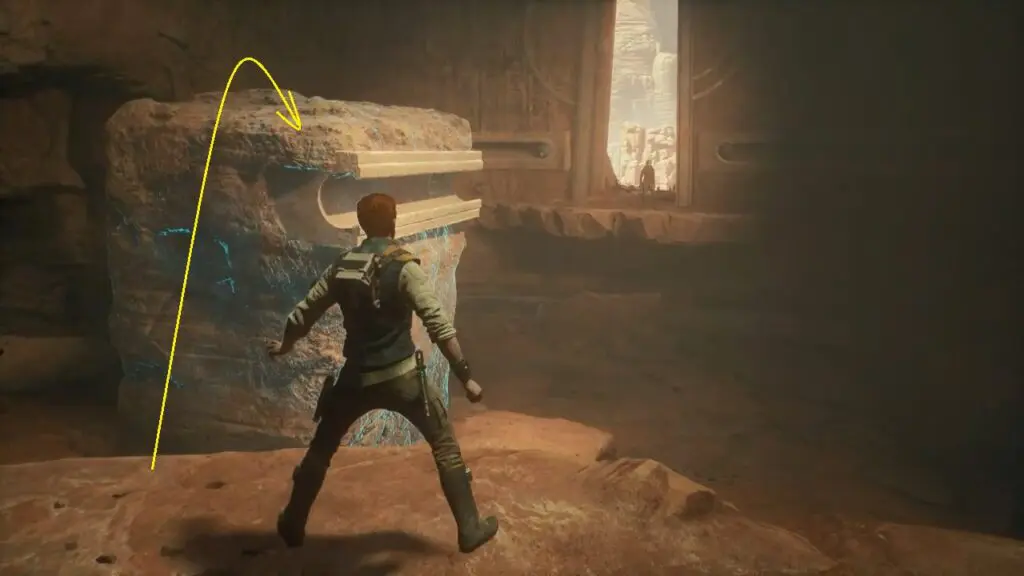
Push the two steel balls on either side of the wall to the gate across the gap. This will clear the way ahead. Pull the huge boulder back and leap across the gap.
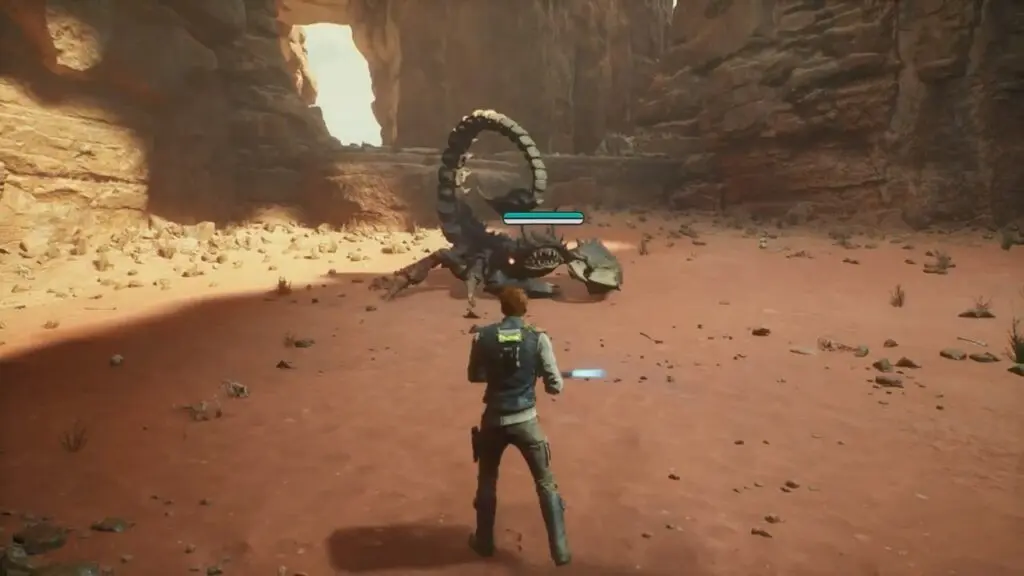
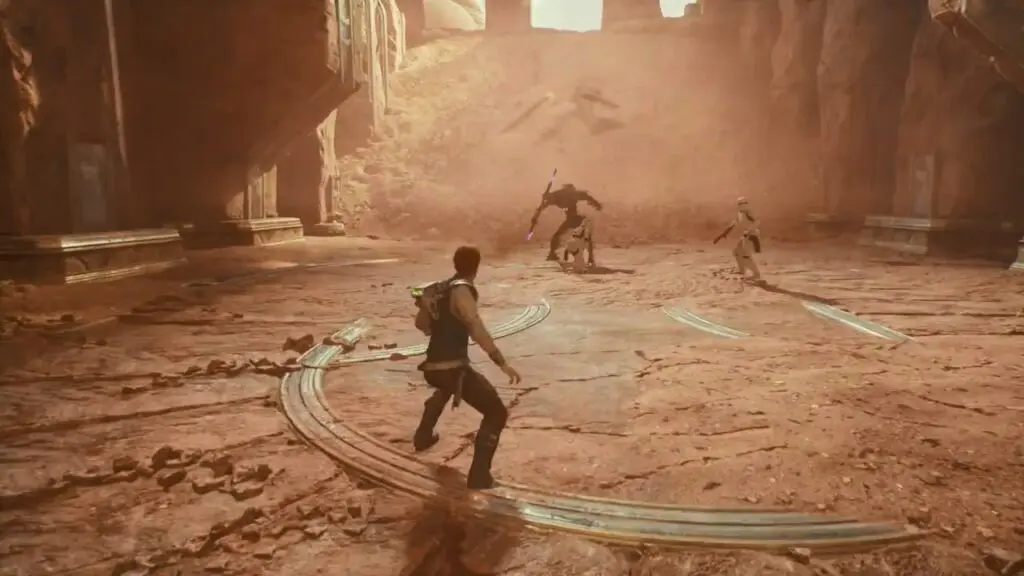
As you advance, you’ll eventually come across a giant scorpion. Eliminate the scorpion before proceeding along the path.
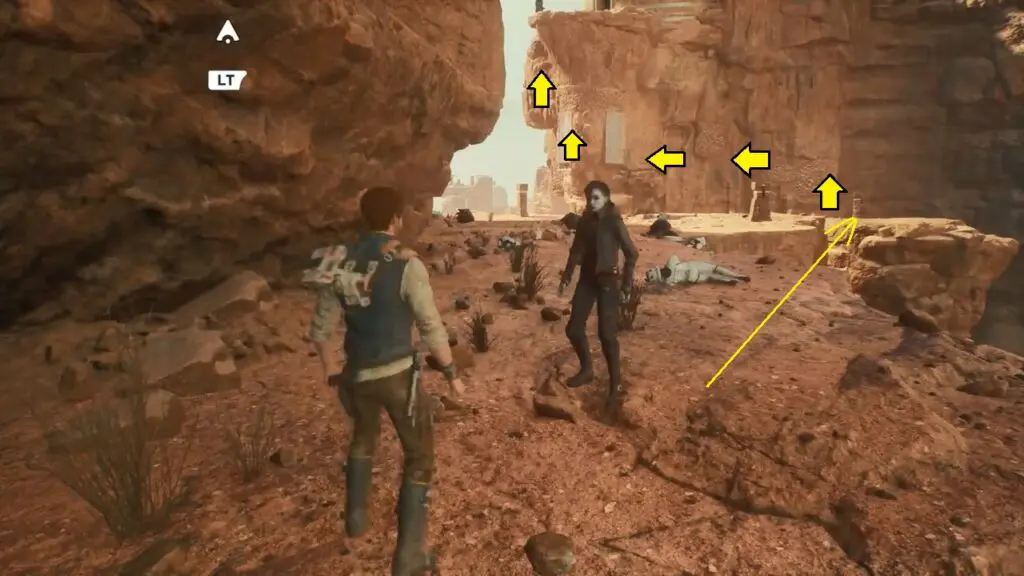
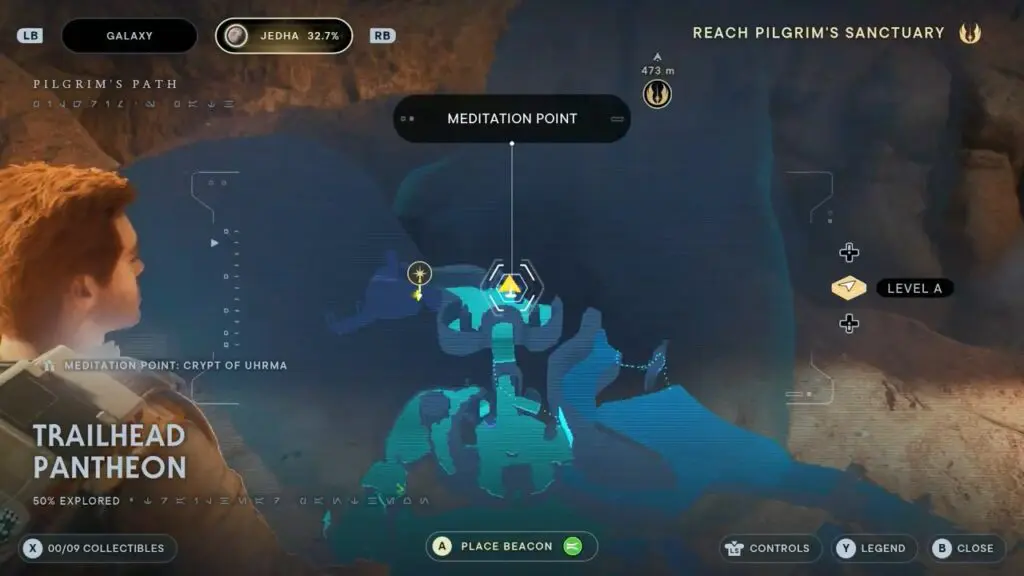
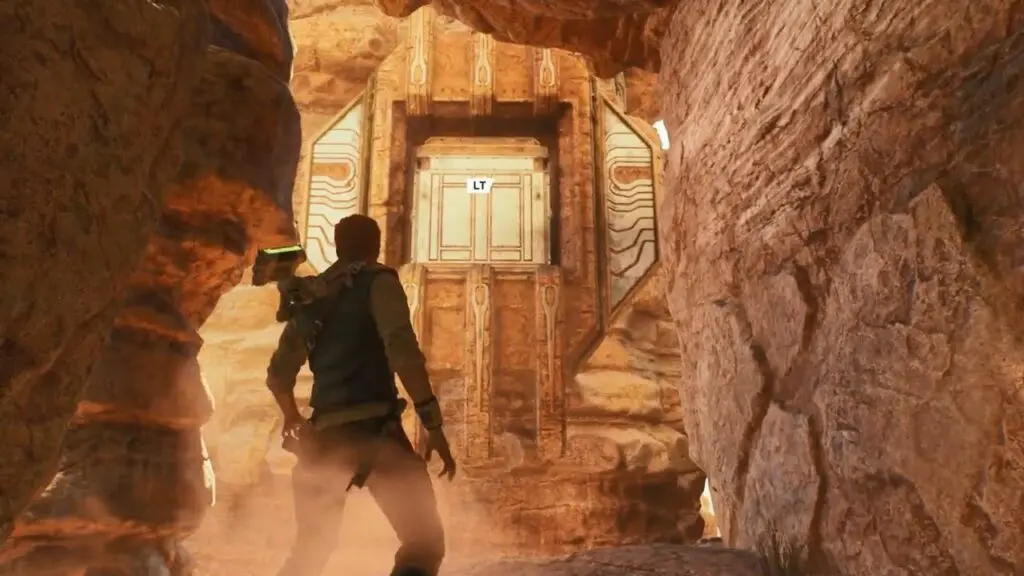
Locate a spot to attach your ascension cable, then use it to wall run and traverse the gap. Proceed in the direction to your left to arrive at Trailhead Pantheon. Once there, take down the predator that awaits inside the structure.

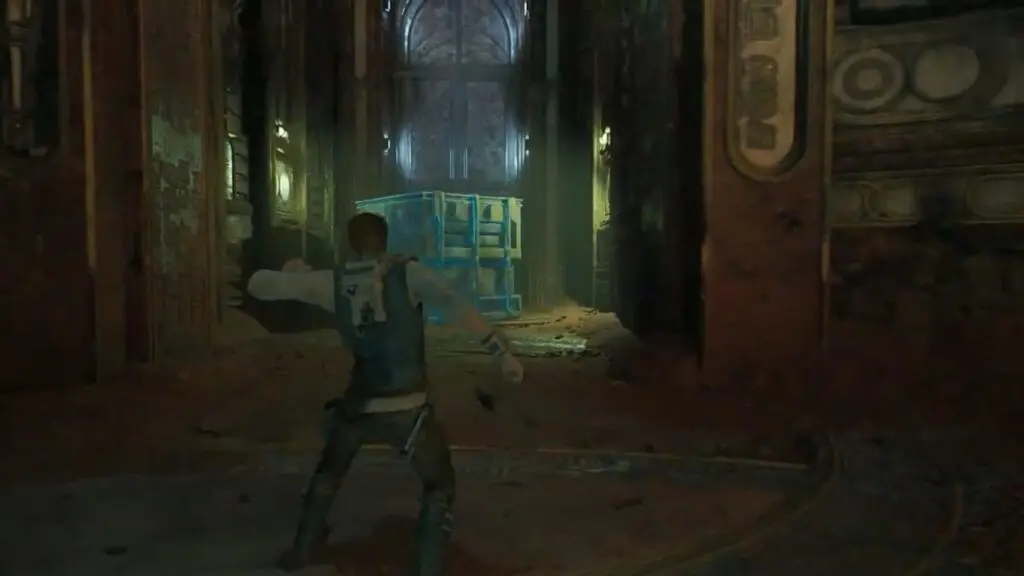
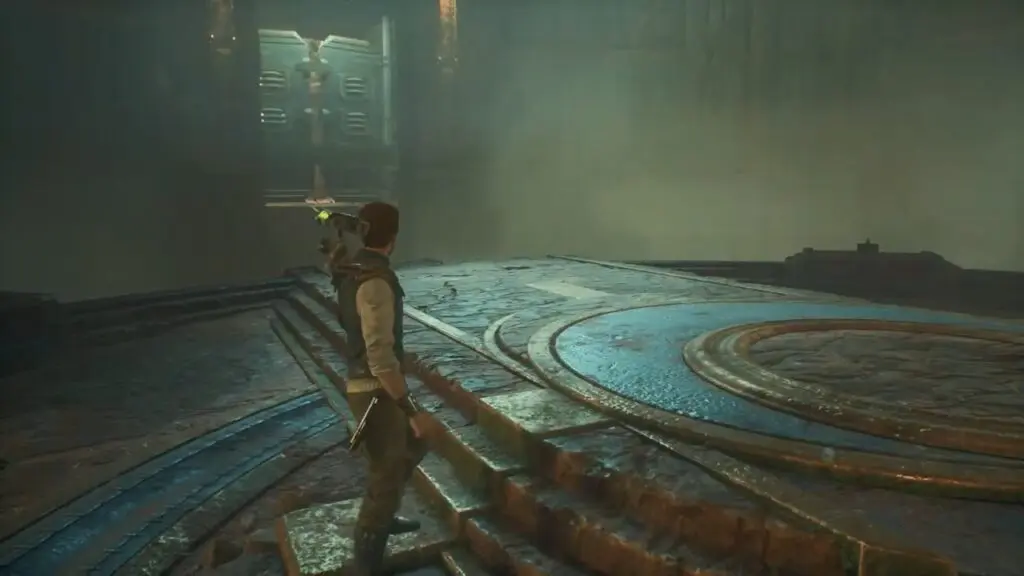
As you enter this chamber, you’ll observe a movable box located behind a steel gate. Make your way up to the raised circular platform situated in the center of the area. From there, activate the command prompt to access the lever that unlocks the gate.
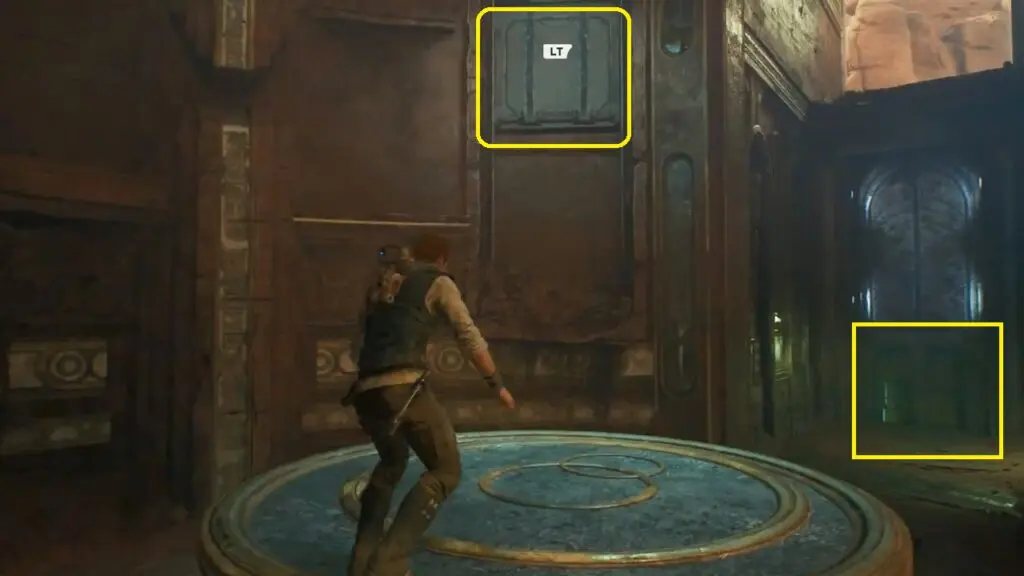
Force pull the rope that opens, then quickly run towards the box and pull it out. Place the box below the lever. Climb the box and proceed towards the path below.
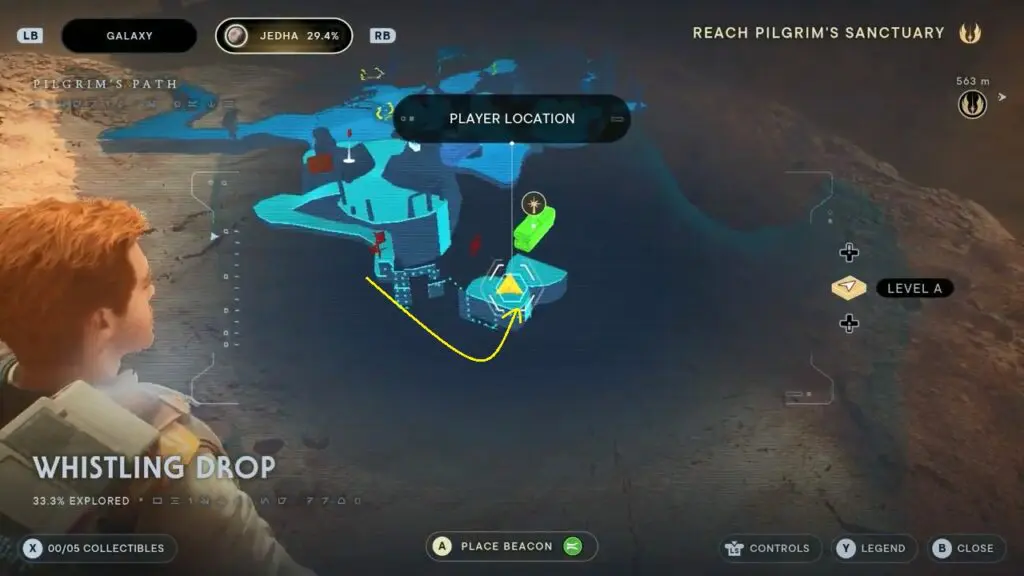
Get out of the tunnel and head towards Whistling Drop. You will notice a cliff that can be reached by a double leap, but the high winds are now preventing you from doing so.
Head to the right and squeeze through the gap to find a command prompt that allows you to force-pull a metal structure. This will prevent the strong current from blowing you away while doing the double jump. Continue along the path until you come to a meditation circle.
Climb down the slope on the left, then up some metal grates and iron beams to get to the opposite side of the gap. Find a command prompt where you can force-pull a metal structure to stop the wind.
Return to the spinning contraption by jumping on the metal grill on the side of the metal building. The spinning contraption is now stationary, allowing you to swing across using the metal bar.
Jump on the metal bar and continue to navigate. Defeat some stormtroopers and a scorpion along the way. Finally, you will reach a meditation circle for the area Crypt of Uhrma.
As you move through the area, you’ll come across a DT Sentry Droid. Defeat the droid and continue on the path until you reach Blustery Mesa.
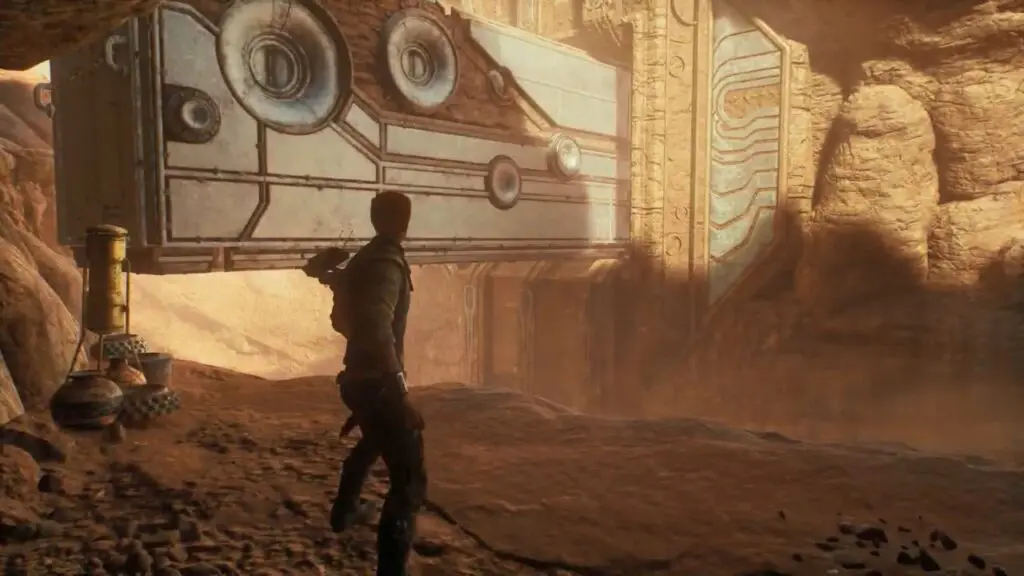
You’ll come across another metallic structure that requires Force pull. Activate the command prompt and use it to progress toward the next area.
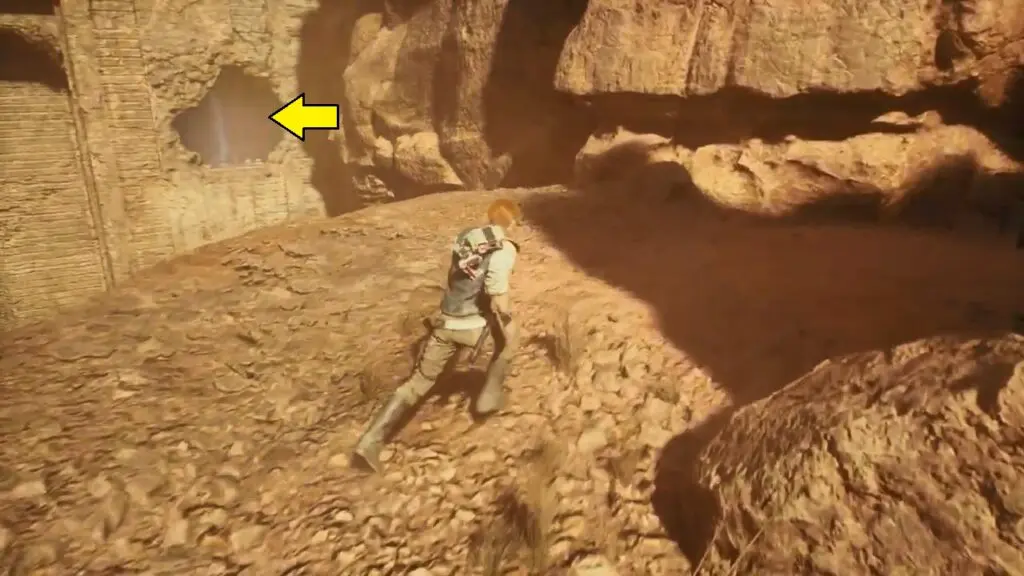
Keep following the path until you reach a location where you need to direct BD-1 to interact with a device, which will create a zipline for you to use. After that, you’ll notice a spot where the wind is blowing upward. Move towards the cliff closest to the gusts of wind and jump in that direction, allowing the wind to propel you upwards.

You’ll notice a sizable opening on a rock wall ahead of you. Jump in its general direction, and let the wind carry you towards it. If you succeed, you’ll land on the Timeworn Bridge with a meditation circle.
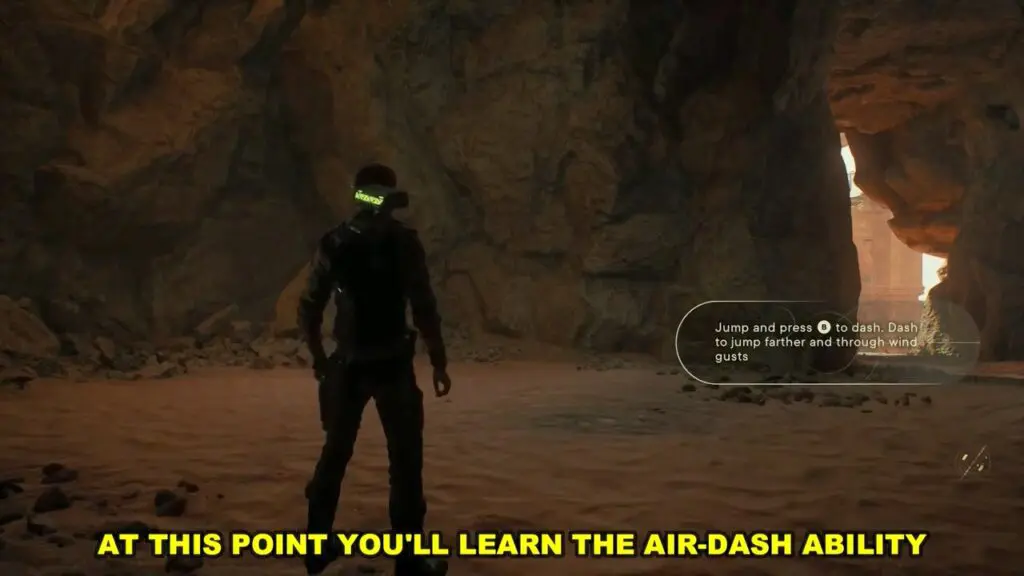
Continue through the area until you reach a circular platform enveloped in lightning storms. Activate the command prompt to reveal an entrance, but as you try to leap towards it, the wind will knock you back. After a cutscene, you’ll learn to perform midair dashes.
Make your way to the entrance and meet up with Merrin. From there, continue along the path until you arrive back at the Timeworn Bridge.
Drop down and follow the path around the cliff wall that will lead you back to the jumping point towards the entrance of the chamber area.
Cross the bridge and progress through to the next area. Eliminate any Imperial forces you encounter along the way, and head towards the temple.