Runakit Shrine Walkthrough: Puzzles & Chest
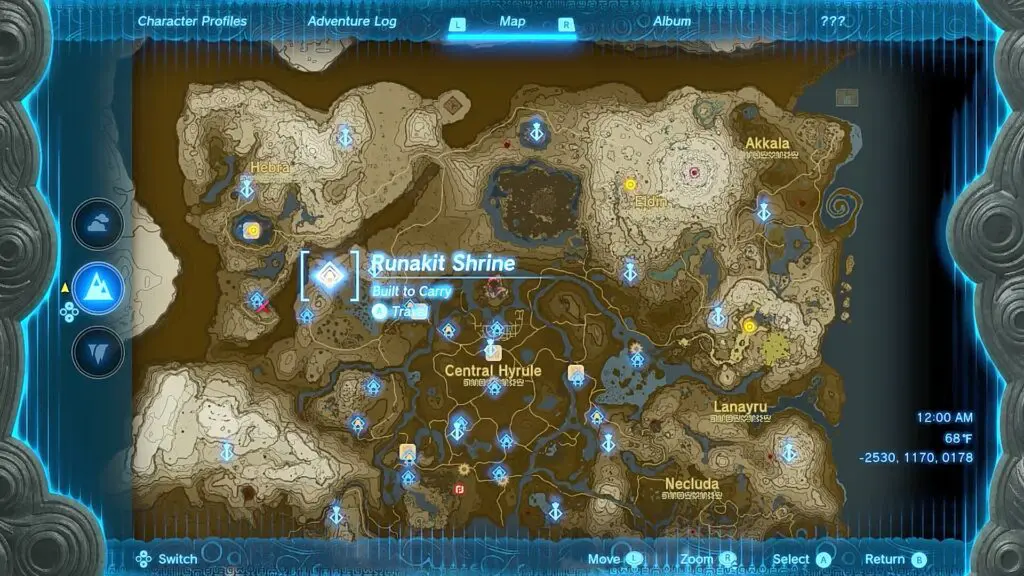
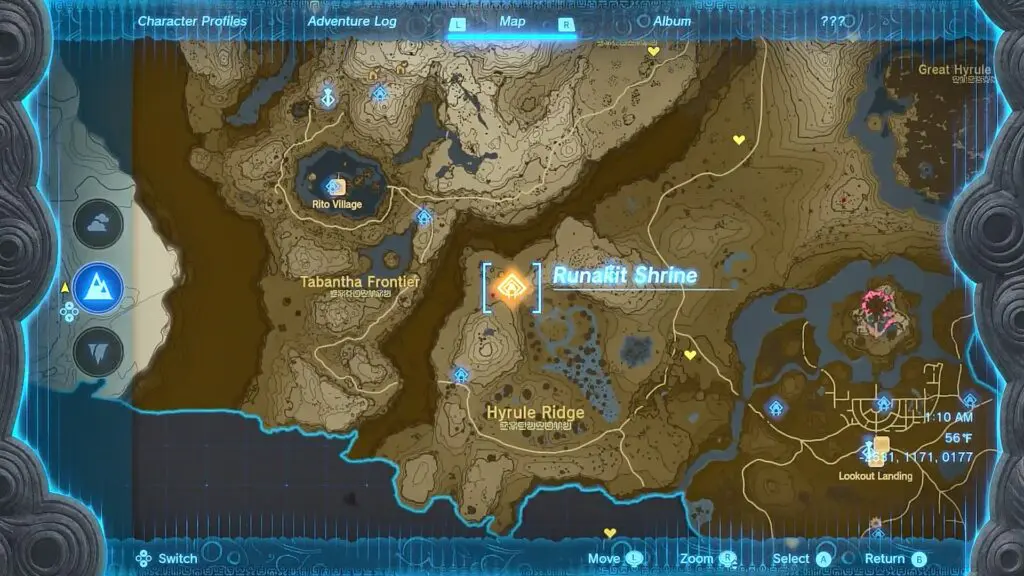
This guide shows how to complete the Runakit Shrine in the Legend of Zelda: Tears of the Kingdom, released on 12th May 2023. The Runakit Shrine is at the location shown in the pictures below.
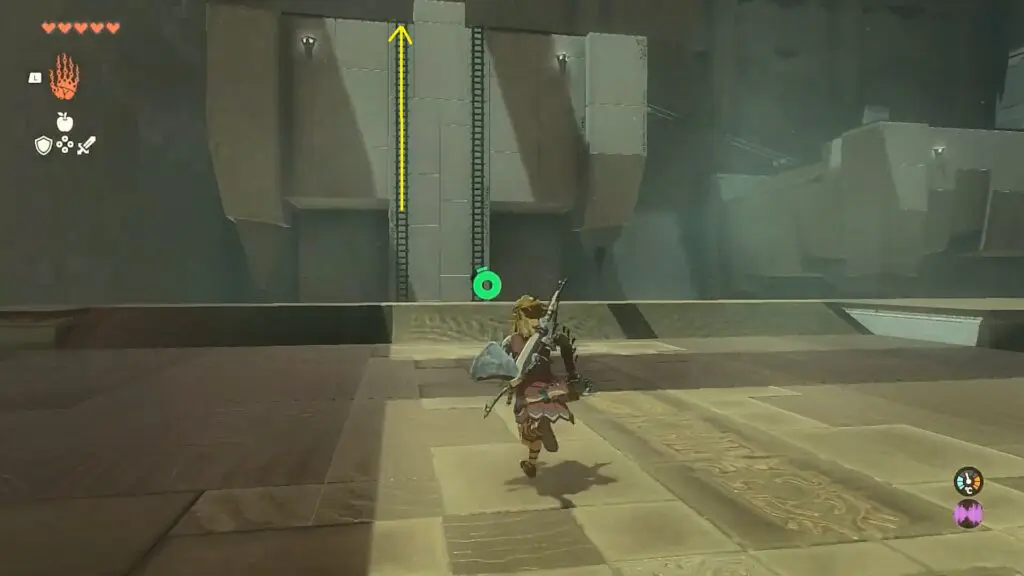
After entering the shrine, go straight ahead and glide to the other side. Then climb up the ladder to reach the top as shown in the picture below.
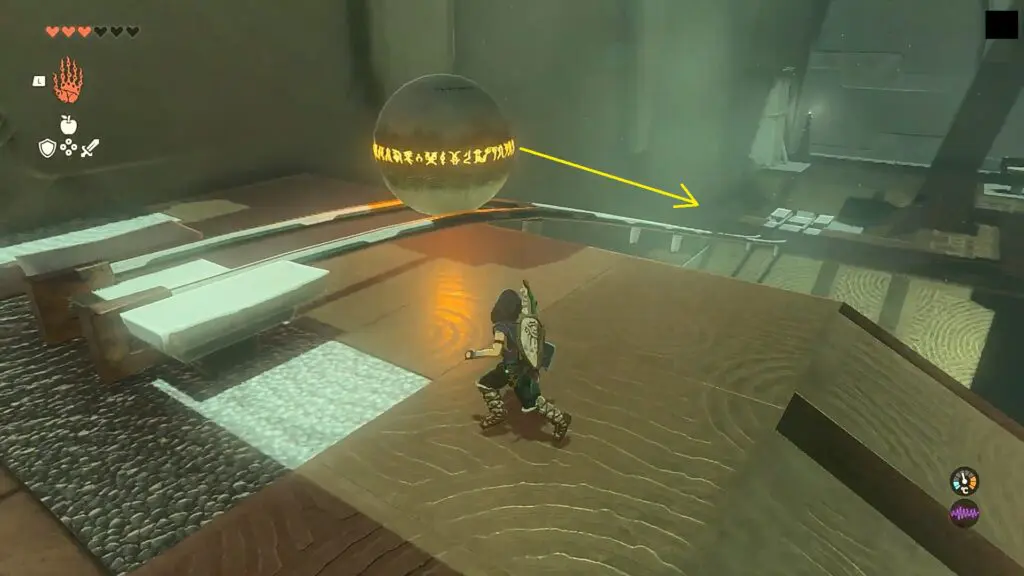
Pick up the sphere there and place it on the rails as shown in the picture below. The sphere will slide down to the surface below. Glide to reach there as well.
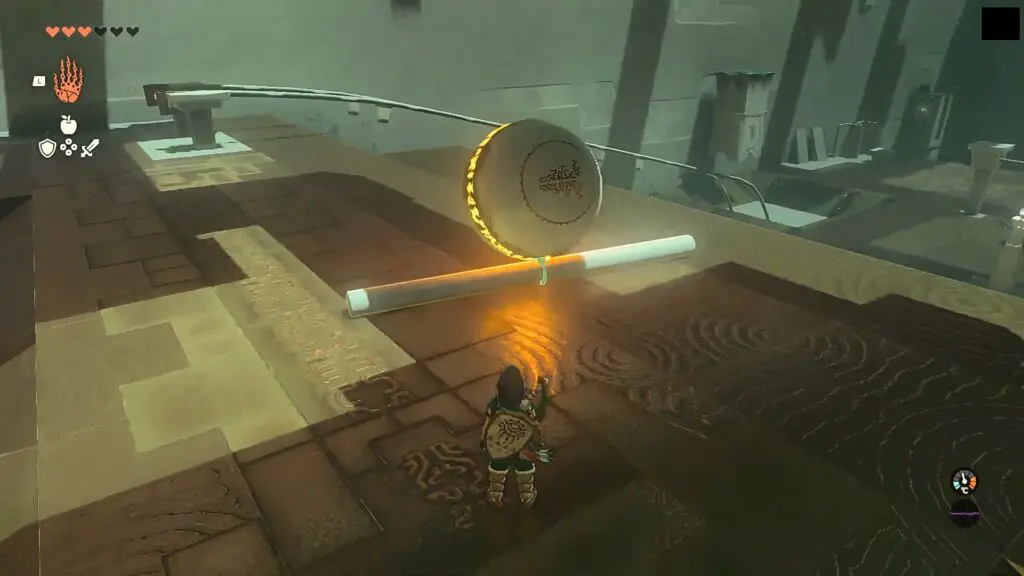
Attach the two rods there to form a longer rod. Then attach it to the sphere as shown in the picture below. Place this arrangement on the rails so that it slides down to the surface below as shown in the second picture below. Then Glide down to reach there.
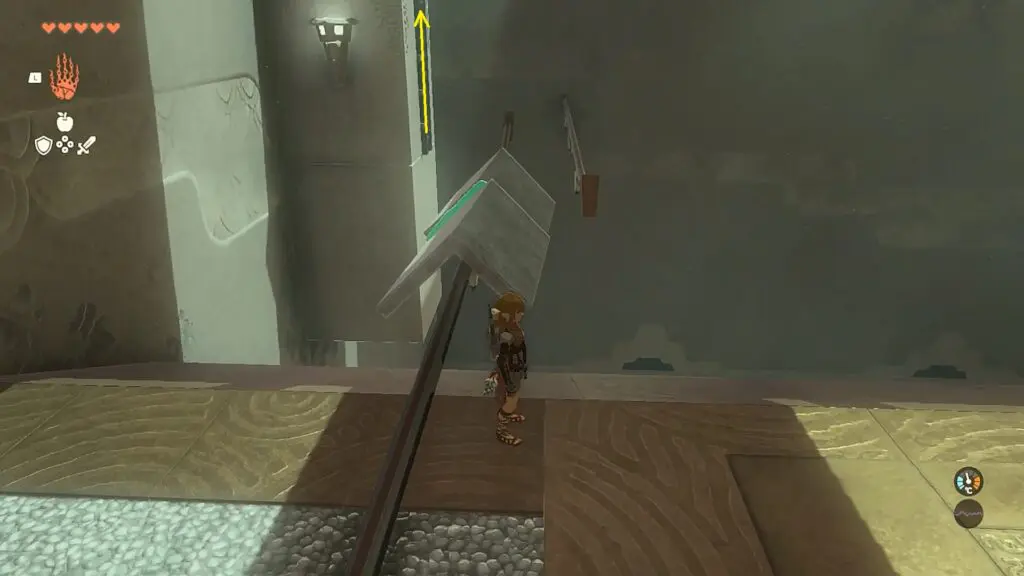
Attach two ‘L’ shaped blocks together and place them on the rail as shown in the picture below. Then jump on it and climb the ladder as shown in the picture below to reach the chest above. Open the chest to get a Bow.
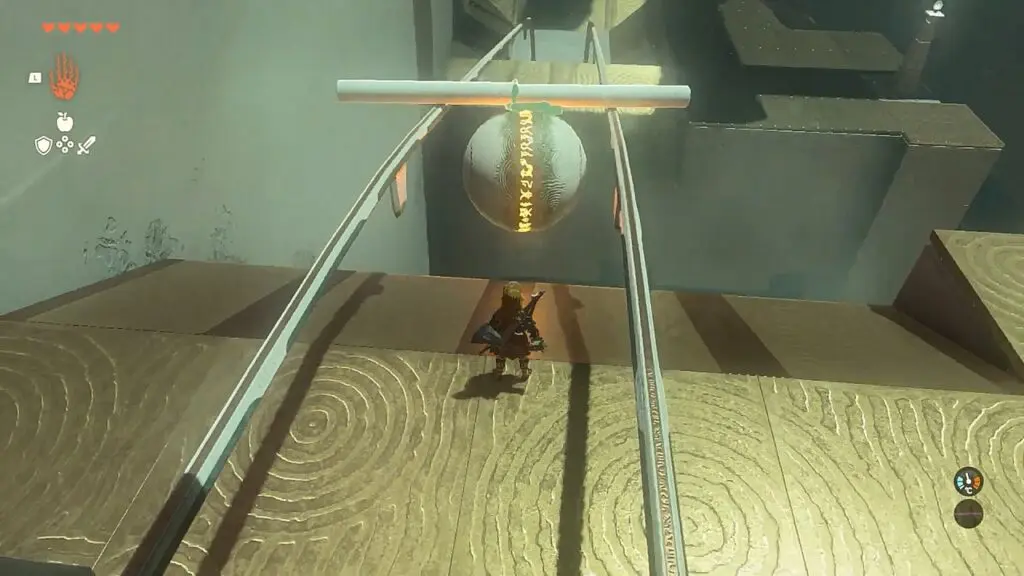
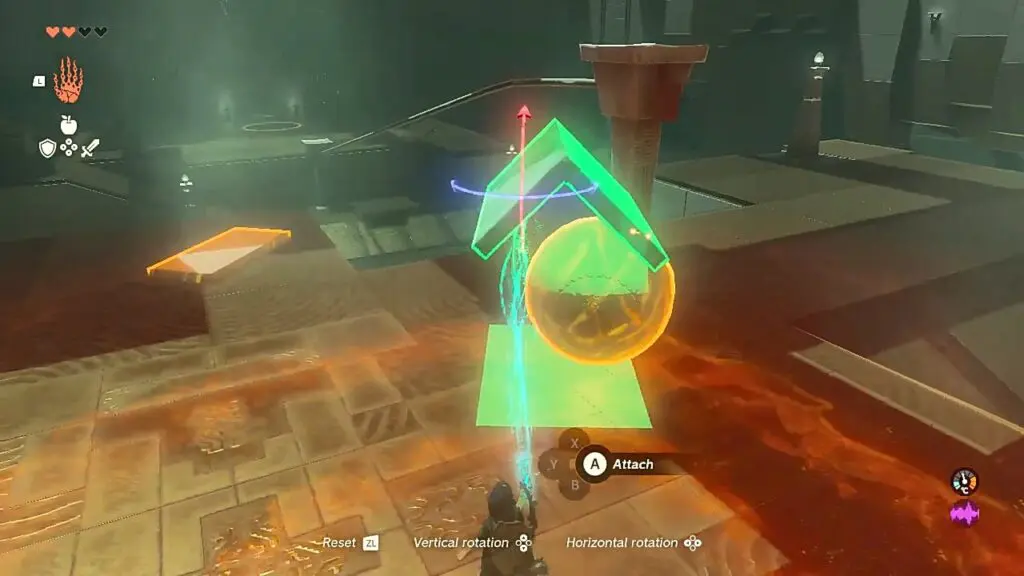
Jump down back to the previous area. Then attach the sphere to a ‘L’ shaped block as shown in the picture below. Place this arrangement on the monorail so that it slides down to the surface below as shown in the second picture below.
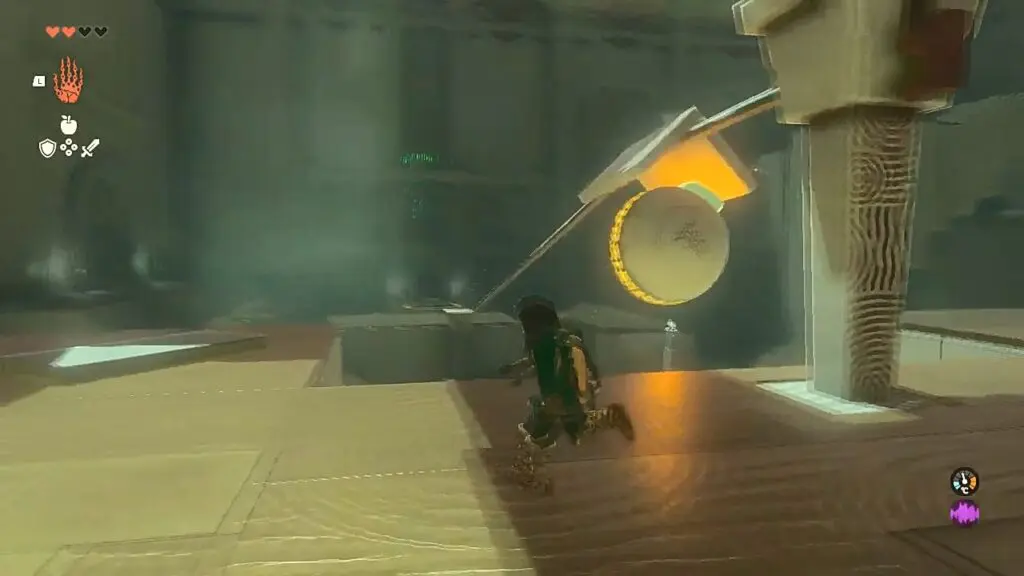
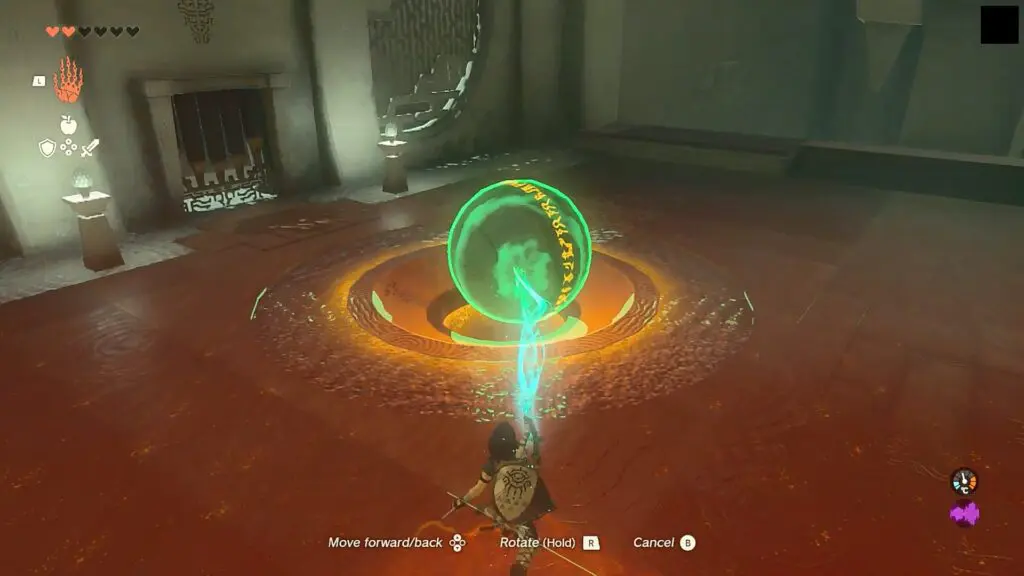
Glide to reach there. Then pick up the sphere and insert it into the hole as shown in the picture below. This will open the iron gate in front of the hole. Then proceed ahead and get the Light of Blessing to complete the shrine.