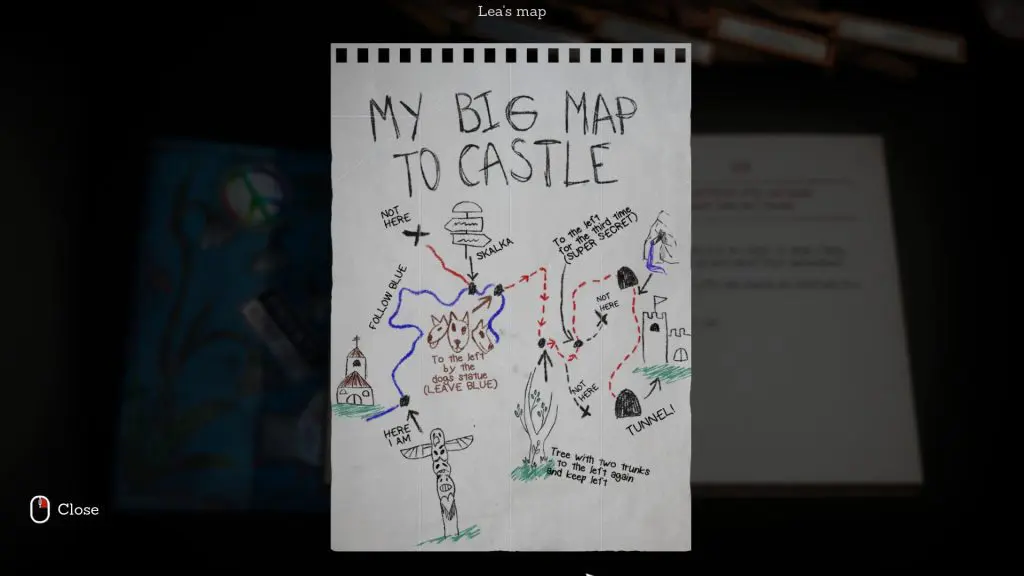
This chapter starts after you’ve finished talking to Lea. She’ll draw you a map showing path to reach castle .
Reaching the Castle
To reach the castle start following the blue path staright ahead. At this point many players are facing a bug, the path straight ahead is blocked with debris. To resolve the bug simply go inside the chapal and come back. The debris will be cleared and you will be able to move forward in the blue path.
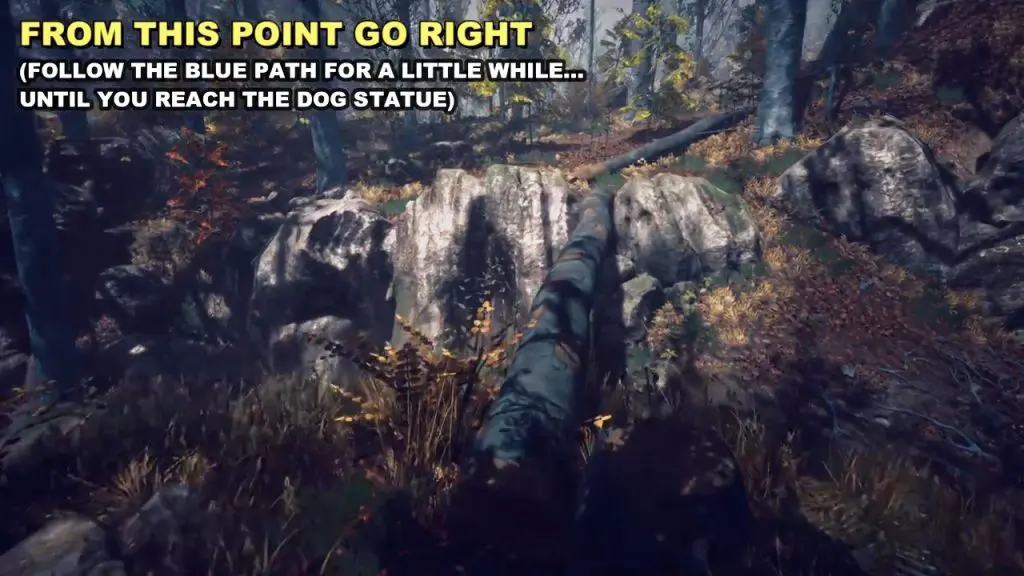
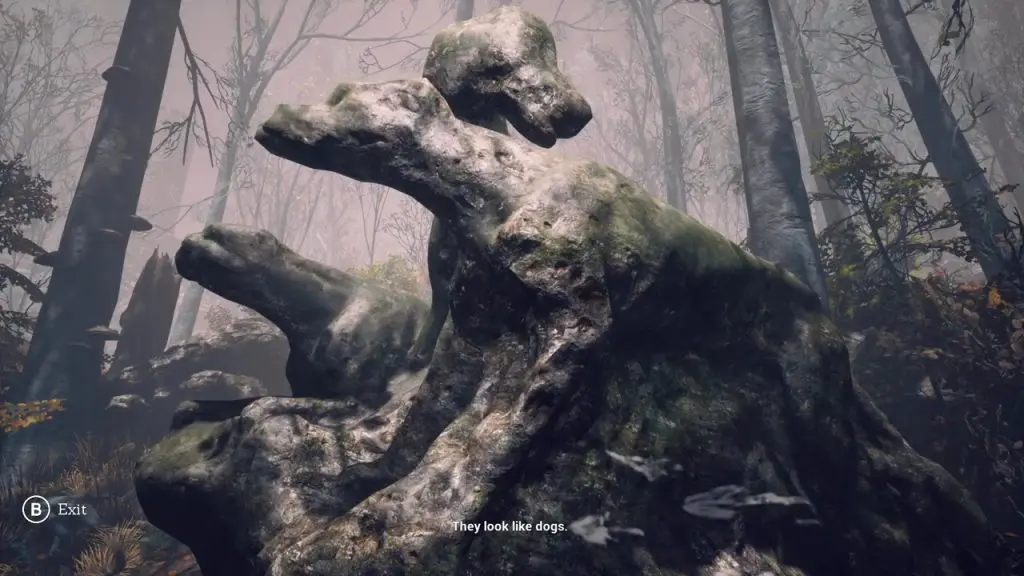
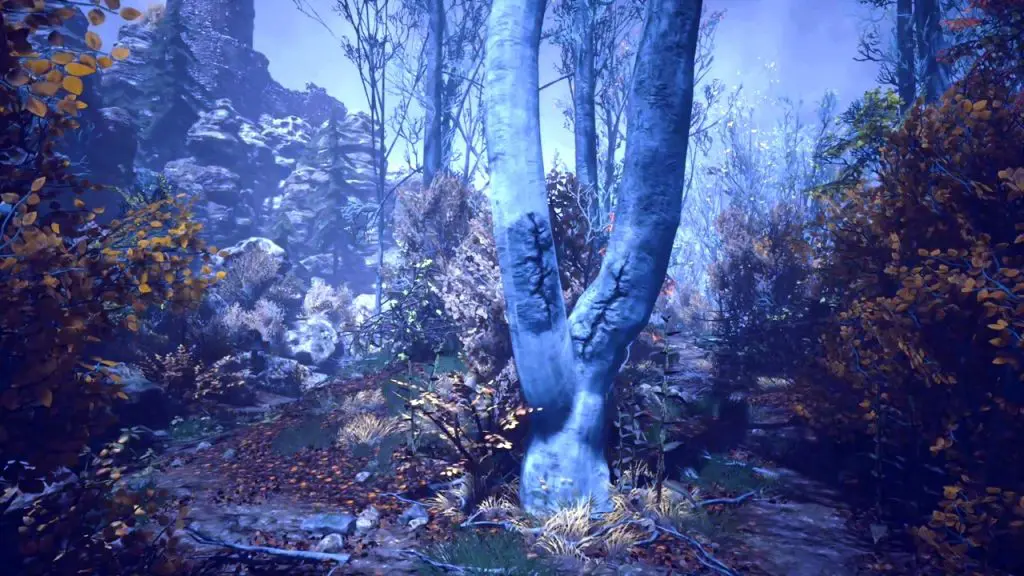
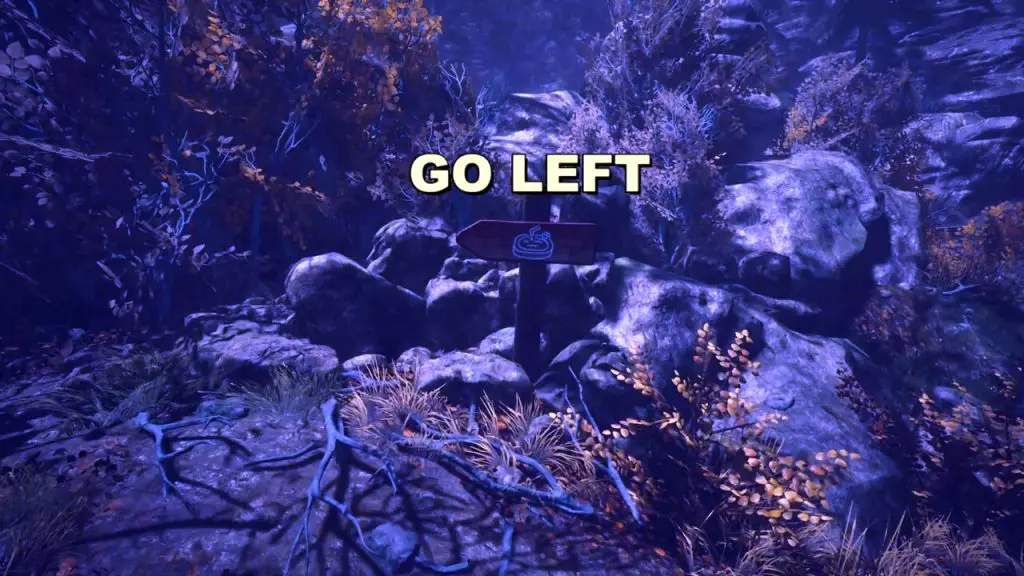
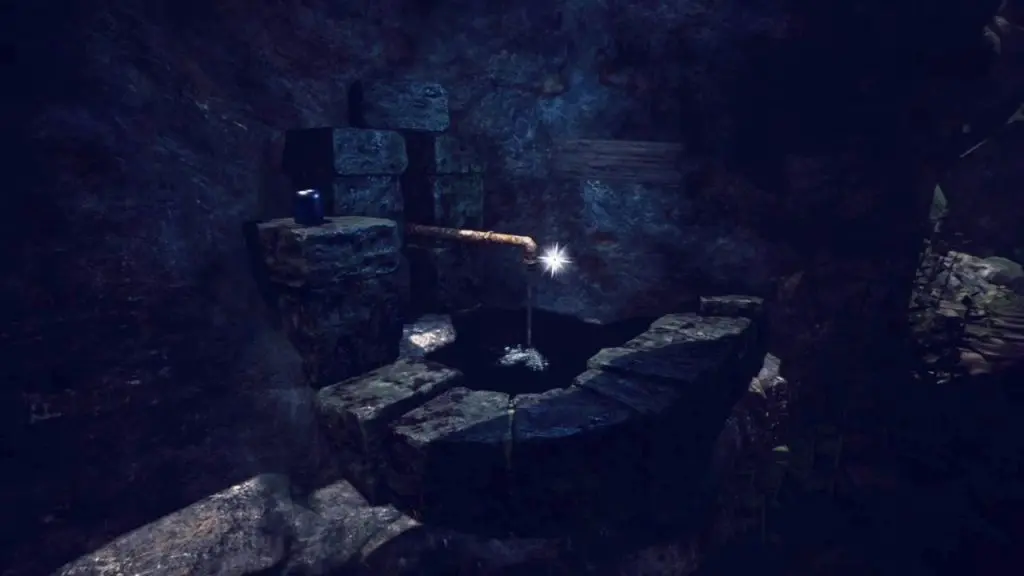
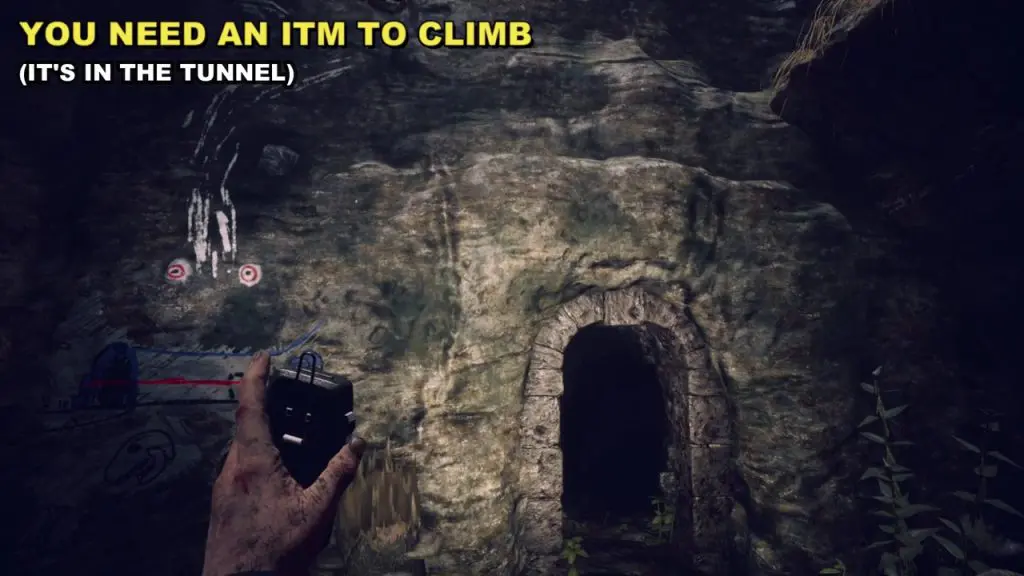
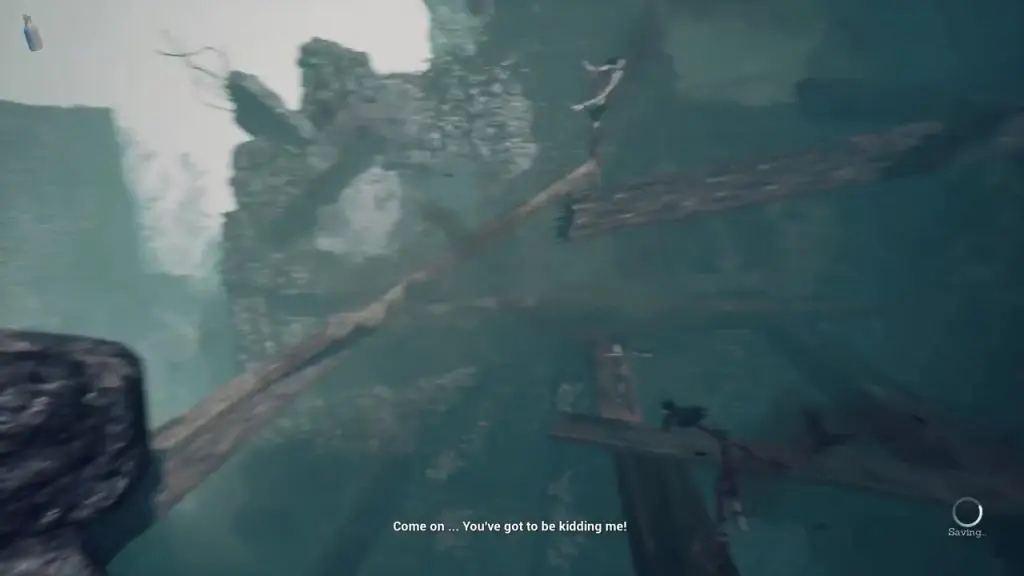
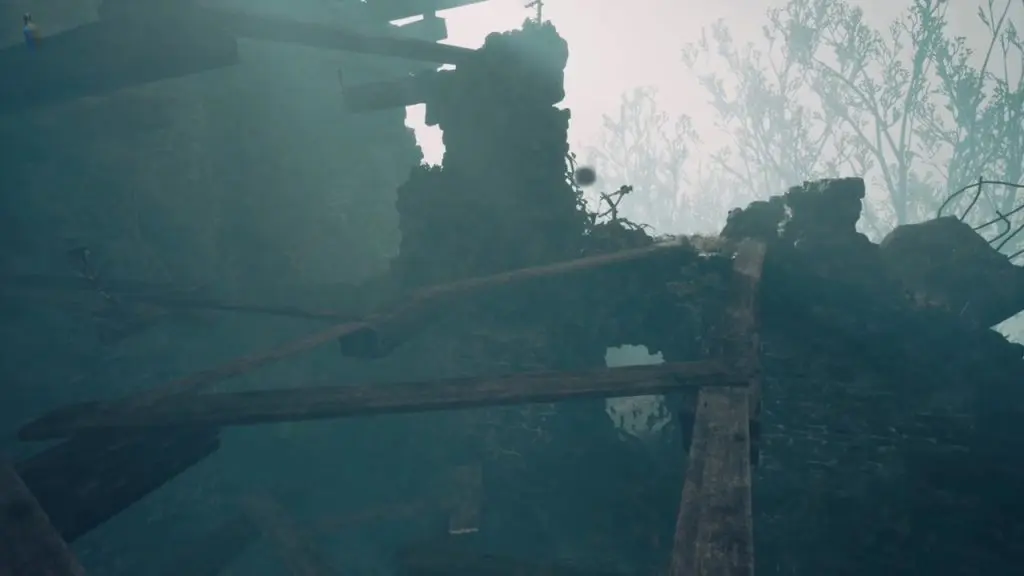
Follow the steps mentioned below to reach the Castle: 1. Follow the blue path until you reach a log Bridge (Pic 1 Below). 2. Jump down the log bridge and continue straight in the blue path until you reach a dog Statue (Pic 2 Below). 3. Go left from the Dog Statue until you reach the tree with 2 Trunks (Pic 3 Below). 4. Go left from the tree trunk. Just a little further you’ll come across a sign post (Pic 4 Below). 5. Take left from the Sign post and again take the “Super Secret” left at the next intersection (Right path leads to a dead end) 6. Keep moving forward. After a little while you’ll receive a call from Eleanora indicating you’re on the right path. 7. Keep going ahead, after a while you’ll come across a Faucet (Pic 5 Below) 8. A little further ahead you’ll come to a cave below a climbing wall (Pic 6 Below) 9. Go right inside the cave tunnel. Then go down to collect a climbing hold. 10. Use the climbing hold to climb the wall 11. After Climbing the wall, the castle will be a little ahead. 12. Break bricks on the castle wall to enter the Cimburk Castle
Find Lea's Doll
Follow the mentioned steps to get the doll: Climb up the left plank and grab the sledgehammer.
Go back down and break the wood blocking the path iin the right corner
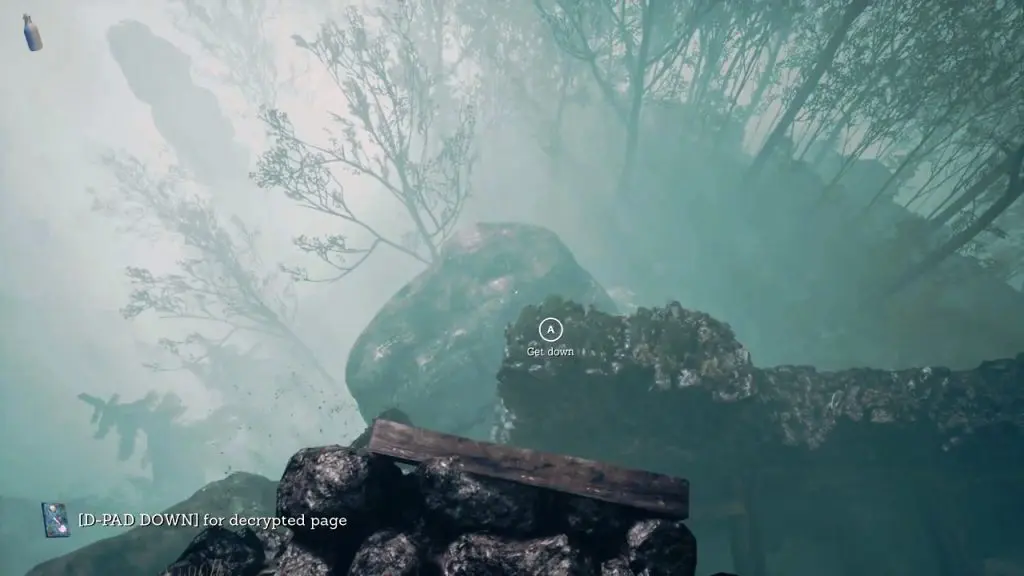
Get down to the next room
Make the calm potion and drink it to be able to cross the next room
After drinking the calm potion remove the totem in the next room
Cross the left plank and the next one over to get to the ladder. Climb it. (If you take the middle plank then you’ll fall down and have to make your way back over)
Climb the wall to destroy a totem. Then get down and cross the plank to make your way to the playground.
climb down two ladders
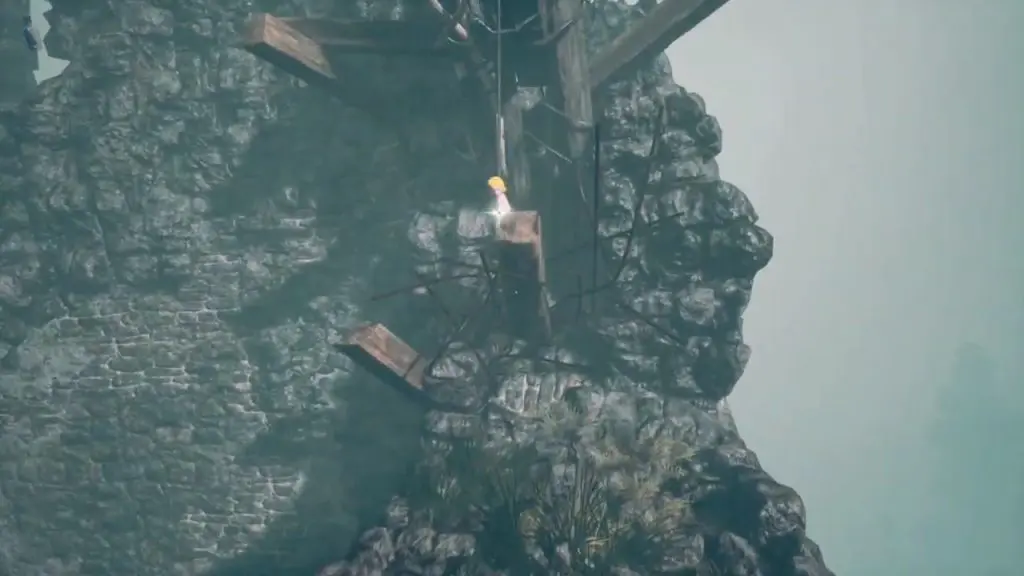
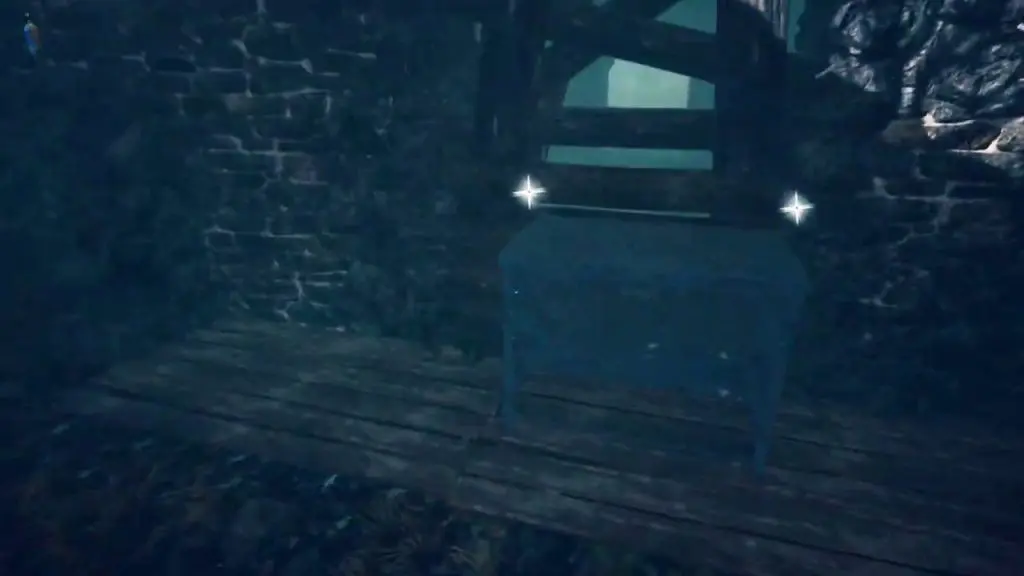
move the ladder platform to the right corner (See picture 1 below) to be able to move up.
climb up. cross the planks and the climb up a wall
In the next area walk on the planks destoying 4 totems (See picture 2 below) and get down to the next section.
In this section walk up the planks and destroy 2 more totems (See picture 3 below) and then move up the ladder and destroy 2 more totems.
Climb up the planks to reach Lea’s doll (See picture 4 below).
Get out of the castle and return back to Lea
After collecting the doll turn around and climb down (See picture 1 below).
Pierce the heart
Drop down the plank and move ahead
climb down the wall to reach back to the playground
In the playground move the desk to the right (See picture 2 below)
Use pliers to remove the wooden boards blocking the exit.
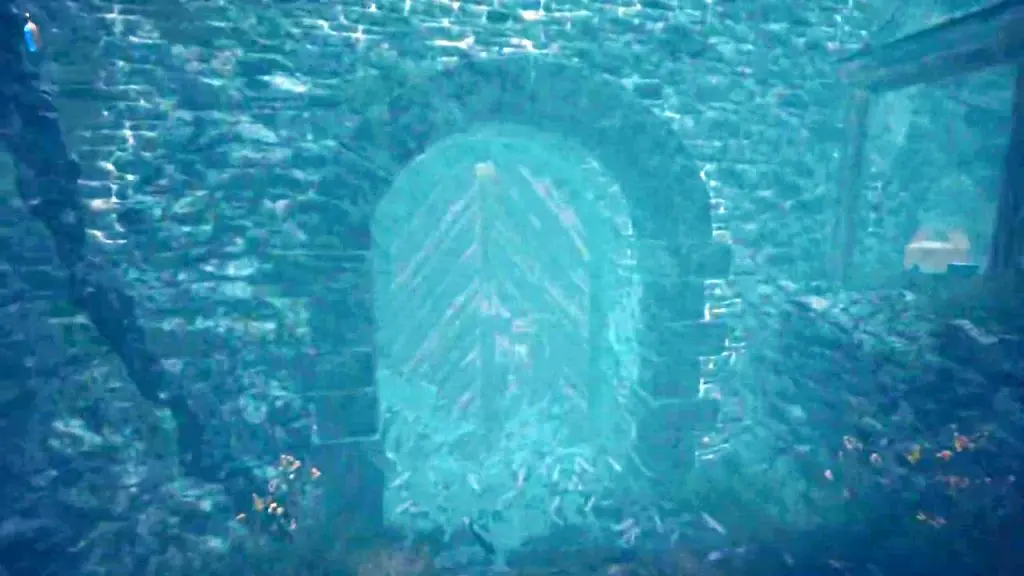
Cross the planks to reach the next segment and try to unlock the door (See picture 3 below). The door is locked.
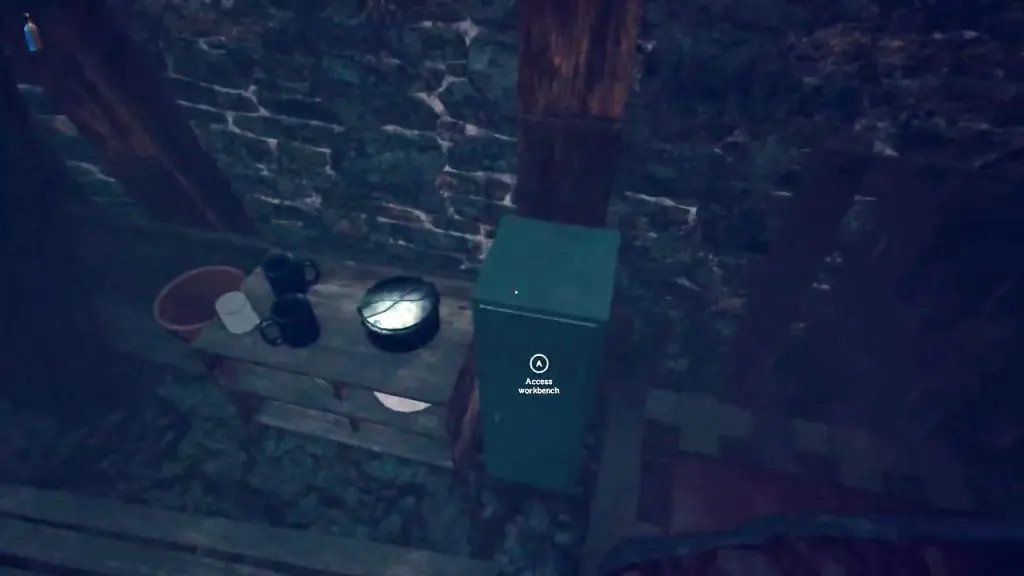
Get the key from the green cabinet (See picture 4 below) towards the right side.
Trace back the blue path to reach the location where you met Lea.
True Sight
When you return back to the location where you met Lea, you’ll find the old lady whom you met at the beginning of the game. She’ll give you the ‘True Sight’ recipe.
Once you have collected the herbs from the forest prepare the True Sight potion by following below steps: 1. Cut Mandrake. Crush its root and put it in the water. 2. Throw 2 Psilocybe into the water without cutting. 3. Cut 2 Henbane. Crush its Leaves and put them into the water. 4. Cut Devil’s Trumpet. Crush its root and put it in the water.
Find Lea Using the True Sight
After drinking the True Sight Potion you’ll be able to see Lea’s footprints glowing with green color (See Picture below).
Follow the footprints until you reach a wooden bridge and you cannot see the green footprints anymore.
Now You will still be able to see Lea’s footprints on the mud at some intervals and you’ll be able to interact with them as well.
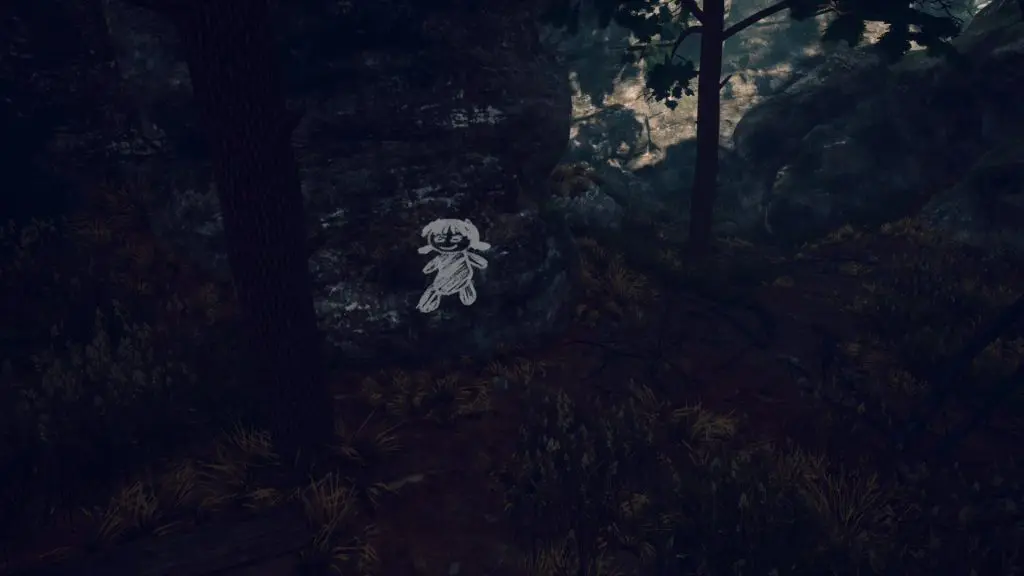
You’ll also see chalk drawing on the rocks (See Picture below).
Keep following them the footprints and the chalk drawings and eventually you’ll reach Lea’s Location.
After you talk to Lea she will run away from you. Chasing her you’ll reach a new area ‘Clearing’, where you’ll see her caught by the fog creatures.
Rescue and Save Lea from the Fog Creatures
Climb down from the high ground and collect Statis Totem weapon
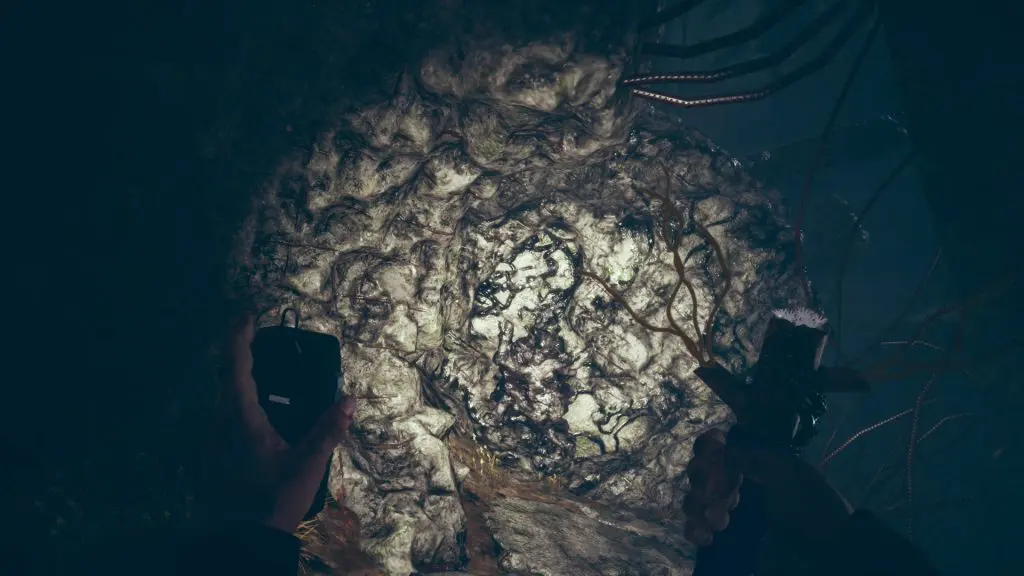
You can clear some blocked path using the Statis Totem (See Picture 1 Below)
You can also kill unsuspecting enemies using the Statis Totem
Proceed until you reach a tuneel (See Picture 2 Below)
Move through the tunnel and come out from the other side
Destroy the blockage on the path and climb up the wall
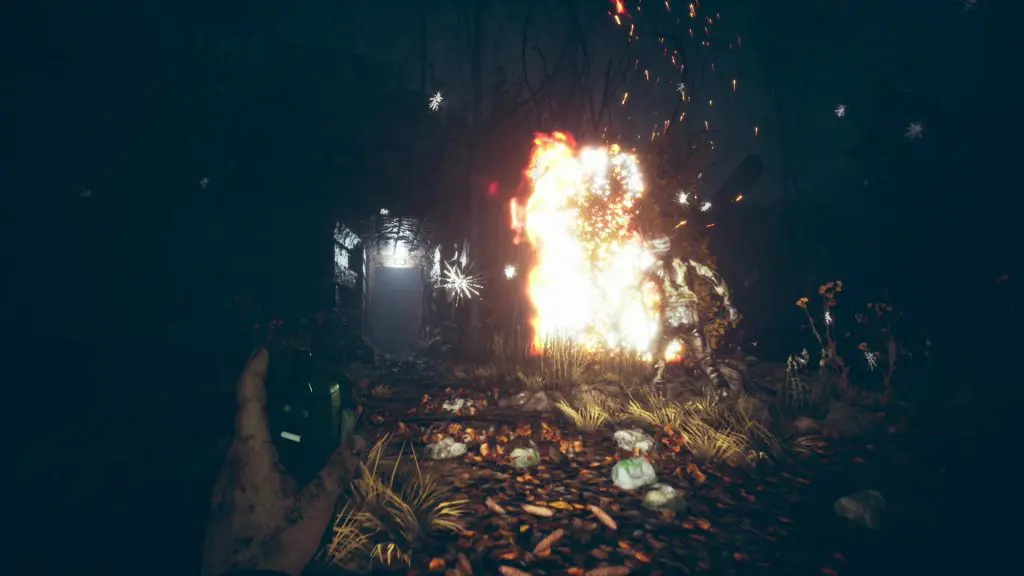
Keep moving ahead. After some time you’ll reach a heart. Destroy it.
A little futher you’ll find Lea confined dehind some wooden planks.
Remove the wooden planks and resue Lea. This will trigger a cutscne after which you’ll find yourself in an area near the Chapel
From there Lea will lead you to a bunker. enter it.
The Bunker
As you enter the bunker you’ll be alone, Lea wont be there with you
The path is linear, keep moving ahead. After some time you’ll find Lea.
Now Start following Lea. She will lead to the location of the monster
Lea will turn back and run way. You’ll again lose her.
Trace back the path from which you came, until you reach the steel catwalk.
Ahead you’ll come to a divengence. Keep Moving Straight.
You’ll come across some wires blocking the path. Cut them and keep moving forward. After a short while you’ll see Lea but you wont be able to still reach her.
Get back to the divergence where you kept going straight. Now take the other path.
Keep Moving ahead. You’ll come across a red door. Open it and keep moving.
You’ll find a few wires blocking your path. Get down a ladder. After that you’ll find a ladder going up. Climb that ladder.
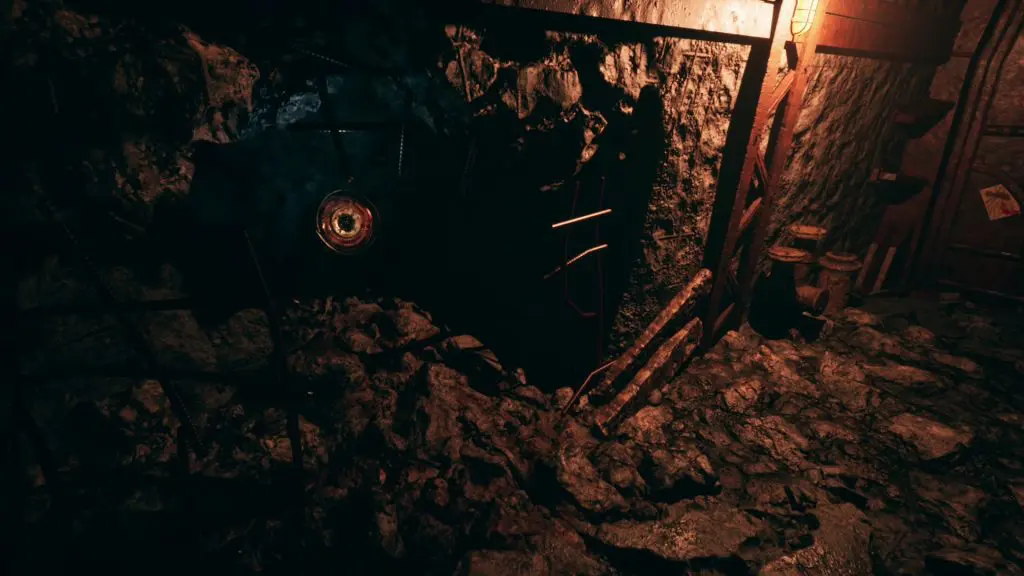
Keep moving stright. You’ll reach the place where you earloe saw lea. She is not there anymore. Take down the totem (See Picture 1 Below) at that location.
Turn back and go right. You’ll find another red door. Open it and move ahead.
After the red door there is another red door in front of you. Dont open it, go right instead.
At this location you’ll find an item (See Picture 2 Below) . Grab it.
As you turn back to leave the monster will appear.
Jump down into the water and then climb the wall in front.
Keep moving ahead. Eventually you’ll reach a room with “Whispering Flies“
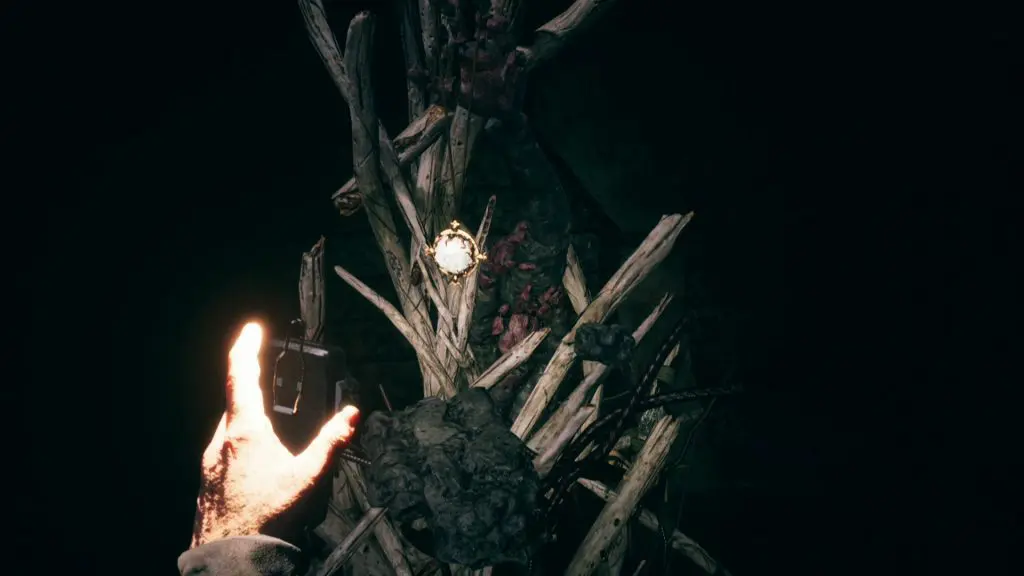
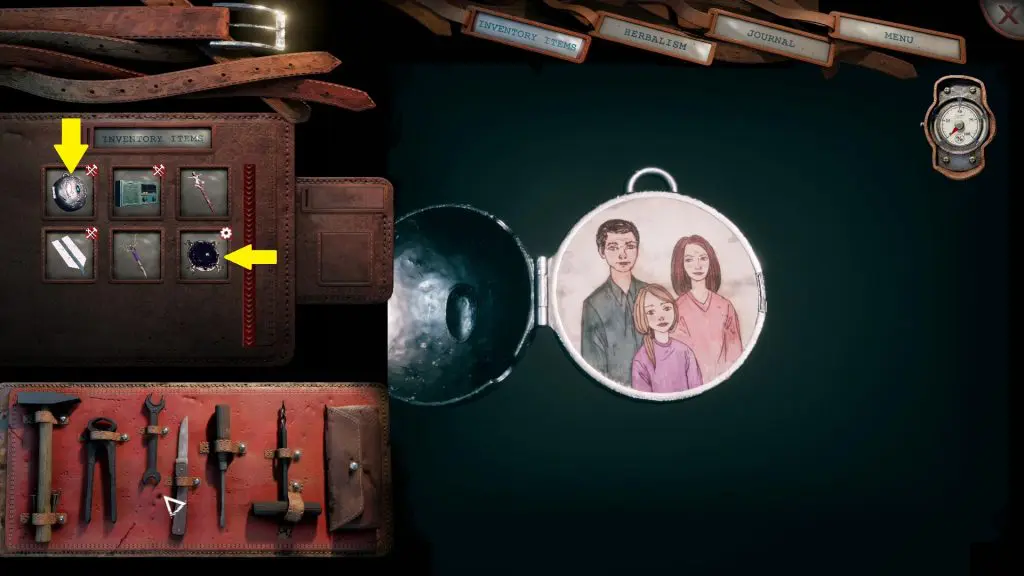
Open inventory and select the medallion (See Picture 3 Below) that you have since the beginning. Place the item that you collected into that socket.
This will teleport you to a new place, where you’ll find a girl. Talk to her and after that you’ll be teleported back to your previous location.
Open the door and move forward. The monster will again appear. Turn back and start running until you come across a red door. Open it and keep moving.
Cross the gap in your path by climbimg on the wall.
Here you’ll find a socket (See Picture 4 Below). Plug your medallion into it. This will open the door in front.
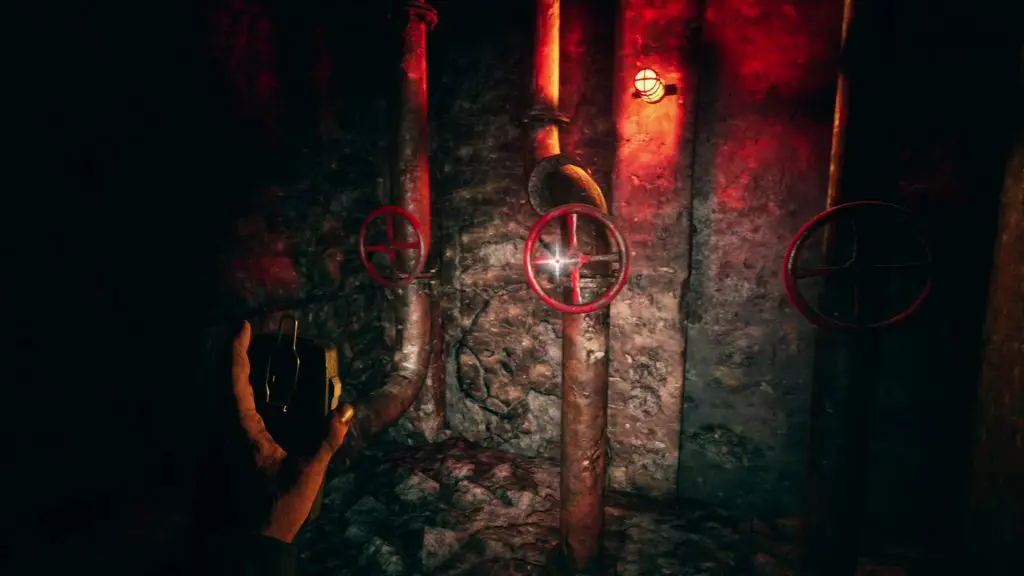
Move ahead. Climb the ladder on the left. Keep moving until you reach a location with 3 valves (See Picture 5 Below).
Turn the valves. Keep moving. Climb the ladder. Keep moving ahead.
You’ll come to an opening in the wall. Crouch and go through it.
Keep moving ahead eventually you’ll reach a red door. Open it to exit the bunker.
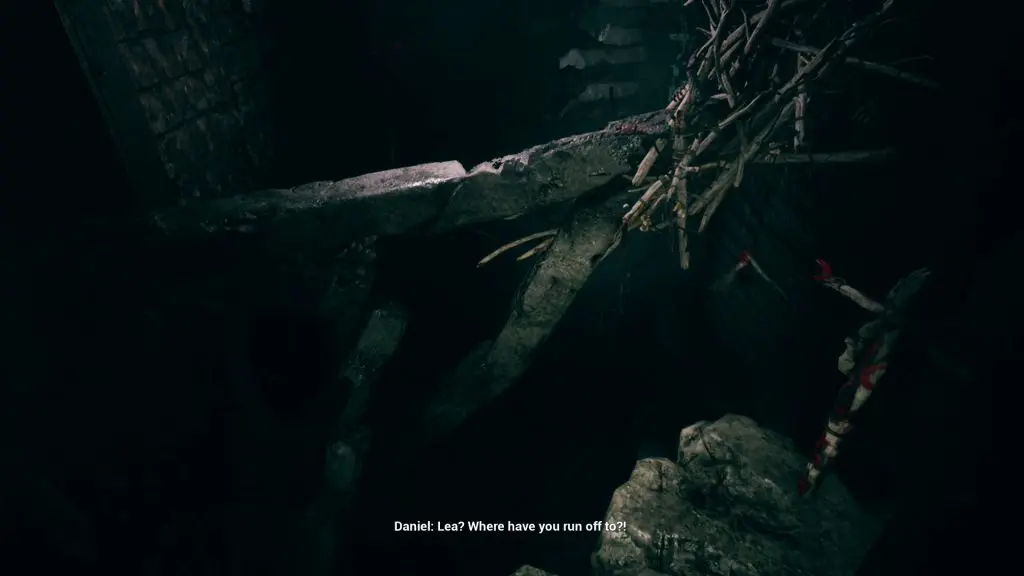
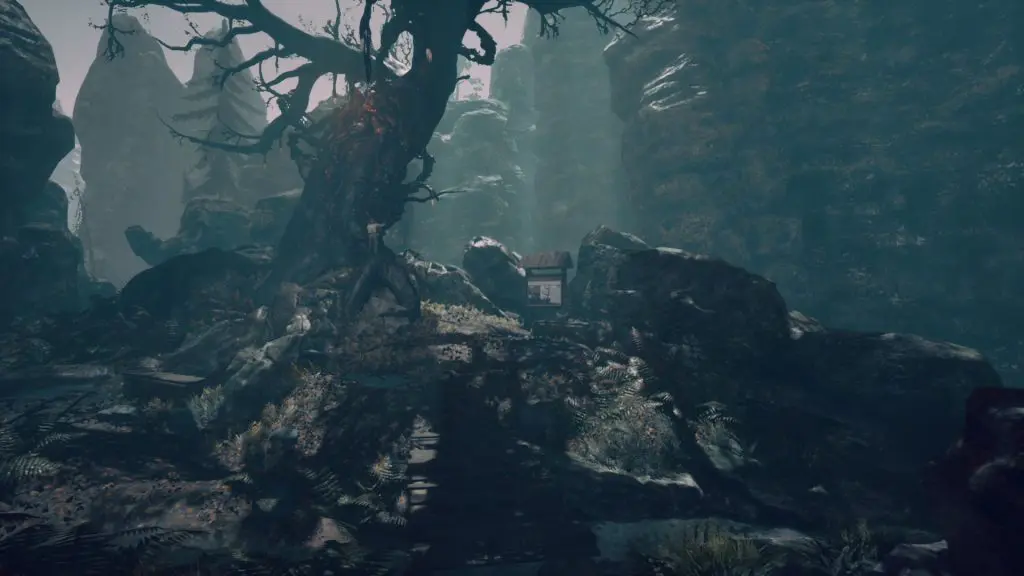
Climb the wall on the left and keep moving forward. Eventually you’ll find Lea near a big tree (See Picture 6 Below).
Follow Lea and she’ll lead you to a cave.
Explore the Cave (Karsht Cave) & Kill the Spider
Follow Lea in the cave, You’ll reach a lifted plank bridge.
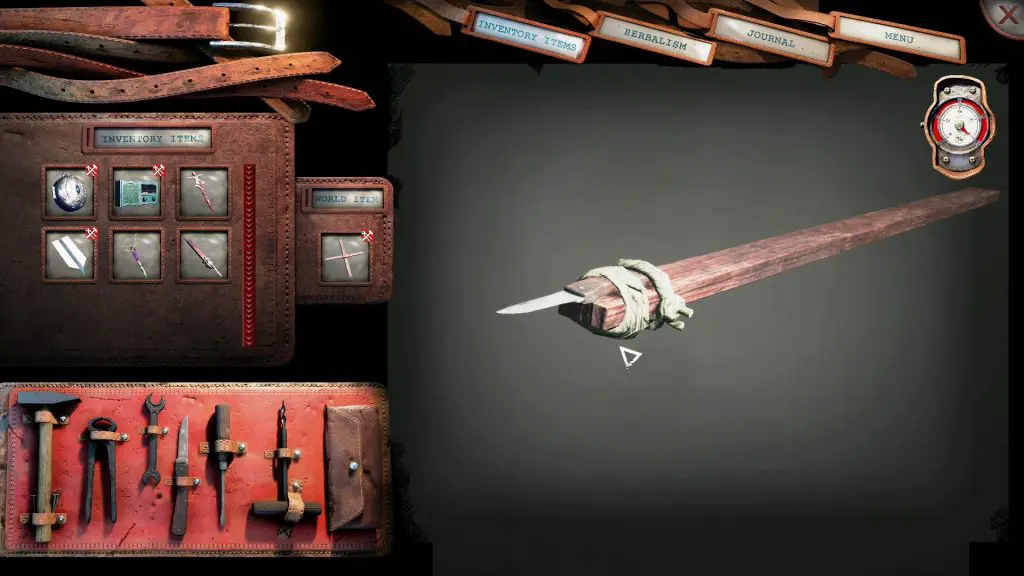
Lea will bring you a cross. Cut the rope tying the cross with a knife to get a sticks.
Tie the stick with knive using the rope (See Picture 1 Below)
Use it to bring the plank bridge down
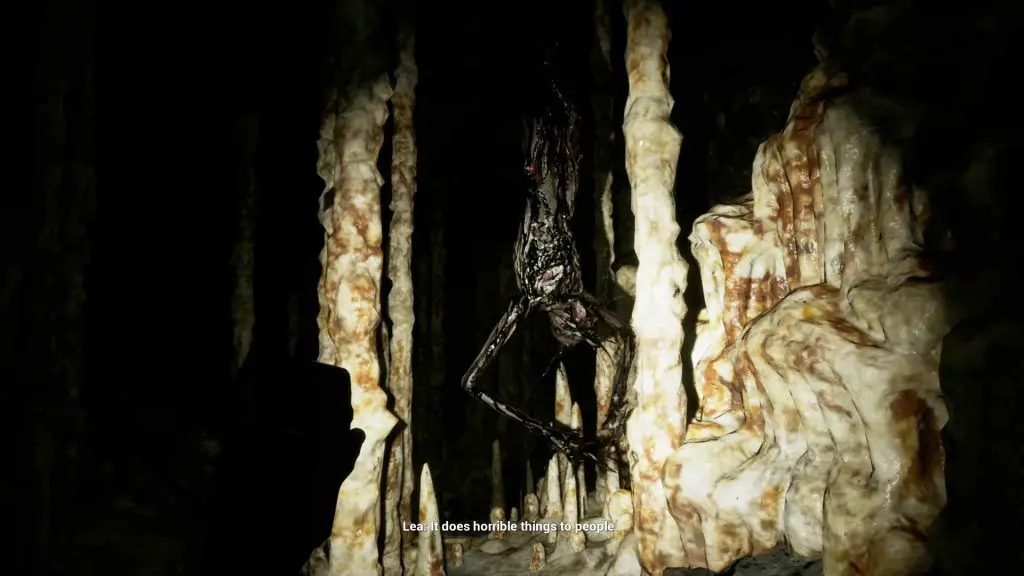
Keep moving ahead. Eventually you’ll reach an area with beasts hanging upside down (See Picture 2 Below). Move ahead such that you do bot touch them.
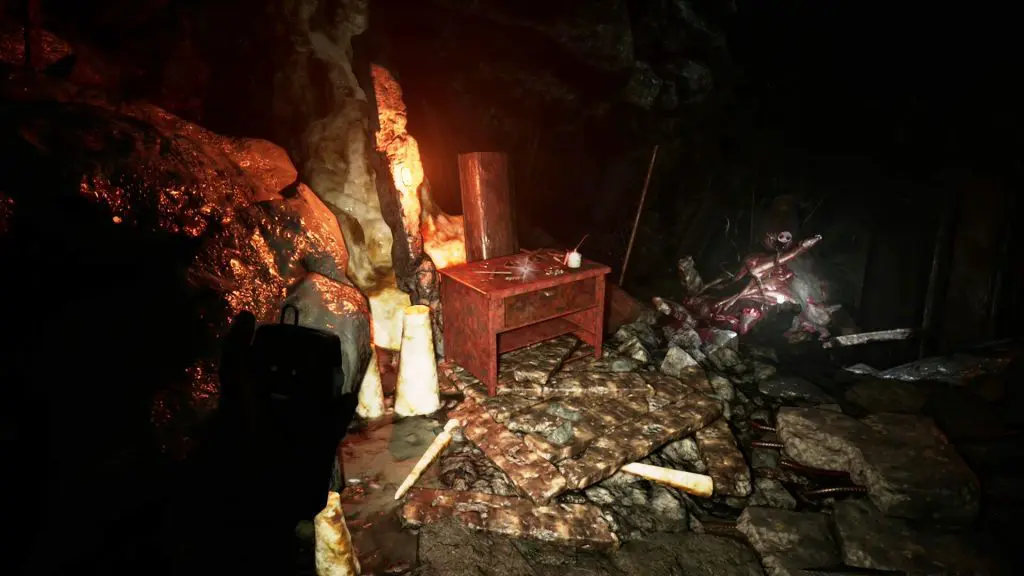
Ahead you’ll come to an area with a workbench and pig corpse (See Picture 3 Below). Collect all the items here (Nuts, Oil, Handle & hooks.
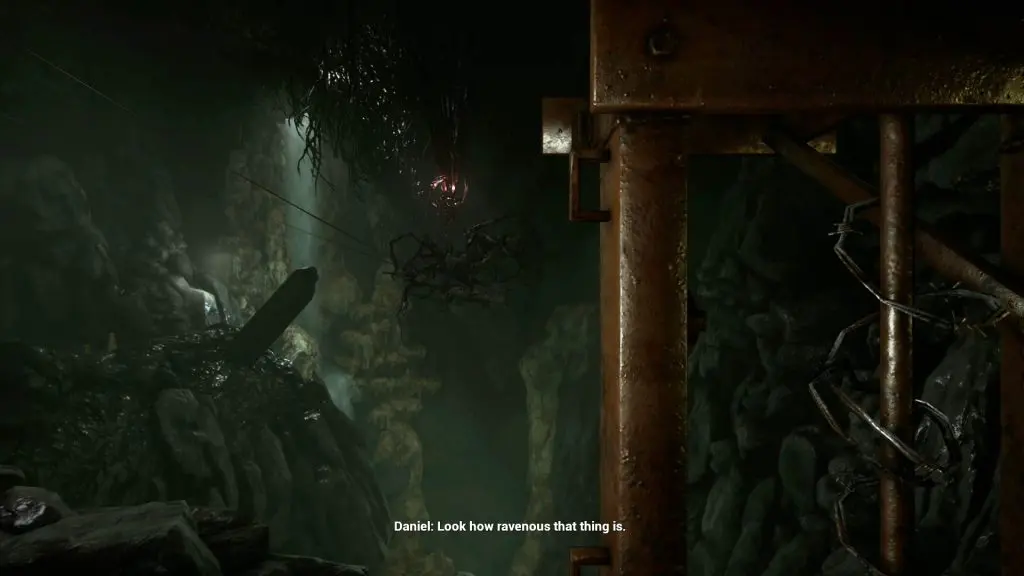
Move ahead to the next room with a giant spider (See Picture 4 Below)
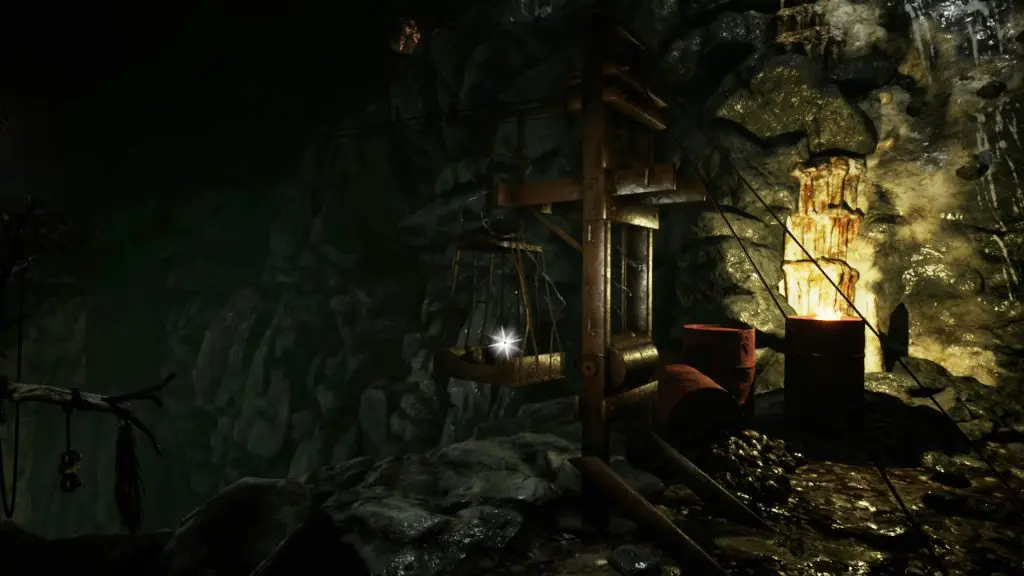
In this room collect the bucket in front . Here you’ll also find some tied barrels. Perform the following activities on it: – Cut the wires using the plier – Apply oil on the nuts – Use the wrench to remove the nut bolts – Use the screw driver to cut open the barrel door
Collect the monster chow from the barrel
Place it in the hanging cage nearby (See Picture 5 Below)
Insert the handle on the hanging cage device and rotate it to send the Monster Chow to the spider
Climb the wall on the right side
Here unlock one of the the wire to the platform on which the spider is resting
Next Lea will bring you a rope. catch it.
Again take monster chow from the barrel and place it in the hanging cage
Now open the inventory. Assemble the hooks, nuts and rope. Use screw driver to to tighten the bolts . (See Picture 6 Below)
Place this item in the monster chow in the hanging cage and rotate the handel to feed the spider. The monster will fall down.
Now you’ll hear Lea screming. Go to her and catch her as she jumps down and carry her outside the cave.
After coming out of the cave go back to the strange tree. From here follow Lea to a wooden bridge. After a cutscene the chapter will finish here.