Escape the Cabin, Reach Hrensko Graveyard, Reach the Underwater cave
Get dressed and leave the cabin
Outside you’ll hear your phone ringing. You’ll find in inside a small opening outrside the cottage (See Picture 1 Below)
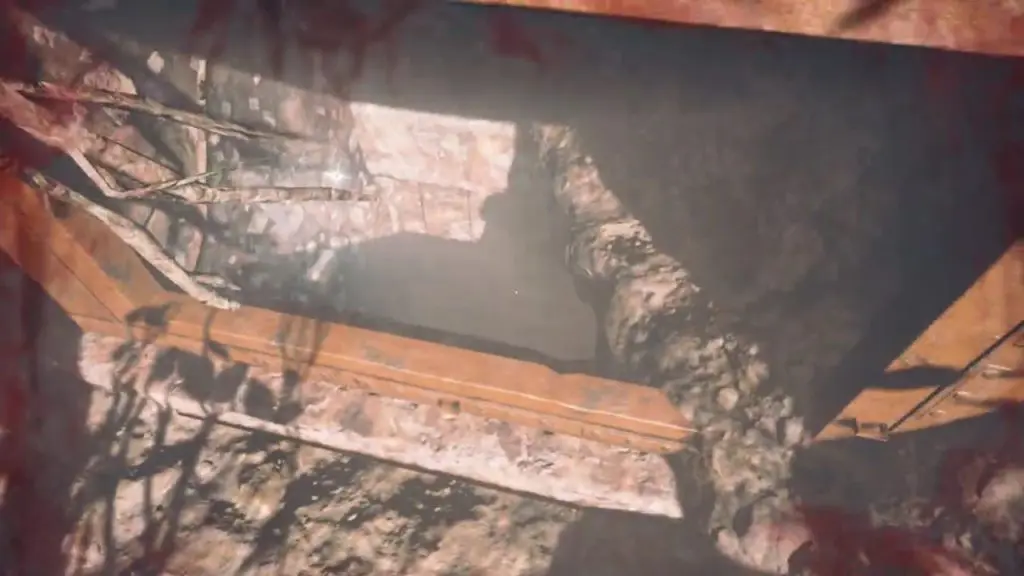
As you pick up your phone a chase sequence will start. Run until you reach a location where you can descend underground (See Picture 2 Below)
Move ahead and finally you’ll find a wall. Climb it to again reach the ground.
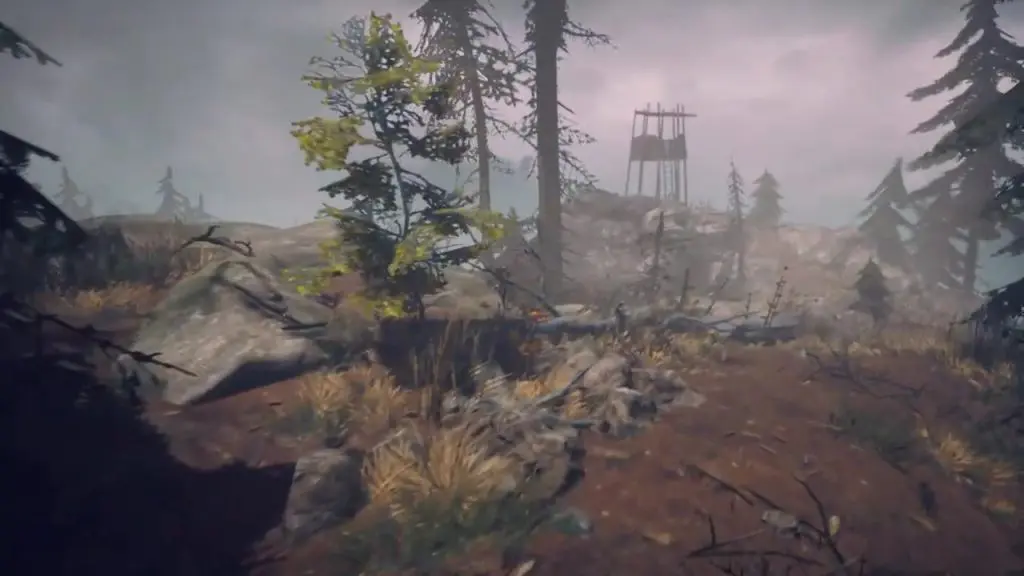
Going in the only available path you’ll recah a wooden watch tower (See Picture 3 Below). It will decrypt some of the pages from Stela’s journal.
Get down the tower and walk down the hill on the only available path.
You’ll reach an area with some beasts, Carefully cross it.
Keep moving ahead. eventually you’ll reach Hrensko Graveyard.
Cross the graveyard and make your way up the hill.
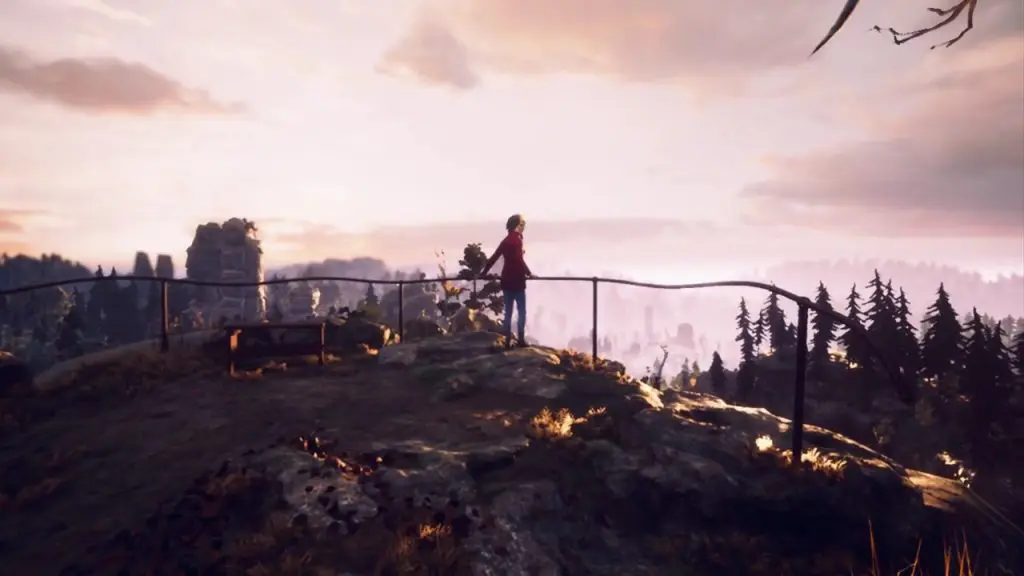
Eventually you’ll reach Graveyard lookout (See Picture 4 Below) and find Eleanora there.
Go down hill on the right. You’ll reach a river.
Jump into the river and swim into the underwater tunnel to come out on the other side in a cave
Underwater Cave: Gas Pipe Puzzle & Getting out of the cave
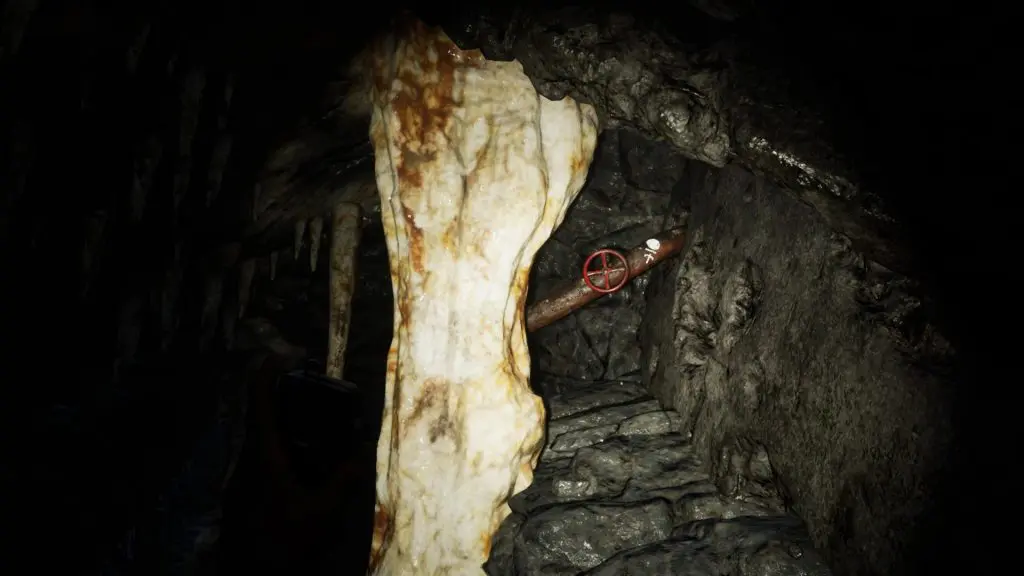
In the cave keep moving until you reach a red valve (See Picture 1 Below)
No need to rotate this valve. Get down and proceed to the next area.
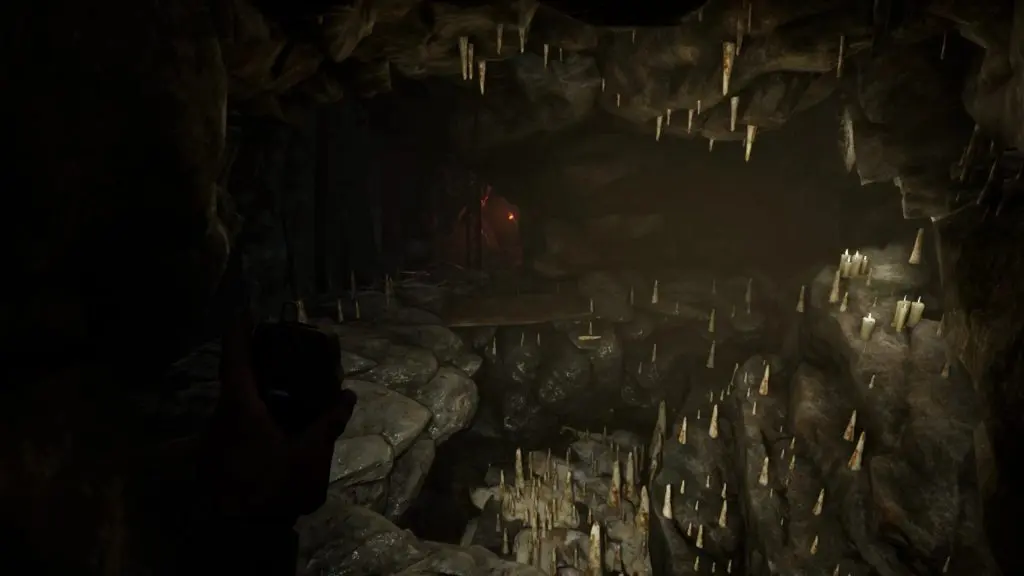
You’ll reach an area with many candles (See Picture 2 Below). From here go straight forward.
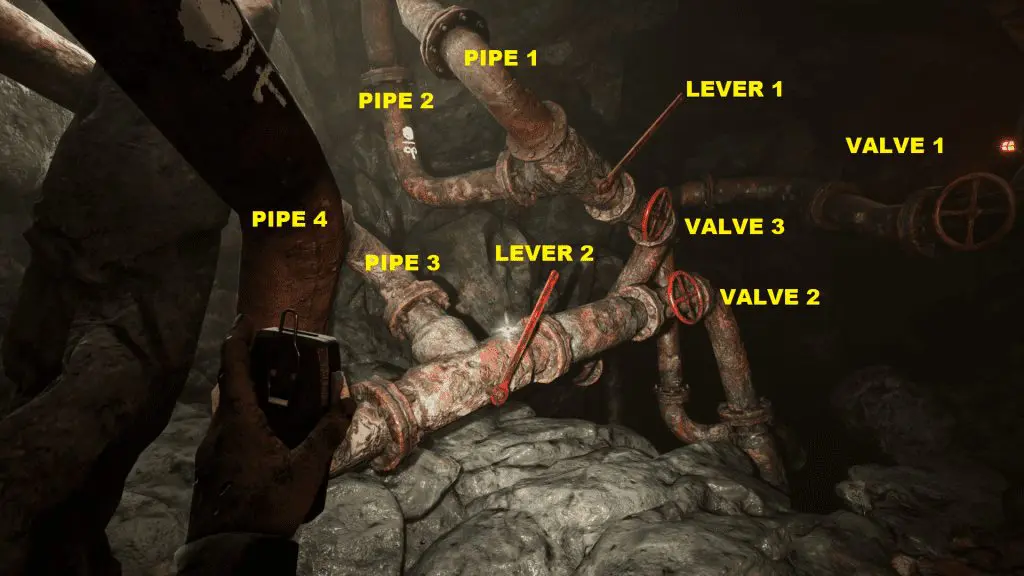
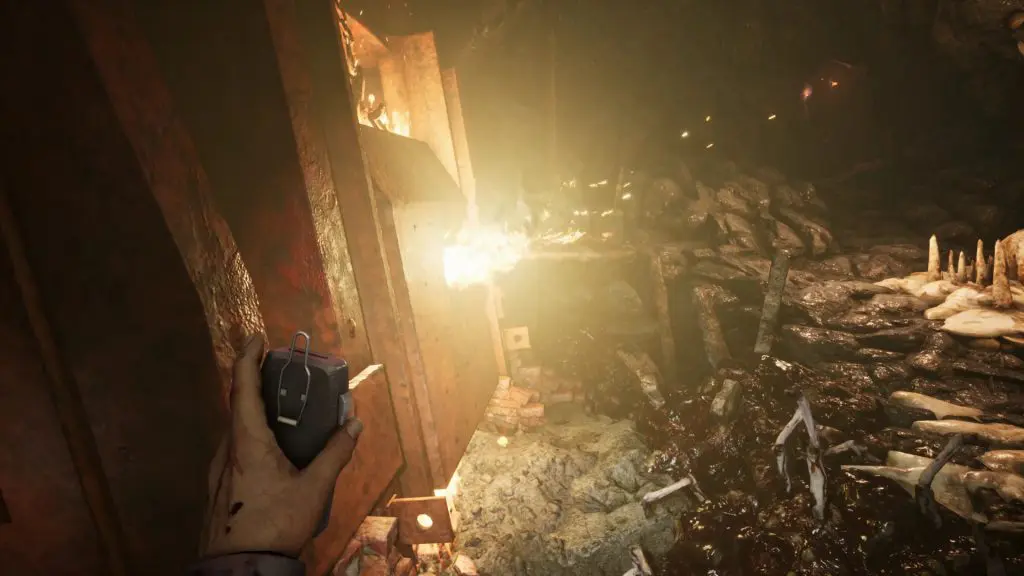
You’ll reach a section with many pipes, valves and levers connected to a furnace (See Picture above). Functions of each component is mentioned below. – Valve 1 sends the gas to furnace (See Picture 3 Below) – Valve 2 Sends gas to pipe 3 & pipe 4 – Valve 3 Sends gas to pipe 1 & pipe 1 – Lever 1 switches gas between pipe 1 & pipe 2 – Lever 2 switches gas between pipe 3 & pipe 4
Rotate valve 1. Furnace will start burning.
Interact with furnace and after that collect the bucket with a pan in the corner
Now again interact with furnace, a blueprint will appear in your inventory.
To assemble the item you’ll need 2 sticks.
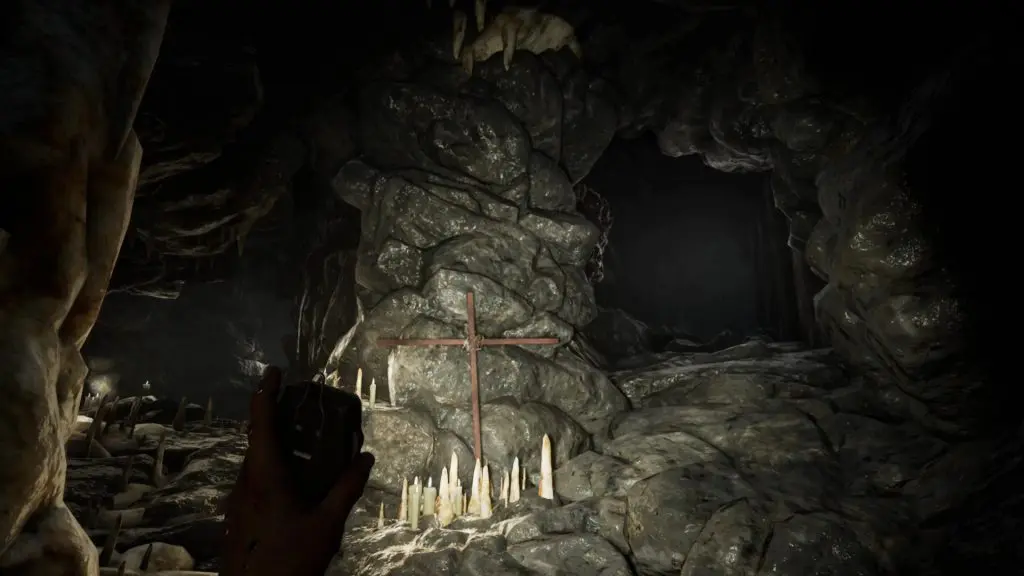
Go to the area with many candle and from ther ego left. There you’ll find a cross (See Picture 4 Below). Take it.
Use plier and then screw driver on the cross to get 2 sticks.
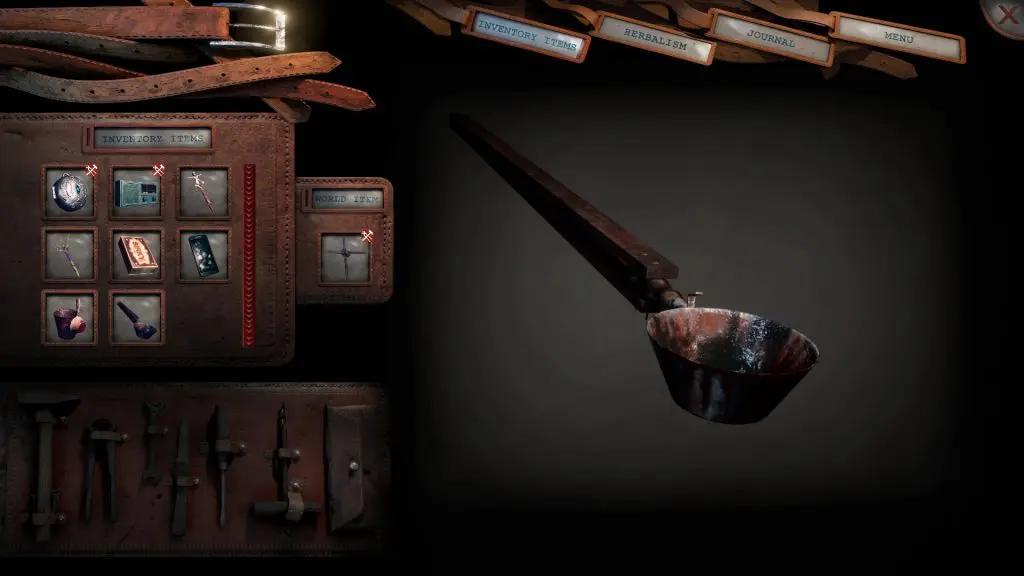
Now open the inventory and select the blueprint. Assemble the item by placing pan and 2 sticks and then using hammer to nail them together (See Picture 5 Below).
Use the item on furnace to get the hot sludge.
In order to progress in the story you need to divert the gas through pipe 2. You’ll know this because by exploring the area you’ll see that there is a spider web blocking the main path and the pipe that you have to use to burn the web has the same symbol as pipe 2 (See Picture 6 Below).
Pull lever 1 to divert the gas to Pipe 2 (valve 3 is already on so there is no need to rotate it). You can check whether the gas is going through the correct pipe by seeing the leaking gas at the joints.
Turn around and go to the area with candles. From there take left. When the path diverges, take left again. Keep moving and you’ll reach an area where spider web is blocking your path (See Picture 6 Below).
Place hot sludge at the mouth of the pipe and turn on the valve to release fire. This will burn the spider web.
Now turn off the valve and move ahead. You’ll find your path being blocked by fire. Turn of the valve there to clear the path.
On moving ahead you’ll find a closed door.
To open the door tuen around and go to the location where you burned the spider web. From there go down on the right side. At the end of the path you’ll find a red valve. Rotate it to open the door.
Get back to the door and go to your left. Then down on the right side.
At the end of the path you’ll reach a walll to climb.
This wall climb is a litlle bit difficult. If you are stuck then please check the video link below.
After climbing the wall move forward and exit the door at the end of the path to complete the chapter.